Any Kitchen Will Do

Give me a kitchen and I will cook.

Archive for the category “beef”

Curry Burger Cups

curryburgercupsI went a bit retro on this one – my mom gave us her electric skillet. For decades it has been used to make meals on the counter top. From pancakes to fried chicken we were well fed by the skillet (and mom, of course!). Since it was my mom’s it has of course been well cared for and is in excellent condition. I aspire to care for it as well, especially since I plan on using it a lot.

Compared to a stove top skillet, the electric skillet has a larger cooking surface and there is a bit more control over the temperature. I usually rely on iron skillets on the stove and forgot how fun the non-stick electric versions are! The big, domed top even has a vent to control moisture release. I may be a kitchen nerd, but it is so fun using it!

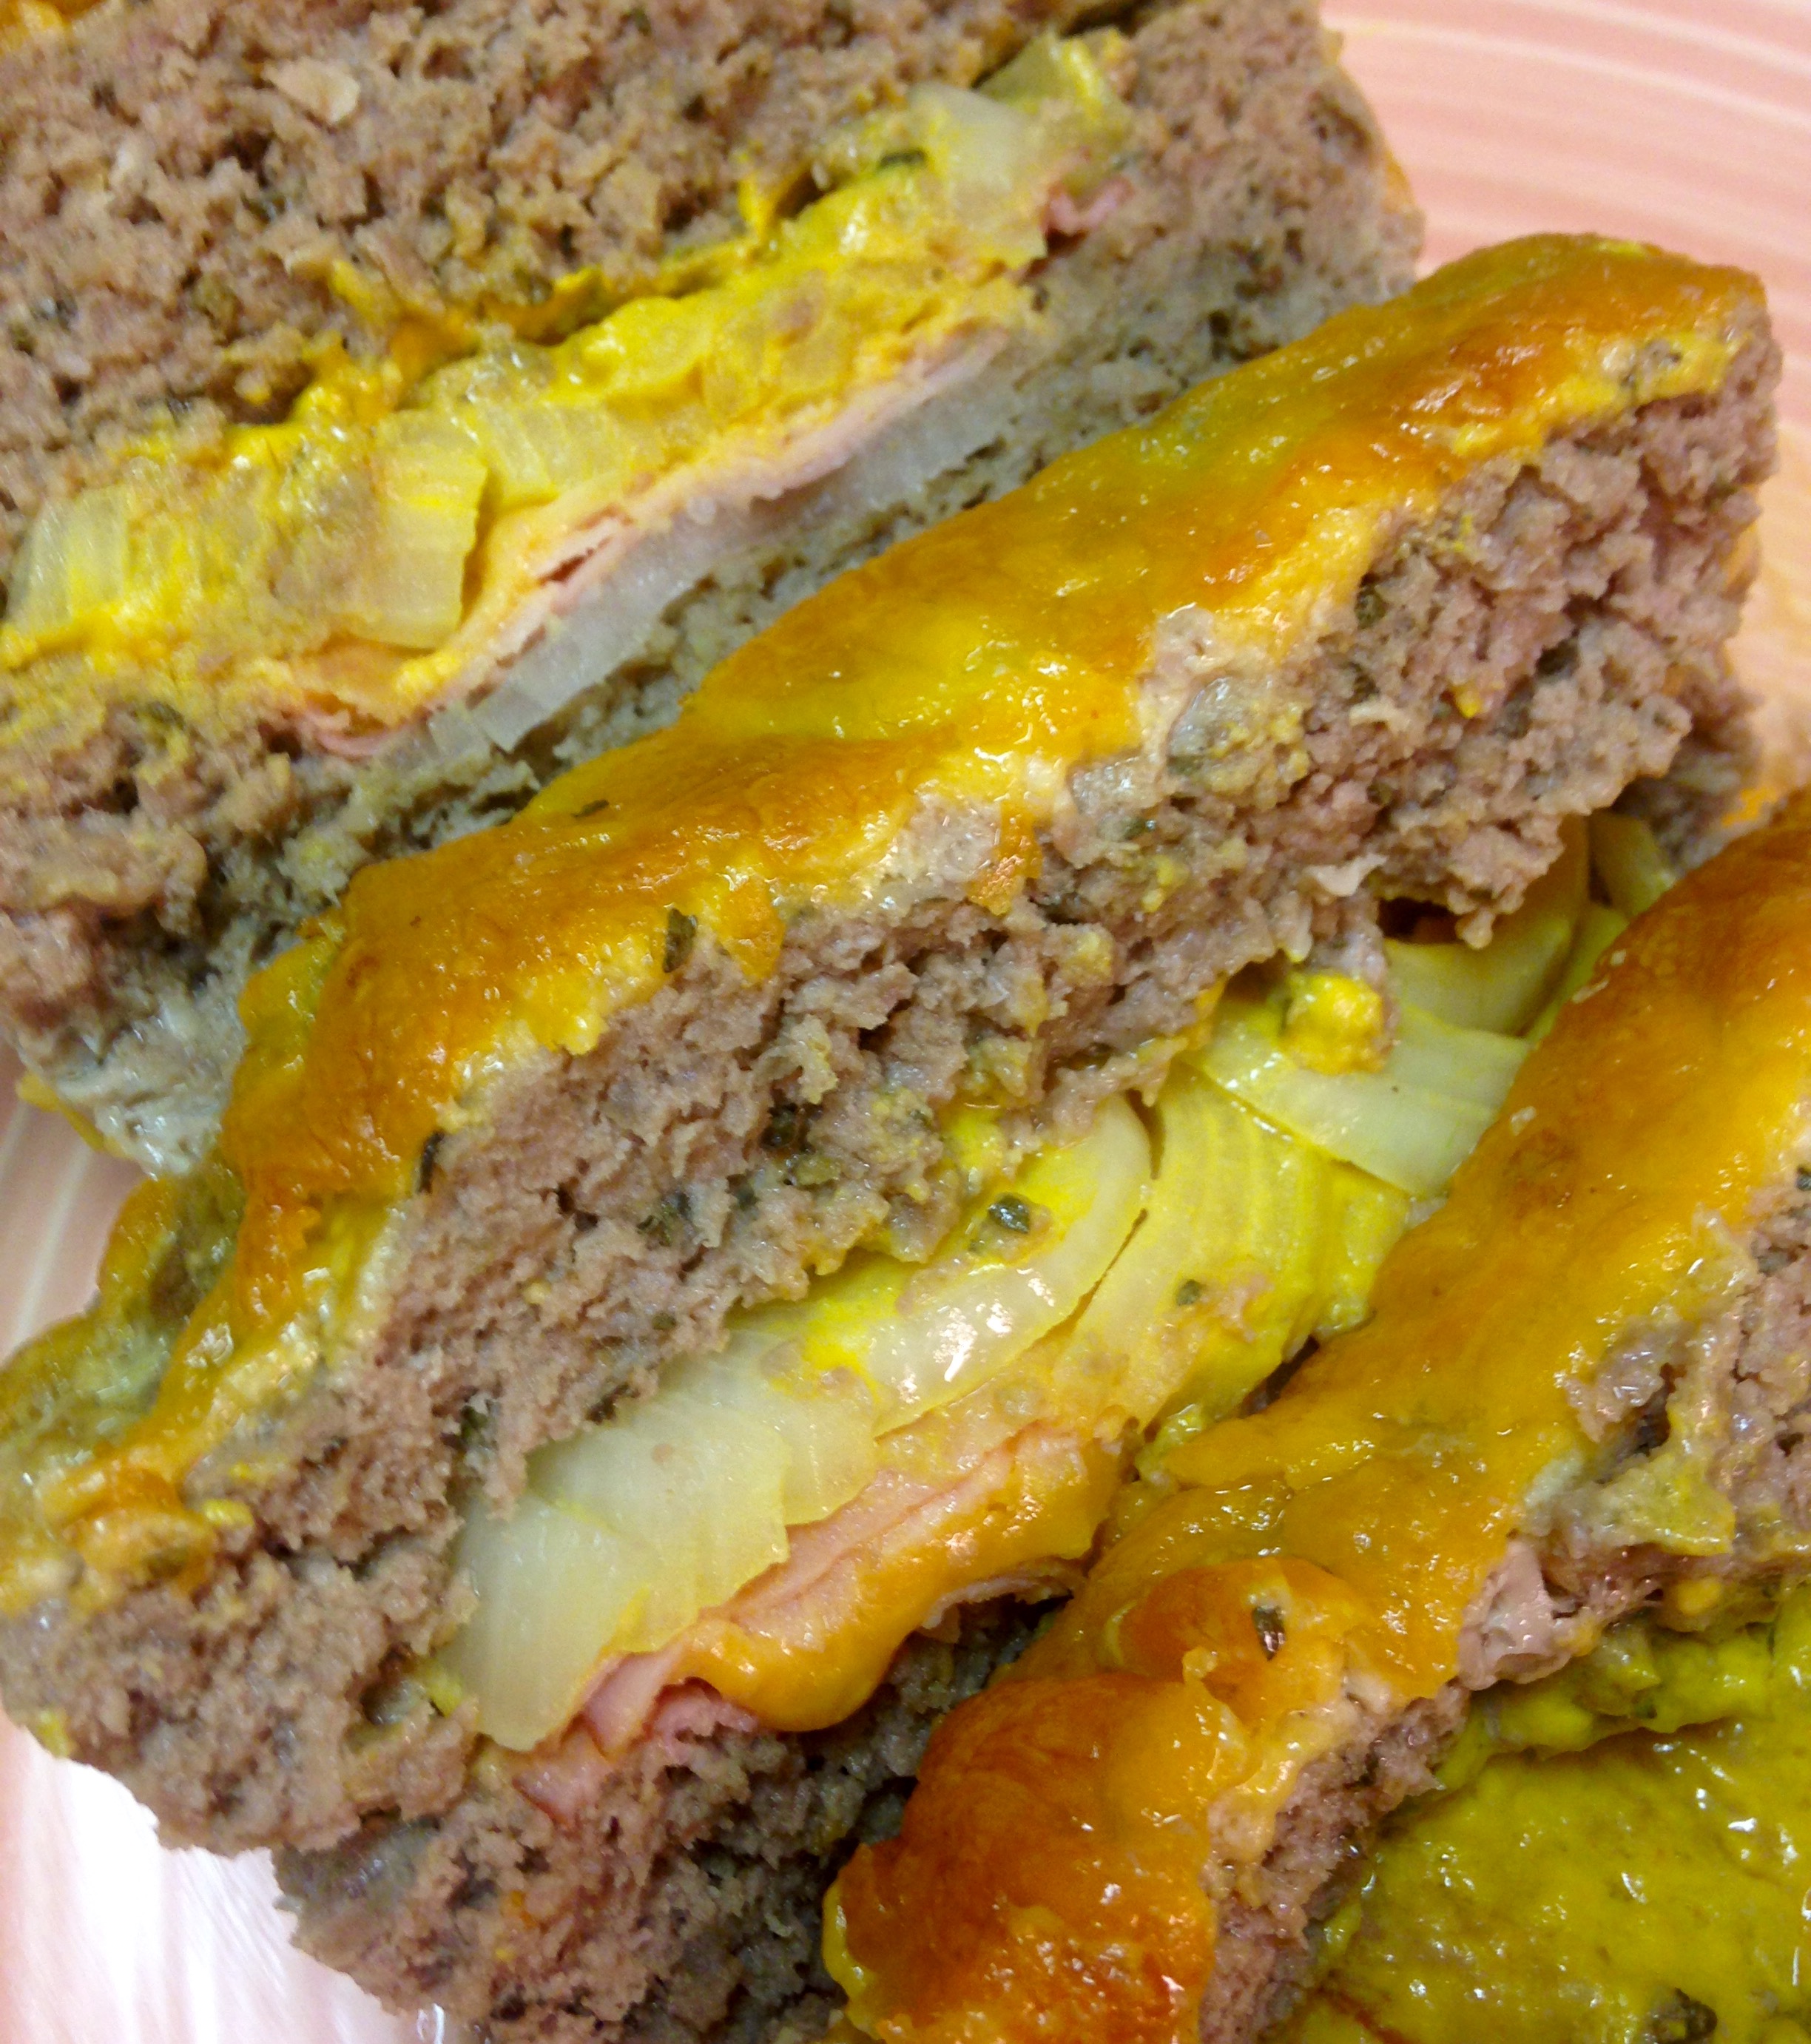
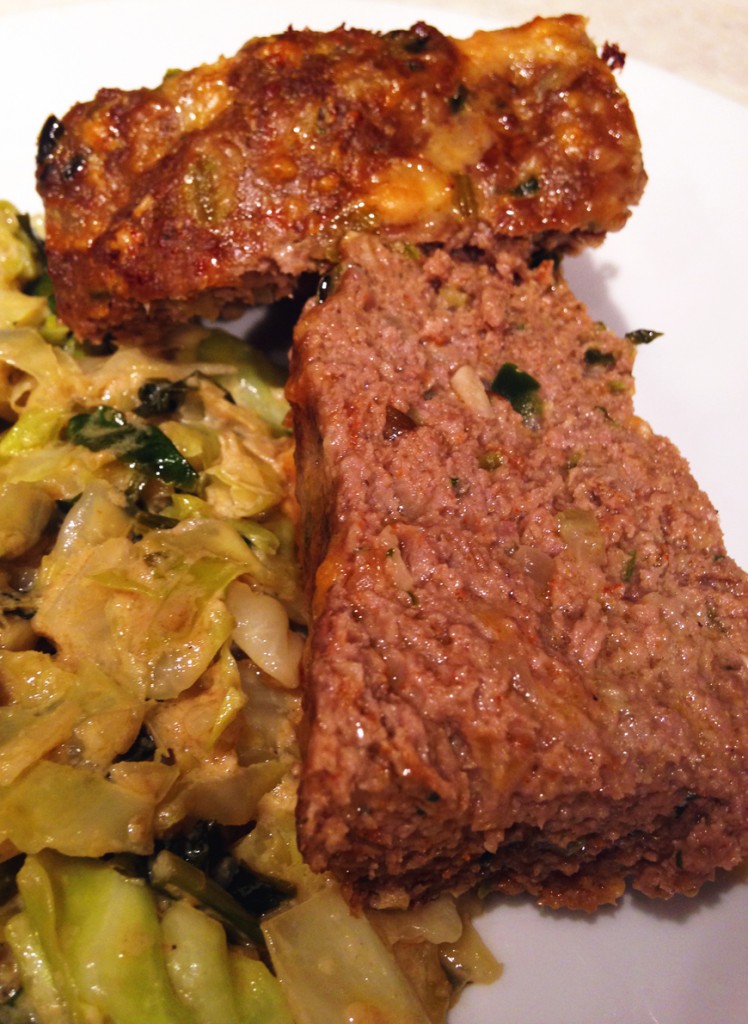
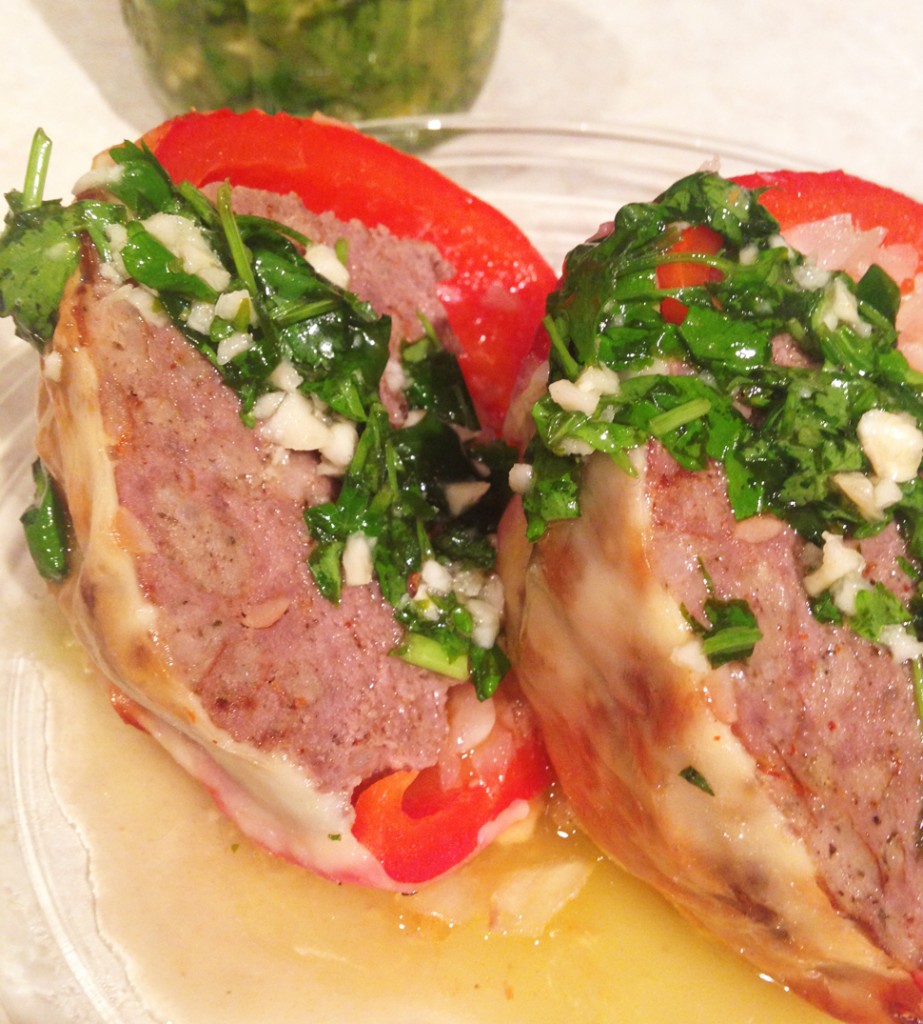
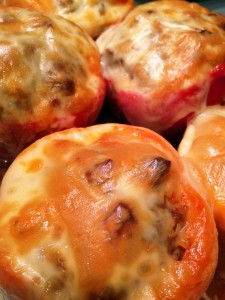
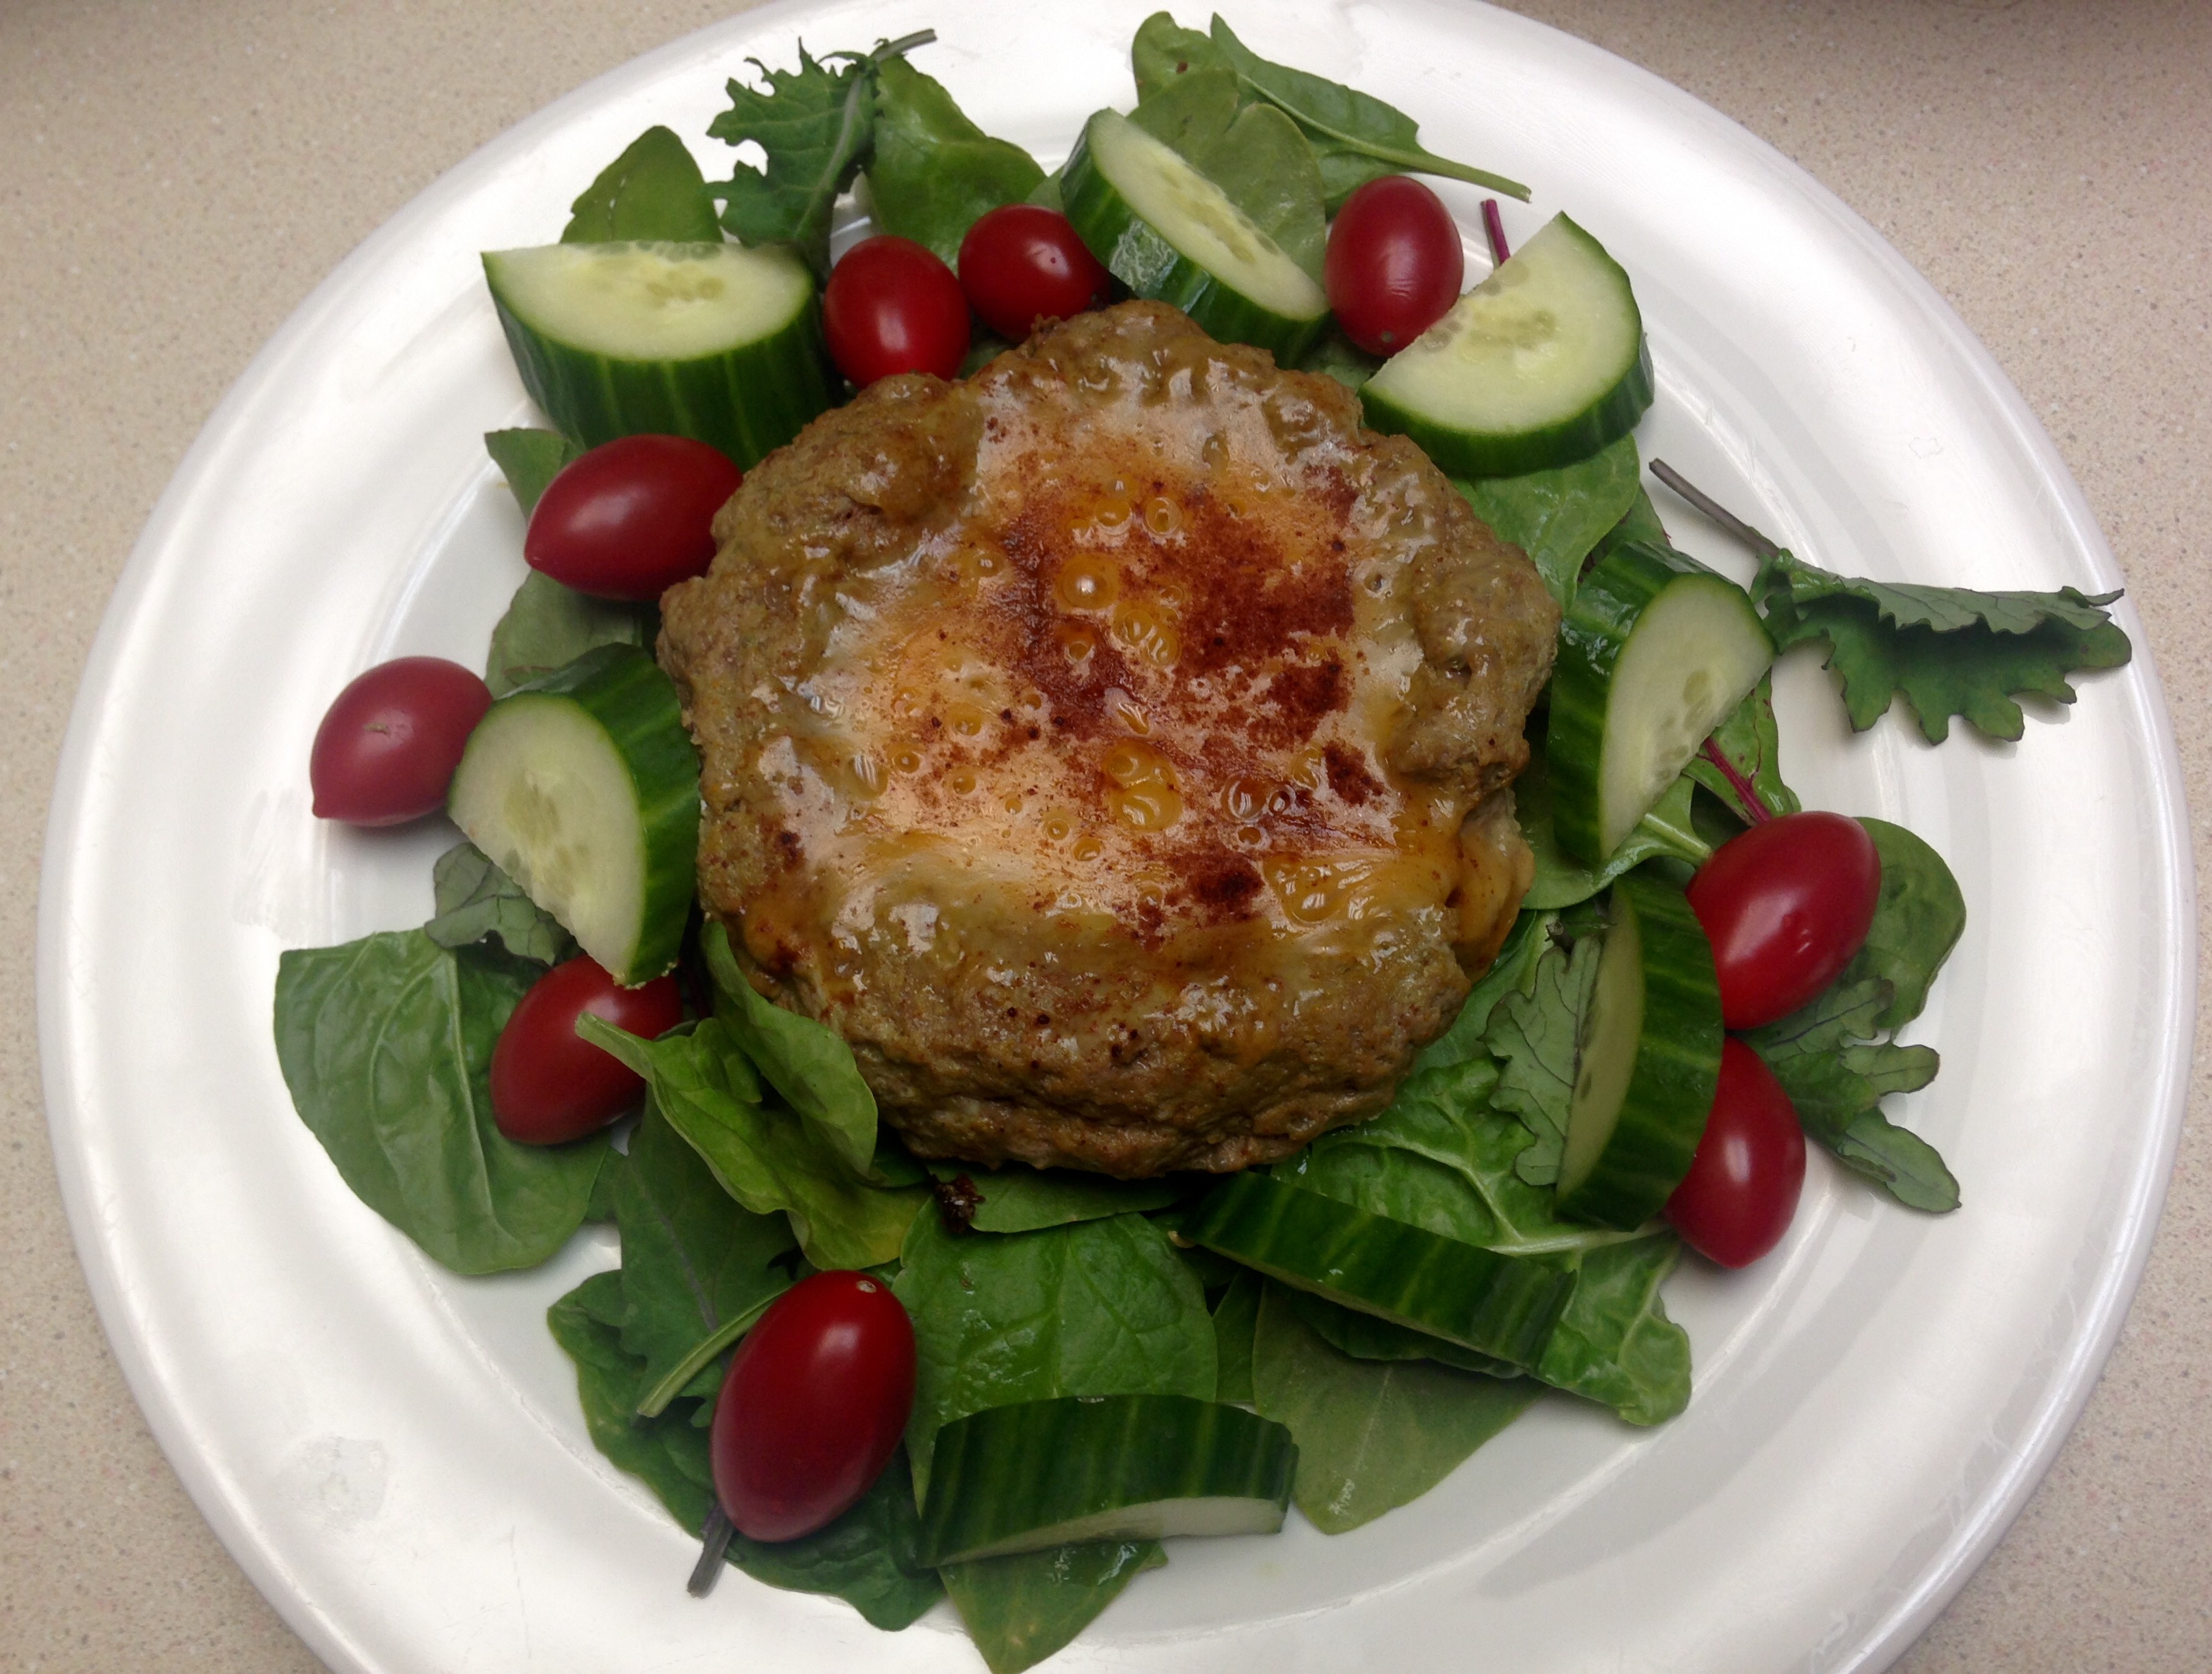
As for the lovely meal I made, using peanut butter in a burger might sound odd, but combined with the yellow curry spices the flavors were wonderful. Since the burgers aren’t flipped the bottom gets a good sear, which of course always goes well with cheddar cheese. Making the bowl in the burger helps retain the cheese instead of it dripping off the edges of a rounded burger top. Don’t get me wrong, I like the crispy cheese left in the pan when it dribbles off the edges of a cheeseburger, but I also like cheesy burgers that don’t lose any cheese while it melts.

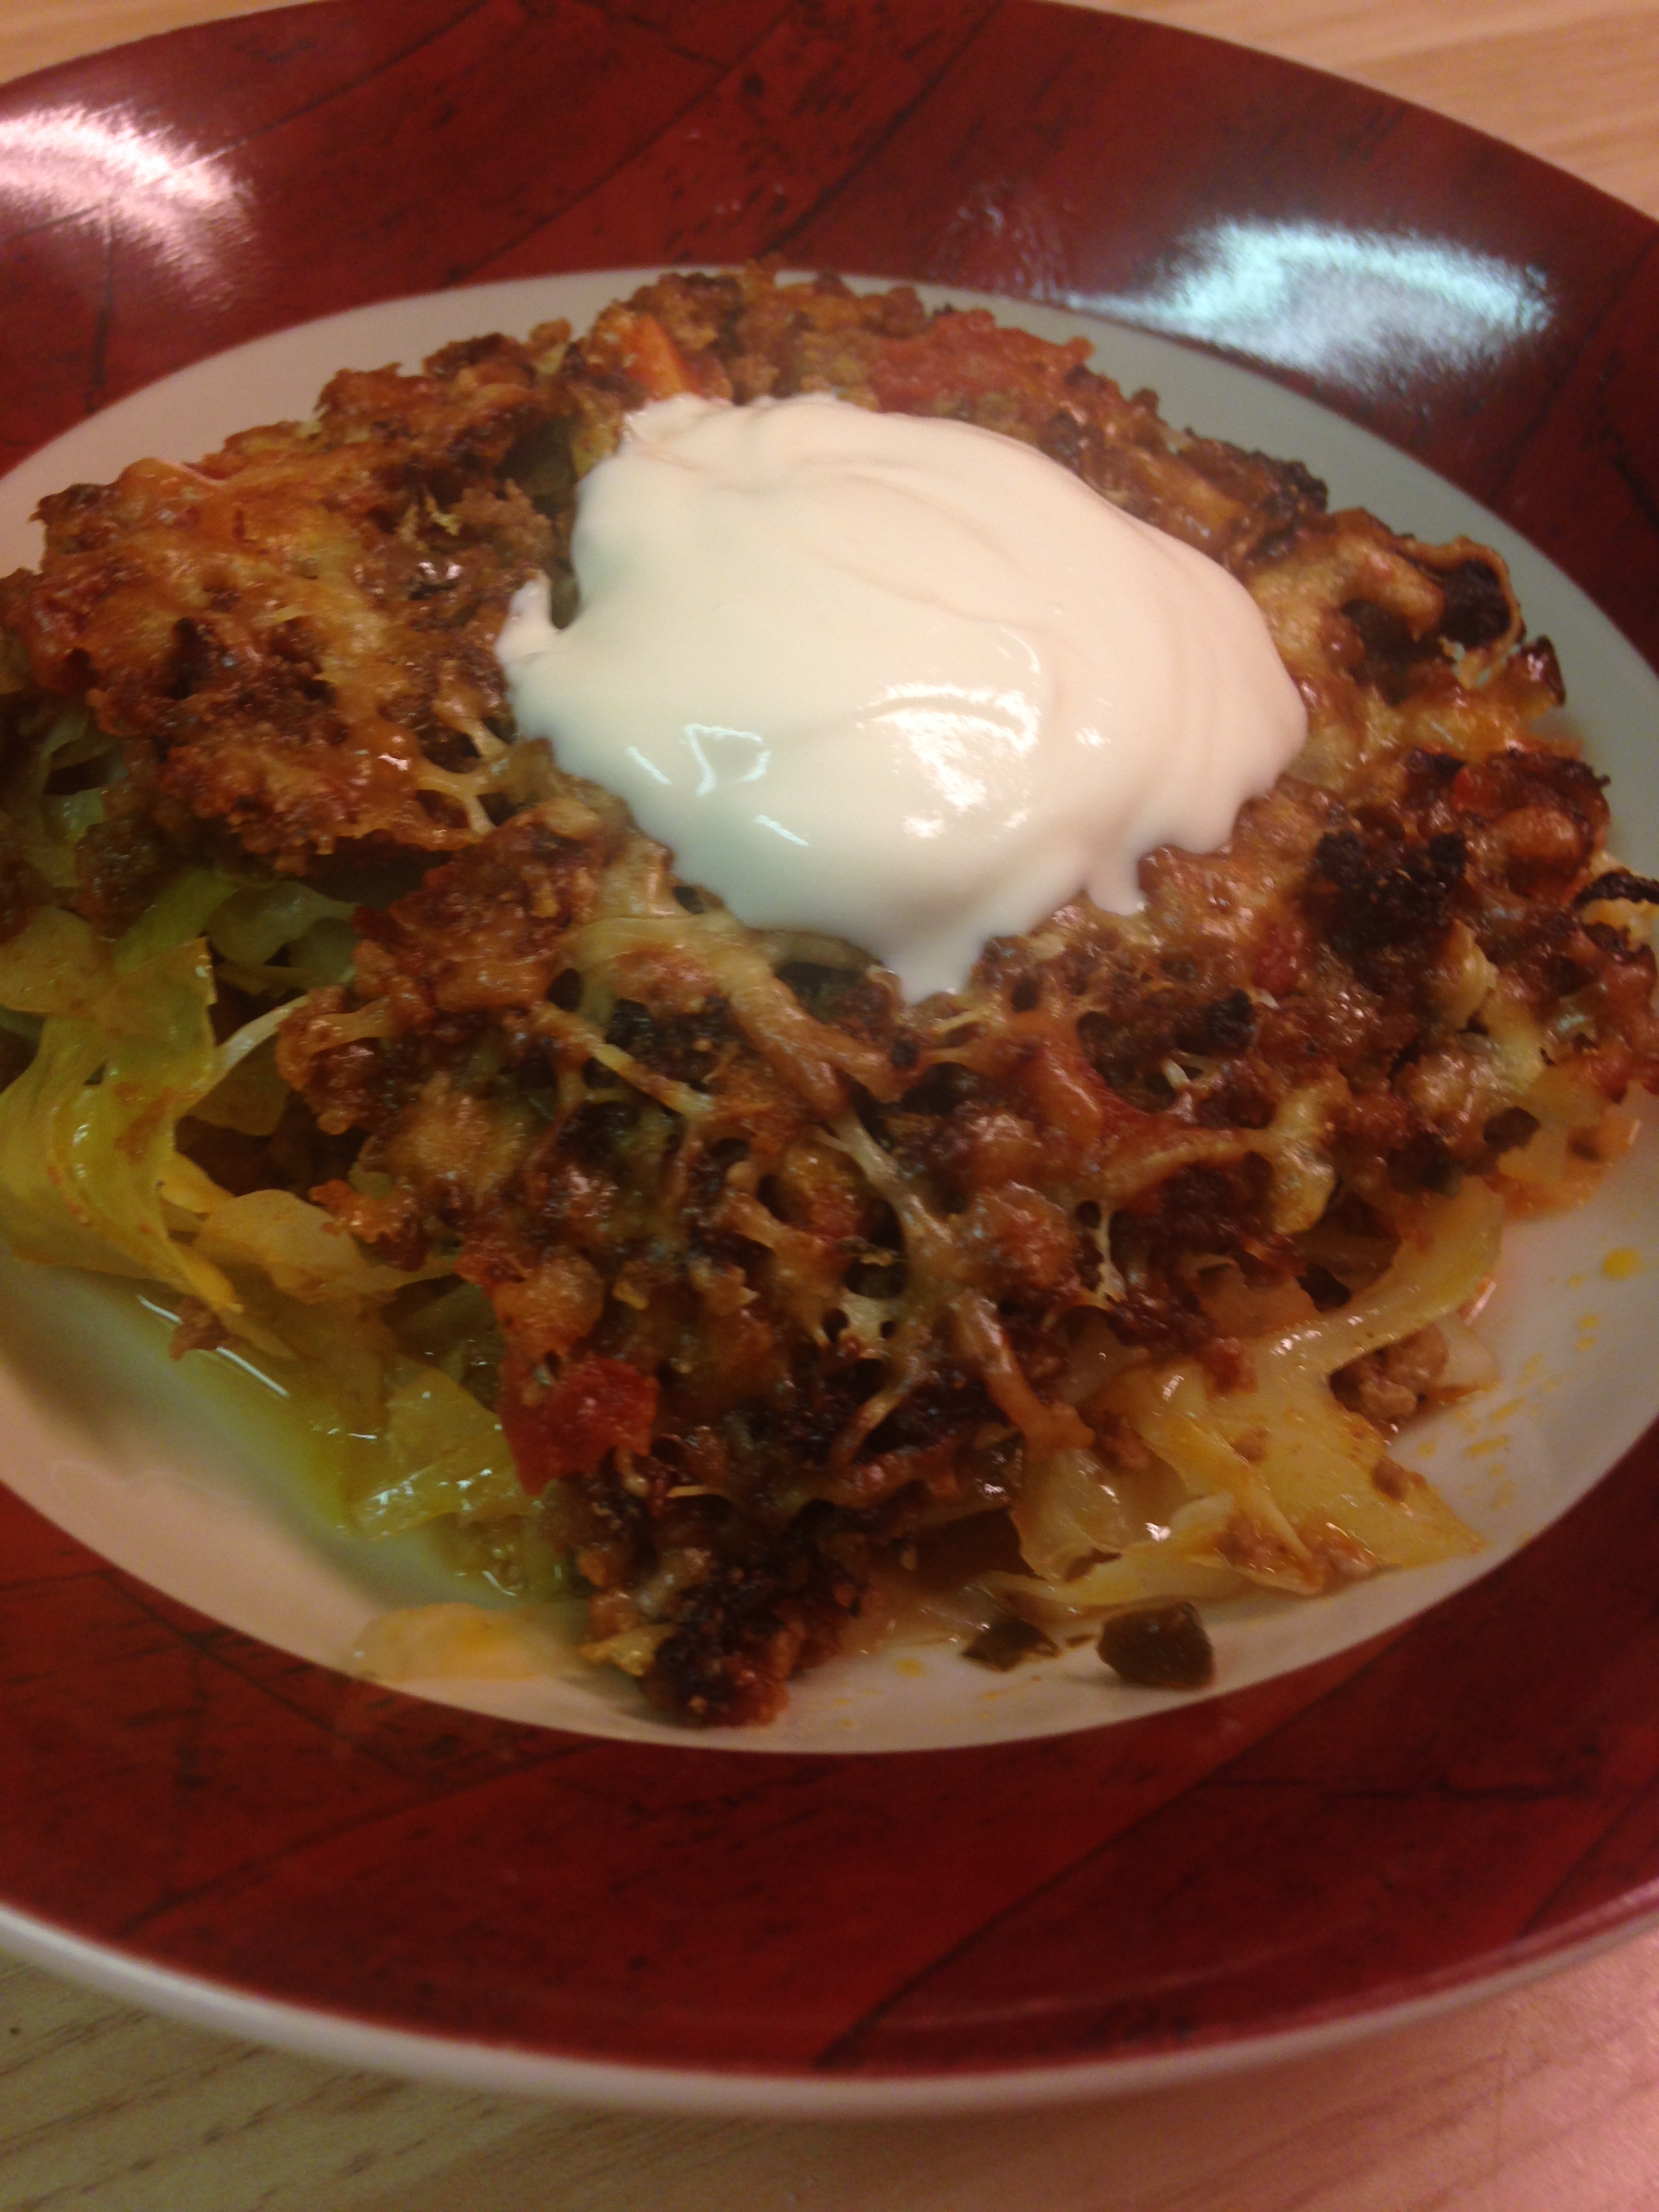
Bites of the burgers with the peppery mix of raw baby kale, mustard greens, spinach and chard really made for a wonderful mouthful.

Curry Burger Cups

2 pounds ground beef
2 large eggs
1/2 cup Worcestershire sauce
1/2 cup creamy peanut butter
2 tablespoons dried parsley leaves
2 tablespoons ground turmeric
1 teaspoon ground cumin
1/2 teaspoon ground cinnamon
1/2 teaspoon ground black pepper
1 teaspoon paprika
2 teaspoons sea salt
2 teaspoons garlic powder
2 teaspoons onion powder
2 cups grated sharp cheddar cheese

In a large bowl place all the ingredients except the cheese. With a strong mixer or your hands thoroughly combine the ingredients. Form six patties, creating a bowl in the middle of each, leaving approximately 1/2 inch rim on the edges.

In a large skillet over medium heat (or electric skillet at 325 degrees) place the patties. Fill the bowl of each patty with 1/3 cup cheese. Cover and let cook for about ten minutes, until beef is cooked to desired doneness (medium is 160 degrees).

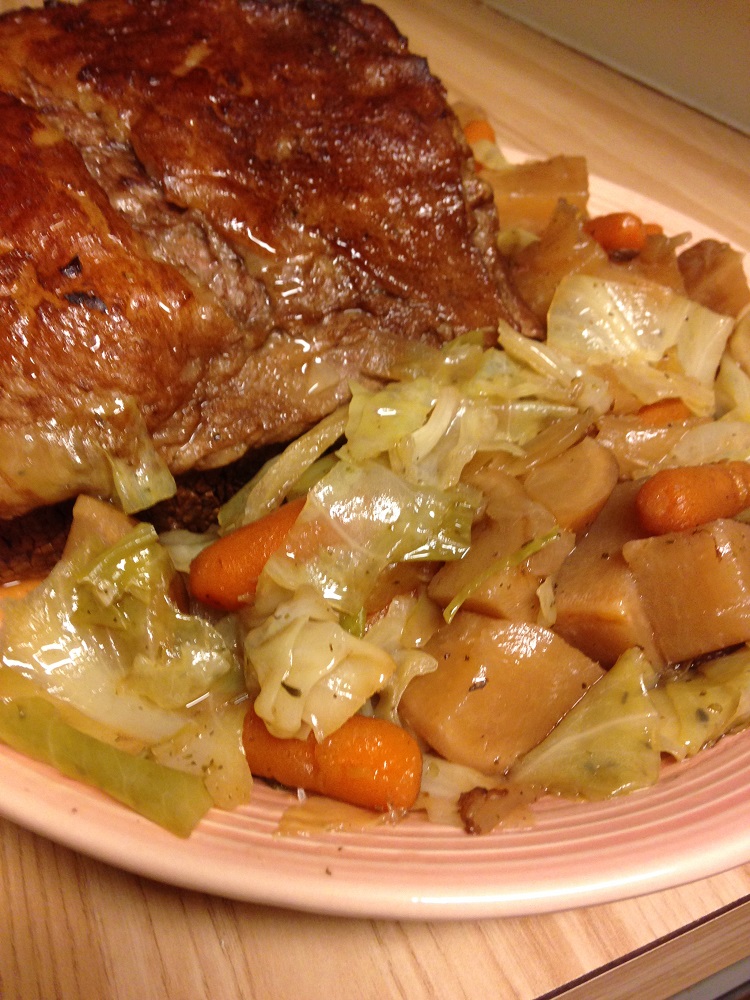
Serve immediately on top of raw greens or with a cooked side of vegetables.

Ham and Cheese Meatloaf

hamnchzmeatloaf

I was recently longing for the Cheesy Burger Bombs I made a while back. Since we were missing the necessary cheese snack wheels, and I did not want to run to the store, I decided to create a new thematic dish. A ham and cheese sandwich wrapped up in a meatloaf! The ham and cheese sandwich elements I prefer include, of course, ham and cheese, but also mustard and onion. I also like cold, crisp pickles, but excluded them from this dish, for I am not a fan of warm pickles. Yuck!

It was fun to make this meatloaf, especially since Little B helped stack the layers! Forming the bottom of the loaf to make a little nest for the filling, then stacking it all in the middle, then closing it up and hiding the surprise in the middle. She did not agree with the inclusion of the mustard layer, but after it cooked and we sliced it up the lovely condiment blended well with the warm onion, ham and cheese and she devoured it!

The final result reminded me more of a cheeseburger than a ham sandwich; you know, the kind where they basically put breakfast on a burger, with ham or bacon and cheese and a fried egg? When I had some of this loaf as leftovers I actually topped it with a fried egg. I highly recommend the addition!

Ham and Cheese Meatloaf

1 1/2 pounds ground beef
3 cloves garlic, crushed
2 Tablespoons dried basil leaves
2 teaspoons sea salt
1 teaspoon ground black pepper
1 teaspoon ground cumin
3 eggs
3 Tablespoons Worcestershire sauce
8 slices deli ham
12 ounces shredded colby/monterey jack cheese
1 medium yellow onion, sliced into thin discs
1/4 cup yellow mustard

In a large bowl combine beef, garlic, basil, salt, pepper, cumin, eggs and Worcestershire sauce. Mix ingredients well with hands or mixer.

Press half of the beef mixture into the bottom of a large loaf pan, bringing it up slightly on the sides.

Place a layer of onion in the middle, followed by a layer of half the ham slices. Sprinkle 8 ounces of the cheese on top of the ham, followed by another layer of ham. Spread the mustard on top of the ham. Place a final layer of onions on the mustard.

Press the remainder of the beef on top of the inside layers and press it along the edges to join the top beef with the bottom beef. Sprinkle the remaining cheese on top.

Bake at 350 degrees for 45 minutes, until the top is browned and beef cooked through. Remove from oven and let cool for about ten minutes. Depending on the fat content of the beef there may be an excess of grease and juices surrounding the meatloaf. Remove as much as possible before removing loaf from pan. Tip loaf pan so the meatloaf slides onto its side on a serving platter. Turn the loaf upright so the browned cheese side is on top.

Garnish with dark green lettuce leaves or fresh herbs and serve in thick slices to show the layers.

Swedish Meatballs

swedishmeatballs

Beyond my version of a Swedish smorgastarta I made a while back, I have not done much with Swedish cuisine, traditional or otherwise. When I think of Swedish cuisine I imagine pastries, fish and meatballs. My hankering to make meatballs led me to the well known Swedish meatballs. Research into the Swedish version revealed they posses a subtle, yet well-rounded flavor. The key flavors, along with the variety of ground meats, are onion, allspice and white pepper. My other meatball versions, whether cheesy or ghoulish, have much less subtle flavors added. I was very curious about making the traditional Swedish dish.

Never partaking of the meatballs on Swedish soil, I relied on my previous experiences eating them here in America. The experiences revealed they are smaller and more delicate than those huge suckers you find in an American sandwich or spaghetti. Served on a bed of zucchini noodles and a side of acorn squash, the meatballs made for a warm, comforting winter meal. The gravy was rich and addictive, and the use of almond meal instead of breadcrumbs worked well to hold the balls together. The bit of gravy left over when the meatballs were gone became two spoonfuls of savory dessert for me!

Swedish Meatballs

Balls
3 tablespoons butter
3 tablespoons finely grated onion
1/3 pound ground beef*
1/3 pound ground pork*
1/3 pound ground veal*
1 teaspoon allspice
1 teaspoon sea salt
1/4 teaspoon finely ground white pepper
2 tablespoons almond meal
1 egg

Gravy
Pan juices
1 cup cream
Sea salt to taste
Finely ground white pepper to taste

Melt 1 tablespoon of butter in an iron skillet over medium heat. Sauté onions in the butter until golden brown. Remove from heat and let cool until comfortable to handle when mixing with meats.

Place ground meats in medium bowl. Add allspice, salt and white pepper, almond meal, onions and egg. Using your hands combine the ingredients until well combined. Form mix into approximately 18 meatballs, each about the size of a  a golf ball. Chill meatballs for at least an hour – this will help them hold their shape when cooking.

Melt the remaining 2 tablespoons in the iron skillet over medium high heat. Add the meatballs, making sure there is some space in the pan around each ball. Shake the pan as you fry the balls, to brown them evenly and prevent flat sides. Continue to cook for 10-12 minutes, until they are evenly browned on all sides.

When all of the meatballs are done cooking transfer them to a plate and place on the stove top to keep them warm.

To make the gravy, lower heat under the pan to medium. Scrape the bottom of the pan to loosen the drippings. Add the heavy cream, salt and pepper to taste. Gently stir to incorporate the cream. Simmer for about three minutes.

Pour gravy over the warm meatballs and serve immediately. Since there is no thickener in the gravy it may separate a bit if overcooked or after it sits away from the heat. If separation occurs just stir right before spooning over meatballs.

Deconstructed Cabbage Rolls

2015-10-06 11.27.52

Although the ingredients are not seasonally limited, I always consider cabbage rolls to be an autumn dish. They are a baked, one dish meal that freezes and reheats well. The other day I had a craving for thema, as the outside temperatures are gradually dropping, but I did not have as much time as needed to do them up right – blanching the cabbage leaves enough to roll them was more demanding on time than I had, so I embraced the concept of deconstructing them.

Yes, I have recently watched a few episodes of Chopped on the Food Network. I don’t watch many food shows or competition shows, but that one intrigues me. I don’t now if it is the frantic desperation of some contestants, or the odd combination of ingredients that have to use, but I get a kick out of it. If you have ever seen the show you will be familiar with the requirement that specific, typically unrelated ingredients have to be used to create an appetizer, entrée or dessert in a limited amount of time. “Deconstructed” versions of dishes are often presented on the show typically because of time restraints. It was very fitting for my brain to wander to the show concept when a rather rigid time limit was presented to me.

I think the key to this dish is the well shredded cabbage. It cooked faster than larger pieces or fully rolled cabbage rolls. Also, the small cabbage pieces helped soak up all the wonderful flavor of the fresh garden herbs I harvested before they went to seed, as well as the joyful combination of beef and tomatoes in the alternating layers. I ate too much because it was so good, Big D already asked when it will be made again, and Little B’s plate was empty when she asked for more. I hope you enjoy it too!

Deconstructed Cabbage Rolls

1 small head cabbage, shredded
1 medium carrot
1 small yellow onion
5 cloves garlic
3 Tbsp extra virgin olive oil
20 fresh basil leaves
1/3 cup fresh oregano leaves
1/2 cup fresh thyme leaves
1 cup fresh parsley sprigs
2 pounds ground beef
1 14.5 ounce can diced tomatoes
1 8 ounce can tomato sauce
Sea salt and ground black pepper to taste
1 tsp ground nutmeg
1 cup grated parmesan/asiago/romano cheese
Sour cream (optional for serving)

Chop onion, carrot and garlic into small pieces. Roll the basil, oregano, thyme and parsley leaves into a small roll. With a sharp knife slice the herb roll. Cross chop the herbs again until the oils are released. In a large iron skillet over medium high heat add the olive oil. When the oil is hot add the carrot, onion and garlic. Cook for about two minutes, until the onions begin to turn transparent and brown. Add the chopped herbs and stir, cooking for another two to three minutes.

Clear the vegetable mixture from the center of the skillet. Add the ground beef and break it up, folding in the vegetables as the beef pieces get smaller. When the meat is broken up into small pieces and beginning to brown add the diced tomatoes and tomato sauce. Stir and turn temperature under the skillet to high. Let bubble and cook, stirring every few minutes, until the liquid reduces by half, about five to eight minutes. Turn heat down to medium and simmer for another five minutes. Salt and pepper generously to taste.

Preheat oven to 350 degrees.

In a 9×13 baking dish place half of the shredded cabbage into an even layer. Sprinkle with salt, pepper and 1/2 tsp of ground nutmeg. Add a layer of the meat mixture, making sure half of it is left for another layer. Add a second and final layer of cabbage, again sprinkling with salt, pepper and the rest of the nutmeg. Add the second and final layer of meet, covering all the cabbage.

Sprinkle the cheese mixture on top of the meat layer. Place in preheated oven on the top shelf. Bake for 30 minutes. Check the top of the casserole, making sure it is not browning too quickly – if it is, place it on the middle or lower shelf. If is is barely brown or not at all, leave it on the top shelf.

Bake for 30 more minutes. Remove from oven and let sit for 10 minutes before serving.

Beef in Wine

beefwine4

This may make some shudder. I had a craving for beef bourguignon. Knowing I did not have all the ingredients or time to prep before leaving it to cook accurately to the version by the great Julia Child, I decided to wing it. I found out that some things still exist that were true when Little B was, well, smaller. The needs are different but the level of desired attention is the same. Not that I have not been present, but the flurry of a full time job has broken up the timing of focus. Instead of squeezing in project research at lunch, grabbing supplies after work and doing them after dinner when Big D was working, I have all the time in the world to prepare, right? Wrong! The planning and purchasing were much more efficient when doing it solo. This is soooo much a first world problem. I know. Having a dollar store a mile away (instead of a thousand miles) makes more projects tempting. The challenge now is getting in and out of the store without being accosted by my own daughter for random things that make her pile of toys higher. The size of the pile is not troublesome, but the amount of abandonment of said toys after a week is the troublesome part. We did a big purge when we moved recently, and Little B did a lot of work to help with her stuff. I don’t want to create the same pile of stuff for her to deal with, but trying to tell her that when she is starry eyed in front of a wall of cheap toys is not very helpful. We are working on earning and managing her own money, but the more important concept is contributing to our household, not earning money. I don’t want to be in a situation where I am debating with her on one or two dollars to sweep the kitchen or pick up her clothes. It is part of living with people. Needless to say, transition means finding a balance, so dinner was good but not traditional. Even if it is not a traditional version, it came out great, allowed for project preparation, gave me time to give Little B attention, tidy up after the dogs (one of which is still in a chewing stage) and and still feed seven people for dinner. Phew! This domestic thing can be lazy or not. Maybe lazy for now…

Beef in Wine

5 pound beef roast (rump or other)
3 medium turnips
1 large yellow onion
3 large carrots
1 cup dry red wine
2 cups beef or vegetable broth
1/2 cabbage head, roughly chopped
Salt and pepper to taste

Preheat oven to 300 degrees. Heat medium oven-proof stock pot to medium high. Chop turnips, onion and carrots into bite-sized pieces. Season roast generously with salt and pepper. Sear meat on all sides in heated pot until browned. Add vegetables and stir, slightly coating with the browning bits. Arrange meat so fat side is facing up. Pour wine and broth over meat and vegetables. Cover pot and place in oven. Cook for four hours, leaving it covered the whole time. Remove pot from oven and uncover. Add cabbage, stir vegetables, trying not to disturb crusty fat layer on top and replace cover. Return to oven and cook for one more hour. Remove from oven, arrange meat and vegetables on serving tray and serve immediately.

Yule Platter

yule platter_edited-1
Every year on winter solstice we have a family party – Merry Yule! Especially during our winter time in Alaska this day is a big turning point – the shortest day of the year is the beginning of longer days and the approximate midpoint of chilly winter weather. Yes, there are still heavy winter storms in late March sometimes, but there is mostly rain after February here in Southeast. Most of our snow this season so far is melted, with temperatures in the high 30s, and a white Christmas is questionable. Regardless of the weather there is definitely a shortage if light. Sunrise is about 8:45am, if you can see it through the clouds, and then sets about 3pm. One way we celebrate Yule each year is to have a simple meal, made up of preserved foods that require little or no cooking. We don’t do much of the preserving ourselves, but work off the labors of others. Big D smokes some jerky, onion, garlic and cheese, while other items like pickled veggies, cured meats and nuts are added to the platter. We snack from the platter while sipping something bubbly – champagne, beer for me and Big D, and root beer for Little B.  It makes for a winter celebration we appreciate before the hustle and bustle of Christmas Eve and Day, which remind us of our childhood traditions. The simple celebration reminds us that the world is hibernating under the bare branches, blustery winds and wet ground. It reminds us of our New Year resolutions from Samhain and look forward to the Candlemas celebration of light in February. A time to ponder during a more sedate time of year when much of the natural world sleeps. Since there is not much recipe involved, here is a list of suggested items for your platter.
Yule Platter
Dry coppa, pastrami or prosciutto
Dry Salami
Beef Jerky
Roasted Chestnuts
Garlic Stuffed Olives
Jalapeno Stuffed Olives
Dry Roasted Mixed Nuts
Specialty Cheeses, sliced
Pickled Asparagus
Pickles
Roasted Mixed Nuts
Arrange ingredients in a pretty way on large platter. Offer and provide bubbly and/or fermented beverages. Eat, drink, be merry. Don’t feel guilty about the ease of this dinner, for more complicated ones are on the horizon.

Mediterranean Meatloaf

mediterranean meatloaf 2
I have shared a couple different meatloaf recipes with you in the past, like the spicy one and the veggie one, but never one wrapped in bacon! This one has a bit of a Greek twist, like my recent foray into stuffed mushrooms. I would blame other things, but the extreme moistness of this loaf I attribute to the bacon. It is great for the loaf protection. As with many baked meals, it tastes great the day it is made, but after sitting in the fridge and reheating, it is even better! I may even get all crazy next time I make this and serve a little tzatziki on the side!
Mediterranean Meatloaf
1 1/2 – 2 pounds ground beef
2 eggs
2 cups crumbled feta cheese
1 cup chopped raw spinach
1 cup chopped kalamata olives
1 cup chopped marinated artichoke hearts
1 cup finely chopped onion
4 cloves garlic, crushed
1/4 cup chopped fresh mint
1/4 cup fresh oregano leaves
1/2 cup chopped fresh parsley
1 Tbsp sea salt
1 tsp ground black pepper
8-10 slices bacon, uncooked
Preheat oven to 350 degrees. In a large bowl place the ground beef, making a lower section in the beef. Add the eggs, cheese, spinach, olives, artichoke hearts, onion, garlic, herbs, salt and pepper. Using your hands, break up egg yolks and squish other bowl contents together with meat until well combined. Press meat mixture evenly into 9×9 inch baking dish or large loaf pan. Arrange bacon slices on top of the meat in a criss cross pattern, tucking the ends around the sides of the meat. Gently press down on the loaf to avoid any uneven shaping resulting from tucking the bacon. Bake in oven for one hour. Remove and let sit for about ten minutes before removing to serving dish, then serve.

Cheesy Burger Bombs

burger bombs

Hamburgers are heavily relied on in this household. And I use the word household loosely, for reliance includes those times when we eat in restaurants. At most places a hamburger can be ordered without a bun and with a salad instead of fries. It makes for a satisfying meal and keeps us safe from wheaty pasta and breaded concoctions on menus. Recently on a weekday evening I was standing in the kitchen, staring at a bag of ground beef, ready to be made into our dinner. Regular burgers with cheese melted on top was about to be made. As I reached into the fridge for cheese, I spotted little ever-present cheese wheel snacks in the cheese drawer. Little B loves to unwrap them, peel off the wax and throw the whole wheel into her mouth. She then slowly chews it up while looking like a chipmunk. The leftover wax serves as a mommy-eating monster lots of times, reminding me of the Pac Man games of my youth. I figured, why put the cheese on top of the burgers when it can be inside?! I have put filling inside of burgers in the past, but never such big cheese bombs! I am up for trying, are you?

Cheesy Burger Bombs

1 – 1 1/2 pounds ground beef
1 egg
1 tsp sea salt
1/2 tsp ground black pepper
1 tsp dried oregano leaves
1 Tbsp ground turmeric
4 – 6 Baby Bel cheese snack wheels
1/4 cup bacon grease or other high heat fat

Sauce

1 14-ounce can diced tomatoes, with juice
3 Tbsp tomato paste
1 Tbsp ground turmeric
1 Tbsp dried oregano leaves
1 Tbsp dried basil leaves
1 tsp sea salt
1/2 tsp ground black pepper

First make the sauce. In medium pot combine tomatoes, tomato paste and spices. Stir and cook over medium heat until steam rises. Cover and turn heat down to simmer until ready to serve. While sauce is cooking prepare the burgers. Remove plastic and wax wrapping from cheese wheels, then set cheese aside. In large bowl combine the ground beef, egg and spices. The best way to combine it all is using your hands, but because of the turmeric they may turn yellow. Divide the beef mixture into 1/4 pound piles. Take a pile in your hand and flatten it into a patty. Place a cheese wheel in the middle of the patty and wrap the edges of the patty over the cheese. Close up the edges to completely cover the cheese. Repeat making patties until all the beef is used up. In a frying pan heat the bacon grease over medium high heat. Place burgers in pan and cook on one side for about five minutes, until the bottoms begin to brown. Flip burgers, turn heat down to medium and cover. Cook for another 5-10 minutes, until burgers are done to your liking. Serve immediately over a bed of the sauce spread on a serving plate.

Spicy Poblano Meatloaf

spicy poblano meatloaf

I know it is only August, but temperatures up here in Alaska continue to be cool during summer and my thoughts already turn to warm, fall dinners. Some of you are walking around in swimsuits trying to survive three digit temperatures and staying in the swimming pool as long as possible. We never put away our jackets and fleece, still needing them regularly, and daylight is down to a paltry 17 hours each day. We actually get to see sunset colors before bedtime! You are allowed to laugh, but regardless of the inspiration, I came up with this meatloaf. I remember when I was a kid I would make fun of the meatloaf my mom would make. Not because it did not taste good, it was awesome. It was just a thing. I was not alone in this form of entertainment – my dad and brother joined in too. They liked the loaf just like me and always had seconds. I am still not sure why we decided to make fun of it, but one day mom had a little too much of the kidding and declared she would not make meatloaf again. She was serious. I don’t remember ever having it again after that night.  Regardless of the edge over which we pushed mom, I still consider meatloaf a childhood comfort food. An important thing to not forget is the smushing of ingredients with hands. There is no way to properly combine ingredients without using hands. Don’t even consider excluding the step. I will probably make a summer salad tomorrow when the temperature gets up to a sweltering sunny 70 degrees, but today I cuddle under a warm blanket with my plate of loafy food watching the fog and rain.

Spicy Poblano Meatloaf

1 1/2 pounds ground beef
2 Tbsp avocado oil
1 poblano pepper, seeded and chopped
1/2 medium onion, finely chopped
3 stalks celery, finely chopped
4 cloves garlic, finely chopped
1 Tbsp chili powder (adjust amount to preferred spiciness)
2 tsp ground cumin
2 tsp cumin seeds
1/2 cup fresh cilantro, roughly chopped
1/4 cup fresh parsley, roughly chopped
2 cups grated cheese (suggest cheddar or colby/monterrey jack mixture)
Sea salt to taste

Preheat oven to 375 degrees. Add avocado oil to medium frying pan over medium high heat. When oil is hot add pepper, onion, celery, cumin seeds and garlic. Sprinkle generously with salt. Stir and cook until soft and browning begins. Add the chili powder, cumin, cilantro and parsley and stir. Continue cooking until liquid is reduced and some browning begins. Set aside mixture and let cool slightly. In large bowl add ground beef, eggs and cheese. With your hands mix together the three ingredients until well combined. Add cooked mixture and combine well. Load the meat into and press firmly in a 9 x 9 square baking dish. Place in oven and bake for one hour, until loaf separates from edges of pan and cheese bubbles up and begins to brown. Remove pan from oven and let cool for about ten minutes, letting the liquid settle. Serve with a vegetable side, like a creamy cabbage collard mix.

Stuffed Bell Peppers

stuffed pepper plated

We had some lovely visitors from Texas recently. While they were here we had big plans to cook a lot of stuff for them, but we ran out of meals and time. These bell peppers were still hanging out in the refrigerator after they left, so I needed to do somstuffed peppers panething wonderful and amazing with them. It was not their fault they were usurped by a brunch buffet, grilled ribeye, bacon wrapped asparagus and pizza. I used to never like stuffed peppers. They were often overcooked, filled with flavorless rice and left me hungry. When I first made stuffed peppers for myself I decided they needed to eliminate the unsavory elements. Heh. Get it? Unsavory? Okay, I will stop. I first tried stuffing poblano peppers, which turned out great. This time I worked with the previously spurned colorful bell peppers. Bottom line, I added flavor and subtracted rice. The peppers turned out to be a lively, satisfying meal on a rainy day after much errand running. Next time the peppers will not be second or third fiddle, but instead the first choice. Yummy!

Stuffed Bell Peppers

5-6 bell peppers, any color
1/2 large onion, finely chopped
1/2 pound ground beef
1/2 pound ground sausage
1 egg
1 cup Colby/Monterrey Jack cheese, grated
1 tsp ground cumin
5 garlic cloves, chopped
1/2 tsp sea salt
1/2 tsp ground black pepper
1/2 tsp red chile flakes
1 cup beer (recommend an IPA)
5-6 slices Monterrey Jack cheese
Salt to taste
1 batch chimichurri (optional)

Remove top of each pepper, also removing pulp and seeds from inside. Rinse, shake out excess water and place in 8 x 11 inch baking dish. Divide onions equally among the peppers by dropping them into the bottom of each. Sprinkle onions with salt. In a large bowl combine beef, sausage, egg, grated cheese, cumin, garlic, salt, black pepper and chile flakes. Squishing it all together with your hands is the best method. Firmly press the meat mixture into each pepper until it is level with the top. Bake for 45 minutes. Place a slice of cheese on top of each pepper. Return to oven and bake for an additional 20 minutes, until peppers are soft and cheese begins to brown. Remove from oven and let cool for about ten minutes. Suggest serving drizzled with chimichurri.

Post Navigation