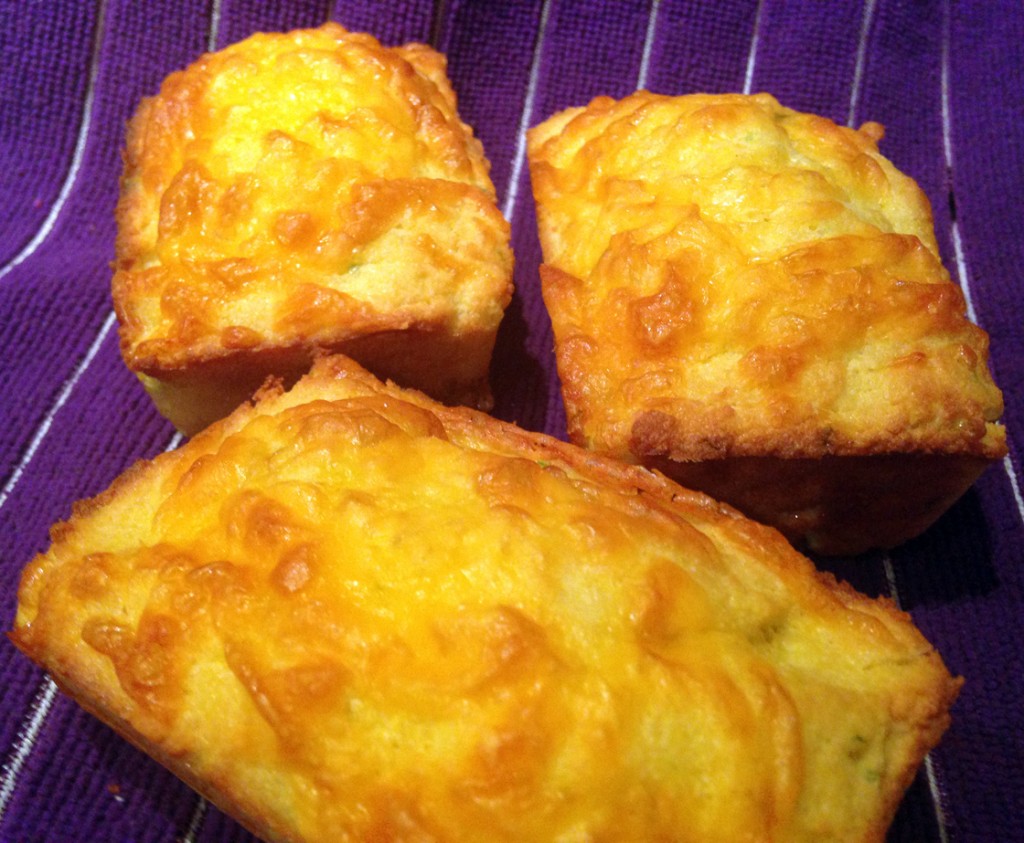
More One Minute Muffins
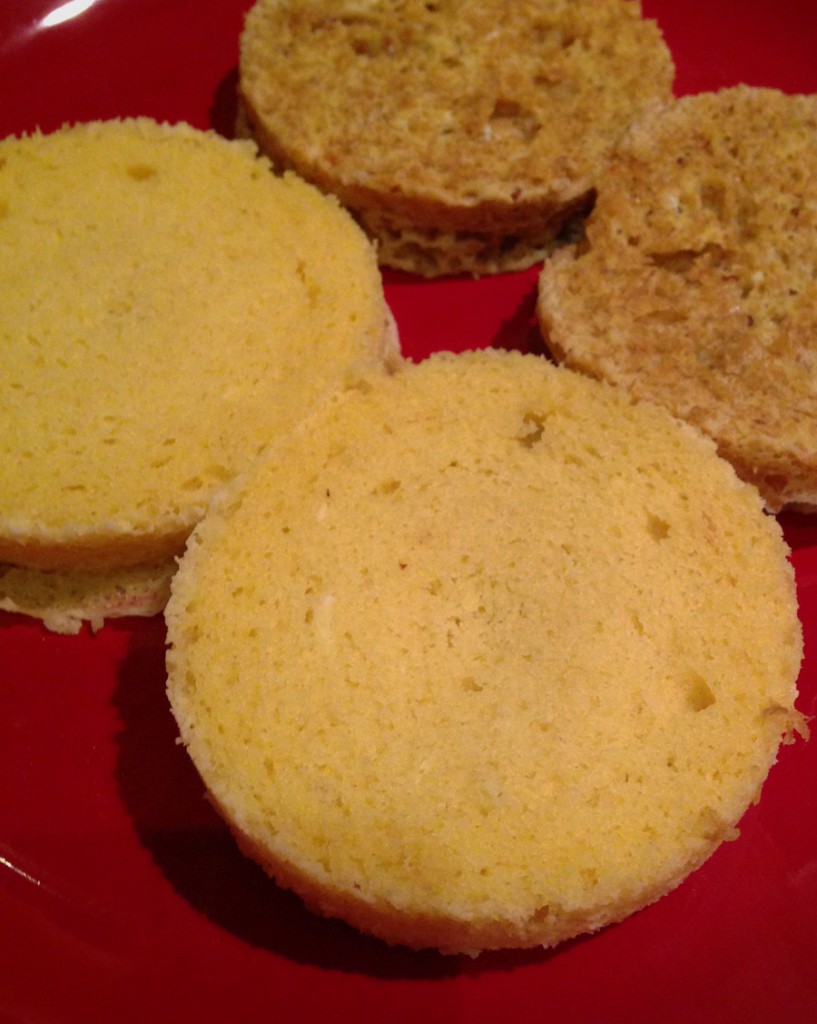
We ran out of homemade bread! Big D is out if town! What are we to do?! I can make bread, yes. I can follow recipes and such, but it feels wrong in this instance. Here is why. Big D and I spend a lot of evenings watching each other cook and talking about things. All kinds of things. Not necessarily about what is being cooked, but other stuff. Our kitchen has a bar that opens into it, so one of us can sit out of the way and still have full access to the kitchen goings on. Little B is always nearby, but our talking is usually about something other than dinosaurs and fairies, so is often boring to her. By all means there are plenty of Little B-centric chats, but less likely during these casual cooking tete-a-tetes. Since it felt so wrong bread baking in Big D absentia, I decided to take a stab at one minute muffins again. I did so previously, with results being a little more labor intensive and very specific to accomplishing hamburger buns. Those buns were not going to hit the spot for, say, a breakfast sandwich with sausage, egg and cheese. I wanted something a bit smoother and softer. These are definitely smoother, softer, shorter and sweeter. I also give two different flour/meal choices, but share them together in spite of the very different results. Flaxseed gives a more ‘grainy’ texture, while the almond meal is smooth and spongier. Pick what pleases you. In trying to include the variations that impact results, I hope I do not confuse. Try a muffin and see what you like!
More One Minute Muffins
1-2 Tbsp butter
1/2 to 1/3 cup golden flaxseed meal or almond meal
1 tsp baking powder
1/4 tsp stevita
1 egg
In large microwaveable mug melt butter (less butter makes for a dryer muffin). Add dry ingredients and stir (a larger quantity of meal makes for a shorter, denser muffin). Add egg and mix until fully incorporated. Place mug in microwave. Cook on high one minute – use of almond meal often needs an additional 30 seconds if the middle is still sunken after one minute. When cooked through remove from microwave and immediately flip muffin out of mug. Serve.
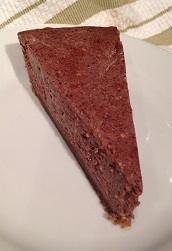 So the cheesecake saga continues. Our young friend Skinny D has been visiting with us on his first trip to Alaska. When I was making the limey cheesecake for Big D he got a similar ‘happy face like a kid with a new bike’ look as he requested a chocolate cheesecake. Of course I could not say no, and was curious how it would turn out, considering the smooth success from the first cheesecake attempt. I do wish to provide full disclosure here – I have made cheesecake before – it was a pumpkin cheesecake with a gingersnap crust. It was lovely and carby and wheaty. A healthier version may be in my future this fall, for I really liked the pumkiny goodness. Back to the here and now. This cheesecake was smooth like the last one, and Skinny D was very happy. So was Big D and Little B (although for some reason Little B did not like the crust). One piece of advice on cheesecake making – this cheesecake was smooth, but as you can see in the picture, there are little speckles. It is my fault. I did not ensure that the cream cheese was soft enough, nor did I take the time to do extra mixing, so little bitty pieces of cream cheese did not get thoroughly combined. Did not seem to have a negative impact on texture or flavor though. I bet I will take the time to do it right next time!
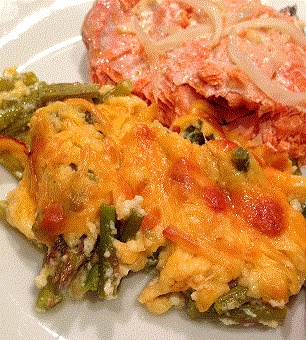
 Long long ago I owned an omelet pan. It was a nice omelet pan, used often to whip up the eggy concoctions. Less long ago I got rid of it. Not because it was unused, but in many respects redundant. Can’t the same thing be done with a frying pan? Over the years we have stocked and unstocked kitchens in our travels and moves. Often the ‘specialty’ devices get purged. You know what I mean – items that do one thing that can easily be done with another, like an avocado slicer (replaced by knife), smoothie maker (replaced by blender), or egg seperator (replaced by a hand or shell) or a food chopper (replaced by knife), or the omelet pan (replaced by a, well, pan). You get the idea. The omelet pan was sacrificed during one of these purges and not replaced. My omelets don’t look as pretty these days, but they sure taste good, and don’t stick. I am also an advocate for having the ingredients mixed and cooked up with the egg, not placed in the equivalent of an egg ‘taco’, like some restaurants serve – egg part of the omelet gets overcooked separately, then the actual ingredients get dropped in, egg gets flopped over it and served. If I wanted a taco I would order one. Anyway, here is a lovely combination, and my approach to making an integrated omelet, which I also addressed about two years ago with an