Any Kitchen Will Do

Give me a kitchen and I will cook.

Archive for the category “onion”

Lemon Parmesan Chicken
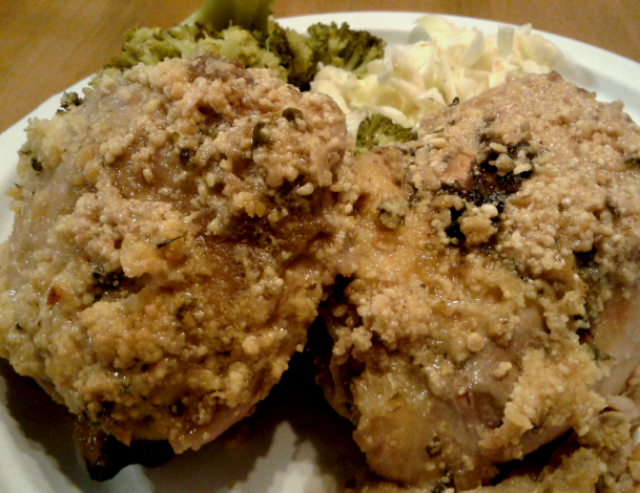
lemonparmesanchknA few months ago my mom gave me a casserole crock pot. As you know, most crock pots are, well, pots. Four to six inches deep, they are great for slow cooking stews, soups and other concoctions you can sink a serving spoon deep into. This one is shallow and wide, just like the glass casserole dishes that sat unused on my shelf for this recipe. I was not sure if I would use the casserole crock when I first got it, but it works wonders to help get many a dinner made around here. When my oven is busy cooking stuff for my business, Grain Free Haven, using the casserole crock I can still have dinner on the table at a reasonable time.

The cool thing about the casserole crock pot is the ability to pop out the casserole dish and serve straight from it, and the kids are less likely to make a big mess serving from it for themselves, compared to a deeper crock pot. Granted, there will still be a mess, for they cannot grasp the concept of moving plate and serving dish near each other to catch dribbles. Trust me, I am still realistic.

Many days I begin thinking about dinner right after breakfast. Not because I plan on preparing it all day, but because a lot of our proteins are in the freezer, and waiting until 5pm to pull them out is just too late. Sometimes I don’t think about dinner until lunch, but I can still pull off the frozen chicken trick. That is what happened the other day, resulting in this lovely dish.

Fortunately, the chicken was in smaller packages, so doing a partial quick thaw in a sink of water was sufficient. While the thighs were still partially frozen I was able to pop them in the casserole crock pot and have dinner on the table at the usual 6pm.

I was wild and crazy with the preparation of the chicken, because it challenged the eyes and minds of our younger kids. One, the coating on the chicken was pale, whereas they prefer something more bold, like tomato sauce. Second, there were speckles (also known as green herbs) dotting the surface of the chicken. After one thinks they have a “bug” in their dinner the others are hard pressed to continue eating and not mistake a piece of parsley for a fly. There were many compliments all around, nobody spotted a “bug”, and my hopes for next day lunch leftovers were dashed as the last thigh was moved from platter to plate. That’s okay. A salad will do just fine.

Along with the chicken I served coleslaw and steamed broccoli. For the starch eaters I baked up some crispy baked chips and rice cooked simply in chicken broth.

Lemon Parmesan Chicken

12 chicken thighs, bone in and skin removed
2 cups finely grated parmigiano-reggiano cheese
1 cup lemon juice
2 teaspoons finely chopped garlic
1 teaspoon onion powder
1 tablespoon dried parsley leaves
2 teaspoons dried oregano leaves
1 teaspoon sea salt

Prepare casserole crock pot*. In a medium bowl combine cheese, lemon juice, garlic, onion powder, parsley, oregano and sea salt. Stir until well combined. Remove chicken from packaging and rinse, patting it dry with paper towels. Using your hands coat all sides of each thigh with the cheese mixture. Place the thighs bone side down in the crock pot. Two or three thighs may need to sit on top of the others, depending on their size.

Cover and cook on high for about three hours, until chicken is cooked through, measuring 165 degrees Fahrenheit. Turn off crock pot and let sit for about 15 minutes before serving.

There are two additional steps you can take to fancy up the dish a bit:

One is reduce the sauce. Pour the sauce from the cooked chicken into a sauce pan over high heat. Let sauce come to a boil and turn the temperature down by half. Let simmer until sauce volume reduces by half, about ten minutes. Serve the sauce to drizzle on the chicken.

Second is to make the chicken coating a little crispy. About ten minutes before serving (ideally while the sauce simmers and reduces), set oven to low broil with a rack on the second highest level. Place the thighs, bone side down on a baking sheet, being careful not to disturb the cheese crust that formed on top. Broil for five to eight minutes until crust is crispy but not burned. If your oven only has a single broil setting, lower the rack further and check often to avoid burning.

*If you don’t have a cool casserole crock pot you can make this dish in a traditional casserole dish in the oven. Arrange the chicken as noted above in the dish, then cook it uncovered at 350 degrees Fahrenheit for about one hour, until juices run clear and chicken measures 165 degrees.
Pizza Reboot

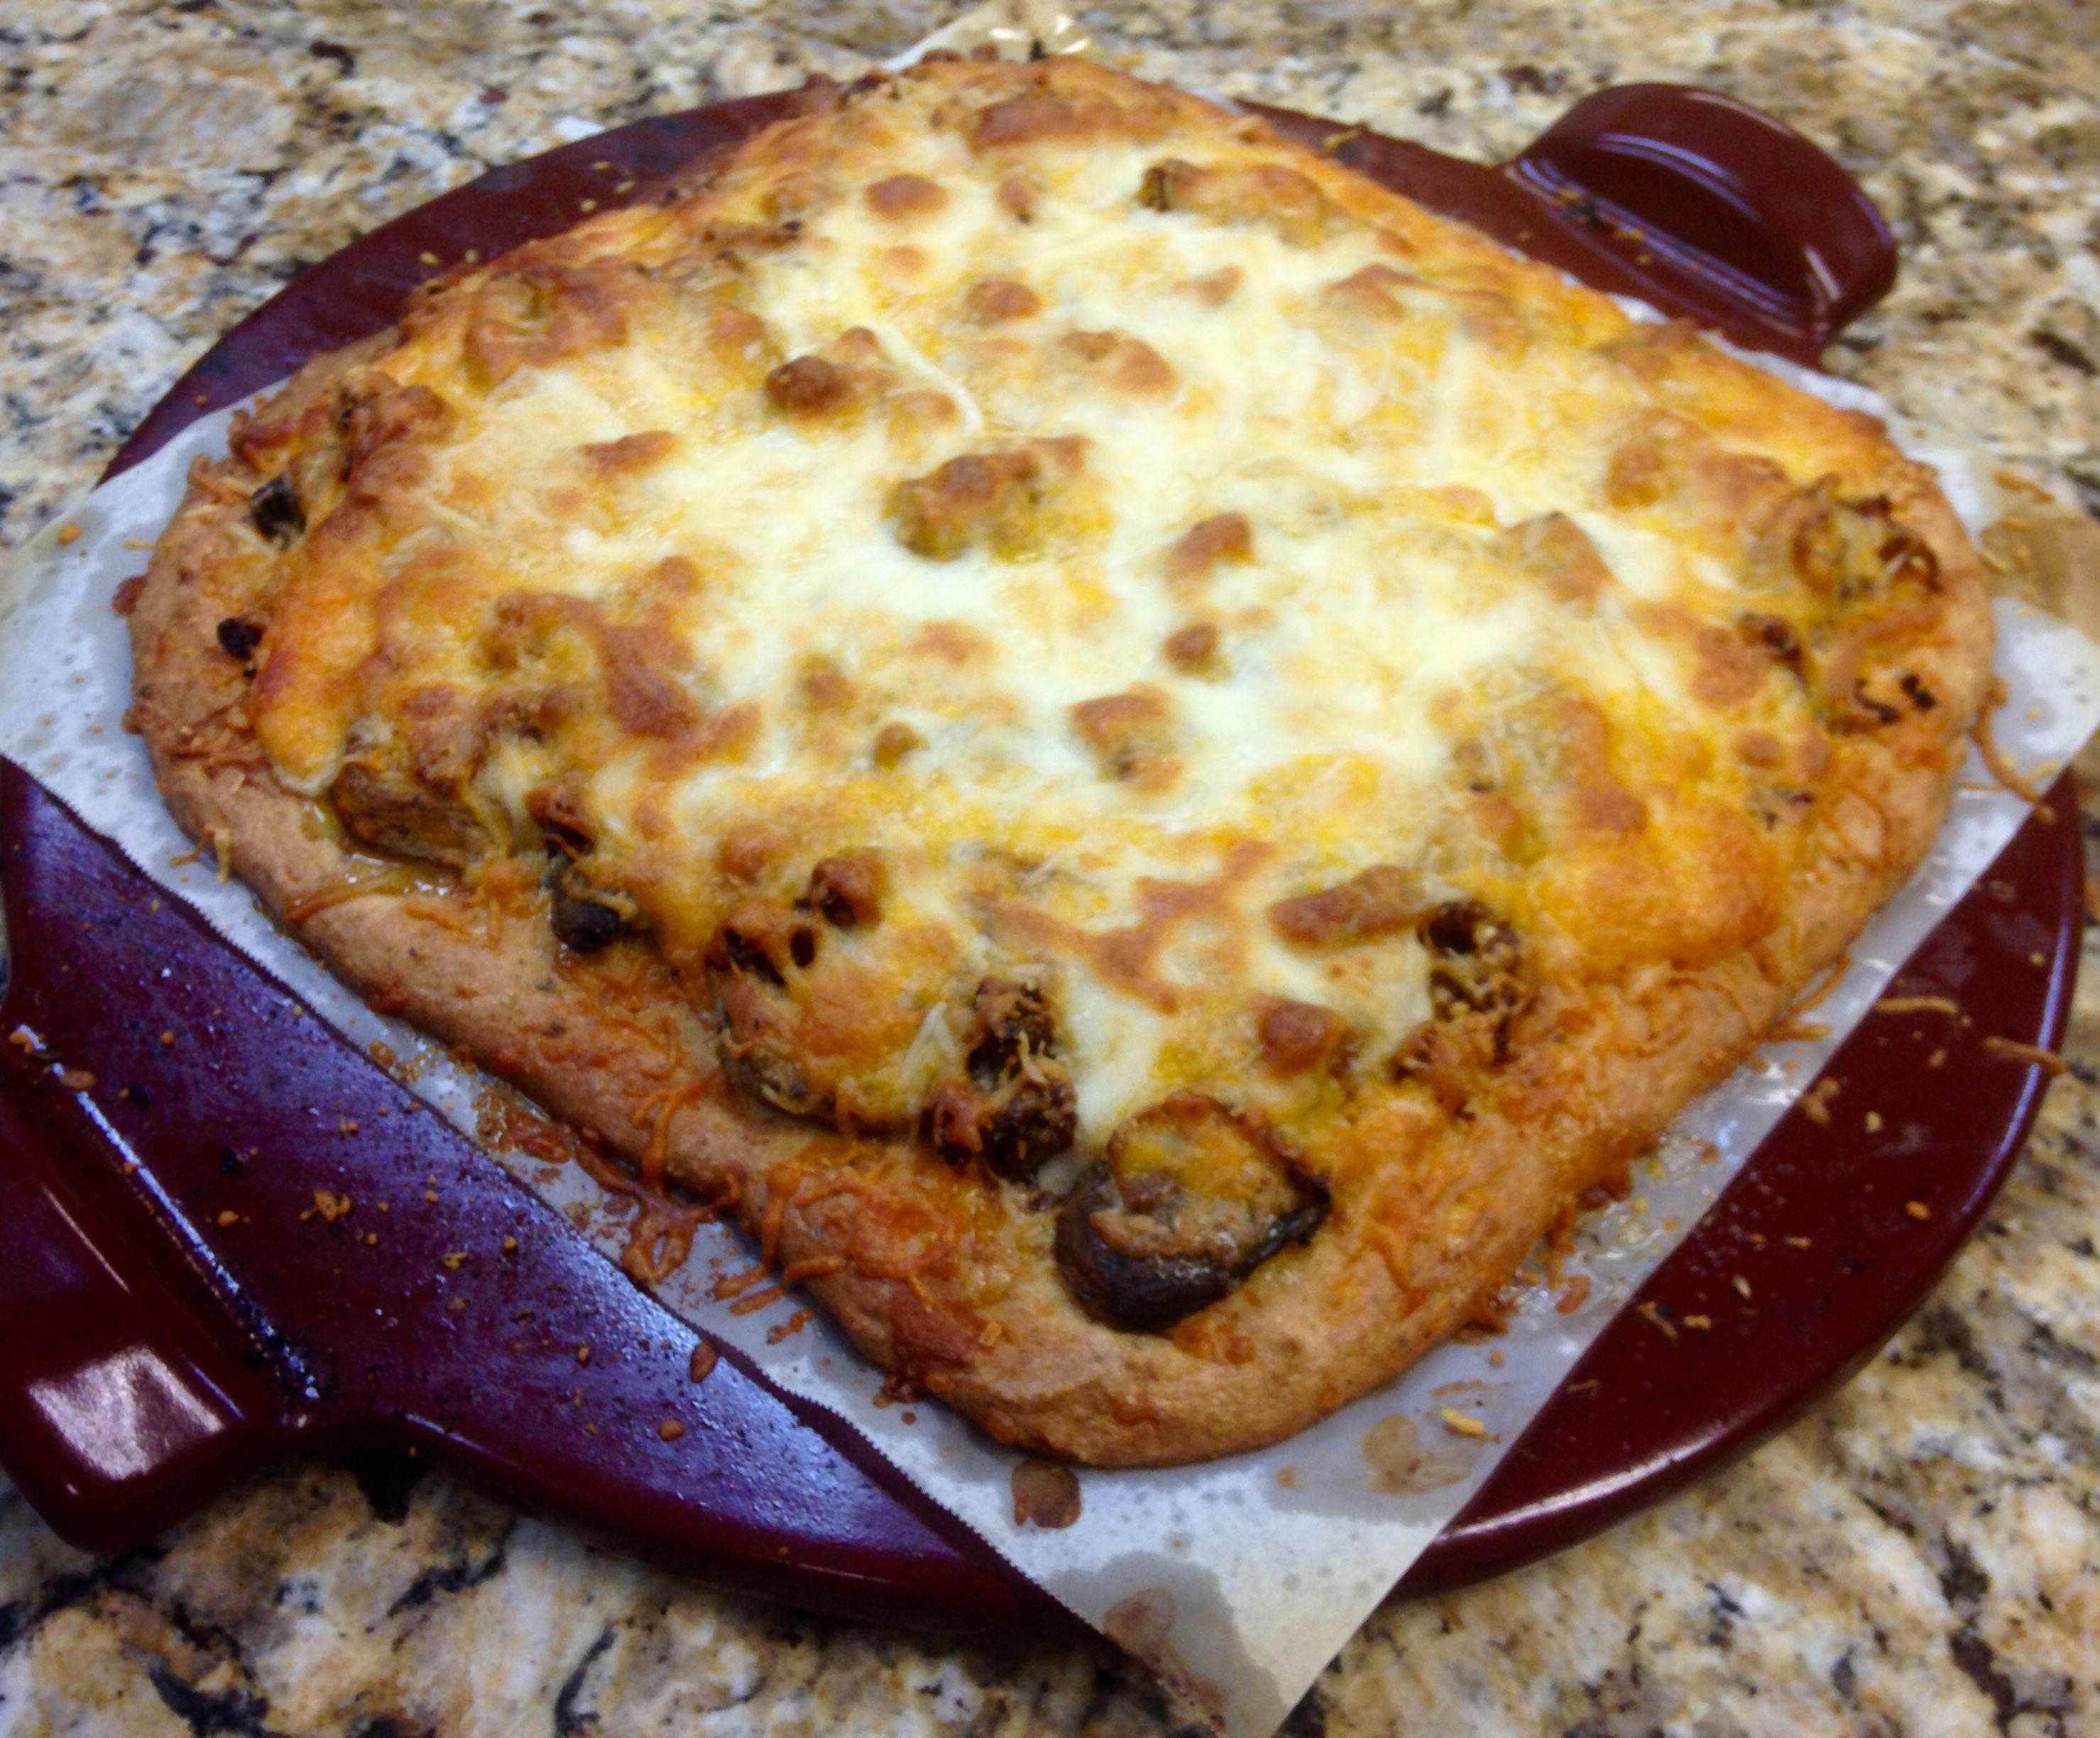
pizzarebootThe other day it was warm and rainy. We were hungry and had previously talked about creating a new to us pizza crust. Since we had time and wanted to stay dry, we made an absolute mess of the kitchen and had wonderfully successful results from our experiment.

It was a great day. Our schedules have been almost opposite lately, with each of us pursuing our multiple streams of income, while juggling the fun and awe we experience watching our Little B grow and explore. It was nice to be at the same place at the same time, in the kitchen, with our daughter supervising from the nearby barstool. Throughout our dozen years of marriage, the kitchen has been a foundation where we reconnect and learn new things together. It was so nice to be back in it after running around with our heads cut off lately!

This pizza crust is the closest to a traditional, grain-based crust we have created, with the ability to pick up a piece and take a bite while still hot. Our other recipes result in slices, but to handle them with other than a fork or knife (blasphemy!!!) they have to cool significantly. With our pizza reboot here, Big D especially enjoyed the ability to almost burn his fingers and run a string of hot cheese connecting slice to mouth.

Although not pictured, we made a second pizza for Little B, testing our crust recipe against one of pizza’s greatest critics – a seven year old. She loved her go-to combination of tomato-based sauce, pepperoni and black olives. I think the fact she ate four pieces between lunch and dinner tells you something!

In the past we have made some good crust with an almond flour base, with a neutral flavor that allows the topping and sauce to shine. Prior to that, we made a hearty cheesy crust that was our staple for years. Other variations on the pizza theme, absent actual crusts, included a squash based pizza casserole, portabello mushroom pizzas and little, two-bite pizza pucks! Whether you have two hours or twenty minutes, grain free pizza can be yours!

As always, there is no limit to the sauce and topping combinations you can use. I list below what we did for a sweet and spicy result. Have fun with it, whether it is raining outside or not!

Pizza Reboot

1 cup extra virgin olive oil
12 large eggs (about 2 1/4 cups), whisked
1/3 cup apple cider vinegar
1/2 cup water
1 cup coconut flour
1/3 cup golden flaxseed meal
1 1/2 teaspoon sea salt
1/2 teaspoon dried basil leaves
1/2 teaspoon dried oregano leaves
1 tablespoon garlic powder (we are garlic fiends, so if you are less so reduce the amount)
1 cup finely grated cheddar and mozzarella cheeses

Suggested Toppings

1/2 cup ranch dressing
1/2 pound ground hot Italian sausage, cooked
3/4 cup caramelized onions or 1/2 cup onion paste *
1 cup sautéed mushroom slices*
Crystal hot sauce
1 cup finely grated cheddar and mozzarella cheeses
1/2 cup grated Parmesan cheese
Additional dried herbs to taste (parsley, basil, oregano, garlic…)

Preheat oven to 400 degrees. Prepare your pizza baking surface – preheat pizza stone as directed for stone, or line two shallow baking sheets with parchment paper.

NOTE: The pizza stone crusts will be smaller and thicker, while the 2 baking sheet version will result in a thinner, crispier crust.

ANOTHER NOTE: As an extra precaution we use parchment paper on our pizza stone (as you can see in the picture), but it may not be necessary. Since we have one pizza stone and make two pizzas, the paper makes it easier to remove the first pizza immediately and move on to the second.

In a mixing bowl combine oil, eggs, apple cider vinegar and water.

In a medium bowl combine the dry ingredients of coconut flour, flaxseed meal, salt, basil, oregano and garlic powder.

With the mixer on low add the dry ingredients to the wet. Increase mixer speed to medium until ingredients are well combined. Add cheese and stir until well distributed. Divide batter in half.

Pour half the batter on the preheated pizza stone or on a prepared baking sheet. Spread batter to desired thickness. Bake for 15-20 minutes, until top sets and edges begin to brown. The browning on top is a signal that the center of the bottom is cooked sufficiently to hold together when the pizza is done.

Remove crust from oven and add desired sauce and toppings. For the toppings I list above we did ranch dressing, Crystal, mushrooms and onions, herbs, Crystal, grated cheese, sausage, herbs, Crystal, cheese. We like Crystal and a little spicy bite to our pizza. Can you tell?

Bake pizza for 15 – 20 minutes, until crust edges brown and cheese in center is melted and starting to brown. After 15 minutes watch pizza closely until it is browned to your preference.

Remove from oven, let cool five minutes, then slice and serve!

*an alternative to separately prepared onions and mushrooms is a quick mushroom onion sauté

Pecan Green Beans

pecangreenbeans

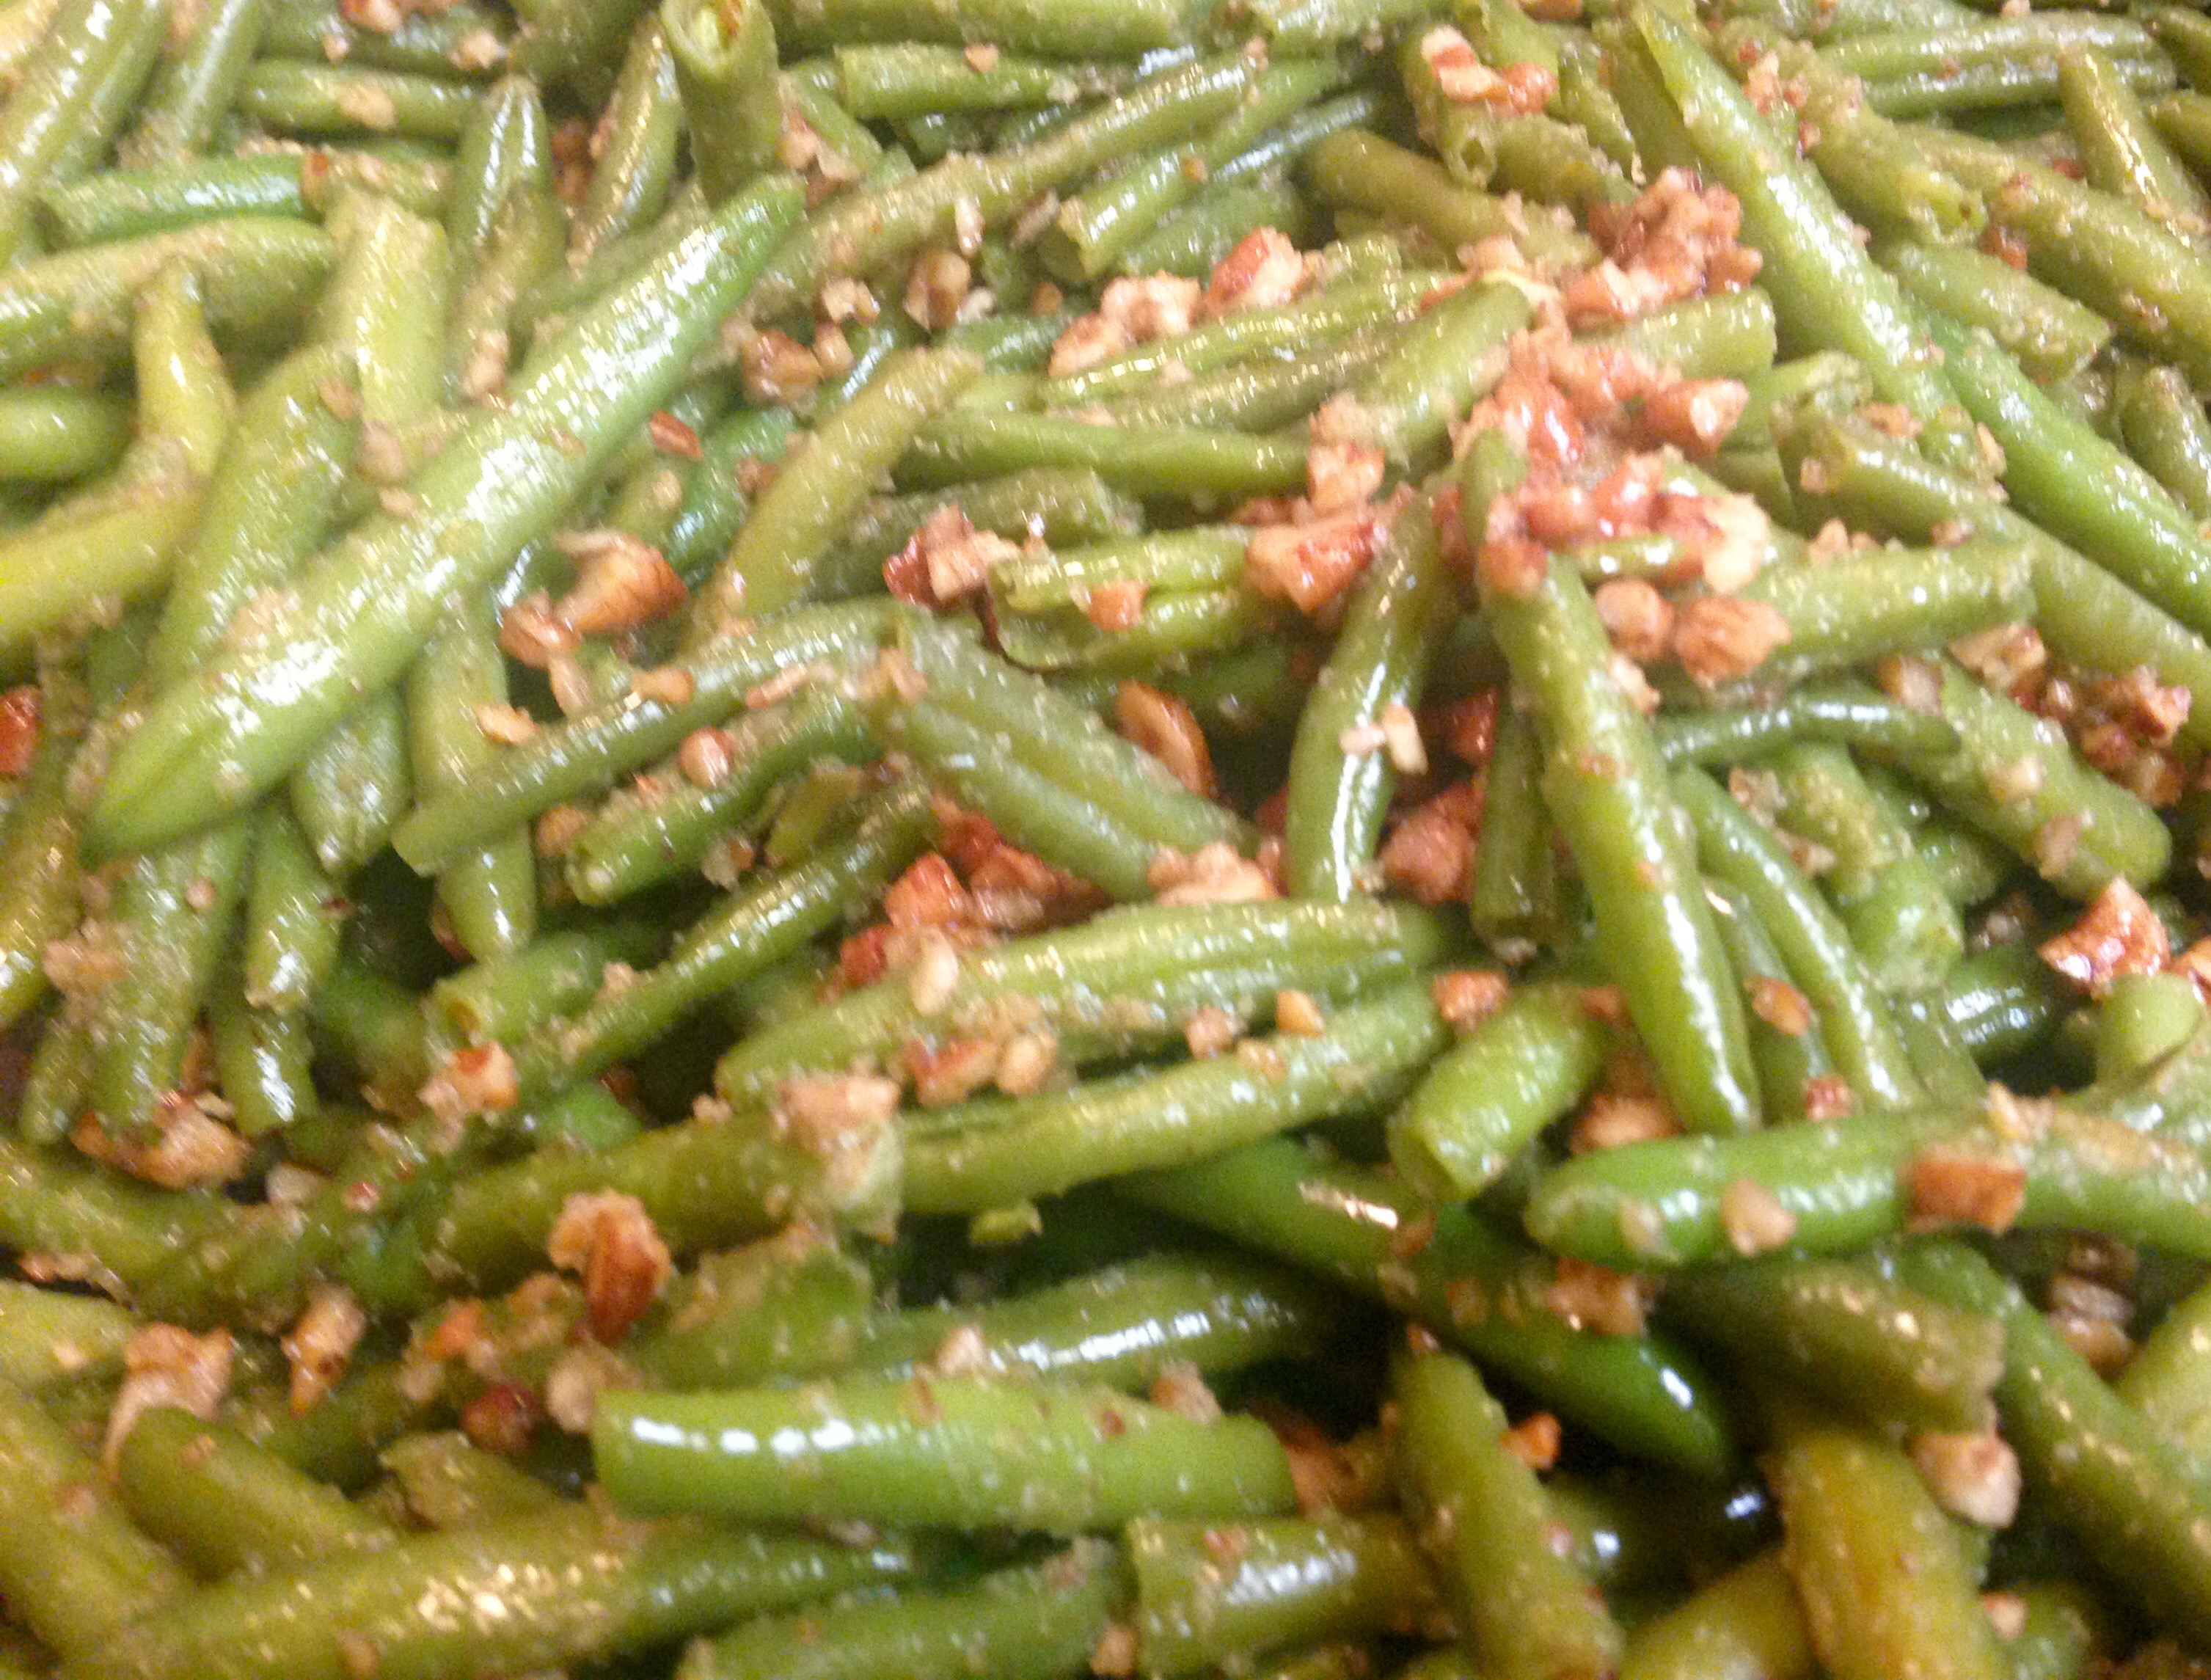
One of my favorite low carbohydrate vegetable dishes is green beans. I especially love them with crunchy bits of nuts in them and a pleasant coating of butter.

Whenever I make these I am reminded of the green beans my grandmother used to make. She started with fresh green beans and a little fat like I do, but her cooking approach was very different. She would boil those suckers all afternoon until they were mush at dinner time. They tasted great, but there was no need for teeth to eat them! The great thing about them was flavors from the pork belly she used for the fat element. The pork flavor permeated the beans, so every bite was delicious!

I don’t make mine the same way, partially because I don’t have all day to monitor the bubbling pot, but also because I like my cooked green beans with a little snap to them. The cooking time in this recipe softens the beans a bit, but they can still hold their own as individual, non-mushy beans, and you will need teeth to eat them.

Pecan Green Beans

1/4 cup bacon grease or butter
8 cups trimmed, bite-sized fresh green beans
1 1/2 cups roughly chopped pecans
1 teaspoon garlic powder
1 teaspoon onion powder
Sea salt and ground black pepper to taste

In a large skillet over medium-high heat melt the grease or butter. Add the pecans and let cook for about three minutes.

Add the green beans, garlic powder and onion powder. Toss until beans are coated and nuts distributed among them.

Lower heat to medium, cover and let cook for about five minutes, until beans begin to soften. Toss beans and cover again, cooking for five more minutes.

Season with salt and pepper, toss beans. Beans can be served immediately or cooked longer to make them the desired softness.


Chive Goat Cheese Dip

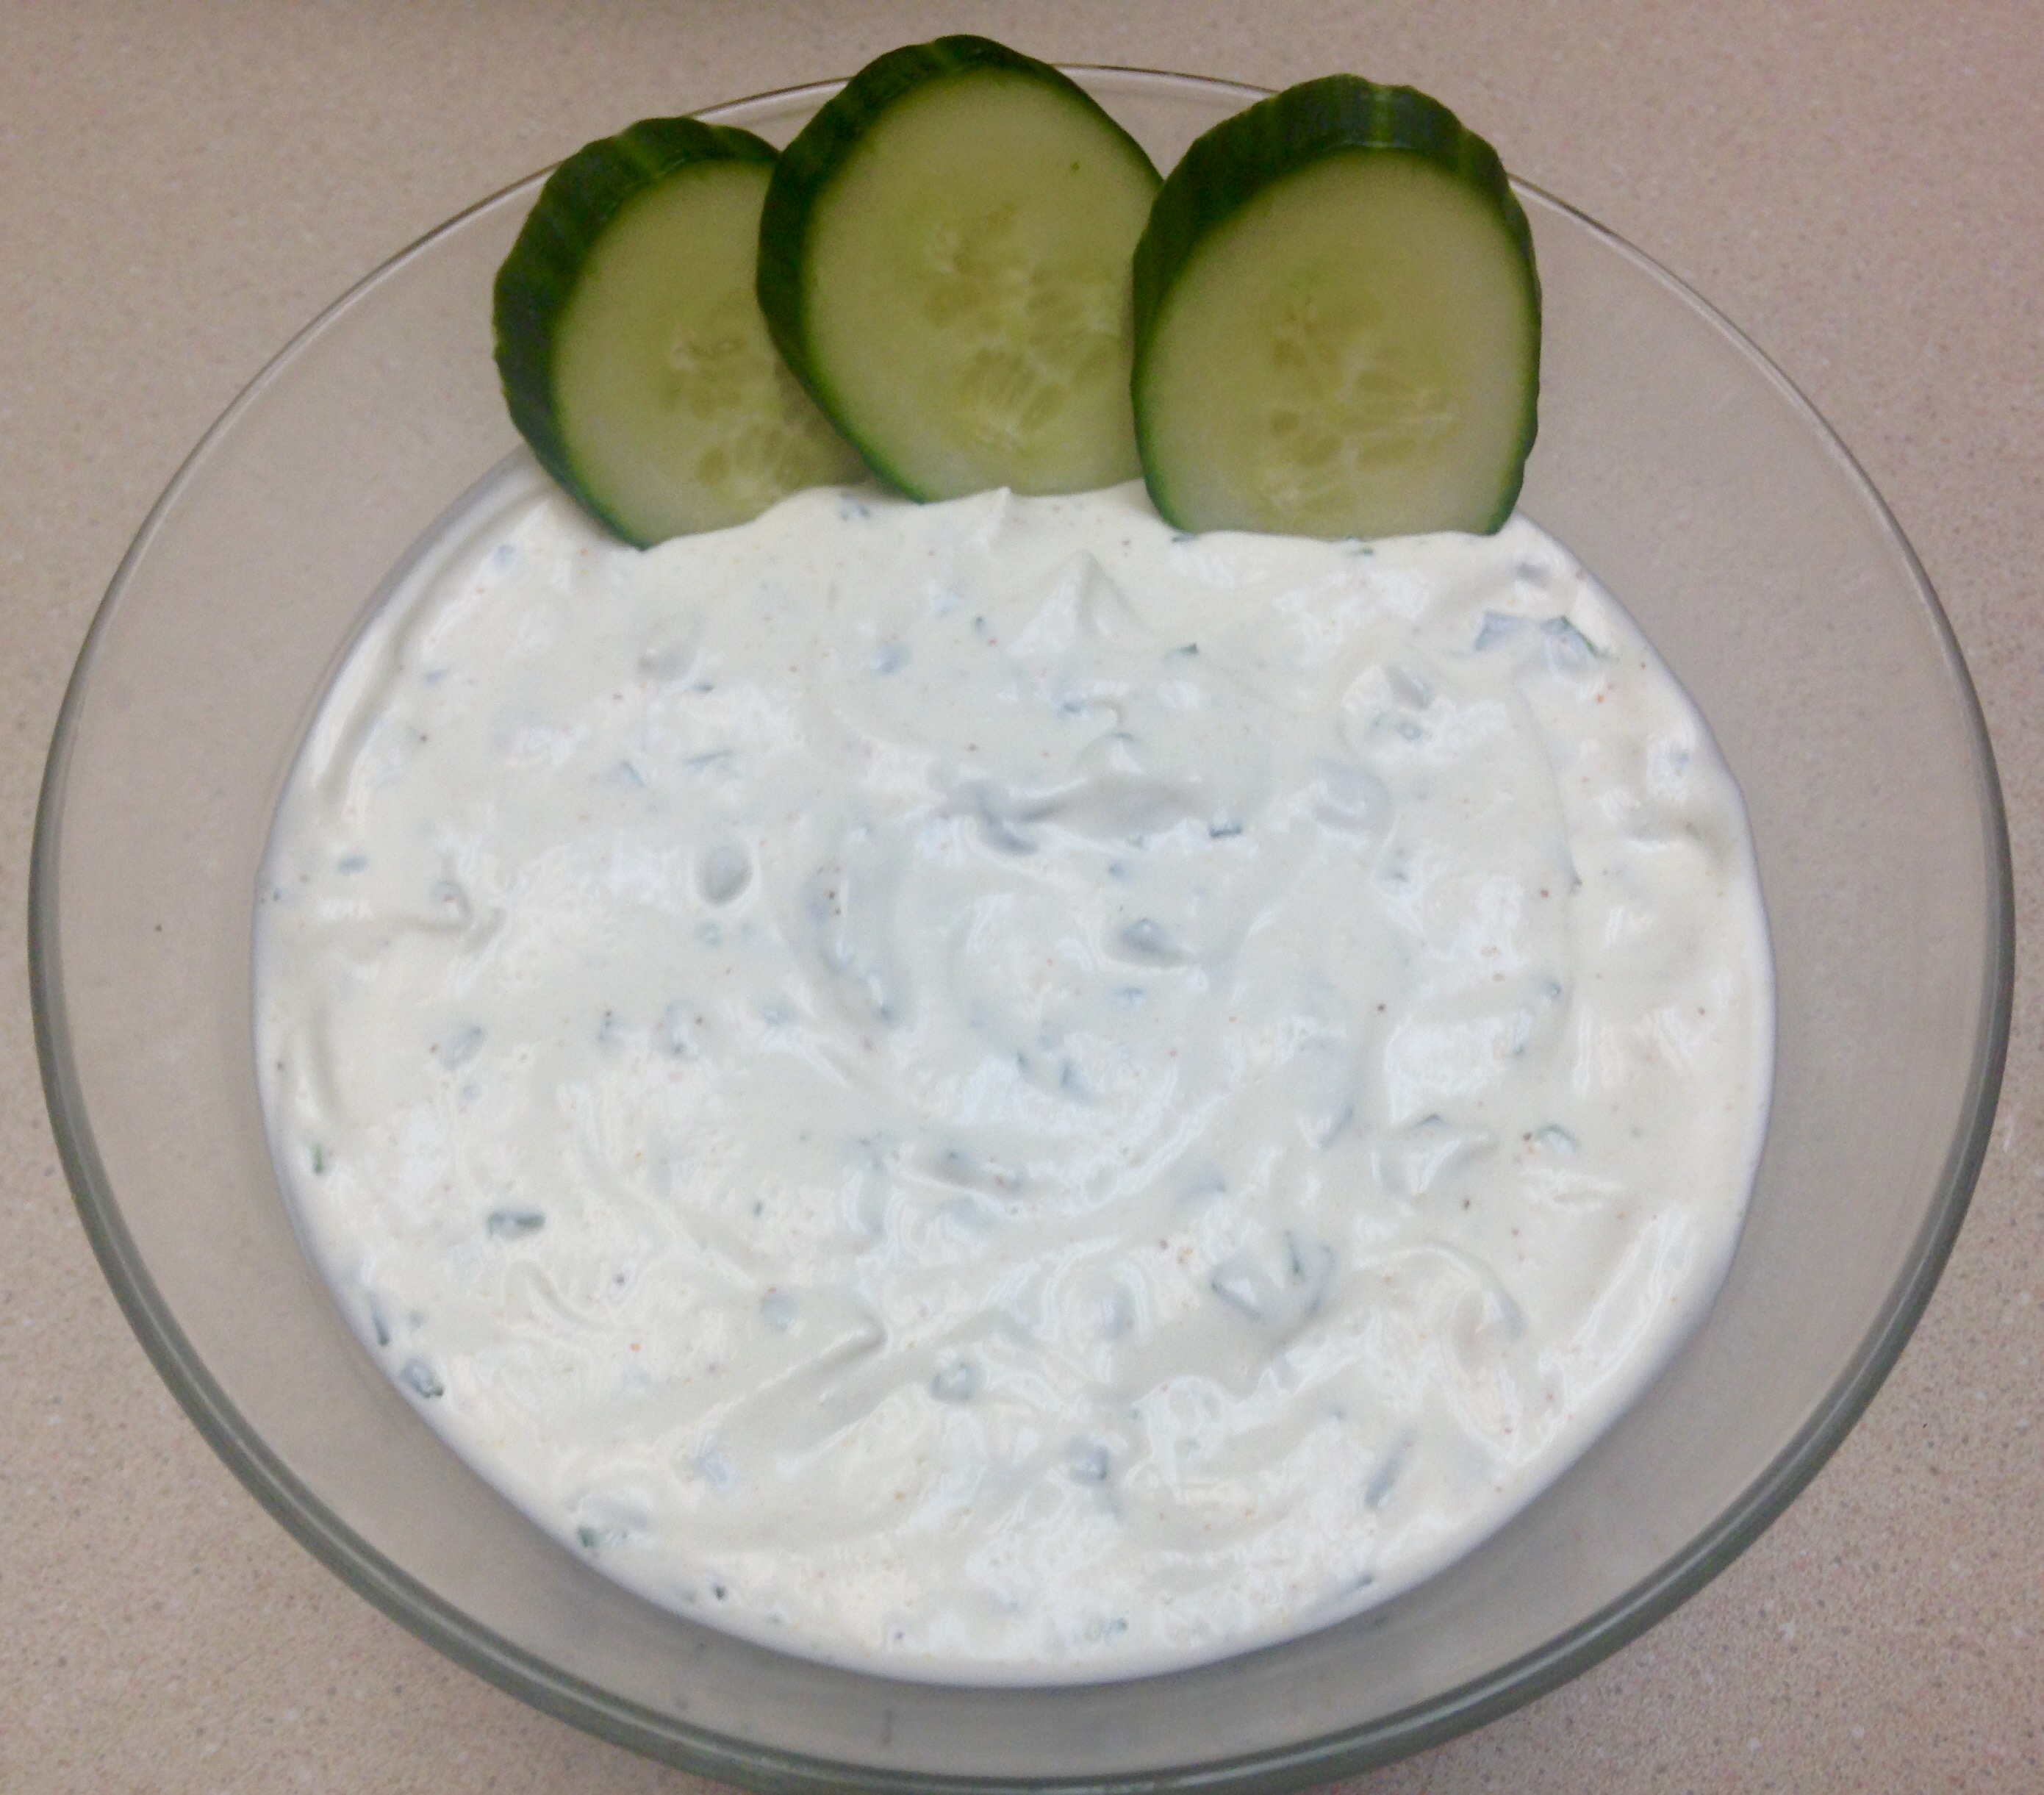
chivegoatcheesedipI love cheese. Occasionally I get a craving for a particular kind and have to do something about it. This time it was goat cheese. A couple of days after the craving began I was sitting on the porch enjoying the morning breeze. Near me was a big pot of tall, bright green chives. With guests coming over for dinner there was a need to have an appetizer, so this dip was born!

Previous goat cheese cravings resulted in appetizers like these cucumber bites, also these stuffed sweet peppers or this mushroom goat cheese soup, or cheese balls, which I often make during the holidays. My favorite use of goat cheese is in these stuffed flank steaks.

The combination of the goat cheese, sour cream and mayonnaise made for a very creamy dip base, and the chives, garlic and onion bits added complimentary flavors that traveled well as part of crudités!

Chive Goat Cheese Dip

1 cup goat cheese
1 cup sour cream
1/2 cup mayonnaise
1 tablespoon lemon juice
1 handful fresh chives (about 1 cup chopped)
1/4 cup finely chopped white onion
2 cloves finely chopped garlic
1 teaspoon sea salt

In a medium bowl combine goat cheese, sour cream and mayonnaise. Whisk until smooth.

Add lemon juice, chives, onion, garlic and salt. Whisk more until everything is combined.

Chill for at least an hour before serving.

Tomato Broccoli Chicken

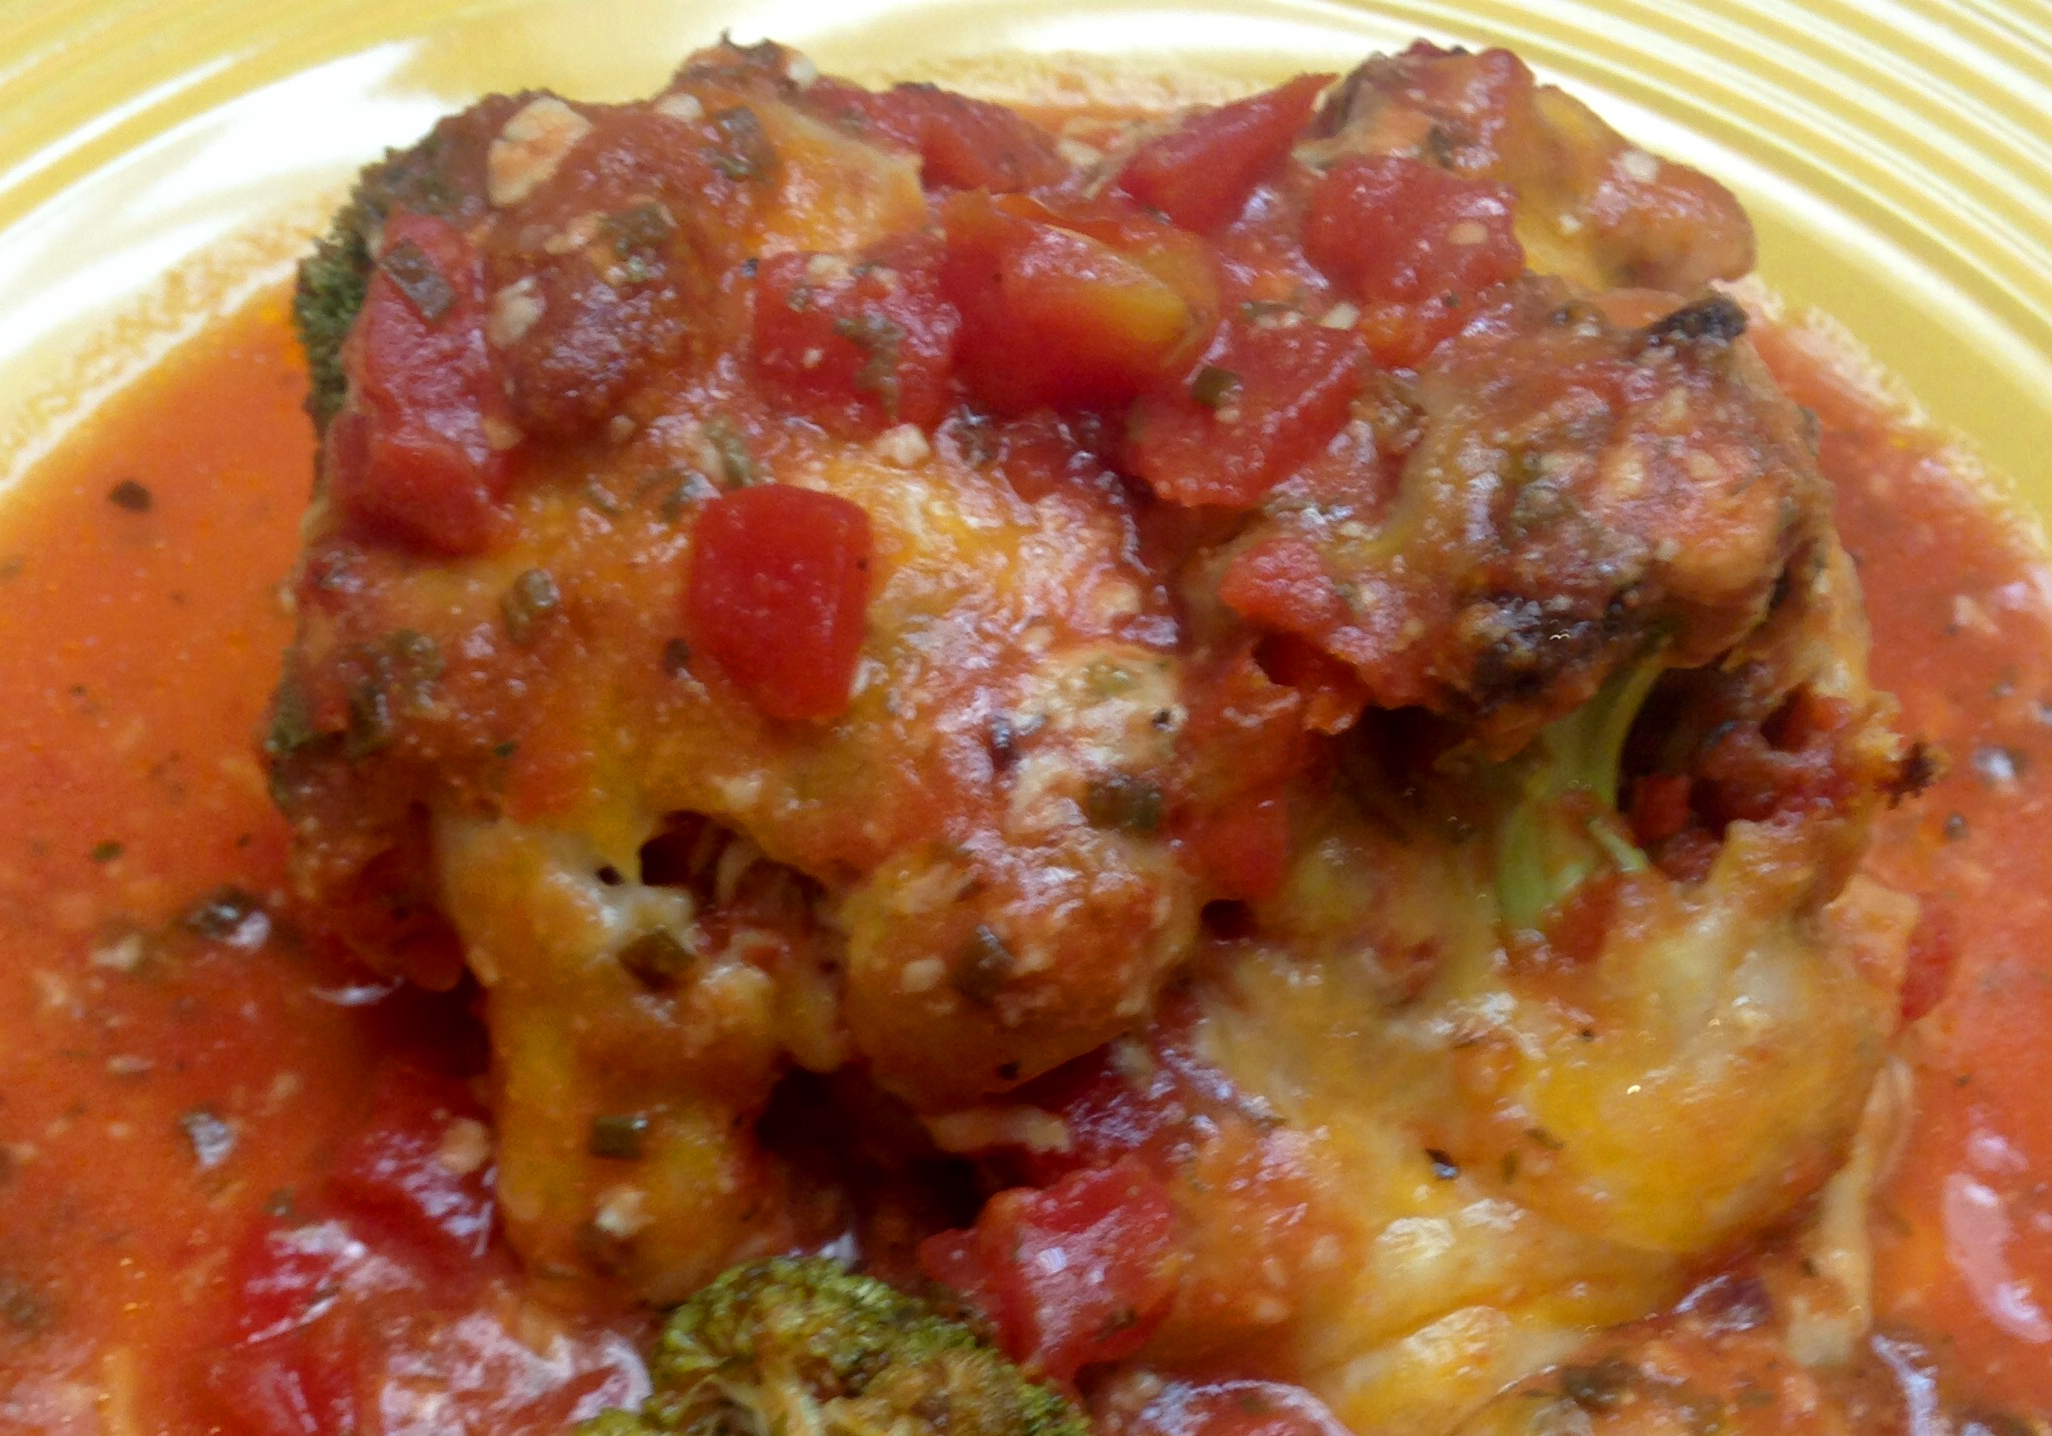
italianchickenThe other day I was craving lasagna. In the past I have made it grain free by substituting zucchini or cabbage for the noodle layers. I wanted the same flavors a little easier and faster than prepping and constructing a casserole. The cheese and tomato sauce and chicken really hit the spot. The leftovers were even better!

Tomato Broccoli Chicken

8 chicken thighs, bone in (skin optional)
2 cups tomato sauce
4 cups diced tomatoes with juices
2 tablespoons dried parsley
1 tablespoon dried basil leaves
2 teaspoons dried oregano leaves
2 garlic cloves, finely minced
1/4 cup finely minced white onion
1 teaspoon sea salt
4 cups broccoli florets
1/2 cup finely grated Parmesan cheese
2 cups grated colby jack cheese
Sea salt and and ground black pepper to taste

In a medium pot over medium heat combine the tomato sauce, diced tomatoes, parsley, basil, oregano, garlic and salt. When sauce begins to boil turn temperature down to low. Cover and let simmer for 15 minutes, then remove from heat.

Preheat oven to 350 degrees.

In a 9×13 inch baking dish pour a thin layer of sauce. Generously salt and pepper all sides of the chicken and place, skin side up, in the pan. Arrange the broccoli florets in between the chicken thighs. Sprinkle the Parmesan cheese on top of the chicken and broccoli.

Pour the rest of the sauce over the chicken and broccoli, leaving some room at the top of the pan for cheese and bubbling. Sprinkle the colby jack cheese evenly on top of the sauce. Place on middle rack of the oven and bake for 45 minutes, until chicken is cooked through (at least 165 degrees).

Remove from oven, let rest for ten minutes before serving.


Chicken Piccata

chickenpiccata

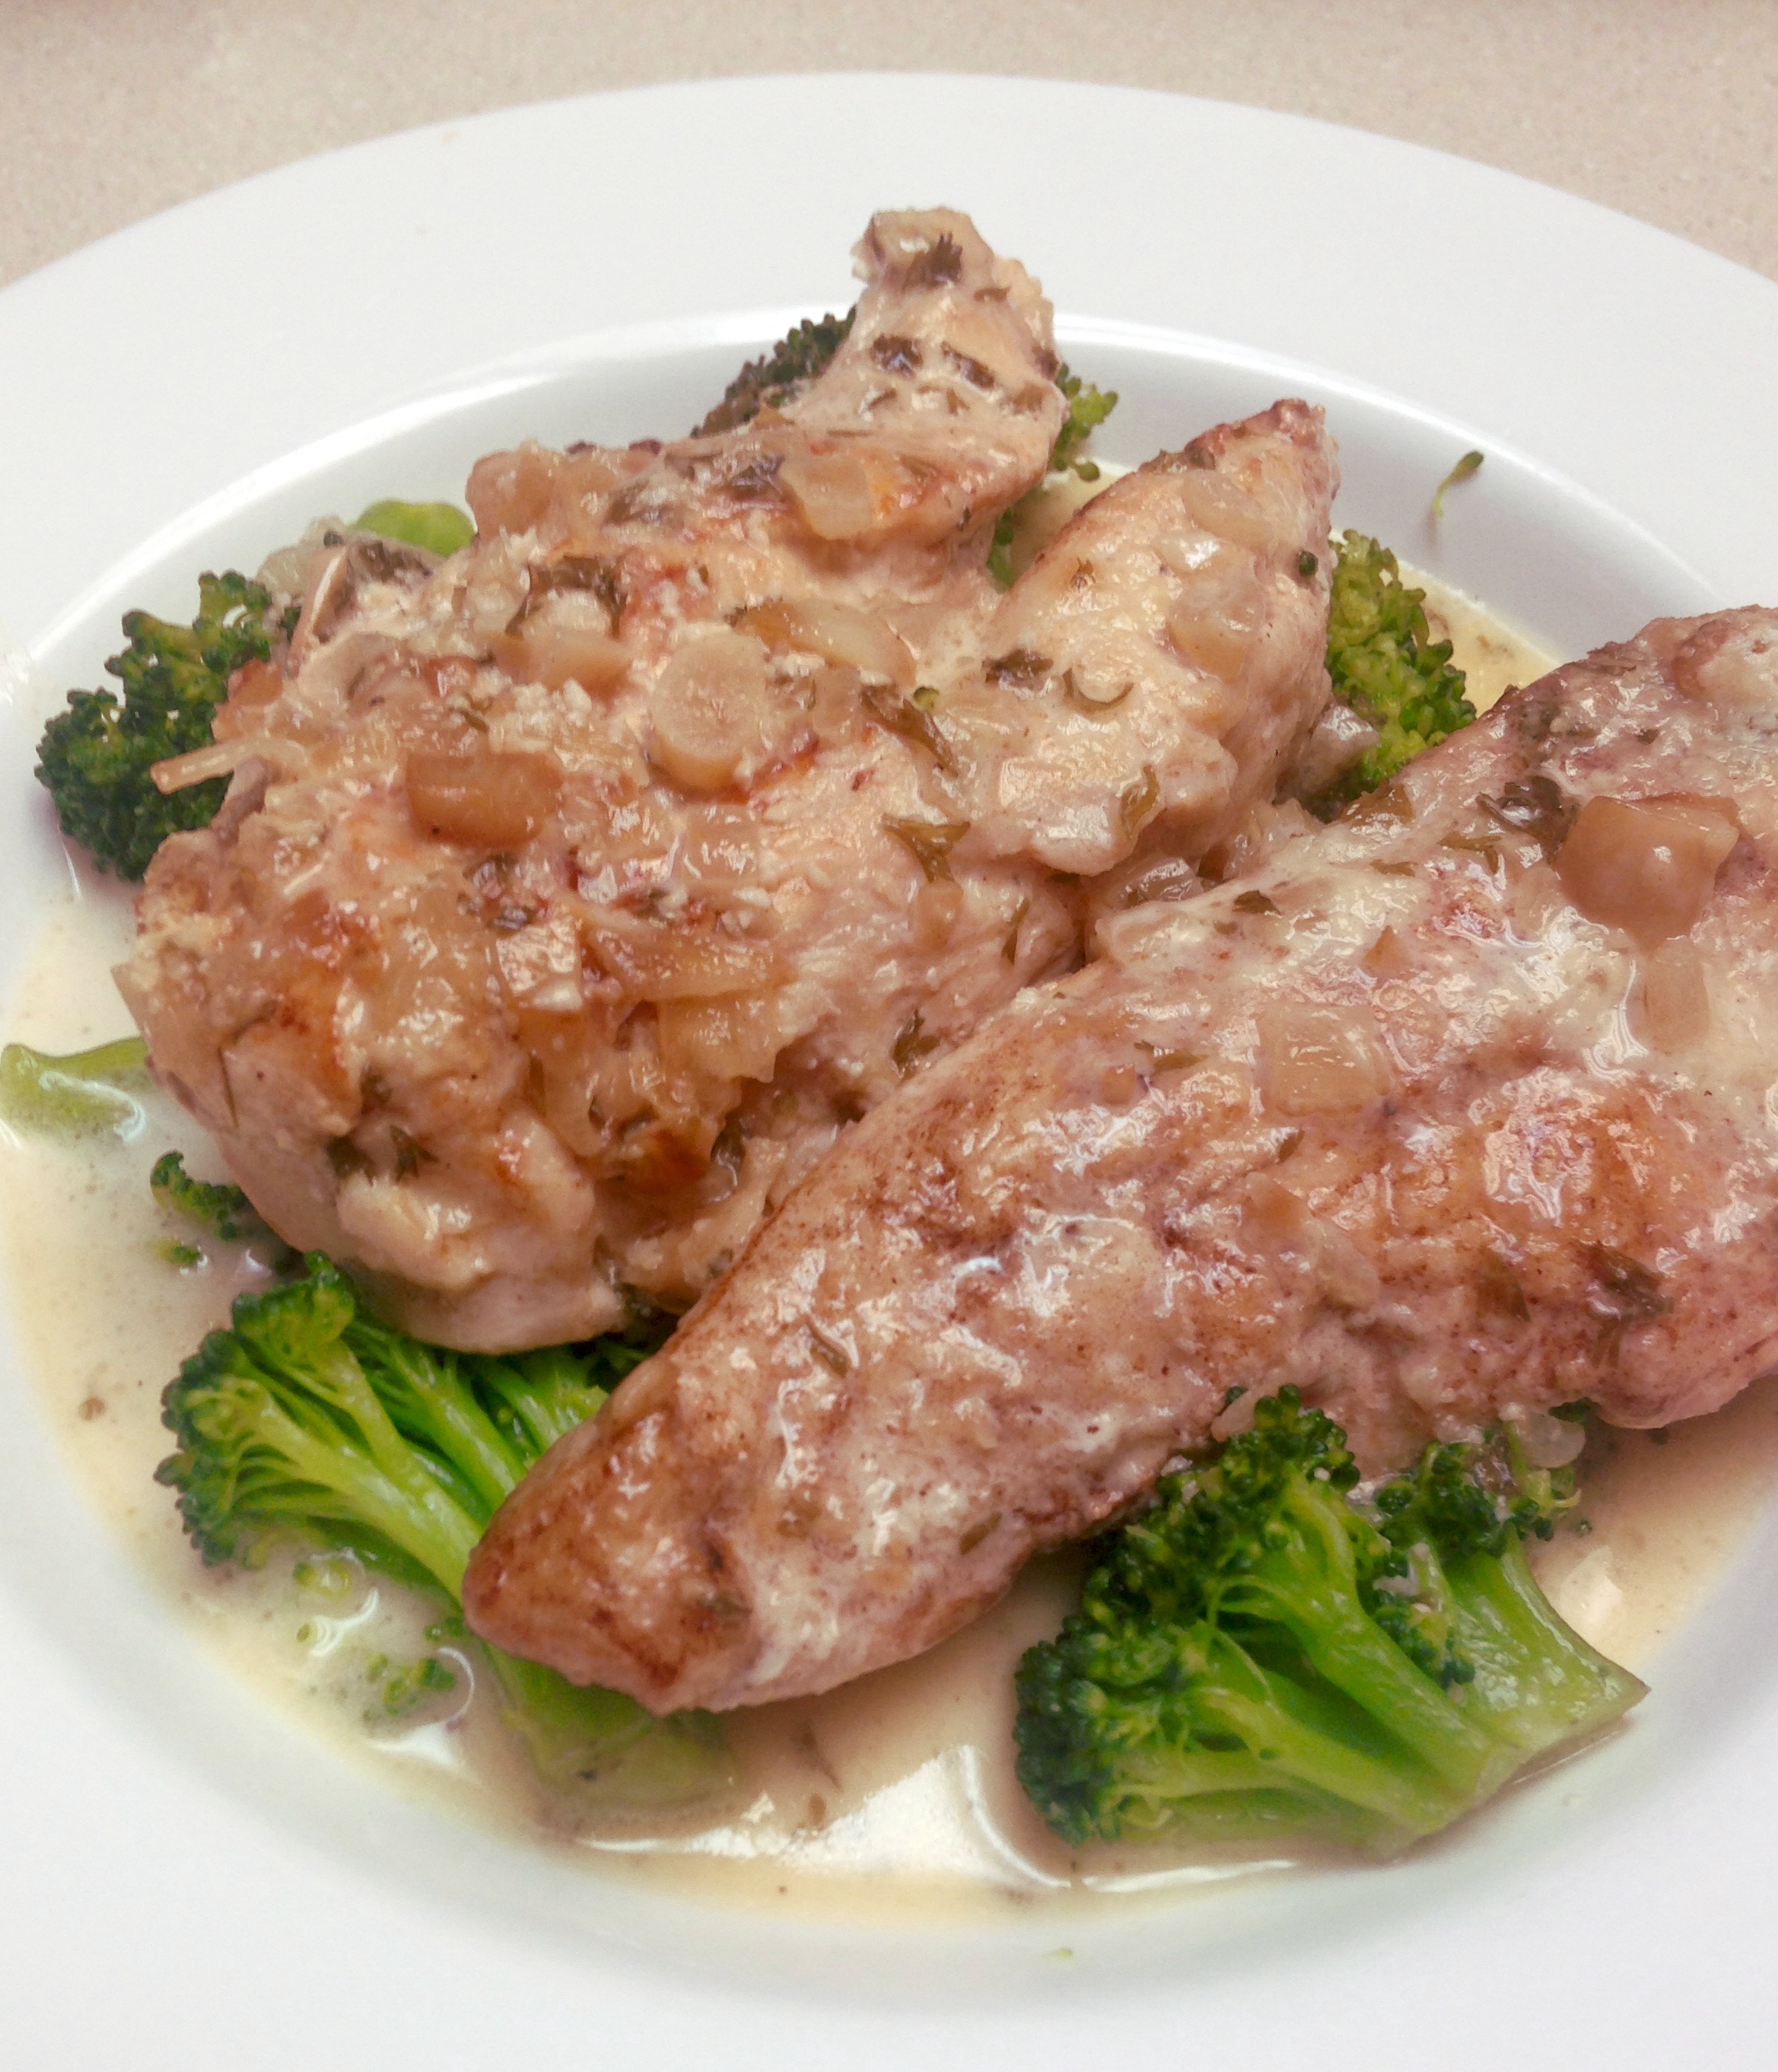
It has been so long since I had chicken piccata I just had to whip some up. I don’t typically work with chicken breasts, because I am a dark meat kind of girl. For the right sauce I will go so far as to work with the white meat, as is the case with piccata. I love the combination of lemon and butter in a sauce.

Only once in my life was the butter and lemon combination offensive, and it was my fault. It was an early chicken cooking experience and it was for a dinner date. I decided to do an aggressive marinade for some chicken breasts. I marinated the chicken overnight in a can of lemonade concentrate. What I wanted to do was make sure the lemon flavor was throughout the chicken. What actually happened was the concentrate practically cooked the chicken. I sautéed the chicken in butter and proudly served it to my guy, without first tasting it. After tasting it myself I realized he was being very kind when he said it was good. I, on the other hand, spit mine out. Lemon flavor overload! That day I learned to respect the lemon.

I applied my lemon respect to this dish. The sauce was filled with lemony goodness, but not too much! The traditional piccata recipe includes wheat flour, which I avoided in this version. I did not take the traditional step of dredging the chicken in wheat flour or use it to thicken the sauce. I left the chicken uncoated and chose not to use an alternative thickener, but instead decided to keep it simple and just add some cream. Worked out great!

A very common ingredient in chicken piccata is capers. I put them as optional because I did not include them in making this version. I like them, but Little B is not a fan, so they were left on the shelf….

Chicken Piccata

6 chicken breasts, boneless and skinless
6 tablespoons butter
1/2 large onion or 2 medium shallots, finely diced
4 garlic cloves, diced
1/2 cup dry white wine
2 large lemons, juiced
1/2 bunch parsley, finely chopped
Sea salt and ground black pepper to taste
1 cup heavy whipping cream
2 tablespoons capers, drained (optional)

Butterfly chicken breasts (cutting in half lengthwise), cutting all the way through instead of leaving the two halves intact. Season all sides with salt and pepper.

In two frying pans over medium high heat melt two tablespoons butter in each. Place six chicken breast halves in each skillet. Sear chicken, about three minutes each side. The chicken does not have to be cooked through. Place seared chicken in 9×13 inch baking dish.

Preheat oven to 300 degrees.

Combine cooking juices and scrapings from bottom into one skillet over medium heat. Add the garlic and onion. Sauté until garlic and onion begins to brown. Add white wine, scraping the bottom of the pan to loosen drippings, and cook until steam rises. Allow sauce to reduce for about five minutes.

Add lemon juice and parsley, stirring and cooking for another three minutes. Add the cream and the last two tablespoons of butter, stirring until butter is melted and sauce begins to bubble. Add salt to taste, if needed then remove from heat.

Pour sauce over chicken. Cover dish with foil and place in oven. Bake for 30 minutes, until chicken is cooked through and sauce is bubbling.

Serve immediately over steamed vegetables or spaghetti squash, generously drizzling sauce over the chicken.


Cold Green Bean Salad

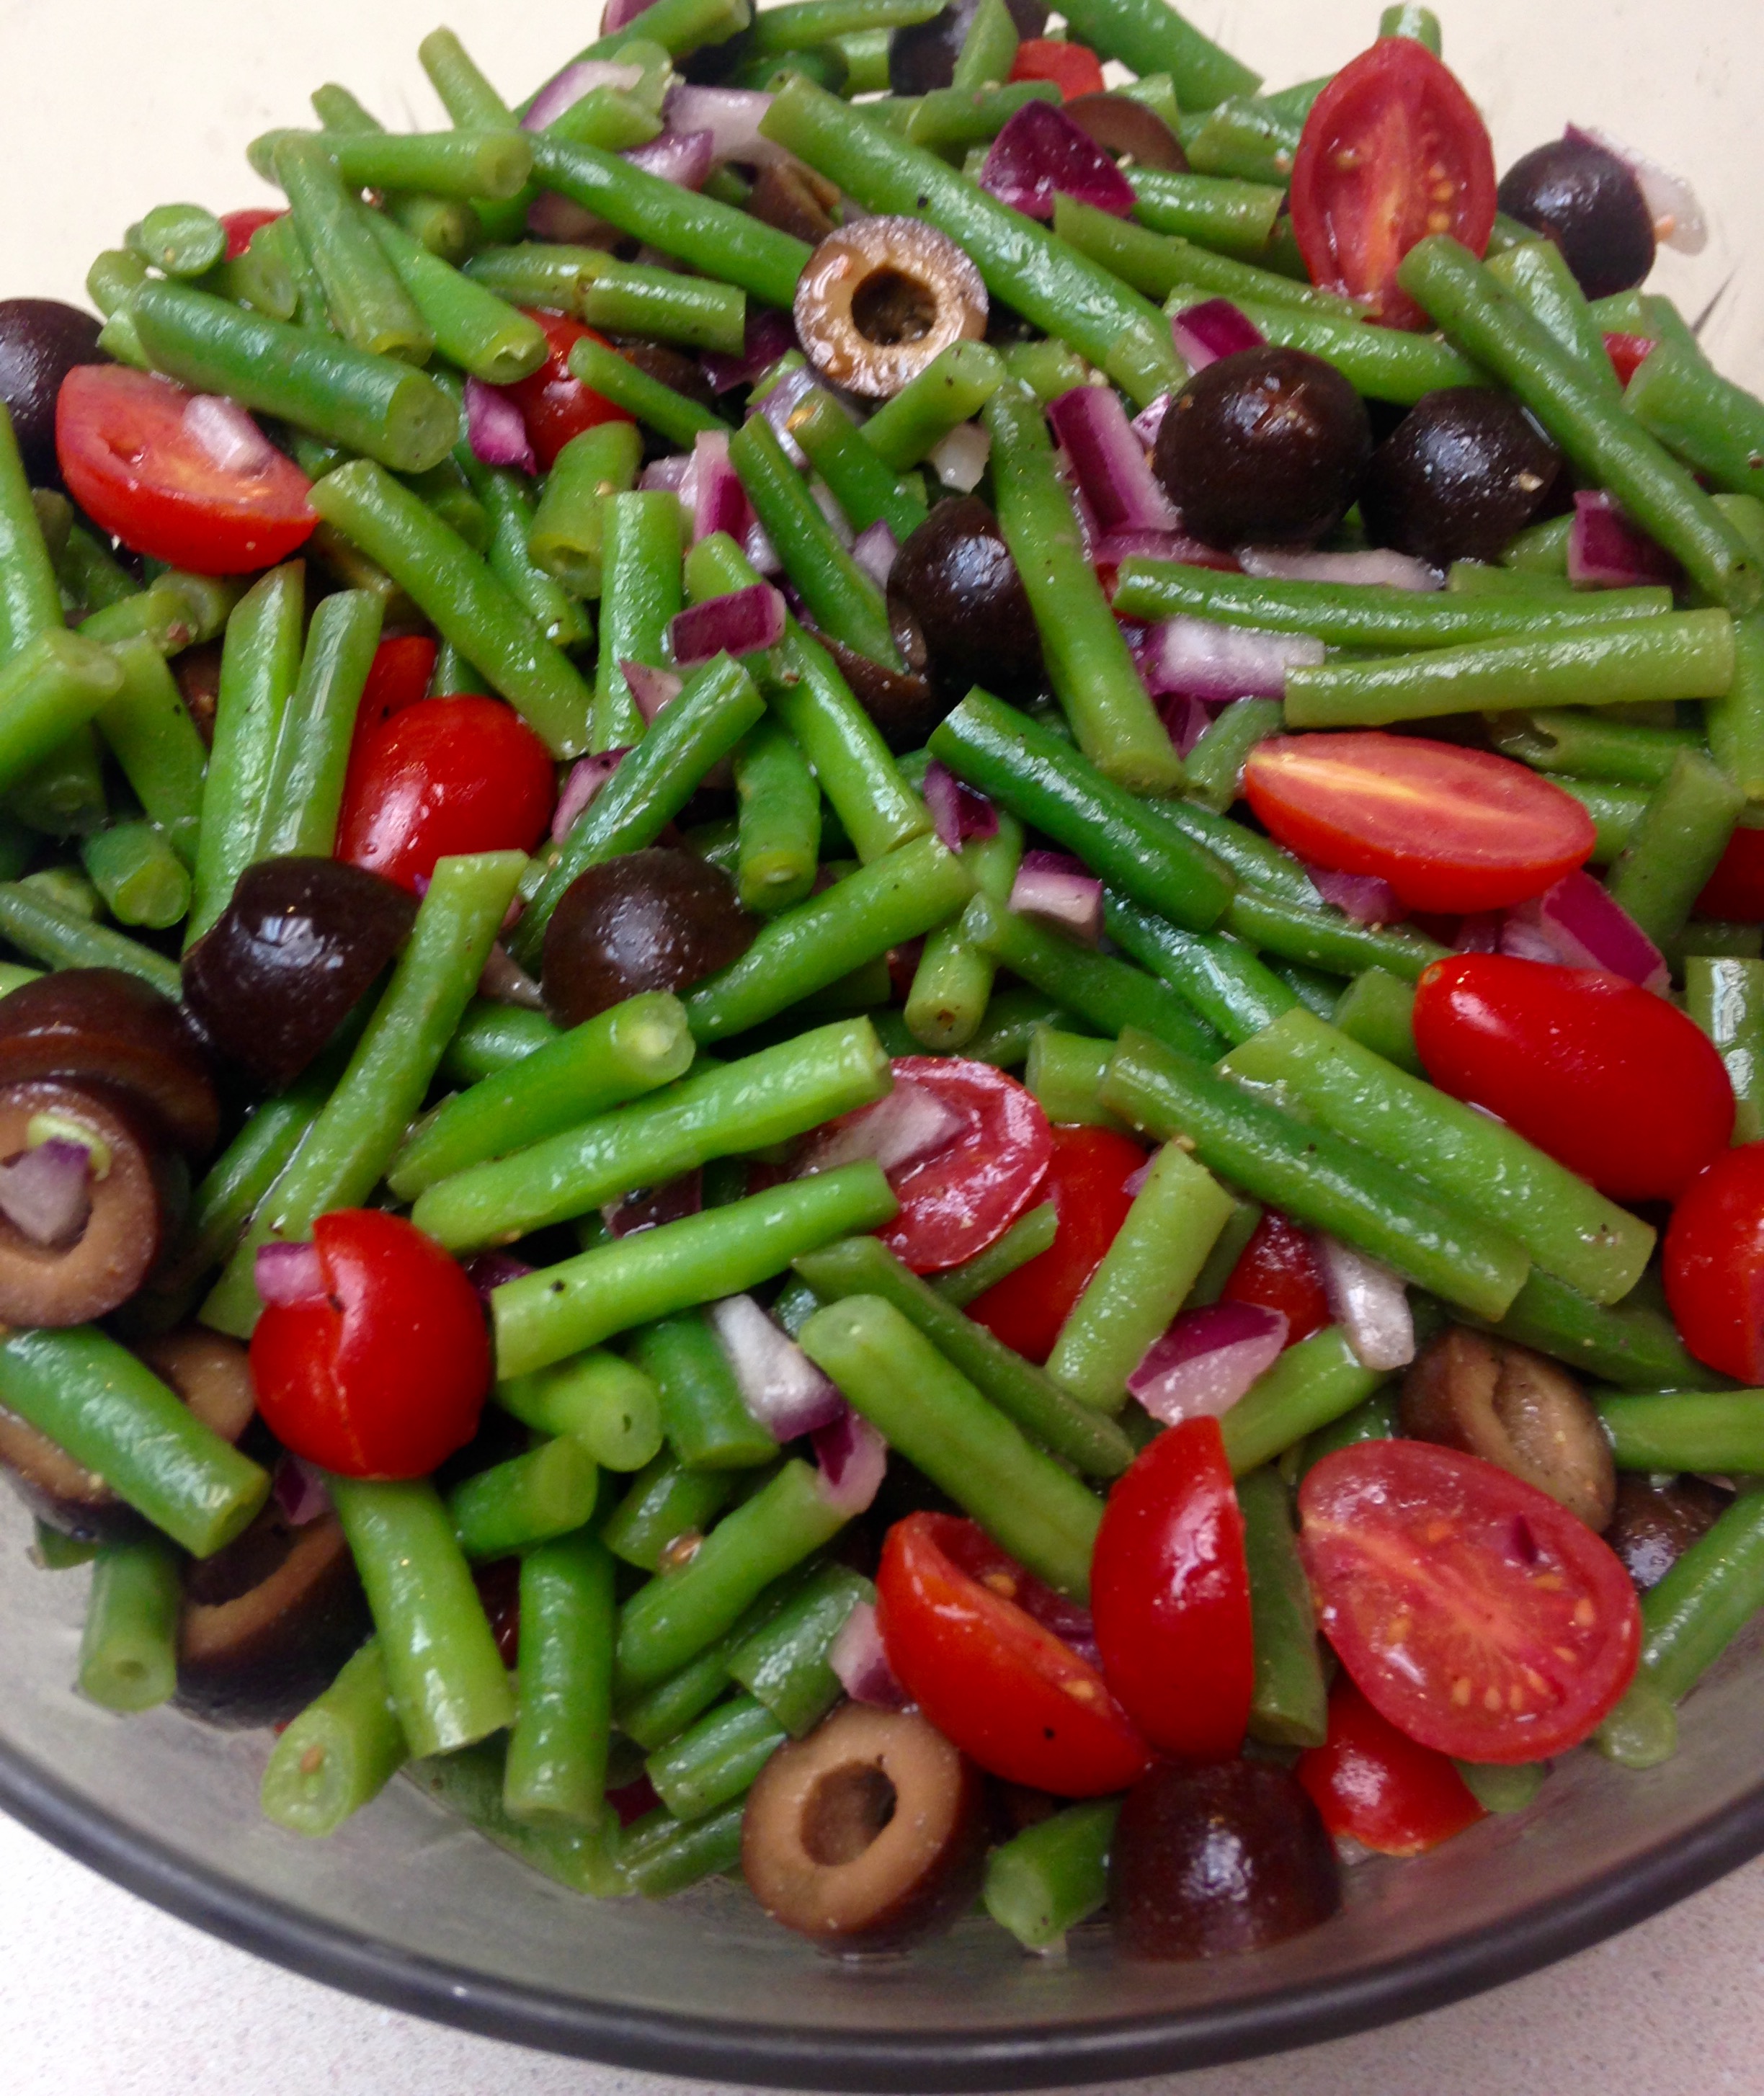
coldgreenbeansaladAs I have mentioned many times before, we make sure there are prepared foods stocked in our refrigerator, since there are scarce convenience foods that fit our sugar free, grain free eating habits. We prepare boiled eggs, bite-sized raw vegetables, cured meats and salads of all kinds. Making salads out of staples is an easy way to keep the fridge full, like Dilly Egg Salad, Tuna Salad Saute, Don’t Have To Choose Salad, Antipasto Salad or my recently shared Cucumber Salad.

Due to the freakishly mild winter in our current climes there are already fresh green beans available, so I grabbed some and brought them together with some other ingredients for a marinated salad. The thing I like most about marinated salads is that they get better every day they sit. On day four after making this salad the acids in the dressing may have made the green beans a little less bright, but the beans also soaked up all the flavors, including the tang of the red onion, and a serving of it tastes heavenly.

I encourage you to experiment with other salad fixings too! I’ve made similar salads using slender asparagus instead of green beans, Greek olives instead of black, mushrooms along with tomatoes, and even thrown in some chopped up ham or salami. Noticing a variation on a theme? The thing I have learned making cold salads over the years is that two cups of dressing seems to be just right to coat 9-10 cups of salad, which is the case here.

Have fun in your kitchen and enjoy the bright, healthy produce of spring!

Cold Green Bean Salad

2 pounds fresh green beans
2 cups grape or small cherry tomatoes
1/4 large red onion
2 cups large black olives, drained
2 cups vinaigrette dressing (I suggest my Herby Dressing or Greek Dressing)
Sea salt and ground black pepper to taste
2 teaspoons dried red pepper flakes (optional)

Make your vinaigrette dressing of choice, if not already made or using store bought. Set aside.

Remove ends from green beans and slice them into bite sized pieces, about one inch. In a medium pot with steamer insert bring one inch of salty water to a boil. Add beans to steamer and lightly steam about five minutes, with the intention to soften them but retain their bright green color. Remove beans from pot, set them aside to cool and prepare remaining ingredients.

Slice tomatoes in half lengthwise and place in bowl. Finely chop red onion and place in bowl. Slice black olives in half horizontally and place in bowl. Add green beans. If including red pepper flakes add them now.

Pour dressing over salad ingredients. Gently toss salad until well coated. Cover bowl and chill for at least four hours or overnight.

Remove from refrigerator and toss salad again, then taste and add salt and pepper to enhance dressing flavor (need will vary depending on dressing used). Toss one more time to incorporate salt and pepper, then serve.

Cucumber Salad

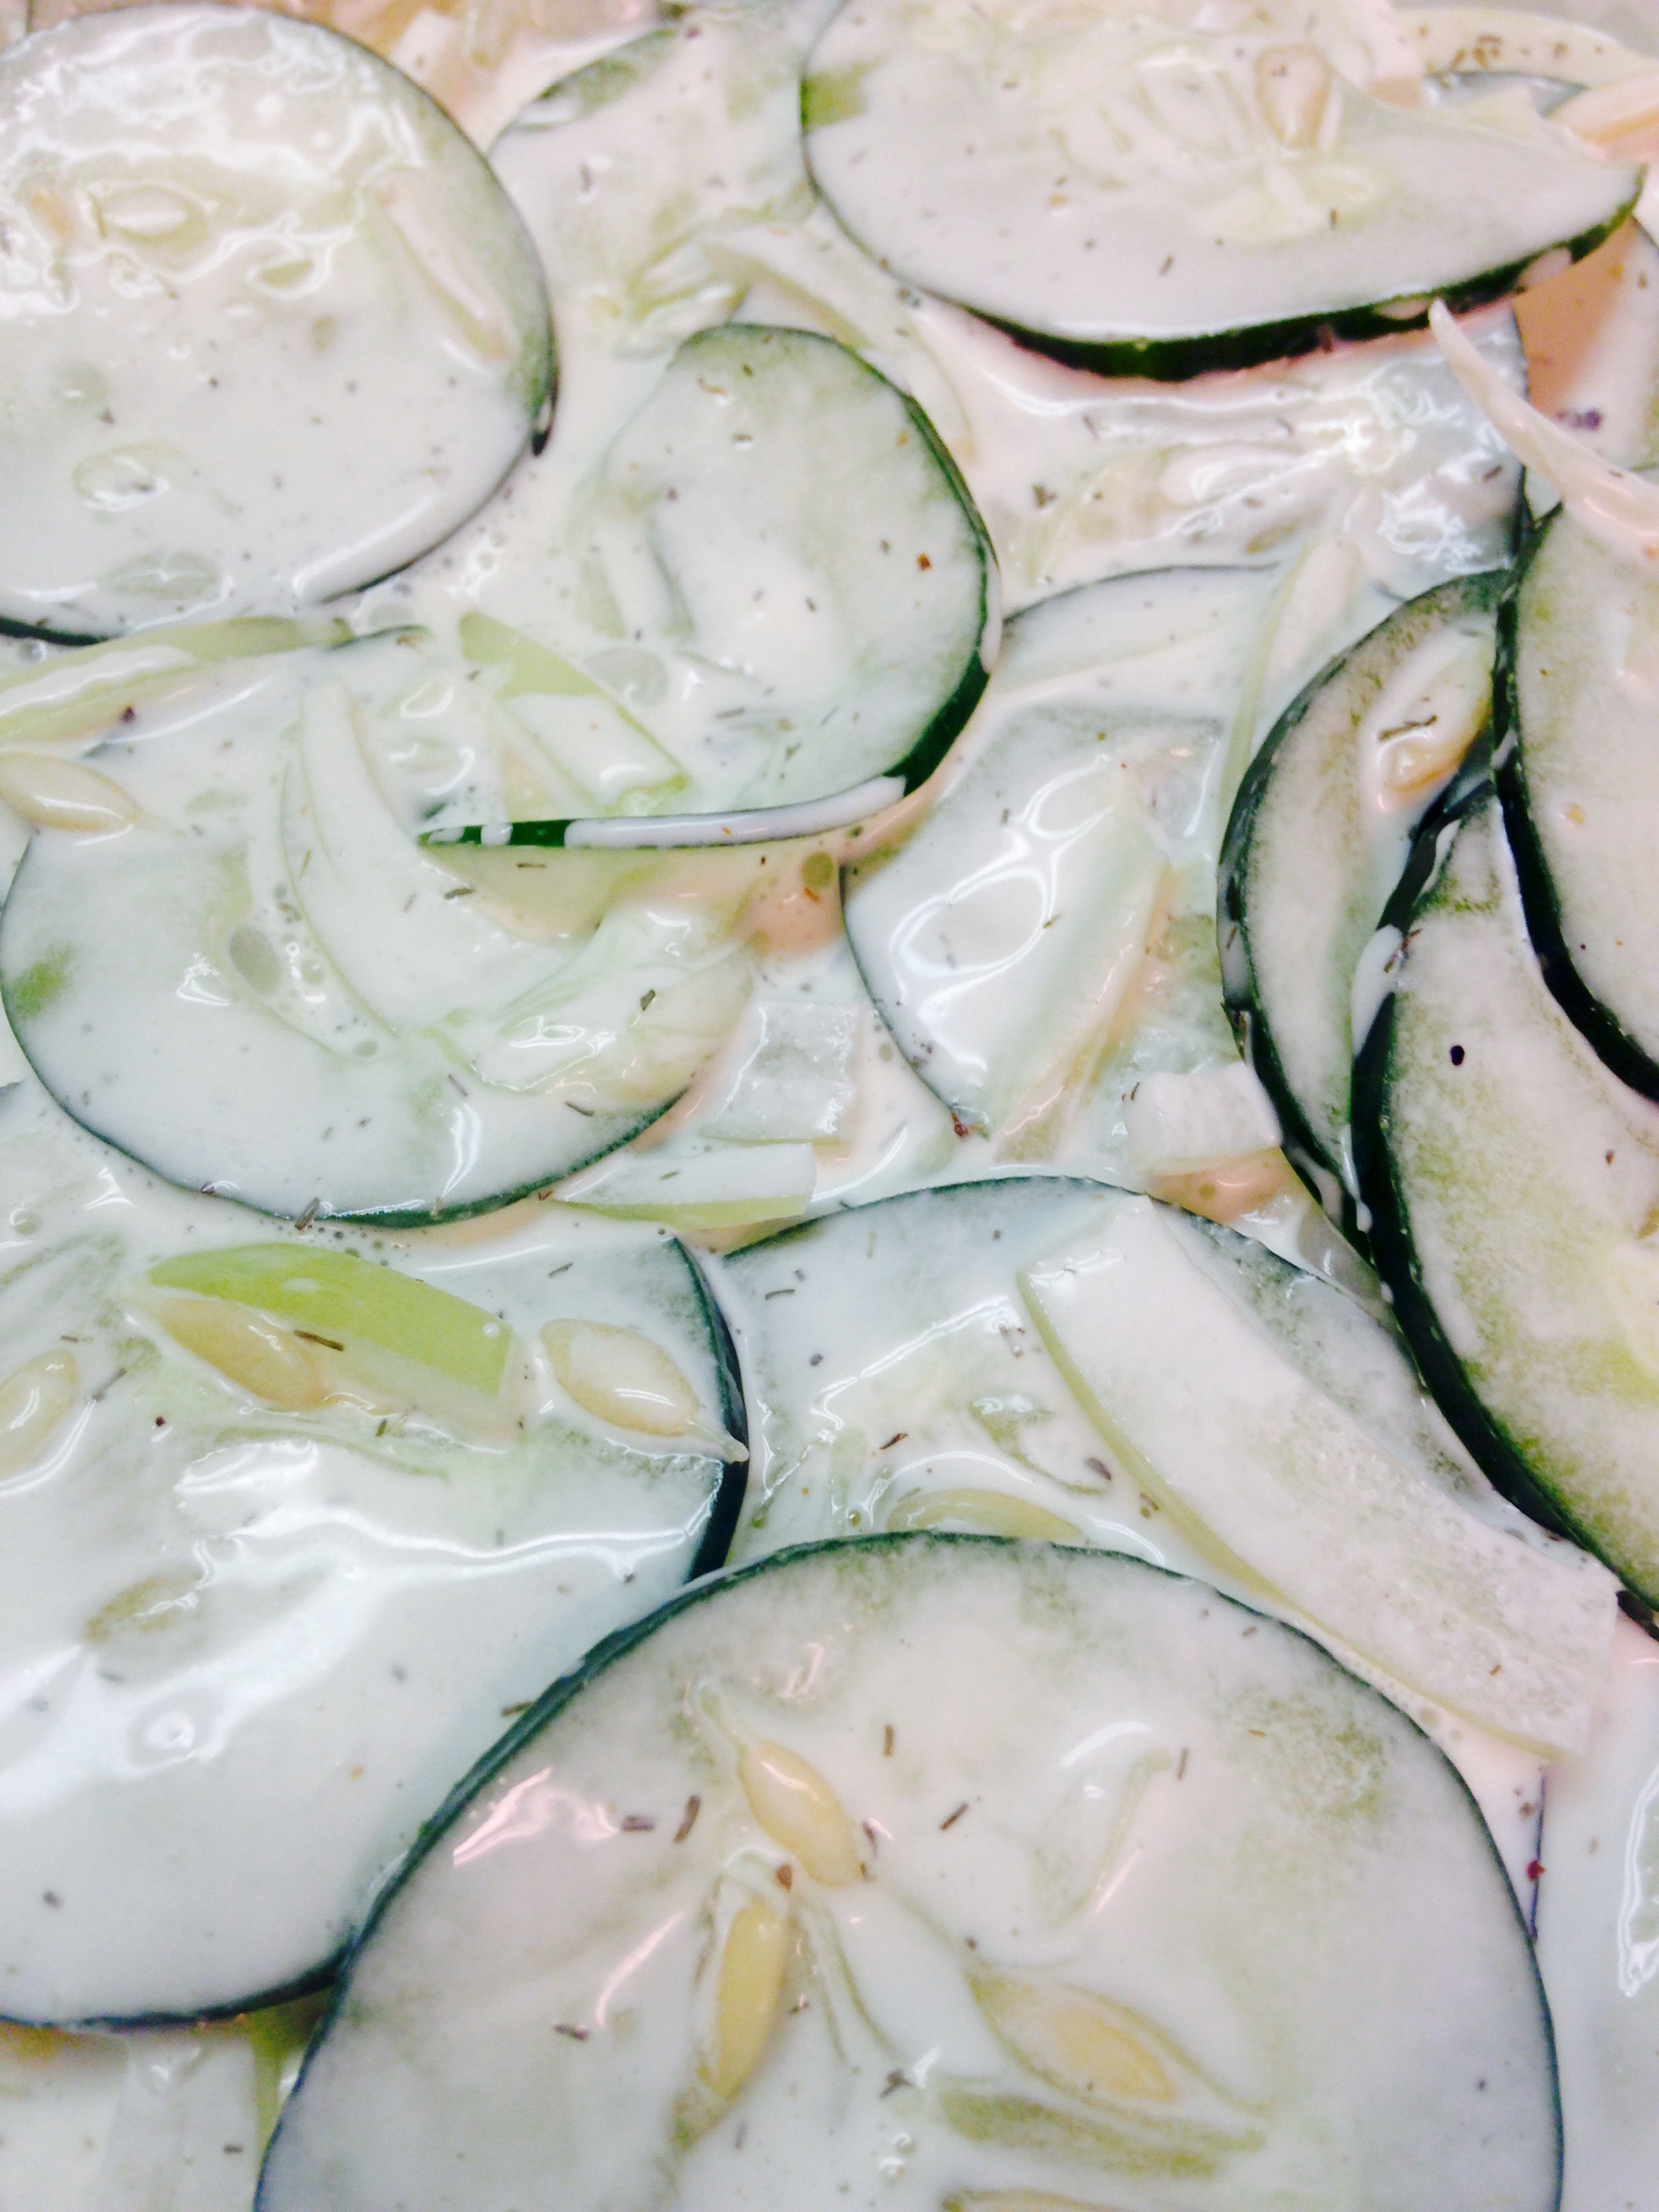
cucumbersaladAs spring springs around here I move away from warm, gooey comfort foods and head straight towards colder foods. My morning coffee is no longer a steaming hot cup from the French press, but cold brew poured over ice after chilling for a day. As I walk around in cropped pants instead of jeans and sweaters I love opening the fridge and grabbing a bowl of chilled salad for lunch, like this one!

In past years I have done themed posts leading up to St. Patrick’s Day, either by culture or color. This year all I can muster is the green from these cucumbers. This is not a bad thing, just with so much going on leading up to our move my priorities have been elsewhere, like making products for Grain Free Haven, ensuring the 40 year old Christmas ornaments are safely wrapped and packed, and the DVDs we barely ever watch anymore (but still keep the movies we love since Netflix and Amazon Prime are fickle).

If you want to explore traditional and not so traditional Irish dishes, here are a few like Colcannon, Corned Beef, Shepherd’s Pie     Dublin Coddle or a Traditional Irish Breakfast. Some green themed items can be found too, like Salsa Verde, Mushed Peas or Buttered Leeks. May the luck of the Irish be with you this week, and the wearing of the green reduce the number of pinches you get! Slainte!

Cucumber Salad

2 medium cucumbers (or one large English cucumber)
1/2 medium white or yellow onion
1/2 cup sour cream
2 teaspoons distilled white vinegar
2 teaspoons dried dill leaves
1/2 teaspoon sea salt
1/4 teaspoon ground black pepper

In a small bowl whisk together all ingredients except for the cucumber and onion.

Slice cucumbers into thin discs, either by hand or with a mandolin. Place slices in a large bowl. Thinly julienne slice the onion and add to the bowl with cucumber slices.

Pour dressing over vegetables and toss until well coated. Cover and chill for at least one hour and toss again right before serving.


Ham and Cheese Meatloaf

hamnchzmeatloaf

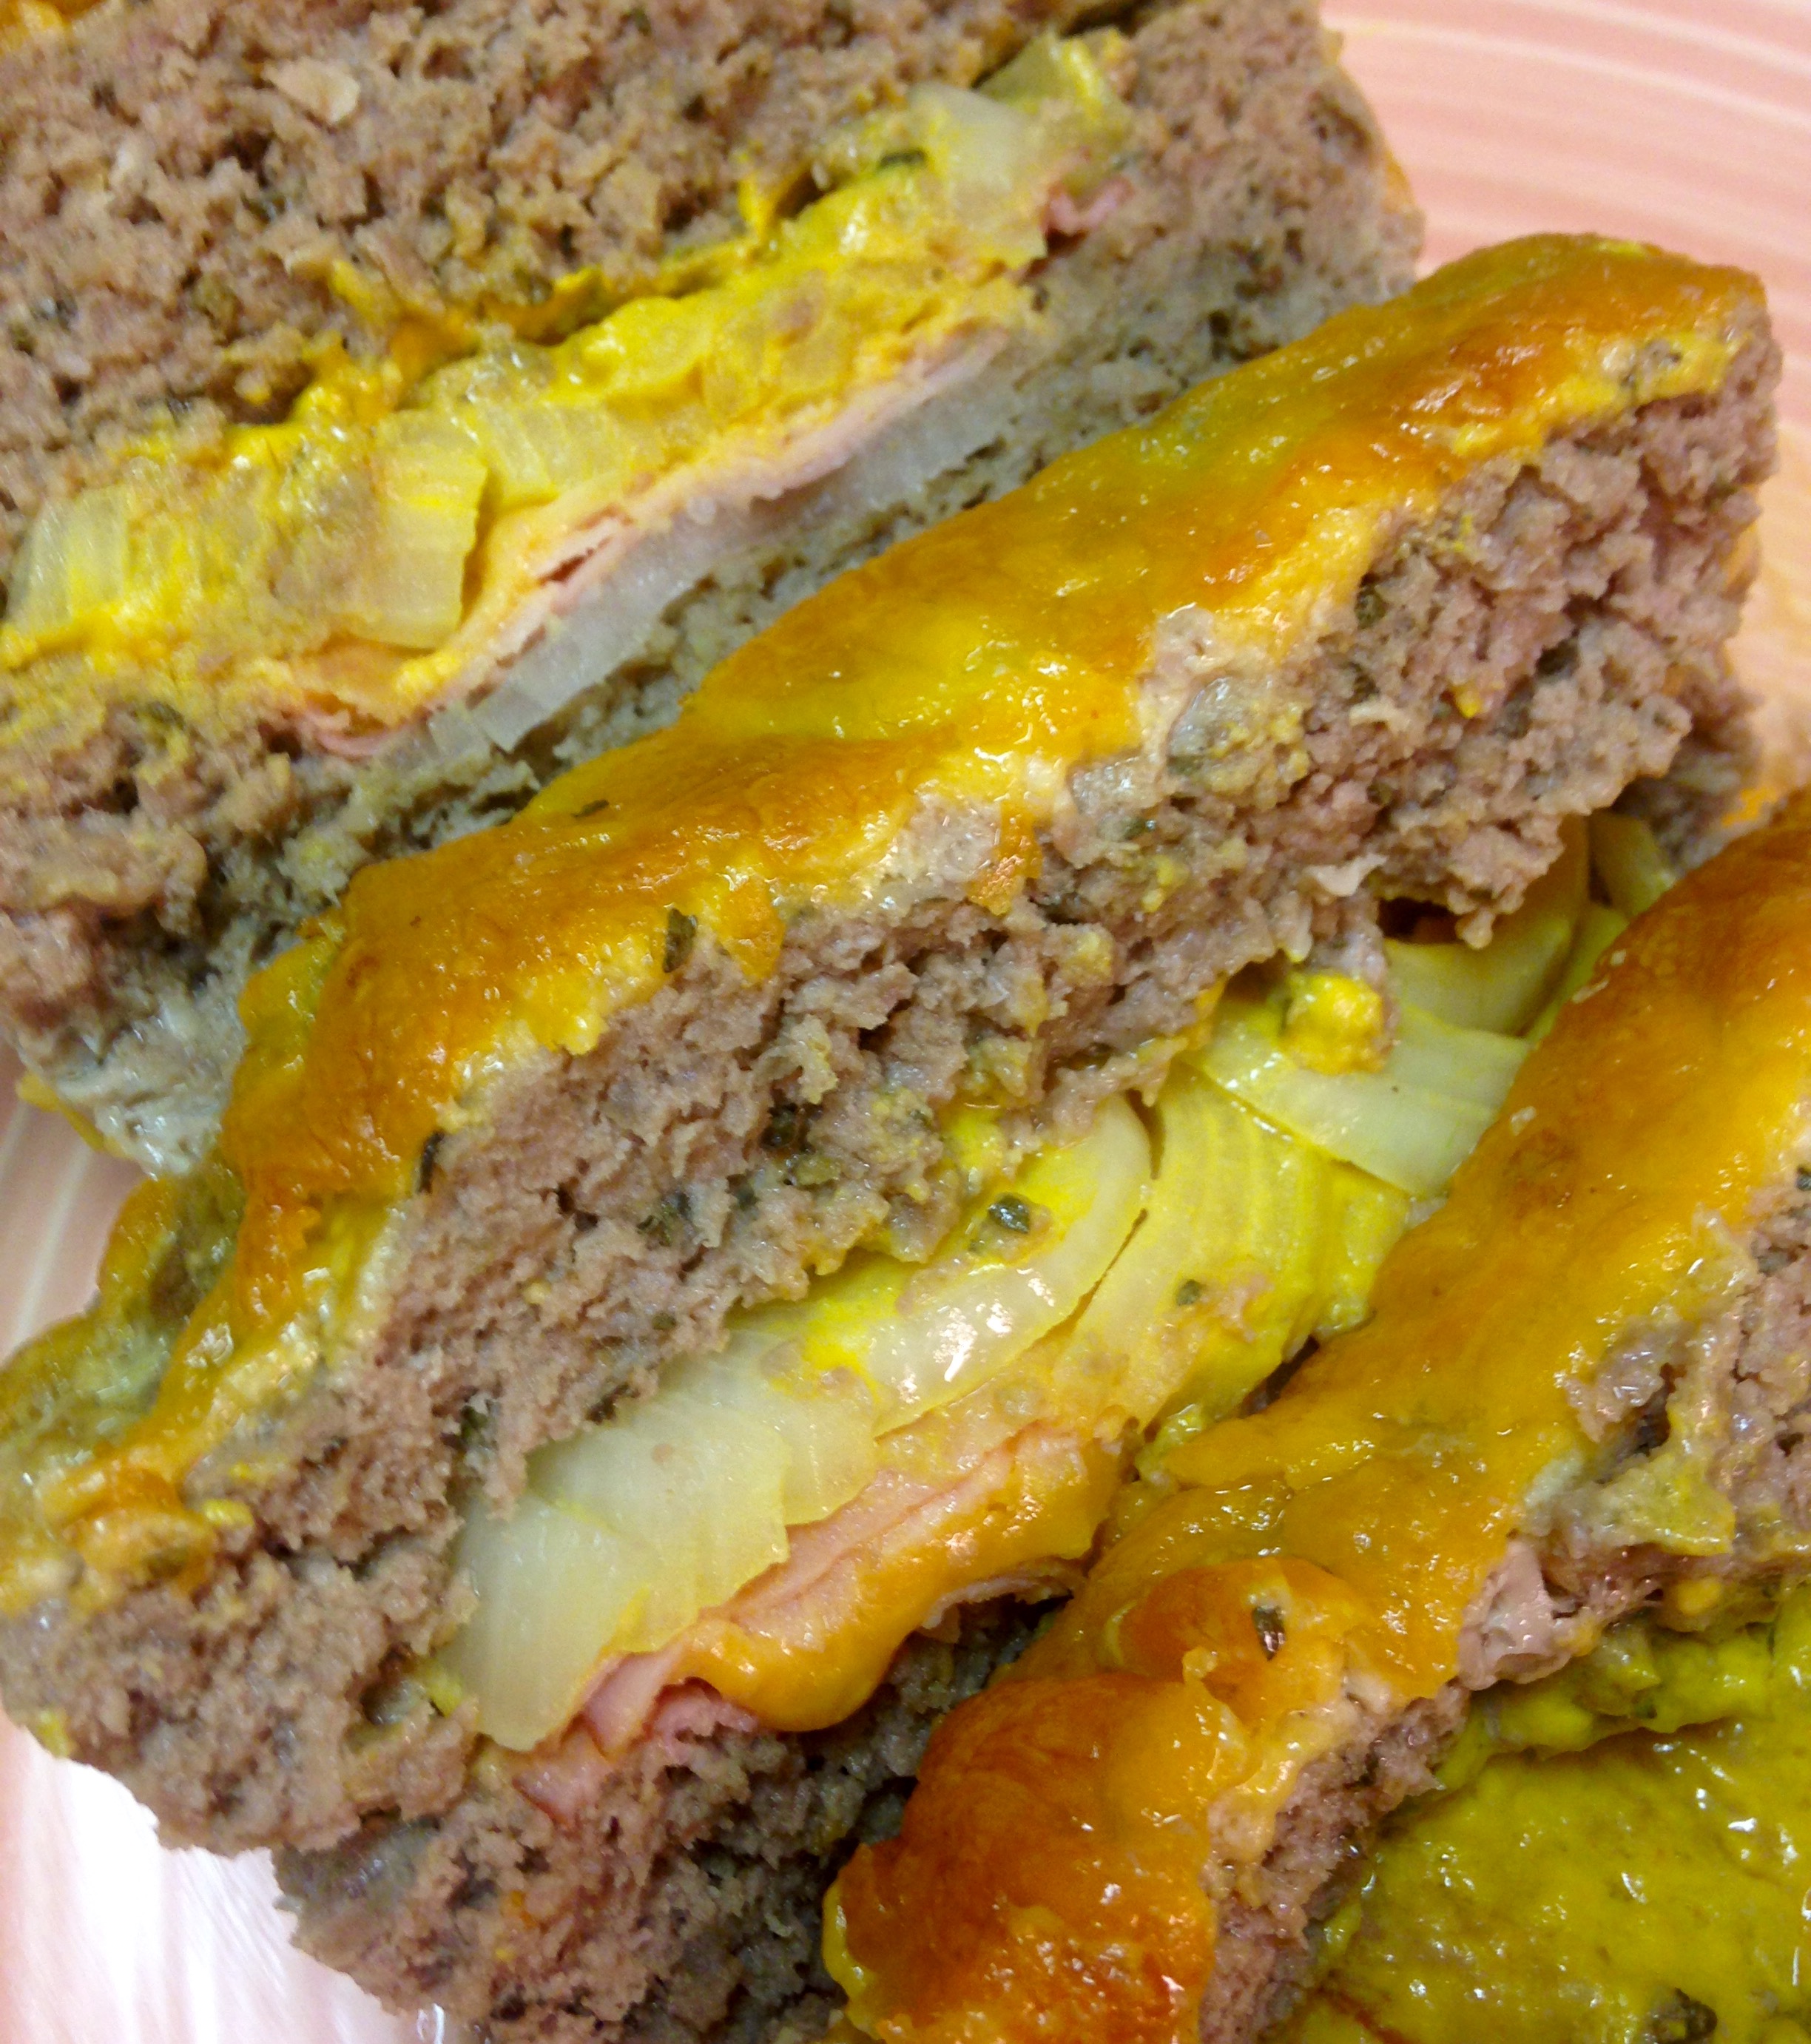
I was recently longing for the Cheesy Burger Bombs I made a while back. Since we were missing the necessary cheese snack wheels, and I did not want to run to the store, I decided to create a new thematic dish. A ham and cheese sandwich wrapped up in a meatloaf! The ham and cheese sandwich elements I prefer include, of course, ham and cheese, but also mustard and onion. I also like cold, crisp pickles, but excluded them from this dish, for I am not a fan of warm pickles. Yuck!

It was fun to make this meatloaf, especially since Little B helped stack the layers! Forming the bottom of the loaf to make a little nest for the filling, then stacking it all in the middle, then closing it up and hiding the surprise in the middle. She did not agree with the inclusion of the mustard layer, but after it cooked and we sliced it up the lovely condiment blended well with the warm onion, ham and cheese and she devoured it!

The final result reminded me more of a cheeseburger than a ham sandwich; you know, the kind where they basically put breakfast on a burger, with ham or bacon and cheese and a fried egg? When I had some of this loaf as leftovers I actually topped it with a fried egg. I highly recommend the addition!

Ham and Cheese Meatloaf

1 1/2 pounds ground beef
3 cloves garlic, crushed
2 Tablespoons dried basil leaves
2 teaspoons sea salt
1 teaspoon ground black pepper
1 teaspoon ground cumin
3 eggs
3 Tablespoons Worcestershire sauce
8 slices deli ham
12 ounces shredded colby/monterey jack cheese
1 medium yellow onion, sliced into thin discs
1/4 cup yellow mustard

In a large bowl combine beef, garlic, basil, salt, pepper, cumin, eggs and Worcestershire sauce. Mix ingredients well with hands or mixer.

Press half of the beef mixture into the bottom of a large loaf pan, bringing it up slightly on the sides.

Place a layer of onion in the middle, followed by a layer of half the ham slices. Sprinkle 8 ounces of the cheese on top of the ham, followed by another layer of ham. Spread the mustard on top of the ham. Place a final layer of onions on the mustard.

Press the remainder of the beef on top of the inside layers and press it along the edges to join the top beef with the bottom beef. Sprinkle the remaining cheese on top.

Bake at 350 degrees for 45 minutes, until the top is browned and beef cooked through. Remove from oven and let cool for about ten minutes. Depending on the fat content of the beef there may be an excess of grease and juices surrounding the meatloaf. Remove as much as possible before removing loaf from pan. Tip loaf pan so the meatloaf slides onto its side on a serving platter. Turn the loaf upright so the browned cheese side is on top.

Garnish with dark green lettuce leaves or fresh herbs and serve in thick slices to show the layers.

Tuna Avocado Cups

tunaavocadocups

We will be moving (again) soon. Not far and not dramatically, just to a different town. As always, there is a process prior to our moves that involve a cleansing. Cleansing of stuff of all kinds, including the contents of the pantry, freezer and fridge. This cleansing project has resulted in eating leftovers and staples with which I have not been very creative. The process is neither bad nor good, but the lack of creativity resulted in a lack of posts lately.

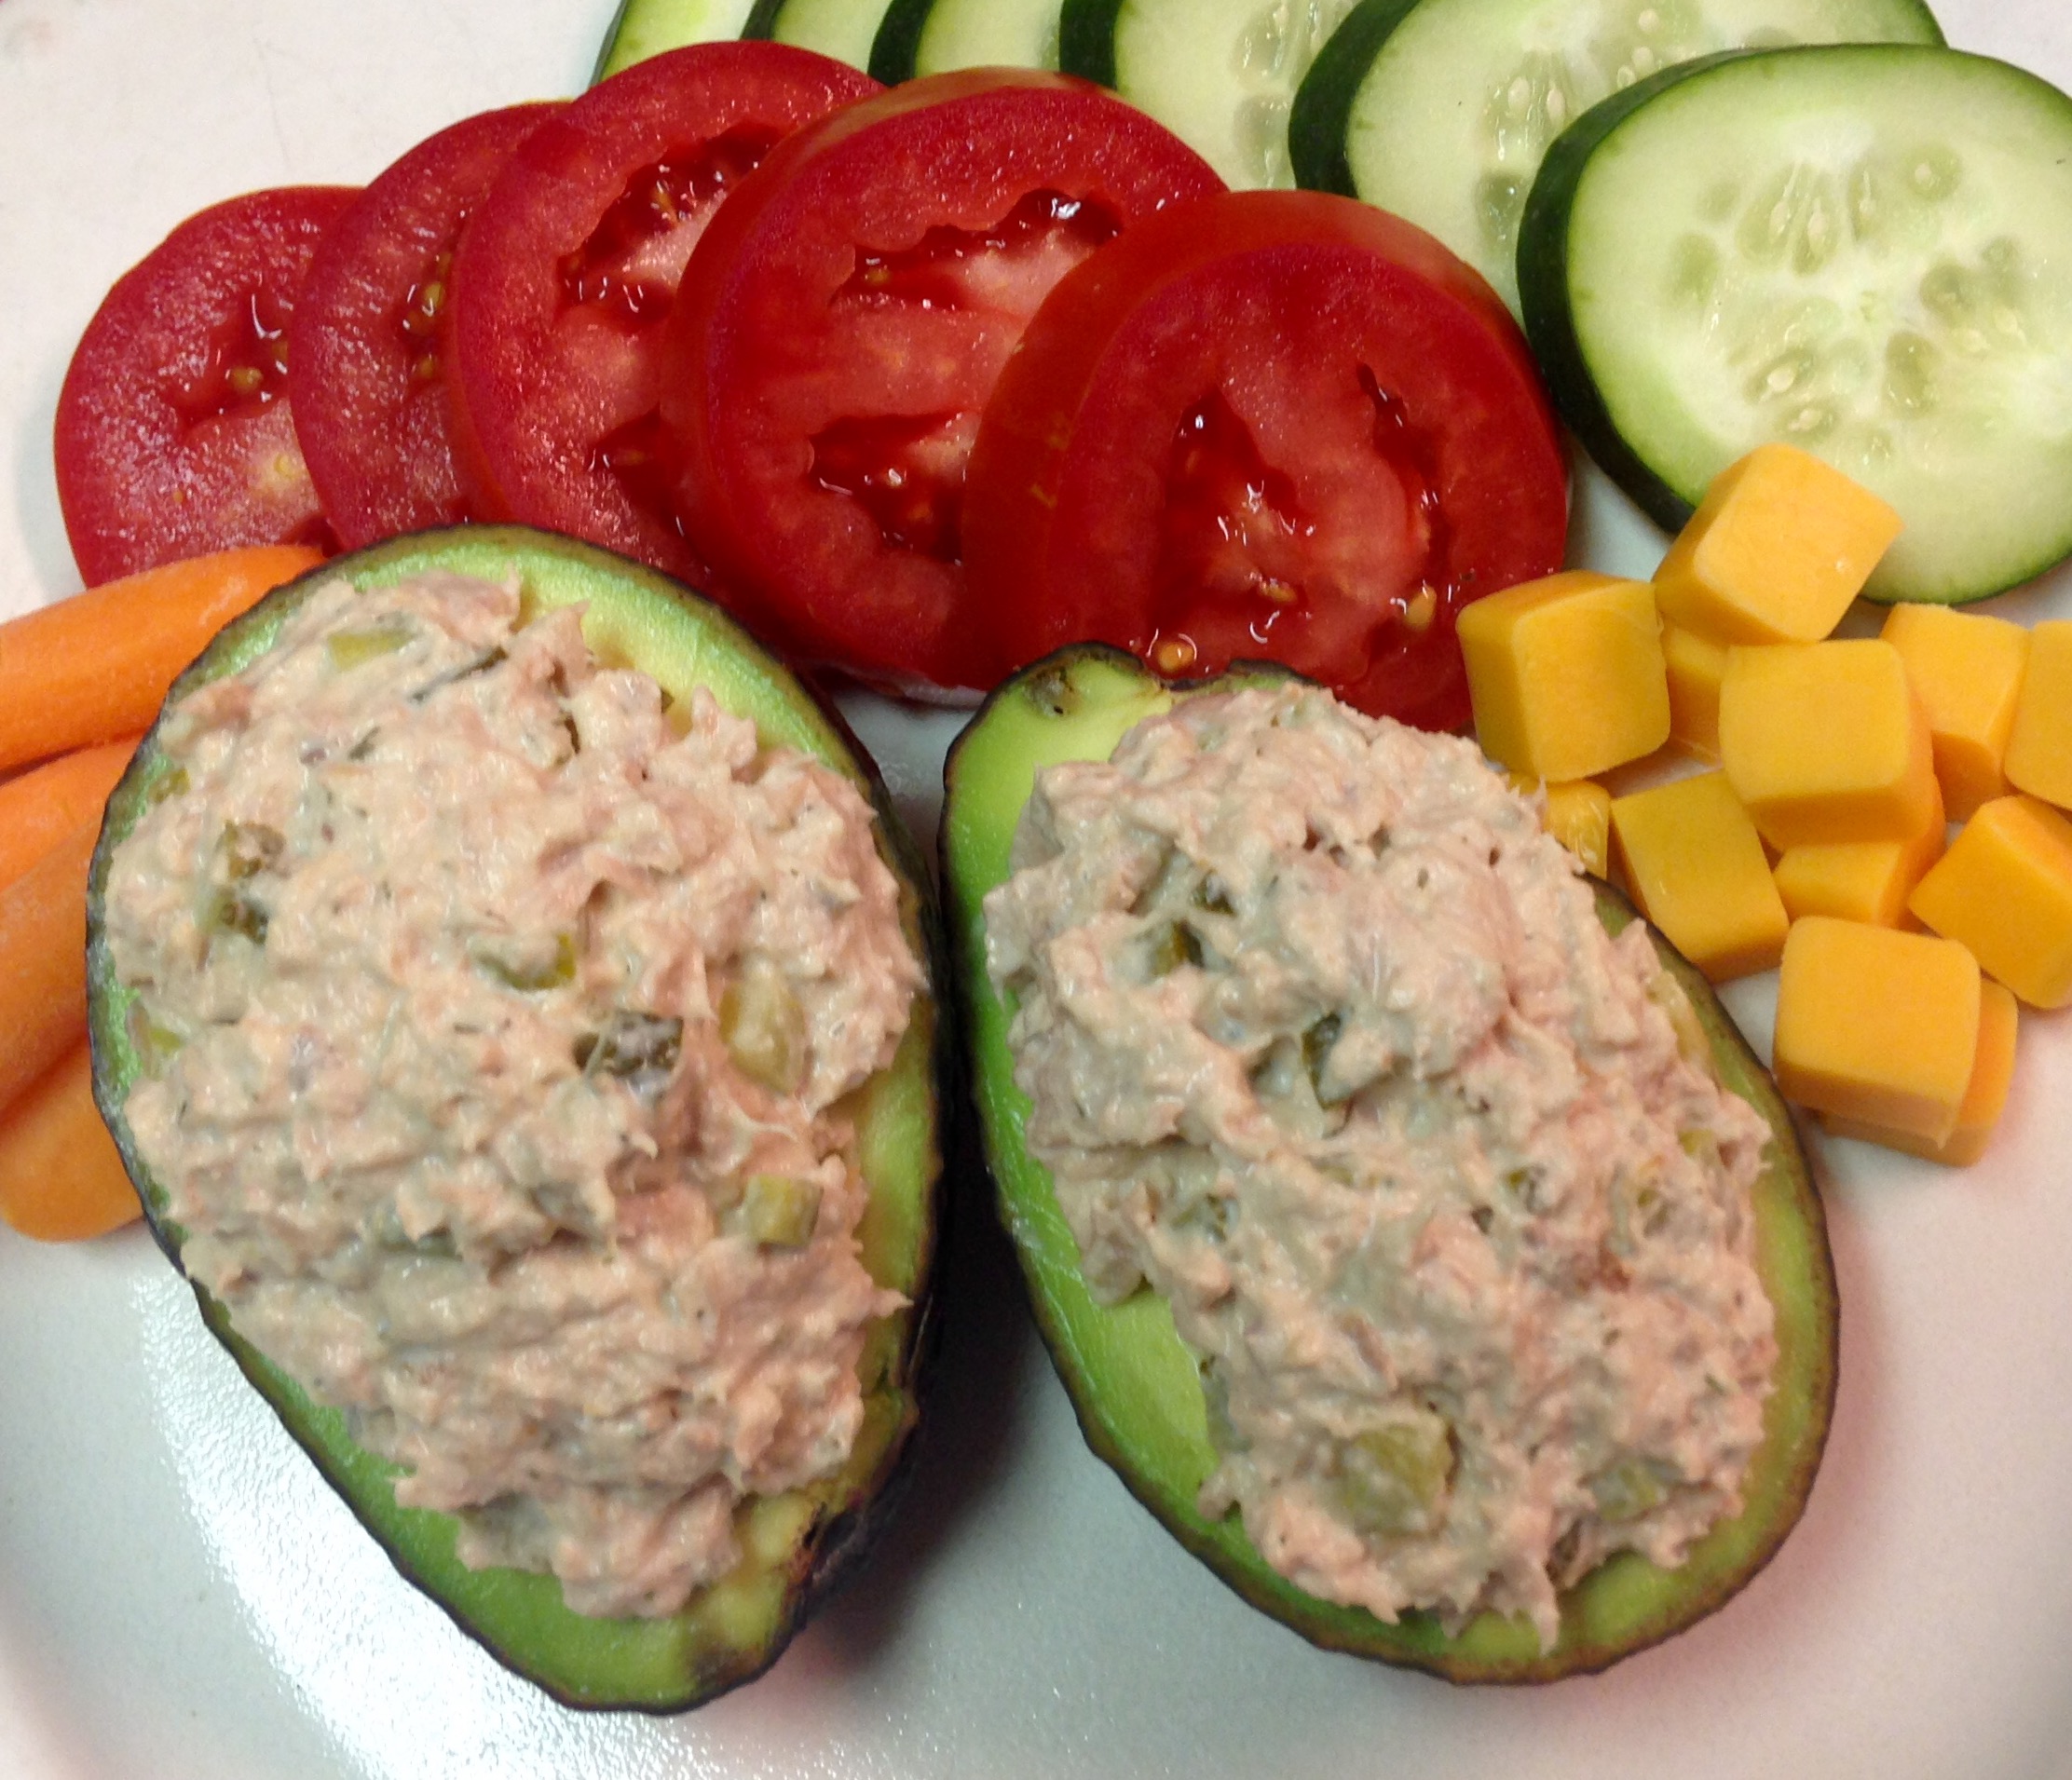
In my attempt to reconcile the posting situation I realized I was hungry for lunch and had two hankerings – tuna and avocado. I stocked up on some avocados a few days ago and they were finally, wonderfully ripe. Here is what I did with my hankerings and had a filling, satisfying lunch that did not take long at all to make.

Of course you can use any of many cold salads to fill avocado halves, like my Mustard Chicken Salad, Don’t Have To Choose Salad, Walnut Chicken Salad, Dilly Egg Salad, or even the exotic and vegetarian Japanese Eggplant Tomato Salad.  I used my old, reliable tuna salad this time, which I just realized I never posted about. Well, then, I am multitasking and did not know it!

Tuna Avocado Cups

2 ripe avocados
10-12 ounces wild caught tuna in water
1 medium dill pickle, finely chopped
1/2 cup mayonnaise
2 teaspoons lemon juice
1 Tablespoon finely chopped onion or 1/8 teaspoon onion powder
1 clove garlic, finely minced or 1/8 teaspoon garlic powder
1 teaspoon dried dill leaves
1/2 teaspoon sea salt
Dash ground black pepper

In a medium bowl whisk together mayonnaise, lemon juice, onion, garlic, salt and pepper. Add tuna and stir with a fork until tuna is broken up and coated with mayonnaise mixture.

Slice avocados in half lengthwise and remove seeds. Lightly sprinkle halves with salt. Spoon tuna salad into halves, molding it into a pretty mound. Serve immediately with some cheese and raw vegetables.

Post Navigation