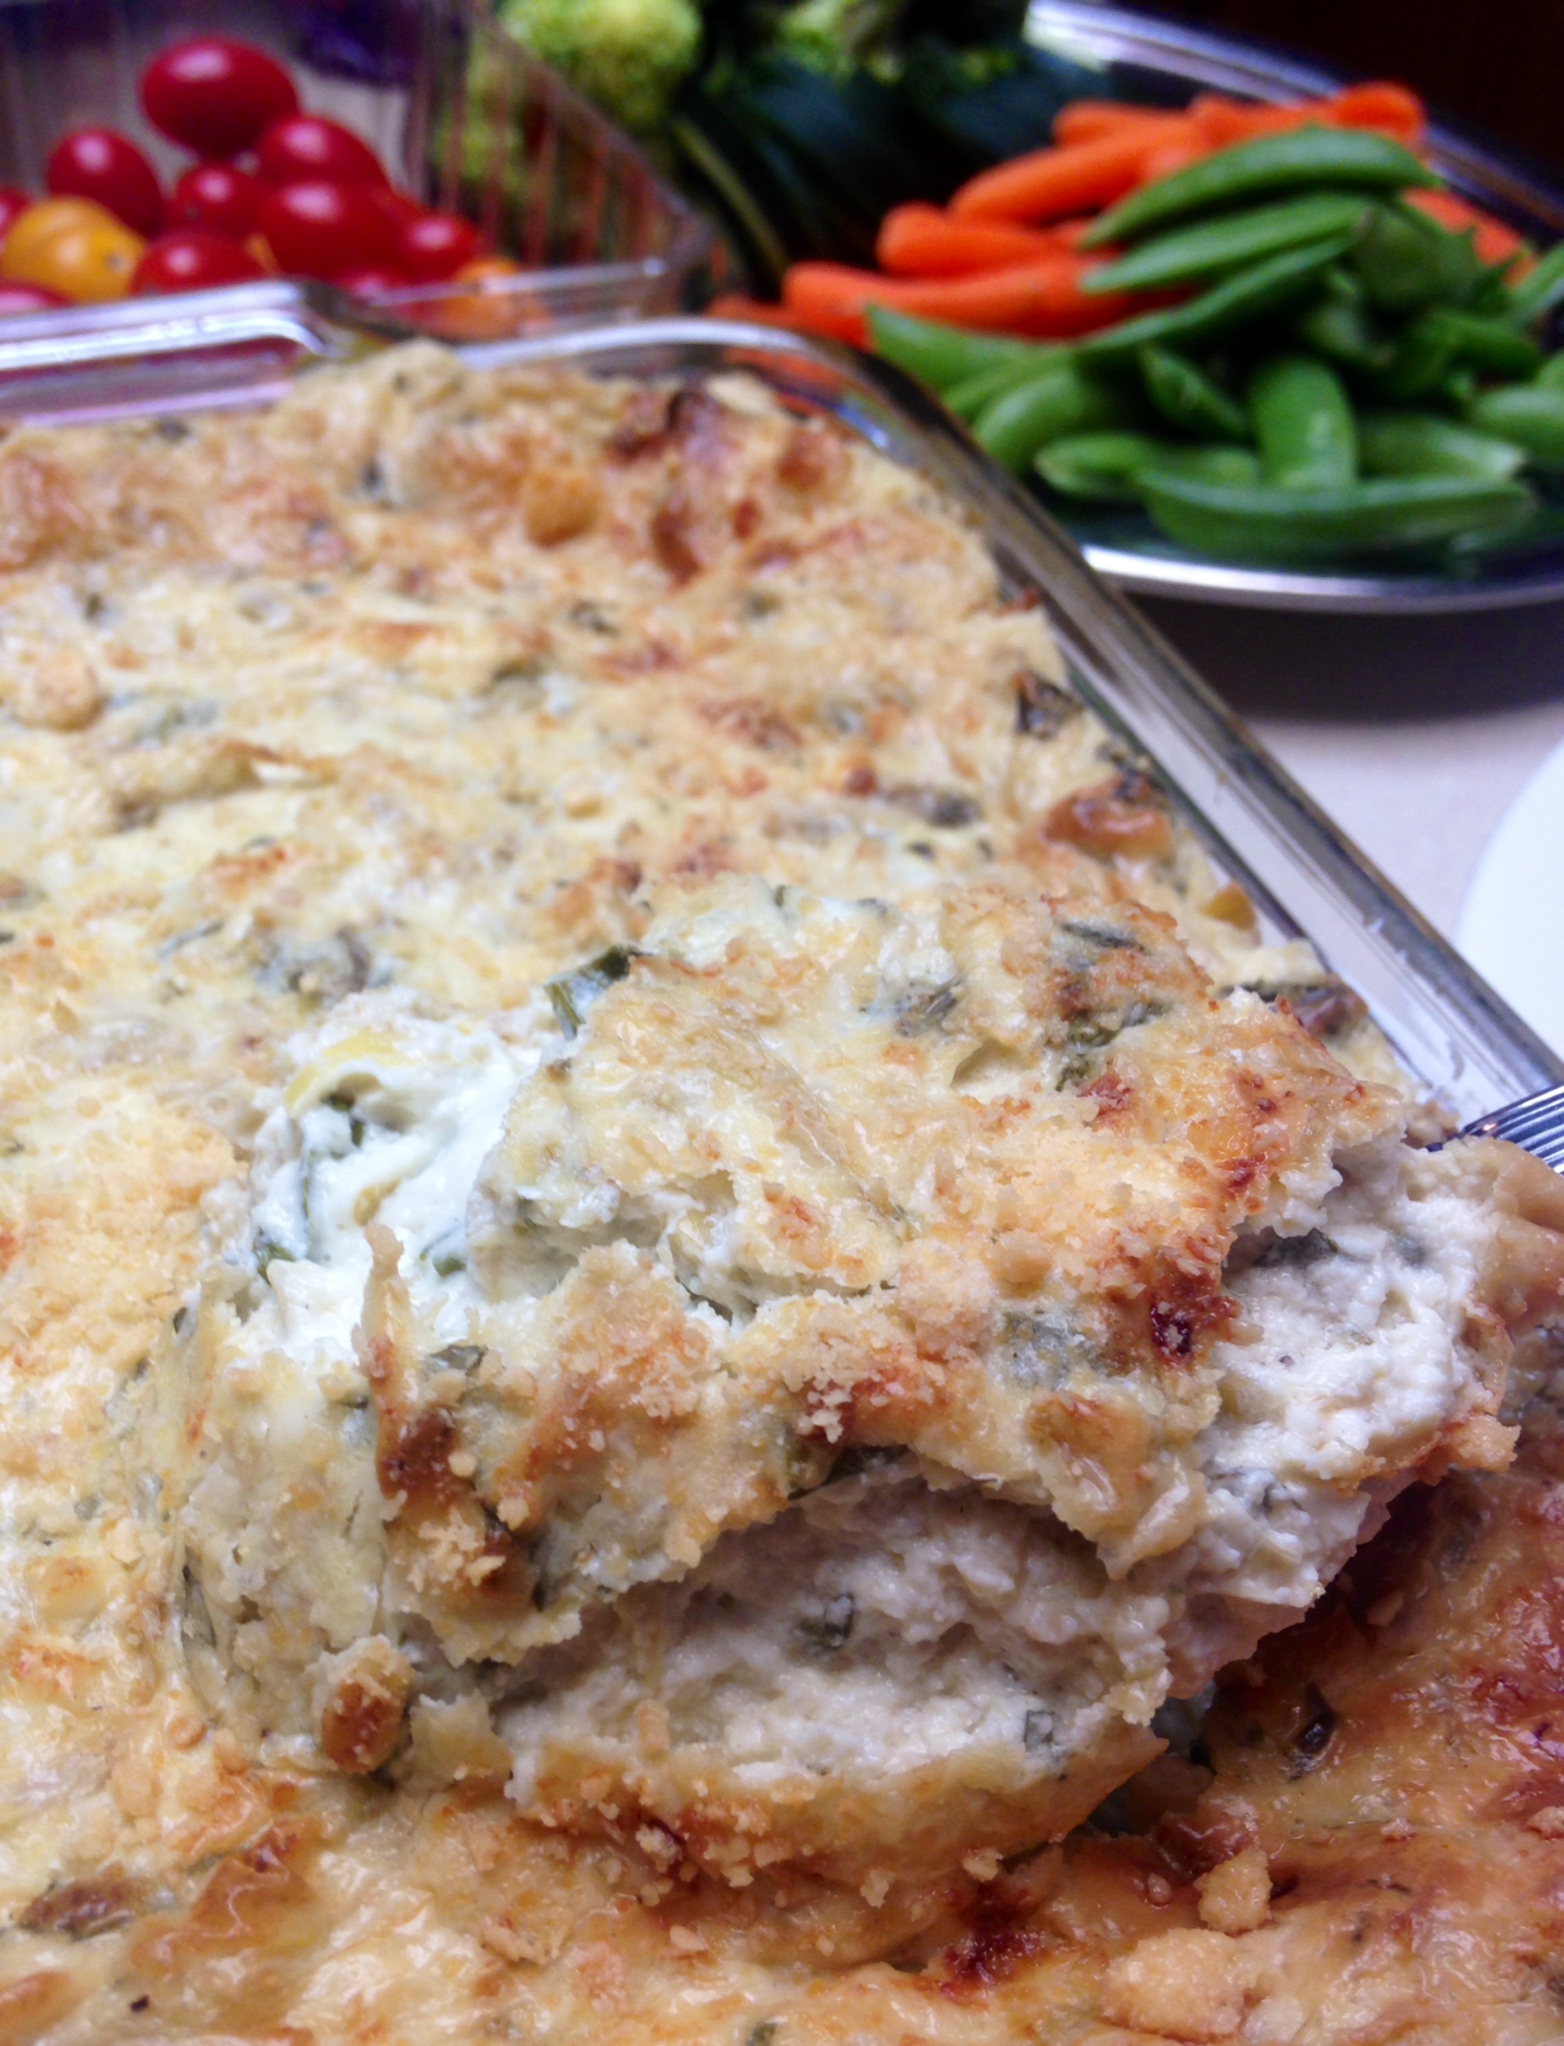
Spicy Stuffed Tomatoes
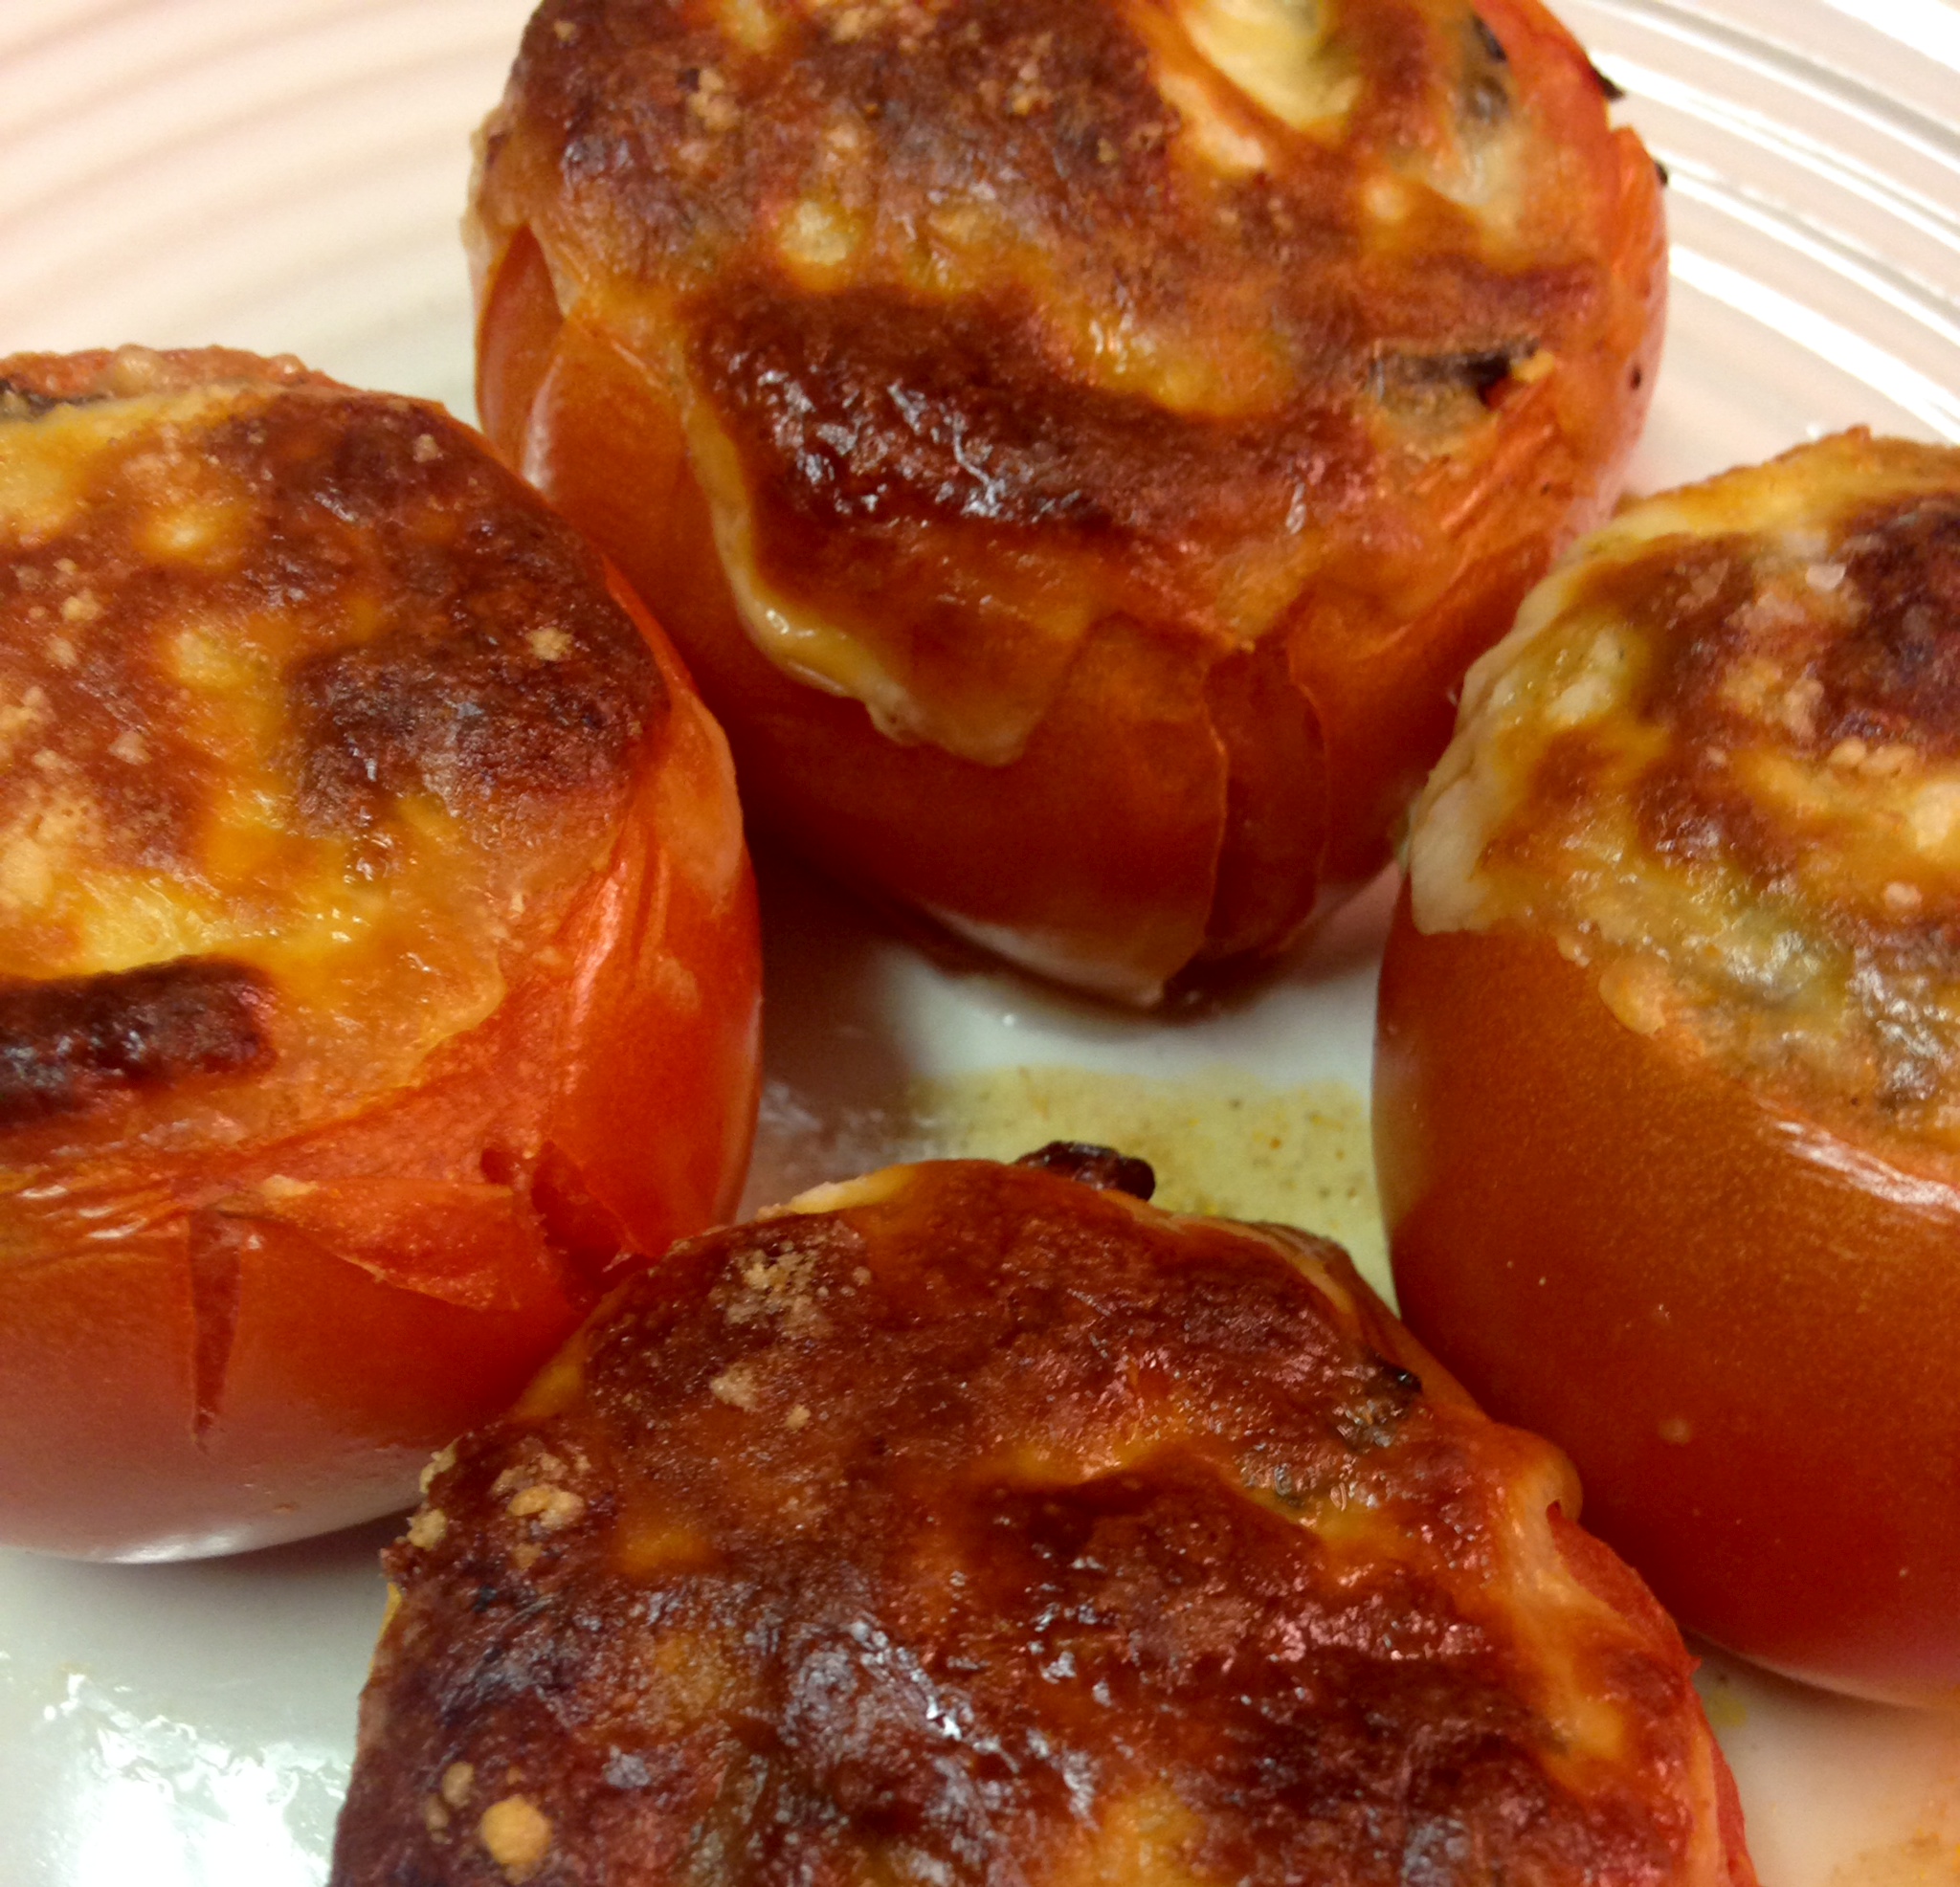
There must have been a bumper crop of tomatoes somewhere nearby, because there were tons of big, beautiful ‘maters in the local produce section at the store this week! We often have fresh tomatoes in our kitchen and chop them up raw as a quick side dish, but I decided this time to stuff them and bake them. The cooler weather leads me towards warm food. You can never have too many variations on vegetable dishes, can you?
I used to make these with oatmeal as filler, but since using it would conflict with our current habit of eating grain free, I replace it by adding more veggies and sausage. Worked out great!
As the new calendar year begins and the holiday activity wanes I ponder what is to come during the next twelve months. Last year Big D and I both shifted the work we do to bring in money, and shifted where we live. Prospects look bright for our efforts to follow our passions, with starting a new business and writing new books. This year is starting on very bright notes, we are working hard and loving it, while also finding opportunities to spend more time with family and friends. I hope you all start the year with positive outlooks, for the perspective you take will most definitely influence where you go in life. Why not do it positively. You will be amazed where you will go with it!
Spicy Stuffed Tomatoes
8 ripe tomatoes
1/2 medium onion
1/2 green bell pepper
4 ounces white button mushrooms
2 links hot Italian sausage, cooked and roughly chopped
4 cloves garlic
2 tablespoons extra virgin olive oil
1/2 teaspoon cayenne pepper powder
1/2 teaspoons sea salt
1/4 teaspoons ground black pepper
2 teaspoons hot sauce (suggest Tabasco Smoked Chipotle Sauce)
1 cup mozzarella cheese
1/4 cup grated parmesan cheese
Sea salt and ground black pepper to taste
Cut off top portion of each tomato, making a flat top. Scrape out seeds and meat core from inside of tomato. Turn tomatoes cut side down on a towel to allow extra juice to run out. Finely chop mushrooms, onion, bell pepper and garlic. Heat oil in a medium sauté pan over medium high heat. Add garlic and onion into pan and cook about three minutes, until onions begin to sweat. Add bell pepper and mushrooms, cooking another five minutes until onions begin to brown and mushrooms release their liquid. Add cayenne pepper powder, salt, black pepper and hot sauce. Stir and simmer on low for five more minutes. Remove from heat and let cool slightly.
Preheat oven to 350 degrees.
Flip over tomatoes so cut side is up. Sprinkle the inside of each with sea salt and ground black pepper to taste. Drop sausage into the bottom of each tomato, dividing it evenly among the eight tomatoes. Spoon sautéed mixture into each tomato, dividing it equally among the eight tomatoes as well.
Place stuffed tomatoes in a baking dish that allows them to fit snugly, so as to support each other while cooking. Dish size can vary due to size of tomatoes, but 9×9 inch should work. Spoon 1/8 cup mozzarella cheese on the top of each tomato, pressing it down firmly so it stays on top of each. Sprinkle parmesan cheese on top of each tomato. Bake for 30-35 minutes, until cheese browns and tomato skin wrinkles and begins to crack. Remove from oven and serve immediately.