Whiskey Watermelon
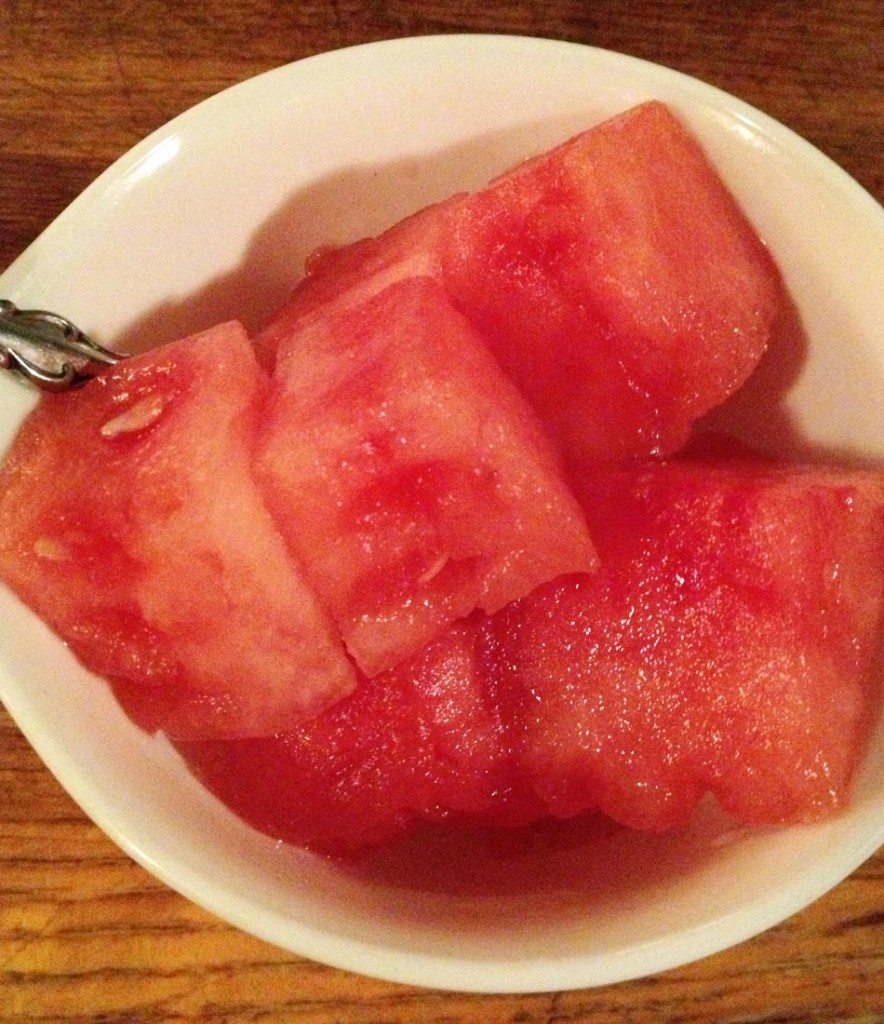
 This treat was fun! After some frustration. Little B had been asking for watermelon for a week or so, but it was never when we were actually in the store. Big D and I don’t really eat much of it, so getting a whole one is often wasteful. Finally, one day I was at the store and there were smaller packages with just a few slices for sale. Is it cheaper to buy a whole melon and waste most of it, or pay a little more for a smaller quantity? It is often the question I ask myself in such situations, but it was a non-issue this time because the price was the same per unit. I grabbed it, excited to be surprising Little B. Alas, when I returned to the RV with the watermelon she had decided that she no longer liked it, it was yucky and she never wanted to eat it again. The reaction probably had something to do with not getting a nap on a busy, hot, humid Saturday, but I was still bummed. So now I have watermelon on my hands and the cocktail hour is approaching. In the past I made watermelon margaritas in such a situation, but no tequila. Then, I spotted the whiskey. Not an expensive, aged sipping whiskey, but a simple bottle of the stuff we use with mixers. Perfect! Let’s get the watermelon drunk! I set it all up and let the morsels soak for about an hour. Yummy! Reminded me of college days when the impact of a few jello shots in a row hits all at once. Be careful with these things. The watermelon soaked up the whiskey all right. And the juice left over at the bottom of the bowl worked quite well for a mixed drink later. Enjoy summer and watermelon while it lasts, in spite of your three year old’s protestations.
Whiskey Watermelon
1/2 small watermelon
1/2 cup whiskey
Remove rind from watermelon and cut melon into 1 inch square pieces, smalller if you want the alcohol effect stronger. In a resealable bag combine the watermelon squares and whiskey. Gently press the back to remove excess air and seal. Place in refrigerator for at least an hour, but four hours is better. Remove and serve in small bowls with forks or toothpicks.

