Any Kitchen Will Do

Give me a kitchen and I will cook.

Archive for the category “tomato”

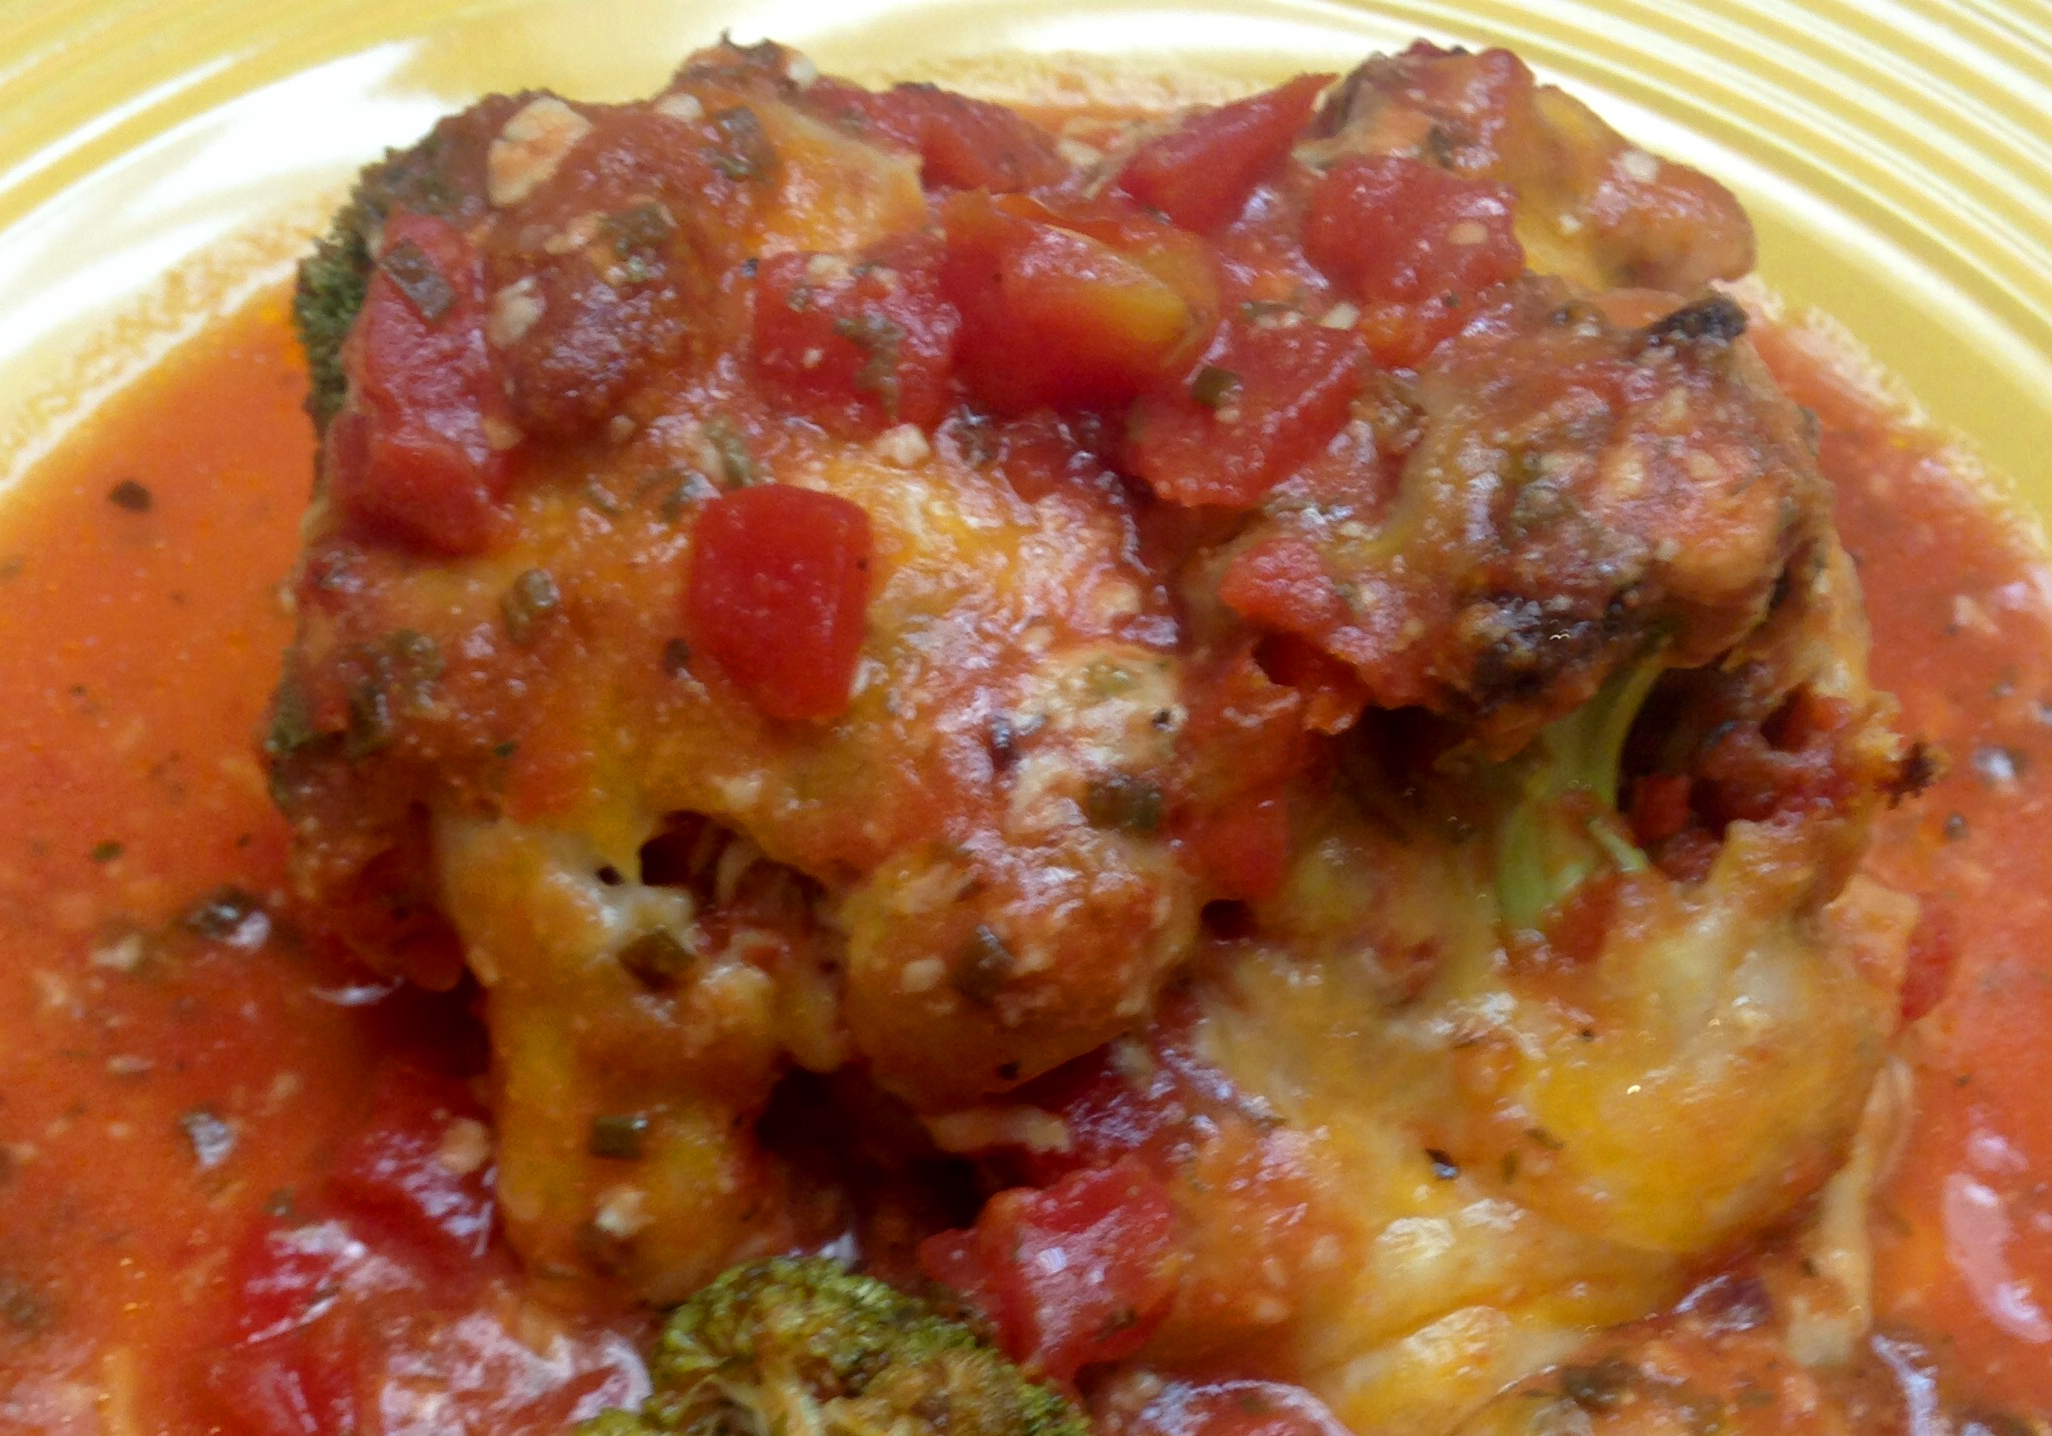
Tomato Broccoli Chicken

italianchickenThe other day I was craving lasagna. In the past I have made it grain free by substituting zucchini or cabbage for the noodle layers. I wanted the same flavors a little easier and faster than prepping and constructing a casserole. The cheese and tomato sauce and chicken really hit the spot. The leftovers were even better!
Tomato Broccoli Chicken

8 chicken thighs, bone in (skin optional)
2 cups tomato sauce
4 cups diced tomatoes with juices
2 tablespoons dried parsley
1 tablespoon dried basil leaves
2 teaspoons dried oregano leaves
2 garlic cloves, finely minced
1/4 cup finely minced white onion
1 teaspoon sea salt
4 cups broccoli florets
1/2 cup finely grated Parmesan cheese
2 cups grated colby jack cheese
Sea salt and and ground black pepper to taste

In a medium pot over medium heat combine the tomato sauce, diced tomatoes, parsley, basil, oregano, garlic and salt. When sauce begins to boil turn temperature down to low. Cover and let simmer for 15 minutes, then remove from heat.

Preheat oven to 350 degrees.

In a 9×13 inch baking dish pour a thin layer of sauce. Generously salt and pepper all sides of the chicken and place, skin side up, in the pan. Arrange the broccoli florets in between the chicken thighs. Sprinkle the Parmesan cheese on top of the chicken and broccoli.

Pour the rest of the sauce over the chicken and broccoli, leaving some room at the top of the pan for cheese and bubbling. Sprinkle the colby jack cheese evenly on top of the sauce. Place on middle rack of the oven and bake for 45 minutes, until chicken is cooked through (at least 165 degrees).

Remove from oven, let rest for ten minutes before serving.


Cold Green Bean Salad

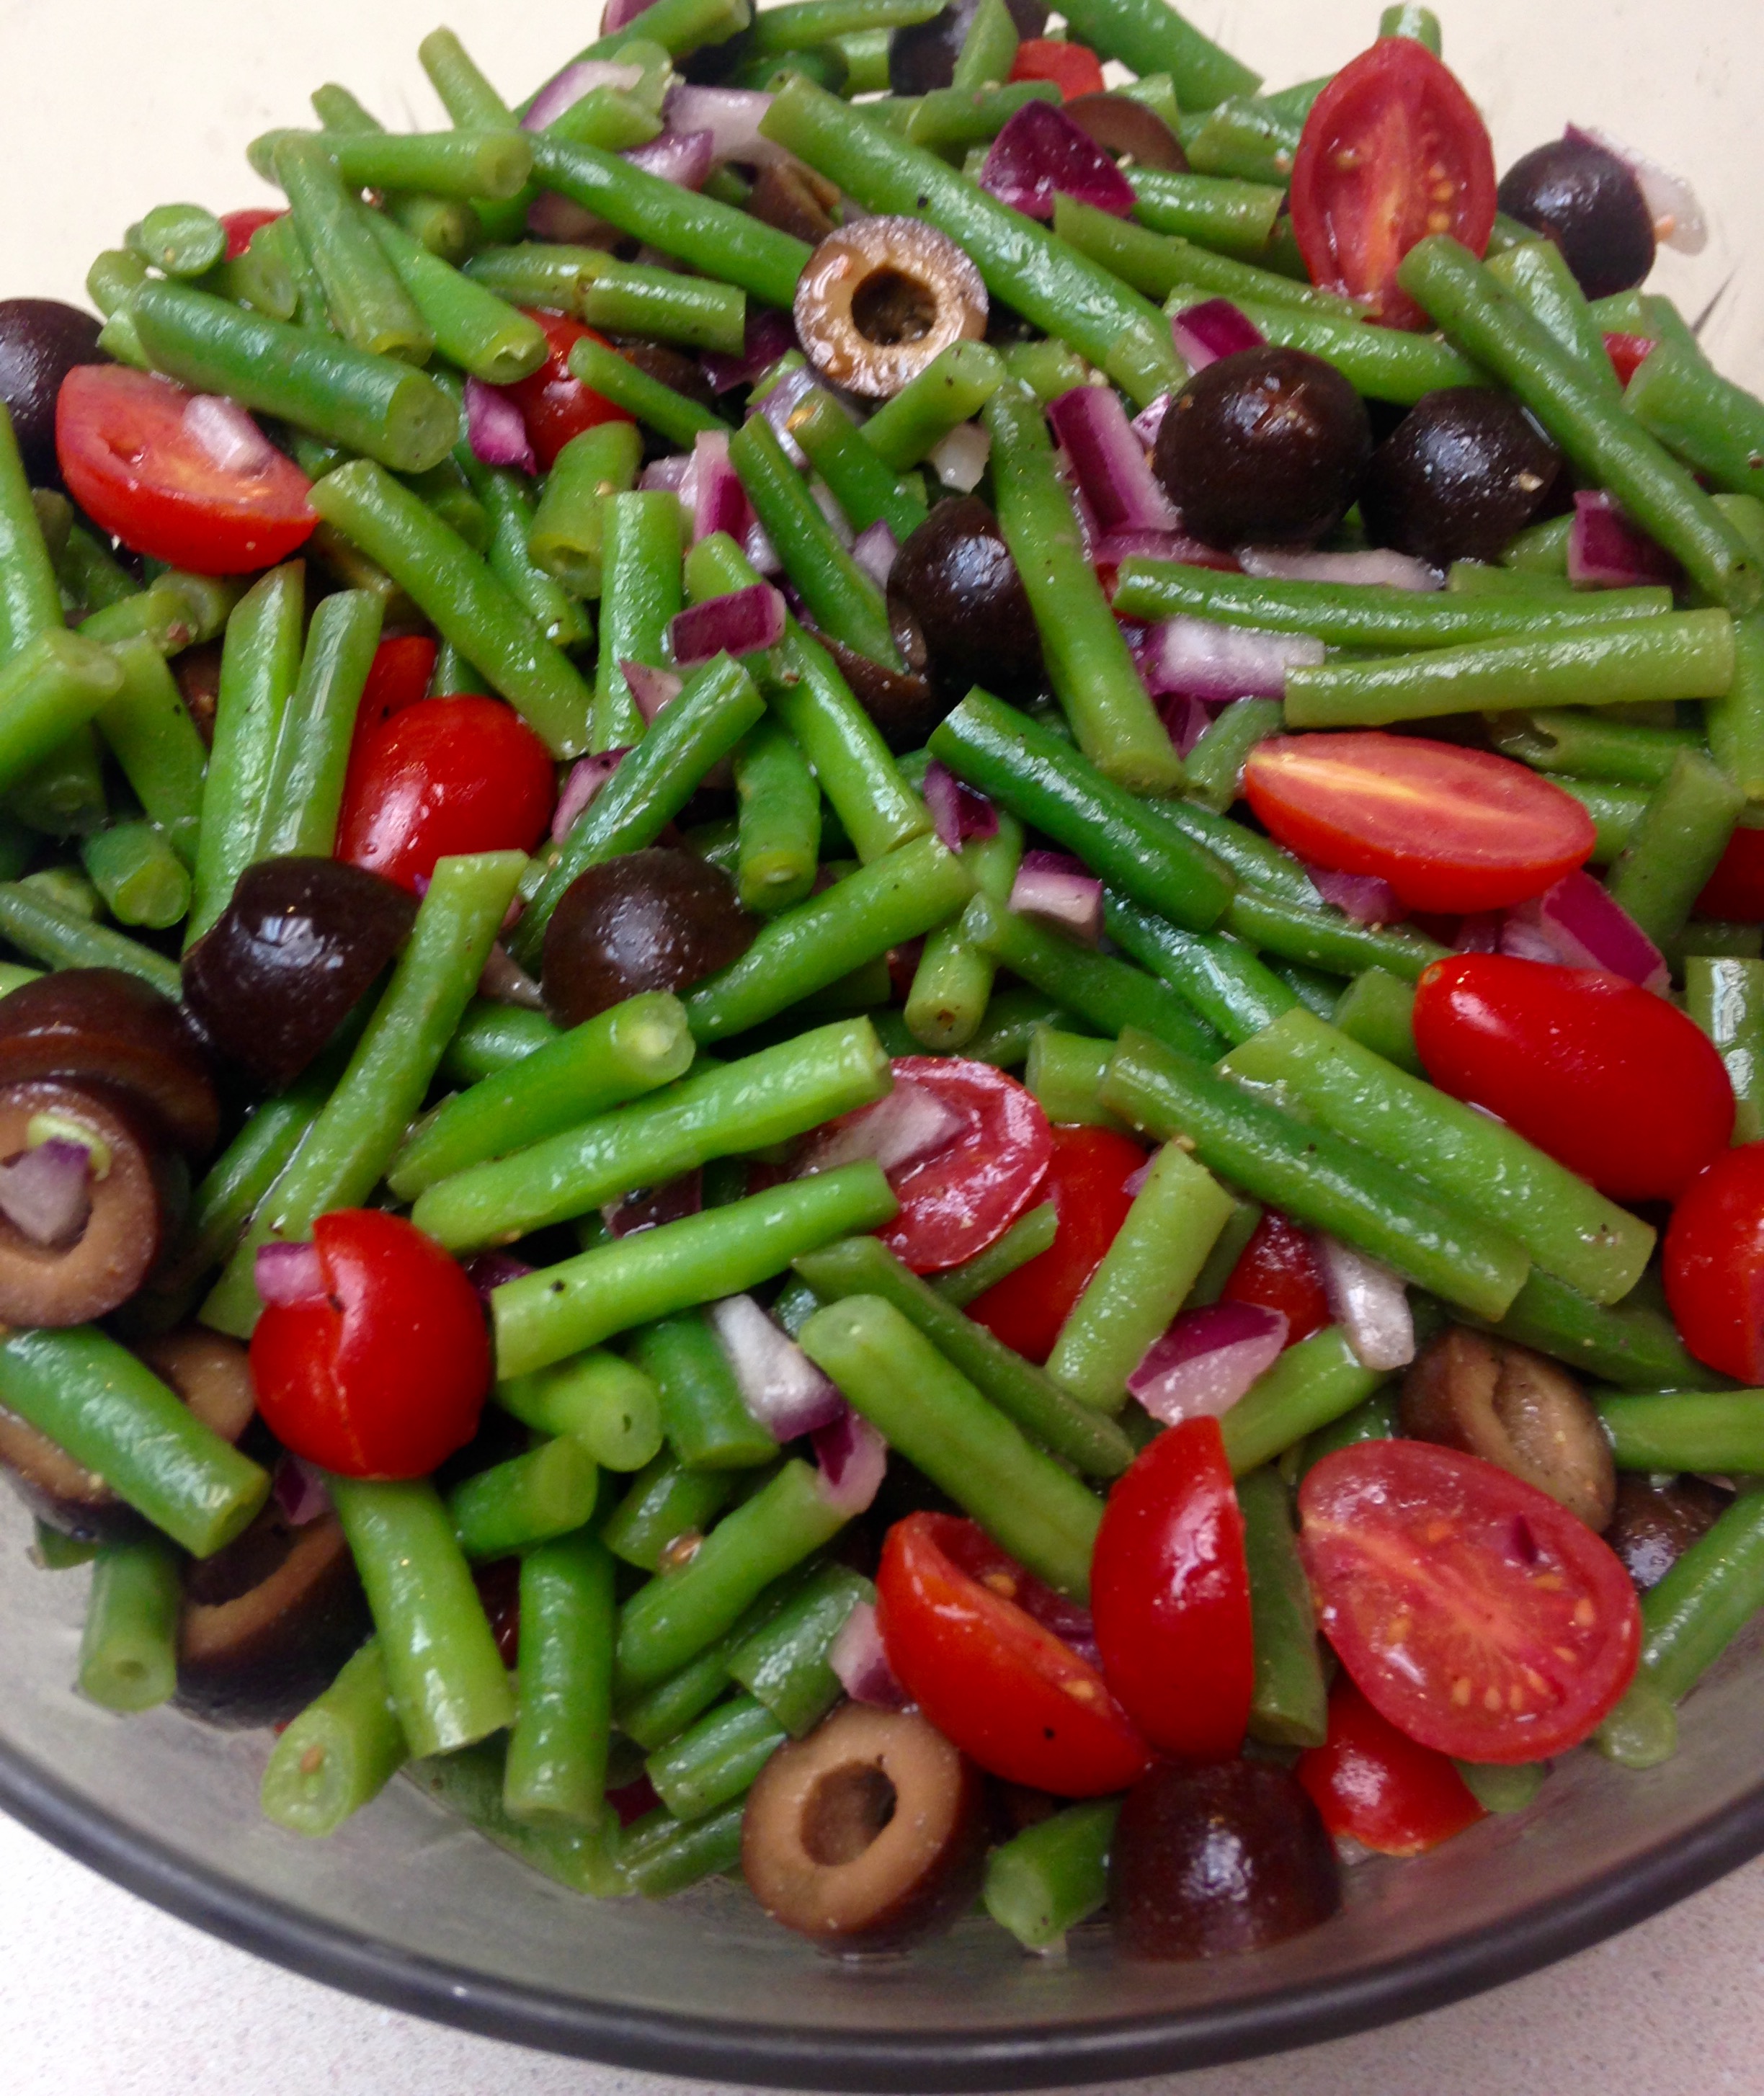
coldgreenbeansaladAs I have mentioned many times before, we make sure there are prepared foods stocked in our refrigerator, since there are scarce convenience foods that fit our sugar free, grain free eating habits. We prepare boiled eggs, bite-sized raw vegetables, cured meats and salads of all kinds. Making salads out of staples is an easy way to keep the fridge full, like Dilly Egg Salad, Tuna Salad Saute, Don’t Have To Choose Salad, Antipasto Salad or my recently shared Cucumber Salad.

Due to the freakishly mild winter in our current climes there are already fresh green beans available, so I grabbed some and brought them together with some other ingredients for a marinated salad. The thing I like most about marinated salads is that they get better every day they sit. On day four after making this salad the acids in the dressing may have made the green beans a little less bright, but the beans also soaked up all the flavors, including the tang of the red onion, and a serving of it tastes heavenly.

I encourage you to experiment with other salad fixings too! I’ve made similar salads using slender asparagus instead of green beans, Greek olives instead of black, mushrooms along with tomatoes, and even thrown in some chopped up ham or salami. Noticing a variation on a theme? The thing I have learned making cold salads over the years is that two cups of dressing seems to be just right to coat 9-10 cups of salad, which is the case here.

Have fun in your kitchen and enjoy the bright, healthy produce of spring!

Cold Green Bean Salad

2 pounds fresh green beans
2 cups grape or small cherry tomatoes
1/4 large red onion
2 cups large black olives, drained
2 cups vinaigrette dressing (I suggest my Herby Dressing or Greek Dressing)
Sea salt and ground black pepper to taste
2 teaspoons dried red pepper flakes (optional)

Make your vinaigrette dressing of choice, if not already made or using store bought. Set aside.

Remove ends from green beans and slice them into bite sized pieces, about one inch. In a medium pot with steamer insert bring one inch of salty water to a boil. Add beans to steamer and lightly steam about five minutes, with the intention to soften them but retain their bright green color. Remove beans from pot, set them aside to cool and prepare remaining ingredients.

Slice tomatoes in half lengthwise and place in bowl. Finely chop red onion and place in bowl. Slice black olives in half horizontally and place in bowl. Add green beans. If including red pepper flakes add them now.

Pour dressing over salad ingredients. Gently toss salad until well coated. Cover bowl and chill for at least four hours or overnight.

Remove from refrigerator and toss salad again, then taste and add salt and pepper to enhance dressing flavor (need will vary depending on dressing used). Toss one more time to incorporate salt and pepper, then serve.

Italian Sheet Bake

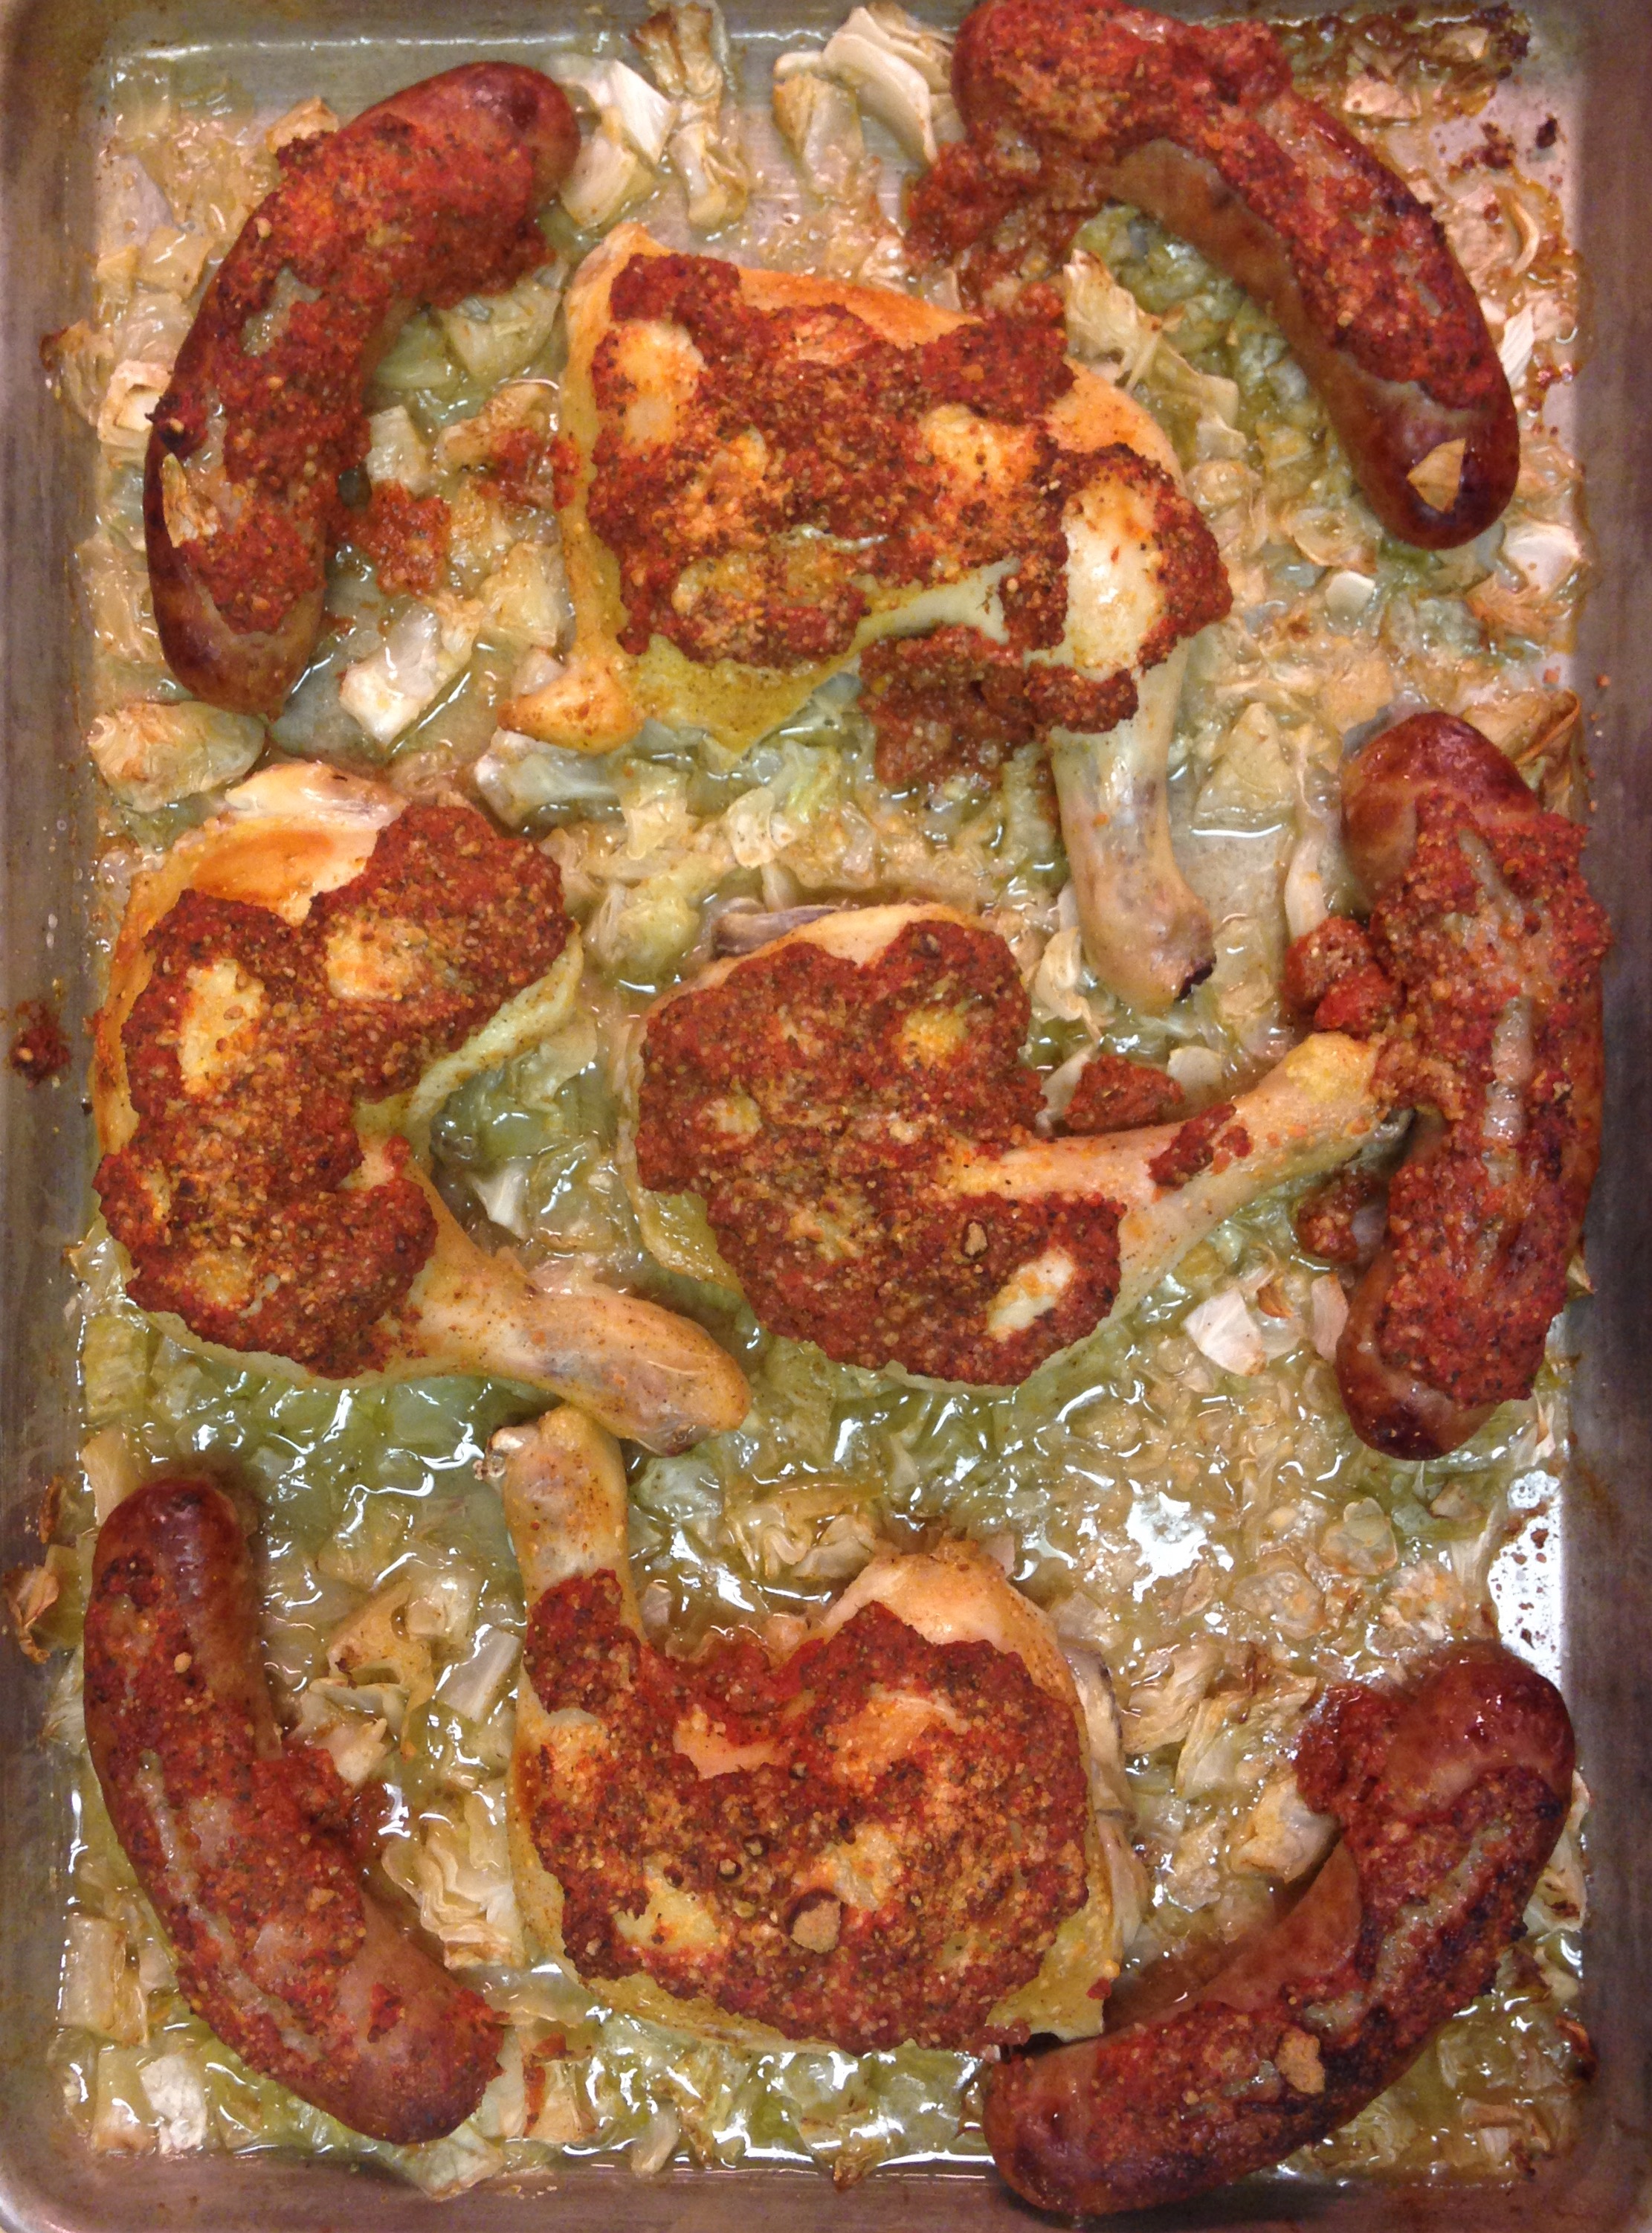
italiansheetbake
I love one dish wonders. Throw some yummy ingredients on a pan, slide it 
in the oven and viola! Dinner! 

We recently had chicken leg quarters and some hot Italian sausage in the 
fridge, which brought on this Italian feast. It was inspired by my 
mother in law. She regularly makes a delicious dish with chicken, sausage 
and a lovely tomato sauce with fresh herbs, served on top of pasta or 
spaghetti squash, or the spiffy new veggie noodles that are popular these 
days. I did not have the fresh herbs, but definitely had the other elements. 
I decided to pull out a sheet pan and fill it up with our future dinner.

Next time I will probably double the amount of cabbage, but the organic 
head I got this week was tiny, so maybe not. 

The star of this dish, surprisingly, was the tomato sauce. The low and slow 
cooking temperature roasted the tomatoes, so they had a rich, powerful 
flavor that perfectly complimented the chicken and sausage. The cabbage 
absorbed the flavors of the juices and it evolved into a great side dish. 

The recipe is flexible as well--the chicken and sausage ratio could vary 
significantly depending on your supplies, just make sure the tomato sauce 
is on top and the cabbage is below.

Italian Sheet Bake

2 cups jarred or canned diced tomatoes (about 16 ounces)
1 Tablespoon dried basil leaves
2 teaspoons dried oregano Leaves
1 tablespoon dried parsley leaves
2 garlic cloves, crushed
1 teaspoon sea salt
1/2 cabbage head, medium chop
5-6 hot Italian sausage links
4 chicken leg quarters
1/2 cup finely grated Parmesan cheese
Sea salt and black pepper to taste

Place oven rack on the second level from the top. Preheat oven to 325 
degrees. 

In a medium bowl (if using a stick blender) or food processor add the 
tomatoes, basil, oregano, parsley, garlic and salt. Purée tomatoes 
and herbs into a sauce. Set aside.

On a shallow baking sheet evenly spread the chopped cabbage. Make 
a slit in one side of each sausage, arranging the links around the edge 
of the pan, slit side up. 

Generously season all sides of the chicken quarters with salt and 
pepper. Arrange chicken in the middle of the bed of cabbage, skin side 
up. Drizzle tomato sauce on chicken and sausage, spreading it to 
cover the surface of all the pieces. 

Sprinkle the cheese over the sauce. Place sheet in oven and bake for 
one hour and 15 minutes, until sausage and chicken is fully cooked, 
at least 165 degrees Fahrenheit. 

Remove sheet from oven and let sit for five minutes before serving.

Spicy Stuffed Tomatoes

spicystuffedtomatoes

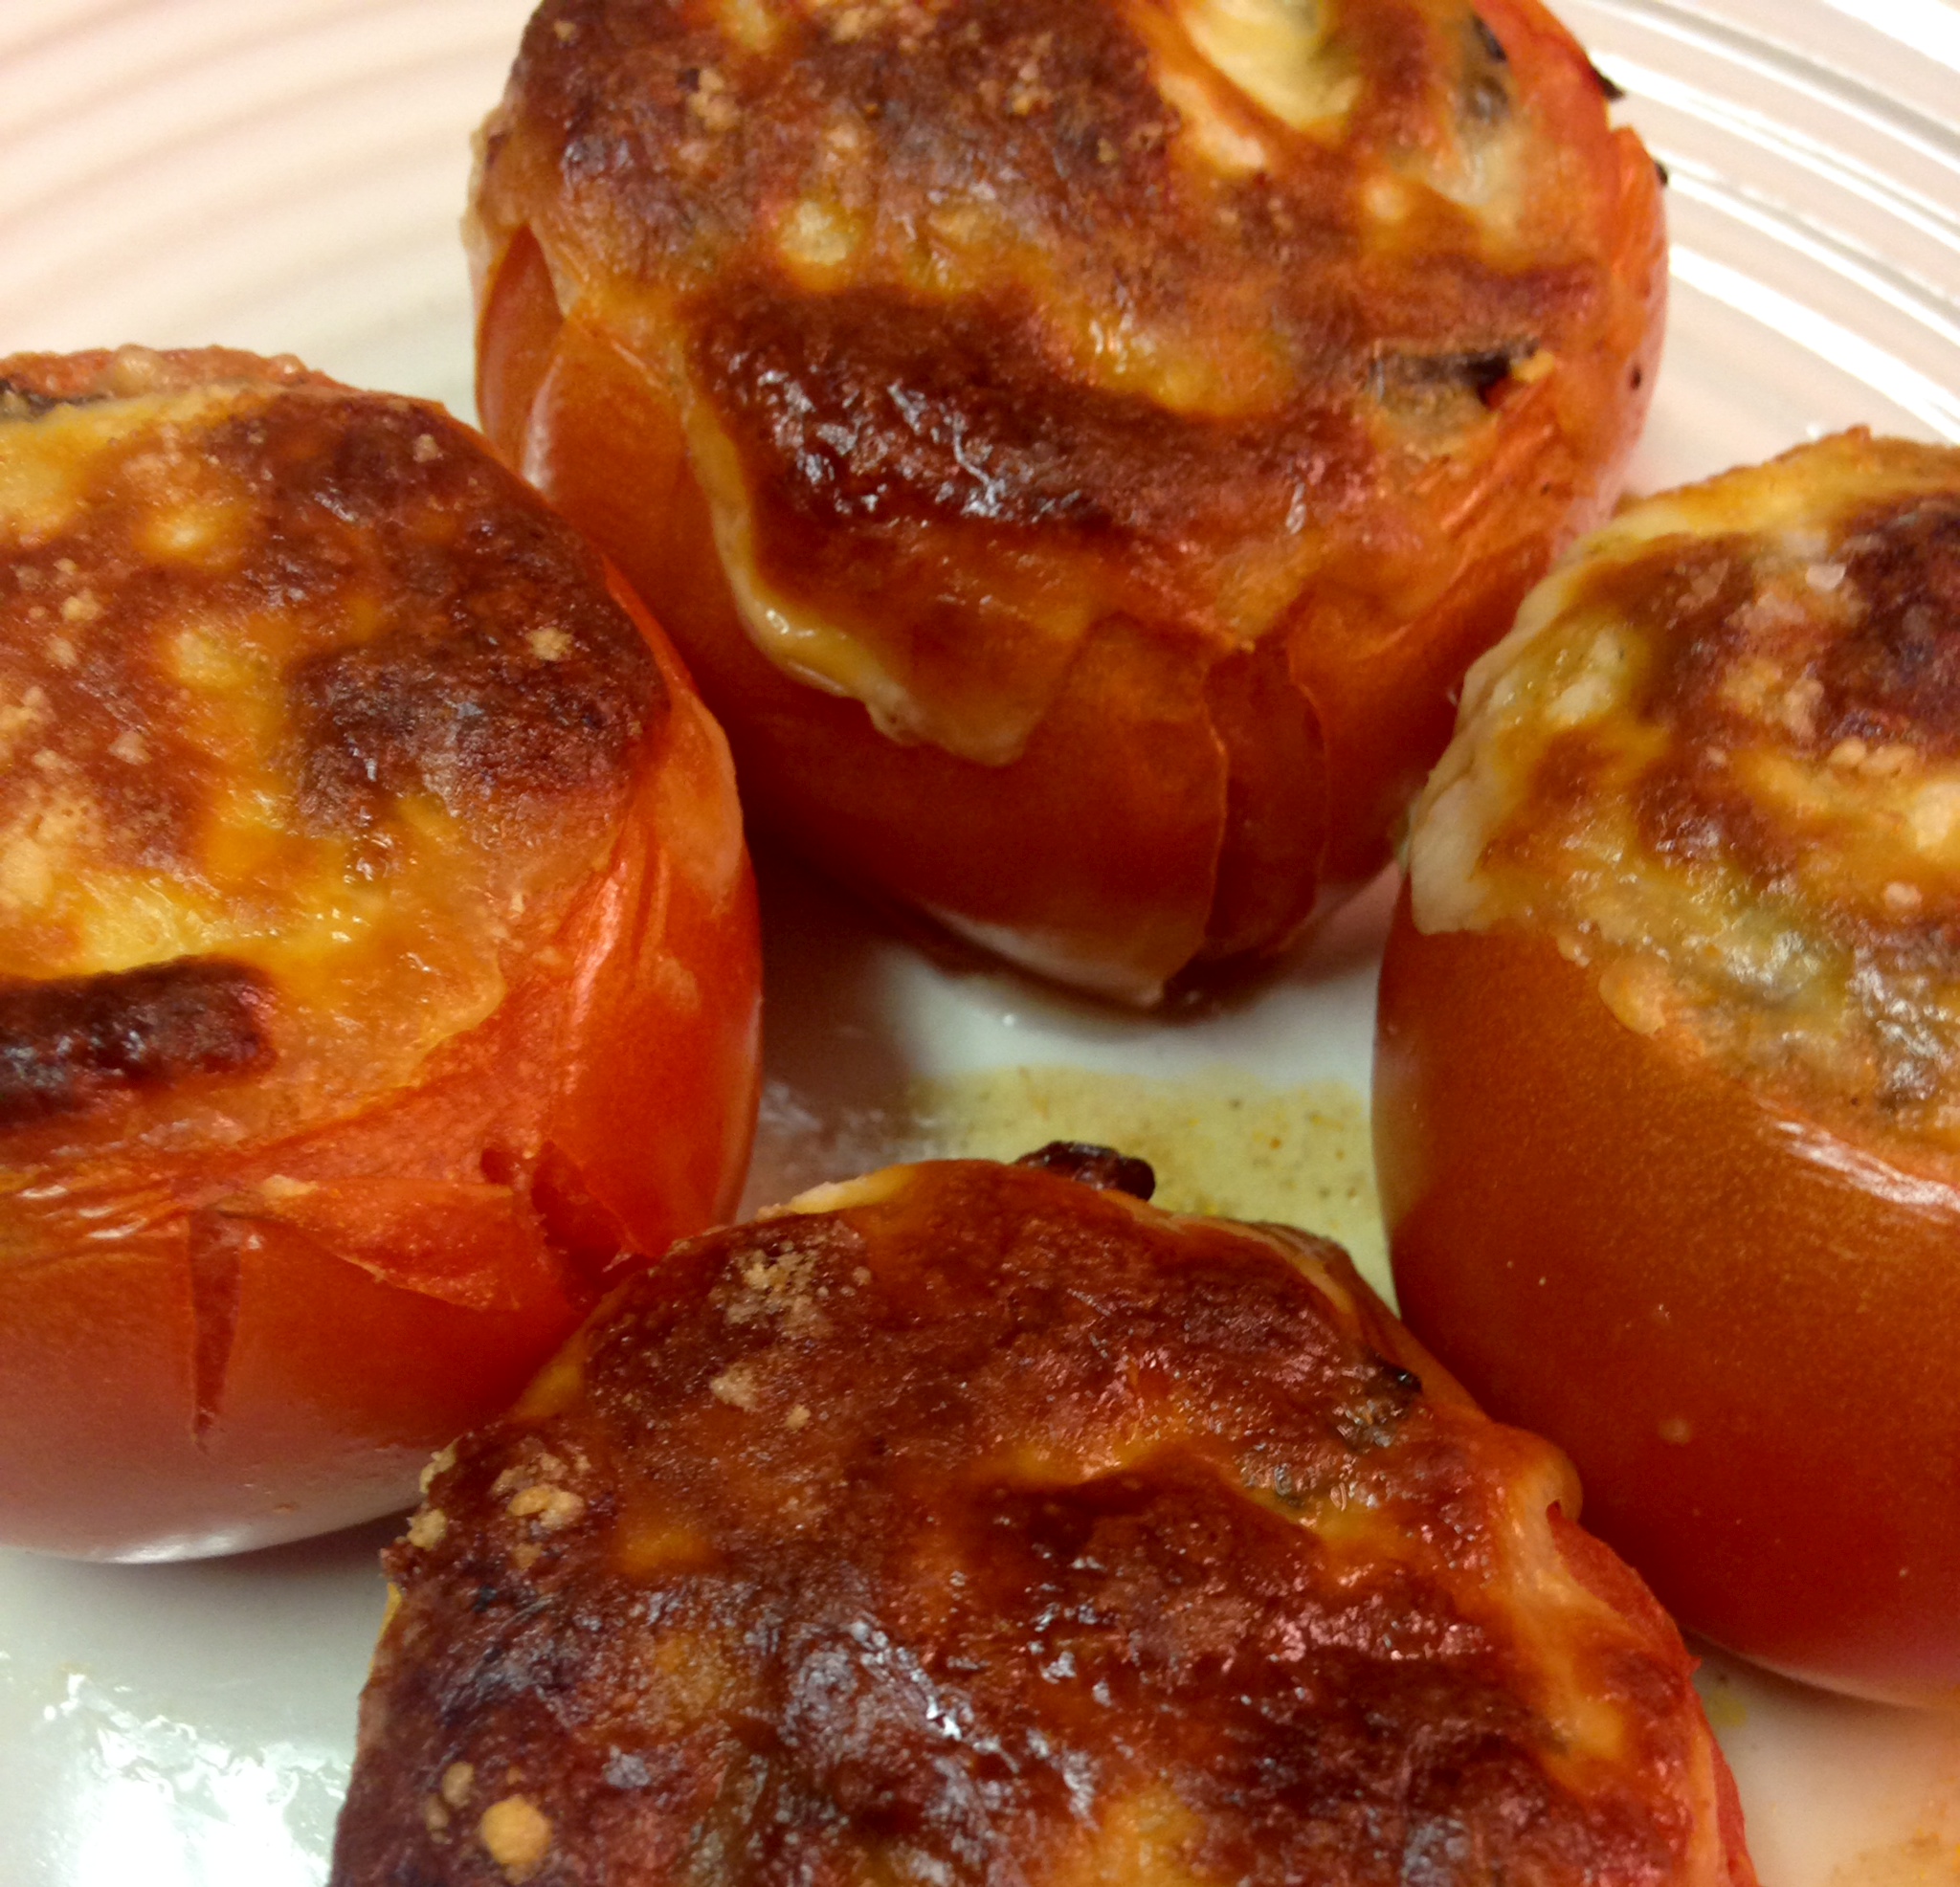
There must have been a bumper crop of tomatoes somewhere nearby, because there were tons of big, beautiful ‘maters in the local produce section at the store this week! We often have fresh tomatoes in our kitchen and chop them up raw as a quick side dish, but I decided this time to stuff them and bake them. The cooler weather leads me towards warm food. You can never have too many variations on vegetable dishes, can you?

I used to make these with oatmeal as filler, but since using it would conflict with our current habit of eating grain free, I replace it by adding more veggies and sausage. Worked out great!

As the new calendar year begins and the holiday activity wanes I ponder what is to come during the next twelve months. Last year Big D and I both shifted the work we do to bring in money, and shifted where we live. Prospects look bright for our efforts to follow our passions, with starting a new business and writing new books. This year is starting on very bright notes, we are working hard and loving it, while also finding opportunities to spend more time with family and friends. I hope you all start the year with positive outlooks, for the perspective you take will most definitely influence where you go in life. Why not do it positively. You will be amazed where you will go with it!

Spicy Stuffed Tomatoes

8 ripe tomatoes
1/2 medium onion
1/2 green bell pepper
4 ounces white button mushrooms
2 links hot Italian sausage, cooked and roughly chopped
4 cloves garlic
2 tablespoons extra virgin olive oil
1/2 teaspoon cayenne pepper powder
1/2 teaspoons sea salt
1/4 teaspoons ground black pepper
2 teaspoons hot sauce (suggest Tabasco Smoked Chipotle Sauce)
1 cup mozzarella cheese
1/4 cup grated parmesan cheese
Sea salt and ground black pepper to taste

Cut off top portion of each tomato, making a flat top. Scrape out seeds and meat core from inside of tomato. Turn tomatoes cut side down on a towel to allow extra juice to run out. Finely chop mushrooms, onion, bell pepper and garlic. Heat oil in a medium sauté pan over medium high heat. Add garlic and onion into pan and cook about three minutes, until onions begin to sweat. Add bell pepper and mushrooms, cooking another five minutes until onions begin to brown and mushrooms release their liquid. Add cayenne pepper powder, salt, black pepper and hot sauce. Stir and simmer on low for five more minutes. Remove from heat and let cool slightly.

Preheat oven to 350 degrees.

Flip over tomatoes so cut side is up. Sprinkle the inside of each with sea salt and ground black pepper to taste. Drop sausage into the bottom of each tomato, dividing it evenly among the eight tomatoes. Spoon sautéed mixture into each tomato, dividing it equally among the eight tomatoes as well.

Place stuffed tomatoes in a baking dish that allows them to fit snugly, so as to support each other while cooking. Dish size can vary due to size of tomatoes, but 9×9 inch should work. Spoon 1/8 cup mozzarella cheese on the top of each tomato, pressing it down firmly so it stays on top of each. Sprinkle parmesan cheese on top of each tomato. Bake for 30-35 minutes, until cheese browns and tomato skin wrinkles and begins to crack. Remove from oven and serve immediately.

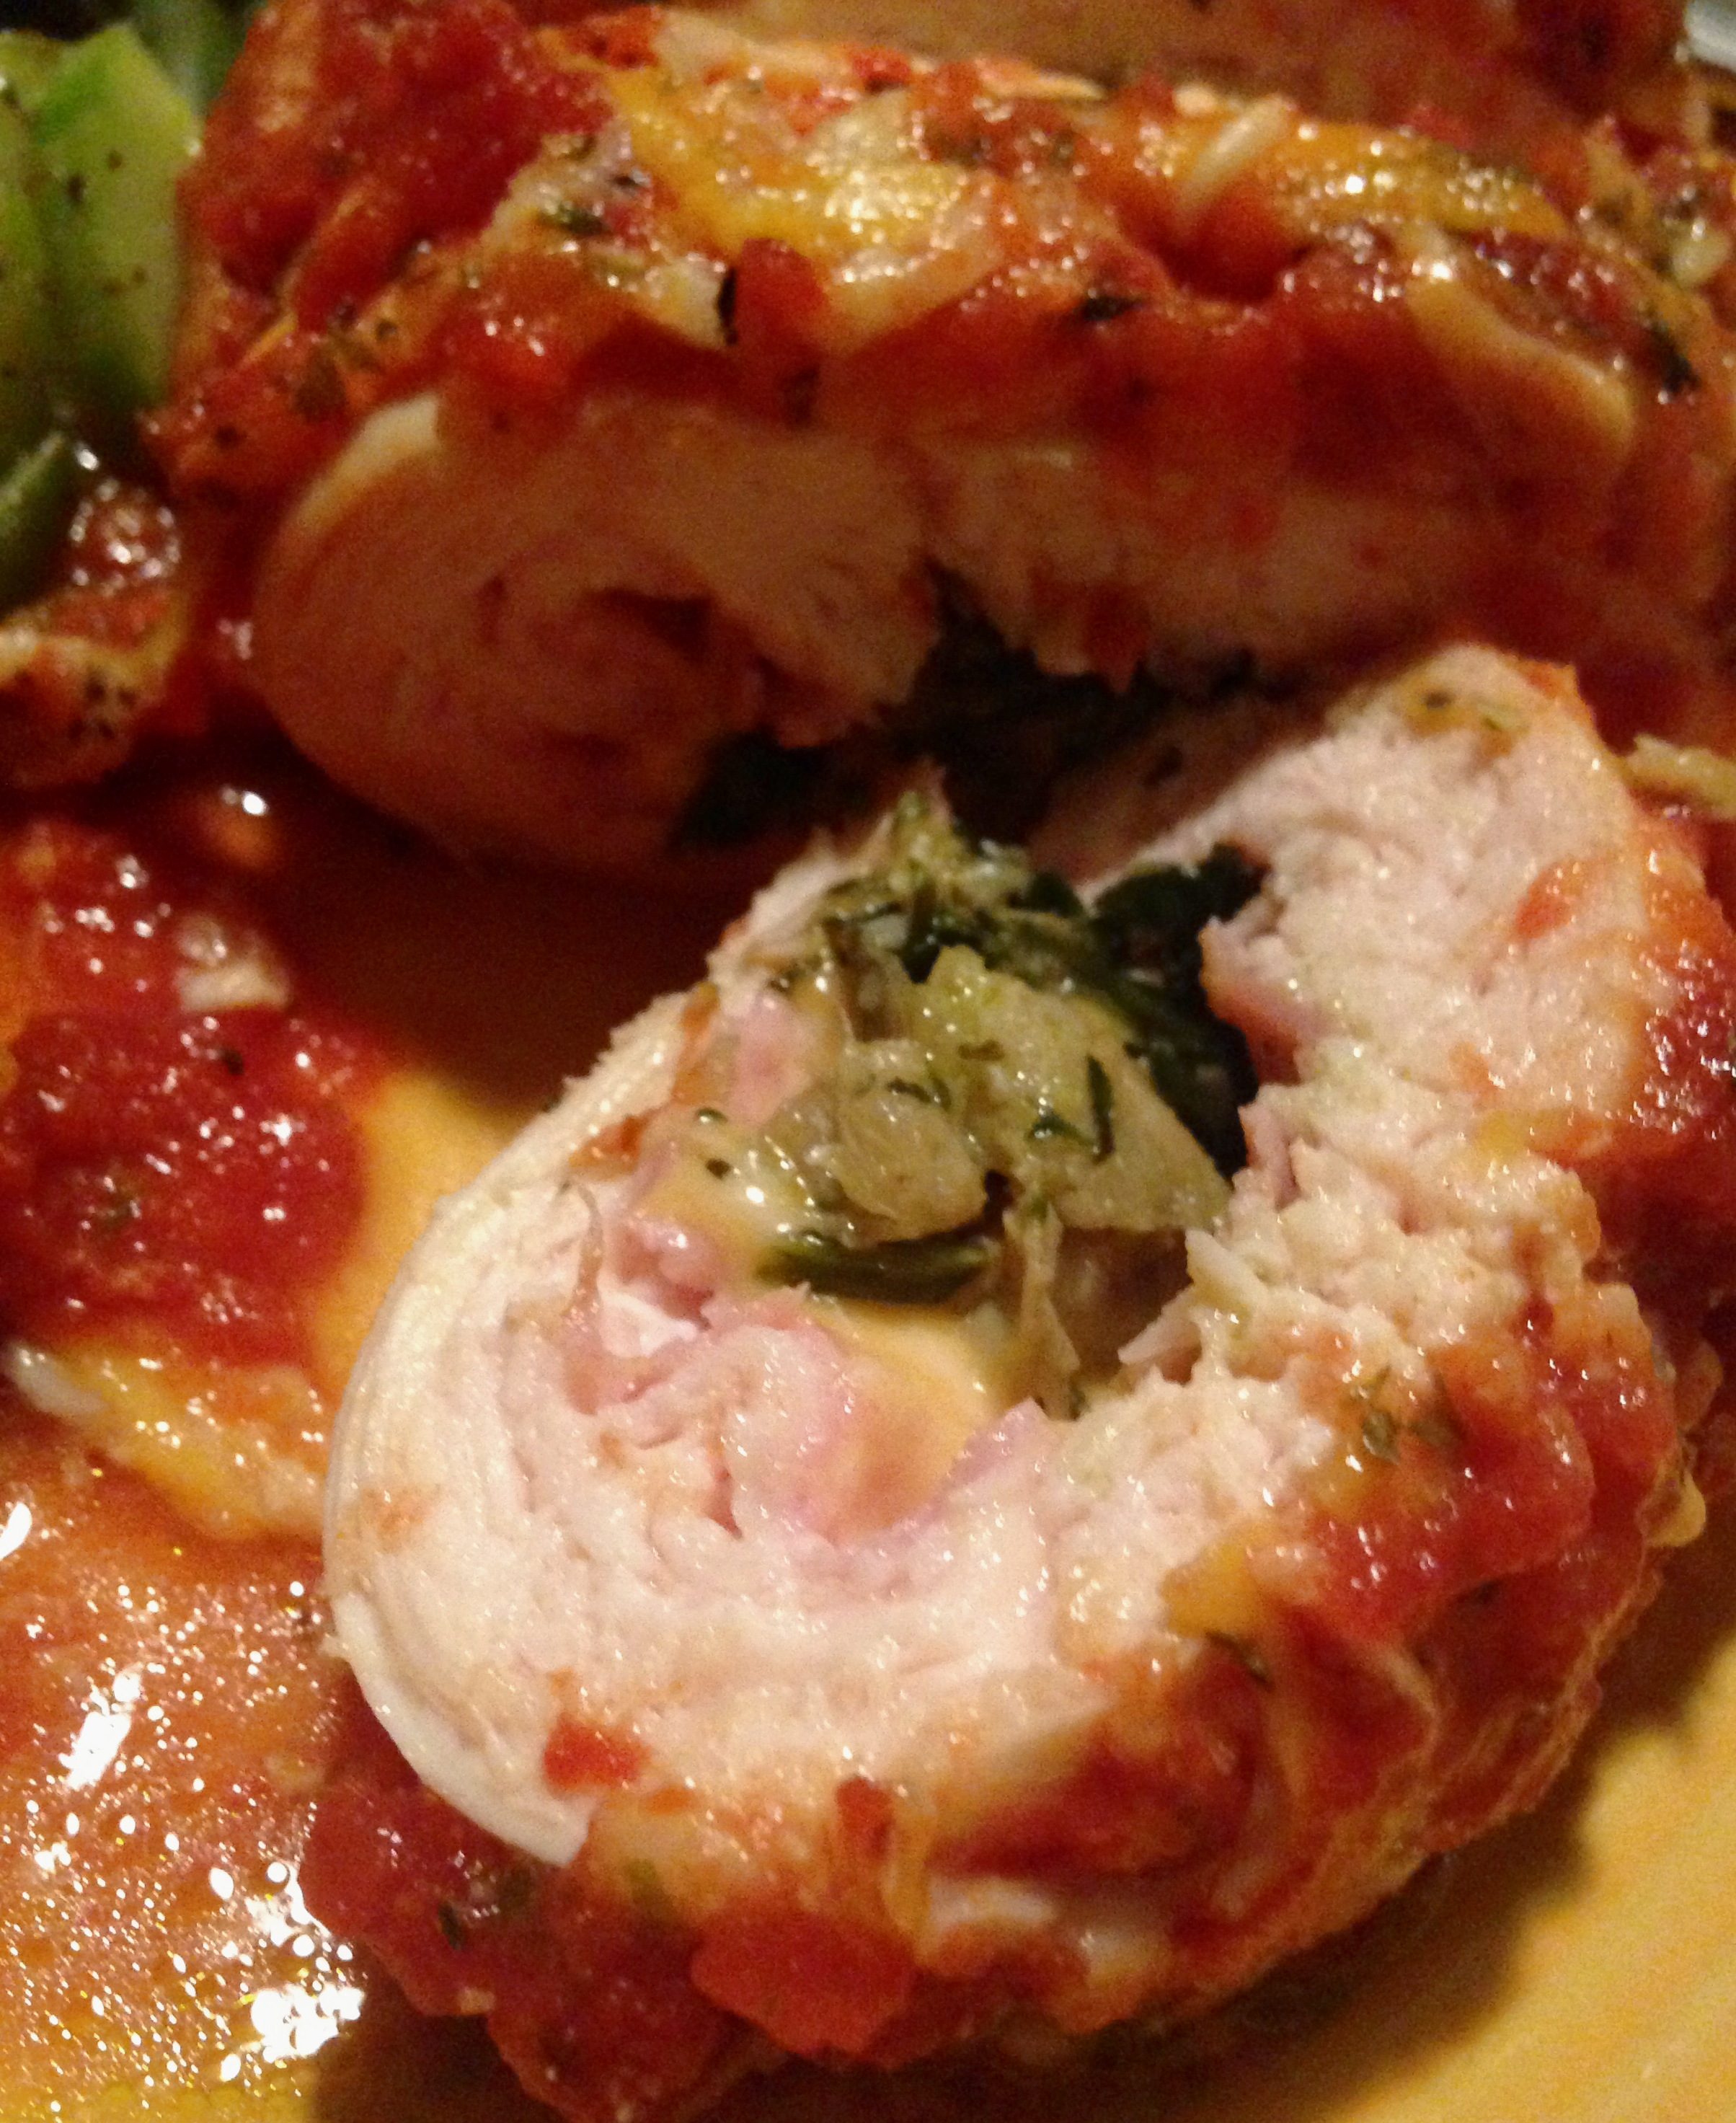
Susan’s Stuffed Chicken Breasts

susansstuffedchickenbreastsWhenever my friends have news, good or bad, I want to cook for them. For good news it is a celebration! For bad news, it is my version of giving comfort. It is born from a habit started long ago when my family. We always celebrated or mourned surrounded by our people over a table full of food. One of my oldest and dearest friends Susan came over with news recently and cooking was definitely a necessity.

She loved it when I made rolled chicken before, so I followed their fowl lead and came up with another rolled beauty. These chicken breasts came out much less dainty and heartily filled us up. Definitely appropriate for the occasion, since Susan has some ass kicking to do in the near future.

As the holiday season draws near there is a lot of feasting and fasting and celebrating. Embrace the time you have with family and friends. Embrace the time hanging out in the kitchen. Embrace the kids playing chase in the house (and the resulting broken vase). Embrace the chill while sipping coffee in the morning. Embrace the hectic days and the slow, lazy days. Embrace each other and yourself. Time passes swiftly so embrace what you have in real time. Embrace. Embrace stuffed chicken breasts because they are most awesome.

Susan’s Stuffed Chicken Breasts

2 14.5-ounce cans diced tomatoes
1 8-ounce can tomato paste
3 garlic cloves, chopped
1 small bunch fresh parsley, stems removed
3 sprigs fresh oregano, stems removed
8-10 fresh basil leaves
1 tsp ground cumin
1/2 tsp ground black pepper
1 tsp sea salt
4 cups fresh spinach
2 cups (or 2 14-ounce cans) marinated artichoke hearts, drained
1/2 medium yellow onion, finely diced
1 Tbsp lemon juice
6 boneless skinless chicken breasts
12 slices thin deli ham
4 cups grated cheddar cheese
Salt and pepper to taste

In a medium sauce pot over medium heat add the diced tomatoes, tomato sauce and garlic. Roughly chop the parskley, oregano and basil leaves. Add all the herbs except about 2 tablespoons to the sauce. Set aside the extra herbs for the top of the dish. When the sauce begins to steam, lower heat let simmer for about 30 minutes then remove from heat.

While sauce is simmering prepare the chicken and stuffing. Finely chop the spinach and artichoke hearts. In a medium bowl combine the artichoke hearts, spinach, onion and lemon juice. Toss until combined. Add salt and pepper to taste. Set aside.

Spread a piece of wax or parchment paper on the counter, at least twice the size of a single chicken breast. Place a breast in the middle of the paper. Cover the breast with a second piece of paper. With the flat side of a tenderizer mallet (or a regular mallet covered in cling wrap), gently pound the breast, starting from the center and moving towards the edges, until it is 1/4 inch to 1/3 inch thick. Repeat with all the breasts, changing out the paper as needed. Generously season each breast on both sides with salt and pepper.

Preheat oven to 350 degrees.

To stuff the chicken clear a work surface. Position nearby a 9×13 inch baking dish. Spread a thin layer of tomato sauce on the bottom of the dish. Place a single breast in front of you on your work surface lengthwise. Use two pieces of ham to cover the surface of the breast as much as possible. Sprinkle 1/3 cup of grated cheese on top of the ham. Spoon 1/6 of the spinach artichoke mixture in a row from top to bottom on one side of the breast. Starting on the side nearest the mixture begin rolling the breast,  making sure the left and right ends overlap at least once at the end of the roll. Place the roll seam down in the baking dish. Repeat with the remaining breasts.

Pour tomato sauce over chicken rolls, leaving 1/4 inch from the top clear of sauce so there is room for it to bubble up to the dish edges. You may have leftover sauce, depending on the size of the chicken breasts. Sprinkle remaining grated cheese and chopped herbs on top of the sauce. Bake for 45 minutes until chicken is thoroughly cooked. Remove from oven and let sit for ten minutes before serving.


Autumn Apple Chicken Soup

applechickensoupAlthough it is still in the mid-80s and humid here in Texas, my time on the back porch on cool mornings has given me a hankering for chicken soup. After consulting Little B on the contents she desired, specifically apples, I was inspired to tweak a previous snappy and successful chicken soup recipe to honor autumn with apples and some root vegetables. It was a great way to use the meat and juices from half a spatchcocked chicken. The apple, corn and carrot gave the soup a pleasant sweetness while warming and filling our bellies.

This soup can also be made with a traditionally roasted chicken and juices, or some cooked up especially for the soup, along with chicken stock.

You may notice that the the picture has nothing whatsoever to do with soup. That is because I never got a picture of the soup before Little B ate it up. Big D and I each got at least a bowl before Little B at three bowls per meal before it was gone. I substituted soup pictures with a picture Little B took of her lovies (and the leather strip our cat loves killing) after having three bowls of soup for dinner. Enjoy!

Autumn Apple Chicken Soup

2 Tbsp extra virgin olive oil
2 carrots, chopped
1 medium yellow onion, chopped
1 turnip, chopped
2 celery stalks (plus heart and leaves if available)
5 cloves garlic, chopped
1 Fuji apple with skin, chopped
Corn stripped from two cobs (or 1 can unsalted corn)
1/3 head cauliflower, chopped
8-10 fresh basil leaves
1/2 cup fresh lemon thyme leaves
1/3 cup fresh oregano leaves
1/2 bunch fresh parsley leaves
1 Tbsp sea salt
1 14.5 ounce can diced tomatoes
1 pound chicken meat, dark and white mixed (from about half a roasted chicken)
4 cups chicken stock, or juices from the roasted chicken plus 3 cups water

In a 3 quart stock pot over medium high heat add oil. When oil is hot (in about 30 seconds) add garlic, onion, celery and carrot. Cook, stirring every few minutes until onions become transparent. Add cauliflower, turnip, apple and corn. Stir and continue to cook for about five minutes.

Add diced tomatoes with juices, chicken and chicken stock (or chicken juices plus water). Stir in basil, thyme, oregano, parsley and salt. Bring soup to a boil.

Reduce heat to low. Cover and let simmer for at least one hour. Taste and add salt and pepper to desired level. Serve immediately or let cool, then store in an air tight container.

Deconstructed Cabbage Rolls

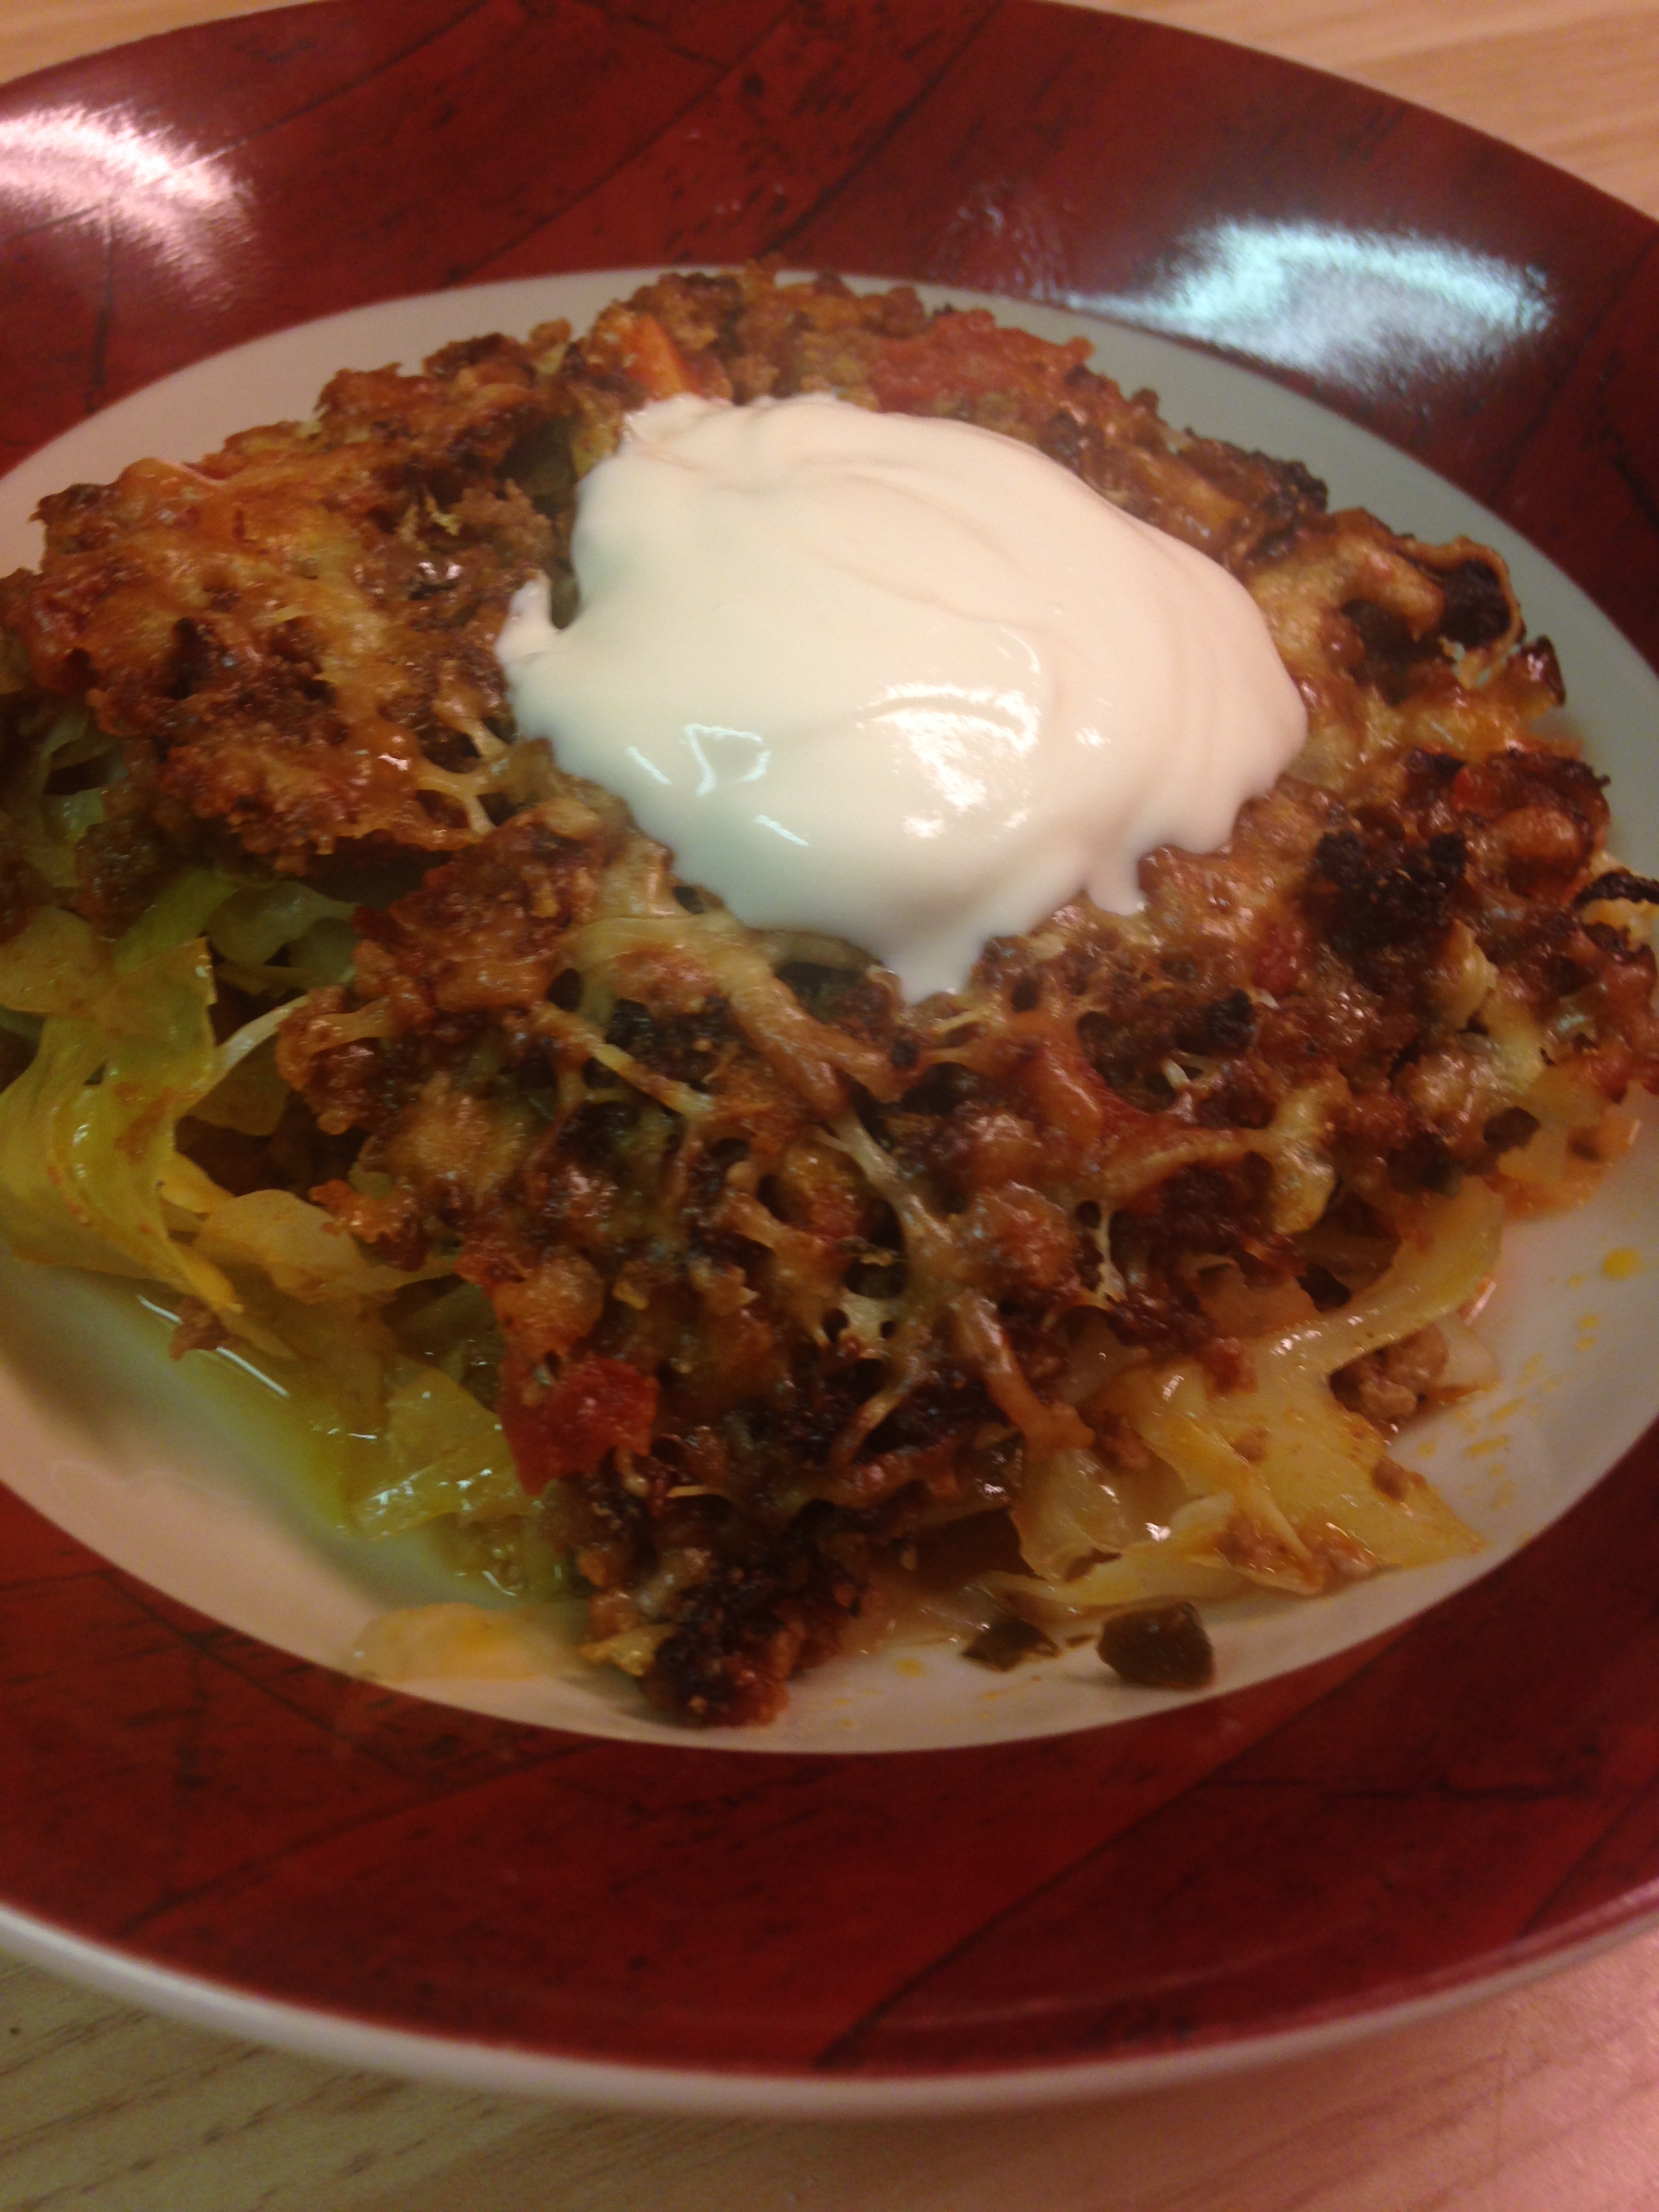
2015-10-06 11.27.52

Although the ingredients are not seasonally limited, I always consider cabbage rolls to be an autumn dish. They are a baked, one dish meal that freezes and reheats well. The other day I had a craving for thema, as the outside temperatures are gradually dropping, but I did not have as much time as needed to do them up right – blanching the cabbage leaves enough to roll them was more demanding on time than I had, so I embraced the concept of deconstructing them.

Yes, I have recently watched a few episodes of Chopped on the Food Network. I don’t watch many food shows or competition shows, but that one intrigues me. I don’t now if it is the frantic desperation of some contestants, or the odd combination of ingredients that have to use, but I get a kick out of it. If you have ever seen the show you will be familiar with the requirement that specific, typically unrelated ingredients have to be used to create an appetizer, entrée or dessert in a limited amount of time. “Deconstructed” versions of dishes are often presented on the show typically because of time restraints. It was very fitting for my brain to wander to the show concept when a rather rigid time limit was presented to me.

I think the key to this dish is the well shredded cabbage. It cooked faster than larger pieces or fully rolled cabbage rolls. Also, the small cabbage pieces helped soak up all the wonderful flavor of the fresh garden herbs I harvested before they went to seed, as well as the joyful combination of beef and tomatoes in the alternating layers. I ate too much because it was so good, Big D already asked when it will be made again, and Little B’s plate was empty when she asked for more. I hope you enjoy it too!

Deconstructed Cabbage Rolls

1 small head cabbage, shredded
1 medium carrot
1 small yellow onion
5 cloves garlic
3 Tbsp extra virgin olive oil
20 fresh basil leaves
1/3 cup fresh oregano leaves
1/2 cup fresh thyme leaves
1 cup fresh parsley sprigs
2 pounds ground beef
1 14.5 ounce can diced tomatoes
1 8 ounce can tomato sauce
Sea salt and ground black pepper to taste
1 tsp ground nutmeg
1 cup grated parmesan/asiago/romano cheese
Sour cream (optional for serving)

Chop onion, carrot and garlic into small pieces. Roll the basil, oregano, thyme and parsley leaves into a small roll. With a sharp knife slice the herb roll. Cross chop the herbs again until the oils are released. In a large iron skillet over medium high heat add the olive oil. When the oil is hot add the carrot, onion and garlic. Cook for about two minutes, until the onions begin to turn transparent and brown. Add the chopped herbs and stir, cooking for another two to three minutes.

Clear the vegetable mixture from the center of the skillet. Add the ground beef and break it up, folding in the vegetables as the beef pieces get smaller. When the meat is broken up into small pieces and beginning to brown add the diced tomatoes and tomato sauce. Stir and turn temperature under the skillet to high. Let bubble and cook, stirring every few minutes, until the liquid reduces by half, about five to eight minutes. Turn heat down to medium and simmer for another five minutes. Salt and pepper generously to taste.

Preheat oven to 350 degrees.

In a 9×13 baking dish place half of the shredded cabbage into an even layer. Sprinkle with salt, pepper and 1/2 tsp of ground nutmeg. Add a layer of the meat mixture, making sure half of it is left for another layer. Add a second and final layer of cabbage, again sprinkling with salt, pepper and the rest of the nutmeg. Add the second and final layer of meet, covering all the cabbage.

Sprinkle the cheese mixture on top of the meat layer. Place in preheated oven on the top shelf. Bake for 30 minutes. Check the top of the casserole, making sure it is not browning too quickly – if it is, place it on the middle or lower shelf. If is is barely brown or not at all, leave it on the top shelf.

Bake for 30 more minutes. Remove from oven and let sit for 10 minutes before serving.

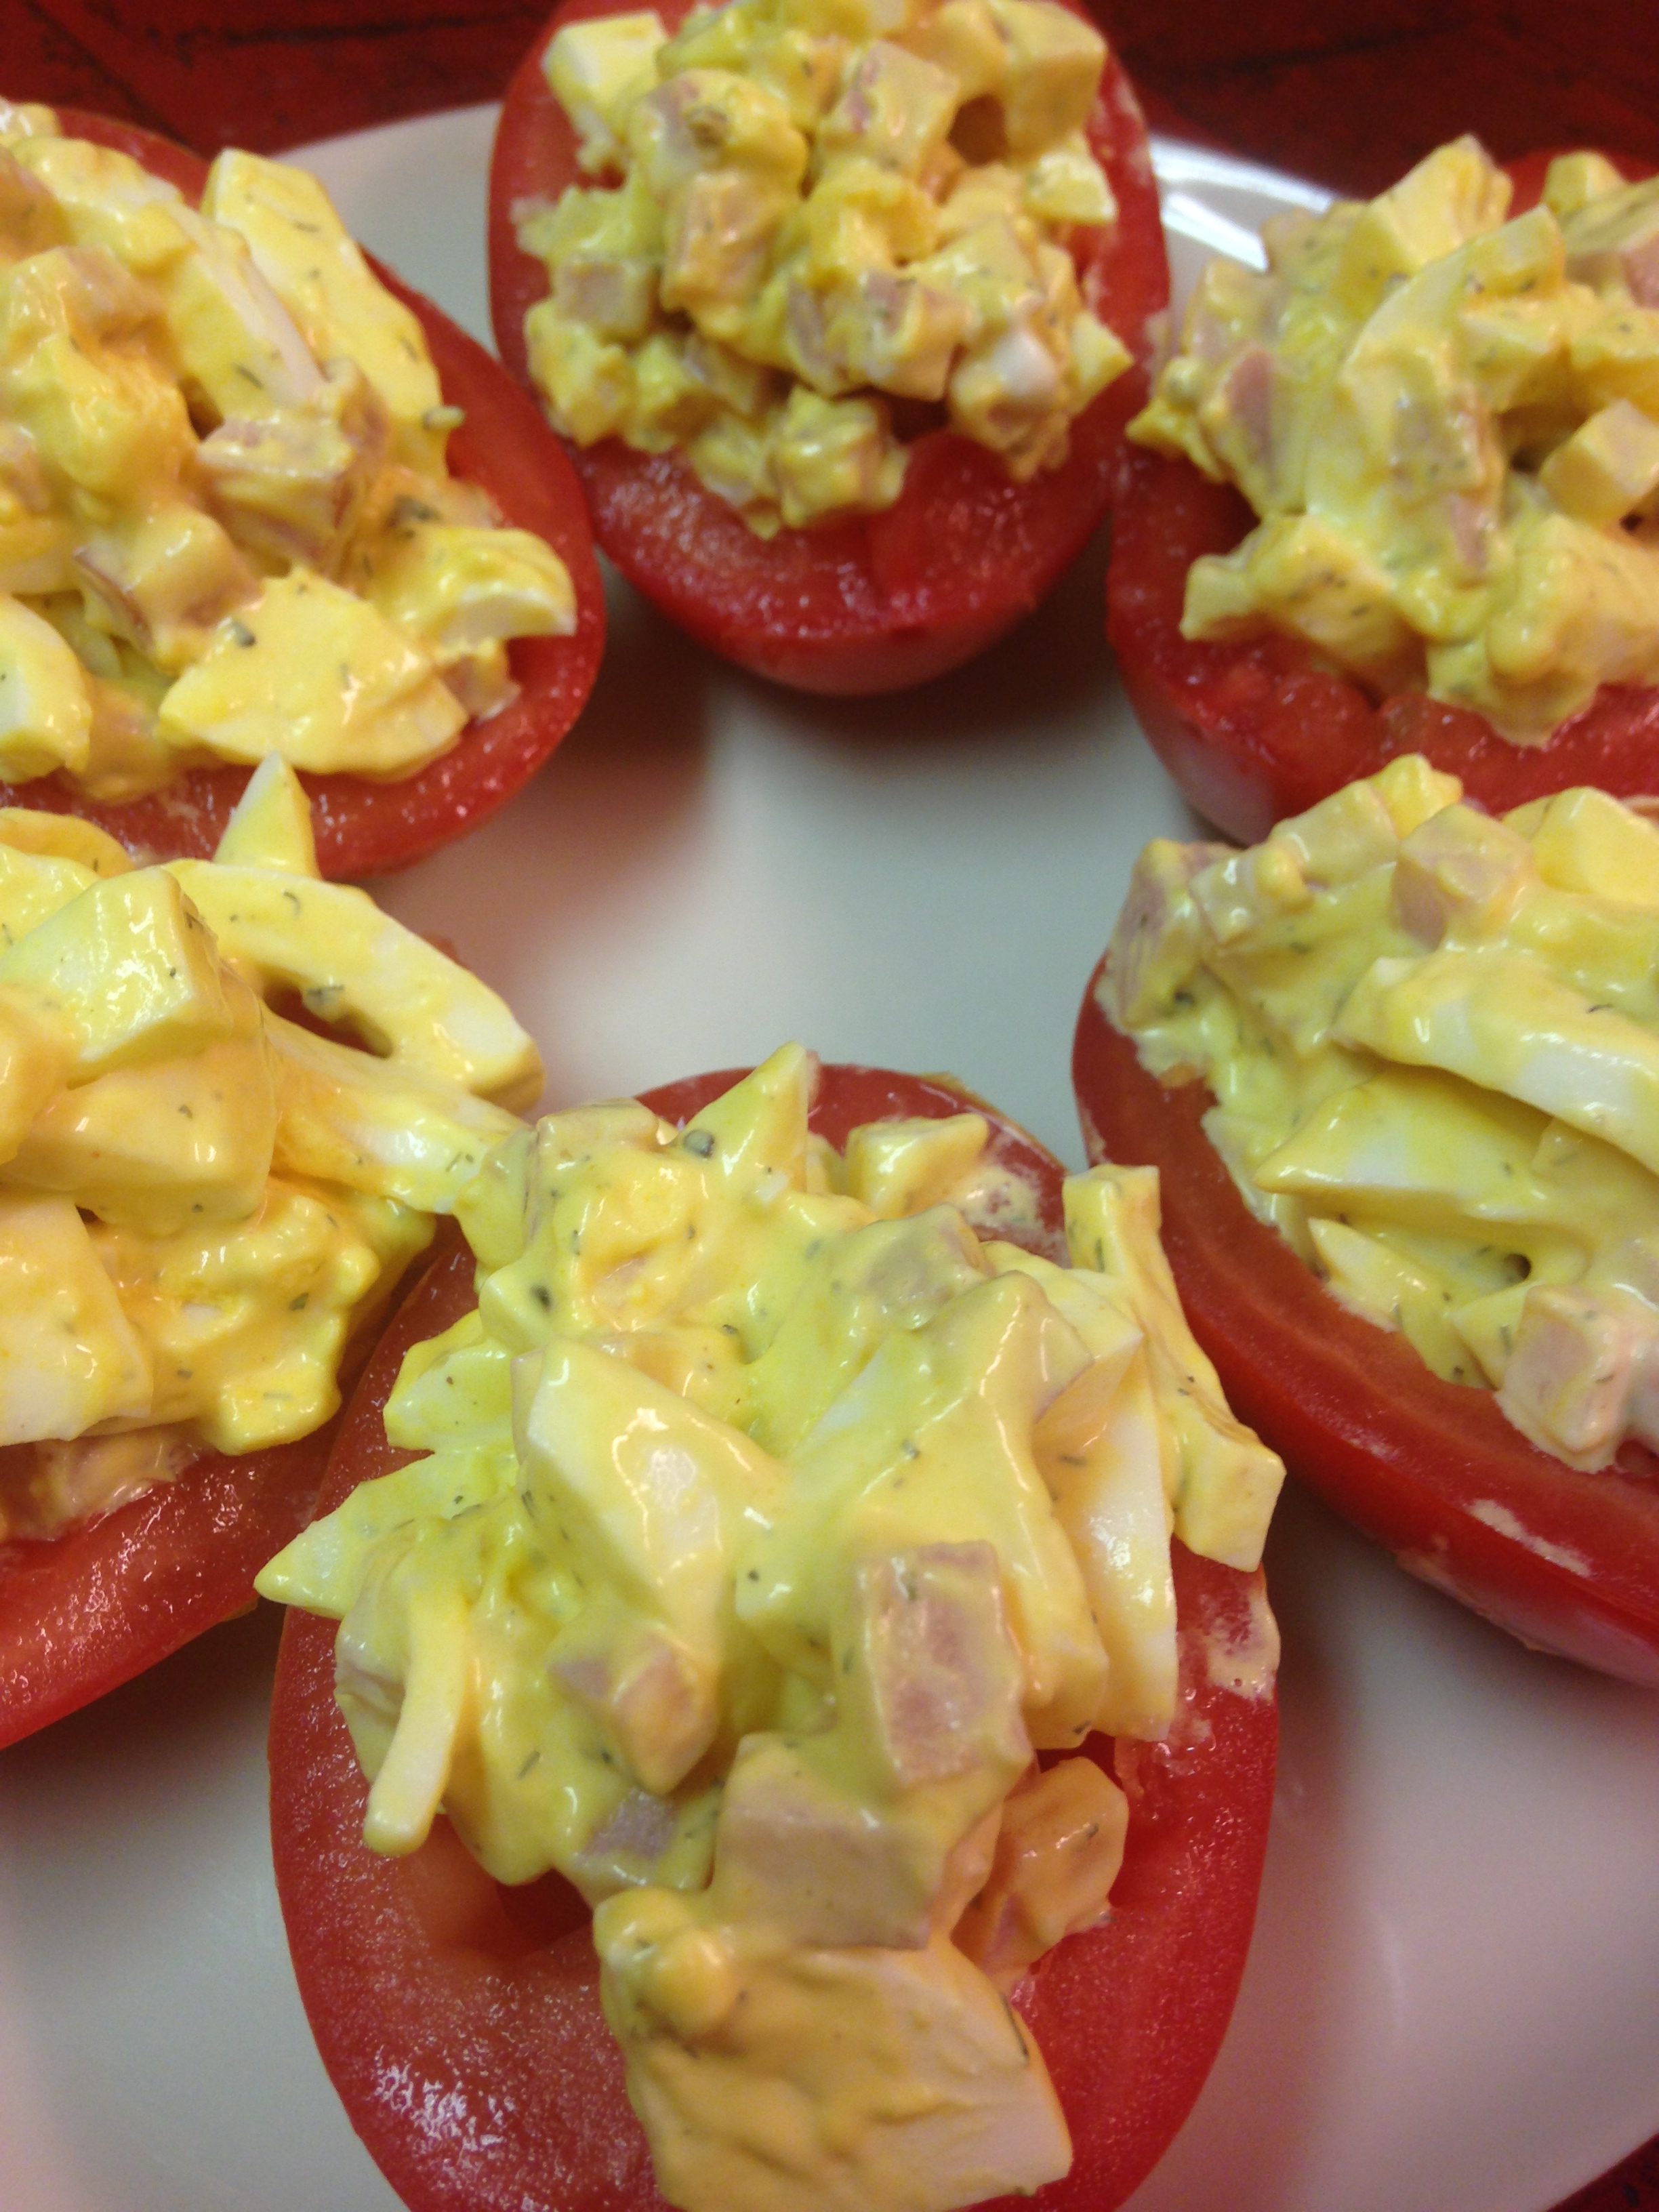
Ham and Egg Salad Tomatoes

2015-09-16 11.12.21

After a long day of baking and roasting products for Grain Free Haven, and helping hubby publish his latest book, The Secret:  A Thriller (free for a couple more days!) it was time to actually eat a meal. Not interested in turning on the oven again, I sought out a quick, oven-free meal for us to have. Spying the ever-present boiled eggs, ham and tomatoes in the fridge I came up with a fun idea. Stuffed tomatoes! The same staple foods we often eat, but in a fun little package! I won’t be selling them from my booth next weekend, but they were fun to make and eat. I have done something similar with tuna and cherry tomatoes, for a dainty tea party dish, but never used egg salad or larger roma tomatoes. These would go great as make ahead for a luncheon or pot luck. Let’s see if my mom is inspired to do them for one of her many monthly lunches next month!

Ham and Egg Salad Tomatoes

4 boiled eggs, roughly chopped (drop raw eggs in boiling water, boil for ten minutes, rinse with cold water, then peel)
1/2 cup mayonnaise
1 Tbsp yellow or other mustard
1 tsp dill leaves
1/2 tsp garlic powder
1/4 tsp onion powder
Salt and pepper to taste
2 slices ham, diced
5-6 roma tomatoes, halved lengthwise and seeds removed

In a medium bowl add mayonnaise, mustard, garlic powder, onion powder, dill leaves and a dash of salt and pepper. Whisk together until well combined. Add eggs and ham. Stir until ham and egg is coated. Fill each tomato half with salad, mounding it on top and gently pressing it into the hollow of the tomato. Place on platter and serve immediately or cover and refrigerate.


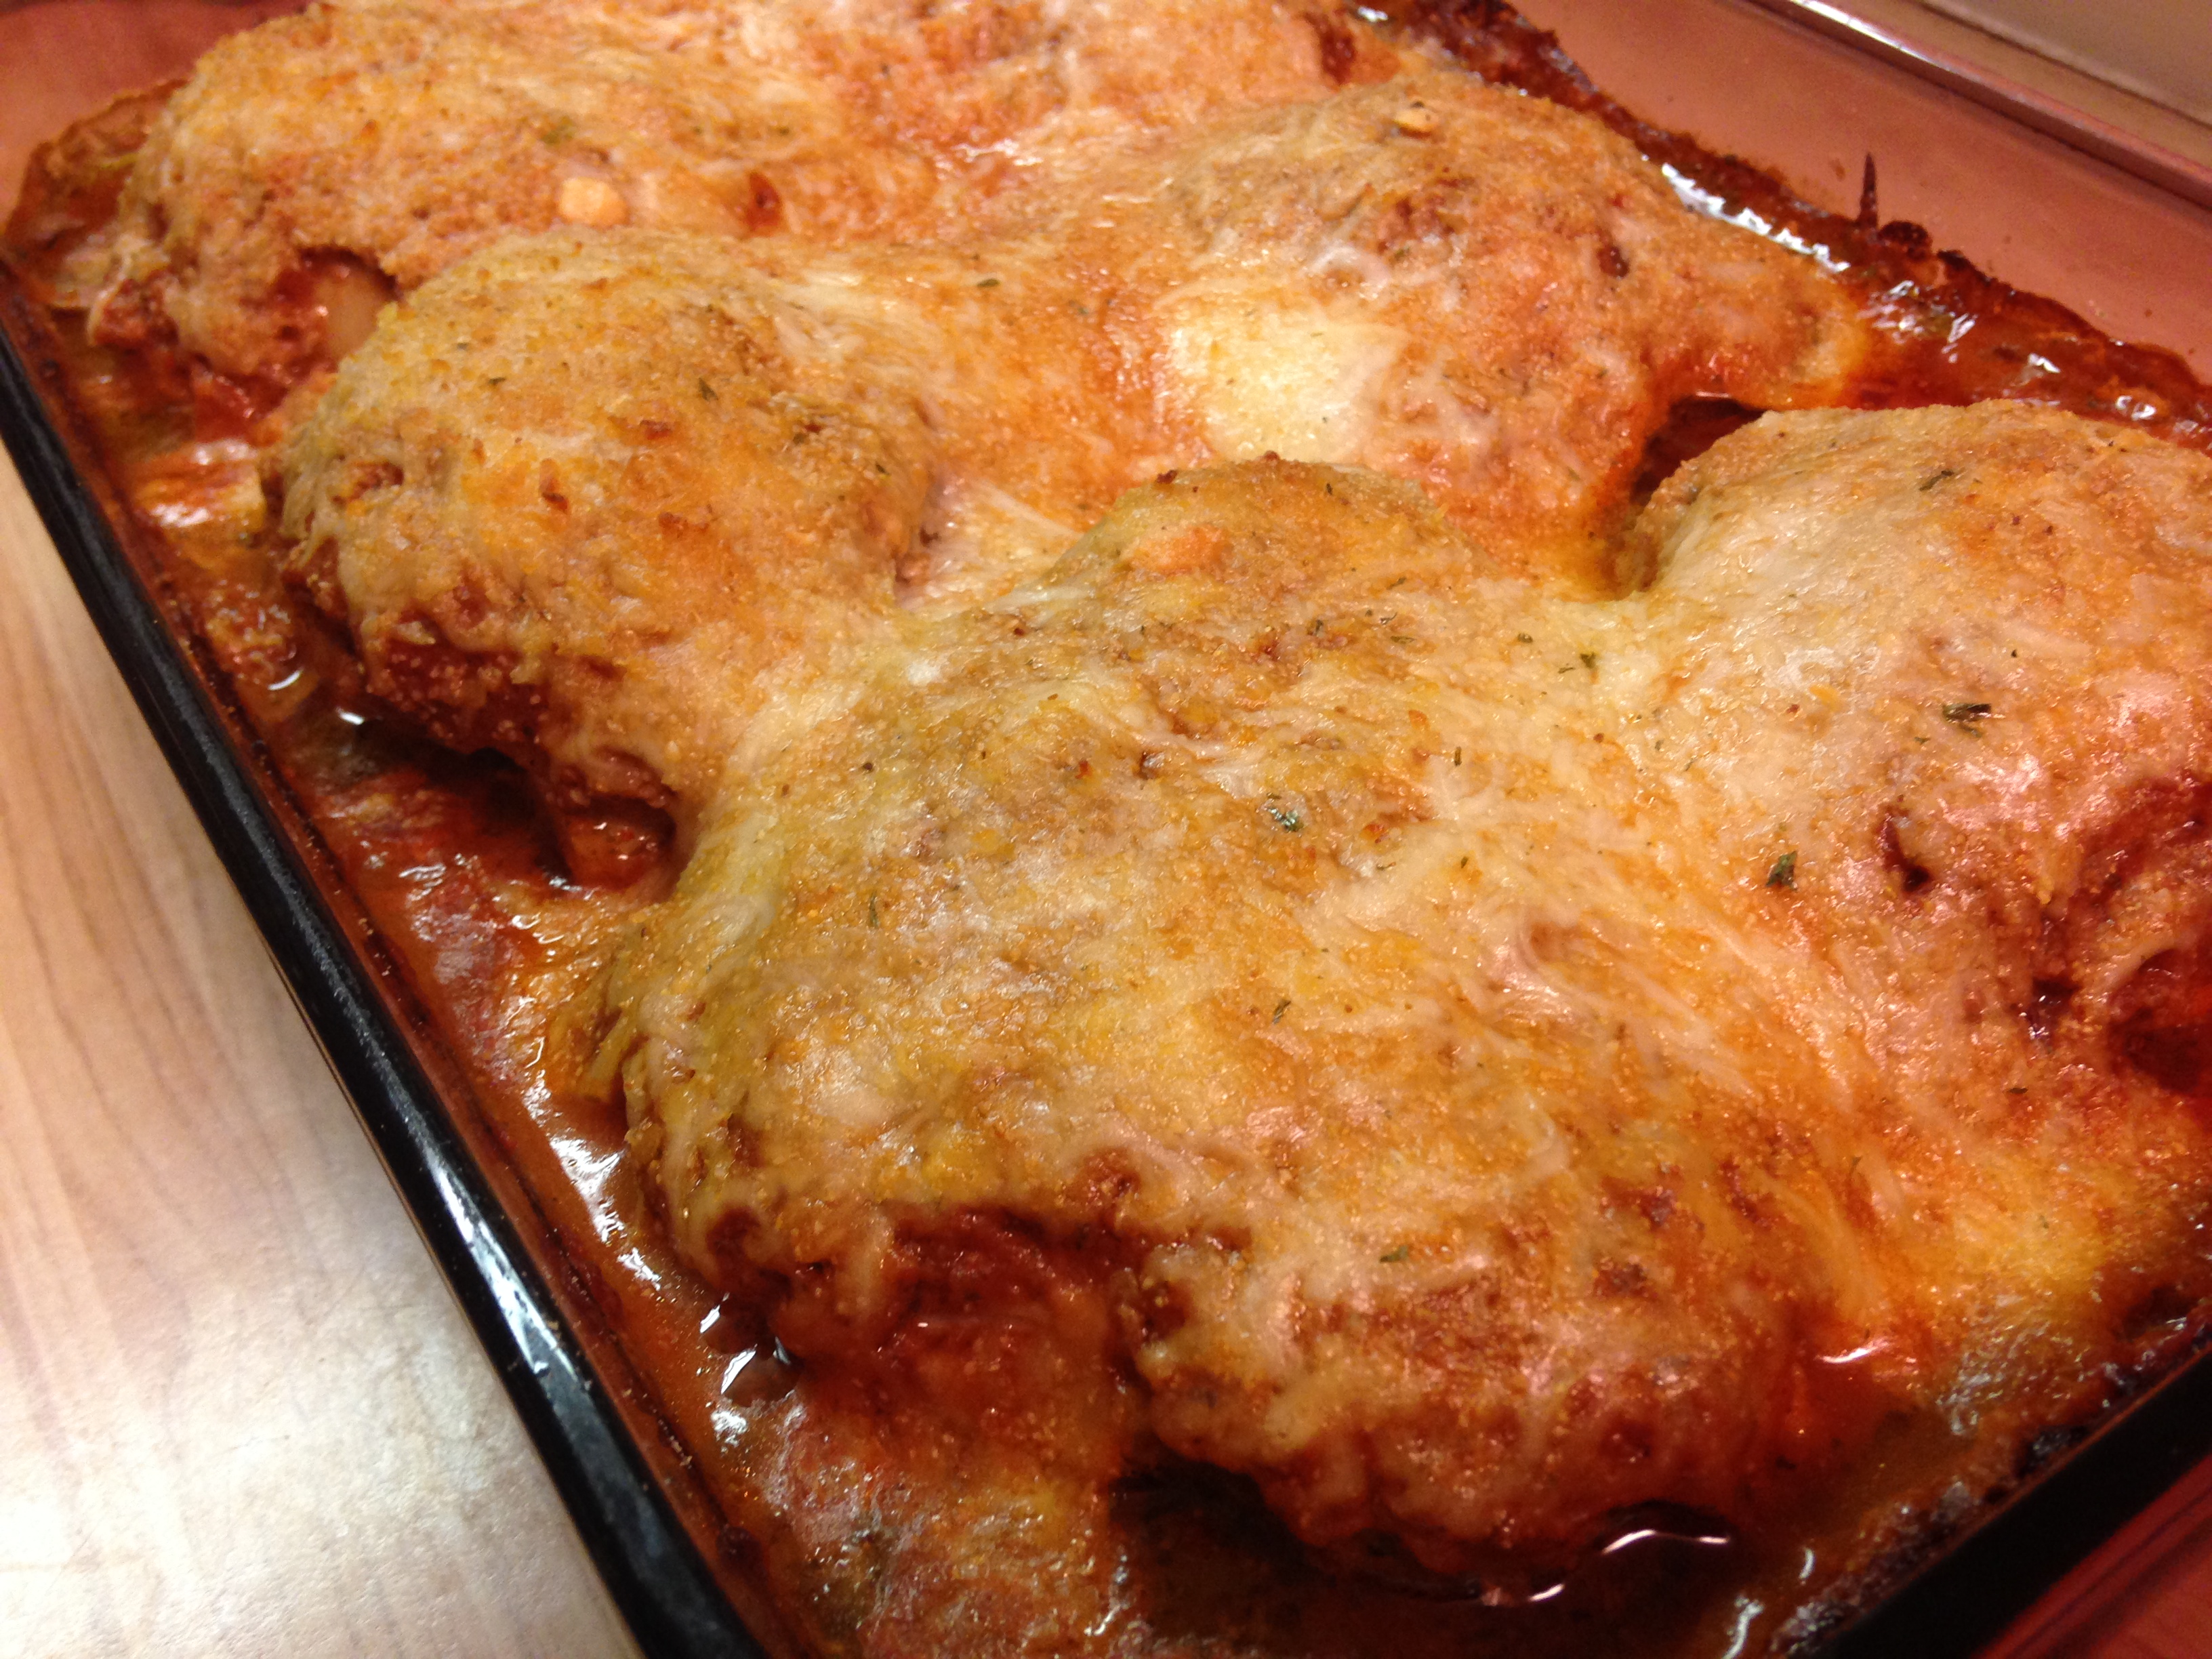
Garden Chicken

2015-08-29 17.59.51Since I began my new business, Grain Free Haven, I have spent a ton of time in the kitchen, but not so much on new stuff. I have been making large quantities of the reliable recipes we love, to share with all my new customers. In my continued effort to contribute to the healthy eating of my family, I share with you now ANOTHER chicken recipe. I swear it is different enough from this chicken recipe, and this one and this one and this one to warrant sharing…. Even with all the bulk baking for the business I still want to spend time in the kitchen making new stuff, so I am making a concerted effort to still come up with new stuff.

Much of what you need for it comes from your garden, or your neighbor’s garden, or even your local farmers’ market vendor gardens…in my case it came from my brother’s garden. The dish is full of summer and the sauce, which can be made in advance of baking the chicken, is addictive. I warned you.

Garden Chicken

2 pounds fresh tomatoes (or 2-14 1/2 ounce cans diced tomatoes)
3 garlic cloves, crushed
1/2 medium yellow or white onion, chopped
1 cup fresh basil leaves
1/4 cup fresh oregano leaves
1 cup fresh parsley leaves
4  cups fresh, raw spinach
2 tsp sea salt
1 tsp ground black pepper
1/3 cup heavy whipping cream
8 – 10 chicken thighs, bone in and skin on
Salt and pepper, to season chicken
1 cup finely grated Parmesean cheese
2 cups grated mozzarella cheese
1/4 cup finely chopped mixed fresh herbs (optional)

Roughly chop tomatoes and place in large sauce pan uncovered over medium high heat. Add onion, garlic, basil, oregano and parsley. When mixture is bubbly reduce heat to medium and continue cooking uncovered for 30 – 45 minutes, until liquid from tomatoes is released and reduced by about half. Add the spinach, salt and pepper, stirring until the spinach wilts and mixes with the tomatoes. Let simmer for ten more minutes. Remove pan from heat. With an immersion blender (or carefully pour the hot stuff into a stand blender) purée the sauce until tomatoes, spinach and herbs are blended into a smooth sauce. Simmer for five more minutes to reheat sauce, then thoroughly stir in heavy whipping cream. Remove from heat.

Preheat oven to 350 degrees. Season chicken on both sides with salt and pepper, then place them in large baking dish. Sprinkle half the Parmesean cheese over the chicken thighs. Pour tomato sauce over chicken, making sure it is covered and there is a layer on the bottom of the dish. Sprinkle mozzarella cheese and optional chopped herbs over chicken, followed by the rest of the Parmesean cheese. Place in oven for 30  minutes. Cheeses should begin to brown. Cover dish loosely with aluminum foil (to prevent cheese from getting too brown) and bake for 15 more minutes.

Remove from oven and let sit for 10 minutes before serving. When serving gently lift the chicken out of the dish, trying not to disturb the sauce and cheese that has moulded on top of each thigh – as the dish cooked the tomato solids settled on top of the chicken with the cheeses and the juices ran down, so serving with the ‘topping’ intact makes for a pretty presentation.


Tex Mex Dip

2015-07-03 18.34.43Dip is a sure fire thing to always have around. Having last minute dinner guests? Pull out the dip with crudite. Feeling nibbly? Pull out the dip with some chips. Faced with raw chicken that needs to be dinner? Pull out the dip and slather the fowl with it before tossing it in the oven. Headed over to someone’s place for drinks? Pull out the dip. It can come in all shapes and sizes and colors and quantities. It can be hot, or cold or both. People can eat it, or not. Dips can be made to taste like just about any dish.

We like queso. When we don’t want to break out the crock pot, processed cheese and can of tomatoes we don’t have to miss out on the flavors. We just pull out the can of tomatoes and veer in another direction. Here is a dip I came up with that gives us the flavor and tang of Tex Mex without the logistics. When I say queso I don’t mean the Spanish word for cheese. I mean chile con queso, the warm cheese dip with tomatoes, onions and chiles often served with a Tex Mex meal. I like queso, but it needs melting and oversight so it does not burn and reheating when it cools off, then if the crock pot cord does not reach to the nearest plug there is need for an extension and the possibility of tripping on it…not that I ever trip on anything. 🙂 None of these logistical elements are insurmountable barriers, but are way beyond what is needed for this dip. Nothing can replace chile con queso in my book, or plate, but this is a nice, cool variation.

Tex Mex Dip

2 cups sour cream
1 Tbsp lime juice
1 Tbsp ground cumin
1 tsp garlic powder
1 tsp sea salt
1/2 tsp ground black pepper
1 can tomato and chiles, well drained
1/4 cup finely chopped onion

In a medium bowl combine sour cream, lime juice, cumin, garlic powder, sea salt and pepper. Whisk until combined. Add onion, tomatoes and chiles. Stir until well combined. Chill at least two hours or overnight before serving.

Post Navigation