Any Kitchen Will Do

Give me a kitchen and I will cook.

Archive for the category “toiletries”

Face Moisturizer

2015-07-27 09.18.52

For about 20 years I used basic over the counter face moisturizer. In recent years my laugh lines have become more prominent, though not of any real concern to me. If I am going to have some crows feet I am good with that. Over the past year or so I noticed that the moisturizer did not seem to ‘take care’ of my skin the way it did when I was 18. I guess I am just lucky the same product was available for so long. Instead of spending a fortune trying to figure out a new commercial product to use I decided to turn to the kitchen. I know how well coconut oil moisturizes the rest of my skin, and the anti-inflammatory properties of olive oil never hurts the skin.

I do not promise that this mixture will miraculously make your wrinkles disappear or magically lift your face. I am sure if you are seeking out such results there is a skin care regimen available at your local department store you can invest in. What I can do is promise you soft, supple and glowing skin. It balances out my combination skin, helps get rid of blemishes quickly and is a natural sunblock (although I still use extra block when I will be out in the sun all day). Another advantage to using it is the massaging you do with your fingers to get it absorbed. Very relaxing and cheaper than a facial!

Face Moisturizer

2 Tbsp avocado oil
1 Tbsp extra virgin olive oil
1 tsp extra virgin coconut oil
5-6 drops essential oil

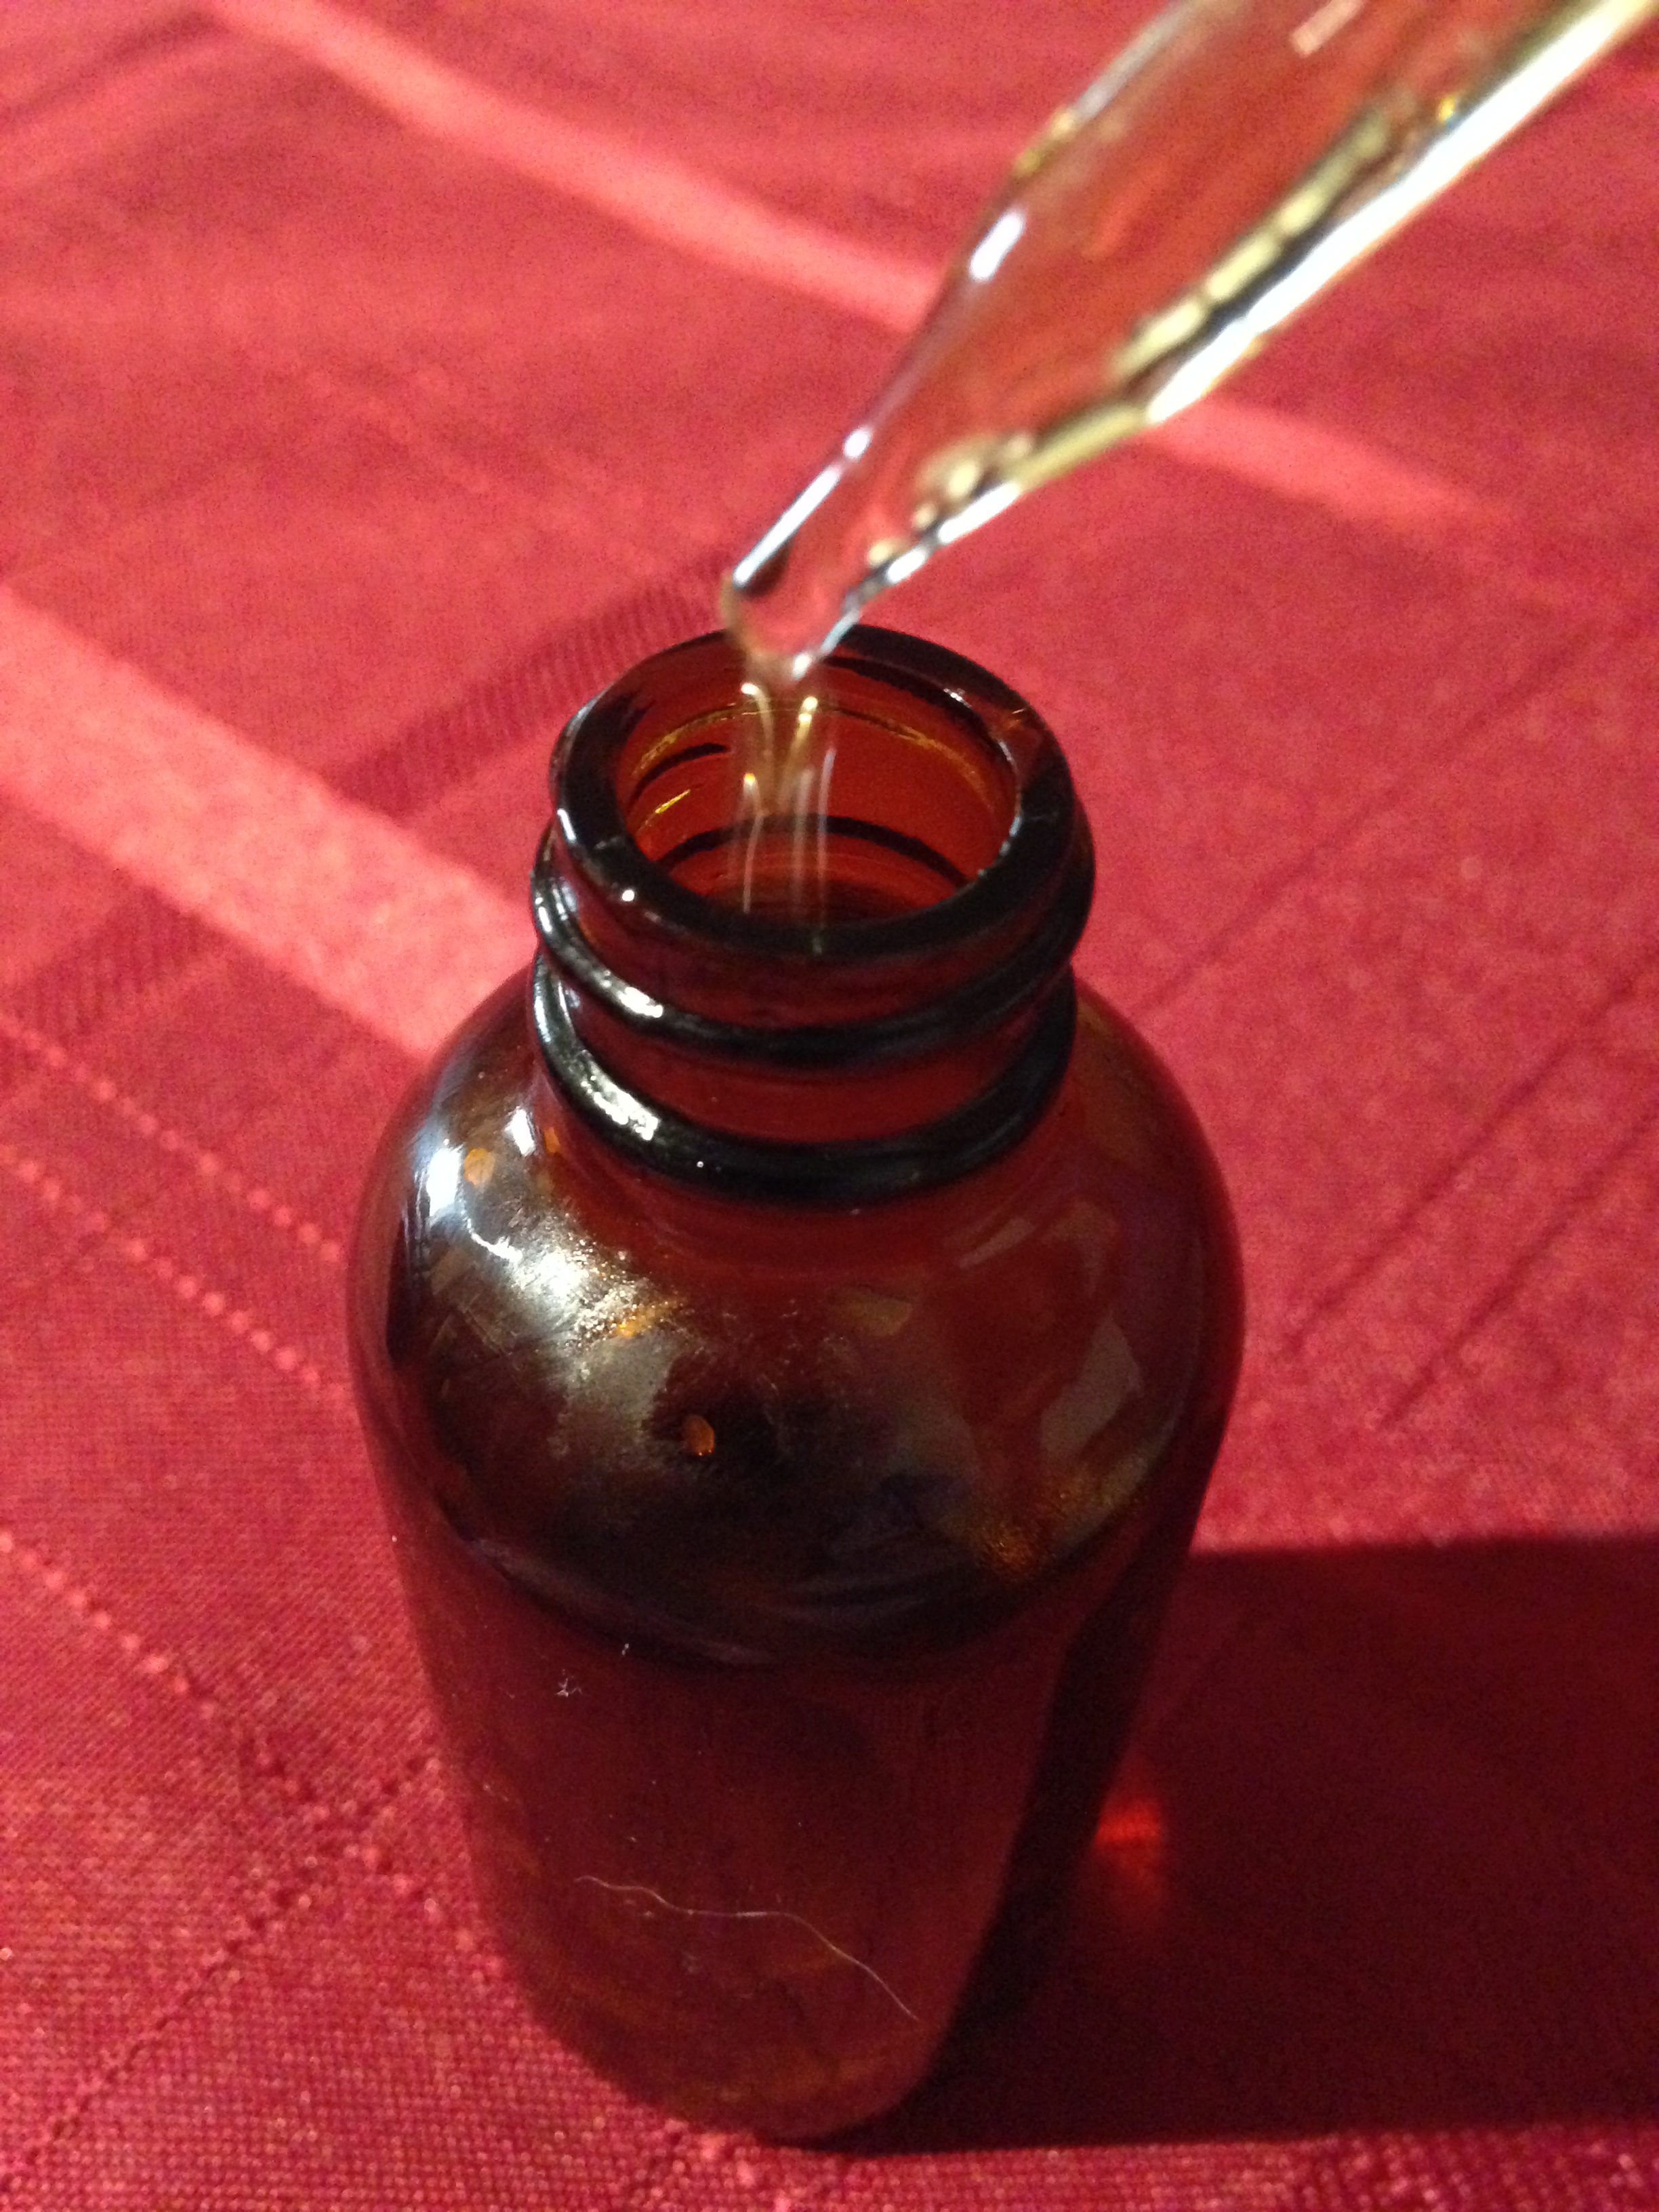
Heat coconut oil slightly to liquefy. Add avocado and olive oil and combine. Pour oil mixture into glass serum jar. Add essential oil drops and gently stir until combined. To apply, use a dropper to put a few drops on your finger tip. Spread among three or four fingers and gently rub evenly over face, gently massaging it into the skin until absorbed.

Whipped Lotion

patchouli whipped coconut

This was the hardest and easiest toiletries replacement I have made. It is very easy to make and use. It has been a little bit hard to stop using the commercial lotions. I still have some left and enjoy their scent. I have to say, though, this whipped lotion does a better job of moisturizing than the commercial stuff. The commercial scent is stronger, but that could be resolved with more oils  in this creamy stuff. I will continue to experiment with amping up the scent in my lotion potion. It is very soothing, almost instantly softens and moisturizes my skin. It may take a little extra time to soak in than other stuff, but the results are very much an improvement, and the extra rubbing in time ends up being a self massage!

Whipped Lotion

1/2 cup coconut oil
10 drops essential oill (I use patchouli or sandalwood)

Place oils in a medium bowl. Using a hand whisk or blender whisk attachment, whip for about two minutes, until fluffy and about doubled in size. Transfer to airtight container. Store at room temperature. To use, scoop out a small amount (about 1/4 of what you would pump out of a typical lotion bottle). Rub lotion between hands to warm. Rub on dry skin and massage until absorbed.

Conditioner

conditioner

A little while ago I shared a recipe for shampoo. I love using it because it does not weigh down my naturally curly hair like many store bought shampoos. Depending on the weather wherever I am, I also need conditioner in addition to the shampoo. I am sharing two different types of conditioner, which I alternate. The vinegar rinse is more of a deep conditioner I use while in the shower once or twice a week. Vinegar, you ask? Yep! The stuff does a great job balancing the ph in hair, and after the rinsing with water and getting out of the shower you will not smell the vinegar on you. I certainly would not walk around smelling like vinegar, considering all the lovelier smells in the world. The creamy version I use when needed as a leave-in conditioner, either right after a shower or when styling/taming my hair. Disclaimer: these are personal recipes that work for me and my family. Proportions may need to vary for other people and hair types, but I think it is worth the experimentation to rid ourselves of strange chemicals and things that do not need to be in our home…

Creamy Leave-In Conditioner

1/4 – 1/3 cup full fat coconut milk
1 Tbsp avocado oil
1 cup water

Combine milk and oil into a pump spray bottle. Add water so the mixture is about 1/2 inch from the top of the container, then shake until combined. Shake before every use. To apply, spray a light mist to the ends of your hair, working it into your hair with your fingers. Add more conditioner higher up on your head, if needed. Store in the refrigerator if you don’t plan on using the entire batch within one week.

Deep Conditioning Rinse

1/4 cup apple cider vinegar
1 cup warm water

Pour vinegar into a cup that holds at least 12 ounces. Take it into the shower with you. When you are ready to condition your hair* add one cup of warm water from your shower. Pour the mixture over your hair slowly as you move the cup from the top of your head to the back. Gently massage your head and scalp. Rinse with warm water.

*On days I use this rinse I don’t actually shampoo my hair, just wet it well with warm water before applying. If you use store bought shampoo this rinse will still work well after shampooing, and help reduce build up from the shampoo.

Toothpaste

toothpaste

During our ongoing effort to simplify the products we use in and on our bodies, we delved into making toothpaste a while back. Our bathroom and kitchen are looking more and more similar, what with all the bathroom products we make now! The toothpaste we came up with works really well and my teeth feel soooo good and clean after using it. We do not go to the trouble of sticking the stuff in a tube, and share the little pot of paste that lives on the bathroom counter. Some may not like the approach of double dipping with multiple brushes, but the stuff naturally has antibiotic properties from the coconut oil and antibacterial tendencies of the baking soda. We don’t worry about spreading cooties – in our little home cooties are going to be spread regardless of shared toothpaste. Each person could have their own little pot, if you get squeamish. The sweetener is optional, but makes the paste more appealing to Little B, so in it goes! There is no harm in swallowing the toothpaste, unlike the stuff from the store, for it has no fluoride. Swallow away!

Toothpaste

3 Tbsp baking powder
1 Tbsp baking soda
10 drops tea tree oil
20 drops peppermint oil
1/8 to 1 tsp Stevita granulated sweetener (optional)
1/4 cup melted coconut oil

Combine baking powder, baking soda, tea tree oil, peppermint oil and sweetener in a small bowl. Add coconut oil and stir well. Place paste uncovered in a resealable container you will use in the bathroom. Let paste sit for a day – it will thicken and rise a bit. To use, scrape a small amount onto the bristles of a toothbrush. Wet brush and clean teeth as usual.

Shampoo and Such

shampoo

Our kitchen is always full of conversation and laughing and very often a big mess. The messes come from more than meals cooked, and sometimes we use non-kitchen cooking methods. As another year of my blog begins I ponder things other than cooking we do there. During this fourth year I am going to share some of these concoctions and methods, sprinkled among the dishes we prepare fully in the kitchen. I will start this sprinkling with shampoo!

Over the past few years we have gradually replaced many store-bought toiletries in our bathroom with simple homemade versions. Our experiments resulted in combinations that work best for us, although for other people a bit of tweaking may be needed. Our goal is to avoid as many unnecessary chemicals as possible in what touches our bodies on a daily basis. Just like what you get at the store, hair and skin types influence the effectiveness of products. When I used commercial products I had to change brands every two months or so because my hair would get weighed down with build up. The solution was to use another kind that seemed to get rid of the build up, but create another, thus the rotation. This homemade shampoo never seems to create the build up. Each batch may vary a bit from lax ingredient measuring, or the measurer (my batches are apple cider vinegar heavy, while Big D’s have a bit extra baking soda). What works great for my curly hair may make Big D’s or Little B’s straight hair a bit greasy. What works best for them may or may not dry mine out – my hair is sensitive to the humidity level wherever I am, so I can’t honestly blame the shampoo. The measures in this recipe make for a good balance to clean all three of our heads, even though we do not all have the same hair type.

Shampoo

4 ounces (1/2 cup) Castile soap, any type
1 Tbsp olive oil
2 Tbsp baking soda
4 ounces (1/2 cup) coconut milk
2 ounces (1/4 cup) apple cider vinegar
8-10 drops tea tree essential oil
8-10 drops sandalwood or peppermint essential oil

Using a funnel, add all ingredients into a squeeze bottle that holds at least 16 ounces. Shake for about one minute until will combined. Shake well before each use – the picture shows it rested and separate before shaking. If after three to four uses your hair is greasy use less vinegar and a bit more baking soda. If hair feels dry when it is no longer wet add more vinegar. It may take 6-8 washings before build up from commercial shampoos and conditioners is fully out of your hair, so don’t give up after the first washing – your hair needs some transition time.


Post Navigation