Any Kitchen Will Do

Give me a kitchen and I will cook.

Archive for the category “Douglas Kitchen”

Big D’s Breakfast Mix

bigdbreakfastmix

Big D and I have a big love of oatmeal. It started when we were children and carried on into adulthood. It has always been a staple on our camping and kayaking trips – easy to pack and prepare simply with water (ideally hot if we properly manage our alcohol stove fuel). Although our love for the stuff carries on, our desire to avoid high carbohydrate foods is now ever present.

The other morning we decided to try some of our staple pantry ingredients to make a low carbohydrate version of a morning porridge. The chia seeds worked well as a thickener, and gave us all serious boosts of energy that lasted pretty much all day, which is very much needed during a cold winter day.

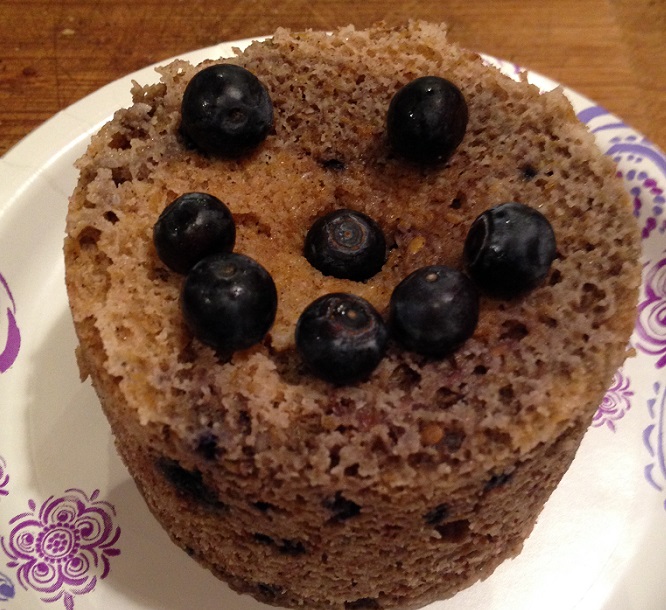
After making a thinner version for Little B, she came on board with our concoction as well, followed by the demand to recite the old porridge-centric fairy tale, The Three Bears. Quite appropriate, I thought! I am thinking future batches may include a bit of peanut butter, or sprinkling of cocoa powder for fun. Little B will eat pretty much anything with berries on it, so it is almost a sure thing in the future for her too!

The mix recipe can easily be doubled or tripled, as long as it is kept in an air tight container, so go ahead and stock up!

Big D’s Breakfast Mix

1 cup golden flaxseed meal
1 cup shredded unsweetened coconut
2 cups almond meal
2/3 cup chia seeds
1/4 cup ground cinnamon
2 teaspoons sea salt

For Single Serving
1/2 cup breakfast mix
1/2 cup hot water
¼ cup heavy cream or other milk product (soy, almond, cashew, lactose free…)
Dash of preferred sweetener (optional)
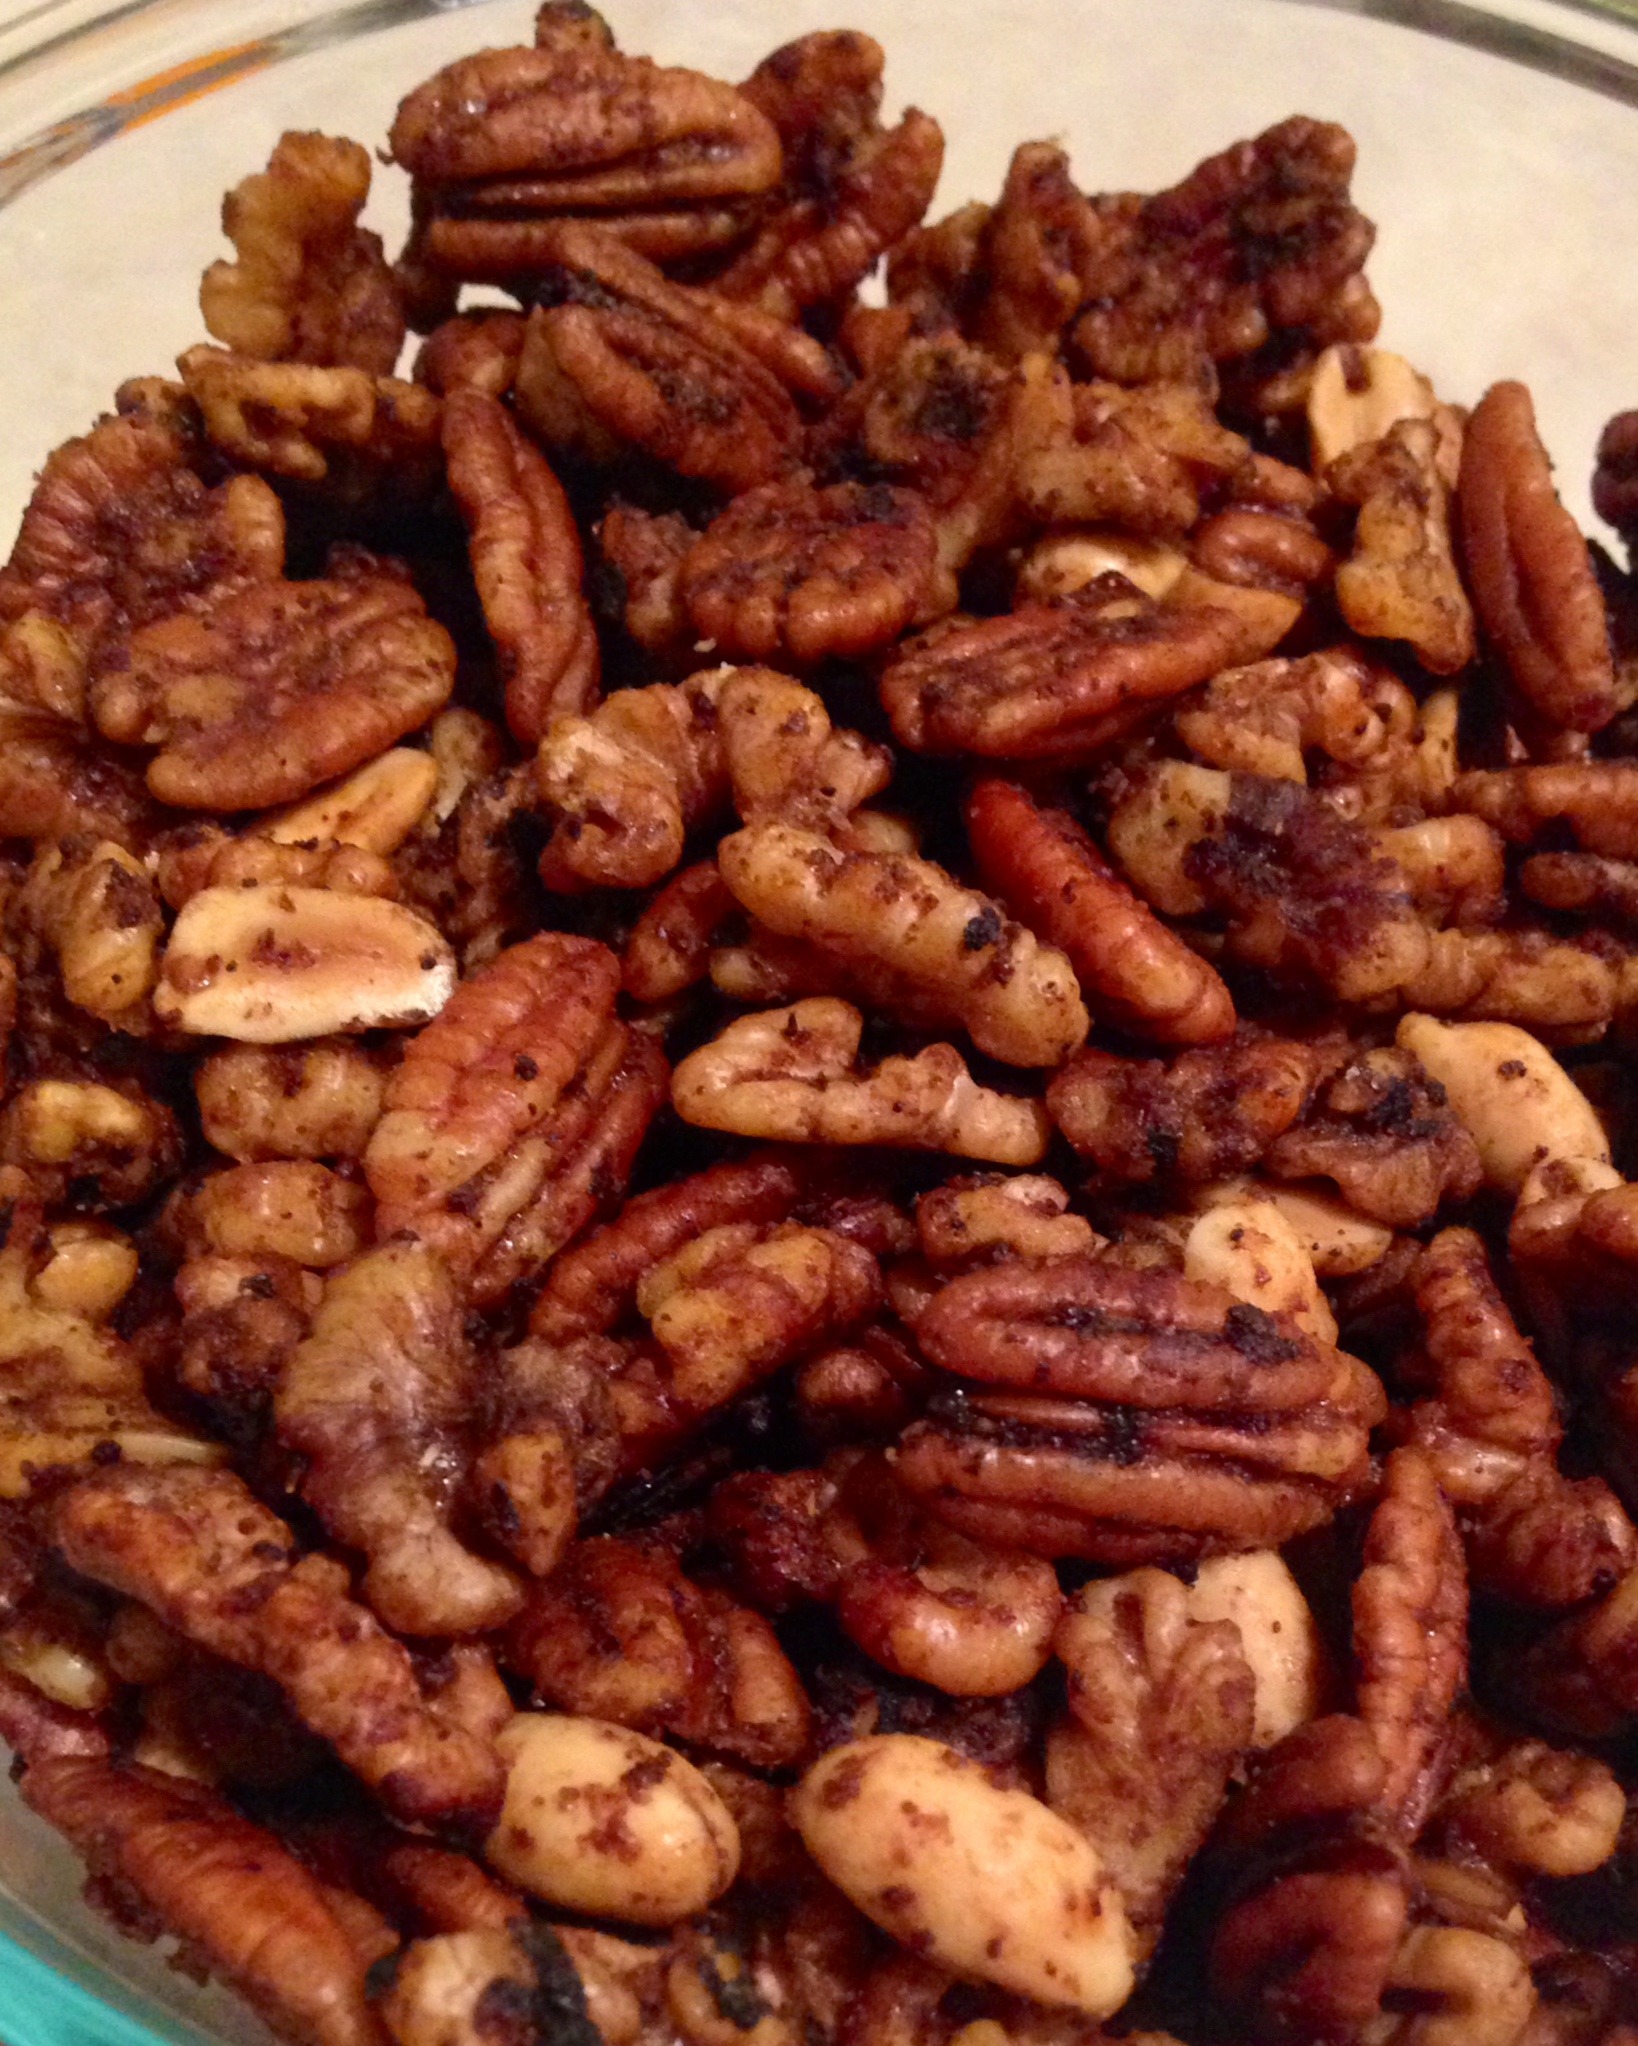
Nuts or berries (optional)

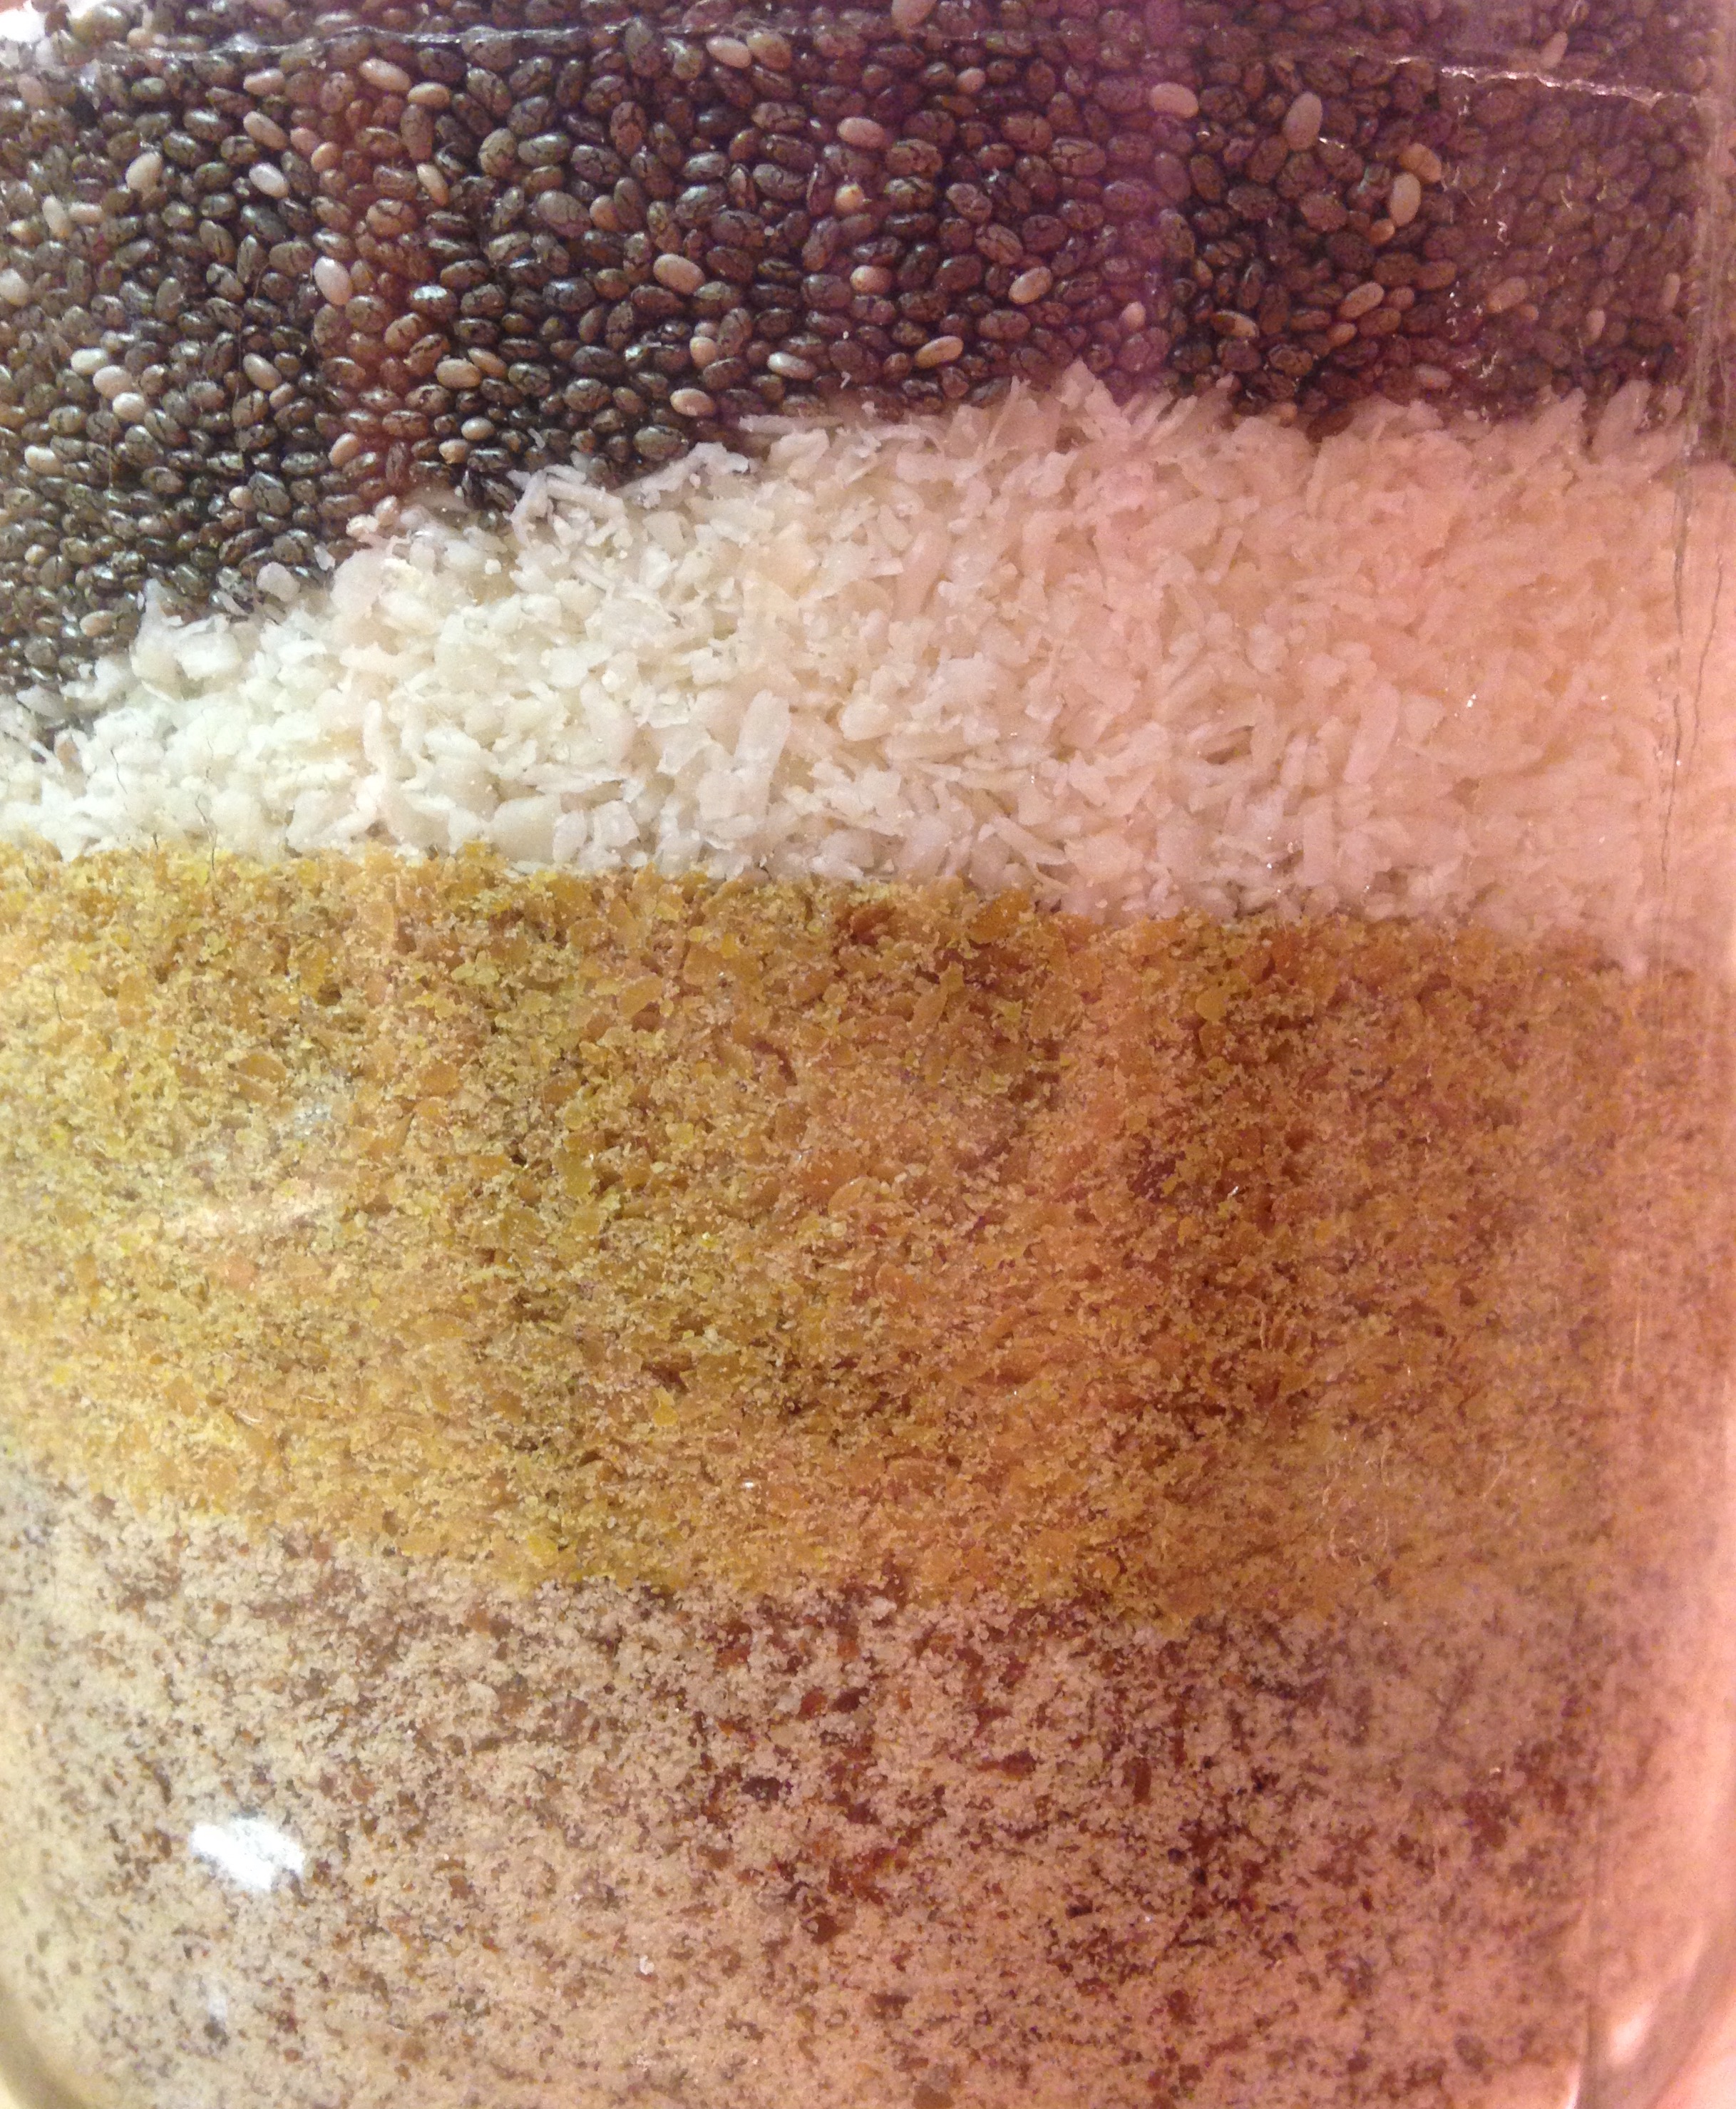
Combine flaxseed meal, coconut, almond meal, chia seeds, cinnamon and salt in an air tight container. Stir or shake until ingredients are well mixed together.

To prepare a bowl of breakfast mix, stir the bulk mix, then scoop ½ cup of the mixture in a bowl. Add hot water and stir, then add sweetener and cream. Stir once more and then let sit for at least one minute to thicken. Add more hot water to adjust thickness as desired. Add nuts or berries if desired and eat immediately.

Face Moisturizer

2015-07-27 09.18.52

For about 20 years I used basic over the counter face moisturizer. In recent years my laugh lines have become more prominent, though not of any real concern to me. If I am going to have some crows feet I am good with that. Over the past year or so I noticed that the moisturizer did not seem to ‘take care’ of my skin the way it did when I was 18. I guess I am just lucky the same product was available for so long. Instead of spending a fortune trying to figure out a new commercial product to use I decided to turn to the kitchen. I know how well coconut oil moisturizes the rest of my skin, and the anti-inflammatory properties of olive oil never hurts the skin.

I do not promise that this mixture will miraculously make your wrinkles disappear or magically lift your face. I am sure if you are seeking out such results there is a skin care regimen available at your local department store you can invest in. What I can do is promise you soft, supple and glowing skin. It balances out my combination skin, helps get rid of blemishes quickly and is a natural sunblock (although I still use extra block when I will be out in the sun all day). Another advantage to using it is the massaging you do with your fingers to get it absorbed. Very relaxing and cheaper than a facial!

Face Moisturizer

2 Tbsp avocado oil
1 Tbsp extra virgin olive oil
1 tsp extra virgin coconut oil
5-6 drops essential oil

Heat coconut oil slightly to liquefy. Add avocado and olive oil and combine. Pour oil mixture into glass serum jar. Add essential oil drops and gently stir until combined. To apply, use a dropper to put a few drops on your finger tip. Spread among three or four fingers and gently rub evenly over face, gently massaging it into the skin until absorbed.

Red Eggs

red poached egg

We had leftover sauce! My aptly named Red Chicken was delish, and left us with some sauce that was taunting us from the fridge the other morning. I was reminded of the simple egg bake I posted about a few years ago. It is also reminiscent of Indian shakshuka or Mexican huevos rancheros, which have a bit more than smooth sauce and eggs, but the concept sounded really good, easy and filling.

We were in the middle of a significant effort to reduce our worldly belongings and using up stuff from our food stores before moving. Such a process is pretty emotionally draining. More so than I ever expected. Not the use of food stores, but the reduction of belongings. I would think that getting rid of sweaters not worn in years would be easy, but remembering wearing them when spending time with family and friends brought a bunch of memories to the forefront,  good and bad. After the sweaters were done I shifted over to sorting other stuff. The same type of memories rise, everywhere from who gifted them to me to remembering all the places I wore them. If I was doing the process over the span of months is one thing, but we were doing this type of sorting day after day for a week. Although most of the time was spent sitting or standing and sorting, we were all exhausted at the end of the day. We were all doing it (me, Big D and Little B) and all felt the energy drain.

red poached egg platedThe cooking during this week of great purging helped us relax and talk about our goal – keep the things that serve us and we cherish, not being tempted by keeping stuff just because we always did before. We successfully got through the grand project and winnowed down our stuff to the amount we agreed to (two pick up trucks worth of bins, etc). We make no promises of avoiding the rut of collecting things again, but I think the experience will make us think twice before nonchalantly filling the cart at the big box stores. Keeping things simple provides clarity and encourages creativity – things we can never have too much of. On another note, we are so very proud of Little B. It would have been easy to send her off to a friend’s house and quietly sort through her stuff in absentia, but since we consider her a little person, we thought it important to take her through the process with us. It was not easy, but we took the time to work with her about what she used, what she had outgrown, what she had not touched in a year, and what she cherished. Of course, she is looking forward to more stuff as her interests change in the future, so she leapt in with both feet and made very thoughtful decisions, way beyond her five years on this earth. We surrounded ourselves with comforting food as we moved forward with the purge, including these eggs. Fortunately I did not step away from the pan at the wrong minute, so the poachiness of the eggs was pretty darned perfect. They helped us move on and gave us a new go to dish.

Red Eggs

2 Tbsp butter
1/2 white onion finely chopped
4 cloves garlic, finely chopped
1/2 cup natural peanut butter
15 ounces tomato sauce
1/2 cup lemon juice
2 Tbsp ground turmeric
2 tsp ground ginger
1 tsp ground cinnamon
1 Tbsp cayenne pepper
1 tsp sea salt
1tsp ground black pepper
8 ounces full fat coconut milk
4 – 6 eggs

In medium saute pan over medium high heat melt butter. Add the onion and garlic, cooking until browning begins. Add remaining ingredients except for coconut milk. Stir until all ingredients are combined, turning down heat to low. Stir in coconut milk and simmer until steam is rising from sauce. With the back of a spoon make a divet along the edge of the sauce in the pan. Drop a raw egg into the divet. Repeat with remaining eggs, evenly distributing them in the sauce. Cover pan and let simmer until eggs are cooked to desired doneness – about five minutes for soft. Serve immediately by scooping egg(s) onto a place and drizzle sauce on top.


Red Chicken

photo 1
A while back my brother lived in an apartment complex. Not one of those little ones with just a few units, but a huge corporate monstrosity with dozens of buildings. It was not the most interesting place he has ever lived – the house on a hill in Austin with a concrete bathroom holds that honor – but it was convenient to his work and reasonably priced. There was not much around it but his office and a few local markets, all of which had a common theme – Indian food. We did not do much Indian cooking when we were younger, but the convenience and variety of ingredients, as well as the opportunity to learn from his neighbors, resulted into a foray of curries, colorful sauces and a little (or a lot of) heat. He has since moved into his own house, but carried with him the Indian food immersion from his apartment days. We are having a long visit with him, and I am looking forward to learning a bit from his experience. I am looking to play around with traditional ingredients and flavors, not necessarily copying specific dishes. Here is my first gander at being inspired by a Northern Indian dish called Butter Chicken. It is far from accurate, so I am not even trying to use butter in the title. It was great. On top of everything else, today is the eleventh wedding anniversary for me and Big D. My ongoing quest to find chicken dishes he likes has spanned the entirety of the eleven years. He is a beefy kind of guy, begrudgingly consuming chicken if absolutely necessary. He gushed with joy and satisfaction upon tasting this dish. I definitely added it to the ‘like’ category for him. Little be was not as impressed with the dish, but still ate her fill, including the green beans I cooked up to go with them. You should see what we do with the leftover sauce!
Red Chicken2 Tbsp butter
6-8 sinless boneless chicken thighs
1/2 white onion finely chopped
4 cloves garlic, finely chopped
1/2 cup natural peanut butter
15 ounces tomato sauce
1/2 cup lemon juice
2 Tbsp ground turmeric
2 tsp ground ginger
1 tsp ground cinnamon
1 Tbsp cayenne pepper
1 tsp sea salt
1tsp ground black pepper
8 ounces full fat coconut milk

In medium saute pan over medium high heat melt butter. Add chicken and partially cook, about five minutes. Remove chicken from pan and set aside. Add to the the chicken juices the onion and garlic, cooking until browning begins. Add remaining ingredients except for coconut milk. Stir until all ingredients are combined, turning down heat to medium low, and simmering for about ten minutes until hot and bubbly. Add coconut milk and stir again until combined. Add chicken and simmer until cooked through, about ten more minutes. Serve immediately.


Secret Muffins

secret muffin
Little B and I have a wonderful opportunity to start spending more time together for a while. I guess that would be an obvious (to me) wonderful consequence of quitting my job. Of course part of the time will definitely be spent doing stuff in the kitchen. In recent months she has randomly thrown together fruit and veggies with cheese and called it soup. While some has been yummy, other batches not so much. Knowing that I often share kitchen experiences on my blog, she insisted this time I don’t share the recipe. It must be kept a secret! I cannot tell you we puréed a banana and berries, using them to substitute for butter, and then doubled the sweetener in some microwave muffins. At least I will stop short of listing all the ingredients or tell you how to cook them. I am a bad person, but they were soooo good!

Cheesy White and Green Bake

image

We have been very busy lately, so you may have noticed more often than not my posts include quick, easy recipes, good as leftovers for days we don’t have time to cook. I am so busy I noticed how much of a run on sentence I just wrote. Everything is moving quickly for us at the moment, but we still enjoy cooking a good meal, and want to make sure there is variety and a healthy dose of vegetables. This bake is filled with staples we always have in our kitchen. I hope you try it. As of the date of this posting, Little B inhaled this side dish the day I made it (along with a hunk of steak) then proceeded to request it three days in a row until the leftovers were all gone. This is noteworthy for two reasons: 1) although Little B is a fruit and vegetable nut, she tends toward raw rather than baked, so interest in this dish was refreshing, and 2) Little B is not a fan of leftovers, which may be rooted in our penchant for constant variety, or just a general tendency of a typical five year old. Regardless, she inhaled it and we happily watched! I may throw in some tuna or chicken next time and make it a full on casserole…

Cheesy White and Green Bake

1 small head cauliflower
1 stalk broccoli
1/2 small onion
2 eggs
1 cup heavy whipping cream
1 tsp sea salt
1 tsp ground black pepper
2 tsp granulated garlic
1/2 tsp ground thyme
2 Tbsp lemon juice
3 cups shredded mozzarella cheese

Preheat oven to 350 degrees. Roughly chop onion, cauliflower and broccoli into bite-sized pieces. Toss together then spread vegetables evenly in a 9×13 inch baking dish. In medium bowl combine eggs, cream, salt, pepper, garlic, thyme and lemon juice. Whisk together until eggs are combined with other ingredients. Pour sauce over vegetables, gently tossing vegetables until they are coated. Sprinkle cheese on top of vegetables. Bake for 30 minutes until edges are browning and middle is bubbly. Remove from oven and let rest for five minutes before serving.

Onion Paste

onion paste

I like adding onion to all kinds of savory stuff. Although it is convenient to add onion powder or dehydrated onion flakes from the pantry, it is different from real onion. Not that cooking onions to varying levels of doneness takes very long, but sometimes it seems like it when every other part of a dish is quicker. I am fickle sometimes and just have to live with it. To overcome what sometimes feels like the huge expanse of time it takes to cook onions, I have come up with this paste. It adds onion flavor quickly from a jar in the fridge, even when you are feeling fickle. Very nice to have around for omelets, quick soups and dips – the flavor gets distributed in a dish much faster, compared to the pantry versions.

Onion Paste

2 large onions
2 Tbsp fat (bacon grease, butter, olive oil)
1 1/2 tsp sea salt

Peel and roughly chop onion. In a medium skillet over medium high heat add fat. When fat is hot add onion and sprinkle with salt. Sauté until onion softens and browns. Remove from pan and let cool until it is safe to handle. Place onions in food processor and pulse until a smooth paste forms. Store in airtight glass or metal container in the refrigerator. Use 1 tablespoon for every 1/4 onion in a recipe.

Junky Nuts

junkynuts

No, this is not a promotion for a porn movie. It is much less provocative. This recipe is actually based on some family traditions from both my and Big D’s relations. It reminds both of us of holidays we have always celebrated in November and December. Why am I writing about it in March, you ask? Because this is when I start missing some of the holiday food traditions, like snacks and eggnog. Our little family actually keep ‘holidays’ going from November 1st through March 17th. It stretches so far because things like Samhain, birthdays, Mardi Gras, Candlemas (Imbolc) and the Vernal Equinox (Ostara). We officially take a holiday break between St. Patrick’s Day and Easter before the build up for May Day (Beltane). It is a pretty short break this year (less than three weeks), but it is long enough to develop a hankering for holiday smells and flavors. Specifically, an ubiquitous snack mixture. Big D’s family called it Trash, mine called it Junk – the savory combination of square cereal pieces, pretzels, nuts and cheese crackers baked in a buttery Worcestershire sauce. This exclusively nut version takes out the wheaty, grainy bits and lets the saucy flavor shine while keeping the crunch. The sauce sticks to the nuts and creates salty black bits that linger in nut wrinkles. We started the habit years ago of keeping some type of flavored nuts around as a quick, ‘good fat’ snack for when hunger strikes. I first made this version a few months ago and now I automatically make a batch every week. I don’t know what this means for next November when the holiday season begins again, if we continue to eat them year round. Maybe we will have to come up with some other holiday snack tradition and keep it special, for I am pretty sure I am un-special-ing this one, but for a good cause. Regardless, I think it will all turn out okay, time will continue to turn and holidays will still come and go. Crunch on everybody!

Junky Nuts

4 cups raw walnuts
3 cups raw pecans
2 cups shelled peanuts (raw or roasted)
1/2 cup butter, melted
1/2 cup Worcestershire sauce
1 Tbsp garlic powder
2 tsp onion powder
1 Tbsp sea salt
1/2 tsp ancho chile powder

Preheat oven to 300 degrees. Add melted butter in a large bowl along with the Worcestershire sauce, garlic powder, onion powder, salt and chile powder. Stir until combined. Add walnuts, pecans and peanuts. Toss nuts until they are all coated. Spread nuts evenly in one layer on shallow baking sheets. Bake for ten minutes. Remove from oven and toss nuts so they are all flipped. Return to oven and bake for ten more minutes. If you are baking multiple sheets at once you should switch their positions in the oven. Remove from oven and let cool completely on the sheets. They will look damp at first, but will dry as they cool. Store in airtight container at room temperature.

Antipasto Salad

antipasto salad

During the past few years I have posted Irish themed dished leading up to St. Patrick’s Day. Things like colcannon, shepherd’s pie, corned beef and cabbage (which I must mention is not actually Irish), and even a traditional Irish breakfast! This year I did not quite ramp up to the day in such a thematic day. I did do some bright, green leeks recently, but that is far as it went. This year we are enjoying some of my past creations instead of new ones. I guess in a way I am reaching back part of the roots of Ireland’s history, just not the most recent – the Gauls! Their influence spread across not only Ireland, but France, Swithzerland, Netherlands, Spain, Italy and Greece. Yes, I am stretching it, but it is fun! In spite of the name, antipasto does not mean it does not like pasta, or that it is after pasta, but it HAS no pasta, and it comes BEFORE pasta. Just the way we like it. We recently had a Greek kick and did some dishes I posted a few year ago, including dolmas, tzatziki and some Greek burgers. We needed a salad to go along with it, because there was a gap on the plate. Hoping that the Greeks and Italians would cooperate, we mixed up some traditionally Italian non-pasta, savory elements, with some Greek, and boy did they go well! The leftovers were great, too, after hanging out in the dressing. I think the Gauls would enjoy it.

Antipasto Salad

1 cup mixed green, black and kalamata olives, pitted
1 cup pepperocini peppers, chopped
1/2 cup crumbled feta cheese
1/2 cup marinated artichoke  hearts, diced
3 plum tomatoes, seeds removed and diced
1/4 yellow or white onion, finely diced
4 ounces thin sliced salami, diced
1/3 cup Greek salad dressing or other vinaigrette

Roughly chop olives so they are of similar size. Place olives in medium bowl. Add peppers, cheese, artichoke hearts, tomatoes, onion and salami. Lightly toss. Add dressing and stir until well coated. Let sit for about 15 minutes then toss again and serve. The salad can also be made a day in advance and chilled until time to serve.

Vegetable Cheese Soup

veg cheese soup

The other day for lunch Big D wanted cheese soup and Little B wanted vegetable soup. We rarely find a canned soup to our liking, much less wheat free, so if we want it we make it. The good thing is we keep a fridge full of cheese and vegetables. The bad news is I did not feel like being a short order cook, so I came up with a one pot wonder. Seeing that there were about three spoonfuls of leftovers, I think they did not mind the merger I came up with. While the sky outside was spitting a mix of rain and snow we filled our bellies with simple warm goodness from scratch. The beer kept us warm too!

Vegetable Cheese Soup

14.5 ounces beef broth
1 cup beer (I used red ale)
2 cups finely chopped broccoli
1 cup finely chopped cauliflower
1/2 cup finely chopped carrots
1/2 cup finely chopped yellow onion
1 plum tomato, finely chopped
4 cloves garlic, finely chopped
2 cups grated mix of cheddar, Monterrey and mozzarella cheese
1/2 cup heavy whipping cream
Salt and pepper to taste

In a medium pot over medium high heat add the broth and beer. When it is starting to boil add the broccoli, cauliflower, carrots, tomato, garlic and onion. Cook for about five minutes, until the vegetables start to soften and soup is hot. Add 1/2 cup of cheese, stirring until combined and the soup is hot again (after it got cooled off from adding the cheese). Continue adding and stirring in cheese 1/2 cup at a time and reheating soup in between until it is all incorporated. Add cream and stir to combine. Cover and let simmer on low for about ten minutes. Serve.


Post Navigation