Any Kitchen Will Do

Give me a kitchen and I will cook.

Archive for the category “Uncategorized”

Cinnamon Dough Ornaments

cin ornaments

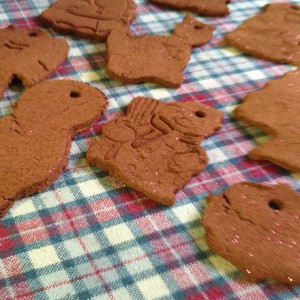
I guess technically you can eat these ornaments, and they get made in the kitchen, so they pass the ‘food blog’ test I arbitrarily created in my head. If you don’t eat them, which I advise, they can make any space they occupy smell WONDERFUL! For days after making these ornaments with Little B the house smelled of cinnamon, then when the ornaments got put on the Christmas/Solstice tree they still smelled wonderful. One of them hanging in my office gets rid of that officy smell, which is not that bad, but nothing compared to cinnamon spice. There is still time before the holidays are over to add some decorations, so dive in and make a batch. Our first roll out was with dough that was too sticky, so the intended shapes got, well, a bit reshaped when transferring them to the pan. They also  cracked a bit when baked. We learned as we went, though, and stiffened the dough up with more cinnamon. The picture shows our mixed results, and you can tell which ones were made with the wet dough compared to the dryer dough. This project appeased my desire to make cut out cookies, didn’t result in sugarbombs sitting around the house begging to be eaten. It was such fun creating glittery ornaments we can enjoy during the holiday season. Stay tuned for a wheat free edible version of cut out cookies, but experiments in that vein continue, and mastery is still pending….

Cinnamon Spice Dough Ornaments

1 ½ – 2 cups ground cinnamon
1 tsp ground clove (optional)
1 cup applesauce
1 Tbsp glitter (optional)

Combine half the ground cinnamon, the ground clove (it will make the dough darker, so decide before adding if you want darker or lighter results), applesauce and glitter. Combine until a dough forms. Add more cinnamon as needed to thicken if it is too sticky. The amount of cinnamon needed varies with altitude and humidity, so keep adding cinnamon until the dough seems crumbly, and you need to knead it for the pieces to stay together. Wet dough will bake brittle and the ornaments will crack, so make sure it is stiff. Roll out the dough and use cookie cutters to shape the ornaments, or cut them out freehand. Use a drinking straw to poke a hole in the ornament, strategically placed, for hanging. Place ornaments on baking sheets covered in parchment paper, or directly on the sheets. Bake ornaments at 200 degrees for two hours, then turn off oven and leave the oven closed until it cools off. Yes, I know you can’t tell if the oven is cooled off unless you open it, but two more hours or overnight should do it. Carefully remove the ornaments from the sheets/paper. Loop string or cord through the hanging holes and decorate something.
Mustard Baked Chicken

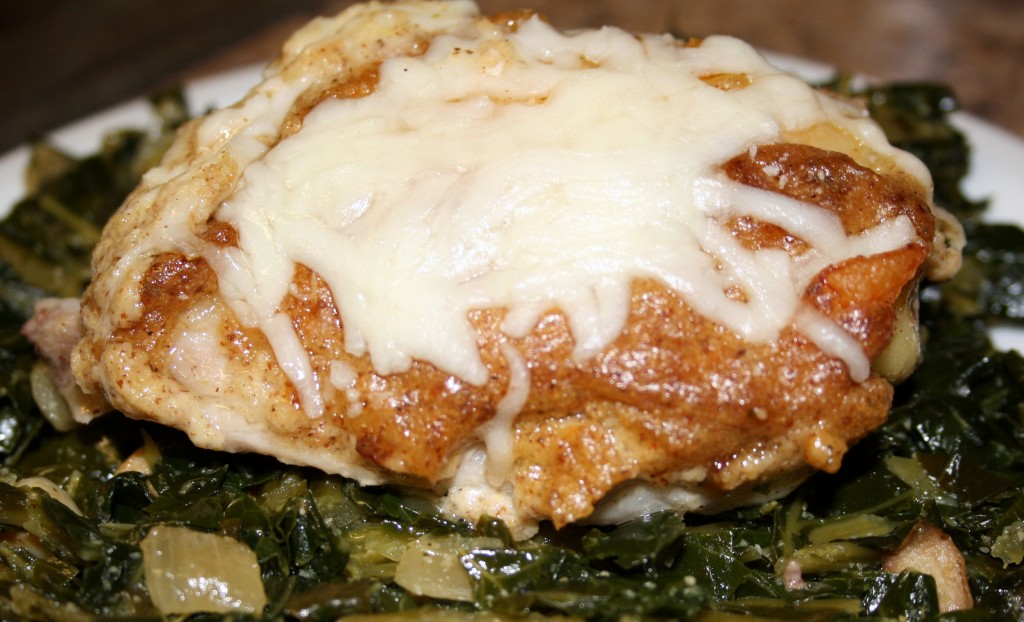
I know it is not very exciting, but there are not many dishes simpler than baked chicken parts for a weekday dinner. We always have chicken pieces of some sort in the freezer. Instead of pretending we eat exotic meals every day of the week I will continue to share variations of staples we rely on for dinners and very often lunches the next day. We continue to find that cooking our own food on a regular basis  helps us stay on a diet that makes us feel great, thus the reliance on back stock of protein in the freezer. This recipe is a result of opening the fridge on a Wednesday evening and having the thawed chicken thighs telling me “I know we are common, but make us special. Very special.” A few things from our well stocked fridge resulted in special yumminess. Saute some greens for a bed, and the special chicken is scrumptious! Wonderful wolfing down of dinner on a Wednesday!

Mustard Baked Chicken

2-3 pounds chicken pieces, skin on
1/2 cup spicy brown or horseradish mustard
1 cup olive oil mayonnaise
1 tsp garlic powder
2 Tbsp fresh lime juice
Salt and Pepper
1 cup grated mozzarella cheese

Preheat oven to 350F. Rinse and pat dry chicken pieces. Season all over with salt and pepper. Place chicken, skin side up, in a large baking dish. In a small bowl stir together mustard, mayonnaise, garlic powder and lime juice. Spread sauce over the top of all the chicken. Bake in preheated oven for about 45 minutes, until juices run clear and edges of chicken begin to brown. Turn off oven, sprinkle cheese over chicken and leave in oven for about 10 minutes, until cheese is melted. Serve immediately.

Chocolate Chia Pudding

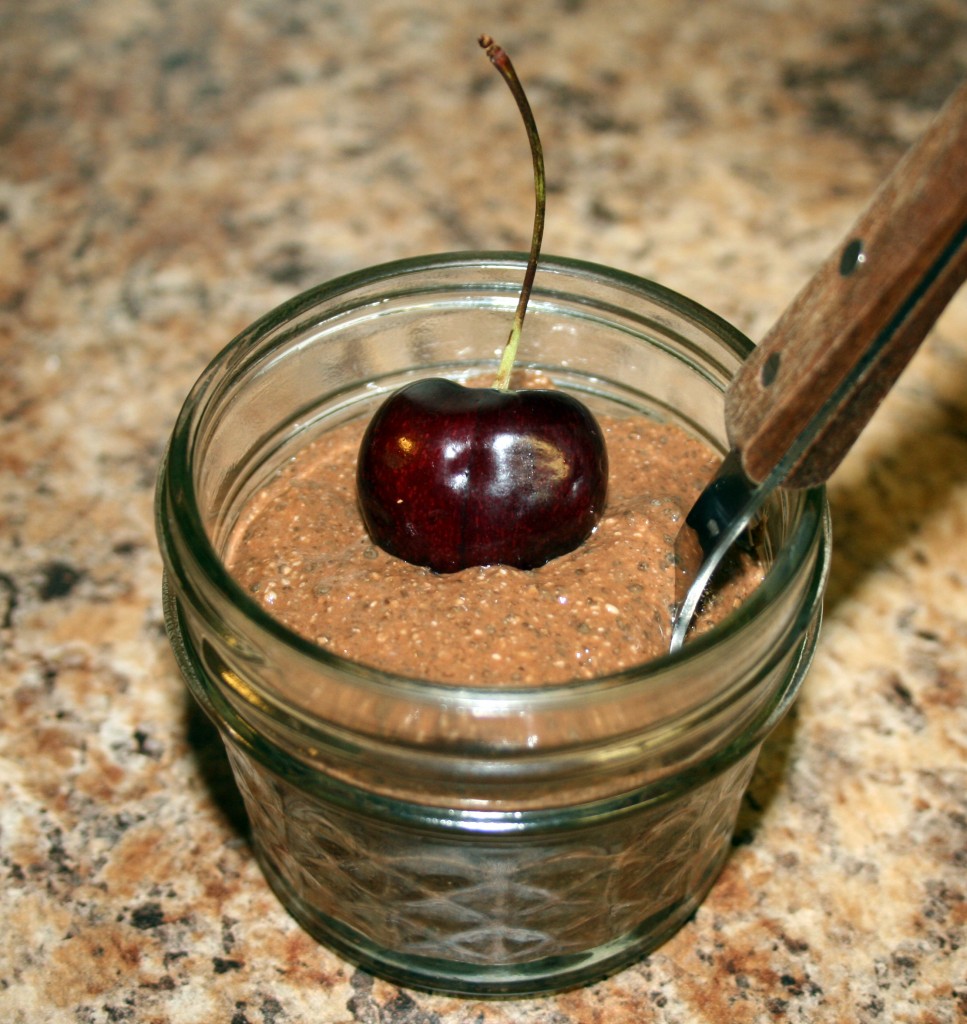
This stuff is quick, sugar free, dairy free and wheat free, but sooo chocolaty and satisfying! We tried a few different combinations of spices and flavors, but this is our favorite. It is kind of the texture of tapioca, and makes for a satisfying, light dessert, taking care of any sweet tooth or chocolate cravings. And go ahead – sing the commercial song while you make it – ch ch ch chia! I always imagine the chia plants you can buy that are grown in different shaped planters – chia plants! The seeds are actually from the same kind of plant. Whip it up in the blender before dinner, stick it in the fridge, then it is cold and ready to eat after the meal. It is just enough for three servings, so double or triple accordingly.

Chocolate Chia Pudding

1 cup coconut milk
4 Tbsp chia seeds
1 Tbsp flaxseeds
3 Tbsp erythritol/stevia (Truvia) powder
4 Tbsp cocoa powder
1 Tbsp vanilla
1 tsp ground cinnamon
Fresh berries (optional)

Combine all ingredients in a blender and pulse until everything is combined – you may need to scrape down the sides to make sure the cocoa is fully incorporated. Let sit for a minute, then blend for about five more seconds. You will see it thicken as it blends. Let chill for about 20 minutes before serving – top with fresh berries if you like. If there are leftovers and you chill them overnight you may need to add more coconut milk and stir it up to thin out before partaking.

Post Navigation