Any Kitchen Will Do

Give me a kitchen and I will cook.

Archive for the category “cinnamon”

Chocolate Chia Strawberries

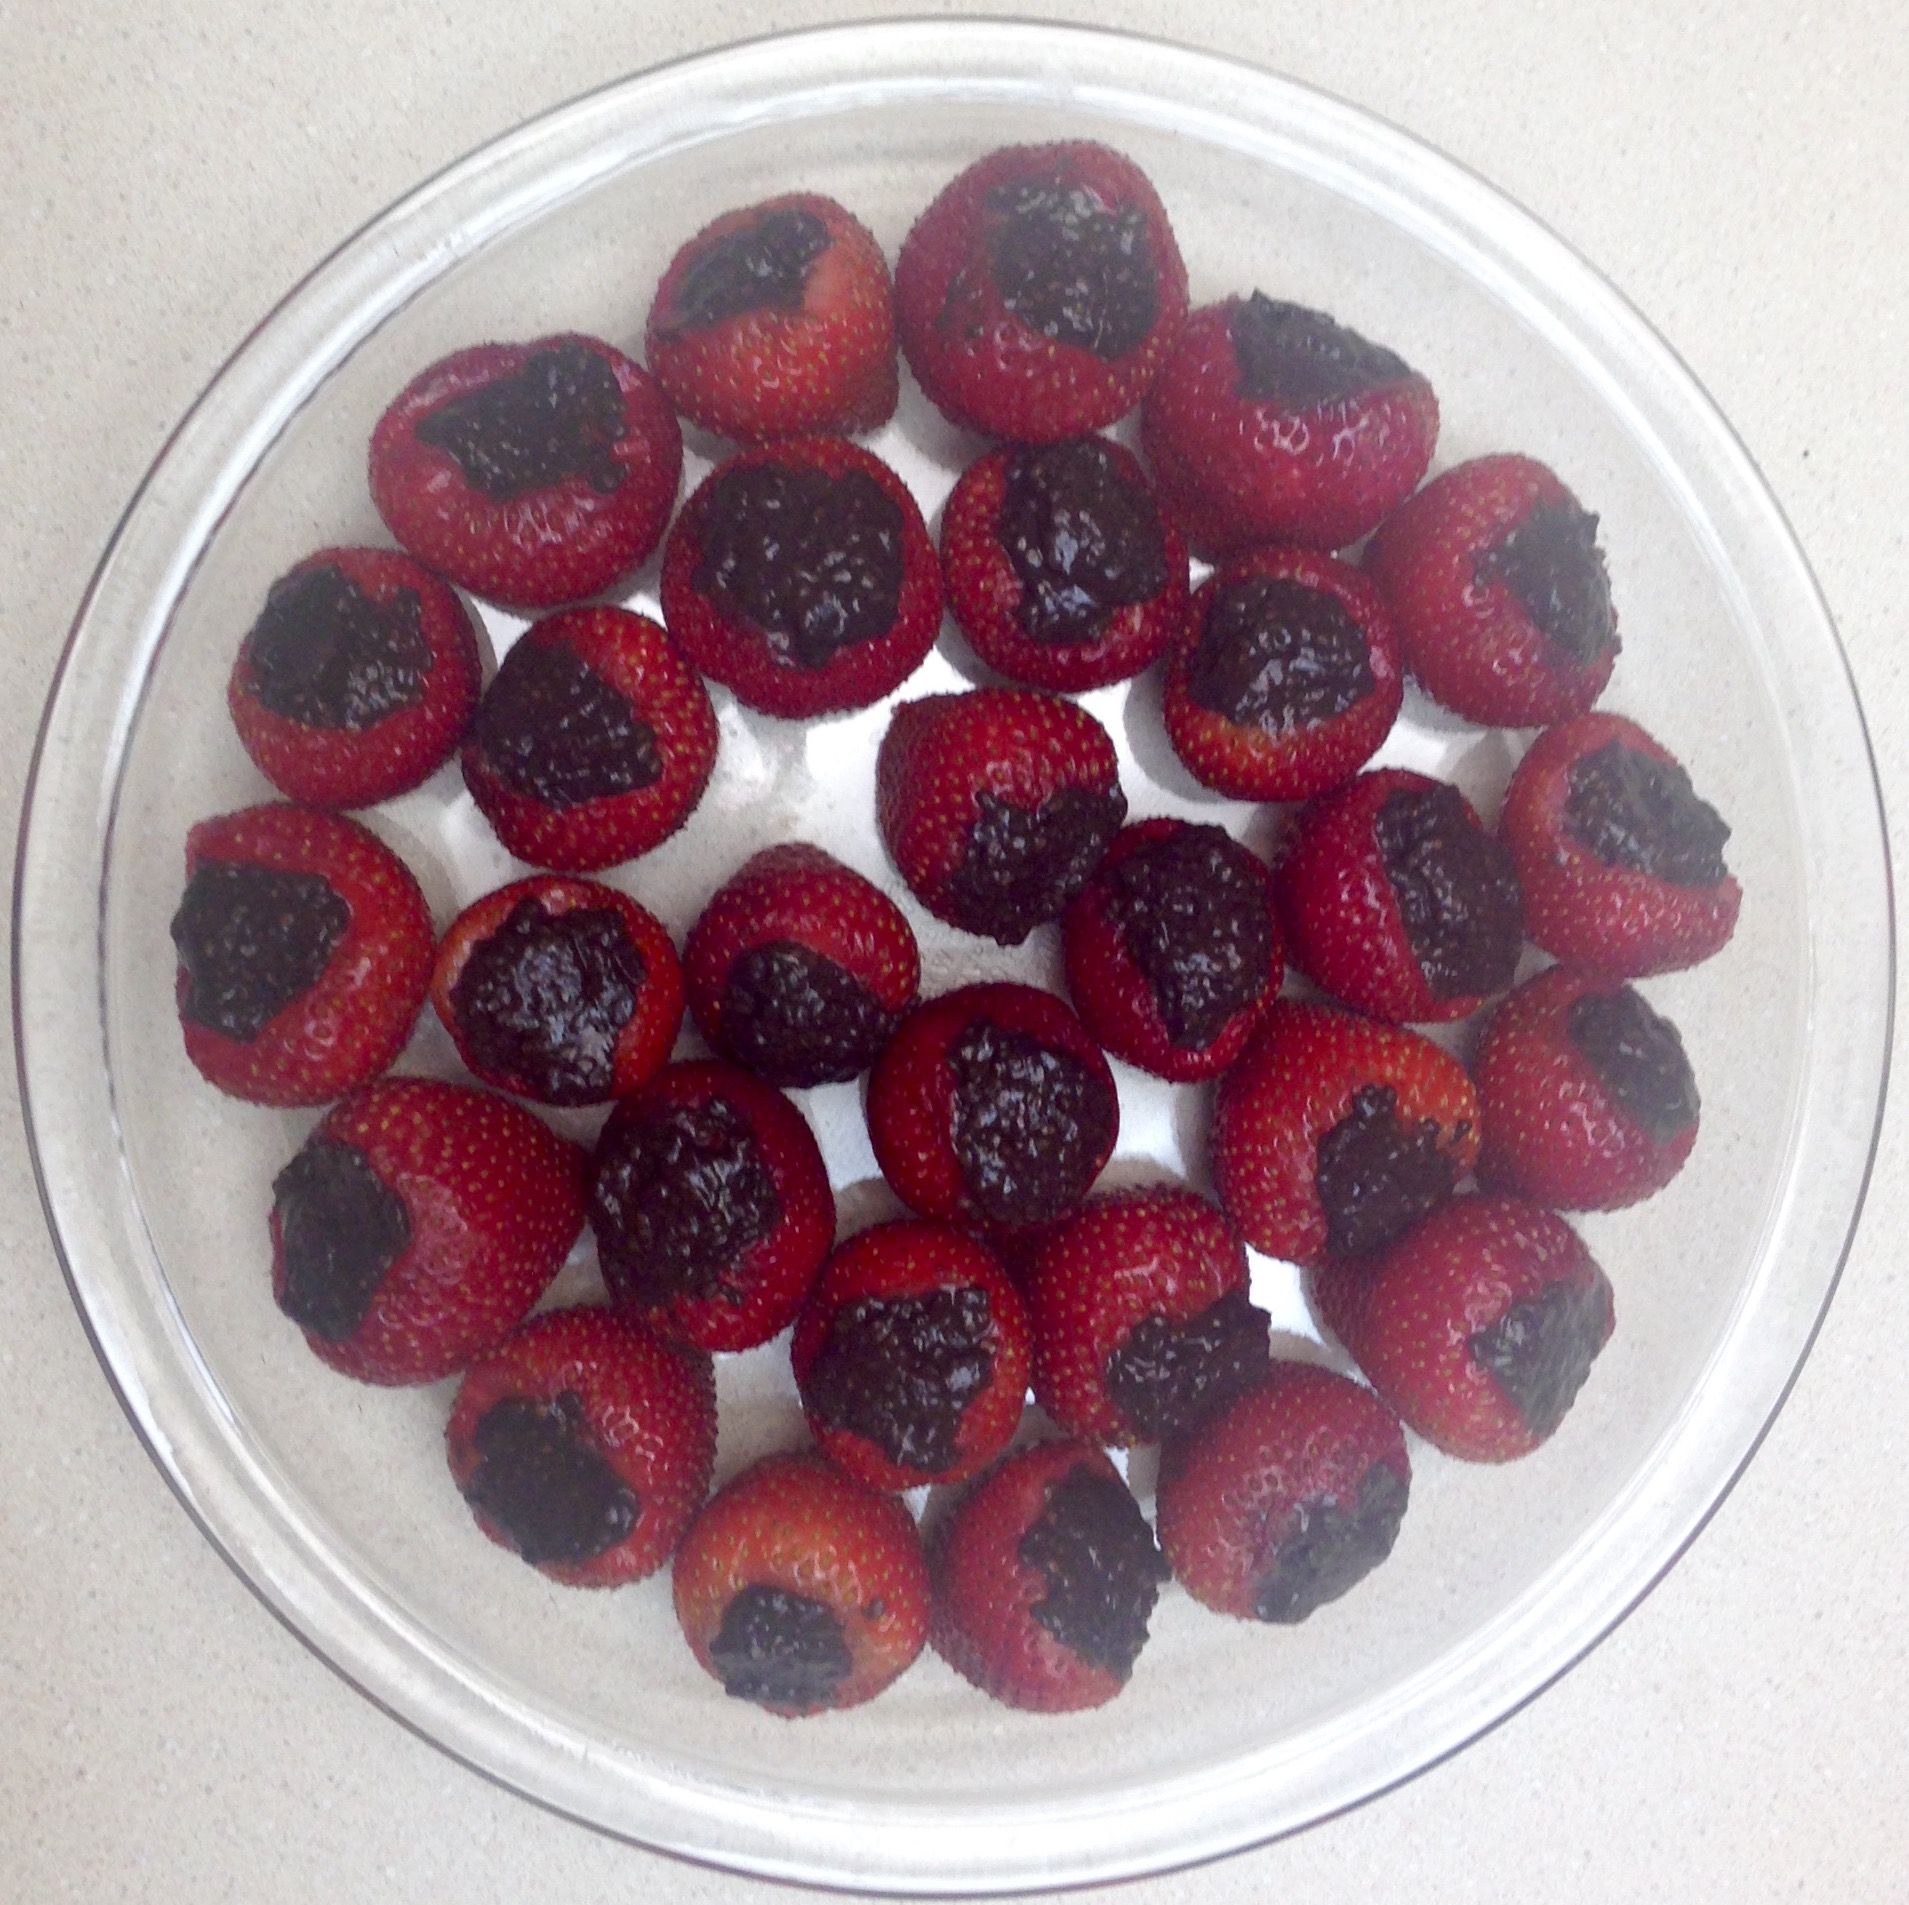
chocolatechiastrawberriesIt is a rare person who dislikes the combination of strawberries and chocolate. Since summer calls for fresh, light desserts I wanted to come up with a healthy version of chocolate strawberries that would be easy to eat.

I knew that my chocolate chia pudding was very chocolaty and good for us, so I figured stuffing it into berries would only make it better. They were a hit, and they made me wonder what else could be filled with chocolate….hmm….

Chocolate Chia Strawberries

2 dozen large strawberries, cored
1 1/2 cups coconut milk
4 tablespoons chia seeds
1 teaspoon ground cinnamon
4 tablespoons cocoa powder
1/2 teaspoon pure stevia powder

In a blender (or a medium bowl with stick blender) combine the milk, chia seeds, cinnamon, cocoa powder and stevia.

Chill filling for about 30 minutes until it firms up.

Using a small spoon fill the strawberries, shape the top of the chocolate into a mound on top of each berry and arrange on a serving platter.

Chill until time to serve or store refrigerated in an airtight container.

Curry Burger Cups

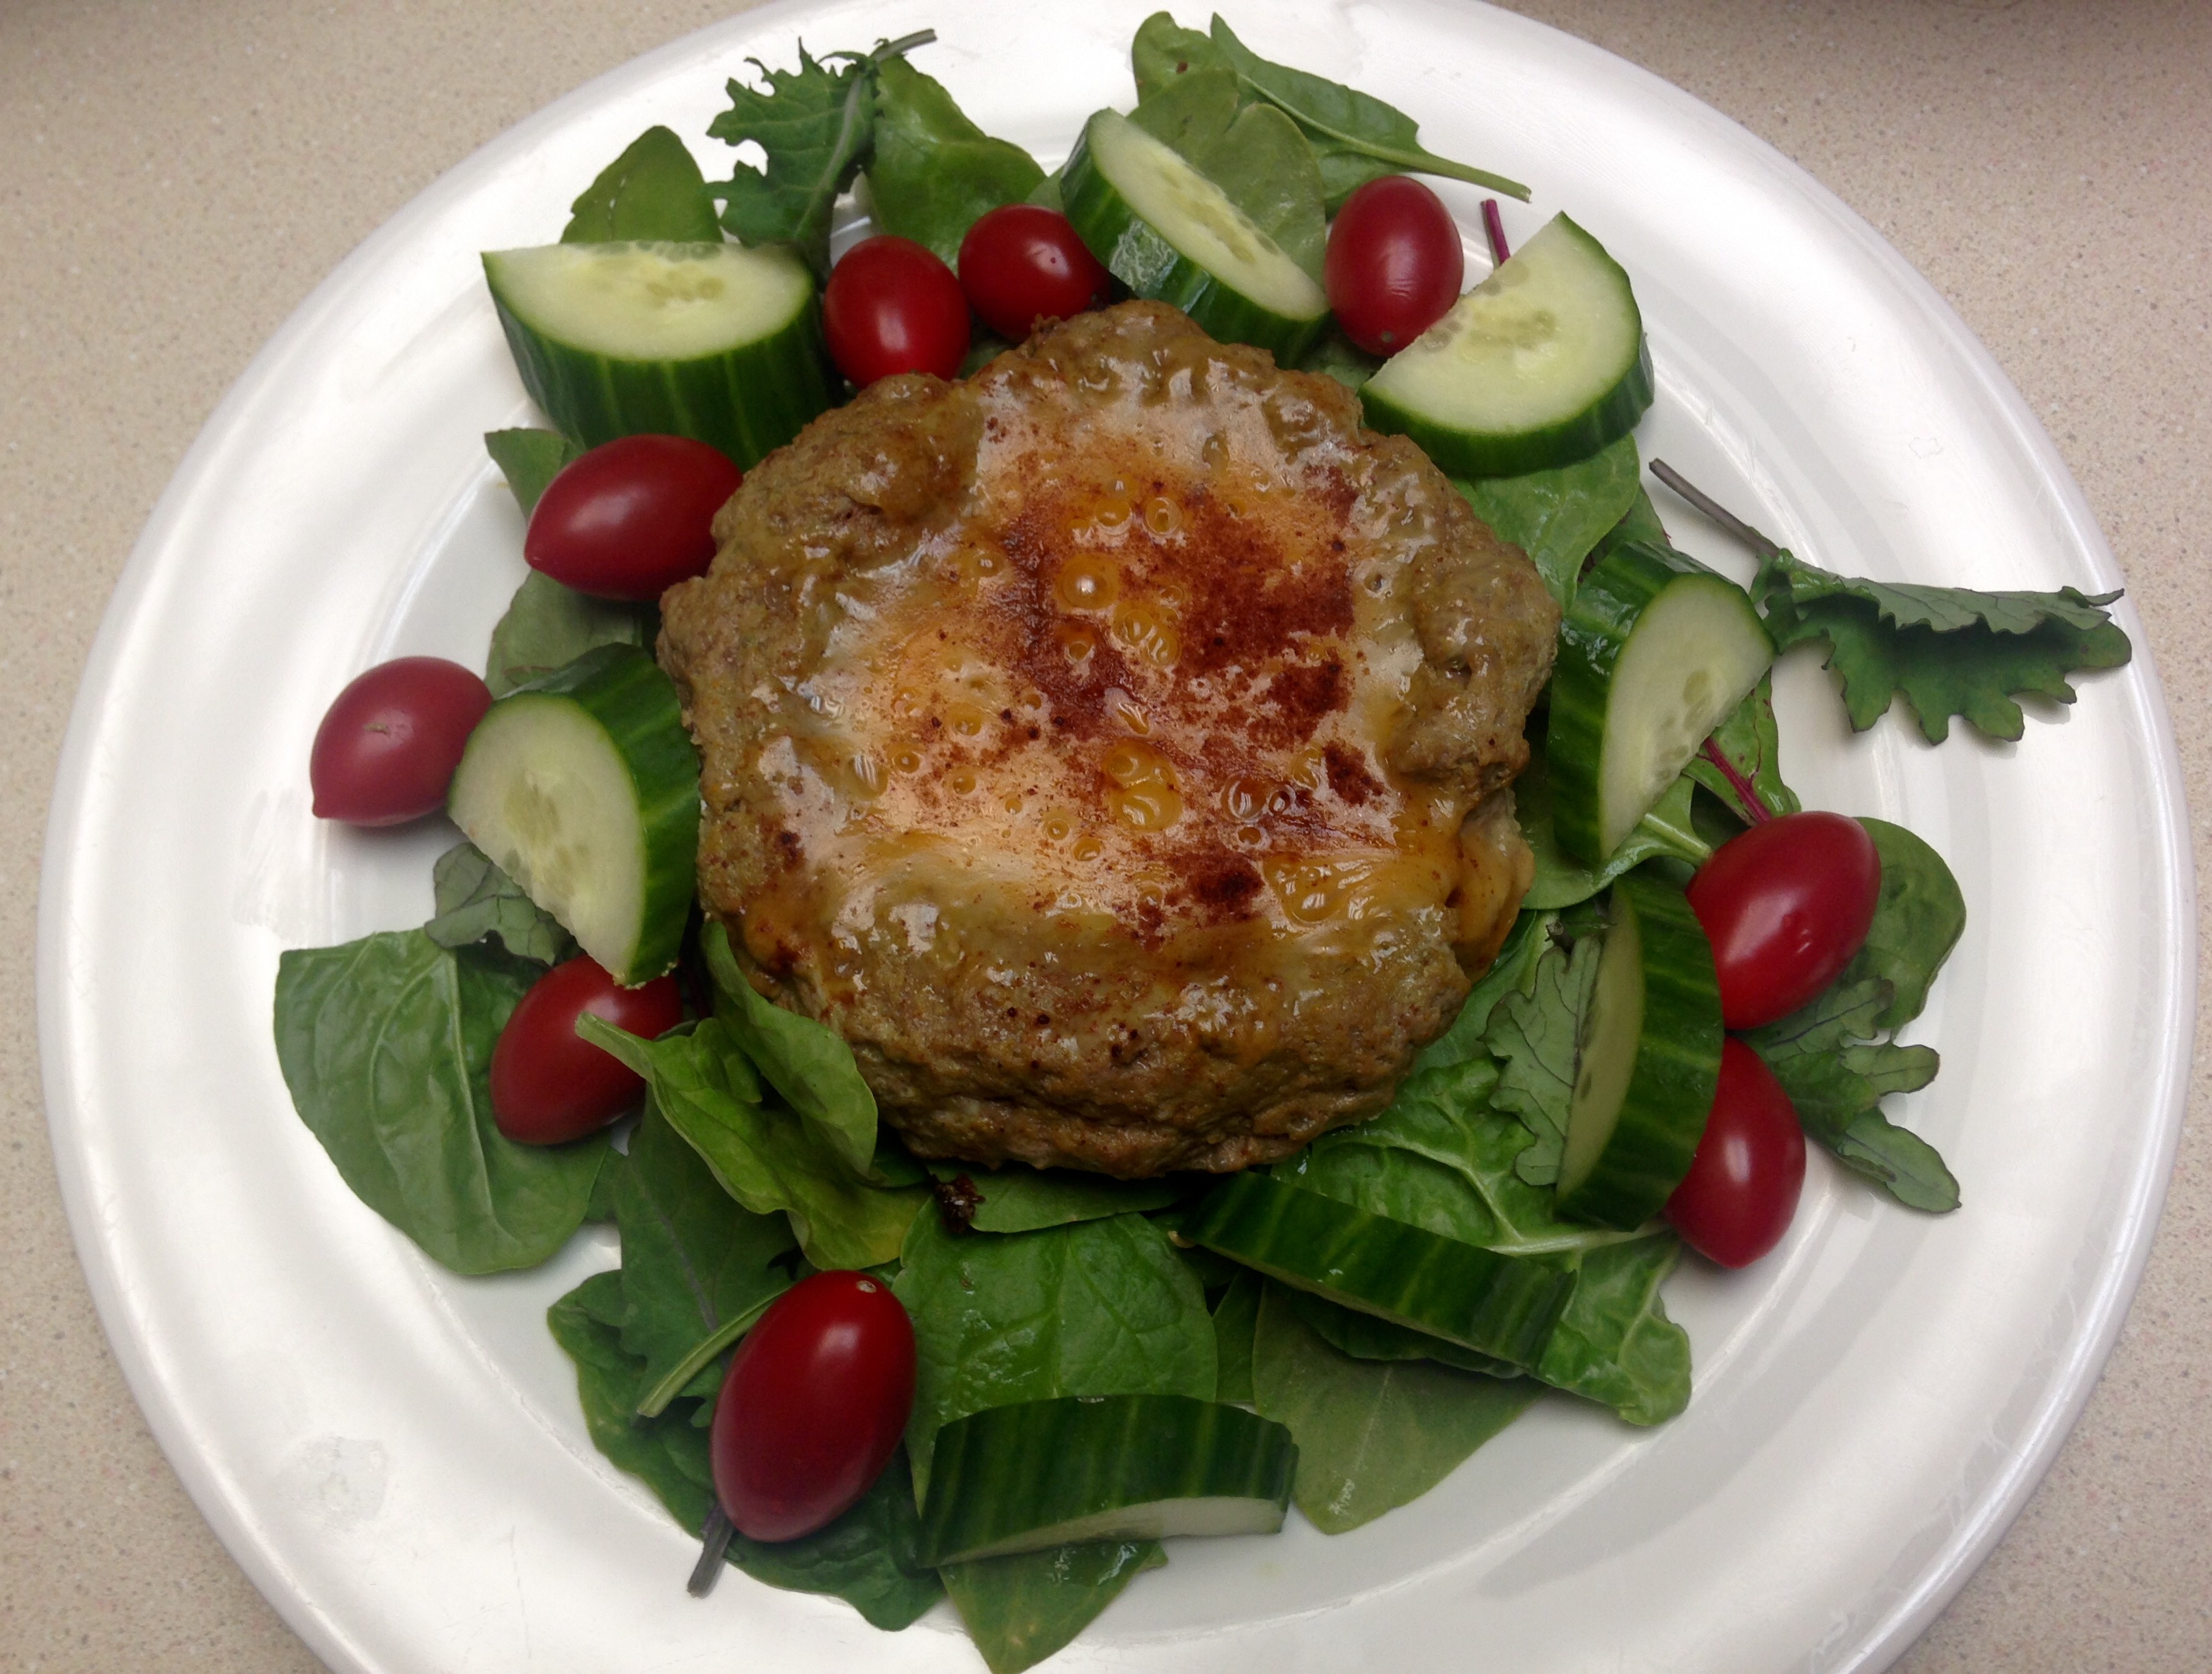
curryburgercupsI went a bit retro on this one – my mom gave us her electric skillet. For decades it has been used to make meals on the counter top. From pancakes to fried chicken we were well fed by the skillet (and mom, of course!). Since it was my mom’s it has of course been well cared for and is in excellent condition. I aspire to care for it as well, especially since I plan on using it a lot.

Compared to a stove top skillet, the electric skillet has a larger cooking surface and there is a bit more control over the temperature. I usually rely on iron skillets on the stove and forgot how fun the non-stick electric versions are! The big, domed top even has a vent to control moisture release. I may be a kitchen nerd, but it is so fun using it!

As for the lovely meal I made, using peanut butter in a burger might sound odd, but combined with the yellow curry spices the flavors were wonderful. Since the burgers aren’t flipped the bottom gets a good sear, which of course always goes well with cheddar cheese. Making the bowl in the burger helps retain the cheese instead of it dripping off the edges of a rounded burger top. Don’t get me wrong, I like the crispy cheese left in the pan when it dribbles off the edges of a cheeseburger, but I also like cheesy burgers that don’t lose any cheese while it melts.

Bites of the burgers with the peppery mix of raw baby kale, mustard greens, spinach and chard really made for a wonderful mouthful.

Curry Burger Cups

2 pounds ground beef
2 large eggs
1/2 cup Worcestershire sauce
1/2 cup creamy peanut butter
2 tablespoons dried parsley leaves
2 tablespoons ground turmeric
1 teaspoon ground cumin
1/2 teaspoon ground cinnamon
1/2 teaspoon ground black pepper
1 teaspoon paprika
2 teaspoons sea salt
2 teaspoons garlic powder
2 teaspoons onion powder
2 cups grated sharp cheddar cheese

In a large bowl place all the ingredients except the cheese. With a strong mixer or your hands thoroughly combine the ingredients. Form six patties, creating a bowl in the middle of each, leaving approximately 1/2 inch rim on the edges.

In a large skillet over medium heat (or electric skillet at 325 degrees) place the patties. Fill the bowl of each patty with 1/3 cup cheese. Cover and let cook for about ten minutes, until beef is cooked to desired doneness (medium is 160 degrees).

Serve immediately on top of raw greens or with a cooked side of vegetables.

Big D’s Breakfast Mix

bigdbreakfastmix

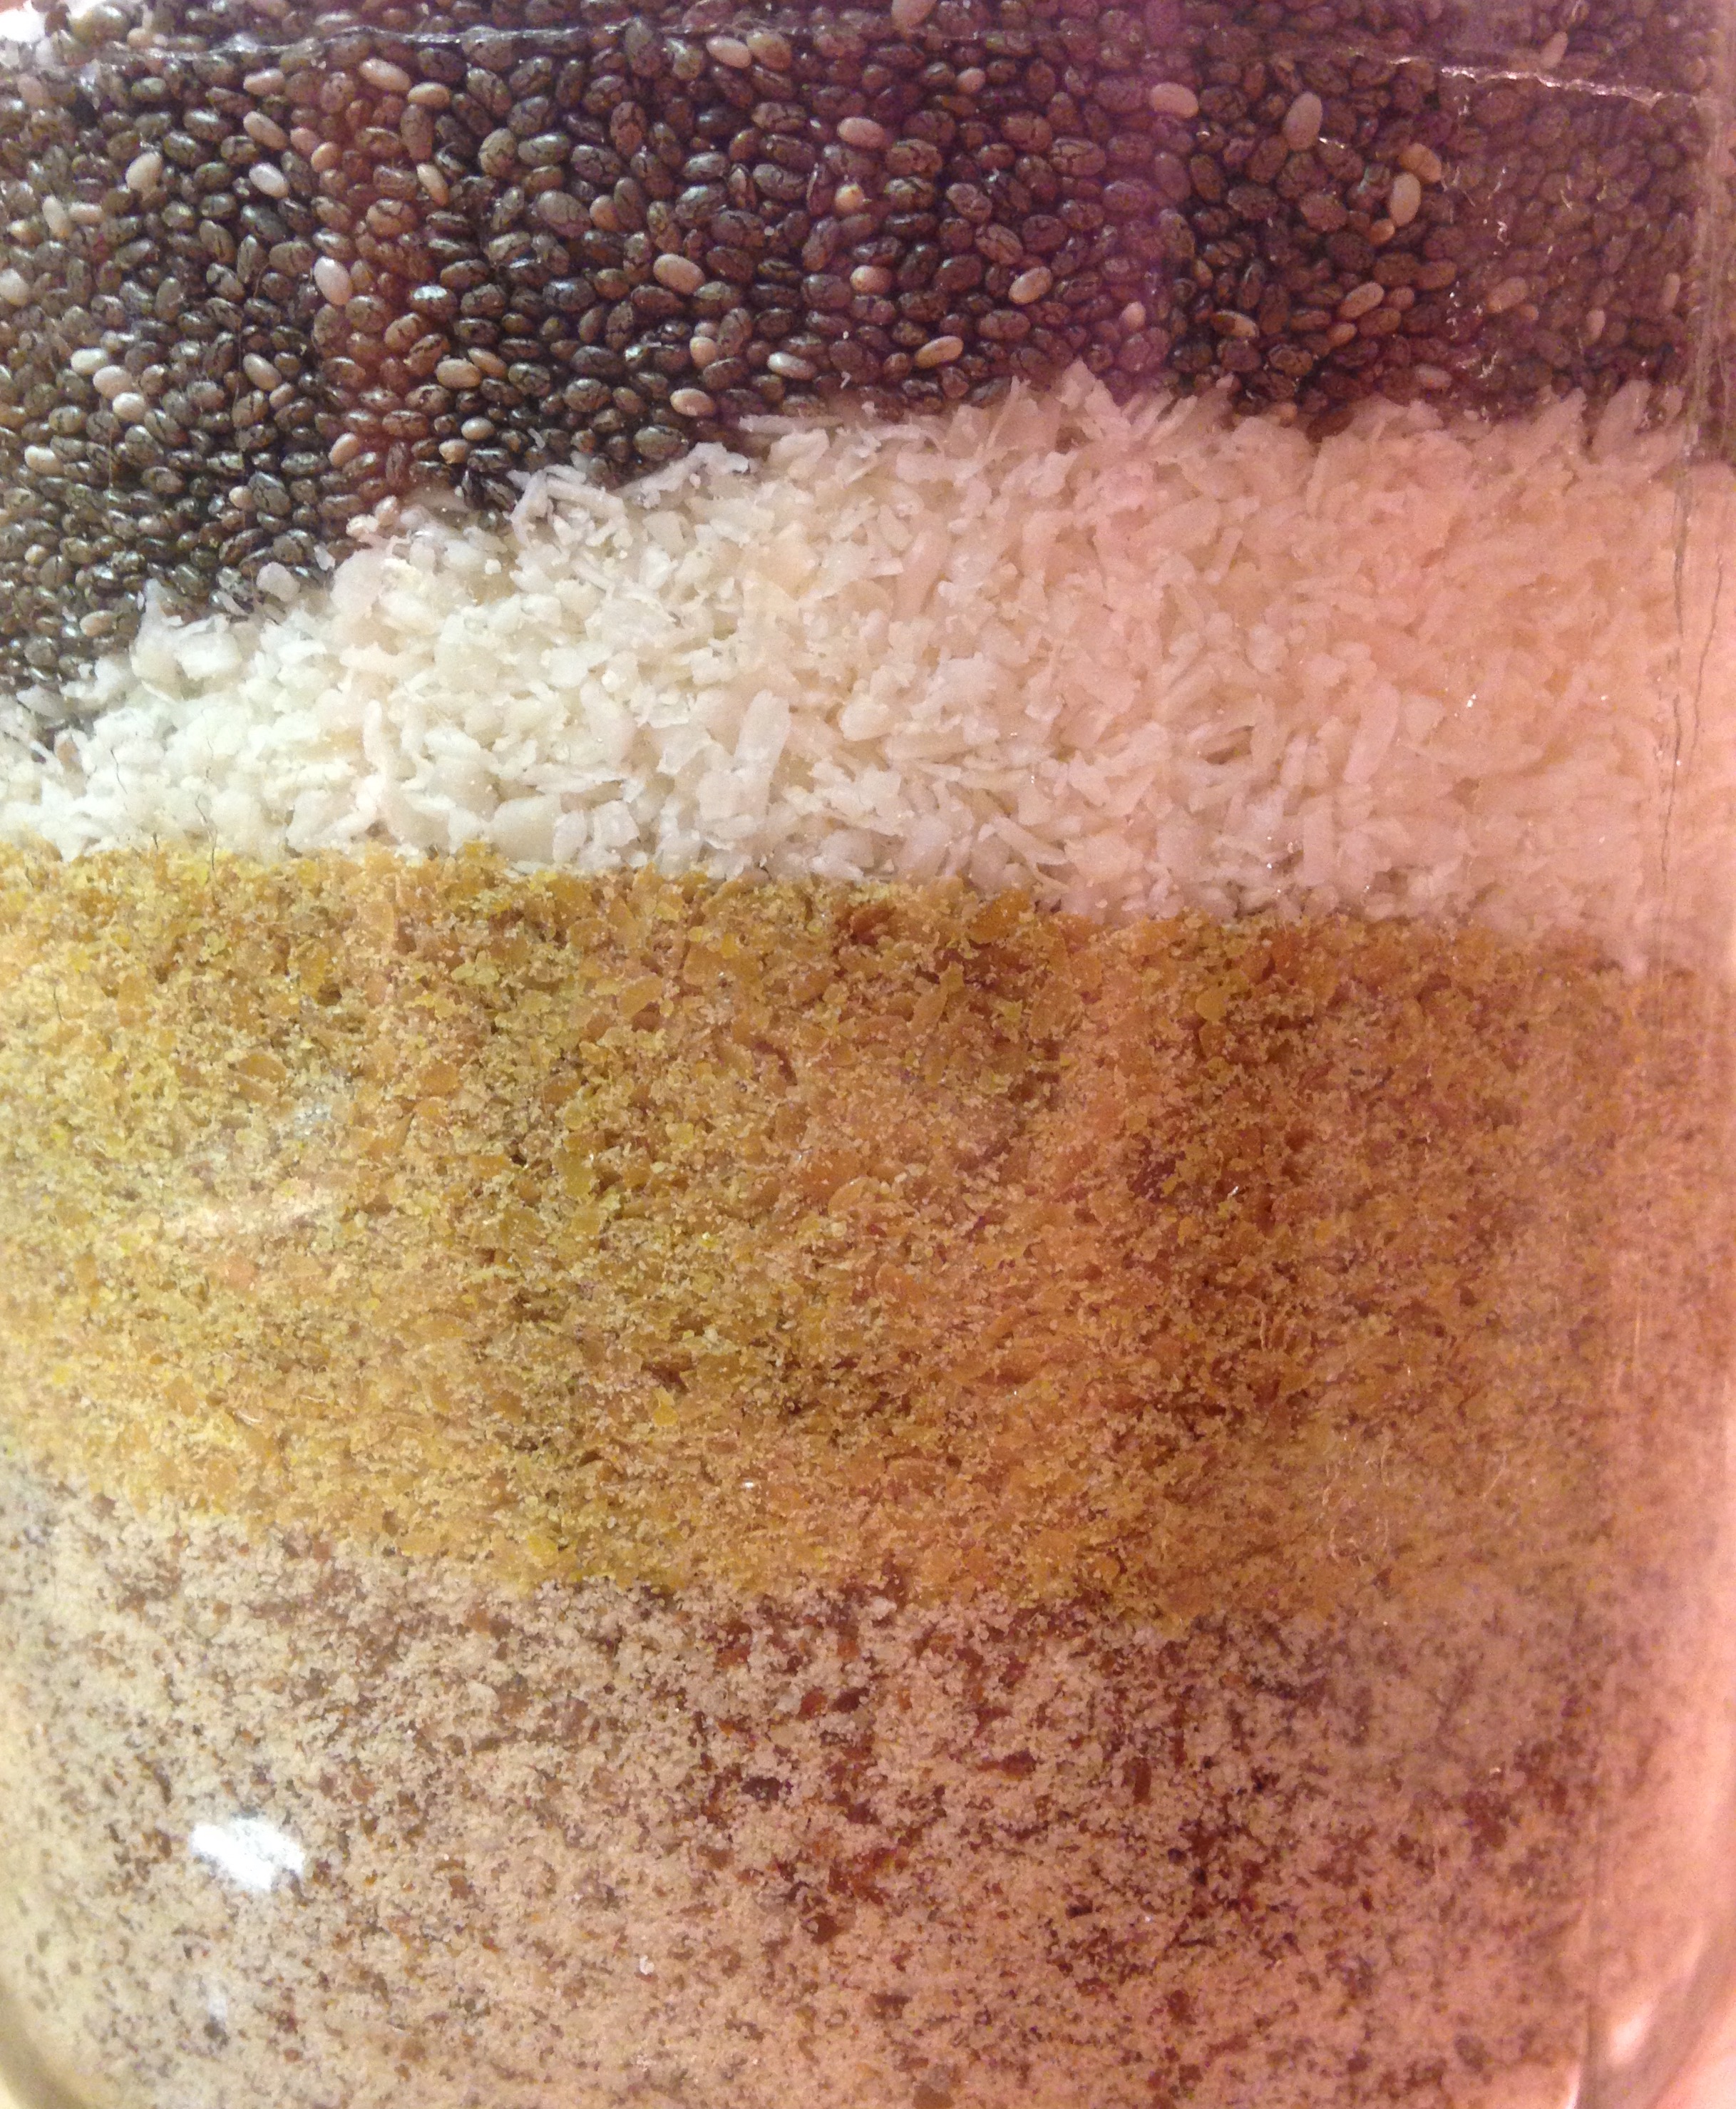
Big D and I have a big love of oatmeal. It started when we were children and carried on into adulthood. It has always been a staple on our camping and kayaking trips – easy to pack and prepare simply with water (ideally hot if we properly manage our alcohol stove fuel). Although our love for the stuff carries on, our desire to avoid high carbohydrate foods is now ever present.

The other morning we decided to try some of our staple pantry ingredients to make a low carbohydrate version of a morning porridge. The chia seeds worked well as a thickener, and gave us all serious boosts of energy that lasted pretty much all day, which is very much needed during a cold winter day.

After making a thinner version for Little B, she came on board with our concoction as well, followed by the demand to recite the old porridge-centric fairy tale, The Three Bears. Quite appropriate, I thought! I am thinking future batches may include a bit of peanut butter, or sprinkling of cocoa powder for fun. Little B will eat pretty much anything with berries on it, so it is almost a sure thing in the future for her too!

The mix recipe can easily be doubled or tripled, as long as it is kept in an air tight container, so go ahead and stock up!

Big D’s Breakfast Mix

1 cup golden flaxseed meal
1 cup shredded unsweetened coconut
2 cups almond meal
2/3 cup chia seeds
1/4 cup ground cinnamon
2 teaspoons sea salt

For Single Serving
1/2 cup breakfast mix
1/2 cup hot water
¼ cup heavy cream or other milk product (soy, almond, cashew, lactose free…)
Dash of preferred sweetener (optional)
Nuts or berries (optional)

Combine flaxseed meal, coconut, almond meal, chia seeds, cinnamon and salt in an air tight container. Stir or shake until ingredients are well mixed together.

To prepare a bowl of breakfast mix, stir the bulk mix, then scoop ½ cup of the mixture in a bowl. Add hot water and stir, then add sweetener and cream. Stir once more and then let sit for at least one minute to thicken. Add more hot water to adjust thickness as desired. Add nuts or berries if desired and eat immediately.

Cinnamon Whiskey

cinnamonwhiskey

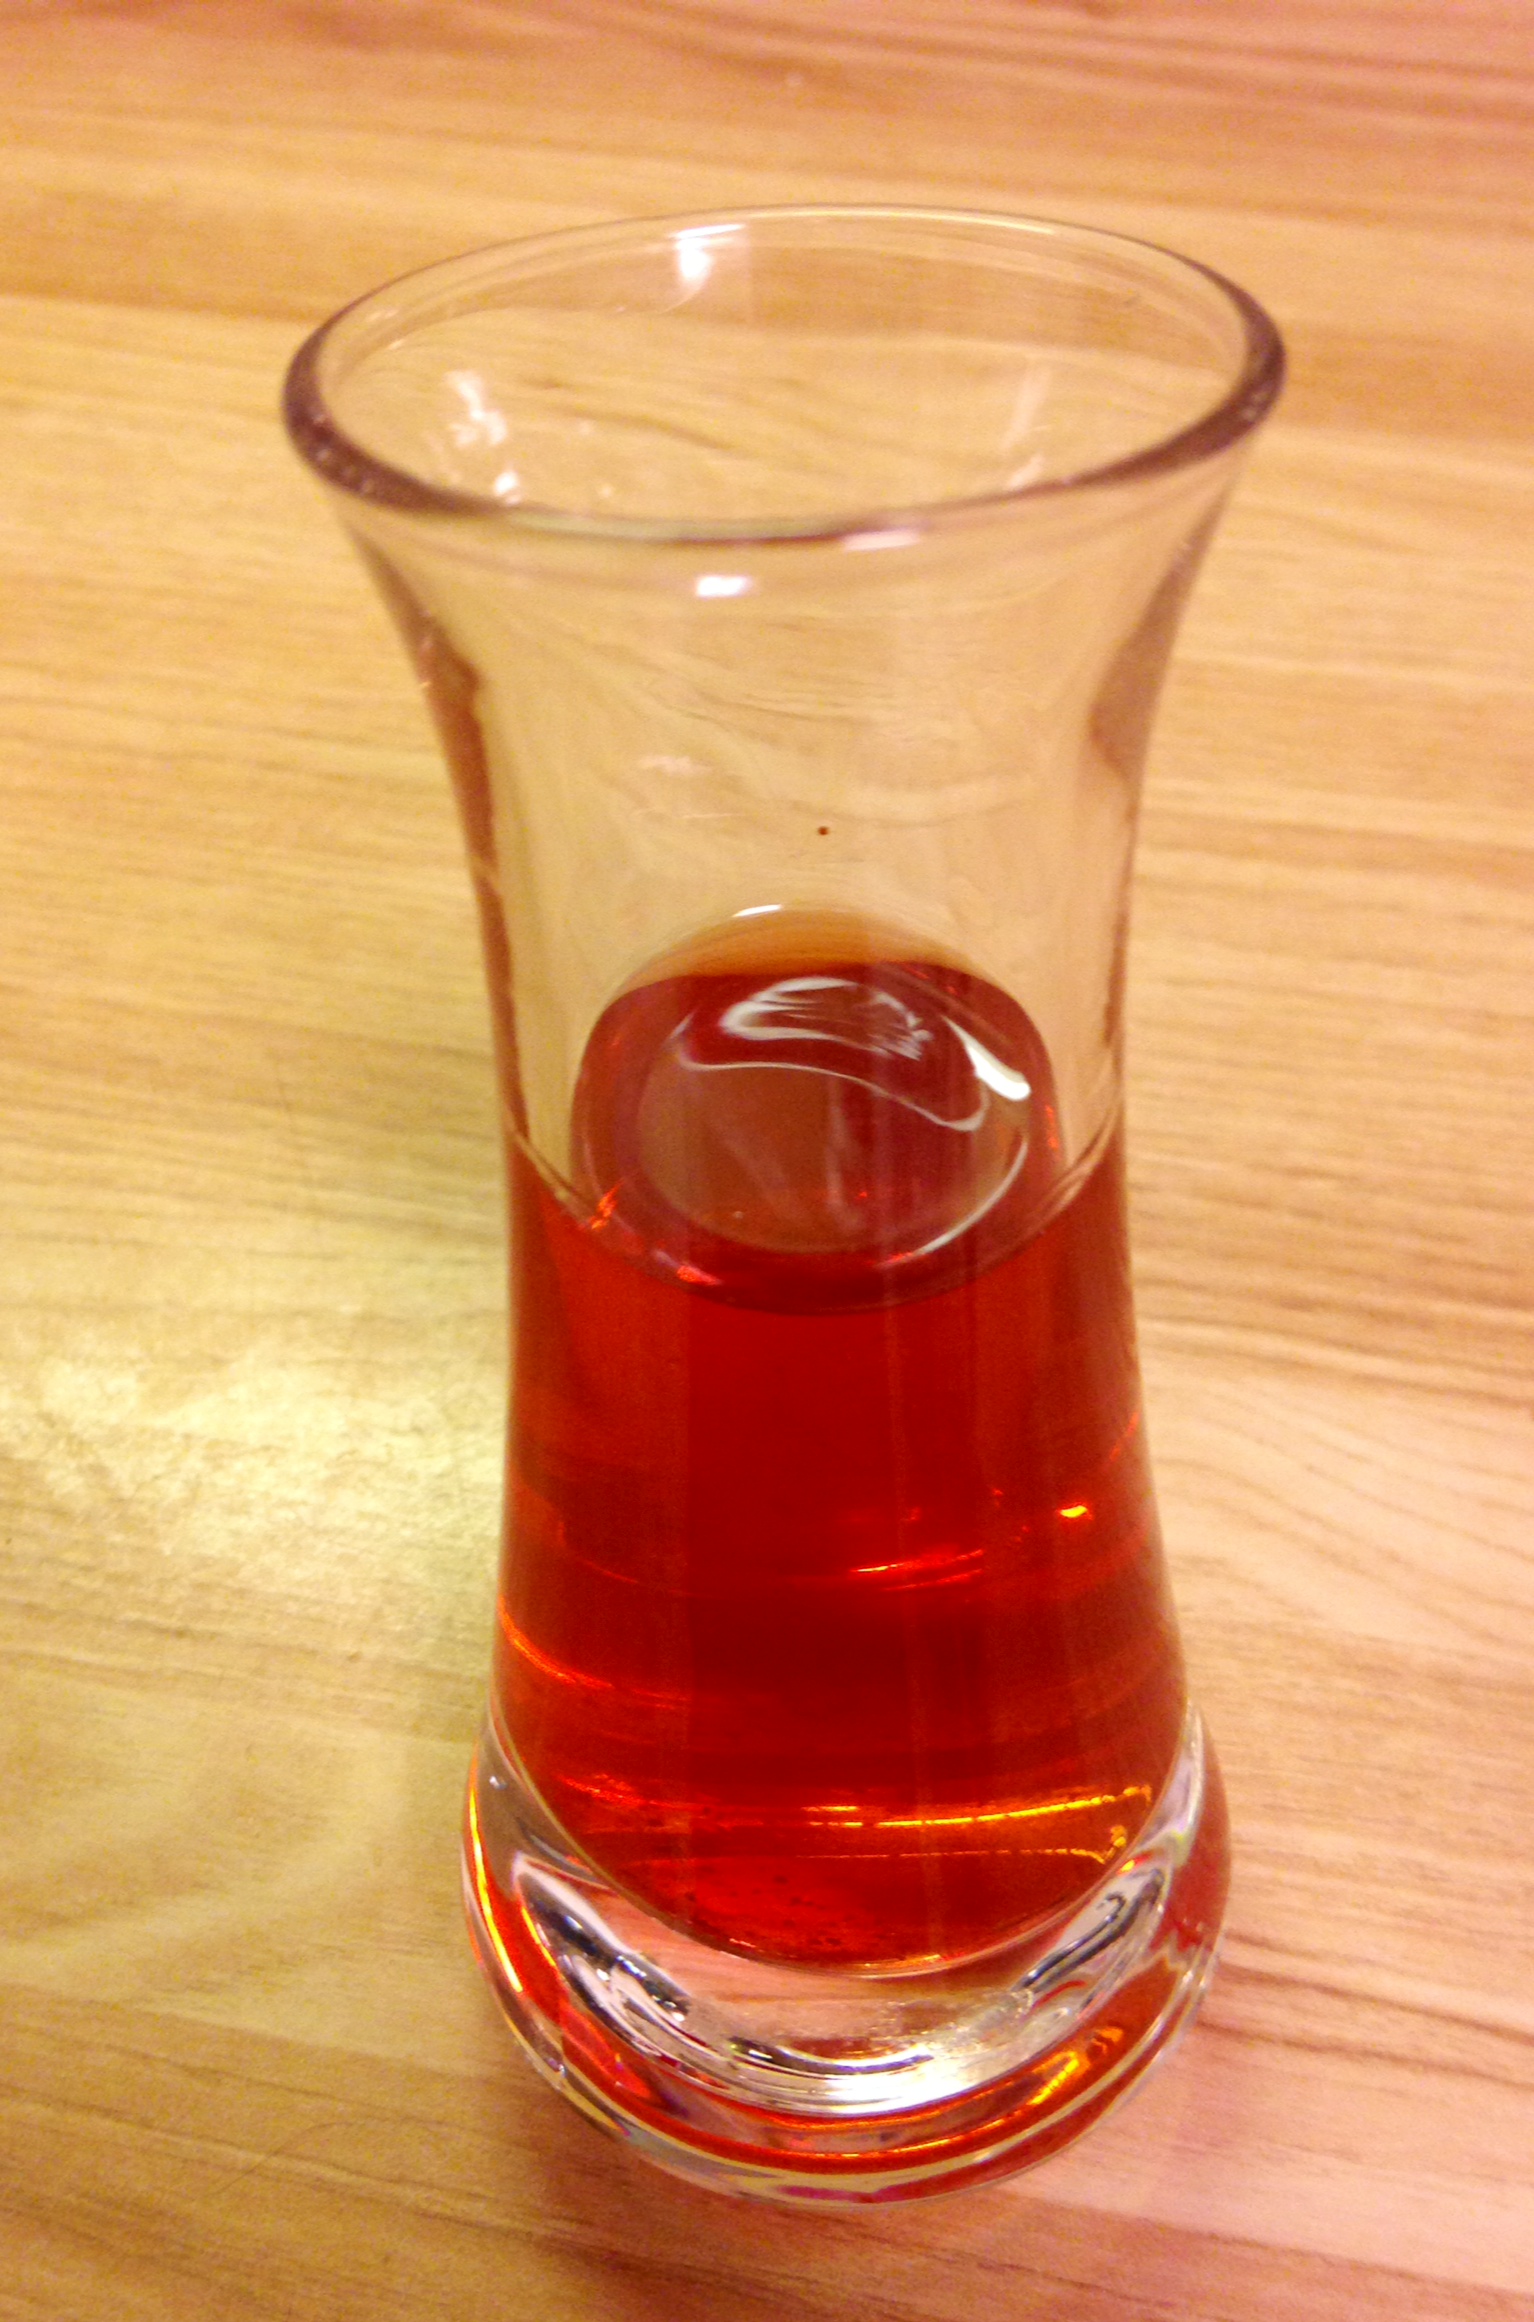
I get a kick out of flavored liquors. Not so much cloyingly sweet liqueurs, but things like vodka and whiskey with some flavor added. Big D makes fun of me and is above such things, preferring the peaty taste of Laphroaig or the smokiness of Bushmills. I like them too, but the cinnamon whiskey is nostalgic for me, taking me back to days in college when we took shots of Goldschlager or experienced the horridness of cheap cinnamon schnapps. I would like to think my tastes have matured since then, and I now enjoy more subtle cinnamon now. My recent discovery of Fireball took me back to those crazy, boot scooting and ranch party Saturday nights of yore.

The problem with Fireball and other flavored liquors is the mystery surrounding the content of the added flavoring. Do they have grains? Exactly how much sugar do they use? What other chemicals are in that bottle of golden goodness? Such beverages do not have ingredient lists on the bottles or the websites of companies, so a lot of digging goes into actually figuring out what is in them.

One of my favorite flavored liquors is cinnamon whiskey. I can tell from just one sip that, among other things, sugar is definitely added. My attempts at creating my own cinnamon whiskey, so I know what was in it, resulted in two versions. They both have sweeteners, because, honestly, some sweet is why I like it.

The first approach is ideal because it is sweetened with stevia and satisfies my cinnamon hankering. The second approach, using sugar free candies with the sweetener of your choice (or sugary candy if you like) makes the end result very closely match the candy sweetness inherent in commercial cinnamon whiskeys.

Regardless of the approach you use the end result is a pretty, festive red whiskey with a lovely, spicy bite to it!

Cinnamon Whiskey

Approach One
1.75 liter bottle whiskey
5 cinnamon sticks
1 teaspoon cayenne pepper powder
1/2 teaspoon pure stevia powder

Approach Two
1.75 liter bottle whiskey
2 cinnamon sticks
1/4 teaspoon cayenne pepper powder
12-15 sugar free cinnamon candies

Remove 1/4 cup whiskey from the bottle. Add cinnamon, pepper and candies or stevia to bottle. Replace top on bottle. Let whiskey sit for at least two days, shaking it two to three times a day. Shake before each use. Serve neat, on the rocks or with mixers as usual.

The last cup of the whiskey in the bottle will have more sediment and be slightly bitter, so I recommend using it for mixed drinks instead of neat or on the rocks.


Pumpkin Custard

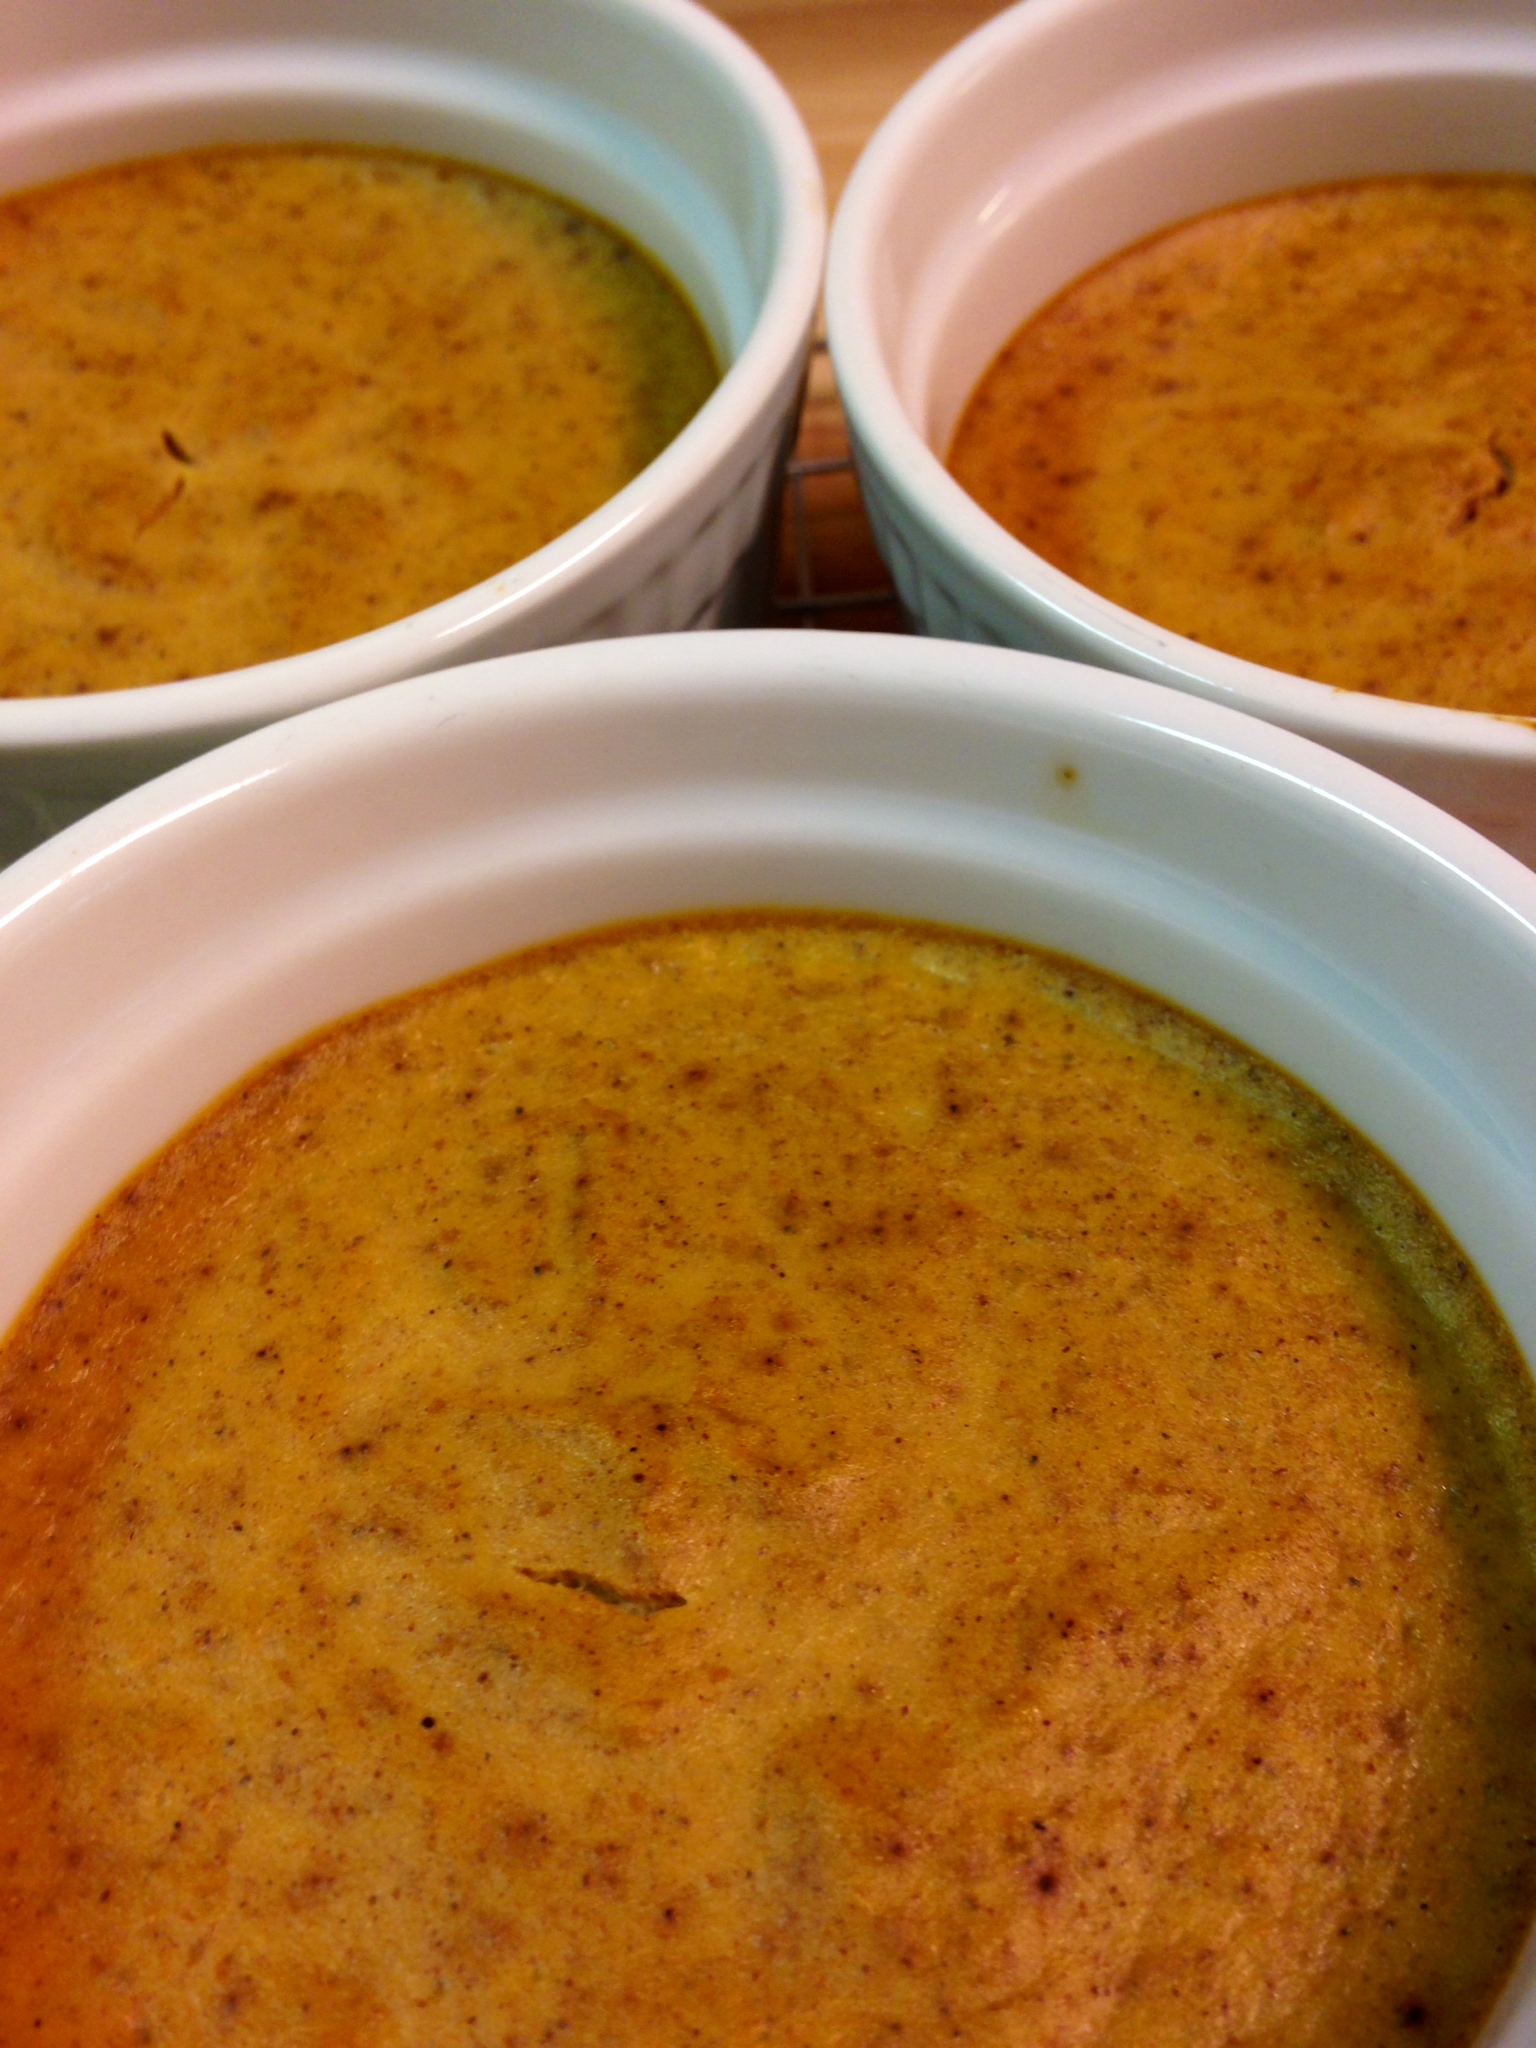
pumpkincustardStill looking for a way to use up the last of the pumpkin from your holiday cooking? From my big jar of pumpkin I have so far made a pie, muffins and pumpkin spice syrup, then finished off the supply with this simple custard. It was a reeeaaalllly big jar!

Speaking of jarred pumpkin…no, I don’t make my own. I used to, but it was much more labor intensive than I wanted to deal with. By the time I bake it and smooth out all the stringiness I am tired of dealing with the stuff. I am hooked on using already smooth and prepared pumpkin (which often is not purely pumpkin, but includes other types of squash that are less stringy). I use very few prepared ingredients when I cook, but some I do rely on consistently. Besides pumpkin, I rely on prepared tomatoes and tomato sauces, as well as artichoke hearts. I will leave the time and effort needed to prepare them to other people. That way I can focus on making other stuff and doing funner things.

Although often for dessert, a custard like this is high in protein and goes great as breakfast too!

I was also feeling a bit nostalgic when making this. Four years ago today my dad died. He loved pumpkin pie. He had big slices whenever it was available. A few weeks before he died we brought family and friends together at his rehabilitation center for a pie party. He was stuck in the center for the holidays, so we brought a celebration to him! We filled up the dining room with people and pies he loved. It was probably the last time he had pumpkin pie. I think of him every time I make this, or pie in general. Bittersweet and comforting at the same time. I love and miss you dad!

Pumpkin Custard

1 cup pumpkin purée
1/2 cup heavy whipping cream
3 large eggs
1 Tbsp ground cinnamon
1 tsp ground ginger
1/2 tsp sea salt
1/4 tsp ground clove
2 Tbsp Stevita
Whipping cream to serve (optional)

Preheat oven to 325 degrees.

In a medium bowl whisk together the eggs and whipping cream. Add pumpkin purée, cinnamon, ginger, salt, clove and Stevita, whisking well to incorporate all the ingredients. Divide the custard evenly between three 1-cup ramekins.

Place ramekins, evenly spaced, in a 9×13 baking dish. Fill dish with water so ramekins are submerged half way up. Place dish in preheated oven on the middle rack. Bake for 30-35 minutes, until center of all custards is firm. Serve, topped with whipped cream, immediately or chill and serve cold.

This recipe can easily be doubled or tripled to make more individual servings.

Fluffy Pancakes

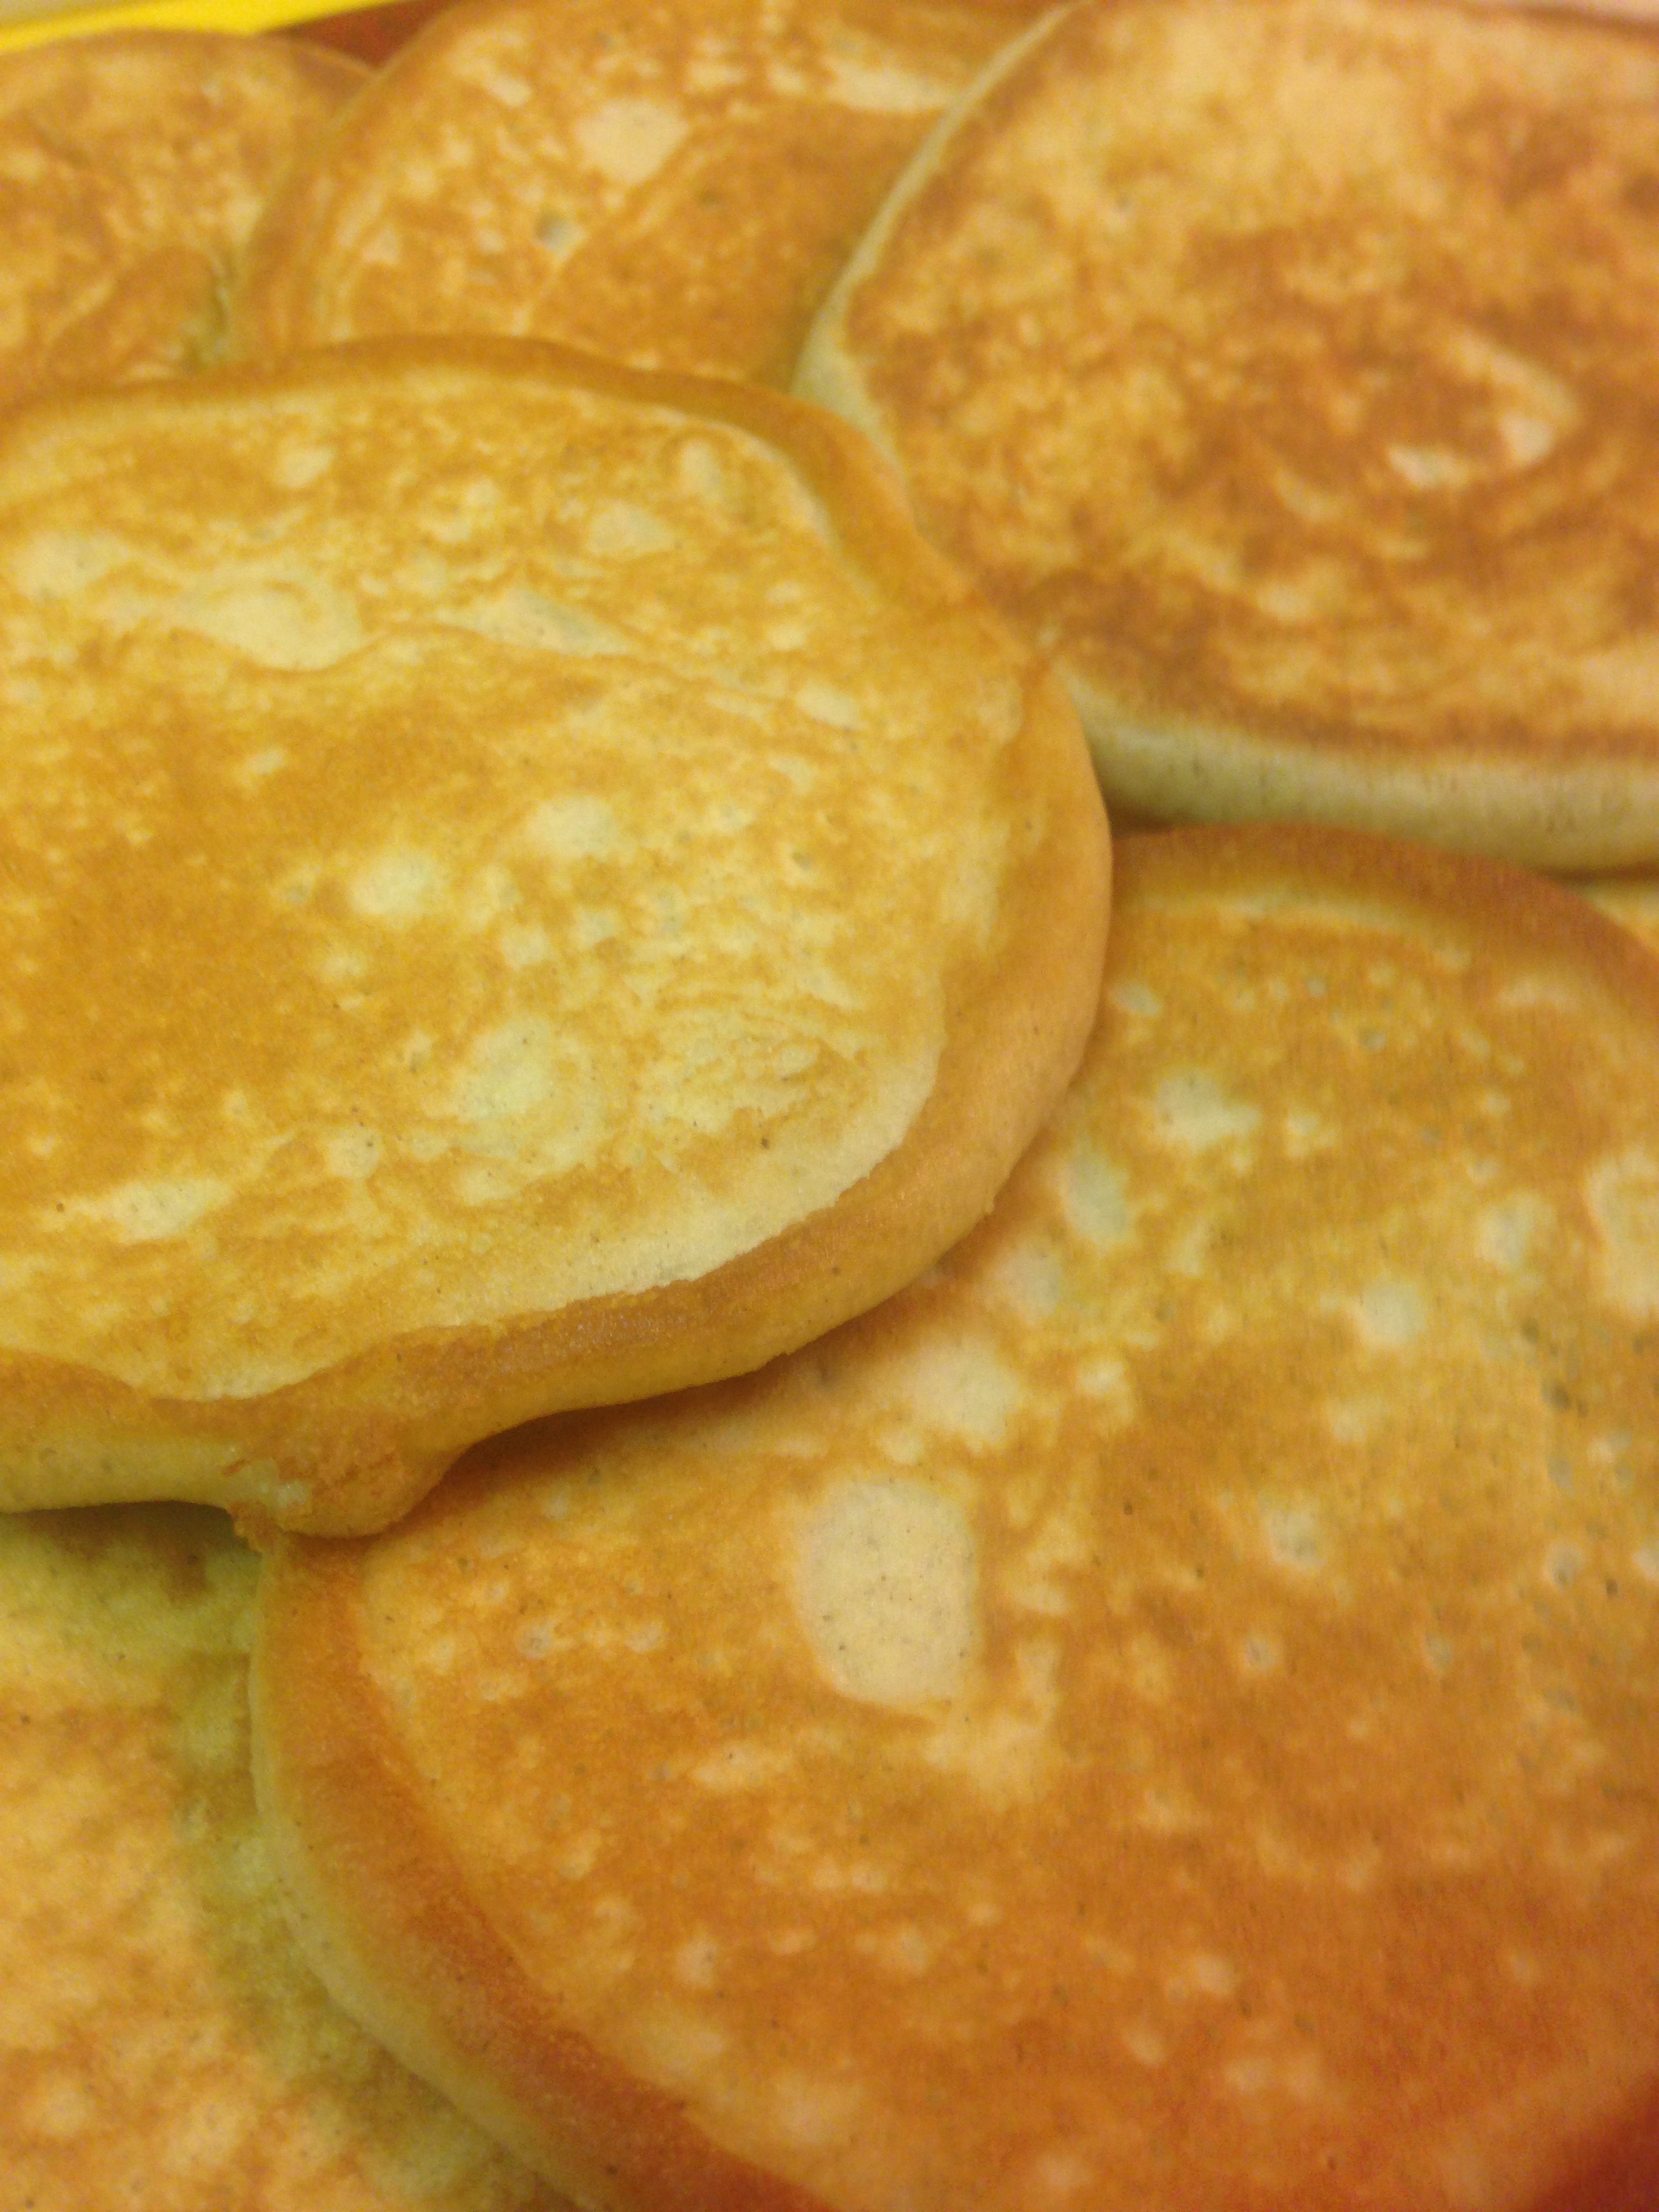
2015-10-14 10.30.27A few years ago we were living temporarily in a hotel while moving, and had to wrestle with a little kitchenette. Craving pancakes, we concocted a lovely recipe that we have used consistently ever since. I recently decided I wanted to make some fluffier, less coconut-y pancakes and tweaked the recipe. I also considered our interest in having plenty of leftovers, so figured out a quadrupled batch. This version makes about 18 pancakes, so at two pancakes per serving it makes for nine meals (and without the syrup, also a filling snack on the go for Little B).

I caution you about eating more than two at a time without at least ten minutes in between servings. These suckers seem to expand like sponges in the stomach. I at two at 10am this morning and have yet to be hungry now at 8pm. Better than any super food I ever before experienced!

Fluffy Pancakes

1 cup coconut flour
1/2 tsp baking soda
1 tsp ground cinnamon
2 tsp Stevita
1/2 tsp sea salt
11 eggs
1/2 cup coconut oil
1 cup heavy whipping cream

In a medium bowl combine the flour, baking soda, cinnamon, Stevita and salt. In a separate mixer bowl place the eggs, coconut oil and cream. Mix the wet ingredients on medium until combined. Add the dry ingredient mixture and mix on high until well combined and any solid pieces of coconut oil are broken up and incorporated.

Heat a large skillet to medium high. Add a drop fat (about a teaspoon of butter, coconut oil or lard) to the pan and let it heat up. Add 1/4 – 1/3 cup of the batter and gently spread it out into a pancake with approximate diameter of 3″ – 4″. Cook for about two minutes until the bottom of the pancake sets, then flip it over with a large spatula. Cook for about two more minutes until both sides are consistently browned.

An alternative is using a waffle iron – our iron has a flat reverse side, so we can use the flat side, drop two dollops of batter, close the top and cook two pancakes until browned (relying on instructions for your particular waffle iron, if it does such wondrous things).

Repeat with remaining batter until it is gone.

Serve immediately or store in fridge/freezer in air tight container.

Dessert Cashews

dessert cashews

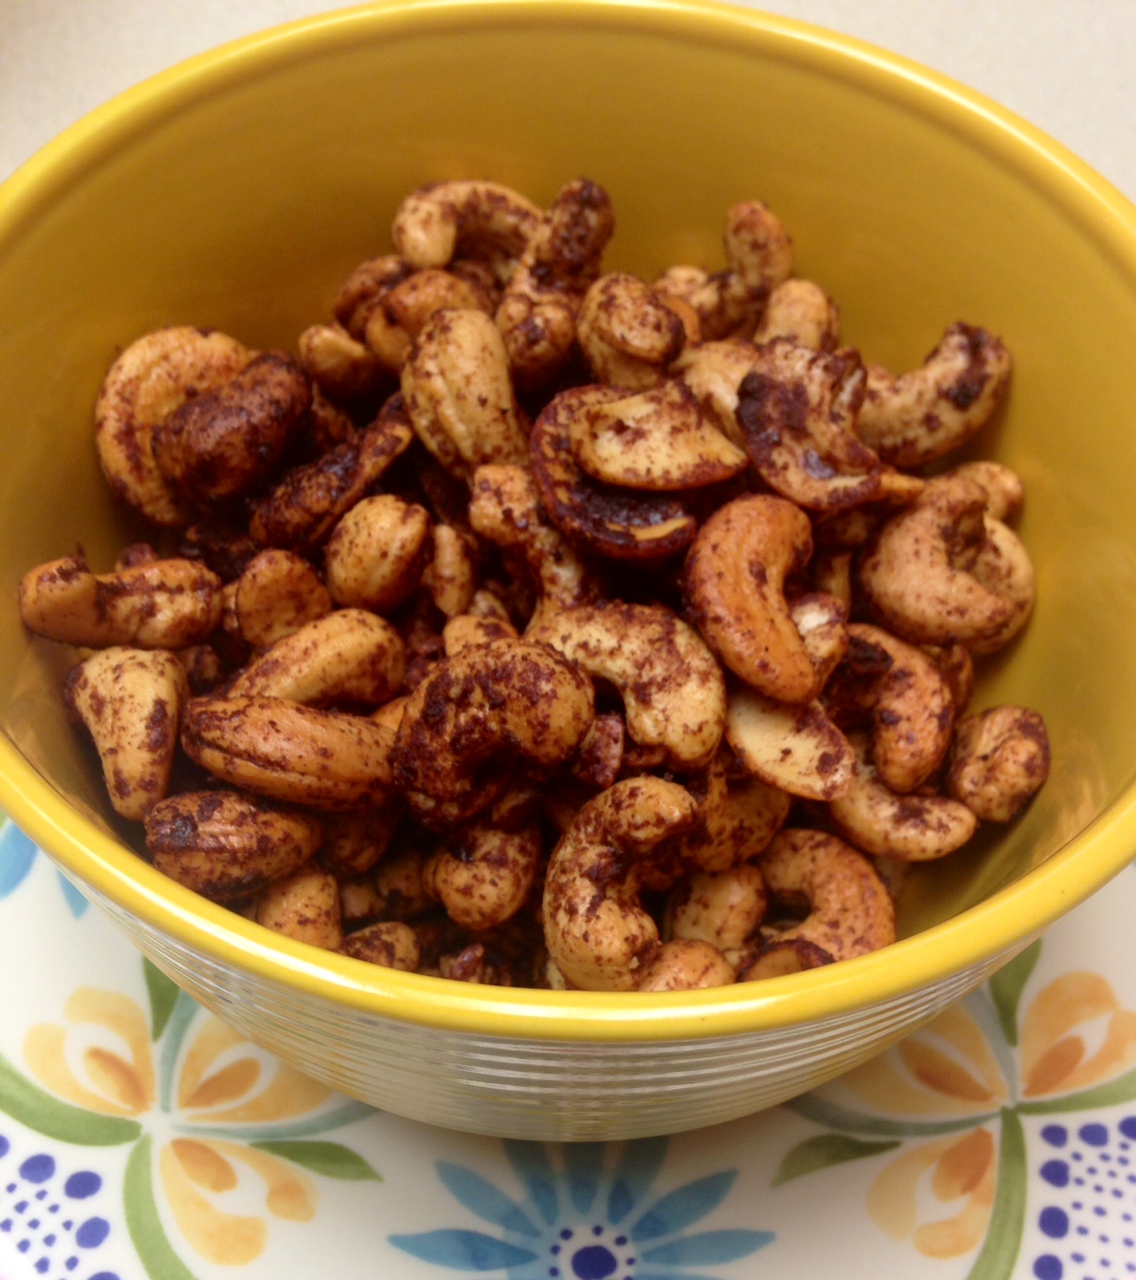
In preparation for our recent visit my mom bought some cashews, for Little B loves them. Specifically, she likes roasted, salted cashews. The generous container of purchased cashews was very much not salted. I had to come to the rescue for all our sakes!

The need to ‘fix’ the cashews reminded me of festival nuts. They are often our diet downfall. As we walk through a festival all day it is easy to walk by the funnel cakes, cobbler, ice cream, pastries, battered pig on a stick…you know, sugary and wheaty stuff. There are two or three danger zones, and they are all roasted nut stands. They typically roast the nuts and coat them with cinnamon and sugar. You can smell them about 100 yards away, so when you finally come up to the booth the brain has gone through the battle of yes, no, yes, no, oh well hell why not. We usually rationalize the purchase by assuring ourselves that splitting a bag among six people is not the worst thing in the world, and it is not. What usually happens is everyone has a few, then one or two people absentmindedly nibble on the entire bottom half of the bag and they are suddenly gone. Oops! I blame the ambiance and my nose – if I could not smell I bet I would care less about those darned nuts.

I noticed the festival nut seasoning combination worked well on pecans and almonds, but not so well on the cashews. They seemed to not capture the flavors as well and were just sad. It was not the fault of the nuts – they are more gentle and softer flavor-wise than their almond and pecan kin. The cashews needed something more than cinnamon and sugar. My first inclination was to add some bite, maybe cayenne, but Little B is not a fan. Pondering mom’s pantry and keeping Little B in mind, my eyes fell upon a can of cocoa powder. Of course! I relied on the general process I figured out for savory nuts and came up with these lovely chocolate cashews. They are sweet and rich and satisfying – a handful makes for a great dessert or snack when the chocolate craving bug comes around. I love nipping a few now and then. My mom had some mixed with popcorn for dinner the other day. Oh yeah, Little B liked them too!

Dessert Cashews

1/2 cup butter
2 Tbsp vanilla extract
1 Tbsp ground cinnamon
2 tsp cocoa powder
2 tsp Stevita granular sweetener
1 tsp sea salt (discard if using salted nuts)
8 cups roasted, unsalted cashews

Preheat oven to 350 degrees. Line two medium sized shallow baking sheets with foil. In a large bowl melt the butter in a microwave. Add vanilla extract, cinnamon, cocoa, stevita and salt. Stir until combined. Add the nuts and toss until well coated. With a large slotted spoon drop nuts onto baking sheets and spread evenly into a single layer – additional liquid on the pan may result in a burning smell before the nuts are done baking, so reduce the ‘drizzle’ as much as possible. Place sheets into oven on different shelves. Bake for 5 minutes. Remove nuts from oven. Toss nuts and again spread evenly into single layer. Return to oven, making sure the sheets are switched from the first baking period. Bake for 5 – 8 more minutes, until nuts are sizzling a bit and barely beginning to brown. Note that the point of being brown and being burned are very close together, so stay nearby during the second baking period. Remove from oven and let cool completely. Store at room temperature in air tight container.


King Cheesecake

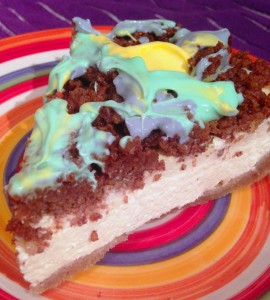
king cheesecakeIn past years I have created a myriad of different King Cake-themed treats. This year I almost passed up creating a new treat, but then Big D opened his mouth. I do admit that most times when he does that the result is positive. Other times, not so much. This time when he got a look on his face and was about to talk I held my breath. Really? We don’t have enough possibilties to choose from? Really?! Well, after he finished sharing his idea (aka closed his mouth) I was sold. Really, we don’t have enough. More more more! This here treat is a wonderful combination of past creations – the limey cheesecake, the Unholy King Cake and King Cakelettes.  I officially say, Big D, here and now, you were right…this time. The cheesecake is, as always, extremely creamy and satisfying. The crumbly, nutty topping reminds me of the spicy middle of a traditional King Cake, and the colored frosting provides for the traditional colors of Mardi Gras – green, gold and purple. I do wish the colored frosting was more vibrant in the picture, for I had to make a choice while waging a gentle battle. Today, being a gymnastics workshop day, Little B ran and flipped and tumbled pretty much nonstop for four hours. This means that her temperament, and mine, were at a bare minimum. After promising her for days she could help with this treat I could not refuse her here at the end. There was no margin for adjusting color or hue when mixing the three little bowls, so what you see is our wondrous treat with a pastel version of our dream. The good thing is she helped and looks forward to ending our feast tomorrow with a big slice. The bad thing is the decor is about four shades darker than planned. A small price to pay for some fun time with my little chef! Laissez les bon temps rouler!!!!! I hope you all have a wonder Fat Tuesday celebration tomorrow and are properly somber (whether from absinthe or faith or both) on Wednesday!

King Cheesecake

Crust
2 cups finely ground almond flour
2 Tbsp coconut flour
2 Tbsp butter, melted
1 tsp Stevita granulated sweetener
1 tsp ground cinnamon
1/4 tsp ground nutmeg
1/4 ground ginger
1 egg white, whisked (save yolk for filling)

Filling
16 ounces cream cheese, room temperature
1/3 cup sour cream
2 large eggs and 1 egg yolk, room temperature
3 Tbsp butter, room temperature
2 Tbsp heavy whipping cream, room temperature
1/3 cup Stevita, granular sweetener
2 large limes, zested and juice separated from meat (use less for milder lime tang)
1 tsp vanilla extract

Topping
1/2 cup raw pecans
1/2 cup raw walnuts
1 Tbsp ground cinnamon
2 tsp Stevita granulated sweetener
1/4 cup butter, melted
Dash sea salt

Frosting
4 ounces cream cheese, room temperature
3 ounces butter, room temperature
1 Tbsp Stevita
Food coloring (green, yellow, purple – made with one part blue and three parts red)

Make the Topping. Preheat oven to 350 degrees. Spread raw walnuts and pecans in one layer on a shallow, metal baking sheet. Place in oven for about five to eight minutes, until they begin to darken. Remove from oven, and set aside to cool. In a microwavable bowl add the butter. Melt on medium power, checking every 30 seconds, until completely melted. In food processor grind toasted nuts until they are a consistency of a rough meal. Add to the butter the ground nuts, cinnamon, Stevita and salt. Stir until well combined. Set aside.

Make the Cake. Preheat oven to 325 degrees. In 9″ pie dish cut a round of parchment paper that fits the bottom of the dish. In medium bowl stir together all dry crust ingredients. Add the butter and stir until the ingredients clump. Add the egg white mix until well combined. Crust will still be crumbly. Press crust into dish until bottom and sides are covered.For the filling add to a large bowl the cream cheese and sour cream. Whisk together until completely smooth. Add butter and stir again until smooth. Add eggs and yolk, stirring to incorporate and until smooth. Add sweetener, lime zest, lime juice and vanilla. Beat until well combined and smooth (see a pattern?). Pour filling into crust and gently smooth surface. Place cheesecake in oven. Bake for 20 minutes, until filling sets. Remove cake from oven and sprinkle topping on top – either evenly over the the entire top of the cheesecake, or Just along the edges, leaving a 2″ diameter space the middle uncovered, like the hole in the middle of a traditional King Cake. Return cake to oven for 10 more minutes. Turn off heat without opening oven door. Leave cake in the oven until mostly cooled, about two hours.

Make Frosting and Decorate. Whisk together cream cheese, butter and sweetener until well combined and smooth. Divide mixture into three separate bowls. Using green, yellow and purple food coloring, color the mixture in the different bowls until the desired tint is achieved. Using a spoon for each color drizzle the frosting over the top of the cheesecake – if you left the middle of the cheesecake clear of topping, I suggest you continue the theme of leaving the middle plain and drizzle the frosting over the portions with the topping. If the frosting is too firm to spread randomly you have two choices: 1) scoop frosting onto the bottom of a spoon and run it over the top of the cake, allowing it to catch on the pieces of topping, or 2) heat the frosting in the microwave at half power for 15-30 seconds until it is runny, then drizzle it over the top of the cake. If the topping was spread over the top of the entire cheesecake, then use any pattern you choose to apply the frosting.

Chill finished cheesecake at least one hour before serving.
 

Big D’s Eggnog

image

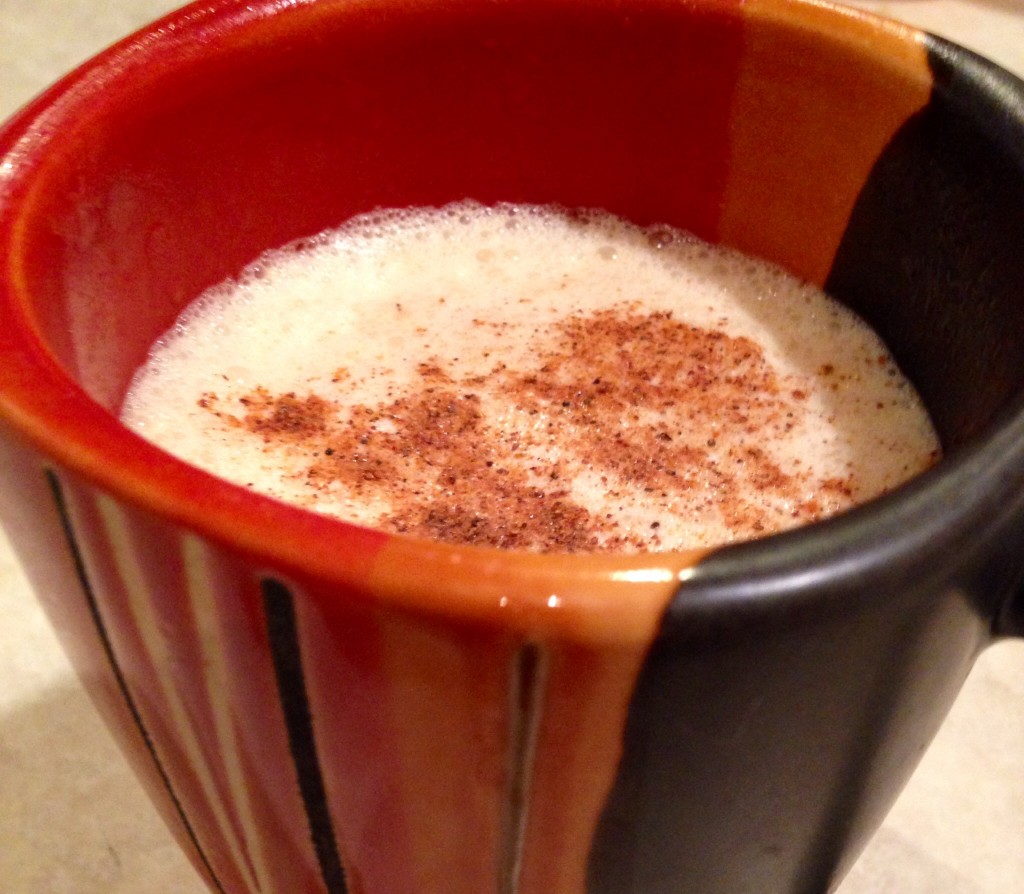
Some may be freaked out about this recipe. Not because it is eggy and not because it is boozy, but because it is RAW. You might get a bit antsy about consuming raw eggs, but we live on the edge. I do like the taste of cooked eggnog and in my opinion is often dominated by the alcohol taste. I much prefer the raw version – I can taste all the different flavors mixing together in each sip. It is frothy right out of a blender, and nice and smooth after it sits in the fridge for an hour or two. Do not fear, for it is still boozy, just not as obvious. We often make it between November and January. I have thought about making it other times of the year, but it seems wrong. Big D has perfected the ratios over the years and I discovered recently that I have yet to post about it! Well, here it is. I hope you enjoy it!

Big D’s Eggnog

10 eggs
2 cups heavy whipping cream
1/2 cup Stevita granular sweetener
1 tsp ground nutmeg
1 Tbsp vanilla extract
1/2 cup spiced rum
1/4 cup whiskey
Additional ground nutmeg for garnish.

Combine all ingredients in a blender. Blend on high for 10 seconds. Let eggnog sit for five minutes. Serve immediately, sprinkled with nutmeg, or refrigerate until time to serve.

Apple Strawberry Crisp

20141113-204155.jpg

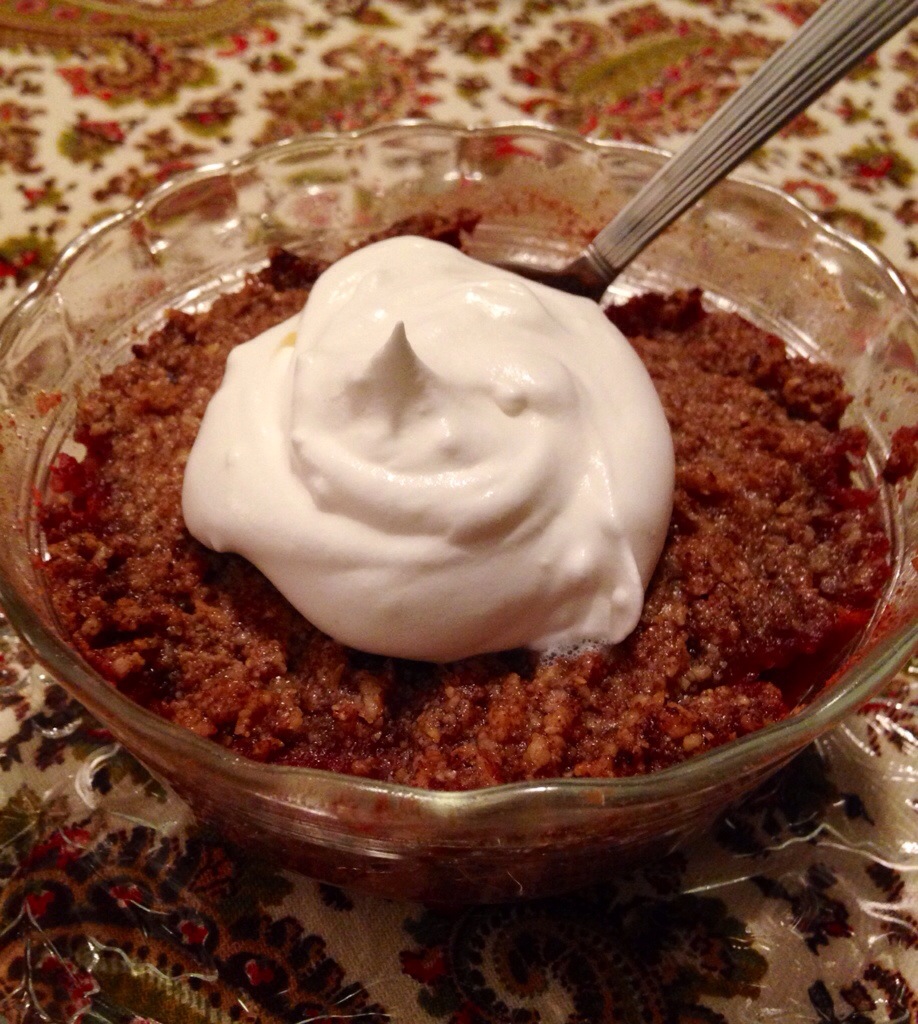
Unlike the other German themed dish I made recently and broke our typical non-starchy rule (shame), this crisp is intended to follow the theme of German sweets, but not so much to the letter. It is why I include berries, apples and cinnamon. According to the numerous people if know who have visited the lovely country it was accurate to think of apple cakes, berry strudels and lederhosen when I concocted it. The ‘crumble’ top could be thinner, but  why reduce yumminess?!

Apple Strawberry Crisp

Filling
2 green apples, peeled and sliced
2 cups strawberries, stems removed and sliced
3 Tbsp Stevita
2 Tbsp lemon juice
2 tsp ground cinnamon

Topping
1/2 cup almond meal
1/4 cup golden flaxseed meal
2 cups finely ground raw pecans
1/2 cup butter, melted
1 Tbsp stevita
1/2 tsp sea salt

Preheat oven to 350 degrees. Place apple and strawberry slices in a medium bowl. Sprinkle with sweetener, lemon juice and cinnamon. Toss fruit until it is all coated. Let sit while preparing topping. In a small bowl add the almond meal and ground pecans. Pour in butter and stir to combine. Add stevita and salt. Stir to combine. Divide fruit mixture among four or five single serve ramekins, or place it all in a 9″x9″ baking dish. Spread topping on top, completely covering fruit. Bake for about 30 minutes, until fruit is bubbly. Cooking time for using a larger baking dish may need to be 45-50 minutes. Serve plain, with whipped cream or ice cream.

Post Navigation