Any Kitchen Will Do

Give me a kitchen and I will cook.

Archive for the category “lime”

Herby Dressing

herbydressing

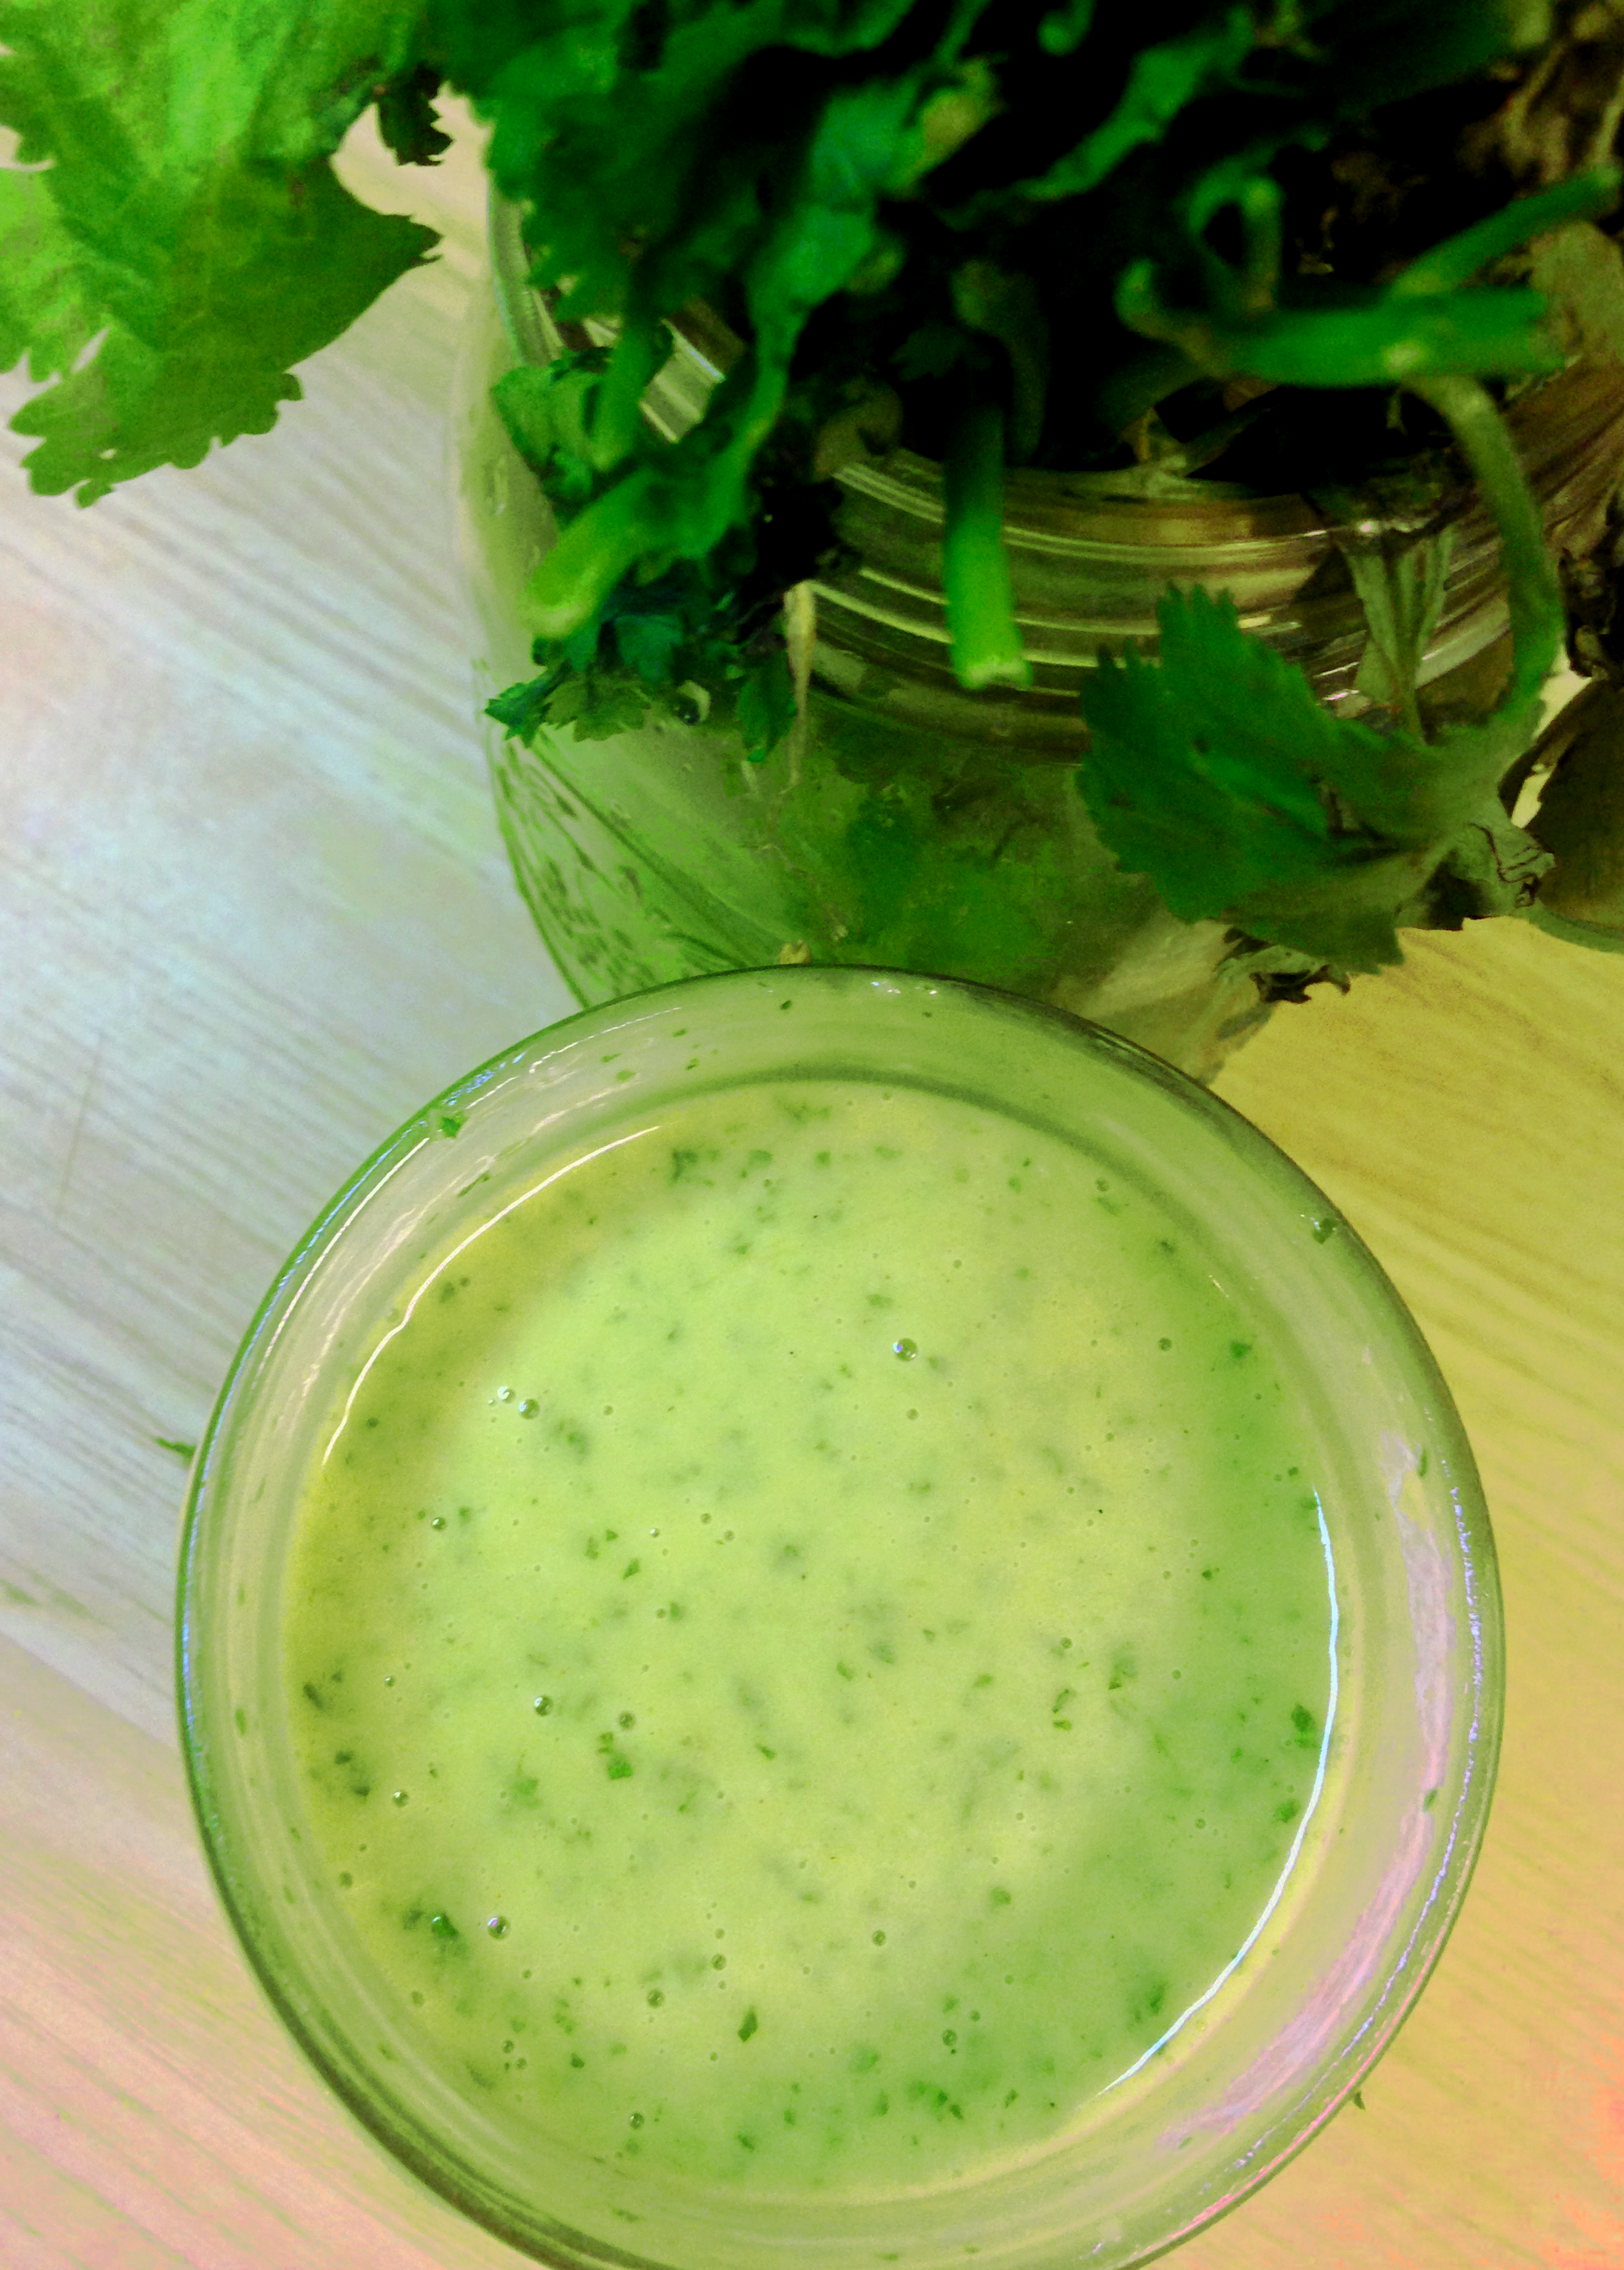
I make a lot of salad dressing. My goal is typically to find vegetables that will bring the dressing to my mouth. I like vegetables, but it is hard to keep them interesting and add variety to ensure they make up a majority of my diet. I have been surrounded by herbs and summer lately, so decided to try and capture it all in a jar. I trundled through the jungle of herbs in my brother’s back yard and grabbed handfuls of garlic, cilantro and parsley. I rush back into the kitchen, to reduce my exposure to the triple digit temperatures. I filled the food processor with other basics of a dressing and come up with a bright, crisp, green concoction. We have used it so far to flavor salad, cauliflower fried ‘rice’, cottage cheese and dip. The word dressing may be deceiving, for it is not just for salad. It can brighten up all kinds of foods, so go for it!

Herby Dressing

1 cup chopped fresh cilantro leaves
1/4 cup fresh parsley leaves
2/3 cup apple cider vinegar
1 lime, juiced
1/2 cup extra virgin olive oil
2 garlic cloves, crushed
1 tsp sea salt
1/4 ground black pepper
Place all ingredients except for olive oil into a food processor. Pulse the ingredients until herbs are of a uniform size. Continue processing steadily while incorporating oil with a continuous, steady stream into the processor. Store dressing in an airtight container, drizzling it with abandon on raw veggies or incorporating it into vegetable dishes.

Tex Mex Dip

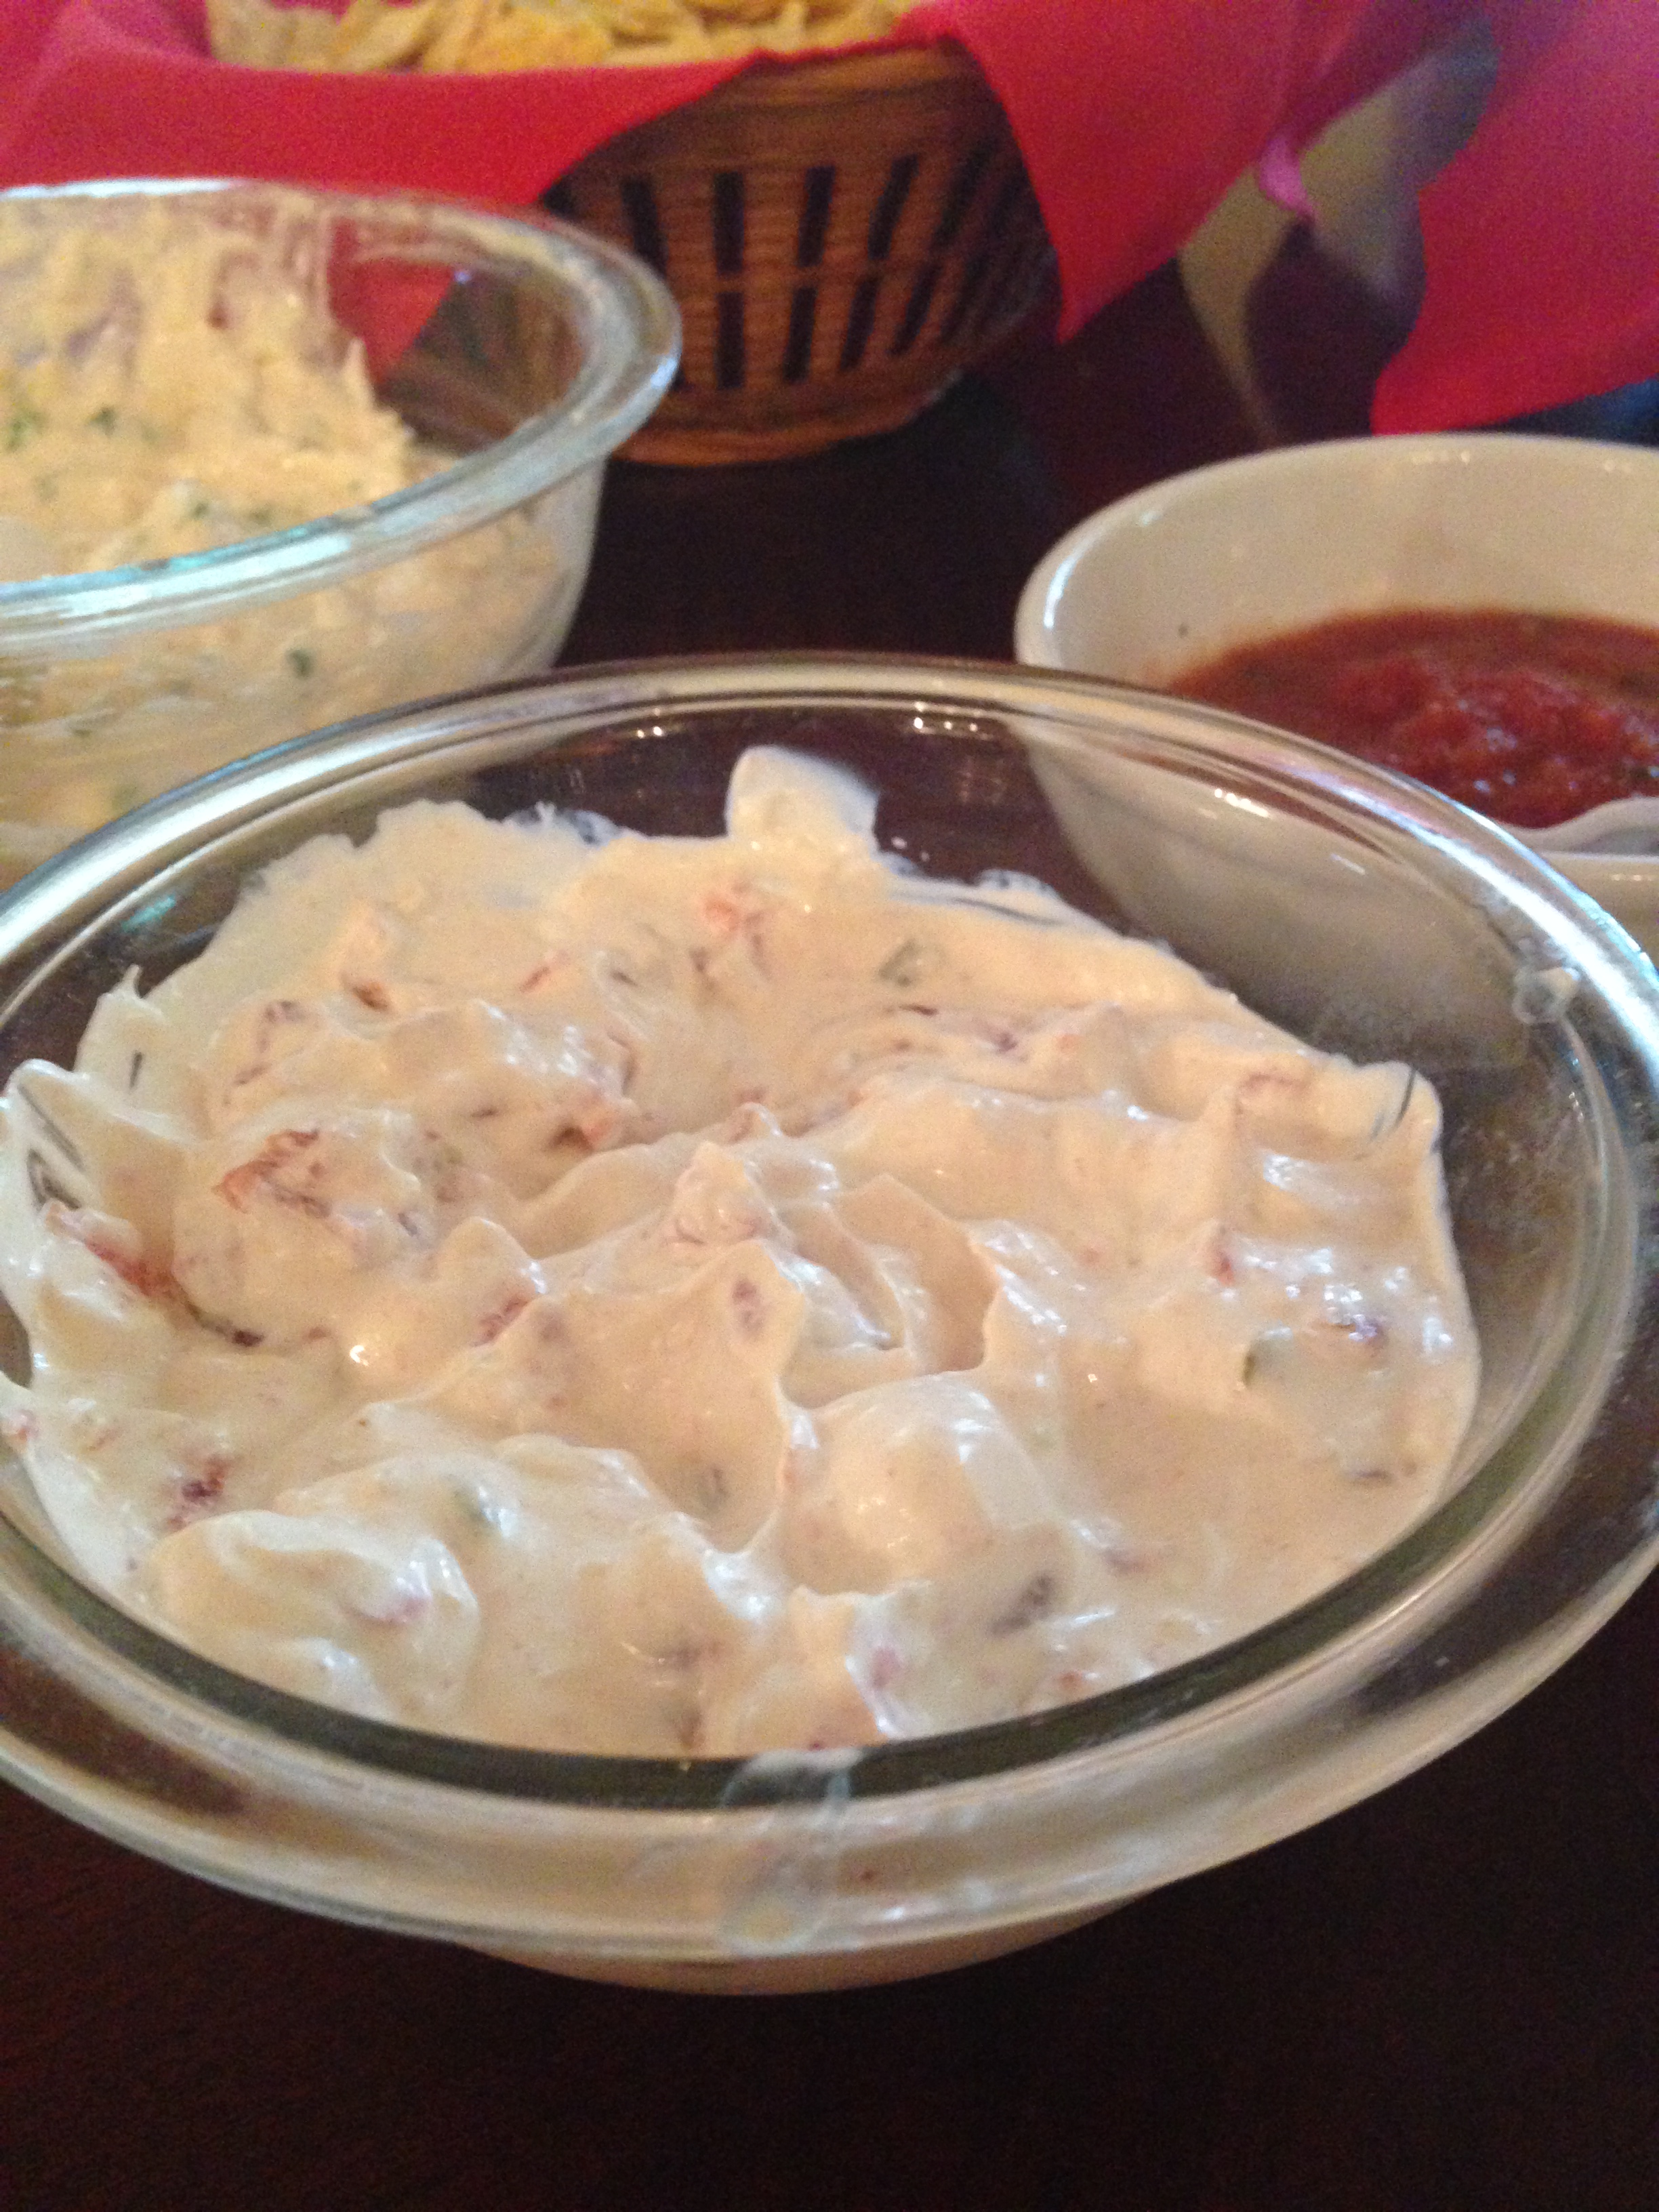
2015-07-03 18.34.43Dip is a sure fire thing to always have around. Having last minute dinner guests? Pull out the dip with crudite. Feeling nibbly? Pull out the dip with some chips. Faced with raw chicken that needs to be dinner? Pull out the dip and slather the fowl with it before tossing it in the oven. Headed over to someone’s place for drinks? Pull out the dip. It can come in all shapes and sizes and colors and quantities. It can be hot, or cold or both. People can eat it, or not. Dips can be made to taste like just about any dish.

We like queso. When we don’t want to break out the crock pot, processed cheese and can of tomatoes we don’t have to miss out on the flavors. We just pull out the can of tomatoes and veer in another direction. Here is a dip I came up with that gives us the flavor and tang of Tex Mex without the logistics. When I say queso I don’t mean the Spanish word for cheese. I mean chile con queso, the warm cheese dip with tomatoes, onions and chiles often served with a Tex Mex meal. I like queso, but it needs melting and oversight so it does not burn and reheating when it cools off, then if the crock pot cord does not reach to the nearest plug there is need for an extension and the possibility of tripping on it…not that I ever trip on anything. 🙂 None of these logistical elements are insurmountable barriers, but are way beyond what is needed for this dip. Nothing can replace chile con queso in my book, or plate, but this is a nice, cool variation.

Tex Mex Dip

2 cups sour cream
1 Tbsp lime juice
1 Tbsp ground cumin
1 tsp garlic powder
1 tsp sea salt
1/2 tsp ground black pepper
1 can tomato and chiles, well drained
1/4 cup finely chopped onion

In a medium bowl combine sour cream, lime juice, cumin, garlic powder, sea salt and pepper. Whisk until combined. Add onion, tomatoes and chiles. Stir until well combined. Chill at least two hours or overnight before serving.

Gin and Tonic Shots

2015-06-27 11.11.06

I wanted to have fun with gelatin. I remember summer gelatin fun as a kid – mixing it with whipped cream, making jiggly things that can be picked up, bowls of shiny, wiggly stuff that falls off a spoon. Little B likes fruity gelatin, so a while back I went in search of what was available at the grocery. If you look at the flavored gelatin packages you will find either sugar or aspartame in them. Really? Aspartame in a product you are expected to mix with boiling liquid? Have they read any of the information about the stuff and the dangers of heating it?? I will get off podium/verge of preaching and move on…

Making some flavored gelatin for Little B from the simple, unsweetened gelatin packets I also found at the grocery, I was reminded of the gelatin shots often consumed at parties in college. The spiked shots in little paper cups were potent and moved fast through the system. The challenge was always getting plenty of liquor in them while making sure they could still firm up. As I am older and tell myself I am more mature, so I wanted to try a slightly more refined version of the shots. Is there such a thing as mature gelatin shots?!

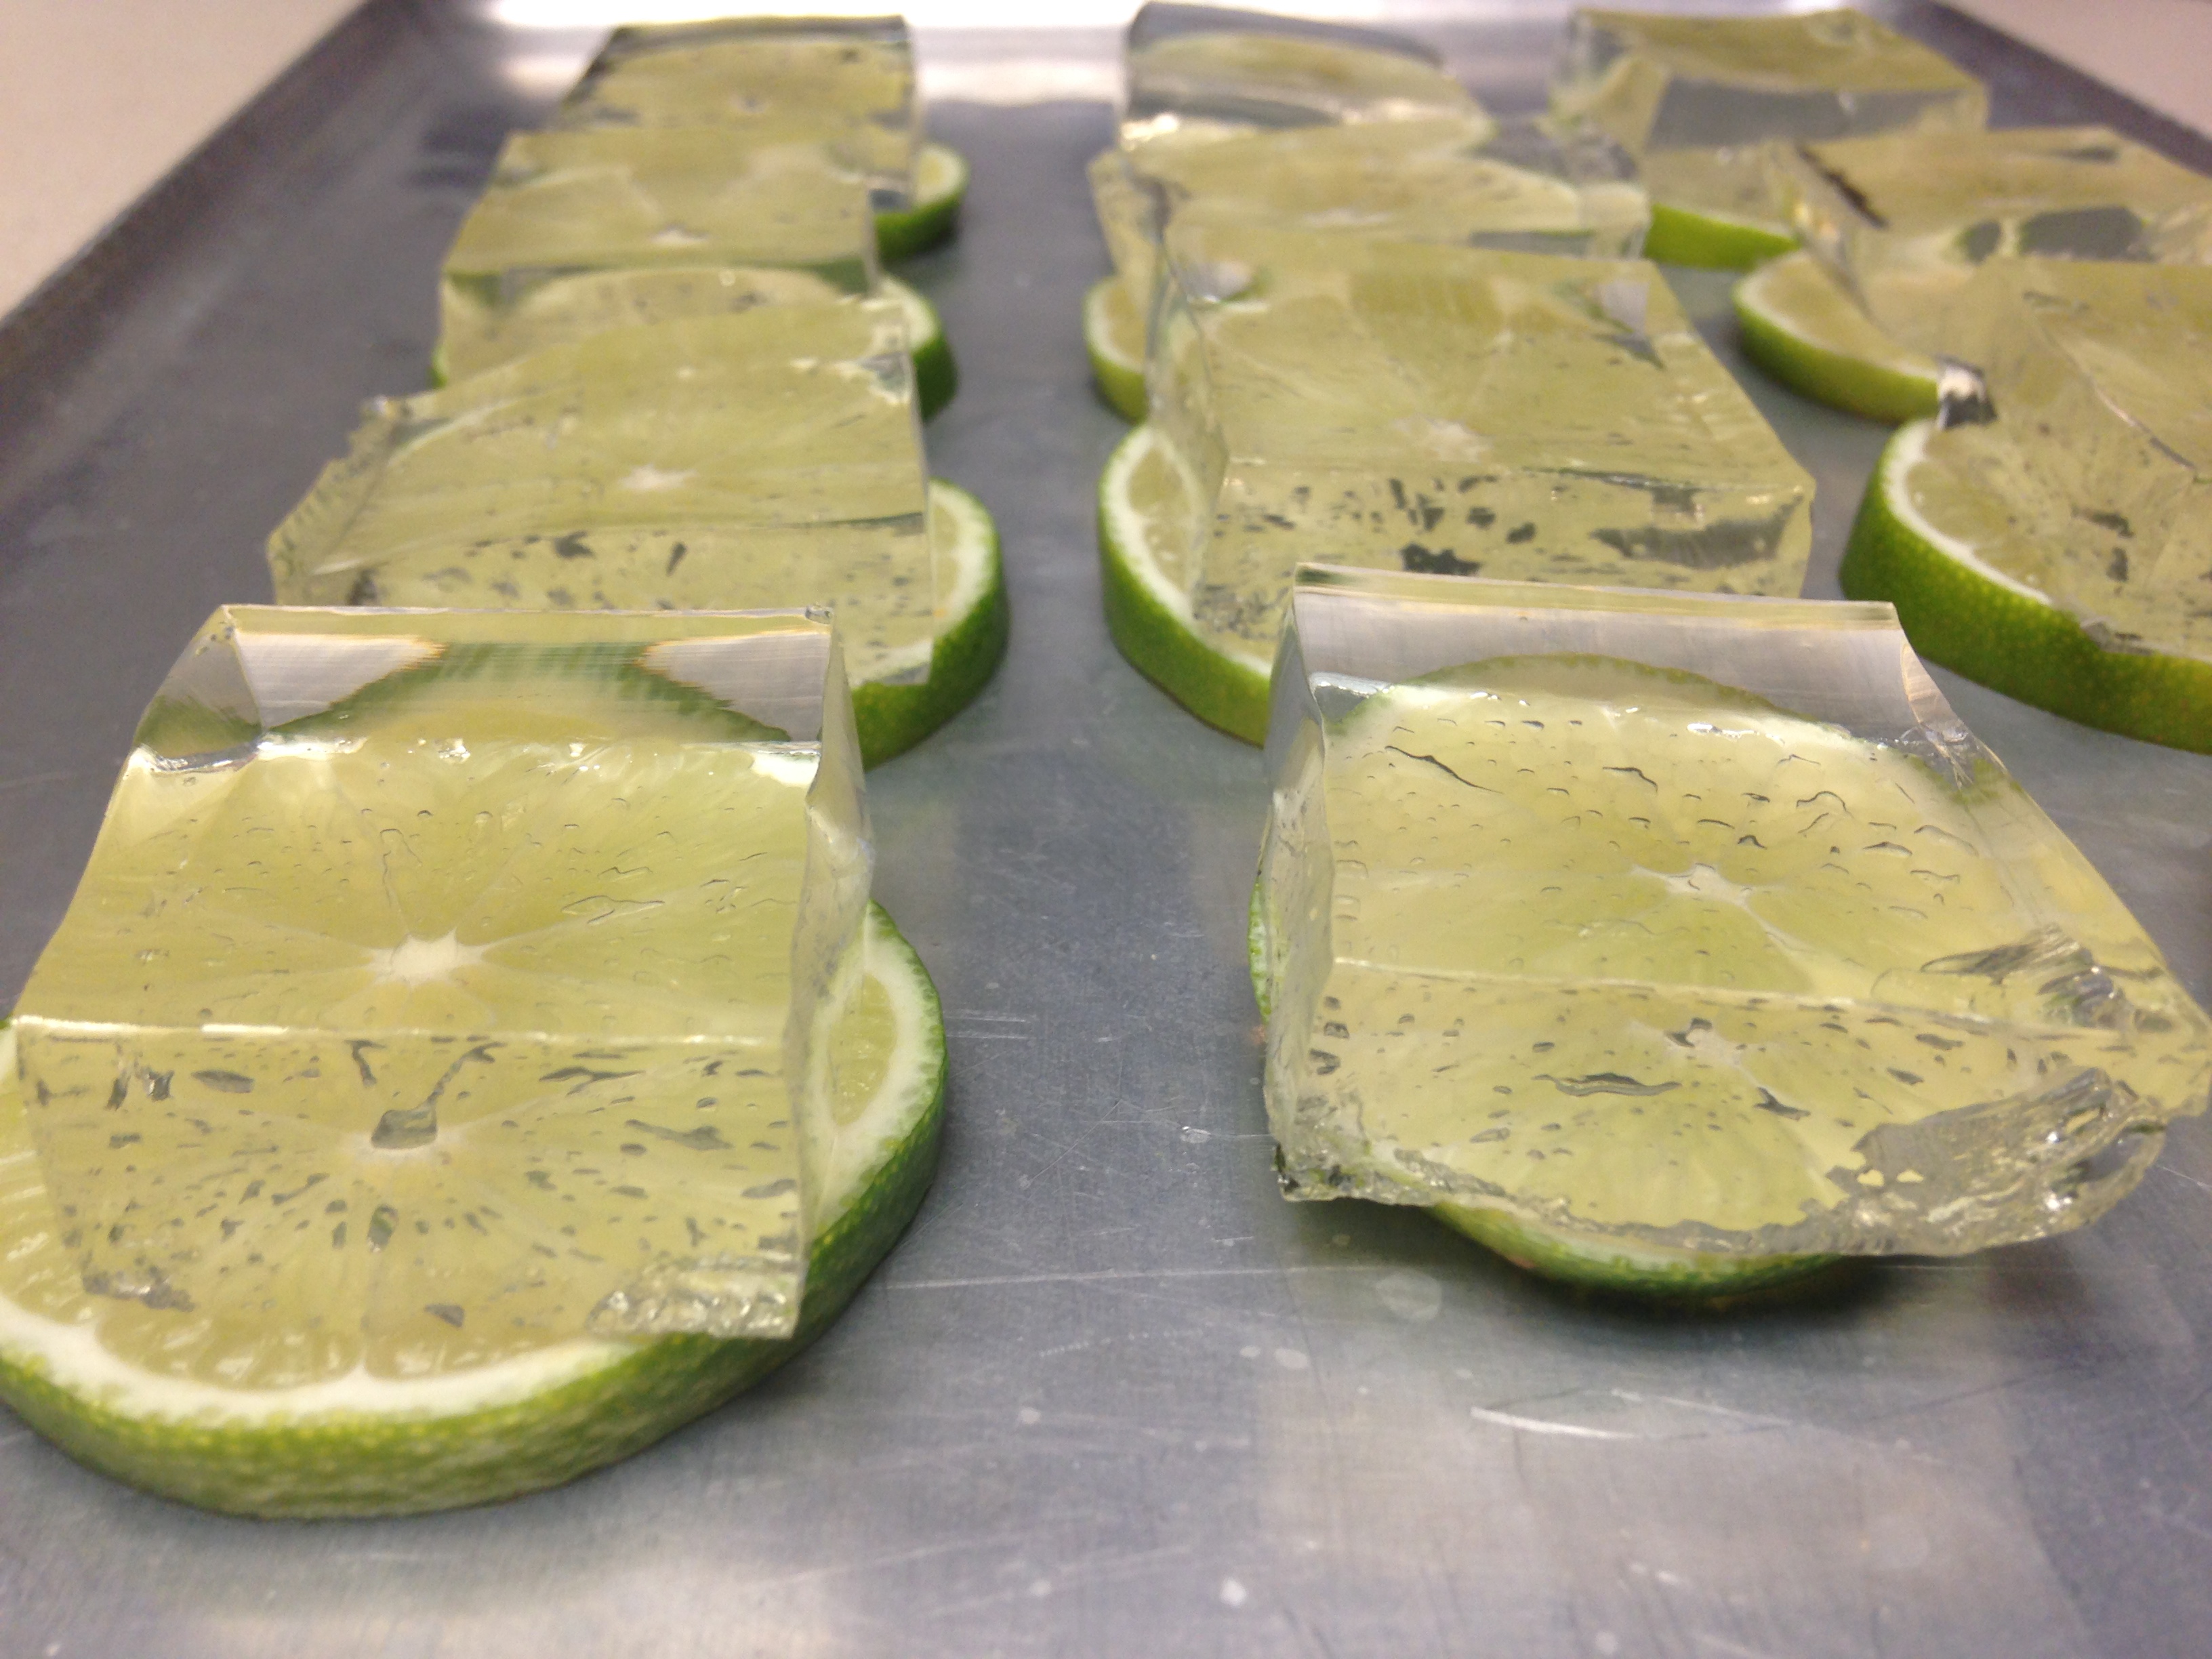
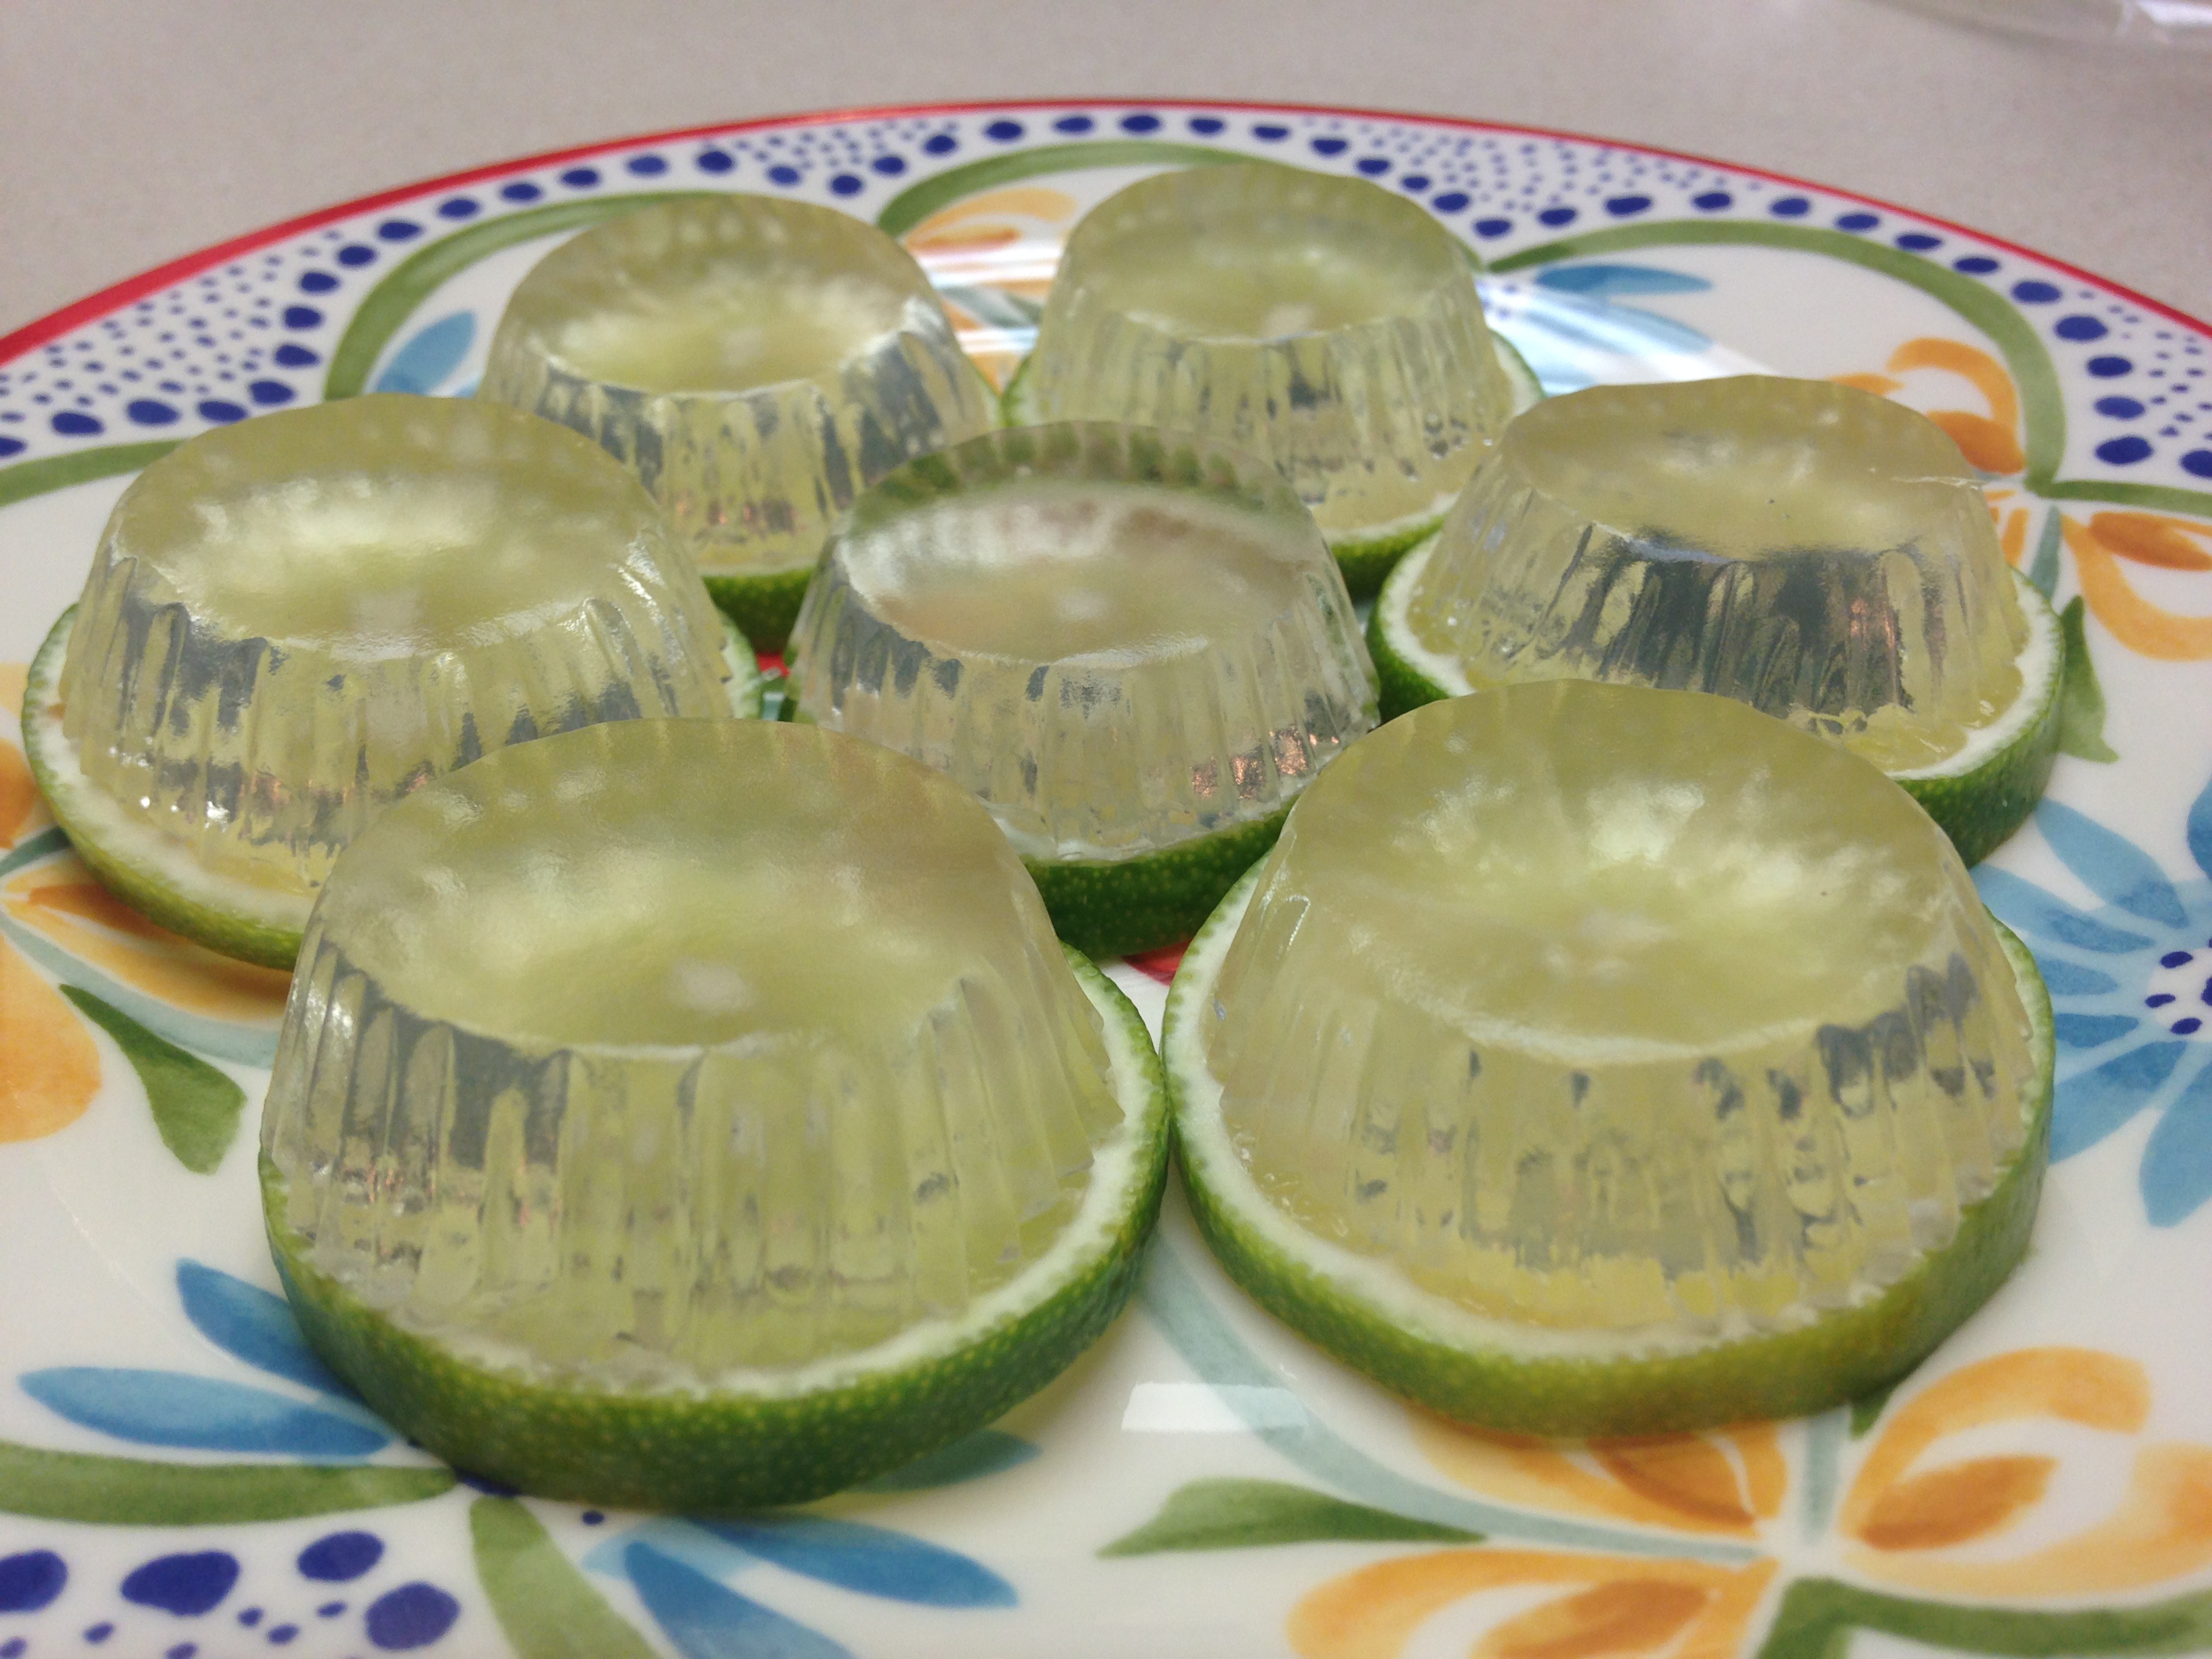
2015-06-27 13.40.00My favorite cocktail of all time is a gin and tonic. It took a couple of tries to get the liquor/non liquor liquid ratio right, but I figured it out. I highly recommend keeping close to the ratios I present, even if you vary the liquor or flavoring. For example, rum and coke or screwdriver or margarita or…oh boy do I have more experimenting in my near future! My mother in law, who is also a gin and tonic lover, liked them. Sis in law did too! She is usually a sangria kind of gal, leaving gin to the rest of us, but she downed a few. I do agree that they are not a substitute for slowly sipping a tall gin and tonic on the rocks during a hot summer evening, but they were a fun variation to liven up a dinner party.

I remember first seeing the lime presentation in a magazine a billion years ago (well, maybe ten), unfortunately I do not remember where, so crediting it must remain a mystery. Happy summer to you!

Gin and Tonic Shots

3 cups diet tonic water
2 tsp stevita (or other granular erythritol/stevia sweetener)
6 tsp unflavored gelatin (Knox brand usually has 2 tsp per envelope)
1 cup gin
6-8 limes, sliced into 6 rounds each

Heat 2 cups of tonic water and sweetener until boiling. While liquid boils add final cup of tonic water into a medium bowl. Sprinkle the gelatin over it, letting it sit for one minute. Add hot liquid to bowl and stir until gelatin is completely dissolved. Add gin and stir. Pour mixture into a 9×9 baking dish, or pour into approximately 50 mini paper cups/mini cupcake papers, or split between both methods. If using mini cupcake papers it is suggested they be arranged in mini cupcake pans, for the liquid will seep through. Refrigerate at least overnight.

To serve from the dish, cut shots into 1 to 1 1/2 inch cubes with a sharp knife, removing from the dish with a thin, flexible spatula. Place squares on lime rounds to serve. If using paper or cupcake cups, gently peel away paper and invert them on lime rounds. To eat, tip shot into mouth, then with your teeth fold the lime round in half and bite down, releasing juices to mix with shot. Juice may dribble down chins, but you won’t care.

Tangy Feta Pork Chops

tangy feta pork chops

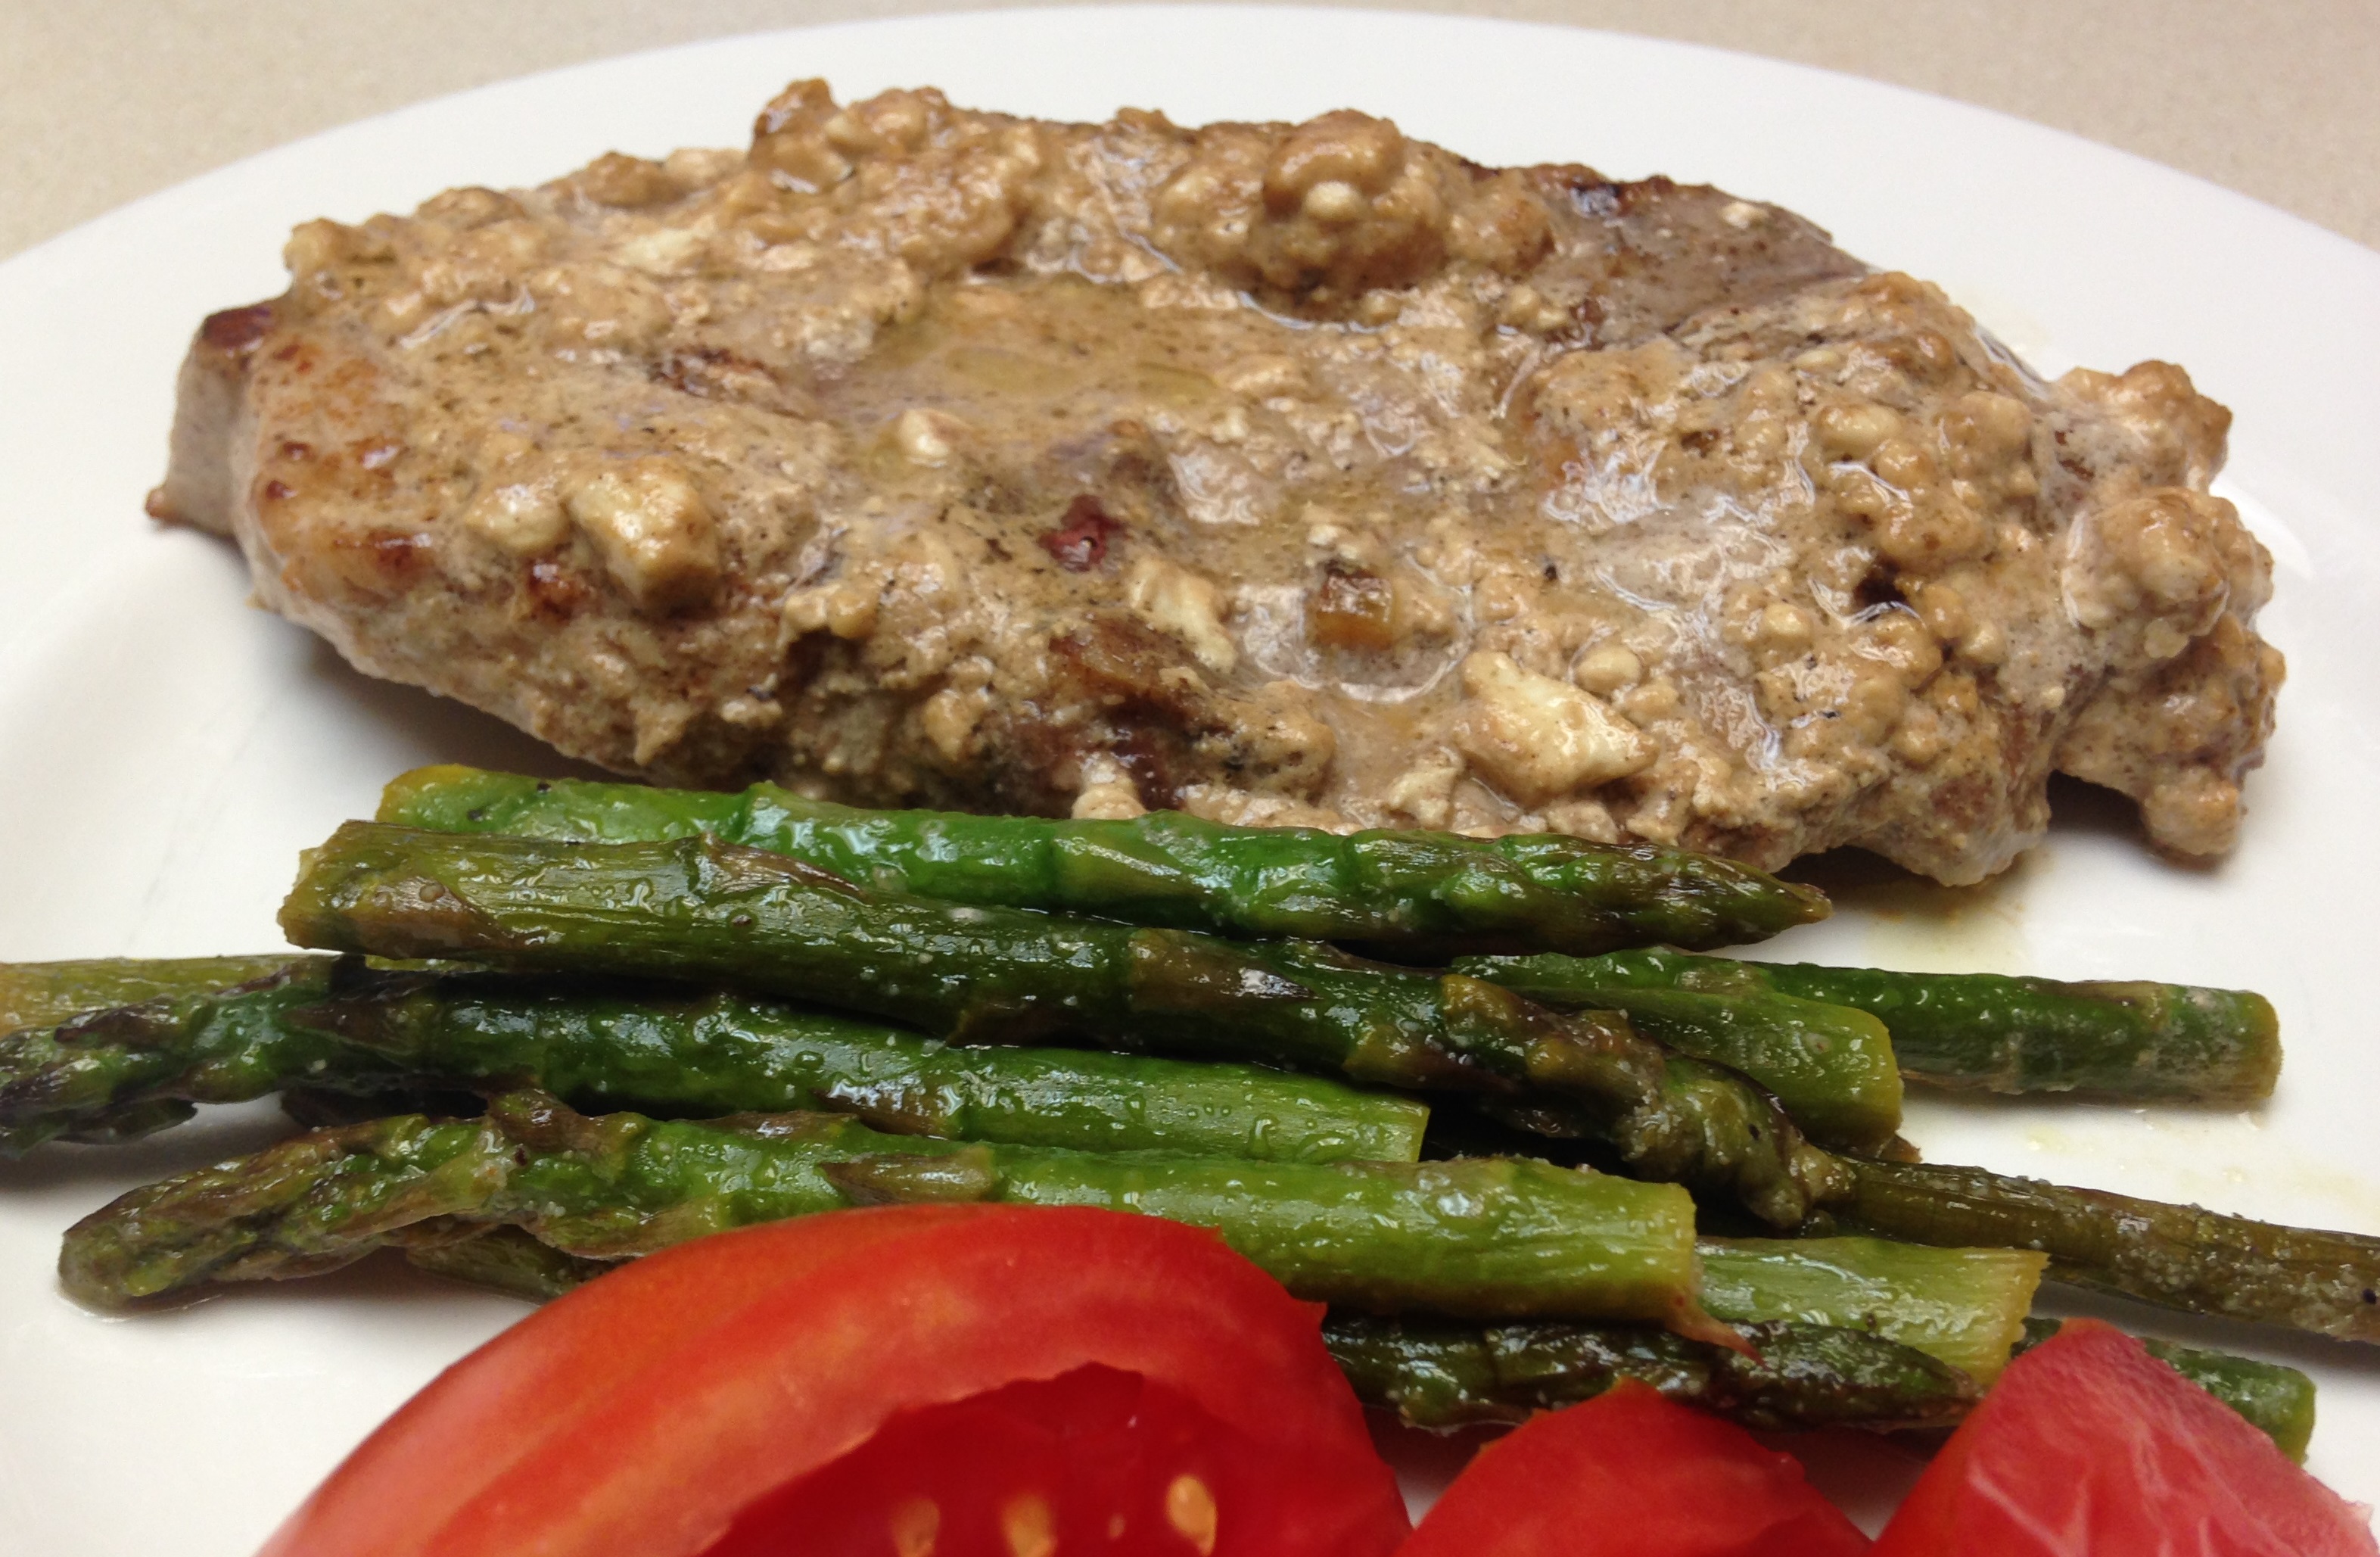
Just like chicken, pork is quick and easy to make, so the challenge is adding variety to the flavors surrounding them. A lot of my chicken and pork recipes are interchangeable, like this one, because both proteins represent mild flavored bases. They can be smothered easily enough, or done in a skillet with a light sauce like these mustard cider chops.

Another easy way for me to make pork chops is to sear, make sauce, pour it on chops and bake for a bit. I call it SSPB – Sear Sauce Pour Bake. The prep is quick, and if forces beyond my control delay dinner, then letting them sit in a turned off oven after they are done cooking does no damage. I know such things NEVER happen to anybody else, but if it ever may happen to me, this is the type of dish I make. Things like traffic delaying dinenr participants, discovery of a new spider, a Minecraft world I just HAVE to see, or the wonders of a summer thunderstorm that must be observed from outside. Here is a recent SSPB using citrus to go along with the tang of the feta. Dinner indeed got delayed about twenty minutes because of an art project, so the delay factor was indeed tested on this one!

Tangy Feta Pork Chops

2 Tbsp extra virgin olive oil
6 thin cut pork chops (with or without bone)
1 lemon, juiced with meat retained
1 lime, juiced with meat retained
1 clove garlic, minced
Salt and pepper to taste
1 cup crumbled feta cheese
½ cup heavy whipping cream

Preheat oven to 350 degrees. With kitchen scissors or a knife make a ½ inch slit in the curved edge of each pork chop, towards the center. Generously season pork chops with salt and pepper. Place three chops in a large pan over high heat, cooking until downward facing side is seared, about two minutes. Flip chops and repeat searing. Remove chops to 9×13 baking dish. Repeat searing with remaining three chops. Remove to baking dish. Turn heat to medium low. Add lemon and lime juice to pan, scraping brown bits from bottom. Add feta and cream. Stir until sauce is bubbly, about 3-4 minutes. Pour sauce over pork chops. Cover baking dish with foil and bake for 20 minutes, until pork is cooked through and juices run clear. Chops can be served immediately, or left in oven with heat turned off for about an hour to keep warm.

Mustard Parmesean Wings

Mustard paremsean wings

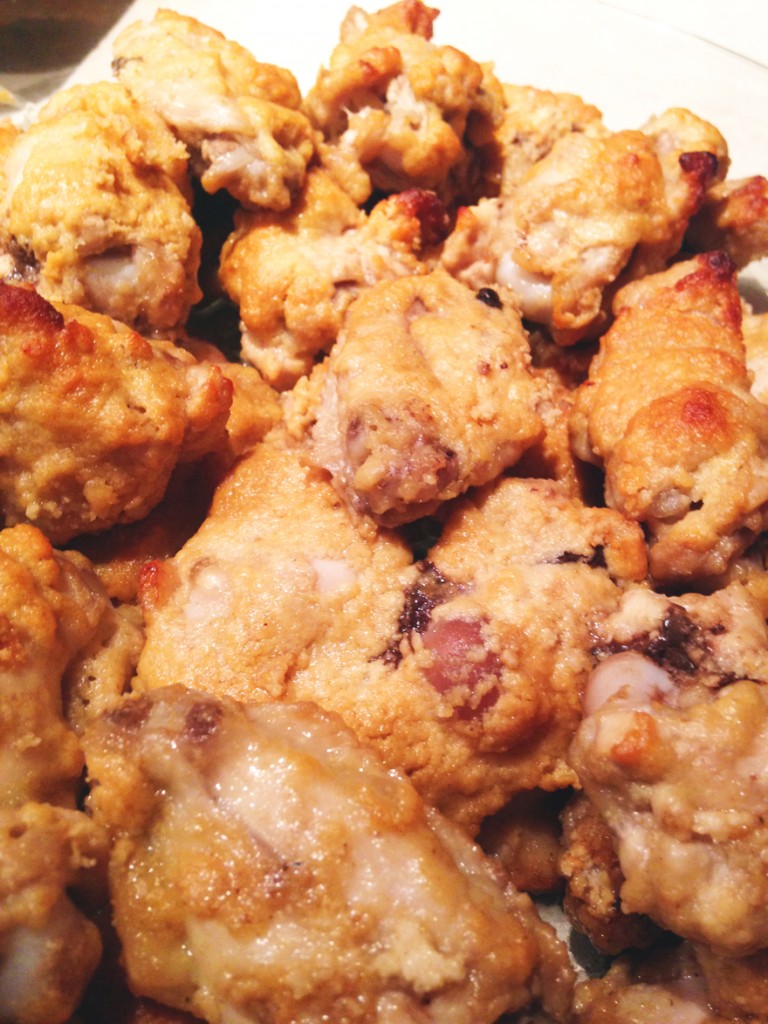
I have a love and loathing relationship with my kitchen. It has nothing to do with whether or not I enjoy cooking, it is just that I don’t always want to cook. What is worse, I think Big D is very similar. There is not always the desire to do, but there is often the desire to eat. Since we rarely bring home prepared or processed foods, there is a constant need to make food with the wonderful ingredients we bring into our home. In finding a balance between needing to eat and wanting to cook I have come up with numerous recipes that don’t take much prep time. One such recipe is my recently shared Bacon Muffins – five minutes to prepare, then the oven does the rest of the work. Here is a more dinner focused quick pick that comes in handy, especially for my wing loving self and Little B – Big D will eat them, but so very much prefers beef! The great part about this recipe is that it completely comes from our freezer and pantry, of staples we always have around. No excuses for not eating well if your pantry is stocked!

Mustard Parmesean Wings

2 – 3 pounds wing pieces, frozen or thawed
1 Tbsp apple cider vinegar
2 Tbsp yellow mustard
1 Tbsp lime juice
1/2 cup finely grated Parmesan cheese
1/2 tsp ground turmeric
1 Tbsp dried parsley flakes
1 tsp sea salt
1 tsp ground black pepper
2 tsp ground garlic powder
1 tsp ground onion powder
2 tsp red pepper flakes (optional)

Preheat oven to 375 degrees. Line shallow aluminum baking sheet(s) with aluminum foil. In large bowl combine all ingredients except chicken. Stir to combine. Add chicken and stir until chicken is coated (either with a wooden spoon or hands). Place chicken in one layer on baking sheet. If the chicken is frozen the coating may not stick as well, so you may need to spread it on chicken after placing pieces on baking sheets. Place in oven and back for 45 – 60 minutes, until juices running from chicken are clear. Remove from oven and let sit for five minutes before serving. May be dipped in the sauce/dressing of your choice, but are wonderful without.


King Cheesecake

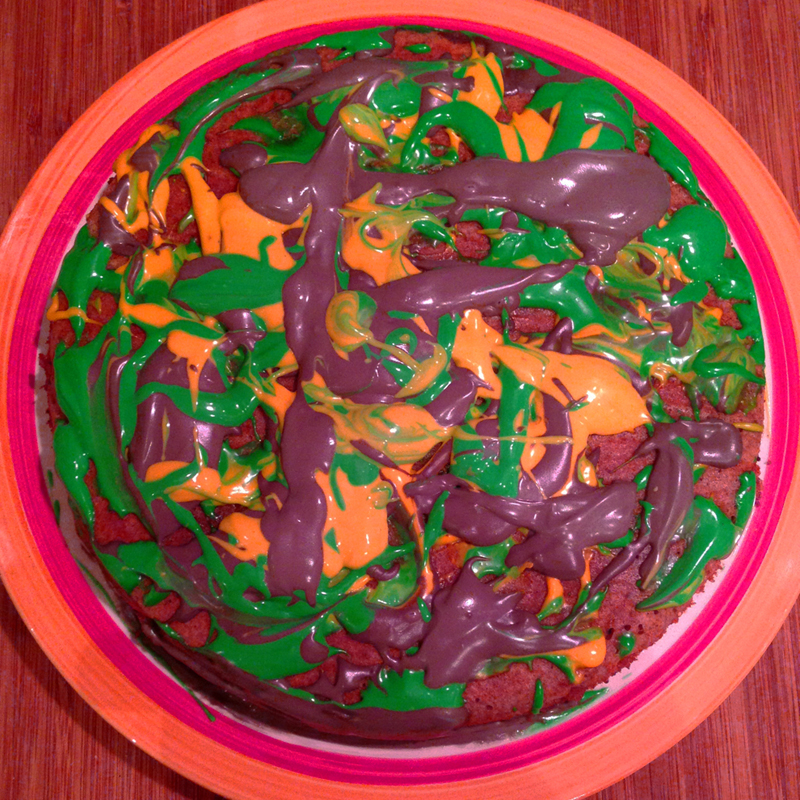
king cheesecakeIn past years I have created a myriad of different King Cake-themed treats. This year I almost passed up creating a new treat, but then Big D opened his mouth. I do admit that most times when he does that the result is positive. Other times, not so much. This time when he got a look on his face and was about to talk I held my breath. Really? We don’t have enough possibilties to choose from? Really?! Well, after he finished sharing his idea (aka closed his mouth) I was sold. Really, we don’t have enough. More more more! This here treat is a wonderful combination of past creations – the limey cheesecake, the Unholy King Cake and King Cakelettes.  I officially say, Big D, here and now, you were right…this time. The cheesecake is, as always, extremely creamy and satisfying. The crumbly, nutty topping reminds me of the spicy middle of a traditional King Cake, and the colored frosting provides for the traditional colors of Mardi Gras – green, gold and purple. I do wish the colored frosting was more vibrant in the picture, for I had to make a choice while waging a gentle battle. Today, being a gymnastics workshop day, Little B ran and flipped and tumbled pretty much nonstop for four hours. This means that her temperament, and mine, were at a bare minimum. After promising her for days she could help with this treat I could not refuse her here at the end. There was no margin for adjusting color or hue when mixing the three little bowls, so what you see is our wondrous treat with a pastel version of our dream. The good thing is she helped and looks forward to ending our feast tomorrow with a big slice. The bad thing is the decor is about four shades darker than planned. A small price to pay for some fun time with my little chef! Laissez les bon temps rouler!!!!! I hope you all have a wonder Fat Tuesday celebration tomorrow and are properly somber (whether from absinthe or faith or both) on Wednesday!

King Cheesecake

Crust
2 cups finely ground almond flour
2 Tbsp coconut flour
2 Tbsp butter, melted
1 tsp Stevita granulated sweetener
1 tsp ground cinnamon
1/4 tsp ground nutmeg
1/4 ground ginger
1 egg white, whisked (save yolk for filling)

Filling
16 ounces cream cheese, room temperature
1/3 cup sour cream
2 large eggs and 1 egg yolk, room temperature
3 Tbsp butter, room temperature
2 Tbsp heavy whipping cream, room temperature
1/3 cup Stevita, granular sweetener
2 large limes, zested and juice separated from meat (use less for milder lime tang)
1 tsp vanilla extract

Topping
1/2 cup raw pecans
1/2 cup raw walnuts
1 Tbsp ground cinnamon
2 tsp Stevita granulated sweetener
1/4 cup butter, melted
Dash sea salt

Frosting
4 ounces cream cheese, room temperature
3 ounces butter, room temperature
1 Tbsp Stevita
Food coloring (green, yellow, purple – made with one part blue and three parts red)

Make the Topping. Preheat oven to 350 degrees. Spread raw walnuts and pecans in one layer on a shallow, metal baking sheet. Place in oven for about five to eight minutes, until they begin to darken. Remove from oven, and set aside to cool. In a microwavable bowl add the butter. Melt on medium power, checking every 30 seconds, until completely melted. In food processor grind toasted nuts until they are a consistency of a rough meal. Add to the butter the ground nuts, cinnamon, Stevita and salt. Stir until well combined. Set aside.

Make the Cake. Preheat oven to 325 degrees. In 9″ pie dish cut a round of parchment paper that fits the bottom of the dish. In medium bowl stir together all dry crust ingredients. Add the butter and stir until the ingredients clump. Add the egg white mix until well combined. Crust will still be crumbly. Press crust into dish until bottom and sides are covered.For the filling add to a large bowl the cream cheese and sour cream. Whisk together until completely smooth. Add butter and stir again until smooth. Add eggs and yolk, stirring to incorporate and until smooth. Add sweetener, lime zest, lime juice and vanilla. Beat until well combined and smooth (see a pattern?). Pour filling into crust and gently smooth surface. Place cheesecake in oven. Bake for 20 minutes, until filling sets. Remove cake from oven and sprinkle topping on top – either evenly over the the entire top of the cheesecake, or Just along the edges, leaving a 2″ diameter space the middle uncovered, like the hole in the middle of a traditional King Cake. Return cake to oven for 10 more minutes. Turn off heat without opening oven door. Leave cake in the oven until mostly cooled, about two hours.

Make Frosting and Decorate. Whisk together cream cheese, butter and sweetener until well combined and smooth. Divide mixture into three separate bowls. Using green, yellow and purple food coloring, color the mixture in the different bowls until the desired tint is achieved. Using a spoon for each color drizzle the frosting over the top of the cheesecake – if you left the middle of the cheesecake clear of topping, I suggest you continue the theme of leaving the middle plain and drizzle the frosting over the portions with the topping. If the frosting is too firm to spread randomly you have two choices: 1) scoop frosting onto the bottom of a spoon and run it over the top of the cake, allowing it to catch on the pieces of topping, or 2) heat the frosting in the microwave at half power for 15-30 seconds until it is runny, then drizzle it over the top of the cake. If the topping was spread over the top of the entire cheesecake, then use any pattern you choose to apply the frosting.

Chill finished cheesecake at least one hour before serving.
 

Limey Cheesecake

limey cheesecake

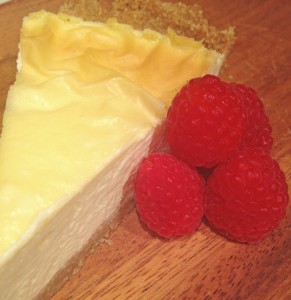
Of all the desserts in all the homes and restaurants and coffee shops I have visited, I am likely to pick cheesecake last. I actually like smooth, flavorful cheesecake, but I have found over time that I am picky and end up finding them icky. I tend not to pick it as my treat of choice because it is easy to make icky cheesecake. For me icky has a specific definition when it comes to cheesecake – that slightly rough, bumpy texture that tastes like something vague, usually plastic or paper, and is far from convincing me to think, ‘hmm, I like this’. Enter Big D. He loooooves cheesecake. I actually have not discussed the ‘icky’ version I tend to experience, but he got a sad little look the other day when we saw some cheesecake in the dessert display of a restaurant. ‘Can you make some?’ he asks hopefully. I say ‘yes, of course’, and his face lights up like a kid with a new bike. Don’t even ask me how many bikes he owns; needless to say, I have seen the look on him plenty of times before. Here is my attempt at cheesecake, with no wheat or sugar. I think it turned out pretty smooth and flavorful. No ‘icky’ factor for me this time! I would really disappoint myself if I contributed an icky cheesecake. There is enough of it in the world. And based on Big D’s reaction to eating it, I scored big on getting a repeat of the new bike face.

Limey Cheesecake

Crust
2 cups finely ground almond flour
2 Tbsp coconut flour
2 Tbsp butter, melted
1 tsp Stevita granulated sweetener
1 tsp ground cinnamon
1/4 tsp ground nutmeg
1/4 ground ginger
1 egg white, whisked (save yolk for filling)

Filling
16 ounces cream cheese, room temperature
1/3 cup sour cream
2 large eggs and 1 egg yolk, room temperature
3 Tbsp butter, room temperature
2 Tbsp heavy whipping cream, room temperature
1/3 cup Stevita, granular sweetener
2 large limes, zested and juice separated from meat (use less for milder lime tang)
1 tsp vanilla extract
Fresh berries (optional)

Preheat oven to 325 degrees. In 9″ pie dish cut a round of parchment paper that fits the bottom of the dish. In medium bowl stir together all dry crust ingredients. Add the butter and stir until the ingredients clump. Add the egg white mix until well combined. Crust will still be crumbly. Press crust into dish until bottom and sides are covered. Filling: in large bowl combine cream cheese and sour cream. Whisk together until completely smooth. Add butter and stir again until smooth. Add eggs and yolk, stir to incorporate and until smooth. Add sweetener, lime zest, lime juice and vanilla. Beat until well combined and smooth (see a pattern?). Pour filling into crust and gently smooth surface. Place in oven. Bake for 30-35 minutes, until filling sets. Turn off heat without opening oven door. Leave cake in oven until oven and cake are completely cooled, about two hours. Remove from oven  and chill for at least an hour. Serve plain or with fresh berries.


Peruvian-ish Posole

posole

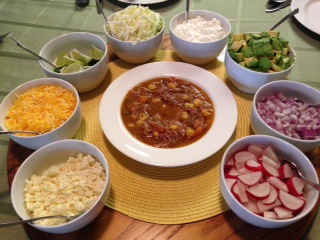
Posole. A basic, comforting soup I have enjoyed at restaurants across America that touted Central and South American cuisine. Not having made it before, I dug around to try and identify the when and where of it’s origin. To no avail, I might add. I have most often found it in Mexican and Peruvian restaurants, so then my goal was to figure out the differences between the two versions. I also recently watched a documentary about it being a dish prepared and served in New Mexico hundreds of years ago. Was there a difference? Not much. Peruvian leans more towards tomatillos and green or serrano chiles to give it depth and spice, while the Mexican versions rely on the red chile. New Mexico, of course, relied on their extra special (read Hatch) chiles and local meats. Other variations I discovered switched between the use of pork and chicken. Finally, I decided to come up with my own, since everyone else seems to be doing the very same thing. My goal was to make it similar to the bowl of posole I had in a little, Peruvian restaurant we stumbled upon in a Las Vegas strip mall. No, not on The Strip, but in a mall that is strip like where multiple business share a parking lot. The place was decorated very basically, with varnished plywood walls, folding tables and beat up stackable banquet chairs. The decor accommodated large crowds to watch soccer games or have big parties. We were surrounded by bright posters advertising Peruvian beer, and inundated with loud, quick-paced dance music. The food was amazing and I could only imagine a pre-Colombian Incan family cooking something similar over a fire, in the shadow of Machu Picchu. They may have used alpaca instead of pig, but I am not going there, except in the wearing of a sweater. One thing I love about all my posole experiences is the fresh, raw toppings traditionally served on the side. They give a spark to the otherwise flavorful, yet basic soup. Since I was making the soup for a dinner party I wanted to make sure it was good (duh), and that the topping variety accommodated all the eating habits of guests. I love my friends dearly, but if their diet evolution is anything similar to mine, there is a need for variety in meal preparation. Here is what I came up with, and I must say it was delicious. My dear friends enjoyed it, including Little B. As you can see from the picture, the toppings were many and everyone got to make their own special soup. As usual, the leftovers got better and better a few days later. And as usual, the fun and memories of the people involved in the evening will last even longer.
Peruvian Posole
1 1/2 – 2 pounds pork shoulder
2 Tbsp high heat fat (lard or coconut oil recommended)
2 cups roughly chopped white onion
1 cup roughly chopped carrot
1 Tbsp paprika
1 tsp ground cumin
1/2 tsp ground coriander
2 tsp dried oregano leaves
4 garlic cloves, minced
8 cups pork broth (if there is not enough from cooking the pork, add water)
1 cup dark beer (suggest Negro Modelo or a porter)
4 – 6 cups hominy, canned or prepared fresh (simmered in water for two hours, drained)
1 pound tomatillos, shucked, rinsed and roughly chopped
4 large green chiles, roughly chopped
2 limes, juiced with meat included
Salt to taste
Toppings

1 small red onion, chopped
2 avocados, chopped
2 limes, cut into 1/8 wedges
1 bunch radish, halved and thinly sliced
1/2 head cabbage, shredded
1 cup sour cream
1 cup cheddar cheese, grated
1 cup cotija cheese, crumbled
1/2 cup pico de gallo or salsa

In 8 – 10 quart stock pot place pork shoulder over high heat. Turn shoulder as each side browns, until all sides have color. Add water and scrape bottom of pan to release browning tidbits.  Cook pork over medium heat until pork easily shreds, about two hours. Remove pork and liquid from pot and set aside, retaining the liquid separately. When meat is cool enough to handle, shred it into bite-sized pieces. Set heat under the now empty stock pot to medium high and add lard or coconut oil. When it is melted add the onions and garlic. When they start to sweat add the carrots. Add paprika, coriander, oregano and cumin. Stir and cook longer until you can smell the spices. Add broth and beer. Cook until it begins to boil softly. Add pork, hominy, tomatillos and chiles. Stir and cook until a soft boil begins. Taste test to see if you can taste the flavors. If not, sprinkle liberally with salt and stir, then taste again. There should be a difference. if not, add more salt. Turn heat down to simmer, making sure there is still a very soft boil. Cook for an additional two hours. Place toppings in separate bowls with spoons right before serving. Serve spoon in large soup bowls and pass around the toppings!


Unholy King Cake

unholy king cake_edited-1

For the past few years, since moving away from N’Awlins, we’ve made our own King Cakes as part of our Mardi Gras and Fat Tuesday celebration. We party on Fat Tuesday wherever we are, regardless of the location. This year I was hard pressed to find acceptable decorations in our Alaska town, having to resort to mail order for beads and masks and shiny purple/gold/green curtains for out doorways. Our little place looks cheery and ready for fun. Again this year I made a King Cake, and again it is a version different from previous years. I seem to experiment with a new recipe each year instead of just going with what I did the previous year. One reason for the annual variation is because I like trying new things, and another is because of our evolving diet – from sugar and wheat and carbs to less or none of all three. The first cake was traditional, made with wheat flour, another was gluten free version but with sugar and not much nutritional value. A third version was a concoction of low carb sugar free cinnamony cakelettes, with a very sticky icing. This year it is an unholy cake, absent the traditional hole in the middle, as well as absent of sugar and wheat. I guess I could have made it holy, but then where would all the frosting go?!  I guess if you want to cut a hole in the middle you could, but I am not as holy as I used to be, so don’t miss the ring-ness of this cake. It looks very different from a traditional rolled cake, but I think it definitely carries the spirit of the original, and we can eat it without worry of allergic reactions or sugar buzzes. It was fun to make and everybody helped splatter the frosting, although the first batch of purple turned too gray to use. Try, try again I say. Now I wonder who will find the baby this year? Laissez les bons temps rouler!

Cake
1 cup finely chopped coconut
1 cup almond meal
6 eggs
1 tsp ground nutmeg
1 Tbsp ground cinnamon
1 Tbsp Stevita
½ tsp sea salt
1 tsp baking powder
2 Tbsp heavy whipping cream
1 Tbsp lime juice
2 tsp vanilla extract

Topping
1 cup raw pecans
1 cup raw walnuts
2 Tbsp ground cinnamon
1 Tbsp Stevita
½ cup butter, melted
ÂĽ tsp sea salt

Frosting
4 ounces cream cheese
3 ounces butter
1 Tbsp Stevita
Food coloring (green, yellow, purple – made with one part blue and three parts red)

Preheat oven to 350 degrees. In a food processor grind the coconut into very small pieces, about the same size as the almond meal. In a medium bowl combine coconut, almond meal, nutmeg, cinnamon, Stevita, salt and baking powder. Add eggs, whipping cream, vanilla and lime juice. When well combined, pour mixture into 9” round cake pan lined with parchment paper. In a food processor combine pecans, walnuts, cinnamon, Stevita, butter and salt. Pulse until combined and nuts are a uniform size. Drop the nut mixture by spoonfuls until mixture is covering most of cake batter in pan. If you want to give the impression of a hole in the middle, drop the spoonfuls so batter in the middle of the cake is not covered with nut mixture. Place in preheated oven and bake for 30 – 40 minutes, until middle is firm and edges are pulling away from pan. When cake is cooled, flip out of baking dish onto cooling rack, removing parchment paper. Flip over again so cinnamon/nut filling is face up. In microwave safe dish warm the cream cheese and butter until softened, but not completely melted. Add sweetener and whisk together until smooth. Divide frosting into three separate bowls. Add yellow food coloring to one, green coloring to another, then 3 parts red and 1 part blue to the third to make purple. Add more coloring as desired so they are bright and a similar tone. With small spoons drop the frosting with a slashing motion until the top of the cake is covered with spatters. Store in the fridge until about an hour before serving, allowing it to soften and come to room temperature.


Spicy Pork over Cabbage Saute

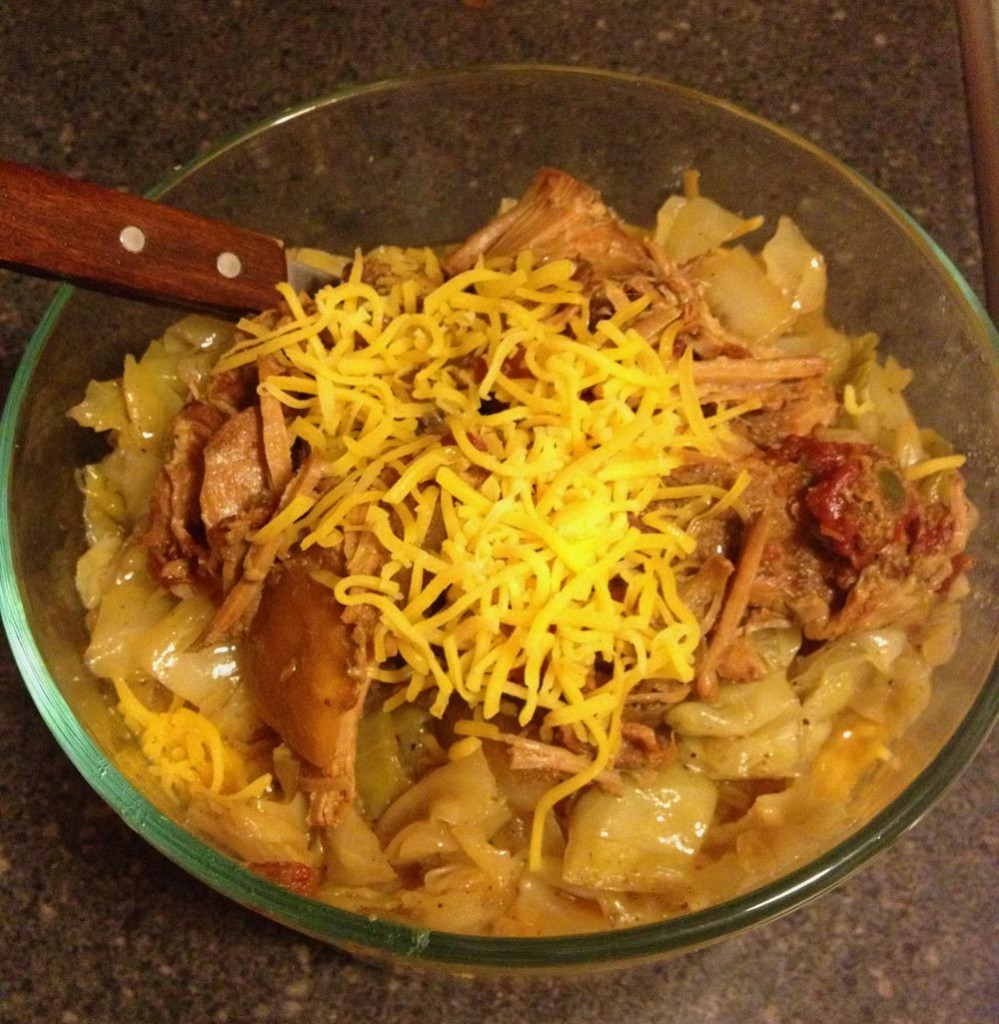
spicy pork over cabbage

I’ve been having some of THOSE days recently. You know, days when I look at my work and personal schedules and cannot seem to imagine getting everything done. Or, a day when the schedule seems pretty light, but then a crisis or four surface and I long for an overly scheduled day. I cannot always see such days coming, but after I have had seven or eight in a row, like recently, I have to make sure I take a breaks. Every day. My breaks often involve cooking or exercise. I need a break for a few reasons: 1) to remind myself that a crisis is only a crisis because I chose to make it so, 2) I get tired and exercise helps get rid of it, 3) clearing my mind helps reduce said crises, and 4) I get hungry, as does my family. Sometimes THOSE days are few and far between. This time of year, pretty much every year, there is a concentration of THOSE days. Here is a dish that can be made in pieces when you have spurts of time to prep, and then thrown together quickly at meal time, regardless of what type of day I have.

Spicy Pork over Cabbage Saute

2 – 3 pounds pork roast
1 14 ounce can tomatoes and chiles
1 red onion, roughly chopped
2 limes, juiced with meat
1 cup water
Cabbage Saute for serving

First thing in the morning (or the night before if planning to eat it for lunch) toss into a crock pot the roast cut up into three or four chunks, after seasoning it with salt and pepper. Pour over the top the tomatoes and chiles, lime juice, water and onion. Move stuff around so all the meat and veggies are mixed up. Set the crock to low and leave it for eight hours or so. Serve over cabbage saute. The cabbage can be made right before serving or make in advance and reheat – it may depend on whether the day is planned to be busy or not planned.

Post Navigation