Any Kitchen Will Do

Give me a kitchen and I will cook.

Archive for the month “May, 2012”

Stuffed Courgettes

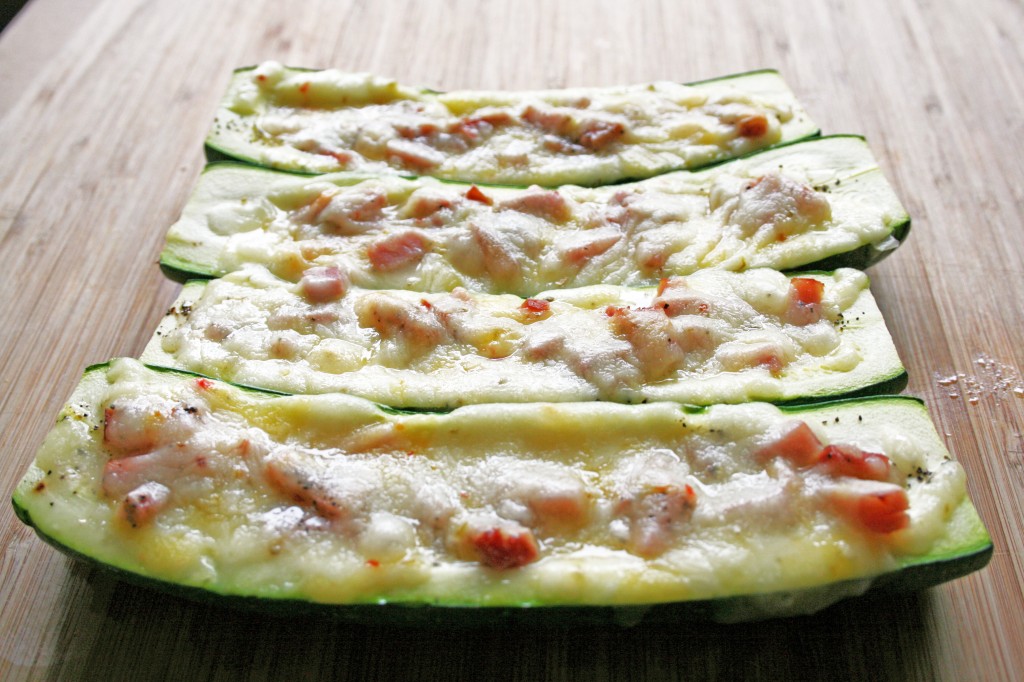
Zucchini is looking better and better at the store and markets. I was really tempted by the itty bitty little ones – about the size of a small pickle – but then I saw the diced prosciutto nearby and knew I needed to get the big ones. Here’s the thing – Big D is not a zucchini lover. Yellow squash? Yes. Acorn squash? Yes. Zucchini? Well, um, I guess. I figured if I topped it with meat and cheese it might work. It pretty much did. I know. I rule. Although I have made these many times with a variety of stuffings, I always cooked them up in a baking dish. Since our kitchen is still sparsely populated I had to adjust the baking dish pan approach, since we don’t have one yet, and made a little aluminum foil pocket for each zucchini half. They baked up nicely sitting in the foil directly on the stove rack. I am looking forward to late summer when those huge zucchini come around in the farmers markets and I can really beef up the stuffing and make a main course of it. For now, I relish the smaller, more delicate fare.

Stuffed Courgettes

2 medium zucchini, as straight as you can find
4 small garlic cloves
1 cup diced prosciutto or cured ham
1 cup shredded monterrey jack cheese
Salt and pepper to taste

Preheat oven to 350F. Slice ends off zucchini, then cut them in half lengthwise. With a small spoon gently carve out the seedy belly (heh) of the halves, stopping about ½ inch from the ends, making a groove down the middle. Sprinkle each half with salt and pepper. Slice garlic cloves into slivers and spread a clove in each half. Divide prosciutto among the halves, then top with cheese. Place zucchini in baking dish with a little space between them. Bake for about 30 minutes, depending on the size of the zucchini, until tender and cheese begins to brown. Serve immediately.
Jelly Marshmallow Rolls

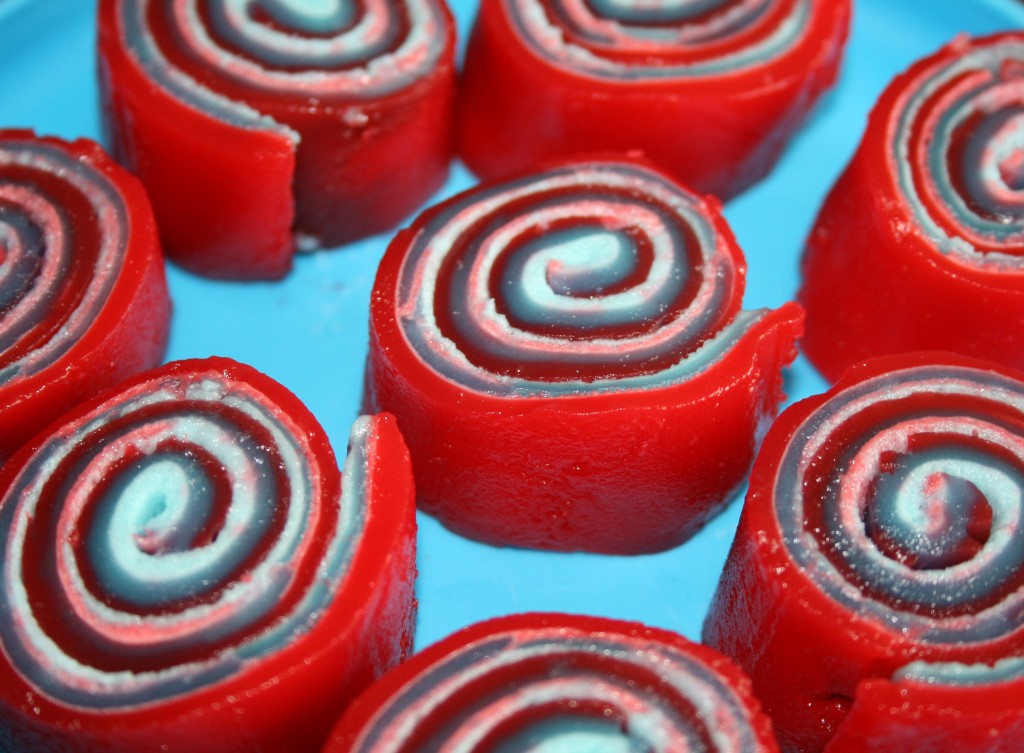
Today is Memorial Day. The day always makes me think of Americans who have fought around the world as representatives of our country, and how some have given their lives for the commitment they made. I have not always agreed with the reasons they were sent, but I very much admire the fact they decided to go. Personally, I have always been too selfish to find a life or career in the military appealing, but know there are millions who see thinks differently. My dad was one of them. When he joined the U.S. Army and soon headed to Korea, even though he was in college and could have been exempt, I always wondered if he was running away from one thing or towards another. Isn’t everyone constantly making decisions to do one or the other? He never wanted to talk much about his childhood or time overseas, except of course the period when he met and married my mom in Germany. Now that he is gone I think more and more about what a mystery he was, in spite of always being around to support his family. Before I start crying about him – again – I want to share a little bit of color I added to the day. Little B is still too small to actually comprehend the meaning of Memorial Day. All she knows is her mommy is spending a third day in a row with her instead of heading to work. Here are some red and blue treats, which I chose to use to introduce Little B to the meaning of the colors in our flag: blue stands for fairness, faithfulness and sincerity, while red stands for courage and bravery, while white stands for faith and purity. Quite a vocabulary lesson was had by all.

Since I eyeballed the water measurements in the batch pictured, I think they came out stickier than intended, but the red, white and blue came through and the rolls held their shape. Here is what happened. I failed to realize we are still without measuring cups before getting Little B all excited about doing a project with me. I could not bear to tell her to wait while I went out into the dark, stormy night to buy a measuring cup, so I decided to wing it. Next time I will probably experiment with different colors AND use a measuring cup.

You can find my source for this idea here.

Jelly Marshmallow Rolls

1 3-ounce package red gelatin
1 3-ounce package blue gelatin
1 cup water
4 cups miniature marshmallows

Lightly spray an 11 x 9 inch glass dish with cooking oil. Place 1/2 cup water in glass bowl and microwave for 1 1/2 minutes. Add the box of red gelatin and stir. Return to microwave for 1 minute. Add 2 cups marshmallows and return to microwave for 1 more minute. Stir until all the marshmallows are dissolved. Pour into prepared glass dish. place into the refrigerator for about 30 minutes. Again, place 1/2 cup water in glass bowl and microwave for 1 1/2 minutes. Add the box of blue gelatin and stir. Return to microwave for 1 minute. Add 2 cups marshmallows and return to microwave for 1 more minute. Stir until all the marshmallows are dissolved. Pour on top of the chilled red layer and return to refrigerator. Chill at least 2 hours before cutting. Start at one end and roll into a log. Remove from pan and place on a flat surface. Cut into spirals. Store in the refrigerator until ready to serve.

Smoky Meat Pucks

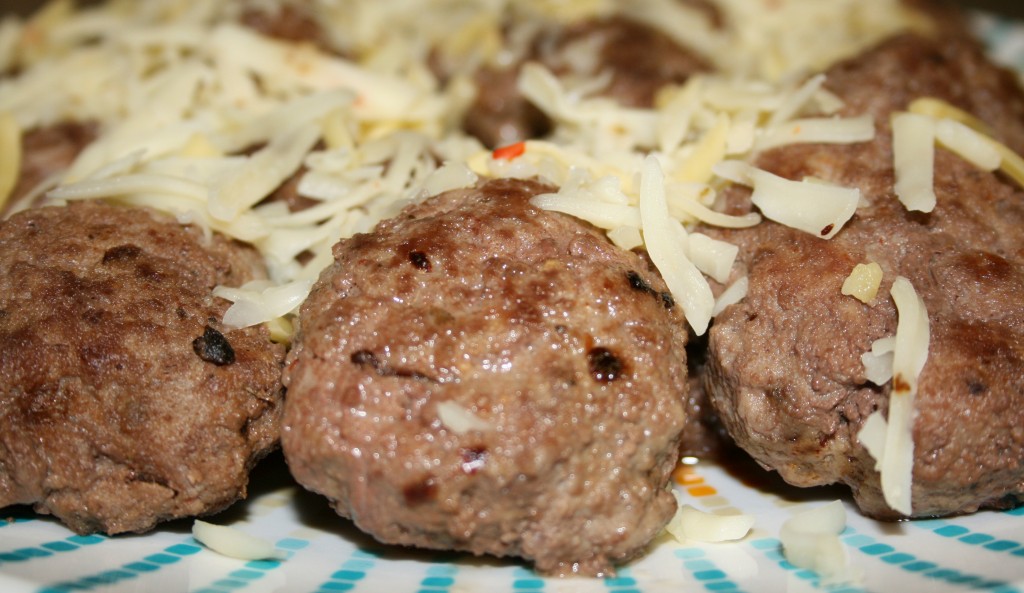
I was originally inspired to make meatballs, but when kids are involved who were asking for hamburgers on buns, I compromised and made pucks – either small burgers or smushed meatballs – however you want to think of them. Since the meatball craving included a desire for smoky flavors I automatically turned to paprika and cheese with a bit of a bite. It felt wonderful to fill our new apartment with the smell of onion and garlic and spices. I also had a blast exploring our local Trader Joe’s to find ingredients. I have not lived near one for years, and cherish the fact there is one on my route home from work. This morning as I write about making the pucks I cannot detect a hint of dinner’s aromas in the apartment, but am glad there are a couple of pucks left to heat up and eat along with the morning eggs. I am eager to further break in our new-to-us kitchen with more smells today! Stay tuned! I’m baaaack!

Smokey Meat Pucks

2 pounds 80/20 ground beef
½ small onion, diced
4 garlic cloves, diced
1 egg
2 Tbsp butter
2 tsp dried paprika flakes
2 tsp dried basil
1 tsp sea salt
1 cup pepper jack cheese

In a medium frying pan melt 1 Tbsp of butter over medium high heat. Add onion and garlic. Cook until it is all a dark caramelized color. Set aside. In a bowl place the ground beef, egg and spices*. Add the onions and garlic. Roll up your sleeves and use your hands to blend together all the ingredients. Form meat into thick, small 2-3” patties. Melt the remaining butter in a frying pan over medium high heat. Cook the patties to desired doneness – about five minutes, including flipping, for medium. Plate and sprinkle with cheese before serving.

*This time I actually used Trader Joe’s South African Smoke Seasoning Blend, which gave it the same flavor as the spice combination I used in the list of ingredients.

Whole Wheat Pizza Rolls

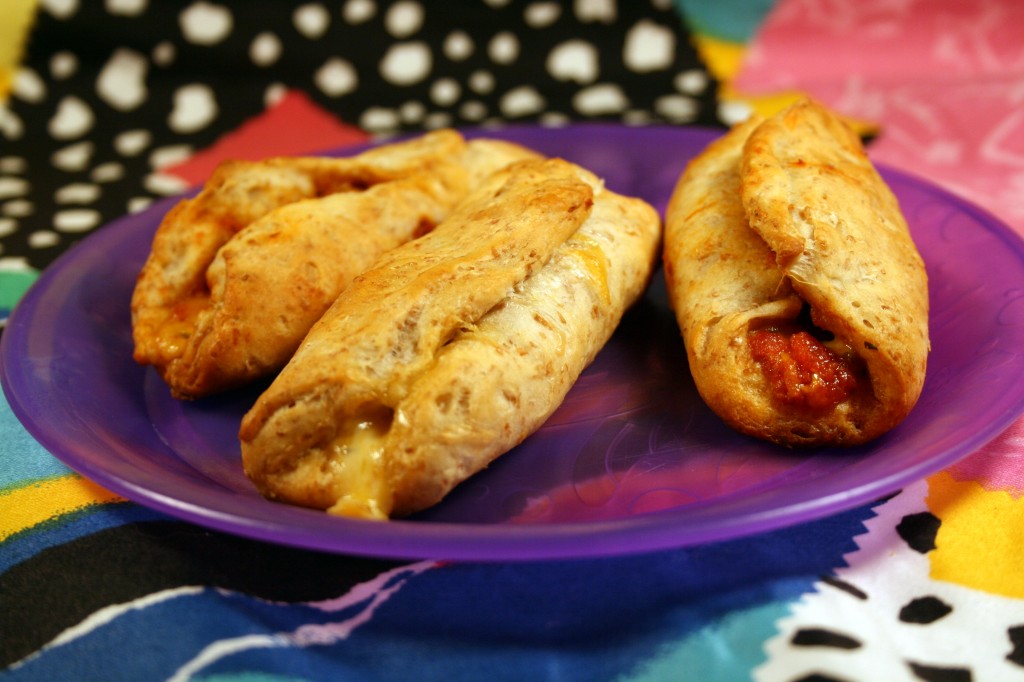
I am a bit depressed. We have been in our new place for two days and our lovely gas stove is still without gas. Imagine my dismay when I realized all my plans for a cooking frenzy came to a screeching halt and the fridge/microwave marathon continues. But I have a kitchen! An actual kitchen and I can’t really use it. My own private hell, I say. I am very much tempted to go get a camping stove and carry on. Hopefully this is the last post from old stuff I stashed from the past. It begins in a way that is no surprise to most, with my daughter. I have a particular little daughter when it comes to sandwiches. The only sandwiches she will eat are peanut butter. Not peanut butter and jelly or peanut butter and banana, just peanut butter. Occasionally she will eat a sandwich with meat and cheese, but I do not rely on her to do so because it happens so rarely. She likes a lot of foods, just not always at a convenient time, like when it is put in front of her. On top of her sandwich issues there was a little boy at her two day a week pre-school that was allergic to peanut butter. This means that making a quick school lunch for her by slapping together a sandwich is pretty much out of the question. My solution was pizza rolls. It is similar to the method I use for doing wheaty peanut butter apple rolls, just with a comPLETEly different taste. She likes them, they gives her some protein in the middle of the day and don’t cause problems for her schoolmates. When I asked Little B to tell me which type of roll she liked best she paused a moment and said both, but when I asked her which one she wanted for ever and ever (her latest phrase) she pointed to the pizza rolls. Score!

Whole Wheat Pizza Rolls

½ can Grands® Golden Wheat Reduced Fat Biscuits
16-24 Turkey Pepperoni slices
½ cup shredded reduced fat colby jack cheese
2 Tbsp Oregano
½ cup tomato or seasoned pizza sauce

Preheat oven to 375F. Lightly grease large cookie sheet. Cut each uncooked biscuit in half. Roll out each half until each is about 4” in diameter. Place 2-3 slices of pepperoni on each round, keeping them about a centimeter from the edges. Spread each biscuit with about 1 tsp of sauce, sprinkle about 1 tsp of cheese on each and sprinkle with oregano. Carefully roll each biscuit until the opposite ends overlap*. Pinch open ends together in an attempt to contain the sauce. Place each roll seam side up on the cookie sheet, about an inch apart. Bake for 12-14 minutes until biscuits begin to brown.

*Next time I make these I plan on folding the biscuits in half and using a fork to pinch together the edges. Rolling them I think makes for easier toddler finger food, but if I am serving them to a mixed, slightly older crowd I can add more filling with the fold-in-half method.


Wheaty Peanut Butter Apple Rolls

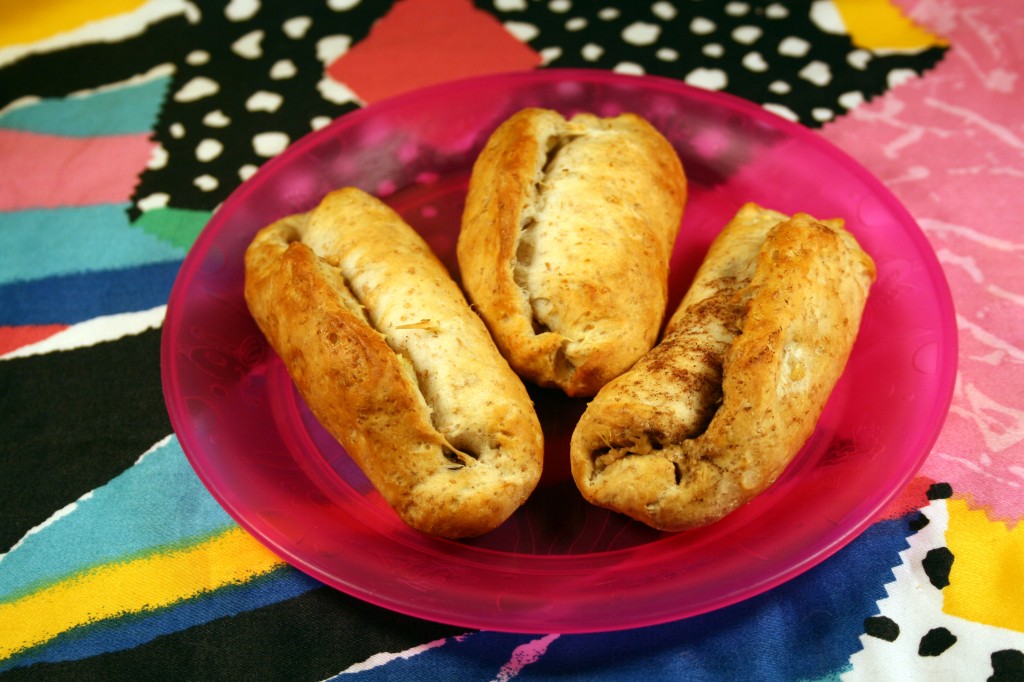
I don’t usually rely on highly processed foods for much of anything when I cook. I try really hard to do the majority of my shopping on the outer edges of the grocery store, focusing on unprocessed foods. I am not perfect, but I hope this blog represents my desire to use ingredients in their most basic form. Now, on with a recipe that contradicts most of my efforts. I came across some canned whole wheat biscuits at the store the other day. Technically, they were along the outer edge of the store, so it was not like I sought them out. They reminded me of camping when I was younger and baking biscuits in a frying pan on a little propane camping stove. They don’t brown and cook thoroughly unless they get flipped halfway through baking. They always tasted so good after sleeping hard all night. Anyway, I was trying to figure out a way to give Little B some quick finger food fun while using ingredients I know she likes. Below is a snack with two of her favorite foods – apples and peanut butter.

Wheaty Peanut Butter Apple Rolls

1 package (8 count) Grands® Golden Wheat Reduced Fat Biscuits
½ cup peanut butter
¼ cup honey
1 tsp cinnamon
½ apple, finely diced, leaving the skin on

Preheat oven to 375F. Lightly grease large cookie sheet. Combine peanut butter, honey and cinnamon together. Cut each uncooked biscuit in half. Roll out each half into 4” in diameter rounds. Spread the peanut butter mixture on each round. Sprinkle apple on top of the peanut butter and press into the round. Carefully roll each biscuit into sticks, making sure the edges overlap. Pinch ends closed to seal roll. Place each roll seam side up on the cookie sheet, leaving an inch on each side. Bake for 12-14 minutes until biscuits begin to brown.

White Rice

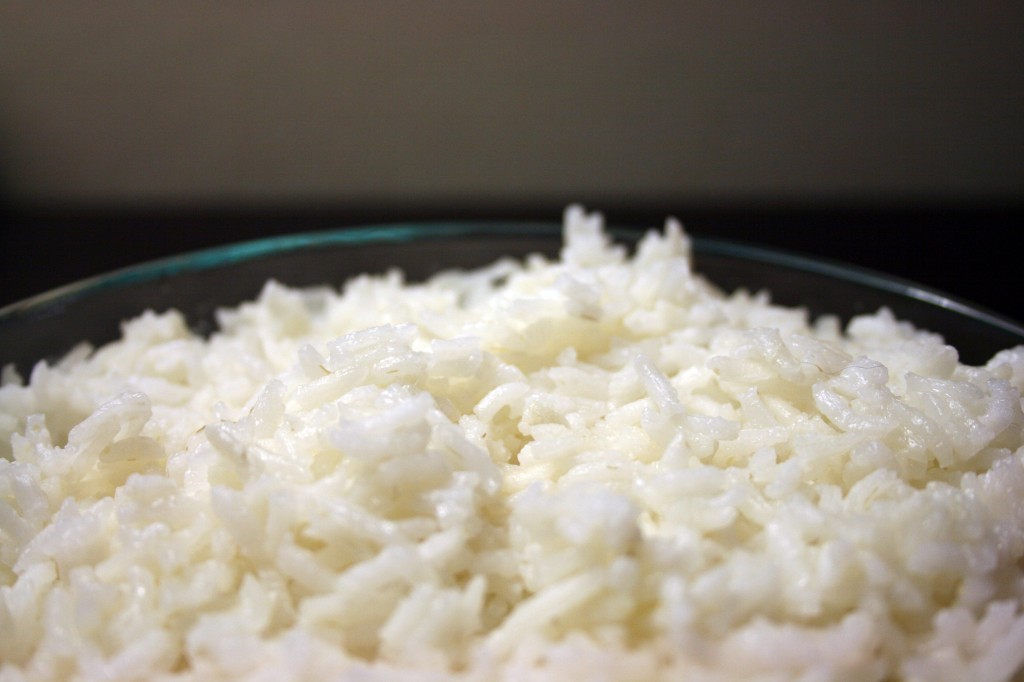
White rice. I know. It is not very thrilling, but when you are in a hotel and limited to a small fridge and microwave and you really want to cook, you just have to go back to basics and build from there. I can do flavorful steamed veggies with our current set up, and there is always some good roasted meats at local markets. There still needs to be a starch, and a cheaper version than what can be found in prepackaged microwaveable bags. All you need is rice, water, a little butter and a glass bowl. Frankly, it takes about the same amount of time as on the stove top, but why compare if you are lacking a stove top, huh? Even when I do have a stove I may still make the rice in the microwave – it will give me more space on the stove and the rice keeps nice and warm in the microwave after it is cooked. Next time I will probably add some herbs and chicken broth to liven it up.

White Rice

1 cup enriched long grain rice
1 ¾ cup water
1 Tbsp butter
Pinch of salt to taste

Combine all ingredients in a bowl that holds at least four cups. Place uncovered bowl in microwave and cook on high for ten minutes. Without opening the microwave door cook for another 12-15 minutes 50% power. Let set in unopened microwave for at least five minutes. Fluff and serve. Cooking time may vary depending on the power of your microwave.

Hash Brown Cups

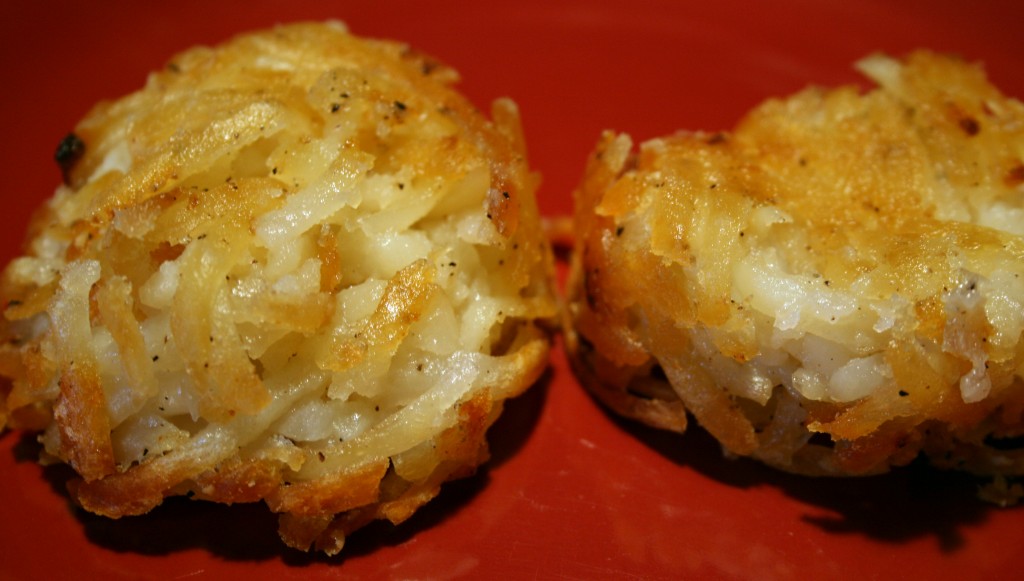
We are still living sans kitchen. I am starting to dream about cooking things that are sauteed, baked, seared, broiled and browned. Pretty much things you can’t do in a microwave. Speaking of brown…I like my hash browns brown. Some of them can be unbrown, but I like the crispy parts and the almost crispy parts the best. Especially with a little hot sauce, salt and pepper sprinkled on them. I first made these hash brown cups for a brunch when I was not going to have enough time before it was time to eat to cook them properly. I have not done it yet, but I am thinking of having a cuppy brunch some day – hash brown cups, eggy cups and maybe some cinnamon roll cups. Then I can be really creative and serve beverages in cups and everything will be just cuppy! Okay, now that tangent is out of me I can return to the hash browns. If you make them ahead of time a bit of the crispy may be lost, but they reheat just fine. The picture shows some I took out a bit early because I was running late for an appointment, so don’t do as I do, do as I say!

Hash Brown Cups

1 package (30 ounces) grated potato hash browns, thawed
1 cup finely grated parmesan
2 tsp onion powder
1 tsp garlic, diced
1 tsp salt
1 tsp ground black pepper
3 Tbsp olive or canola oil

Preheat oven to 375F. Mix all ingredients in a bowl. Divide potatoes among 12 well greased muffin pan cups. Bake for about an hour until bottoms are crispy. The potatoes touching the pan will brown but the very tops will not brown much at all. Remove from oven and let cook for about 20 minutes. If you take them out too soon they may not keep their molded form, so avoid the temptation to take them out early unless there is actually a problem and smoke is pouring out of the oven.

Post Navigation