Any Kitchen Will Do

Give me a kitchen and I will cook.

Archive for the category “sauces”

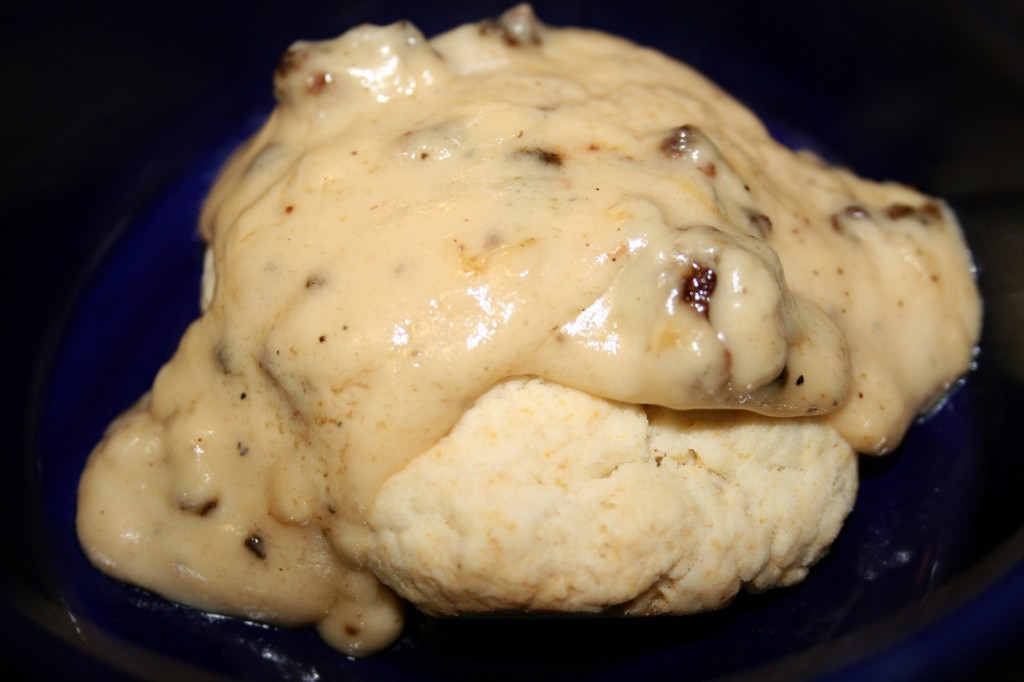
Biscuits and Gravy

Our foster son, Tall P, is a good old southern boy. He loves his sweet tea, meat, mac n cheese and of course biscuits and gravy. We went to a diner for breakfast last week and he really wanted some. The plate came out and he dove in, but was sorely disappointed. The gravy was tasteless and the biscuits were mediocre. For anyone it would be a let down, but for someone who really likes good biscuits and gravy it was even worse. He looked so sad. I am not exactly sure where to find good biscuits and gravy in Maryland, so I decided to just make him some. Now, I know how to make biscuits and I know how to make gravy, but I had to grill him about what exactly he likes about a good plate of biscuits and gravy to make sure I did them right for him. Growing up I was never very interested in the dish, because my dad always made SOS (um, stuff on a shingle), which reminded him of Army mess halls. I never cared for the stuff, and frankly, biscuits with white sausage gravy always reminded me of the SOS. No thank you. I must say, my combination of biscuits and gravy came out pretty darned good, and was nothing like the SOS my dad made. Sorry dad, you lose this one.

Biscuits and Gravy

For the Biscuits
2 cups all purpose flour
1 Tbsp baking powder
1 tsp salt
Pepper to taste
1 tsp sugar
1/3 cup oil
2/3 cup milk

For the Gravy
¼ pound ground sausage, with drippings
1 Tbsp butter
2 Tbsp flour
1 cup milk

In medium pan cook sausage over medium high heat until browned, about five minutes. Set aside. Preheat oven to 375. In mixing bowl stir together flour, baking powder, salt, sugar and pepper. Add oil and milk. Using a fork stir together ingredients until well combined and dough forms. On a floured surface roll out dough to about an inch thick. Cut out biscuits with a round glass or dough cutters – makes about nine 2” round biscuits. Place biscuits in buttered baking dish or cookie sheet. Bake for 15-20 minutes until slightly brown on top.

When biscuits are about half done turn the heat back on under the sausage with drippings. When it starts to sizzle add butter to melt. Add flour and whisk together thoroughly with butter, sausage and drippings to make a smooth roux. Let flour darken a bit. Add milk and continue whisking until gravy thickens. When biscuits are ready spoon gravy over them and serve, eating them immediately.

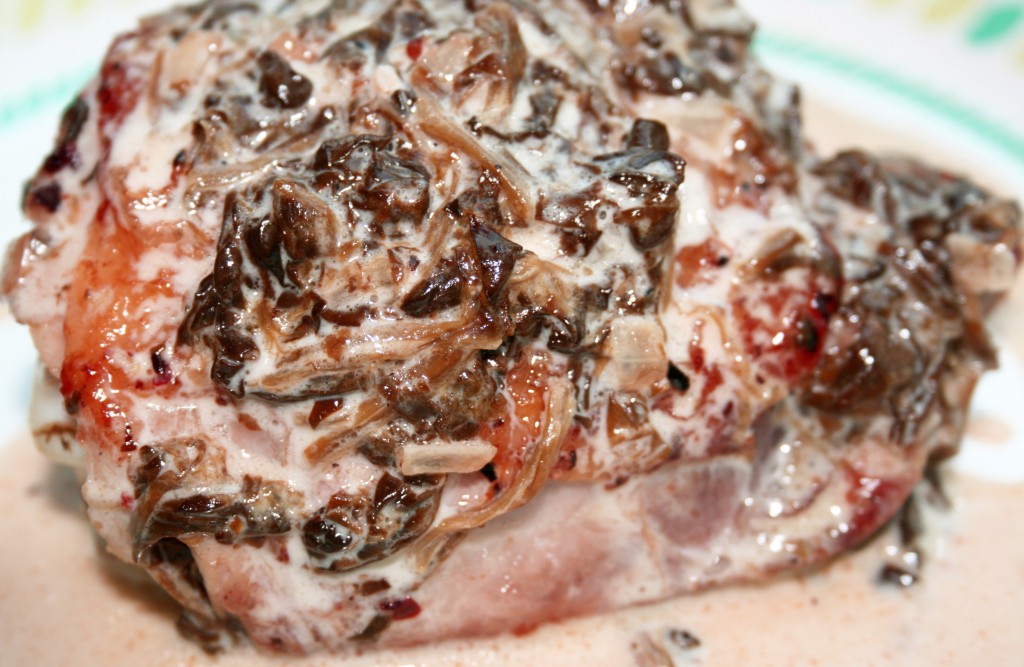
Creamy Spinach Chicken

So today I enlisted a canned good that is very comforting to me. I was one of those kids that loved spinach, and most of the time got it out of the can. When my brother and I started pre-school my mom told me that we came home and would not eat our spinach, but looked at it longingly. Apparently we told her we were not supposed to like it, so we did not eat it. Of course she explained to us that the kids who told us such things just had different opinions about spinach and that we could like it if we wanted to. I don’t succumb to peer pressure quite as easily anymore, and am really glad I chose to like it again. Later in life I learned to love raw spinach and the barely blanched but still bright green spinach. They are delicious, but do not replace memories of the canned stuff I ate as a kid. I still sometimes just open a can and eat it all up, at room temperature, with the sharp lid still attached. Thrill seeker, am I! In my quest to always find a new way to prepare chicken I came up with this lovely, rich dish that incorporates my treat in a can.

Creamy Spinach Chicken

8 – 10 bone-in chicken thighs, skin attached
1 Tbsp butter
1 cup heavy cream
1 small can chopped spinach, drained
½ small white onion, chopped
3 garlic cloves, diced
¾ cup shredded Parmesan cheese
Salt and pepper to taste

On medium high heat sear chicken thighs on both sides, making sure the skin gets crispy, about 10 minutes. While the chicken cooks melt butter over medium heat in a sauce pan. Add onion and garlic and cook until translucent. Add spinach and stir until heated through. Add cream and turn down heat, but bring sauce to a simmer and let cook for about five minutes. Add cheese and stir until melted and combined. When chicken is done cooking remove from pan and discard juices. Return chicken to pan and pour sauce over chicken. Simmer covered over low heat until chicken is cooked through, about five more minutes. Serve immediately and make sure you drizzle sauce over every piece.

Fondue Feast

Is it French or Swiss in origin? I don’t know. The evolution in America of fondue is such a different animal compared to the simple cheese fondue I found to be served in Europe. Way back in the ’80s my family would join forces with other families and have fondue parties. At the time it was a throwback to the 1960s, when my parents stocked up on fondue sets. Regardless of when it peaked in popularity or where it first happened, it is still a fun time with abundant and delicious food.

I learned a number of things from those fondue parties when I was growing up. The first was you must commit to any dip you take with your loaded fondue forks, for double dipping in a pot of cheese or chocolate is frowned on in the fondue world. If you do such a thing there may be nothing said, but the vibes of the fondue tribe may change toward you. Those fondue forks can be lethal when stabbed into a hand guilty of double dipping! The second thing I learned was there is never enough room on the little divided plates for all the sauces. With divided fondue plates you need to commit to, like, four of the ten or so available sauces. Another option is to do a lot of dollop dropping on individual pieces you cook. The third thing was that it took a while to get full from fondue, and since the process took a while to cook and eat and reload and cook and eat…there was plenty of time to talk and sip wine and laugh and, especially, try and sneak other people’s forks when they are not looking so you get to double up on your pile of cooked bites. The trick to sneaking forks is to not have any of your own on your plate. Have your own forks cooking away before stealthily stealing your neighbor’s fork while they are gesturing dramatically during the telling of a story. Don’t forget to reload their fork with the same stuff. A bonus is their quizzical look when they check their fork and wonder why the chicken is still raw after their story about Uncle Festus at the family reunion.

Although it may take a while to fill up on fondue that full stomach will sneak up on you. Before the chocolate fondue is served you wonder if you have any room left in your belly. But it is just fruit, right? There is always room for fruit! Maybe not fruit covered with chocolate, but it is very much worth trying. And it will fit!

For our fondue feast we did a sample of four different fondues – cheese, oil, broth and chocolate. In the future I will probably limit myself to one fondue for a meal, surrounding it with non-fondue dishes. This particular meal was a chaotic mess of food and fun, and a great way to sample the different fondue types. Everyone had a blast.

The following recipes account for feeding seven people, since our fondue party included as many guests. After digging through the closets mom found four – count ’em – four fondue pots. We chose not to use the small one from France meant for chocolate fondue, but only because the sheer number of people, all that dipping would have overwhelmed the little thing. The meal called for a lot of preparation, but it can be spaced out in small chunks, mostly as early as the day before, and makes for quick set up when it is actually time to eat. I pulled everything out of the refrigerator (yes, even the meats) about 45 minutes to an hour before serving so things were cool but not chilly.

Everyone should scour their parents’ pantry, estate sales and thrift stores for fondue sets and be ready to pull them out for some fun eats. If you are short of cash the fondue feast can be turned into a pot luck where everyone brings a little bit but eats a lot. Have fun with it and be sure to make a mess!

I served the cheese fondue when people were first arriving and standing around in the kitchen, then served the oil and broth fondues at the table with all the sauces. In addition to the sauces I made, shown in the recipes below, I provided tartar sauce, BBQ sauce and creamy horseradish, all served simply in their pre-made states in bottles from the grocery. I did not even start preparing and melting the chocolate fondue until the table was cleared of the oil and broth. It was quick to do and a fun dessert. I remembered a lot of the recipes from when I was younger, but found a lot of helpful reminders here.

FONDUES
Cheese Fondue

2 garlic cloves, cut in half

1 cup dry white wine
8 ounces Gruyere cheese, shredded
8 ounces Havarti cheese, shredded
2 ounces Dubliner cheese, shredded
1 Tbsp lemon juice
1 Tbsp cornstarch
1 Tbsp Kirsch or brandy
½ tsp nutmeg
½ tsp paprika
Black Pepper (optional)

Handful of Cubed bread per person
Vegetables also used with Broth Fondue

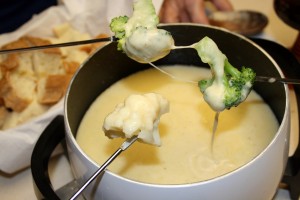
The measurements for wine and cheese should be enough, but you may want to have a little more on hand to adjust the consistency if needed. Add more cheese if it’s too liquid, add more wine if it’s too thick. I have found that if you mix the cheese fondue on the stove top or electric fondue pot about an hour before serving, then turn it off, but then start to reheat about ½ hour before serving it makes for quick set up when guests first arrive. To begin preparation, rub the garlic inside the fondue pot then discard. Pour the white wine and lemon juice into the pot and turn on the burner. Let the wine and lemon juice warm up without boiling. Reduce heat and add the shredded cheese. With a wooden spoon, mix well and stir regularly. Dilute the cornstarch in the Kirsch or brandy, and add remaining ingredients to the pot. Add pepper to taste. Adjust consistency with additional wine or cheese. Dip bite size pieces of bread or vegetables. Let the freshly dipped pieces cool off for a few seconds before enjoying. You may have to twirl the cheesy bits on your fondue fork until it cools and stops drizzling long strings of cheese before you eat them. Also, extra liquid may be needed after the fondue is half gone because it thickens as time passes.

Hot Oil Fondue

2 – 4 cups peanut or canola oil
4 ounces beef per person, cut in bite-sized cubes
2 – 4 ounces chicken breast per person, cut into thin strips
2 ounces per person medium size shrimp (cooked or uncooked), tails intact

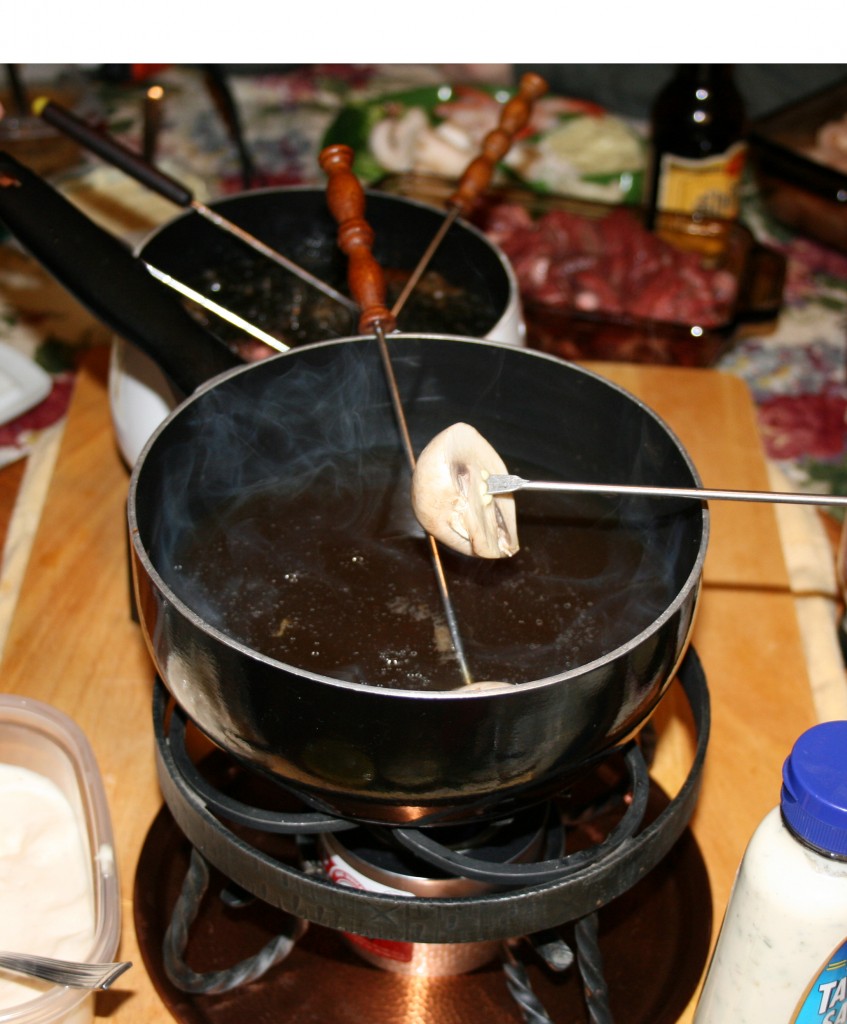
Heat oil to 325 – 350F, either in the fondue pot if electric, which is best for oil, or on the stove top for flame pots. If using a flame pot carefully transfer the hot oil to the fondue pot. Do not fill the pot more than 2/3 full, to reduce splashing over the rim of the pot while cooking. Pierce the raw meat or seafood with fondue forks and submerge in hot oil for about a minute. Remove and let cool briefly before dipping.

Broth Fondue

4 – 6 cups chicken stock
2 Tbsp dry white wine
1 garlic clove, thinly sliced
1 Tbsp fresh ginger, grated
3 Tbsp Worcestershire or soy sauce
Salt and Pepper to taste

2 – 4 mushrooms per person, whole or halved, depending on size
4 – 6 broccoli crowns per person, blanched
2 – 4 cauliflower crowns per person, blanched
4 – 6 snow peas per person, blanched
2 – 3 mini carrots per person, blanched

Combine all ingredients (salt and pepper optional) into electric fondue pot or on a stove top pot if using flame pot. Bring liquid to a simmer (liquid is moving and steam coming off surface) and begin dipping. For flame pots bring liquid to a boil on the stove then carefully transfer to the flame fondue pot. Dip vegetables into broth until cooked to your liking, warm but still crisp, or soft and mushy. If you really want the vegetables cooked quickly, I recommend blanching all the vegetables (drop them for 2 – 5 minutes in boiling water, then stop the cooking process by dropping them in cold water, then drain) before cooking them in the broth. The blanching can be done in advance and then refrigerated until serving time.
Chocolate Fondue

½ pound semi-sweet chocolate
1/2 cup Light Cream
1/8 cup brown Sugar
2 Tbsp Butter
2 tsp Vanilla Extract

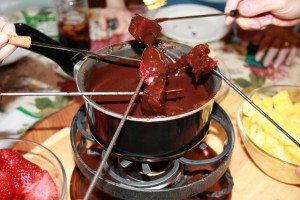
Combine all ingredients in pot on stove top or in a microwave-proof glass bowl. Melt on low heat until liquid and well combined. If using the microwave heat for 30 seconds and stir until mostly melted, then stir until all lumps are gone. Whether prepared on the stove top or in the microwave, transfer to fondue pot for serving and dip dip dip (but don’t double dip!).

SAUCES

Lemon Teriyaki Sauce

1/2 cup Soy Sauce
1/2 tsp Ground Ginger
1/4 cup Sugar
2 tbs Lemon Juice

Add all ingredients to a pot on the stove top. Heat until ingredients come to a boil. Let cool.

Hollandaise Sauce

4 oz Butter
2 Egg Yolks
1 tbs Lemon Juice
1 tbs Water
1/4 tsp salt

Melt butter and let cool briefly. While butter is cooling mix the rest of ingredients in a blender but do not blend them yet. When butter has cooled a bit spoon out the foamy, bubbly top from butter, leaving the clear, yellow clarified portion. Begin blending the mixed ingredients and gradually and steadily add the butter. Let blend for about a minute. Leave at room temperature until served.

Spicy Oriental Sauce

2 Tbsp soy sauce
1 ½ Tbsp lemon juice
1 4.5 ounce can mild green chiles
1 clove garlic, crushed
2 tsp Sesame Oil

Combine all ingredients in tall bowl. With hand blender combine ingredients to a uniform, slightly thick texture. Serve chilled or at room temperature.

Garlic Lemon Dip

1 ½ cups mayonnaise
1 ½ Tbsp lemon juice
1 Tbsp garlic, crushed
½ tsp hot sauce
Salt and Pepper to taste

Mix all the ingredients until well blended. Keep refrigerated until served.

Curry Sauce

1 cup plain yogurt
2 tsp ground curry
1 ½ tsp lime juice
Salt and Pepper to taste

Mix all ingredients until well combined. Refrigerate until served.

Dill Dip

1 ½ cup low fat sour cream
½ shallot, finely chopped
2 Tbsp dill, finely chopped
1 Tbsp lemon juice
Salt and Pepper to taste

Combine all ingredients well. Refrigerate until served.

Guacamole Dip

1 rip avocado, mashed
1 Tbsp lemon juice
½ cup plain low fat yogurt
½ cup low fat sour cream
¼ cup finely chopped pine nuts, walnuts or pecans
1 leek, white and light green part finely chopped
½ tsp hot sauce
Salt and Pepper to taste

Mix the avocado flesh with the lemon juice. Mix avocado mixture with the rest of the ingredients. Add salt and pepper to taste. If prepared ahead of time of serving, keep refrigerated.

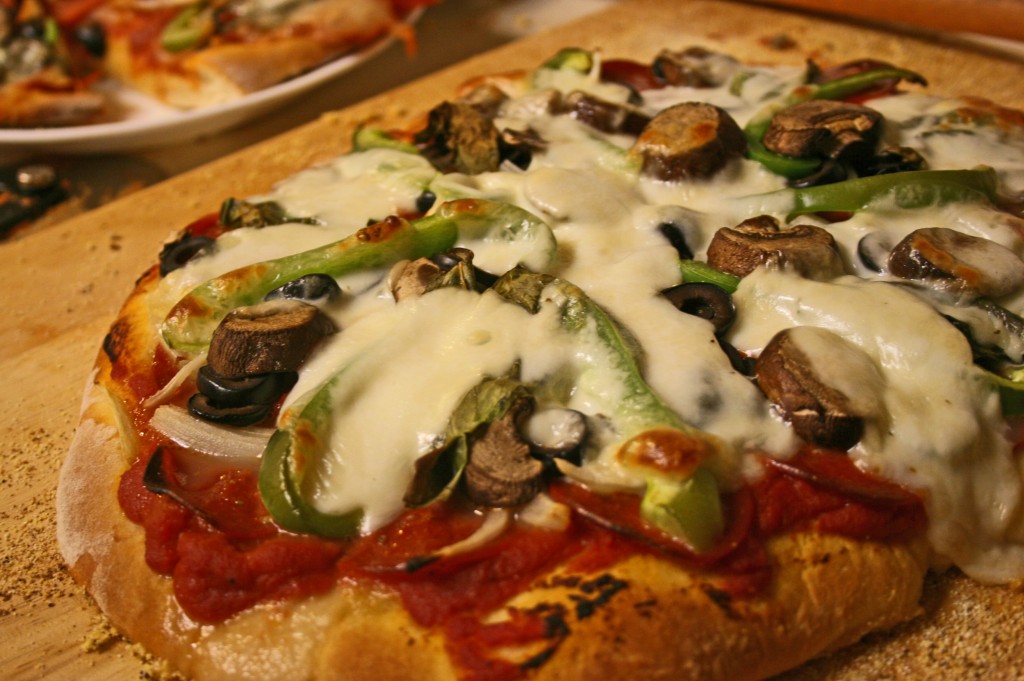
Pizza Pizza Pizza!

I returned home yesterday after visiting my in-laws and my mom. My brother was there too! What a treat! To commemorate our last evening together we made a total mess of the kitchen making pizza. One obstacle regarding the pizza crust was a lack of a recipe. The one I have relied on for years was at home (what I get for having not yet scanned all my old recipes), and the one my brother usually used was not at mom’s place either, so my brother dug around online and found this one, which worked great. Mom’s pizza stone got a good workout making FIVE pizzas and Grandma Heflin’s 80 year old cedar rolling pin did a darned good job on rolling out the dough. When the dough was ready and the toppings prepared we stuck Little B on a stool and had her help us with topping the pizzas. She loved throwing, er, placing the vegetables and pepperoni all over the place, especially in big piles. We had to make a couple of adjustments before they went in the oven, like reducing the pile of five cheese slices, but we all had blast. My brother was the work horse for the evening, watching the baking times, transferring the pizzas from the stone, and making sure everyone got what they wanted, or didn’t want, on the pizzas. Here is what we did. These things are fun and fun is good, to quote Dr. Seuss.

Pizza Pizza

2 batches pizza dough (makes about five 12-inch pizzas)

1 large can diced tomatoes

1 small can tomato paste

2 Tbsp plus ½ cup olive oil

1 clove garlic, crushed

Salt and Pepper to taste

2 bell peppers, cut into strips

10 baby portabello mushrooms, sliced about ½ cm thick

1 bunch basil, washed with stems removed

1 large can black olives, sliced into rings

½ large white onion, sliced thin julienne

5 ounces turkey pepperoni (or the fatty kind if you are not trying as hard as I am to justify eating pizza)

2 pounds buffalo mozzarella, sliced about ½ cm thick

1 cup corn meal

1 cup flour

Place pizza stone in cold oven. Turn oven on to 450-475F, depending on your oven. In a bowl mix together diced tomatoes, tomato paste, garlic, olive oil, and salt and pepper to taste. Smush some of the tomatoes, but leave some chunky. Roll out on floured surface 1/5 the dough into a 12 inch round. Transfer the round to a pizza peel (or the back of a cookie sheet) that has been sprinkled with corn meal. Spread a thin layer of olive oil (about 2 Tbsp) on the crust. Add about 1/5 of the tomato sauce*. Layer other toppings (mushrooms, pepperoni, olives, onions, basil) as desired, topping with 1/5 of the cheese. When oven and stone are hot, sprinkle the stone with corn meal then slide the pizza on to stone and cook for 14-16 minutes. If the first pizza does not brown on top you may need to raise the oven temperature.

While the first pizza is cooking, make sure you have transition stations set up (this is where the dishes and clean up time increased exponentially) – one platter for setting on the table, one surface for receiving a pizza just out of the oven, and one for a prepared pizza ready to go in the oven. If you have a pizza peel the pizza transfer from oven to cutting board is a breeze. If you don’t have a peel (like us), make sure you have the thickest oven mitts you can find, or check your grilling/fire pit supplies to see if you have at least one high temperature glove to help handle the stone. We had to remove it from the oven to slide it onto the cutting surface. It is really hot! If you don’t have a pizza stone the whole cooking time and transfer issue is completely different than what is described here, and I have faith you can figure it out. Good luck!

This baking method and timing melts the cheese, browns the surface a bit and cooks the crust, but it does not completely cook the vegetables until limp. We like ours a bit crispy. If you want your vegetables cooked a little more it may help to blanch or saute them before you start making the pizzas.

*On one of the pizzas we used a wonderful pesto instead of the tomato sauce. It was from Humble House Foods who sell at the Pearl Farmers Market. Amazing pizza results and the most delicious pesto ever!

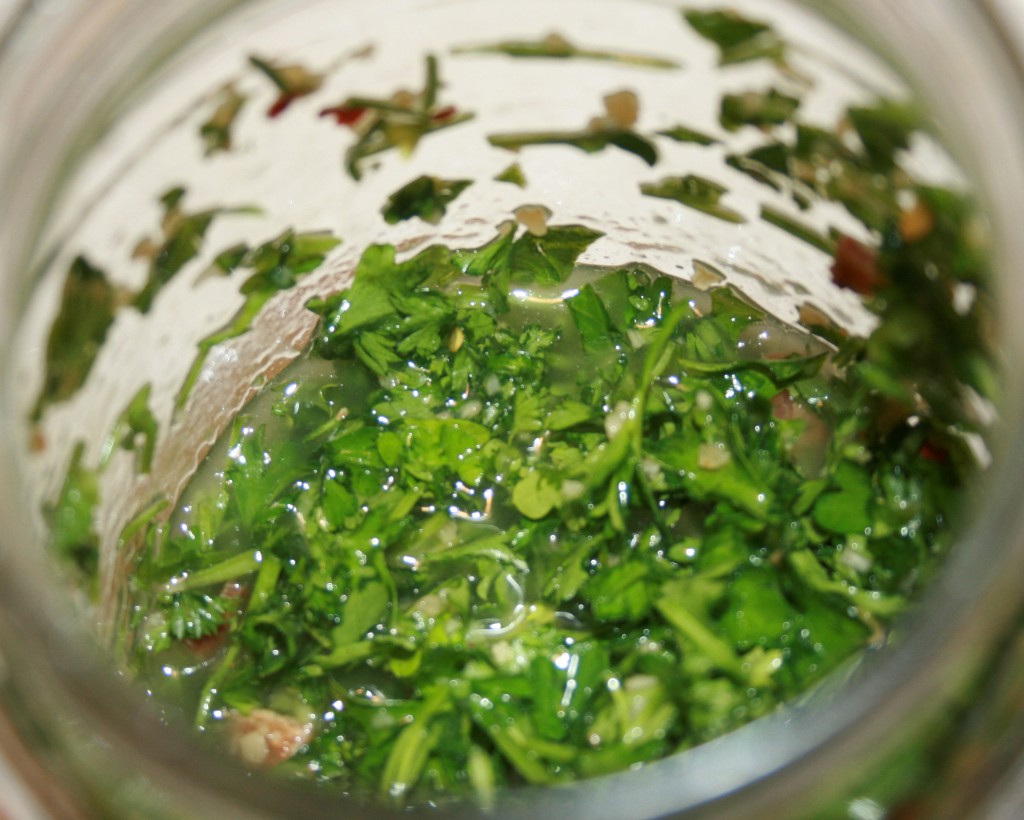
Chimichurri

I was first introduced to chimichurri at a restaurant in San Antonio – Los Barrios– where metal bowls of the wonderful stuff are sitting on the table when you sit down. Then they bring hot chips and fresh salsa to add to the mix. Recipe for gluttony.  Drizzle a little on a chip and crunch away. I don’t know why, but I always want to eat more. I would not have thought a sauce made primarily of parsley would appease my palate, but it does. Besides the digestive benefits of the parsley, if made correctly the sauce has a gentle balance of tangy, soft and addictive. It also goes wonderfully with pretty much any grilled meat, and of course drizzled over a fajita taco. I have even used the final dredges of a jar to sear veggies. It can be made without the bacon and grease for a healthier version, but be warned the texture and depth changes. Make the chimichurri and refrigerate it the day before you plan on serving it and the flavors really meld together. You can actually make it the same day, but sitting overnight makes a noticeable difference.

Chimichurri Sauce

1 bunch parsley

1 clove garlic, crushed

1 tsp salt

1 lime, juiced with meat included

1 slice bacon, cooked crisp

1 Tbsp bacon grease

½ – ¾ cup canola oil

Chop parsley roughly, including stems (If chopped too small the leaves can taste bitter). Place them in a glass bowl or jar. Add garlic, salt, lime and oil. Stir or shake up the ingredients until the parsley is coated. Heat up the bacon grease and chopped bacon until it is hot, then drizzle it over the mixture – this step will wilt some of the parsley and release flavor and aroma. If you make the sauce the day before you may want to pull it out of the fridge an hour or so before mealtime so it can warm to room temperature. Serve over meats, vegetables or use as a dipping sauce with tortillas or chips.

Post Navigation