Any Kitchen Will Do

Give me a kitchen and I will cook.

Archive for the category “side dish”

Mashed Cauliflower

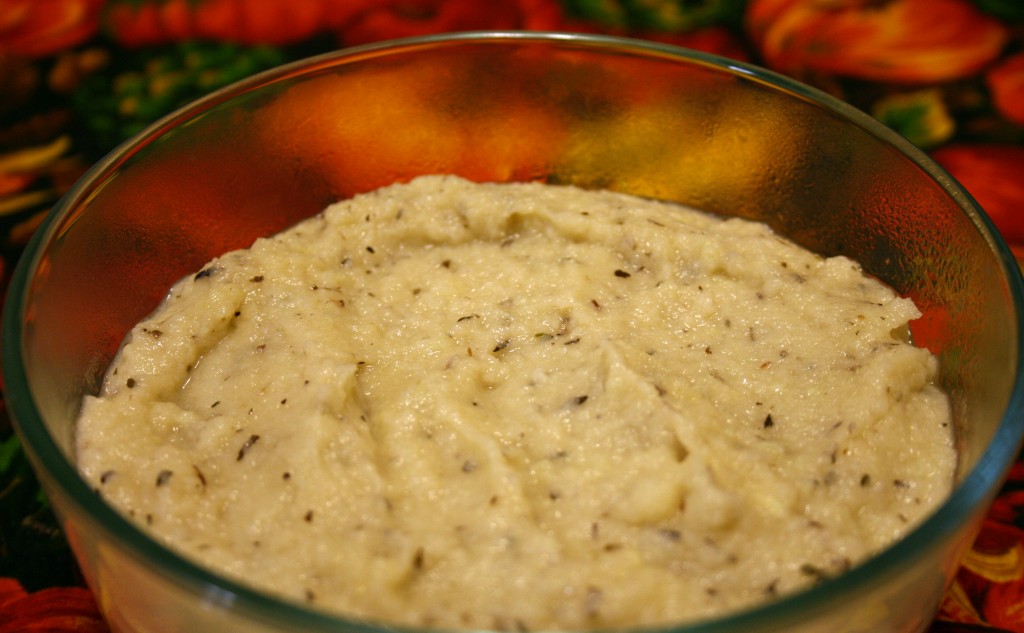
I can hardly believe I did not write about mashed cauliflower before now. It is a staple of ours that appeases any craving I ever had for mashed potatoes. The flavor and texture is rich and smooth. It is a really easy dish, but the results can vary as far as thickness and smoothness. Over the years we have experimented with ingredients and processes – chopping finely before cooking, steaming the head whole, steaming then using a hand blender to puree, using a potato smasher to get a rough consistency. All of this experimentation led to a wonderful conclusion – cook the cauliflower in large chunks, then puree after draining the steaming liquid – this method seems to give it just the right texture and thickness. Too thin and you get soup, too thick and the flavors just don’t mix the right way. When it is just right – very Goldilocks is what I call it – the dish is addictive and will do you proud on any holiday dinner table. Don’t get me wrong, the soupy version and the one with flavors not mixing just righ are delicious as well, but we challenge ourselves to get dishes -just- right. The following version is wonderfully thick and flavorful. It definitely has a place of honor on our table. It is a dish that really is better the next day, so take advantage of that fact and make it the day before, only needing a quick heating up before serving.

Mashed Cauliflower

1 large head cauliflower, cut into large pieces
½ cup water
½ cup butter
4 cloves garlic, crushed
1 Tbsp dried thyme leaves
Salt to taste

In a large pot add water and 1 tsp salt. Bring to a boil and add cauliflower. Lower temperature and cover, steaming until soft, about 10 minutes. Place cauliflower in food processor or blender, retaining liquid from pot, and puree until smooth. If necessary add a small amount of the steaming liquid to help with the puree process. When smooth, return cauliflower to the pot and add butter, garlic and thyme. Turn heat on under pan to low and cook until butter is melted and spices are blended. The cauliflower can be served immediately, or chilled overnight to maximize the blending of flavors. Reheat over low heat on stove top for best results, but microwaving on 50% power until hot works as well. Serve along with anything calling for a side of mashed potatoes. You won’t regret it!
Another End of Summer Salad

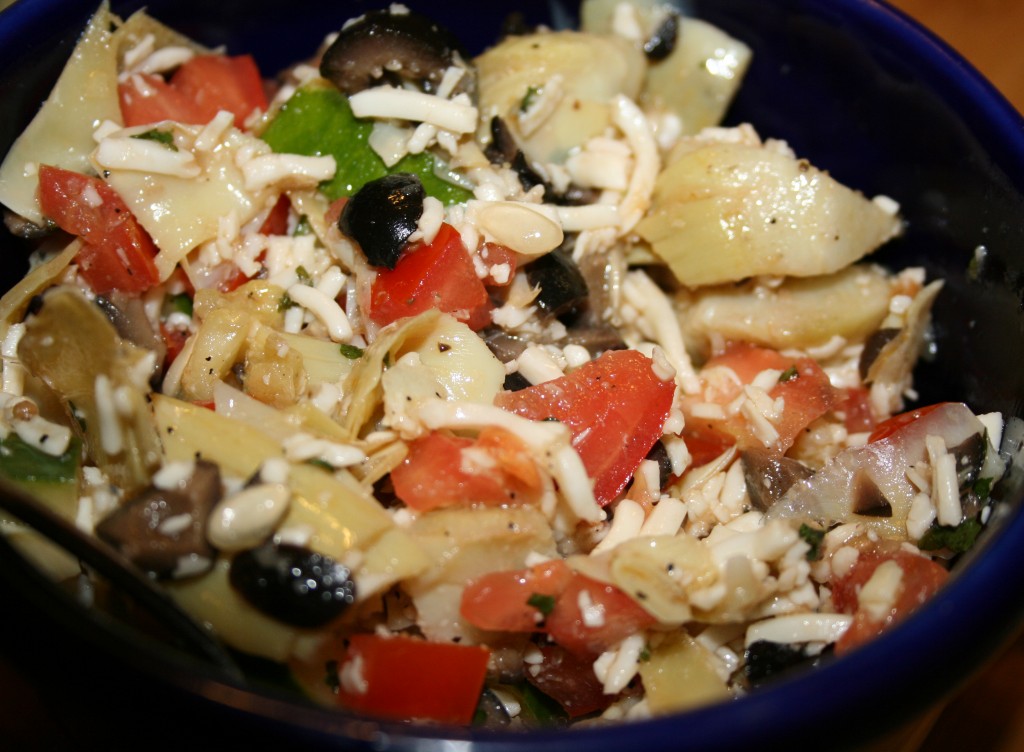
Okay, so I had a little of this and a little of that in the fridge (some of which was left over from making pizza (add link)) and thought they would make a wonderful end of summer salad. Again. It is a bit different from my other End of Summer Salad (add link), but I am really trying to squeeze in the summer produce, so I decided to post it. I know it was recently, like, right below, but this one has a totally different taste. I have to say right now that I absolutely adore my daughter and love how her fine motor skills are improving exponentially while helping me in the kitchen. Now I must also say that I really enjoyed making this salad all by myself – not having to lean over a footstool, without a helper who is learning to use a knife, or a munchkin putting a little too much parsley in the bowl or an imp who insists on measuring and pouring the olive oil from the huge bottle on her own and spilling about half a cup on the counter. While she watched the last bit of Willy Wonka and the Chocolate Factory (1971 version, thank you very much) I snuck in the kitchen and whipped up the salad. I liked doing it by myself as much as I will like the next time she helps break a dozen eggs for a frittata – its just a different way of cooking. Here she comes!

Another End of Summer Salad

3 Tbsp apple cider vinegar
1 tsp sea salt*
½ tsp ground black pepper
1 Tbsp dried parsley leaves
1 tsp garlic powder
½ tsp onion powder
Dash of dried red pepper flakes
4 Tbsp extra virgin olive oil
2 medium tomatoes, rough chopped
½ large cucumber, rough chopped
1 cup artichoke hearts, rough chopped
½ cup chopped black olives
1 cup shredded Monterrey Jack, Feta or Parmesan cheese

Add first seven ingredients in small bowl. While whisking the vinegar mixture gradually add olive oil until well combined. In medium bowl add tomatoes, cucumber, artichoke hearts, olives and cheese. Drizzle dressing over vegetables and stir until evenly distributed. Chill for at least 20 minutes. Toss again before serving.

*If you use Feta or Parmesan cheese you may need less than 1 tsp of sea salt, since they tend to be stronger flavored cheeses.

End of Summer Salad

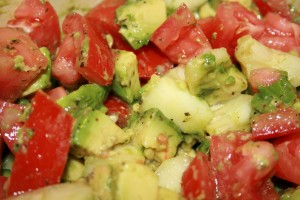
As the temperatures gently creep lower I tend to linger over the fresh, seasonal summer produce at the markets. I know some of it, although sadder looking, will be around pretty much year round. Some will have faded colors or less flavor. Others will just get more expensive. I look forward to the squash and root vegetables that are already becoming more prevalent, but I currently plan on cherishing the last of the bright tomatoes, abundant cucumber and perfect avocados that have become a habit over the past few months. Here is a wonderful, simple, soft salad that fully appreciates some of the summer fruits that we often call vegetables. Enjoy!

End of Summer Salad

4 Tbsp extra virgin olive oil
2 Tbsp apple cider vinegar
1 small bunch basil leaves, finely chopped
1 tsp sea salt
1 tsp ground black pepper
½ lime, juiced with pulp
2 ripe Hass avocados, peeled and coarsely chopped
3 roma tomatoes, cut into about 20 pieces each
½ large cucumber, peeled and coarsely chopped

In a small bowl combine the first six ingredients. Set aside. In a large bowl combine the avocado, tomato and cucumber. Add dressing and stir gently, trying not to smash tomatoes or avocado too much. Chill covered for about an hour before serving.

Roasted Asparagus

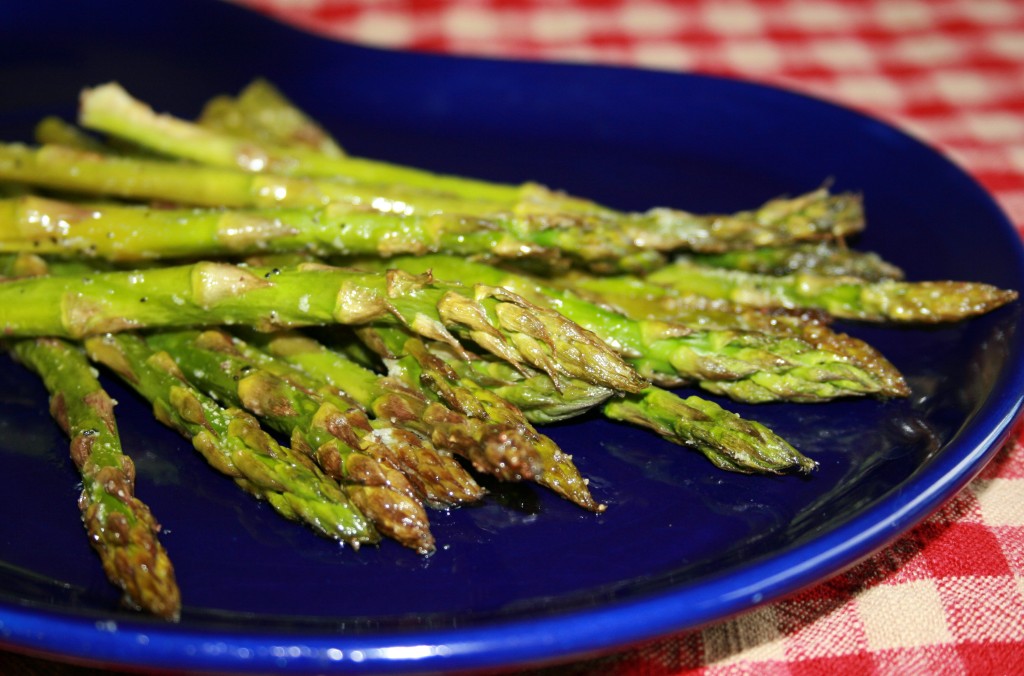
I originally learned this recipe from my old friend Karla. About ten years ago I went over to her house and she made wonderful side dishes while her husband Marcus cooked up some meat. The whole meal was delicious, especially eating under a beautiful summer sky in Denver, but the asparagus was stupendous. It was probably because I had so much trouble cooking it well in the past. I either undercooked it or overcooked it to a green mush. Now it comes out perfectly every time – the thick ends are soft enough to eat and the delicate tips still have substance. The roasting really brings out the flavor of the asparagus while making it tender to eat, hot or cold. I have often taken leftovers on picnics or in cold lunches and it works just as well as if it is right out of the oven. So simple and so scrumptious!

Roasted Asparagus

1 large bunch raw asparagus
2 Tbsp olive oil
2 tsp lime juice
½ cup chopped pecans or almonds
2 cloves garlic, diced
2 Tbsp Parmesan cheese
Salt and Pepper to taste

Heat oven to 350F. Rinse asparagus and remove the thick, tough ends. You can do this in any of three different ways:
1) cut the bottom 1-2 inches off with a knife,
2) bend the asparagus by holding it about half way down with one hand and hold the thick end with the other hand.
Bend the stalk until it naturally breaks where the tough section begins, or
3) with a vegetable peeler gently peel off thick outer skin from the bottom half of the stalk
Line a cookie sheet with aluminum foil. Lay asparagus on foil, alternating thick and thin ends. Make sure the stalks alternate the direction of the tip, so they can cook evenly. Sprinkle asparagus with olive oil and lime juice, followed by garlic, salt, pepper and nuts. Place in oven on the middle rack for 20-30 minutes, until tender. Sprinkle with Parmesan cheese and return to oven, cooking for about five more minutes until cheese is soft. Serve immediately.

Japanese Eggplant Tomato Salad

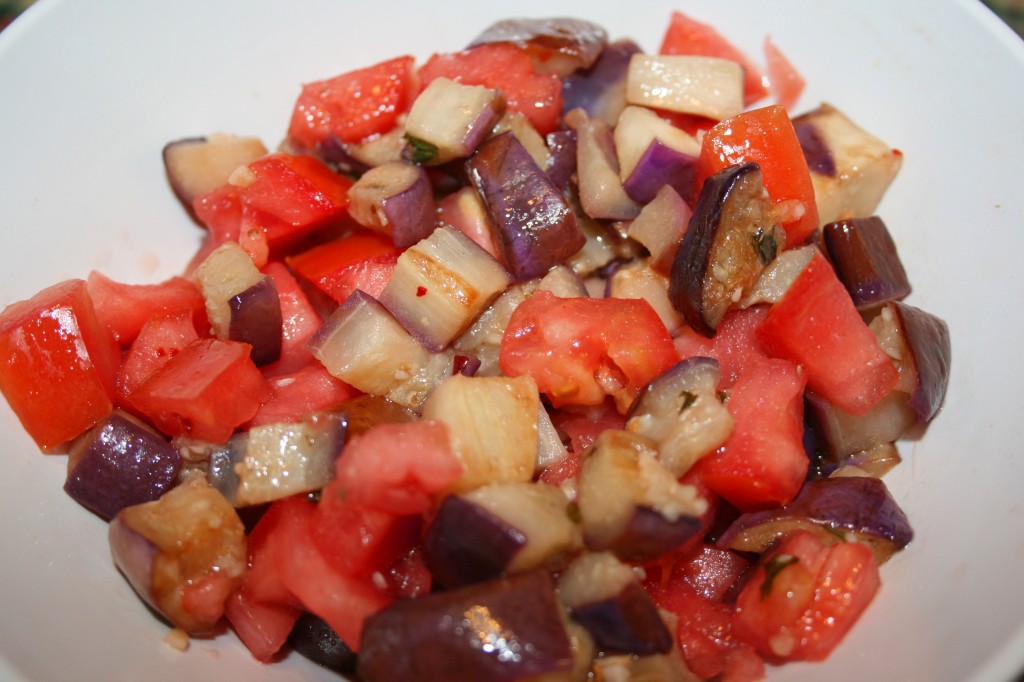
The summer heat has made itself at home in Maryland, for now. I was hopeful that the triple digit temperatures had moved on earlier this week, since the highs dropped into the 80s, but alas, it was not so. They shot right back up. I know it is August, but a girl can hope! I am very much an Autumn/Winter kind of girl – wearing sweaters and pretty scarves, taking brisk walks to get the blood flowing without sweat raining off my brow. Cooler weather will come eventually – it always does – so for now I will trudge on in the heat and make some summer salads. I found some Japanese eggplant at the store this week and grabbed a few. The are longer and more narrow than the typical eggplant, and in my opinion sweeter and more tender. Maybe I need to work with it more, but the short, fat eggplant tends to be tough and lacking flavor when I have prepared it in the past. The Japanese eggplant is more appealing, but also more elusive. I wanted a cold side dish to accompany some spicy tacos for dinner, and this is what I came up with, adapted from the recipe here.

Japanese Eggplant Salad

¼ cup white vinegar
1 clove garlic, crushed
2 tsp fresh ginger, minced
¼ tsp red pepper flakes, crushed
1 Tbsp fresh basil, chopped
1/8 cup olive oil
2 Japanese eggplants
1 large tomato

Cut off ends of eggplants, cut each lengthwise into six pieces, then cross cut into cubes. Sprinkle cubes lightly with salt and let sit for about ten minutes. While waiting for the eggplant make the dressing. Combine the first five ingredients and whisk together until combined. Slowly add oil while you continue whisking until it is all added. Set aside the dressing. Heat dry skillet over medium high heat. Add eggplant and about one Tablespoon of dressing, then saute until tender, about five minutes. Transfer cubes to paper towel and let cool to room temperature, or chill until ready to serve. Cut tomatoes in half and scoop out seeds, leaving as much flesh as possible, then cube the tomatoes so they are about the same size as the cooked eggplant pieces. Combine the tomato and eggplant cubes. Drizzle with dressing and toss lightly to coat. Serve immediately or chill until ready to serve.

Cauliflower Fritters

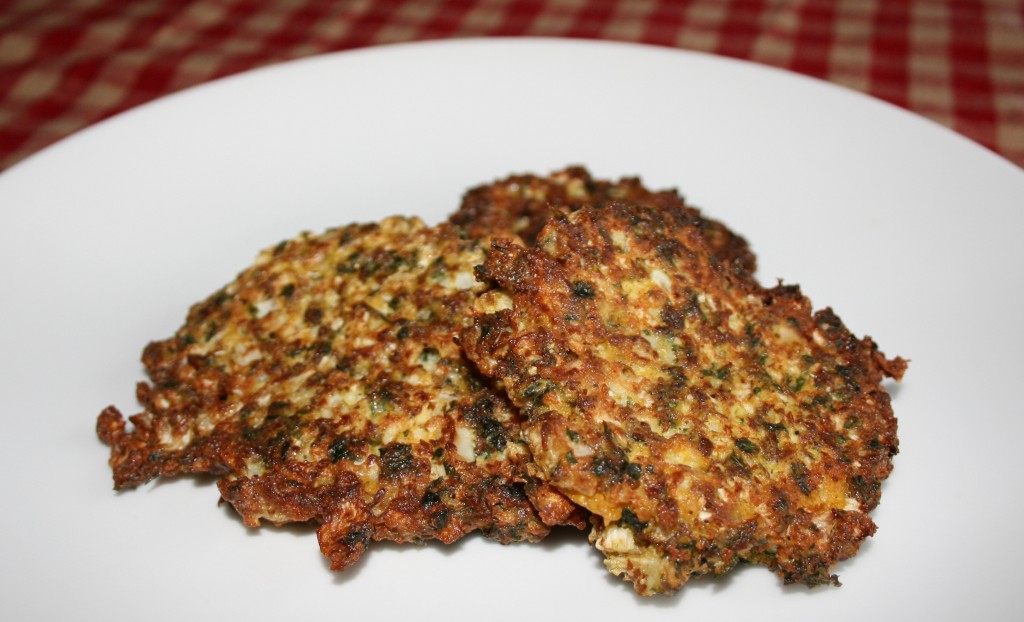
When I make it a point to avoid processed grains and starchy carbohydrates in my diet I seem to have more energy and lose weight. I also start to crave vegetables. Of course a loaded baked potato or breaded mushrooms don’t really fit the balance I want. Ideally I would crave steamed veggies with some lime juice and herbs, but the reality is I want substance and texture and flavor. These fritters help me balance the need for hearty high fiber veggie variety and a low carb energy source. I was inspired by the recipe here, but tweaked it to make chunkier fritters held together by flaxseed. Low carb and hearty. Yum!

Cauliflower Fritters

½ large head cauliflower
2 whole eggs
¼ cup flaxseed meal
¼ cup fresh parsley, finely chopped
1 tsp lime juice
½ tsp salt
¼ tsp black pepper
1 tsp fresh thyme
½ tsp ground cinnamon
¼ tsp chili powder
½ tsp cumin
½ tsp tumeric
pinch cayenne pepper
½ cup olive oil or fat of your liking

Cut cauliflower into little florets and add to the bowl of your food processor. Process on pulse until cauliflower has texture of large grains of cracked wheat*. In a large mixing bowl add the rest of the ingredients and mix until well combined. Add the cauliflower and combine until well coated. Heat a splash of olive oil in a frying pan and add about ¼ cup of the mixture for each fritter. Using a large spoon droop a mound about the size of a baseball into the oil. Cook three or four fritters at a time for 2 – 3 minutes on each side, until golden brown, then keep warm while you cook the remaining fritters.

*I just chopped them up a bunch, resulting in big and little chunks instead of cracked wheat chunks. They were yummy all the same

Baked Zucchini Wedges

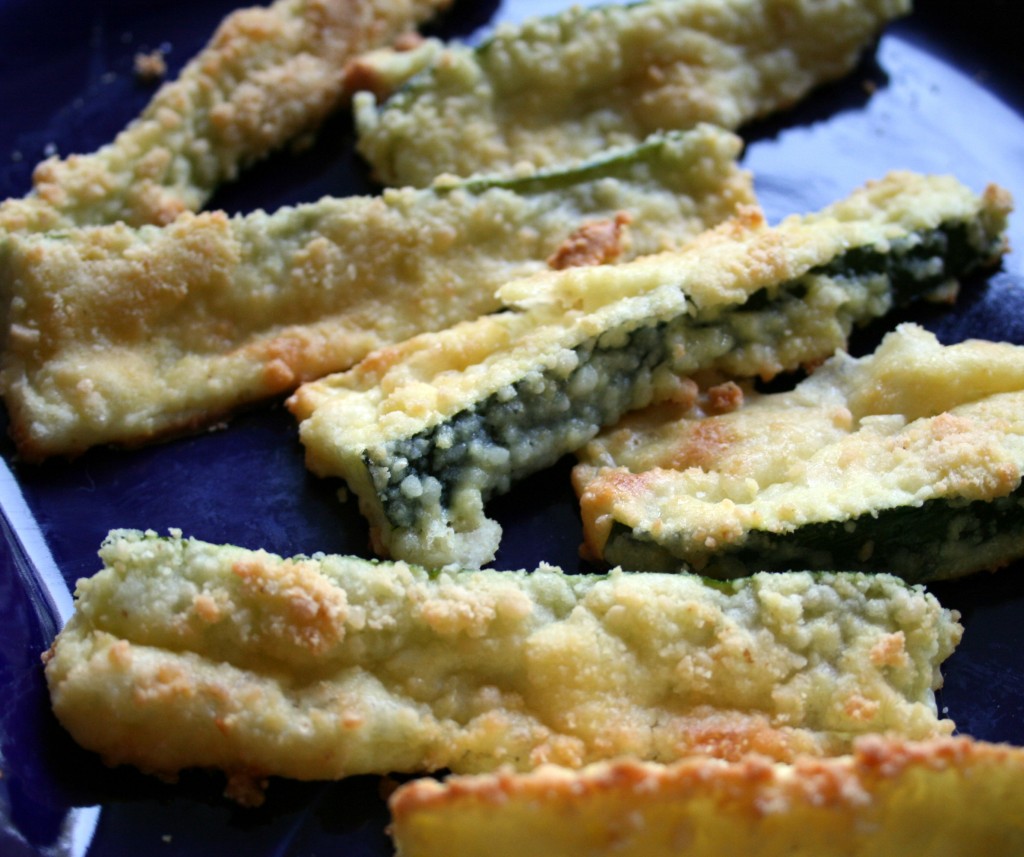
I did it! I finally did it! I made a zucchini dish that Big D declared as the best he has ever had. This is a BIG deal. I love zucchini, but Big D does not. As usual, if I cover something with garlic and cheese there is a high possibility of culinary success around here. Besides being absolutely delicious (hot or cold, we discovered) they were a great balance for the spicy meat Big D cooked up to go along with the zucchini – he has promised to guest blog about it soon (nudge nudge). I don’t know if this bread crumb-less version will work with anything other than the powdery Parmesan cheese typically found in shaker-type containers, but I do know the powdery stuff did a great job of sticking, with the help of some egg.

Baked Zucchini Wedges

2 large zucchini
2 cups finely grated Parmesan cheese
2 tsp garlic powder
1 tsp salt
2 eggs
2 Tbsp water

Preheat oven to 350 Fahrenheit. Slice zucchini in half, then lengthwise into narrow wedges – at least 20 slices per squash. Make available a large non-stick cookie sheet to receive the prepared slices. Mix together eggs and water, making sure they are well combined. Pour into a shallow bowl or deep plate. In another bowl/plate combine cheese, garlic and salt. Dip each slice into the egg mixture, followed by dipping in the cheese mixture. If they will stand on their skin edge, then set them on the sheet skin side down. If they only stand on a wide, white edge, they will be fine, but will cook brown on the side touching the pan. Bake for about 30 minutes until coating on top starts browning. Serve immediately.

Purple Cauliflower

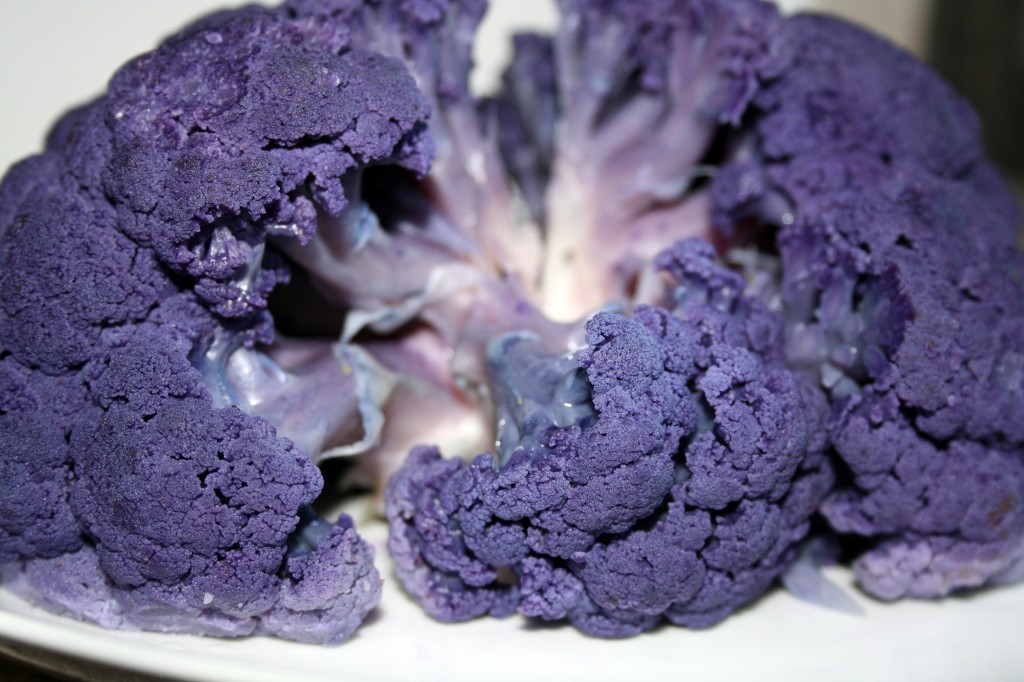
With my new job rolling along and Big D deep in his ongoing projects we have not been as creative with our food preparation as we are wont to be. The wonderful selection of fruits and vegetables available at the local markets is starting to get me out of my rut. As we settle into our new routine I am getting back into my creative food groove as well. The wonderful cauliflower we found recently does not need fancy preparation, so I kept it simple. If you are looking for a colorful vegetable to brighten up a drab, brown dish, then look no further than purple cauliflower! Little B could not stand to walk away from it at the farmers market without buying a head. Now, you might think the almost toxic color of it must be fake, but it is actually naturally occurring, caused by the same antioxidants that make some cabbage and wine have a purple hue. While cooking it up is similar to the plain white version of cauliflower, the purple stuff seems to be more tender and have a more powerful, nutty, buttery flavor that the white stuff lacks. The color definitely bleeds when cooked, so if you don’t want your whole dish purple, and you want to keep the purple from fading, it is best to cook it separately and use my stand up steaming technique. You can see in the picture that some of the lower florets dropped while being cooked and faded a bit after hanging out in the water. If the stem is too short to hold it above the water you can use a steamer basket. I prepared it simply to balance out a spicy meat dish, but if you want more punch with your purple cauliflower, there are some delicious sounding recipes here. Enjoy your colorful side dish!

Purple Cauliflower

1 large head purple cauliflower
1 – 1 ½ cups water
1 tsp salt

Trim bottom of cauliflower stem, but leave the head intact. Place water and salt in large pot that will hold the whole head. Bring water to a boil, then place the cauliflower standing on the stem in the pot. Cover and steam for about 10 minutes, until tender. Serve immediately, either as a whole head (stems will pull off easily) or after cutting into pieces.

Garlic Infused Cauliflower

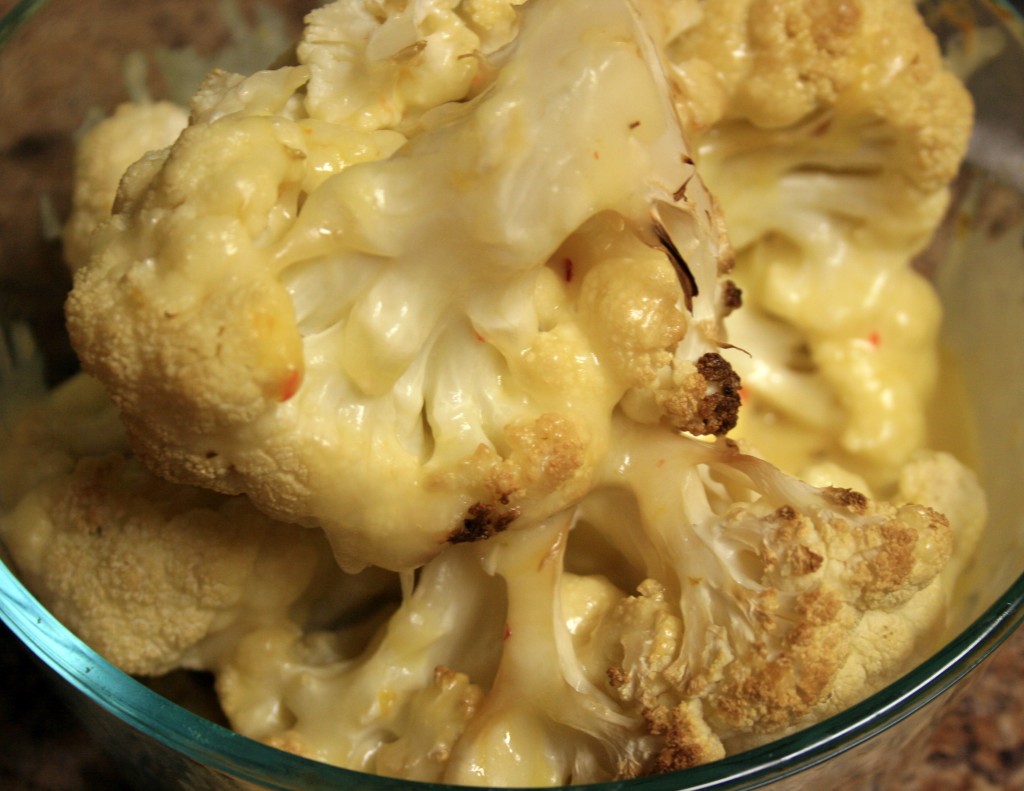
I missed roasted garlic when I was without kitchen. I also missed roasted/baked veggies. They always get that nice, slightly dense texture when roasted that you just can’t get when they are steamed or sauteed. And the garlic, which totally changes in aroma and texture when roasted, also shares its pungent flavor with everything else in the oven. Cauliflower is stellar at absorbing flavors it meets – kind of like mushrooms and tomatoes. I combined the two elements into a wonderful side dish, and of course, topped it with cheese. Filled with fiber, flavor and a minimum of carbohydrates, it fit very well into our evening meal. A few of the garlic cloves were left in the bottom of the bowl with some melted cheese. Oh, what lovely mouthfuls of wonder! Next time I will add a few extra cloves just for dessert!

Garlic Infused Cauliflower

1 large head cauliflower
3 cloves garlic
¼ cup butter, room temperature
1 cup grated Monterrey Jack cheese
Salt to taste

Preheat oven to 350F. Remove stem and cut cauliflower head into quarters. Spread florets with butter and place quarters close together in deep baking dish. Drop whole garlic cloves into dish. Cover loosely with aluminum foil. Bake for 50-60 minutes until tender. Serve immediately.

White Rice

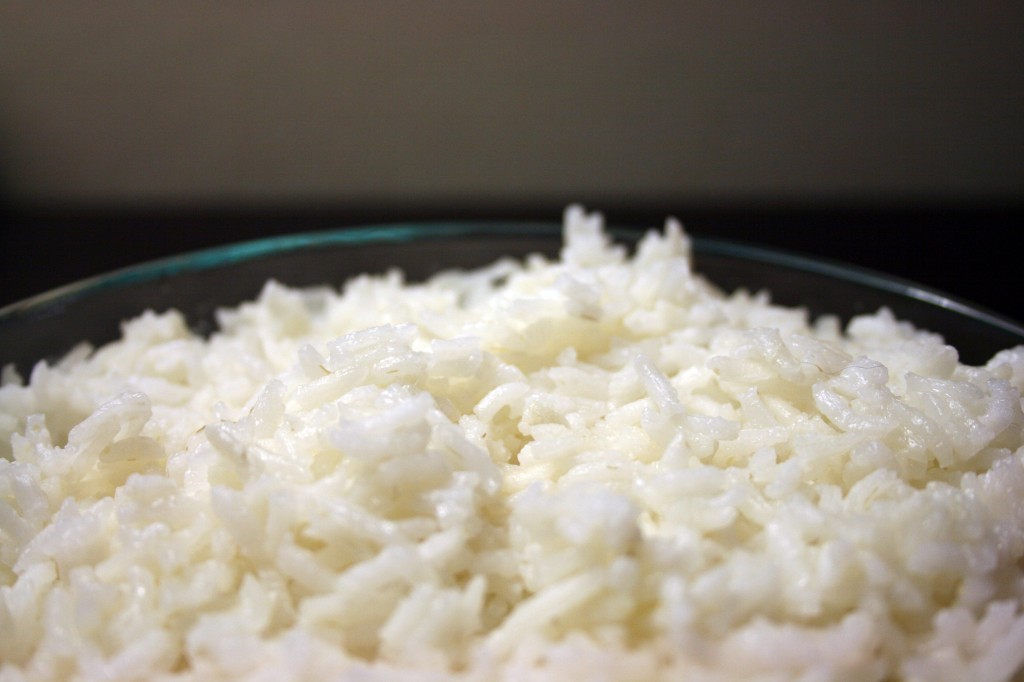
White rice. I know. It is not very thrilling, but when you are in a hotel and limited to a small fridge and microwave and you really want to cook, you just have to go back to basics and build from there. I can do flavorful steamed veggies with our current set up, and there is always some good roasted meats at local markets. There still needs to be a starch, and a cheaper version than what can be found in prepackaged microwaveable bags. All you need is rice, water, a little butter and a glass bowl. Frankly, it takes about the same amount of time as on the stove top, but why compare if you are lacking a stove top, huh? Even when I do have a stove I may still make the rice in the microwave – it will give me more space on the stove and the rice keeps nice and warm in the microwave after it is cooked. Next time I will probably add some herbs and chicken broth to liven it up.

White Rice

1 cup enriched long grain rice
1 ¾ cup water
1 Tbsp butter
Pinch of salt to taste

Combine all ingredients in a bowl that holds at least four cups. Place uncovered bowl in microwave and cook on high for ten minutes. Without opening the microwave door cook for another 12-15 minutes 50% power. Let set in unopened microwave for at least five minutes. Fluff and serve. Cooking time may vary depending on the power of your microwave.

Post Navigation