Any Kitchen Will Do

Give me a kitchen and I will cook.

Archive for the category “snack”

Roasted Squash Seeds

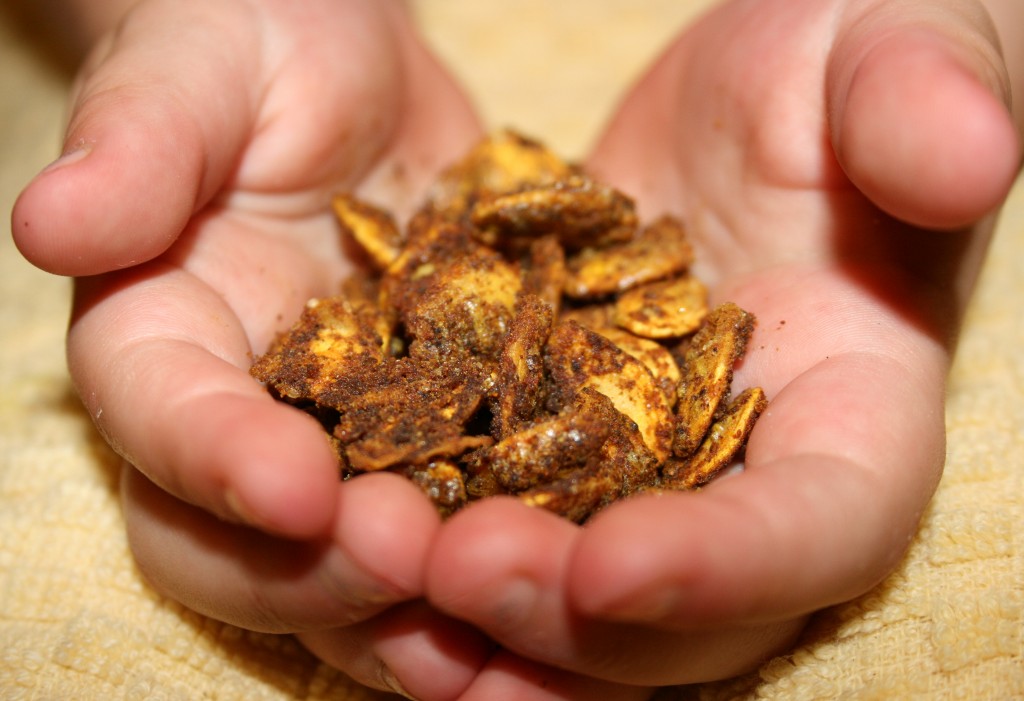
Every time we cook up a spaghetti squash we discard the sinew and seeds. The seeds remind me of pumpkins and fall and cooler weather. They are the same shape, size and color as pumpkin seeds, so why not treat them the same? Since it was about 100 degrees today and I would give anything for cooler weather, it made a bit of sense to roast up the squash seeds as a reminder of cooler times past and future. This recipe, although including cinnamon and stevia, is rather savory and did the trick as far as cooling me off. Little B and Big D loved them too. The seeds ended up being a healthy snack that I plan on repeating any time our menu involves seeds and a waiting cookie sheet.

Roasted Squash Seeds

1 tsp tumeric
1 tsp garlic powder
2 tsp ground cinnamon
1 tsp chili powder
2 packets Stevia in the Raw
1 Tbsp olive oil
1 – 2 cups spaghetti squash seeds

Preheat oven to 250 Fahrenheit. Separate seeds from sinew and set out to dry on a tray for at least half an hour. Don’t worry about rinsing them – any squash left on the seeds helps to enhance the flavor. In a small bowl combine spices and sweetener, then add the oil. Add seeds and toss until coated. Spread seeds on a cookie sheet, making sure they are spread out as much as possible. Toast for about 30 minutes, until dried out and crispy. Remove from oven and let cool. If not all eaten immediately store in airtight container until somebody decides it is wrong to let them alone and inhales what is left.
Fruity Popsicles

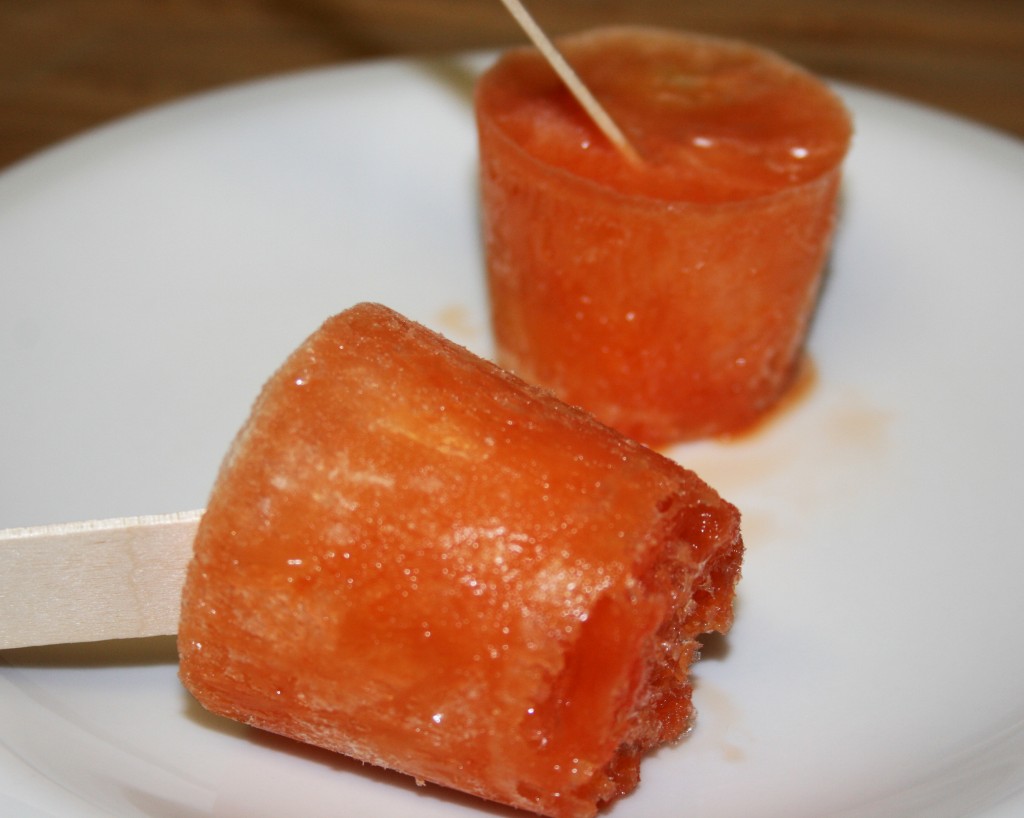
Have you ever realized that full sized popsicles are a bit big for three year olds? The three year olds probably don’t think so, but I have found they can’t quite finish them before they melt all over everything that used to be white or otherwise attractive to staining. I figured I could pretty easily make smaller treats with at least moderate health benefits. I discovered I could! I really could! I also decided to make them ergonomic by freezing the sticks at an angle for easier eating (translation: I was being a bit lazy and and just dropped the sticks in). The angled sticks actually made the popsicles easier for Little B to eat. She loves them. There is at least one serving of fruits/vegetables in each pop, and they are waaaay easy to make. This time I used grapes because that is what we had in the house, but pretty much any fruit cut into small pieces should work (except maybe bananas – they just don’t freeze pretty).

Fruity Popsicles

1 cup pulpy not-from-concentrate orange juice
1 cup vegetable juice (V-8 or something similar)
½ cup seltzer water or club soda
24 grapes, cut in half
12 popsicle sticks
12 itty bitty 3 ounce plastic cups

Combine liquids in a large measuring cup. In a muffin tin place an itty bitty cup in each hollow. In each cup place four grape halves. Divide liquid among the cups. Stick a stick into each cup, letting them rest on the edge. If you want the sticks all perky and straight up, place foil over each cup, then poke a stick gently through the foil, avoiding extra tearing so the sticks stand up. Place in the freezer for at least four hours until frozen through.

Jelly Marshmallow Rolls

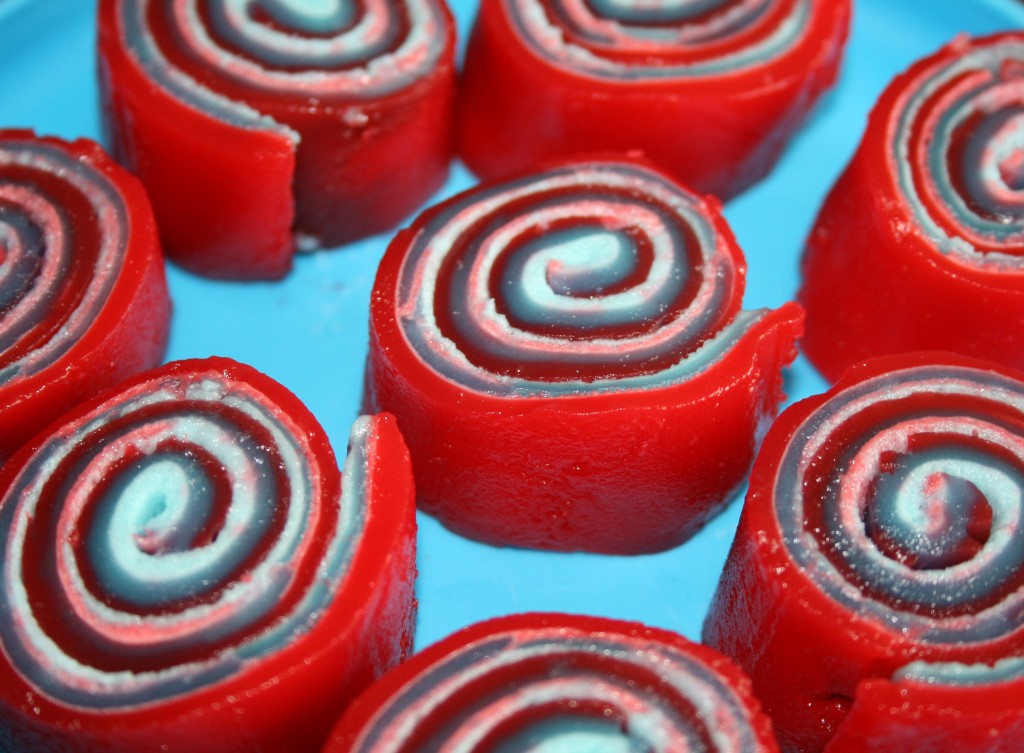
Today is Memorial Day. The day always makes me think of Americans who have fought around the world as representatives of our country, and how some have given their lives for the commitment they made. I have not always agreed with the reasons they were sent, but I very much admire the fact they decided to go. Personally, I have always been too selfish to find a life or career in the military appealing, but know there are millions who see thinks differently. My dad was one of them. When he joined the U.S. Army and soon headed to Korea, even though he was in college and could have been exempt, I always wondered if he was running away from one thing or towards another. Isn’t everyone constantly making decisions to do one or the other? He never wanted to talk much about his childhood or time overseas, except of course the period when he met and married my mom in Germany. Now that he is gone I think more and more about what a mystery he was, in spite of always being around to support his family. Before I start crying about him – again – I want to share a little bit of color I added to the day. Little B is still too small to actually comprehend the meaning of Memorial Day. All she knows is her mommy is spending a third day in a row with her instead of heading to work. Here are some red and blue treats, which I chose to use to introduce Little B to the meaning of the colors in our flag: blue stands for fairness, faithfulness and sincerity, while red stands for courage and bravery, while white stands for faith and purity. Quite a vocabulary lesson was had by all.

Since I eyeballed the water measurements in the batch pictured, I think they came out stickier than intended, but the red, white and blue came through and the rolls held their shape. Here is what happened. I failed to realize we are still without measuring cups before getting Little B all excited about doing a project with me. I could not bear to tell her to wait while I went out into the dark, stormy night to buy a measuring cup, so I decided to wing it. Next time I will probably experiment with different colors AND use a measuring cup.

You can find my source for this idea here.

Jelly Marshmallow Rolls

1 3-ounce package red gelatin
1 3-ounce package blue gelatin
1 cup water
4 cups miniature marshmallows

Lightly spray an 11 x 9 inch glass dish with cooking oil. Place 1/2 cup water in glass bowl and microwave for 1 1/2 minutes. Add the box of red gelatin and stir. Return to microwave for 1 minute. Add 2 cups marshmallows and return to microwave for 1 more minute. Stir until all the marshmallows are dissolved. Pour into prepared glass dish. place into the refrigerator for about 30 minutes. Again, place 1/2 cup water in glass bowl and microwave for 1 1/2 minutes. Add the box of blue gelatin and stir. Return to microwave for 1 minute. Add 2 cups marshmallows and return to microwave for 1 more minute. Stir until all the marshmallows are dissolved. Pour on top of the chilled red layer and return to refrigerator. Chill at least 2 hours before cutting. Start at one end and roll into a log. Remove from pan and place on a flat surface. Cut into spirals. Store in the refrigerator until ready to serve.

Wheaty Peanut Butter Apple Rolls

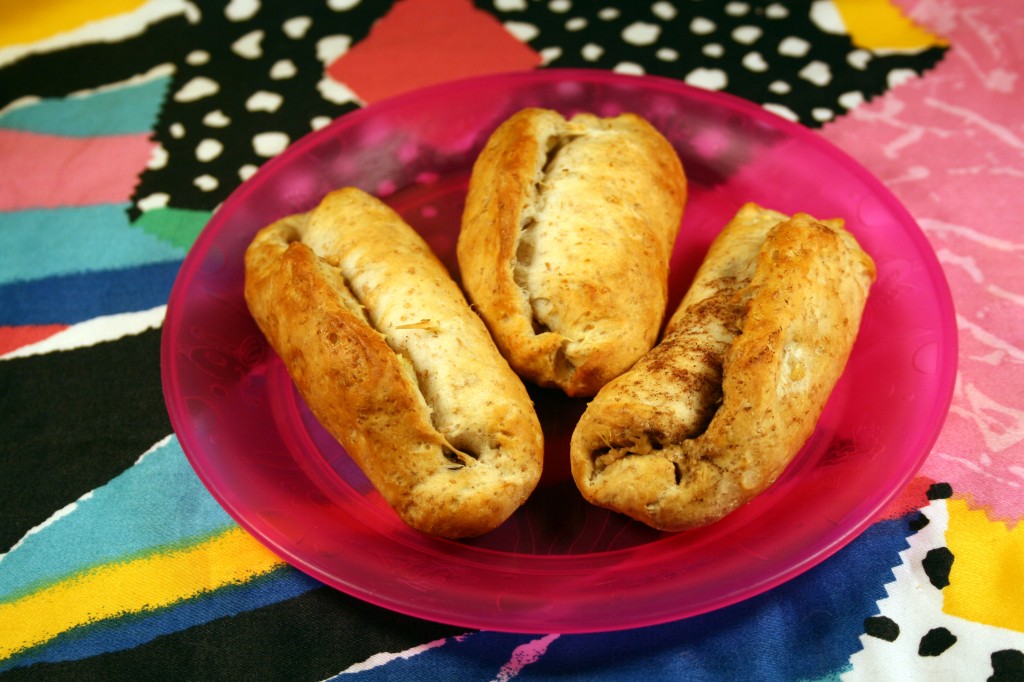
I don’t usually rely on highly processed foods for much of anything when I cook. I try really hard to do the majority of my shopping on the outer edges of the grocery store, focusing on unprocessed foods. I am not perfect, but I hope this blog represents my desire to use ingredients in their most basic form. Now, on with a recipe that contradicts most of my efforts. I came across some canned whole wheat biscuits at the store the other day. Technically, they were along the outer edge of the store, so it was not like I sought them out. They reminded me of camping when I was younger and baking biscuits in a frying pan on a little propane camping stove. They don’t brown and cook thoroughly unless they get flipped halfway through baking. They always tasted so good after sleeping hard all night. Anyway, I was trying to figure out a way to give Little B some quick finger food fun while using ingredients I know she likes. Below is a snack with two of her favorite foods – apples and peanut butter.

Wheaty Peanut Butter Apple Rolls

1 package (8 count) Grands® Golden Wheat Reduced Fat Biscuits
½ cup peanut butter
¼ cup honey
1 tsp cinnamon
½ apple, finely diced, leaving the skin on

Preheat oven to 375F. Lightly grease large cookie sheet. Combine peanut butter, honey and cinnamon together. Cut each uncooked biscuit in half. Roll out each half into 4” in diameter rounds. Spread the peanut butter mixture on each round. Sprinkle apple on top of the peanut butter and press into the round. Carefully roll each biscuit into sticks, making sure the edges overlap. Pinch ends closed to seal roll. Place each roll seam side up on the cookie sheet, leaving an inch on each side. Bake for 12-14 minutes until biscuits begin to brown.

Wheat Free Pumpkin Cranberry Muffins

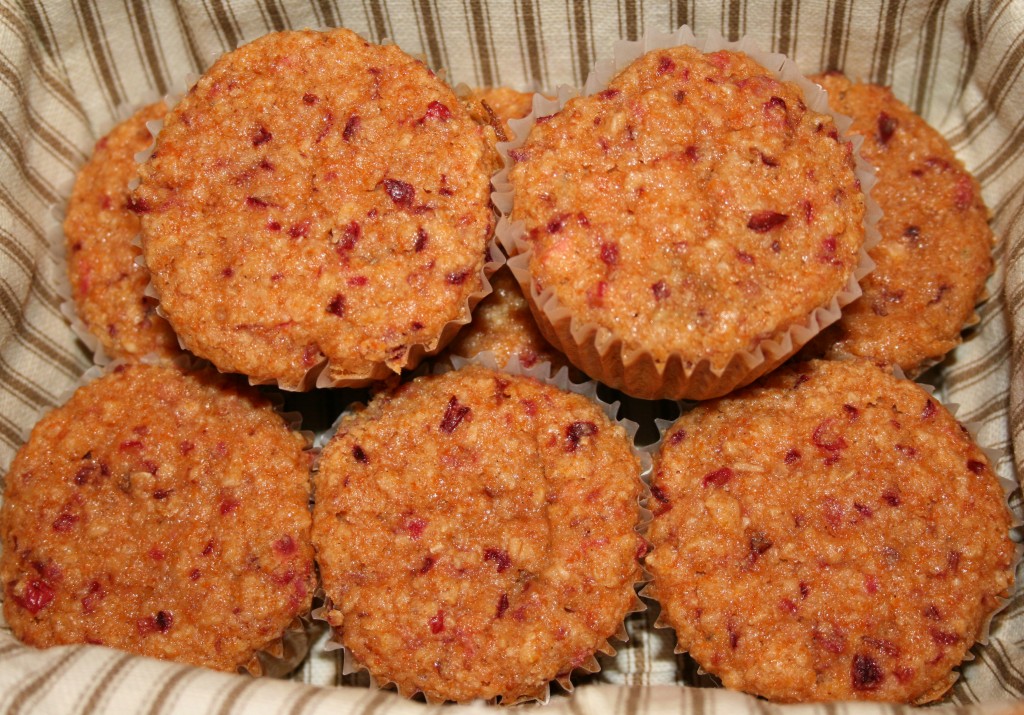
Every time we move we try to do two kitchen related things: 1) find a person or household to honor with all foodstuff in the kitchen that may spill or break; in general, not survive storage and transport, and 2) whittle down our supply of perishable foods in the fridge and freezer. Most of the time I scour grocery stores for good deals and stock up when I find them, which means our freezer is often full of bulk items. Don’t get me wrong. I am not a coupon clipper and I don’t pour over the weekly grocery ads, but when I am walking through the store and find a deal I definitely jump on it. In addition to my frozen deals and steals there are odds and ends left over from recipes. You know what I mean – that recipe that did not quite need the last half cup of berries, or the one that called for only half a can of tomato paste. In my attempt to use up stuff in the freezer I came across ingredients left over from the holidays – pumpkin puree and whole cranberries. I know the chilly weather these foods remind me of is pretty much in the past this year, but I went ahead and came up with a lovely recipe using the frozen goodness. Although the ingredients seem to be off season, the results taste quite refreshing and tangy – very suitable to springtime. By the time the kitchen got packed up they were all gone!

Wheat Free Pumpkin Cranberry Muffins

¾ cup butter, room temperature
1 cup white sugar
2 large eggs
2 tsp lemon zest
1 tsp vanilla extract
1 cup brown rice flour
2 cups instant oatmeal, uncooked
1 ½ tsp baking soda
½ tsp salt
1 cup Greek yogurt
1 cup pureed pumpkin
2 cups whole cranberries (pureed the berries should be about 1 cup)

Fill muffin tins with liners. Set aside. Preheat oven to 350F. Place oatmeal in a food processor and blend until it is a rough powder. Combine rice flour, oatmeal, baking soda and salt. Set aside. In a medium bowl combine pumpkin and yogurt. Set aside. In a mixer bowl using a flat paddle, cream together cane sugar and butter just until blended. Add eggs one at a time, making sure one is combined before adding the next. Add a third of the dry ingredients, then a third of the yogurt/pumpkin. Scrape the bowl well. Continue alternating the dry and wet ingredients until all is incorporated. Fill muffin tins about ¾ full. Bake for 20-25 minutes, until tops are brown and beginning to harden. Makes 20-24 muffins.

White Chocolate Frito Popcorn

I enjoy the addictive nature of salty and sweet. Is there a better combination than popcorn and candy coated chocolate? Not. A lovely boyfriend in my past introduced me to mixing popcorn and peanut M&Ms as a snack. It works in a movie theater, at home or on a hiking trail. The flavors bring back so many diverse memories I can get overwhelmed, so I actually avoid it. The plus is not getting overwhelmed by memories and also not accumulating fat and calories that damage any nutritious benefit of popcorn.

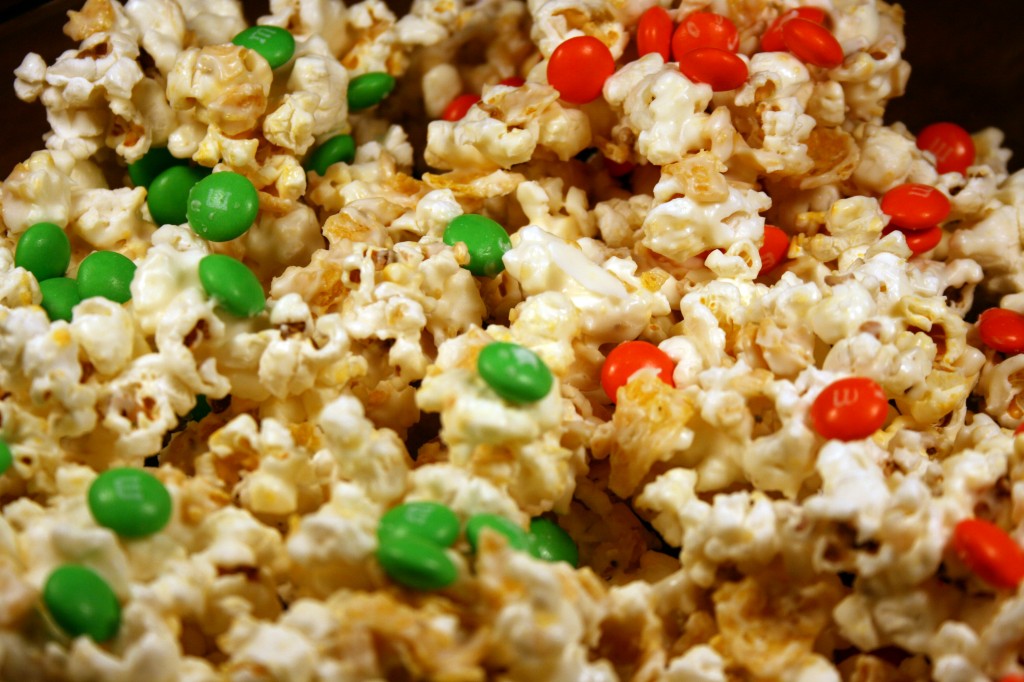
When I was collecting ingredients I discovered something. In my quest to make a St. Patty’s Day treat I purchased a standard bag of candy coated chocolate, intending to pull out the green factions. There were not as many as I expected, and would make the recipe lacking in the sweet category, so I pondered what other color would accentuate the March holiday. Tossing popcorn, corn chips and white chocolate together is pleasant as is, but there is a whole world of colors, depending on the holiday, that can be added. With the looming March celebrations I pondered. I decided to be retrospective. I used orange along with the green.

If there are thoughts of Ireland connected with St. Patrick’s Day they may wander, very logically, to the conflict between Protestants and Catholics, Irish and English. Ireland and Northern Ireland are still distinct countries with distinct preferences religiously. Without going deeply into the religious, political and dynamic contrasts of the two sides there can be a general agreement of how they are traditionally represented, as on the Irish flag – with green for the Catholic/Irish and orange for Protestant/English, relying on white to keep them neutral. At least that is generally – and with no intention for animosity – what I understand as the reason the flag of Ireland is set up as it is. Although I understand that Protestants do no celebrate saints to the extent Catholics do, I still feel obligated to recognize the whole of the island. I know it is a simple sweet treat, but colors are often not something to laugh at but to recognize.

My guinea pigs (a.k.a. Big D and friends) decided that the results were salty, sweet and addictive, this recipe definitely needs more corn chips. Like, twice as many corn chips. I will consider doing so in the next batch. I relied on the recipe (and hilarious lead in) here.

White Chocolate Frito Popcorn

8 cups popped popcorn
16 ounces white chocolate or almond bark
2 cups corn chips, crushed
1 cup M&M’s

Pop corn according to package directions. Put popped corn and crushed corn chips into a large bowl. Make sure to get all of the unpopped kernels (“grannies”) out or someone will break their tooth. Melt chocolate in a microwave safe bowl in 30 second increments, stirring in between, until melted. Pour melted chocolate over popcorn mixture and stir to coat completely. Pour onto a wax paper or parchment paper lined cookie sheet and sprinkle with M&Ms. Allow to cool and dry.

Mallow Bars

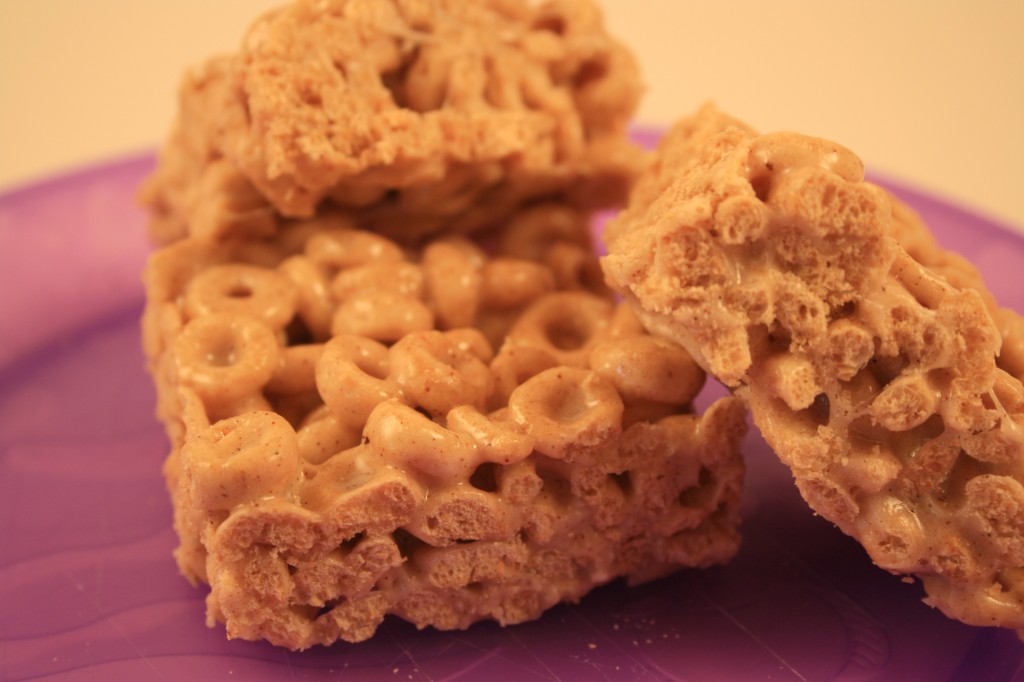
My little girl likes Cheerios®. Specifically, she likes Cinnamon Burst Cheerios®, and has recently decided that a tidy little bowl of dry cereal is not as novel as it used to be. Now she wants milk on it. Since she often eats cereal while secured in her car seat as I am driving, her new penchant for milky cereal has put a crimp in my ability to transport her and have her clothes dry upon arrival at our destination. I decided to try and find something even MORE novel than cereal in milk. Since she also likes marshmallows my mind was led to a logical conclusion – cereal treats. Although my childhood was filled with crispy rice treats, my girl could care less for snap, crackle and pop. She likes her Os; therefore, I will give them to her. This recipe works great for snacking while driving, although her hands may be a bit sticky when we arrive. I found the recipe here. I used the Honey Nut version and dumped in some extra cinnamon because, well, cinnamon is good. Otherwise, I followed the simple recipe as presented.

Cheerios® Marshmallow Bars

3 Tbsp butter

1 tsp cinnamon

1 bag (10 1/2 oz) miniature marshmallows (6 cups)

5 cups Cheerios® cereal

Butter a 13×9-inch pan. In a large microwavable bowl, microwave butter and marshmallows uncovered on High for about 2 minutes. Stir every minute, until smooth. Immediately stir in cereal until evenly coated. Using buttered back of spoon or hands, press mixture firmly in pan; cool. For bars, cut into 6 rows by 4 rows. Store loosely covered.


Post Navigation