Any Kitchen Will Do

Give me a kitchen and I will cook.

Archive for the category “vegetables”

Tuna Salad Sautee

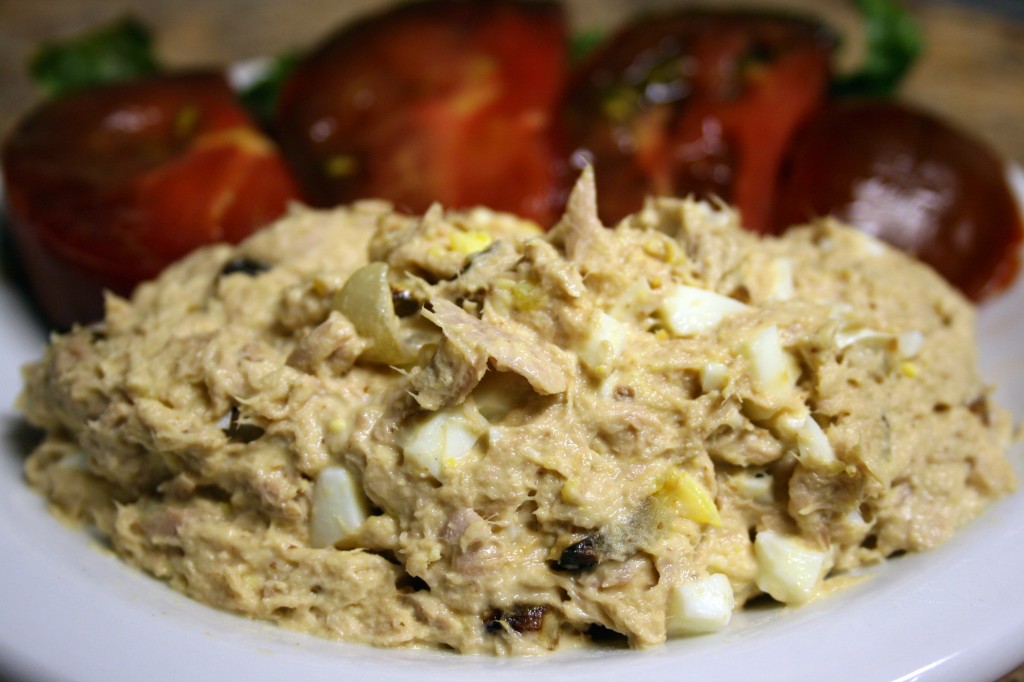
To me summer means eating cool salads. Whether they are cobb, chef, walnut, chicken or tuna, the cool salad always makes me feel happy as the temperatures rise. The word sautee to me sounds like a hot dish, but after the sautee portion of this salad cools off and is chilled, you won’t think of sautee the same again. The sweet of the onion and garlic works really well with the tuna and egg. The bite added by the mustard makes you want to alternate salad bites with those of some chocolate zebra heirloom tomatoes you picked up at the farmers’ market. Oh, that is me. But if you come across some, grab them! They are dark red and purple and green and smell marvelous. The market in Silver Spring was exploding with vegetables, and we could not pass up these tomatoes, which actually taste like a soft red wine to me…kind of a pinot noir or shiraz. They were delish, and went well with my tuna salad sautee creation. Happy summer!!!

Tuna Salad Sautee

4 small cans tuna in water
4 boiled eggs
1 tsp olive oil
½ small sweet onion, finely chopped
4 garlic cloves, finely chopped
½ cup mayonnaise
2 Tbsp horseradish mustard
Salt and Pepper to taste

Heat oil in small pan over medium heat. Add onion and garlic. Sautee until browned and beginning to caramelize. Set aside to cool while the rest of the salad is prepared. Drain water from tuna into small bowl. Place tuna in mixing bowl and serve tuna liquid to eager cats. Roughly chop eggs and add them to the tuna. Add mayonnaise, mustard, salt and pepper to tuna. Stir ingredients until mixed. Add onion and garlic and stir some more until all the dark pieces are pretty evenly distributed. Chill for at least an hour before serving.


Creamy Spinach Chicken

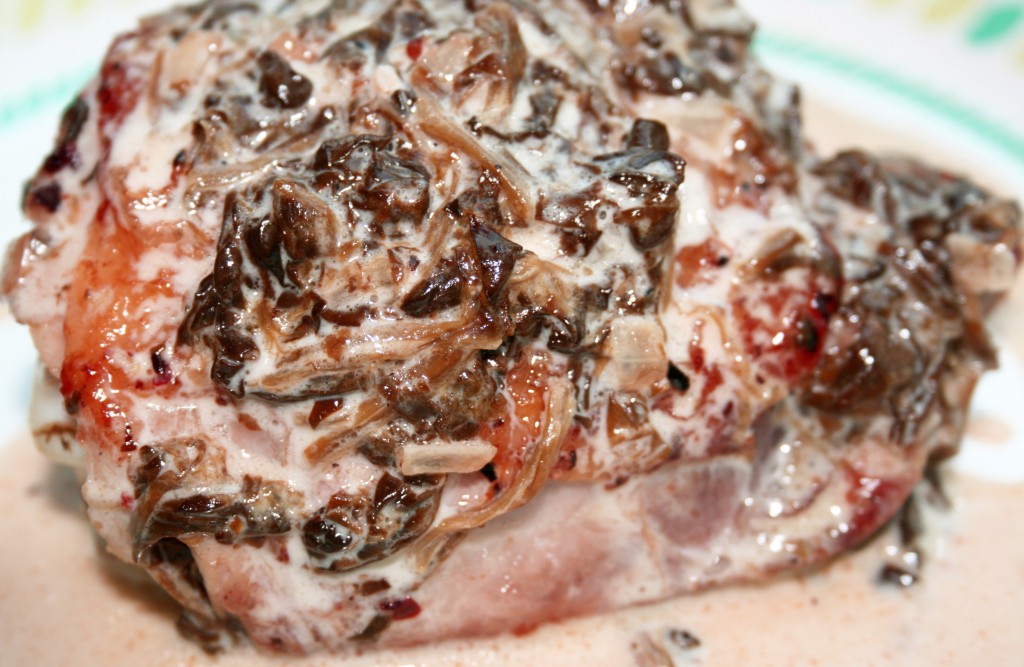
So today I enlisted a canned good that is very comforting to me. I was one of those kids that loved spinach, and most of the time got it out of the can. When my brother and I started pre-school my mom told me that we came home and would not eat our spinach, but looked at it longingly. Apparently we told her we were not supposed to like it, so we did not eat it. Of course she explained to us that the kids who told us such things just had different opinions about spinach and that we could like it if we wanted to. I don’t succumb to peer pressure quite as easily anymore, and am really glad I chose to like it again. Later in life I learned to love raw spinach and the barely blanched but still bright green spinach. They are delicious, but do not replace memories of the canned stuff I ate as a kid. I still sometimes just open a can and eat it all up, at room temperature, with the sharp lid still attached. Thrill seeker, am I! In my quest to always find a new way to prepare chicken I came up with this lovely, rich dish that incorporates my treat in a can.

Creamy Spinach Chicken

8 – 10 bone-in chicken thighs, skin attached
1 Tbsp butter
1 cup heavy cream
1 small can chopped spinach, drained
½ small white onion, chopped
3 garlic cloves, diced
¾ cup shredded Parmesan cheese
Salt and pepper to taste

On medium high heat sear chicken thighs on both sides, making sure the skin gets crispy, about 10 minutes. While the chicken cooks melt butter over medium heat in a sauce pan. Add onion and garlic and cook until translucent. Add spinach and stir until heated through. Add cream and turn down heat, but bring sauce to a simmer and let cook for about five minutes. Add cheese and stir until melted and combined. When chicken is done cooking remove from pan and discard juices. Return chicken to pan and pour sauce over chicken. Simmer covered over low heat until chicken is cooked through, about five more minutes. Serve immediately and make sure you drizzle sauce over every piece.

Garlic Infused Cauliflower

I missed roasted garlic when I was without kitchen. I also missed roasted/baked veggies. They always get that nice, slightly dense texture when roasted that you just can’t get when they are steamed or sauteed. And the garlic, which totally changes in aroma and texture when roasted, also shares its pungent flavor with everything else in the oven. Cauliflower is stellar at absorbing flavors it meets – kind of like mushrooms and tomatoes. I combined the two elements into a wonderful side dish, and of course, topped it with cheese. Filled with fiber, flavor and a minimum of carbohydrates, it fit very well into our evening meal. A few of the garlic cloves were left in the bottom of the bowl with some melted cheese. Oh, what lovely mouthfuls of wonder! Next time I will add a few extra cloves just for dessert!

Garlic Infused Cauliflower

1 large head cauliflower
3 cloves garlic
¼ cup butter, room temperature
1 cup grated Monterrey Jack cheese
Salt to taste

Preheat oven to 350F. Remove stem and cut cauliflower head into quarters. Spread florets with butter and place quarters close together in deep baking dish. Drop whole garlic cloves into dish. Cover loosely with aluminum foil. Bake for 50-60 minutes until tender. Serve immediately.

Stuffed Courgettes

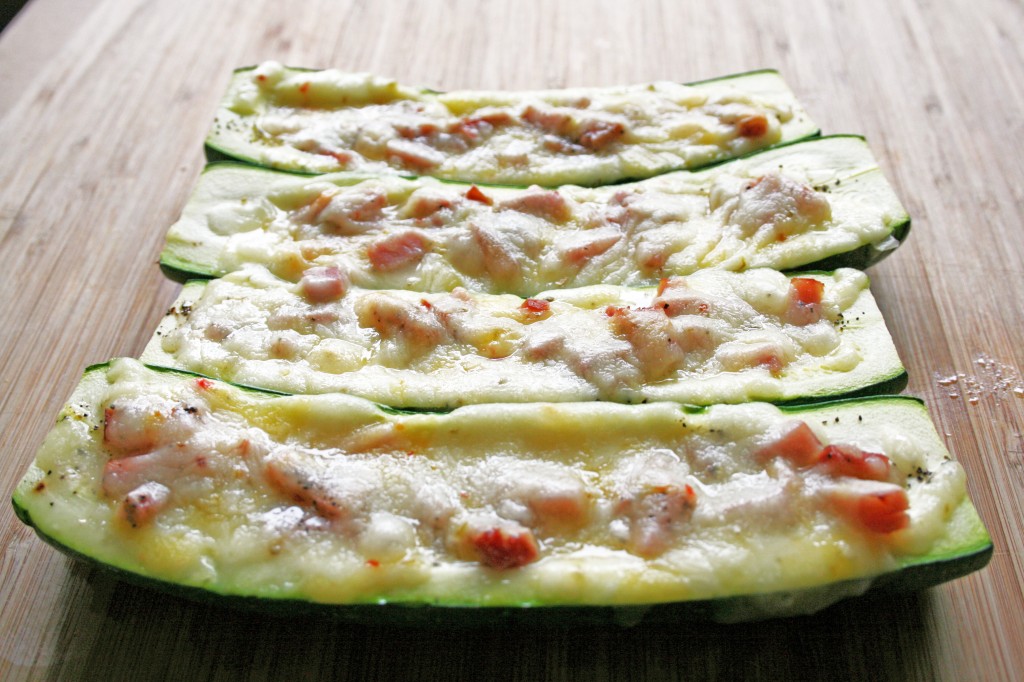
Zucchini is looking better and better at the store and markets. I was really tempted by the itty bitty little ones – about the size of a small pickle – but then I saw the diced prosciutto nearby and knew I needed to get the big ones. Here’s the thing – Big D is not a zucchini lover. Yellow squash? Yes. Acorn squash? Yes. Zucchini? Well, um, I guess. I figured if I topped it with meat and cheese it might work. It pretty much did. I know. I rule. Although I have made these many times with a variety of stuffings, I always cooked them up in a baking dish. Since our kitchen is still sparsely populated I had to adjust the baking dish pan approach, since we don’t have one yet, and made a little aluminum foil pocket for each zucchini half. They baked up nicely sitting in the foil directly on the stove rack. I am looking forward to late summer when those huge zucchini come around in the farmers markets and I can really beef up the stuffing and make a main course of it. For now, I relish the smaller, more delicate fare.

Stuffed Courgettes

2 medium zucchini, as straight as you can find
4 small garlic cloves
1 cup diced prosciutto or cured ham
1 cup shredded monterrey jack cheese
Salt and pepper to taste

Preheat oven to 350F. Slice ends off zucchini, then cut them in half lengthwise. With a small spoon gently carve out the seedy belly (heh) of the halves, stopping about ½ inch from the ends, making a groove down the middle. Sprinkle each half with salt and pepper. Slice garlic cloves into slivers and spread a clove in each half. Divide prosciutto among the halves, then top with cheese. Place zucchini in baking dish with a little space between them. Bake for about 30 minutes, depending on the size of the zucchini, until tender and cheese begins to brown. Serve immediately.

Ketchup

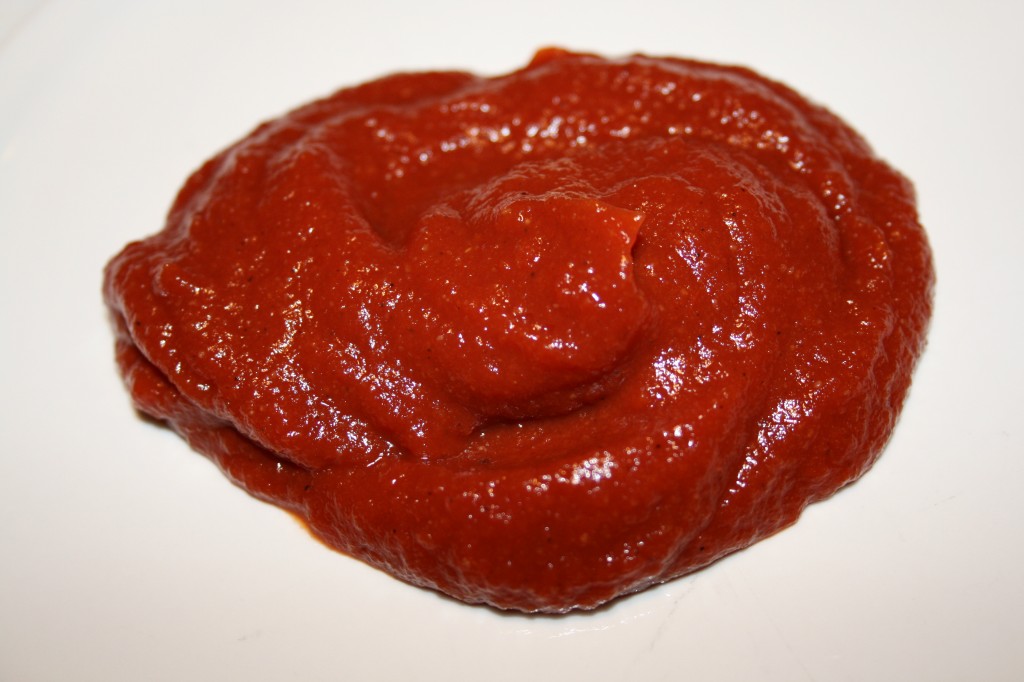
Is it Catsup or Ketchup? I don’t know the difference, but I do know that both of them are red, slightly tangy dipping sauces that are mostly tomato. A while back we had a house full of young people over and fed them burgers, hot dogs and home fries. Our household rarely uses ketchup, so we don’t usually have any around. Ack! No red stuff in the fridge! We got some wide-eyed looks when we declared the absence of the condiment. Instead of running to the store and leaving Big D to host our guests while simultaneously grilling meat, I dove into our pantry and attempted to make a batch of ketchup. With tomato paste as a base it was easy to combine some spices and vinegar to come up with a pretty darned good version. It seemed to do the trick and the party continued without a hitch. I will definitely make this again, and even eat some! Read the preparation instructions carefully. It is easy to get lost in all the steps…

Quick Ketchup

6 ounces tomato paste
¼ cup white vinegar
1 Tbsp garlic powder
1 Tbsp onion powder
Dash allspice
1 tsp salt
1 tsp honey
½ cup water

Combine all ingredients together very thoroughly. Serve.

Red Tomato Salsa

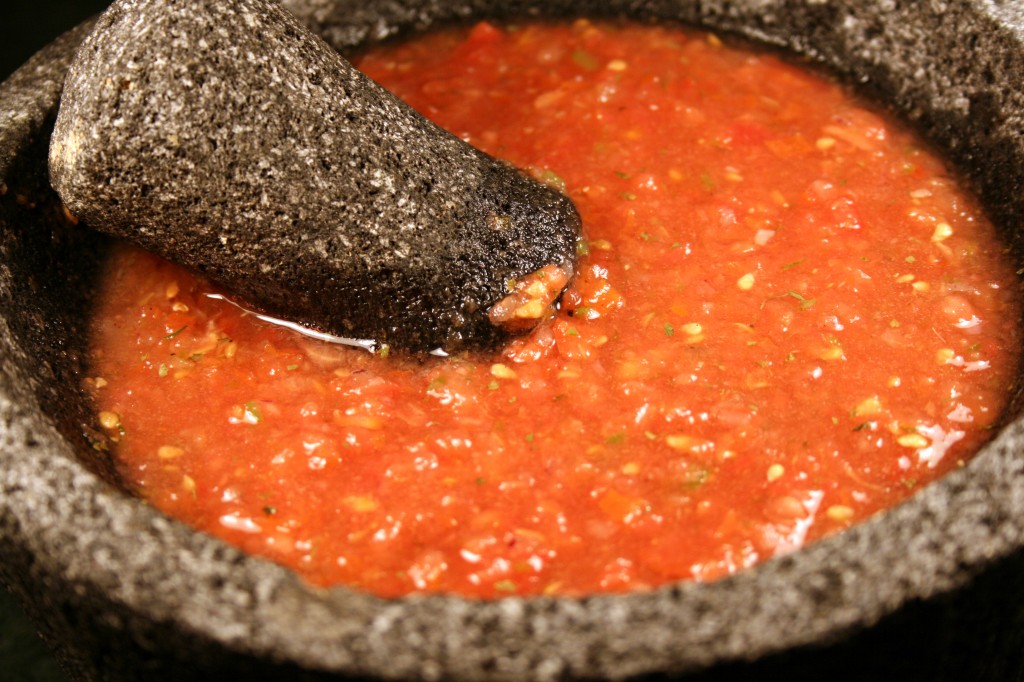
Salsa! It is low fat, low calorie, low sugar and can spice up pretty much anything. I don’t think it can be beat on top of eggs, inside tacos or all around a tortilla chip. I have made it cold, warm, roasted, raw, green, brown (it was actually good) and of course, red. The raw red version is the one that most reminds me of the tex-mex restaurants I like the most down in Texas where I grew up. Each batch is a little different, depending on the quality of the tomatoes and the bite of the jalapenos. This version of salsa comes straight out of the fridge. It is raw, red and tangy. I made the recipe mild, but it could of course be spiced up with more jalapenos.

Tomato Salsa

4 large rip tomatoes, quartered
½ small red onion, roughly chopped
1 large or 2 small jalapenos
1 lime, juiced with meat included
3 cloves garlic
1 small bunch cilantro
½ teaspoon ground sea salt

If you have a big food processor, combine one tomato with the remaining ingredients and pulse until finely pureed. Add remaining tomatoes and pulse until roughly chopped. Refrigerate overnight and serve cold.

If you are going to use a molcajete combine the onion, jalapeno, lime meat, garlic and cilantro in bowl. Grind until all the ingredients are combined. Add tomatoes and continue grinding until combined and the tomatoes are of preferred mushiness. Refrigerate overnight and serve cold.

If you have a small food processor add ½ a tomato and all the other non-tomato ingredients. Pulse until finely pureed. Empty puree into medium bowl. Add tomato to processor and pulse until roughly chopped. Empty into medium bowl. Add tomato to processor and pulse until roughly chopped. Empty into medium bowl. All the tomatoes done? Now stir everything up in the bowl and refrigerate overnight. Serve cold.


Greek Layer Dip

We are moving! Actually, we are in the process of moving, literally. I am sitting on a bed in a hotel room, somewhere between Texas and Maryland. We should arrive in Maryland tomorrow, but in the meantime I am without a kitchen. Until I am again armed with a kitchen I will share with you some recipes I collected over the past few months but did not post.

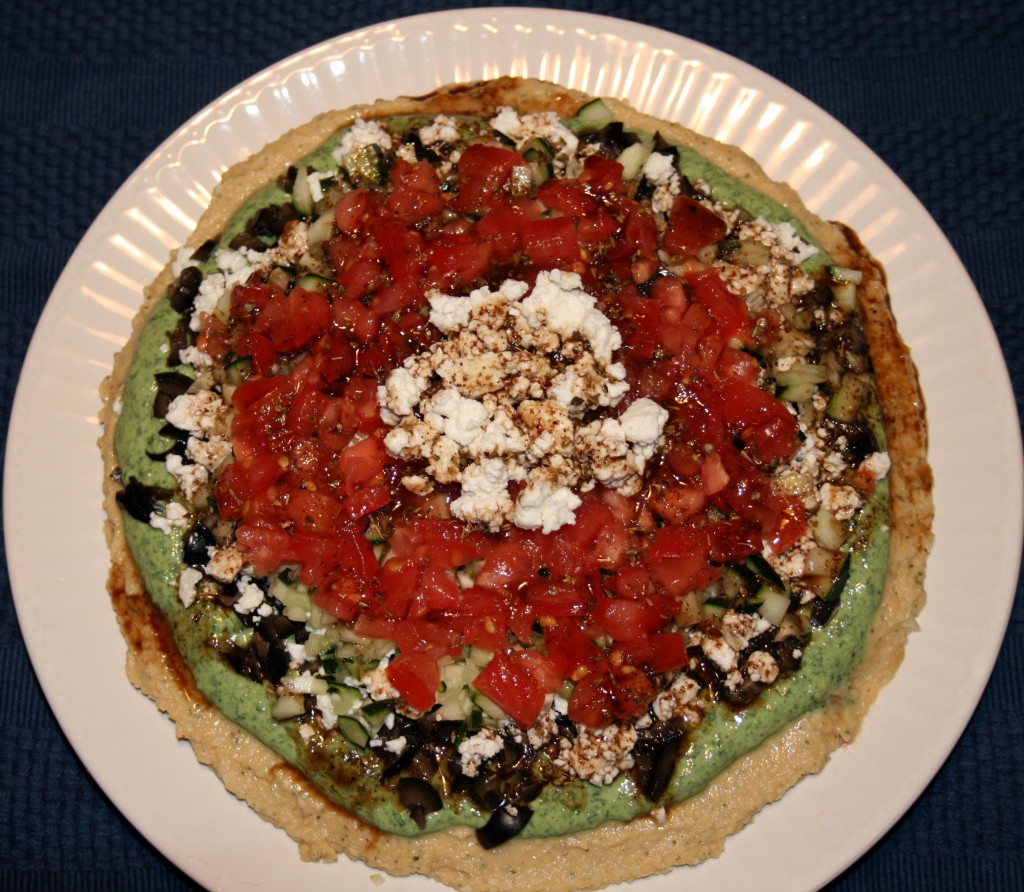
The first one is a dip. Sometimes when a big gaggle of people are coming over I like making available a variety of appetizers so they can nibble as they trickle in to the house. One of my favorites lately, to go along with the ever reliable ranch or peanut dip, is a layer dip. It is high in fiber and very colorful. It can also substitute for a green salad if you have enough Greek lovers. What I like most about it is that if you work hard enough you can get every layer into one bite, but if you don’t, you still get a mouthful of robust flavors that will make you want to seek out another scoop full. With everyone’s vegetable gardens starting to grow (except mine, of course, since I have no idea where we will be living), the dip is a great way to use up some of the bumper crops later this year.

Greek Layer Dip

2 cups hummus
1 cup plain Greek yogurt (optional)
2-3 cups raw spinach
1 cup feta cheese, crumbled
1 cup cucumber, chopped
1 large tomato, chopped
1 cup kalamata olives, chopped
1 Tbsp olive oil
2 Tbsp balsamic vinegar
2 tsp chopped oregano
2 tsp lemon juice
Salt and Pepper to taste

Combine in small bowl the oil, vinegar, oregano, salt, pepper and lemon juice. Set aside. Spread hummus on a serving tray in an even layer, about ¼ to ½ inch deep. Chop spinach into small pieces (and if you are using yogurt now is the time to combine the yogurt with spinach until well blended)*. Spread/sprinkle the spinach on top of the hummus, leaving a visible edge of hummus. Sprinkle olives on top of spinach mixture, followed by cucumber and tomato. Drizzle dressing on top of dip and add some more feta for garnish if you like, then serve. It can be prepared in advance and chilled until serving.

*If you are making the dip in advance I would recommend the yogurt not be used. Depending on the brand of yogurt, it can be a runny layer and will spread if put on the day before. It should be fine if made within an hour or two of serving. I have made it both with the yogurt and without – just sprinkling a layer of spinach makes it look a lot different, but still beautiful and you will still have a moist, dippable dip.

Tomato Artichoke Soup

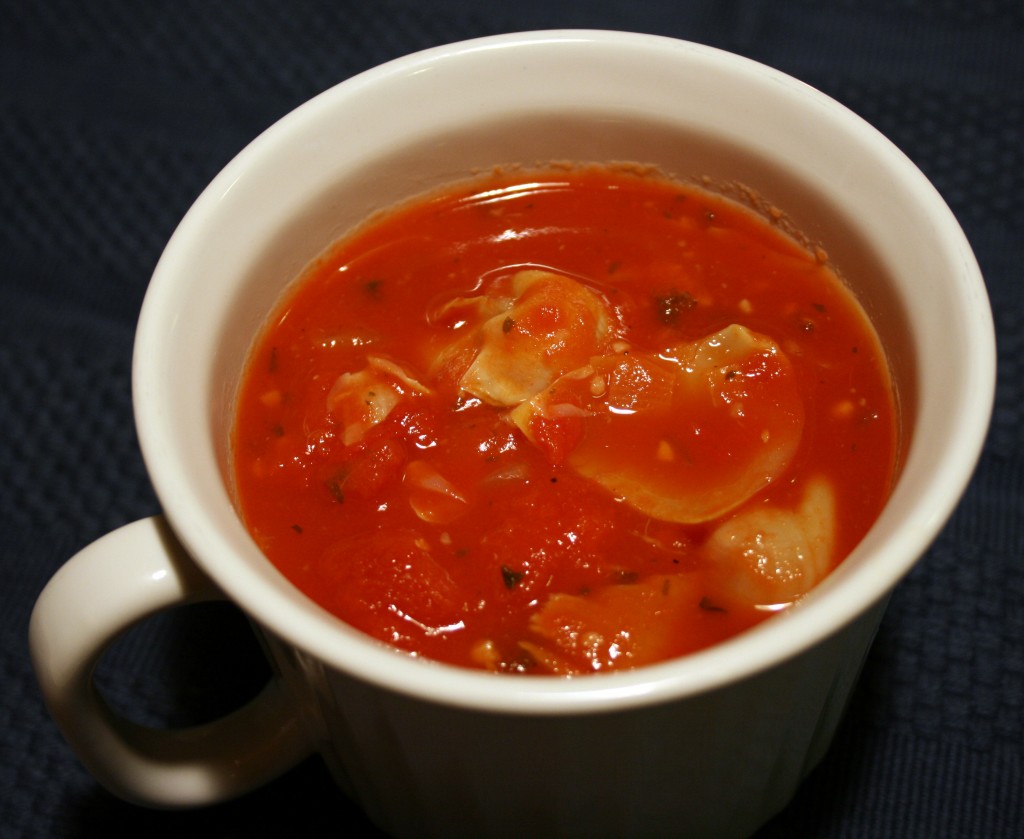
What do you make for a last minute dinner party when you are two days away from moving? Not that this would ever happen to me, but if it did I would open my pantry wide and see what I could find that needs to be used. Oooh! Canned tomatoes! And there is a can of artichoke hearts! There is still some garlic cloves left over? Where did those come from? Chicken broth! Yay! Served along with grilled cheese and egg salad sandwiches we had a wonderful spring dinner with very few leftovers. I did not use cream this time to smooth out the soup’s texture, but if you add ½ to ¾ cup during the last half of the cooking process the soup can only get better. Enjoy! I have to get back to sorting toys before Little B returns home. I found it is a really bad task to try and accomplish with her ‘help’.

Tomato Artichoke Soup

2 14.5-ounce cans diced tomatoes
1 29-ounce can tomato sauce
1 14.5 ounce can whole medium artichoke hearts
1 cup chicken broth
½ medium onion, diced
1 Tbsp finely chopped basil
2 cloves garlic
1 pinch red pepper flakes
1 tsp sugar
1 Tbsp Worcestershire sauce
Salt and Pepper to taste

Combine all ingredients except salt into a medium pot over medium high heat. Bring to a boil. Lower temperature and cover, simmering for about an hour. Break up artichoke hearts (I scooped them out one by one with a ladle and gently pushed on them with a soup spoon – they easily separated). Adjust flavor with salt as desired. Serve immediately or chill and reheat on low before serving.

Dancing Vegetable Soup

For me, spontaneous homemade soup is hard pressed to satisfy ultimately. It is usually good right away, but always tastes better the second or third day. Where is the spontaneity in that? Regardless, you have to make the soup before the flavors can hang out together and can get better. When I make soup it is usually pretty good, but I look forward to tasting it the next day!

I called this dish dancing vegetable soup because it made me dance when I made it. I was in a rush and pureed the soup while it was still over the heat. I have done this before and did not think twice about doing it this time, but I failed to turn the heat down. Having the heat on is fine, but having it too high is downright dangerous. Oops! When the soup was half pureed some bubbles rose from the bottom (trying to get away from all that heat underneath it). The evil bubbles splashed steaming hot soup onto my left thumb where I was holding the pot and also the bottom of the wrist of my right hand that was holding the stick blender. I popped back away from the stove and did a twisty spin while flailing my arms about as I headed to the sink. The soup was thick and clung to my skin. It really hurt. As I ran cold water on my hand and wrist I did a kind of jogging side step, then lunged for the freezer to get a cold pack. As the cold pack cooled off my hot skin Little B woke up from her nap, crying from a bad dream, so on the way to the bedroom to soothe her I was balancing the pack between my left hand and the bottom of my right wrist. It was slippery. After I got Little B calmed down she asked me what the cold pack was for. I told her I burned myself and showed here where it happened. She kissed my burn spots and they felt a lot better.

This soup is high in fiber, low fat and is good hot or cold. I usually only eat about a cup along with a sandwich or salad because it is pretty filling.

Dancing Vegetable Soup

1 cup broccoli, chopped
2 cups cauliflower, chopped
3 large carrots, chopped
½ onion, chopped
2 medium potatoes, peeled and chopped
1 apple, peeled and chopped
1 medium tomato, chopped
2 cloves garlic, chopped
5 cups chicken broth
2 tsp dried thyme leaves
1 tsp ground sage
2 tsp dried parsley leaves
2 tsp salt
1 dash cayenne pepper
1 Tbsp olive oil

Heat oil at medium high in a large pot. Add onion and garlic, cooking them until they sweat and sear a bit. Add remaining vegetables and stir to spread onions and garlic throughout. Add broth, salt and spices. Cover and simmer until vegetables are cooked soft, about 45 minutes. Remove from heat. Puree soup with a stick blender until smooth. Return to heat and simmer for 10 more minutes. Serve hot or cold.

Steamed Artichoke

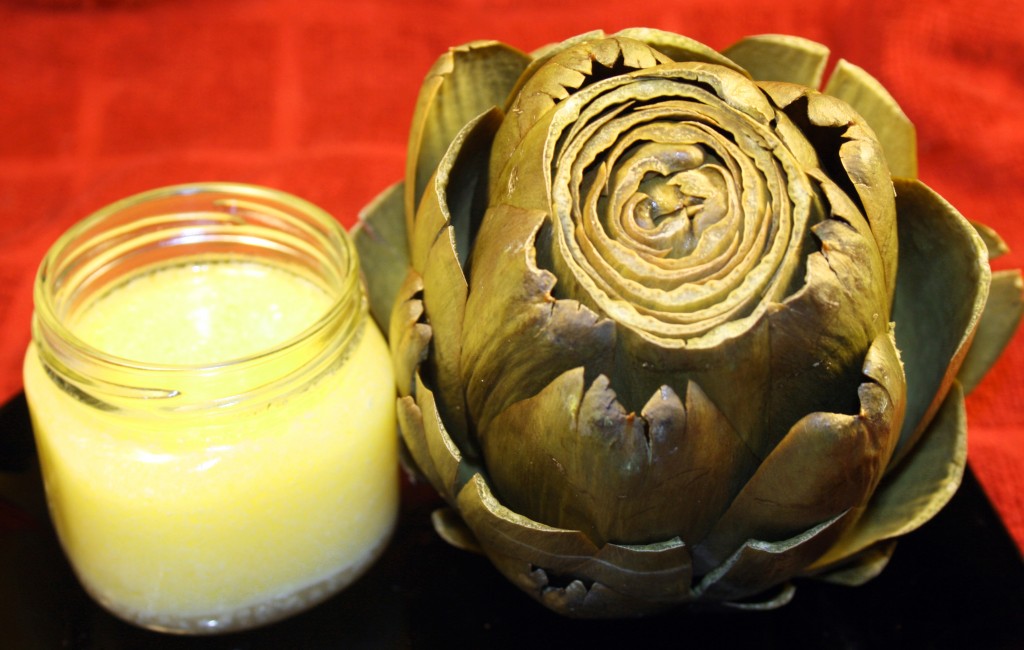
I was about eight when I first remember eating an artichoke. My parents steamed a few. They set them up on plates with small bowls of mayonnaise and melted butter for dipping. Here I was at the kitchen counter looking at this beautiful, yet also ugly green thing with little spikes on the ends of the leaves. I was supposed to eat it? Mom and dad had a rule about food. You had to try everything. You don’t have to like it – liver, creamed turkey, coconut – but you gotta try it. They showed me and my brother how to hold the prickly end and use our lower front teeth to scrape the meat off the tender end. I fell in love for the very first time. The meat had a gentle flavor, almost overwhelmed by the the dipping options of mayo and butter. The closer to the heart we got the more tender and sweet the meat. Dad then showed us how to carefully scrape off the bristly choke to reveal succulent mouthfuls of the heart. The meat was not very filling and it took a bit of effort to get every bite, but what a treat!

Time warp forward about 12 years. My brother and I are sitting at his kitchen table in Austin. He had cooked about a half dozen artichokes in the back yard smoker. The leaf tips were brown and wrinkled, but the meat inside each leaf was soft, having been tickled with flavor from the smoking process. We spent what must have been hours catching up with each others lives and scraping the meat off every single artichoke leaf. The result was a lovely afternoon, an impressive pile of meat and hearts, and plans to make soup. The soup was simple – with all our efforts of the afternoon, all we had left to do was add garlic, cream and butter, then simmer for a bit. We continued talking while relishing every spoonful of soup. The cream of artichoke soup became yet another fond memory of mine closely tied to food.

Here is a simple method for preparing an artichoke on the stove top and enjoying it with some pleasant conversation. Each bite of artichoke never takes up so much room that you cannot talk with your mouth full!

Steamed Artichoke

1 large or 2 small artichokes
4 – 6 cups water
3 Tbsp plus 1 tsp lemon juice
1 Tbsp plus ½ tsp salt
1 tsp black pepper
4 Tbsp butter
1 clove garlic, crushed
3 Tbsp mayonnaise

Cut off stem of artichoke just below the leaves until it sits level. Chop off the pointed tip of the artichoke and use kitchen scissors to clip off the tips of the larger, lower, tougher leaves that have pulled away from the artichoke. In a deep pot with steamer basket add the water (it should come right to the bottom of where the steamer basket will sit), 2 Tbsp of the lemon juice, 1 Tbsp of the salt and all the black pepper. Bring water to a boil and add steamer basket, placing artichokes stem down in the basket, and cover. If artichokes cannot stand upright there are two alternatives: 1) they can be steamed laying on the side, but should be flipped half way through cooking, or 2) place the artichoke stem down, but use foil to cover and seal in the steam instead of the pot top. Turn down heat to medium-low, but make sure the water continues to gently boil. Steam for 30 – 45 minutes. You will need less time if the artichokes are smaller. The artichoke is ready when the center of the stem gives easily to a knife.

In a small pot add butter, 1 Tbsp lemon, garlic and 1/2 tsp salt. Melt over medium-low heat until butter is melted and bubbly. In a small bowl stir together 1 tsp lemon juice with the mayonnaise. Serve artichokes along with the two dipping sauces.

To eat the artichokes peel off leaves, dip them in your sauce of choice, and use your lower front teeth to scrape meat off then inside of each leaf. It helps to have an empty bowl nearby to collect the leaves when you finish with them. As you get closer to the heart the leaves will become smaller and more tender. You will be able to eat most of the leaf, carefully avoiding the prickly tips. When you finally get to the bristly choke, take a spoon and scrape off the bristles, revealing the heart. Scoop the heart out of the base and cut it into bite-size pieces. Dip and enjoy!
Post Navigation