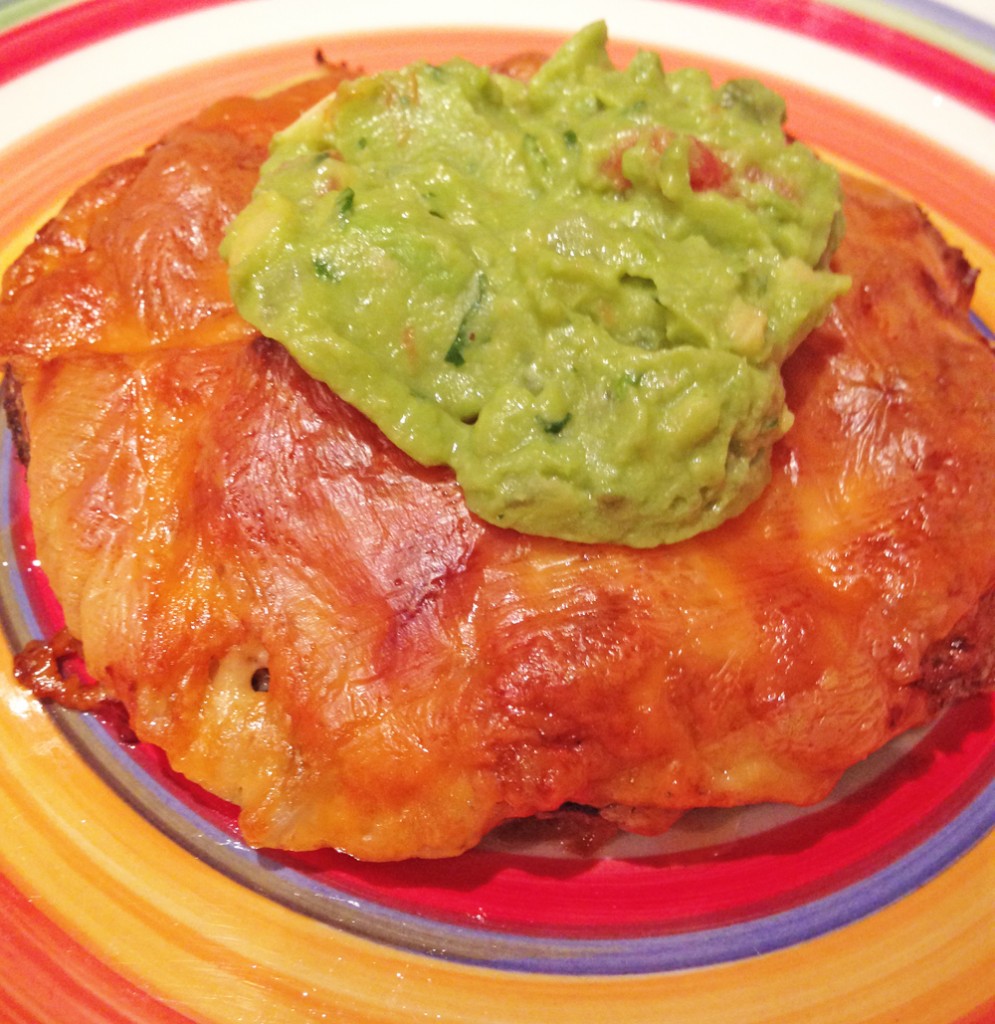
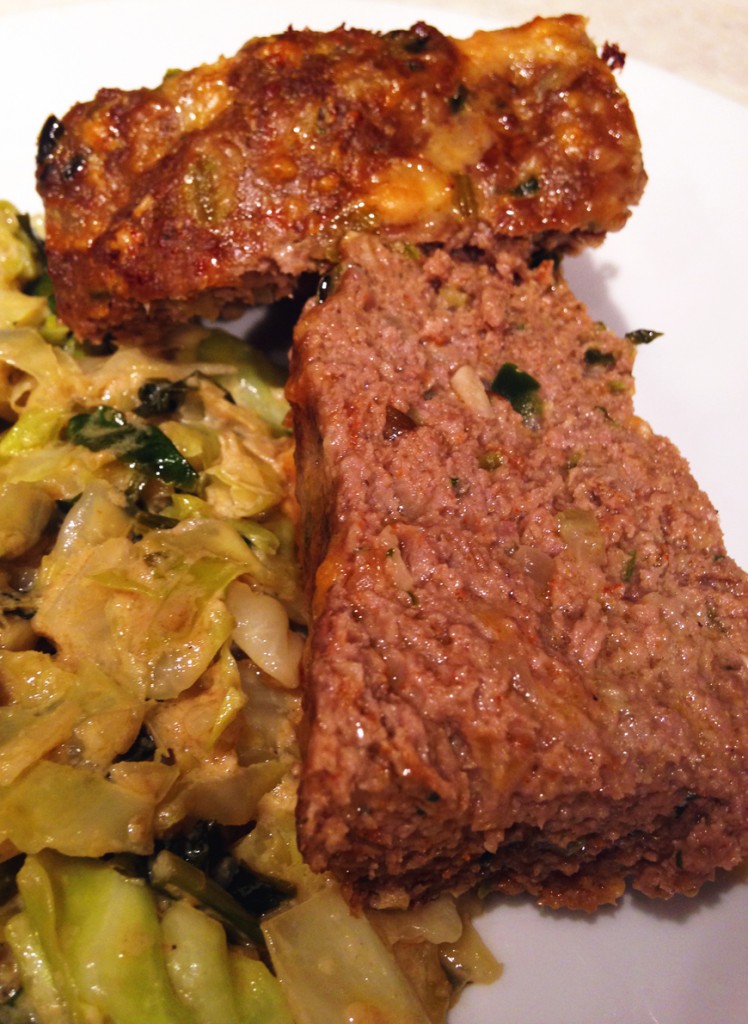
Spicy Poblano Meatloaf
I know it is only August, but temperatures up here in Alaska continue to be cool during summer and my thoughts already turn to warm, fall dinners. Some of you are walking around in swimsuits trying to survive three digit temperatures and staying in the swimming pool as long as possible. We never put away our jackets and fleece, still needing them regularly, and daylight is down to a paltry 17 hours each day. We actually get to see sunset colors before bedtime! You are allowed to laugh, but regardless of the inspiration, I came up with this meatloaf. I remember when I was a kid I would make fun of the meatloaf my mom would make. Not because it did not taste good, it was awesome. It was just a thing. I was not alone in this form of entertainment – my dad and brother joined in too. They liked the loaf just like me and always had seconds. I am still not sure why we decided to make fun of it, but one day mom had a little too much of the kidding and declared she would not make meatloaf again. She was serious. I don’t remember ever having it again after that night. Regardless of the edge over which we pushed mom, I still consider meatloaf a childhood comfort food. An important thing to not forget is the smushing of ingredients with hands. There is no way to properly combine ingredients without using hands. Don’t even consider excluding the step. I will probably make a summer salad tomorrow when the temperature gets up to a sweltering sunny 70 degrees, but today I cuddle under a warm blanket with my plate of loafy food watching the fog and rain.
Spicy Poblano Meatloaf
1 1/2 pounds ground beef
2 Tbsp avocado oil
1 poblano pepper, seeded and chopped
1/2 medium onion, finely chopped
3 stalks celery, finely chopped
4 cloves garlic, finely chopped
1 Tbsp chili powder (adjust amount to preferred spiciness)
2 tsp ground cumin
2 tsp cumin seeds
1/2 cup fresh cilantro, roughly chopped
1/4 cup fresh parsley, roughly chopped
2 cups grated cheese (suggest cheddar or colby/monterrey jack mixture)
Sea salt to taste
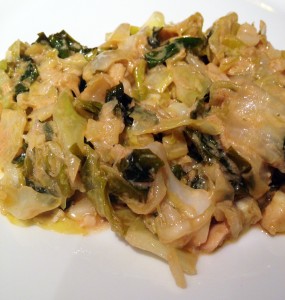
Preheat oven to 375 degrees. Add avocado oil to medium frying pan over medium high heat. When oil is hot add pepper, onion, celery, cumin seeds and garlic. Sprinkle generously with salt. Stir and cook until soft and browning begins. Add the chili powder, cumin, cilantro and parsley and stir. Continue cooking until liquid is reduced and some browning begins. Set aside mixture and let cool slightly. In large bowl add ground beef, eggs and cheese. With your hands mix together the three ingredients until well combined. Add cooked mixture and combine well. Load the meat into and press firmly in a 9 x 9 square baking dish. Place in oven and bake for one hour, until loaf separates from edges of pan and cheese bubbles up and begins to brown. Remove pan from oven and let cool for about ten minutes, letting the liquid settle. Serve with a vegetable side, like a creamy cabbage collard mix.