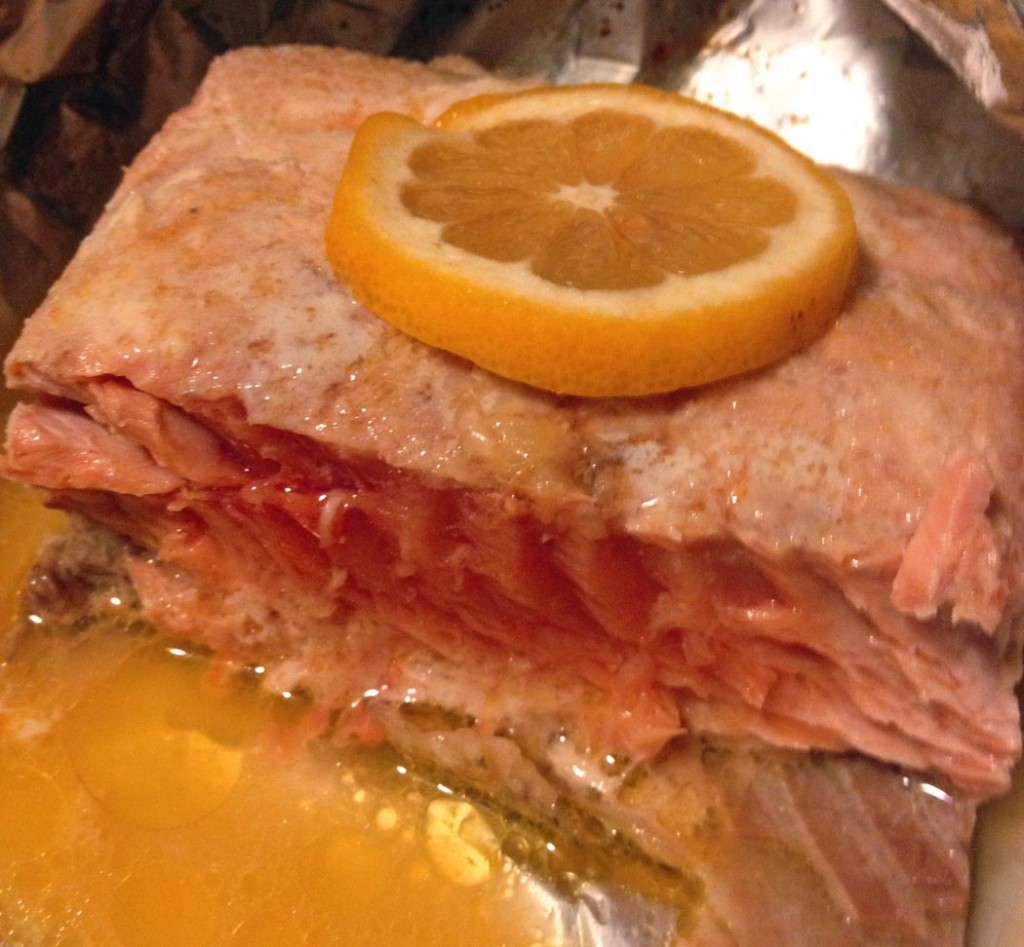
Lemon Infused Artichokes
I found some beautiful artichokes at the store and whisked them home. Instead of preparing them in the more nostalgic way I have in the past, I wanted to try something a little different. To get more of the lemon and garlic flavor deeper into the artichoke I thought cutting them in half and baking would be useful, so chop chop! I did not want them to dry out, so I surrounded them with moisture and covered it all up. Since they are already divided into individual servings it is easy to rely on them for an appetizer course of a dinner party, or have them cooked and ready for whenever you can get the family sat down at the dinner table. The fun thing about making these for a dinner party is watching the guests try to be dainty and tidy while eating them. Although some (like fancy schmancy restaurants) discard every bit of the artichoke except the heart (which can be cut into about four dainty bites) many like pulling off meat from the leaves of the vegetable with their teeth. We fall in the category of pulling off meat from leaves, so it can get a bit messy. That’s okay – either way, conversations can get started over the nuances of artichoke consumption. Have fun with them and don’t forget the dipping sauce!
Lemon Infused Artichokes
4 medium artichokes
1 cup water
1/4 cup extra virgin olive oil
1/3 cup lemon juice
1 Tbsp garlic powder
1 tsp sea salt
Butter
1/2 cup salted butter
1 tsp garlic powder
1 Tbsp lemon juice
Salt to taste
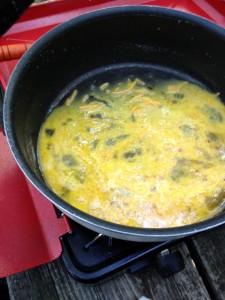
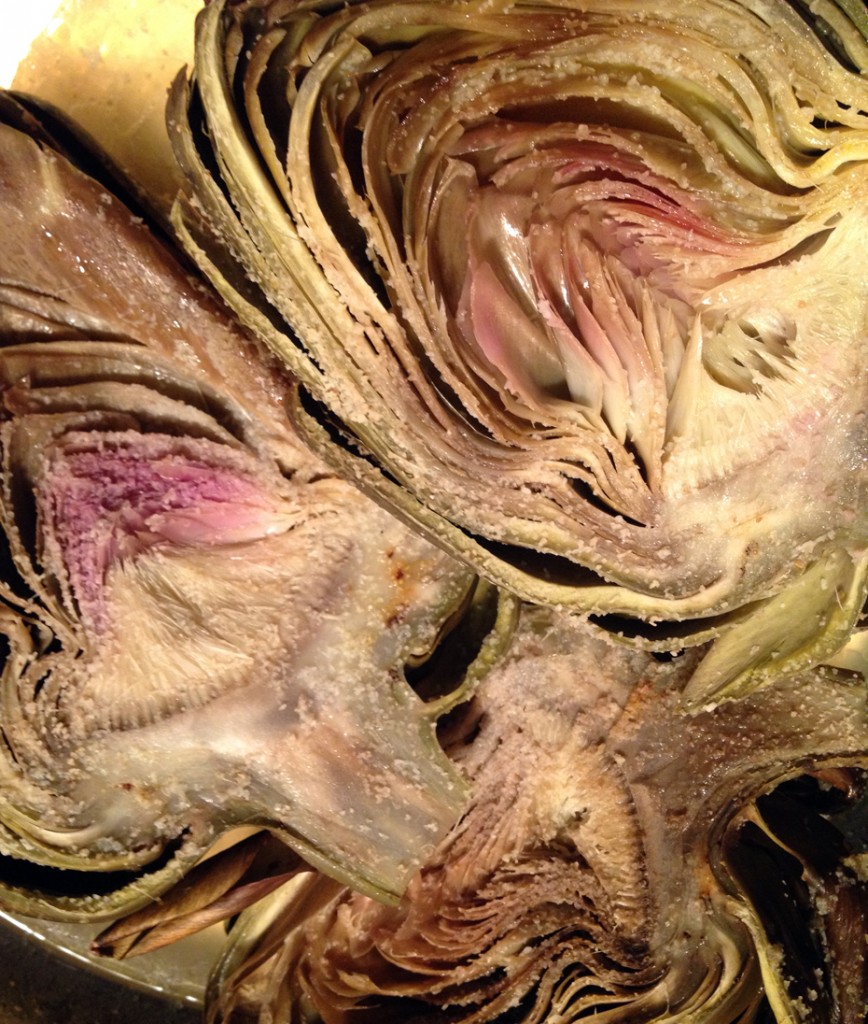
Preheat oven to 300 degrees. In a five quart pot add the water and about 1 Tbsp of lemon juice. Cut the stems off the artichokes then cut them in half. Drizzle the halves with oil and lemon juice, then sprinkle with garlic powder and salt. Arrange halves loosely in the pot. Cover and place in oven. Cook for about 45 minutes until tender. If the heart, above the stem, is not tender, then cook them for 10 – 15 minutes longer. While the artichokes bake prepare the butter – in a small sauce pan over low heat add the butter, garlic powder and lemon juice. When butter melts stir, cover and let simmer for about one minute, then turn off heat. Add salt as desired and stir. Serve as a dipping sauce with the artichokes. When you serve the artichokes make sure to remove the hairy choke portions of the vegetable, right above the heart, and discard. Spooning it out should be easy, since it is exposed when the artichokes are cut in half. In the picture above you can see the dark line where the choke ends and the heart begins, right above the stem. If you want more about the basics of eating artichokes check out the step by step guide here.