Any Kitchen Will Do

Give me a kitchen and I will cook.

Thyme and Lime Chicken Soup
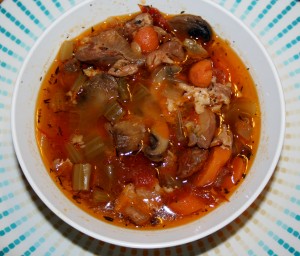
You are walking along enjoying the crisp fall breeze, when you suddenly have an urge for a bowl of hot chicken soup. You run by the store and into the soup aisle, only to discover that all their offerings include noodles, rice, tons of salt, preservatives and fillers. Where, oh where, is the veggie and chicken filled bowl of goodness you were craving? And what about that extra twist you want to be surprised with as the first spoonful slides down your throat? Well, here are all the things you’re looking for! The surprise is how wonderfully the beer mixes with the lime juice and thyme to give the soup a nip not usually found in chicken soup. Don’t worry. After hours of exposure to heat the alcohol cooks away, but the more subtle flavors of the beer stays in the soup. Little B inhaled two bowls in one sitting. Enjoy!

Thyme and Lime Chicken Soup

½ pound thick sliced mushrooms
3 Tbsp dried thyme
1 tsp sea salt
2 Tbsp extra virgin olive oil
3 limes, juiced with meat included
2 pounds cooked chicken, chopped or shredded
2 cups miniature carrots, chopped into coins
3 stalks celery, chopped
1 medium Onion, chopped
4 cloves garlic, crushed
4 small or roma tomatoes, roughly chopped
1 cup water
12 ounces beer (pick a strong flavored one – pale ale or IPA – goes well with the lime)
Salt to taste

Preheat oven to 350F. In a medium bowl combine the juice and pulp from one lime, olive oil, thyme and salt. Add the mushrooms and toss until coated. On a medium cookie sheet spread out the mushrooms slices flat with a little space between each. Drizzle any sauce over the mushrooms. Bake for 20-25 minutes, until they begin to brown. Remove from oven and set aside to cool. In crock pot add water and remaining lime juice with pulp, then turn pot to high. Add chicken, carrots, celery, onion, garlic and tomatoes. Stir and let soup heat up, about an hour. When the soup is hot add mushrooms (along with any juices left on the baking sheet) and the beer to the soup. Continue to cook on high for three more hours. Turn temperature to low and cook for 3 – 4 more hours. All the ingredients can be added to the crock pot at the same time and cooked on low for 8 – 10 hours, but the results are tangier if the vegetables are allowed to heat up in the water/lime liquid before adding the beer. Either method bears good results. If using the stove top, bring the soup to a boil before adding the mushrooms and beer, then simmer on low for 5 or 6 hours. Season with salt to taste before serving.
Stuffed Acorn Squash

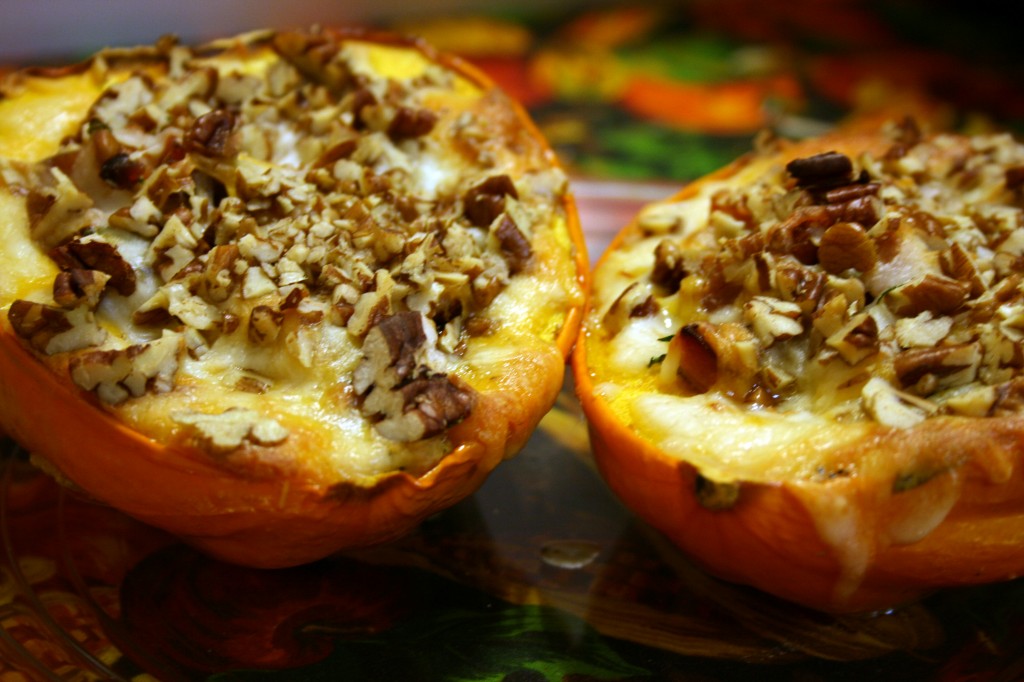
Fall has officially arrived in Maryland. The leaves are changing, the pumpkin patches are very orange and the mums are blooming everywhere I look. I worried a bit because a storm came through this evening and took away some of my beautiful fall leaves. They don’t last long and the rain likes carpeting the ground with them. Seeing all the shades of green, yellow and orange turn my cooking thoughts towards squash. The colorful vegetable compliment almost any main dish, and they are easy to prepare in many different forms. One of my favorite methods is roasting them in a way that makes them finger food, but I also found that stuffing them is another way to have delicious results. A few weeks ago we bought a variety of small squash to add a fall touch to our home décor. We included with them some Big D bought, which were orange acorn squash. Little B has enjoyed moving them around to decorate different parts of our place each day. When I get home from work I am never sure where they will be – in the bathroom, the patio or right in the middle of the kitchen floor. I wonder if Little B will realized she is eating some of her decorations for dinner…

Stuffed Acorn Squash

2 acorn squash, halved lengthwise and seeded
2 Tbsp butter
1 tsp sea salt
1 tsp ground black pepper
1 tsp garlic powder
1 tsp onion powder
1 cup fresh spinach, chopped
2 cups ham, diced*
1 cup cheddar cheese
1 cup Monterrey jack cheese
¼ cup pecans, chopped

Preheat oven to 400F. Divide the butter among the squash halves and spread it around inside each (using your fingers is the easiest way, of course). Sprinkle each half with salt, pepper, garlic powder and onion powder. In a large glass baking dish place the four squash halves. Bake for about 30 minutes, until soft and beginning to brown. Remove squash from oven and lower oven temperature to 350F.

Fill each squash half with a layer of spinach, followed by ¼ of the ham. Press the ham down firmly to remove any extra bulk from the spinach. Top with a mix of the cheeses and sprinkle with pecans. Bake for about 20 minutes, until heated through and cheese begins to brown. Remove from oven and let cool for about five minutes before serving.

*This recipe is a great way to use leftover meat, so feel free to substitute the ham for diced chicken, ground beef, pork roast or beef roast. If you don’t use ham, which is typically salty, you may want to consider sprinkling some salt on the meat before adding the cheese and pecans.

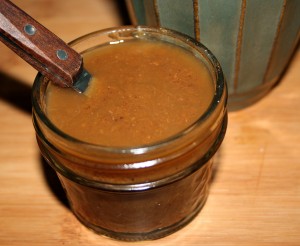
Sugar Free Pumpkin Spice Syrup

Oh my! The taste of fall! For winter it is peppermint and eggnog. Spring reminds me of berries and fresh salads. Summer is the chill of popsicles and fresh produce everywhere. Now, fall. Fall is squash and cinnamon, nutmeg and clove – and this syrup is the quintessence of fall. I have mentioned this before, but will do so again – I don’t like hot drinks during hot weather. It heats up my insides and is just not relaxing to me. Now, hot drinks during cooler weather totally hits the spot. Just the right balance of warmth on the inside with cool weather on the outside. Dreamy! I am enjoying the chill in the air, along with hot teas and coffees. One of my favorites is the pumpkin spice lattes popping up in coffee shops everywhere. The problem is all the sugar in them and the expense, which are discouraging. I have made this sugar free syrup for the past few years and find it has just the right mix of sweet and spicy, without spiking my blood sugar. I keep a jar in the fridge at work and home so I am not tempted by the sugary versions. It also works in my cold brewed coffee, but the hot, steamy latte is perfect for this time of year. Drizzle it over ice cream, stir into hot tea or mix with hot chocolate as well. You won’t be able to get enough. Yum!

Sugar Free Pumpkin Spice Syrup

1 cup water
1 Tbsp Stevia (or use your preferred sweetener, equivalent to 1 cup pure cane sugar)
1/3 cup pureed pumpkin
1 tsp ground cinnamon
½ inch fresh ginger
½ tsp ground nutmeg
¼ tsp ground clove
1 tsp vanilla extract

Combine pumpkin, water and sweetener in medium sauce pan. Cook over medium heat until everything is dissolved and begins to bubble. Add cinnamon, ginger, nutmeg, clove and vanilla. Simmer on low, stirring frequently, for about ten minutes until the syrup thickens and makes the house smell wonderful. Let cool to room temperature. At this point you can do one of two things: 1) store in glass jar in the fridge, or 2) strain through fine sieve into glass jar and store in fridge. If you don’t mind stirring your coffee while you drink it don’t worry about straining and do number one. If you want a more blended cup of coffee or aim to use the syrup in a latte, then do number two. Big D and I like number one, but both approaches have a delicious result. I use about one tablespoon for an 8 – 12 ounce cup of coffee. If used in a latte add about one tablespoon for every cup of milk. The syrup also goes well drizzled over warm muffins, cinnamon rolls or stirred in with pancake syrup for an autumn twist.

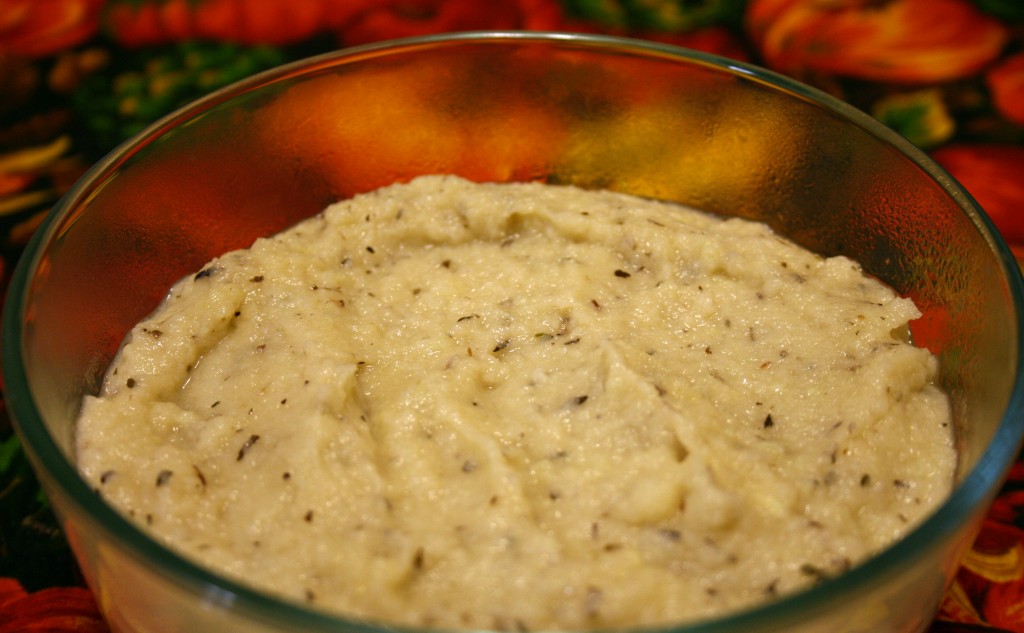
Mashed Cauliflower

I can hardly believe I did not write about mashed cauliflower before now. It is a staple of ours that appeases any craving I ever had for mashed potatoes. The flavor and texture is rich and smooth. It is a really easy dish, but the results can vary as far as thickness and smoothness. Over the years we have experimented with ingredients and processes – chopping finely before cooking, steaming the head whole, steaming then using a hand blender to puree, using a potato smasher to get a rough consistency. All of this experimentation led to a wonderful conclusion – cook the cauliflower in large chunks, then puree after draining the steaming liquid – this method seems to give it just the right texture and thickness. Too thin and you get soup, too thick and the flavors just don’t mix the right way. When it is just right – very Goldilocks is what I call it – the dish is addictive and will do you proud on any holiday dinner table. Don’t get me wrong, the soupy version and the one with flavors not mixing just righ are delicious as well, but we challenge ourselves to get dishes -just- right. The following version is wonderfully thick and flavorful. It definitely has a place of honor on our table. It is a dish that really is better the next day, so take advantage of that fact and make it the day before, only needing a quick heating up before serving.

Mashed Cauliflower

1 large head cauliflower, cut into large pieces
½ cup water
½ cup butter
4 cloves garlic, crushed
1 Tbsp dried thyme leaves
Salt to taste

In a large pot add water and 1 tsp salt. Bring to a boil and add cauliflower. Lower temperature and cover, steaming until soft, about 10 minutes. Place cauliflower in food processor or blender, retaining liquid from pot, and puree until smooth. If necessary add a small amount of the steaming liquid to help with the puree process. When smooth, return cauliflower to the pot and add butter, garlic and thyme. Turn heat on under pan to low and cook until butter is melted and spices are blended. The cauliflower can be served immediately, or chilled overnight to maximize the blending of flavors. Reheat over low heat on stove top for best results, but microwaving on 50% power until hot works as well. Serve along with anything calling for a side of mashed potatoes. You won’t regret it!

White Pizza on a Wheatless Crust

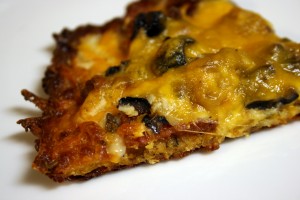
Things are pretty exciting around here right now. Not only is Grandma Jo in town for a visit, but Big D’s newly published book is selling like crazy! Every time I read it I have to make sure I allow enough time to sit and keep reading. It is hard to find a place in the story to stop, set the book down and not wonder what is going to happen next, even when I am trying to concentrate on something else. The book is called Shiver on the Sky, and is available as an e-book on Amazon. We are enjoying the good reviews and watching the sales numbers rise. Take a few minutes to check it out – there is a short, discount promotional period right now, so check it out and let us know what you think! To celebrate the successful launch of the book we had a pizza feast the other night. We don’t do delivery – nobody I know of delivers wheat free pizza – we do our own thing. Even before we started avoiding wheat we did not do delivery much, but you can read about one of those adventures here and yet another, gluten free adventure here. The pizza we make is always loaded with a lot of garlic and a whole pile of toppings. The important part is the awesome crust, which I originally found here, from This Chick Cooks, but have since tweaked. It holds the toppings without getting soggy, and there is no doughy crust getting in the way of the garlic. Did I mention we use a lot of garlic? Oh, and we use a bunch of garlic, which is not mandatory, but we like a lot of garlic on our pizza. Garlic in the crust, garlic cooked with the mushrooms and garlic sprinkled between the layers of topping. And a last sprinkle of garlic on the top layer of cheese. Any topping combination you like will work on top of the crust, especially garlic.

White Pizza on a Wheatless Crust

2 cups shredded mozzarella cheese
2 Tbsp coconut flour
2 Tbsp flaxseed meal
¼ tsp baking soda
2 tsp dried parsley
1 tsp dried basil
1 tsp garlic powder
½ tsp onion powder
½ tsp sea salt
2 eggs, beaten

Toppings:
½ cup ranch dressing
1 Tbsp extra virgin olive oil
½ pound ground Italian sausage
1 cup thin sliced pepperoni
1 cup sliced mushrooms
4 cloves garlic, sliced
½ cup chopped black olives
2 cups shredded mozzarella cheese
1 cup shredded sharp cheddar cheese
½ cup grated Parmesan cheese

In a medium saute pan over medium heat add the olive oil. When the oil is hot add the garlic and cook until it softens. Add the sausage, breaking it up into bite sized pieces. When the sausage is half cooked add the mushrooms and toss the whole mess around until the sausage is done and the mushrooms are at least heated through. Preheat oven to 425F, then prepare the crust. In a medium bowl combine the dry ingredients with the cheese. Add the eggs and stir until combined. It will be a bit sticky and not look at all like pizza dough. That is okay. Cover a large cookie sheet with parchment paper. Spread the dough on the paper, making a very thin layer. The best way to spread it is to press down on it with your fingers – it helps to have a little bit of oil on your fingers to reduce the stickiness. It won’t spread out to all the edges, but it will cover most of the pan. The layer should be no more than 1/8 inch thick. Place pan in oven and cook just until it puffs up and the edges and top begin to brown, about seven minutes. Reduce the oven temperature to 400F. Remove the crust from the oven and begin piling on the toppings. We usually start with a thin layer of ranch dressing, followed by some cheddar cheese, sausage/mushroom/garlic, mozzarella cheese, then pepperoni and olives, followed by a mix of cheddar, mozzarella and last but not least Parmesan. If you like your pizza herby, then do what we do and sprinkle some parsley, basil and garlic between the layers of toppings. Bake the pizza for 10-15 minutes, until the cheese is melted and starting to turn brown on the edges. Remove from the oven and let cool for at least five minutes before cutting.

Spicy Shrimp Vegetable Toss

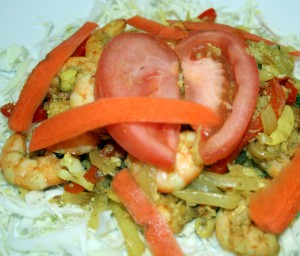
I didn’t want a hot meal, but I also did not want a cold meal. Between Big D and I we came up with this flavorful, crispy concoction. The vegetables are either raw or cooked just until warmed up – maximizing the nutritional potential of them all. A perfect match for shrimp, which needs very little cooking to be ready to eat. The spiciness made us feel full pretty quickly. No lead belly after this meal! We were excited about our find at the store – big, fresh shrimp calling to us. Our past is filled with Gulf Coast shrimp by the bowl full. We grew up sitting at dinners filled with peel-and-eat shrimp dipped in spicy horseradish cocktail sauce, complimented by boiled corn on the cob and new potatoes. For this dish it was Little B’s first attempt at peeling raw shrimp. The first one was pretty mangled, but serious improvement on the subsequent little shrimpies. You should see her peel an onion these days – masterful!

Spicy Shrimp and Vegetables

2 – 4 Tbsp extra virgin olive oil
½ tsp red chili flakes
5 cloves garlic, sliced thin
1 medium onion, sliced julienne
½ large red bell pepper, slice julienne
1 jalapeno, sliced julienne
½ tsp ground turmeric
1 tsp ground cumin
1 tsp ground cinnamon
1 tsp sea salt
2 pounds small/medium shrimp
½ head cauliflower, finely chopped
½ large tomato, sliced in about eight wedges
½ carrot, cut in thin strips
4 cups shredded cabbage
Additional salt to taste

Heat two Tablespoons of the oil in large skillet over medium high heat. Add chili flakes and let sizzle for a few minutes. Add garlic, onion, bell pepper and jalapeno. Saute until onions begin to sweat. Sprinkle in turmeric, cumin, cinnamon and salt, and toss until vegetables are coated. Add cauliflower and cook a few more minutes until it begins to sweat. Add shrimp and toss. Place tomatoes on top of mixture. Cover skillet and cook for about five minutes, until shrimp are cooked and pink. On serving plates spread ½ – ¾ cup cabbage. Add 1 – 2 cups shrimp and vegetable mixture, then top with carrot strips. Serve immediately.

Roasted Cabbage

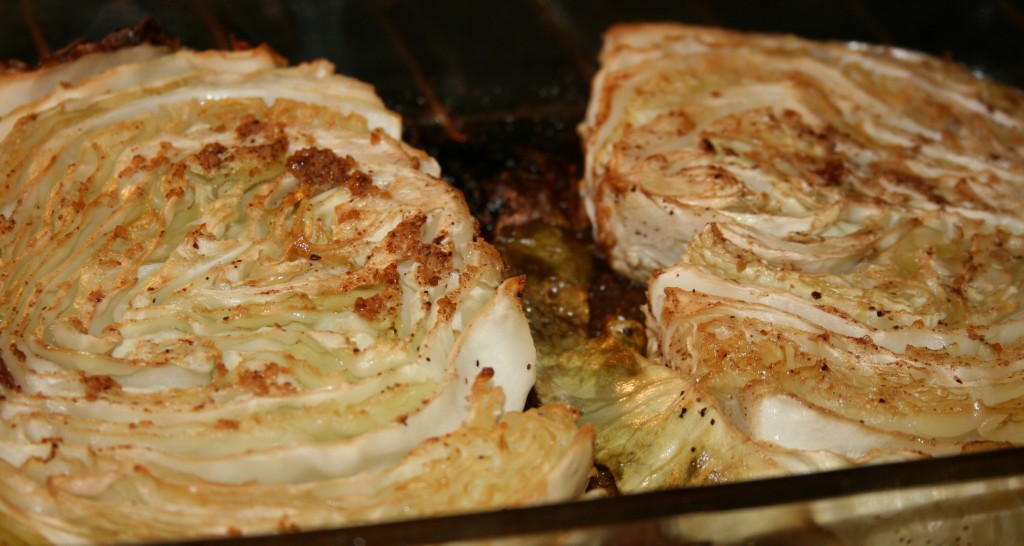
Now this – this is easy and delish! We love cabbage. And not just because it is low in carbohydrates and high in fiber, but because it tastes good, has great texture and marries up with a variety of flavors. It can double the bulk of a meat dish, or fill up the crevices of a stuffed pepper. It can also make a raw salad extra crunchy. Once when we were living in New Orleans I picked up a big head of green cabbage at a farmers market. All the heads looked pretty much the same, but I grabbed one of the smaller ones. Little B was a baby at the time, hanging around in a sling, nestled against me dozing on and off. I was tired from all the baby maintenance. When I got home and started cleaning and trimming the cabbage, it was filling up my sink. I was pretty impressed at the size. It was huge! Filled the sink. We ate on it for a week. Unlike Charlie of the Chocolate Factory, I never had to rely on cabbage water for dinner. I love the stuff. Roasting it in the oven brings out the flavor without getting watery. It is easy to cook up while something is finishing up on the grill. Enjoy!

Roasted Cabbage

1 head green cabbage
1 tsp chopped fresh garlic
1 tsp chopped fresh ginger
½ tsp ground nutmeg
2 Tbsp olive oil
Salt and Pepper to taste

Preheat oven to 375F. Cut the cabbage head in half, leaving the stem attached. Out of each half cut a 1” slice. Trim some of the stem out of the slices, but leave enough to help hold the slices together. Set aside the outer slices for another use. In medium rectangular baking dish drizzle 1 Tbsp of the oil. Sprinkle the garlic and ginger, as well as some salt and pepper over the oil in a shape approximate to the circumference of the cabbage slices. Place the slices in the pan, gently pressing down so the spices are pushed into the cabbage. Sprinkle the remaining oil on the top of the slices, along with more salt and pepper. Bake for about 30 minutes, then flip the slices. Bake for 30 more minutes, or until cabbage is softened to preferred tenderness. Serve immediately.


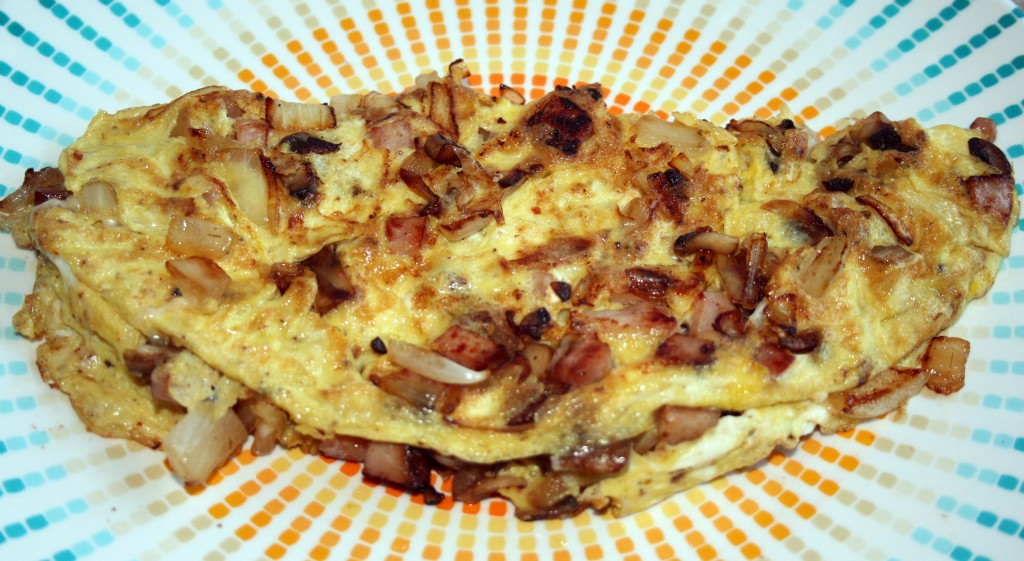
Oniony Omelet

So many weekday evenings there is a need for food, but not necessarily a desire for cooking. Don’t get me wrong, I adore cooking, but sometimes I walk into the house in the evening and just want to collapse and enjoy my family while doing the minimum necessary to prepare for the next day, much less for the evening. That includes dinner. Preparing a quick meal can add to the evening enjoyment, but only as long as it stays quick. The past couple of weeks have included crazy busy long days at work, so the oldie but goodie – breakfast for dinner – is ideal and filling. For me, there is just something about an oniony, cheesy omelet that hits the spot. Slap a couple of tomato slices on the side and dinner is served!

Oniony Omelet

1 Tbsp butter
½ small sweet onion
1 clove garlic, crushed
2 slices ham, finely diced
½ tsp salt
¼ tsp ground black pepper
1 tsp dried parsley
3 eggs, cracked and mixed
½ cup shredded Monterrey Jack cheese

In medium skillet melt butter over medium high heat. Add onion and garlic. Saute for a few minutes until they begin to sweat. Add ham and cook until ham, garlic and onions begin to brown. Add salt, pepper and parsley. Lower heat to medium low. Spread out ham mixture in pan. Pour in egg and swirl pan around to spread it out. Let cook for a few minutes until egg sets. Using a spatula pull egg in from the edges of the pan. When egg from the middle of the pan begins to bubble slide your spatula under half of it and quickly flip it over the other half of the egg, pushing a little from the middle to complete the folding in half. Cover and cook for another minute until the egg is to desired doneness. Serve immediately.


Peanut Butter Chocolate Chip Cookies

As I promised long ago, I am now sharing my old reliable. I came upon it in a cookie cookbook my mom got for me at a school book fair. It was my second cookbook. The first was a cute spiral bound thing with recipes of the world. It was more of an illustrated book, but the recipes were simple and fun for a kid. This cookie cookbook was a whole new world. Real pictures and little squares with facts about ingredients. And the recipes! Oh the recipes! So many to choose from and every one with great results. I always needed cookies for bake sales and parties and such. Bunches of opportunities to cook and learn how ingredients work together. I recently had a need for cookies to take to a party, and made my old faithful. Although I don’t have the cookbook with me right now, I am pretty sure I remember all the ingredients, and they came out great!

Peanut Butter Chocolate Chip Cookies

1 cup peanut butter
1 cup butter, softened
1 cup sugar
1 cup brown sugar
2 large eggs
2 cups flour
1 tsp baking soda
½ tsp salt
8 ounces semi-sweet chocolate chips

Preheat oven to 350F. Cream together peanut butter and butter. Add sugar and combine. Gradually add eggs just until combined. In separate bowl combine flour, baking soda and salt. Add flour mixture in four portions to the wet mixture until blended. Fold in chocolate chips. Drop dough onto non-stick cookie sheets and gently press down into 1 ½ to 2 inch rounds. Bake for 13 – 15 minutes until set and slightly brown on the edges. Store in airtight container.

Stuffed Poblano Peppers

We found a new favorite dinner! Thank goodness I did not have enough peppers to double the recipe, or we would have had to roll ourselves out of the kitchen after eating them all! Did you ever go to a Mexican restaurant, order a chile relleno and end up with a kinda tasteless mound, filled mostly with rice and covered with soggy, sometimes slightly undercooked batter? Here is a way to avoid all that unpleasantness! A little more effort is needed to fill out the other elements of your own combination platter, but here is some help with enchiladas, salsa, guacamole and rice. Since I was not going to dip these peppers in batter I chose not to char and remove the skins – with all the cooking and liquid the peppers were soft and skin inconsequential. This is a a great recipe for using leftover meat and vegetables. It always works great with other pepper types, like cubanelle, etc…

Stuffed Poblano Peppers

4 Poblano peppers
4 ounces cream cheese, room temperature
2 cups shredded pork or cooked seasoned ground beef
1 cup cabbage, cooked and chopped up (or very finely chopped raw cabbage)
1 cup canned diced tomatoes
1 tsp dried oregano
1 tsp ground cumin
1 clove garlic
Salt and pepper to taste
2 cups shredded cheddar and Monterrey Jack cheese
½ cup water
Sour cream and lime wedges for serving

Preheat oven to 400F. Make one slit in each pepper lengthwise. Remove seeds and membrane from inside, careful to leave the stem attached to the pepper. Sprinkle inside of each pepper with salt. In blender or food processor combine tomatoes, oregano, cumin and a dash each of salt and pepper. Puree until you have a smooth tomato sauce. Set aside. Divide cream cheese into four pieces. With the back of your spoon (or your fingers if you don’t mind a little mess) spread the cream cheese around in the cavity off the pepper. In a medium bowl combine the meat and cabbage. Stuff the meat and cabbage mixture in the pepper, making sure the slit does not tear open any more than necessary. Top the meat and cabbage the tomato sauce, making sure it drizzles down within the pepper. Top with the cheese, tucking it in under the edges of the peppers, then gently pushing the pepper edges together as far as you can. In a baking dish just big enough to hold the peppers (9×9 or 8×11) pour in the water, then add the peppers. Cover loosely with foil and bake for 20 minutes. Remove foil and bake for 20-30 more minutes, until cheese begins to brown. Remove from oven and let cool for about five minutes before serving. Top with a dollop of sour cream and a lime wedge for drizzling juice over the stuffed pepper.


Post Navigation