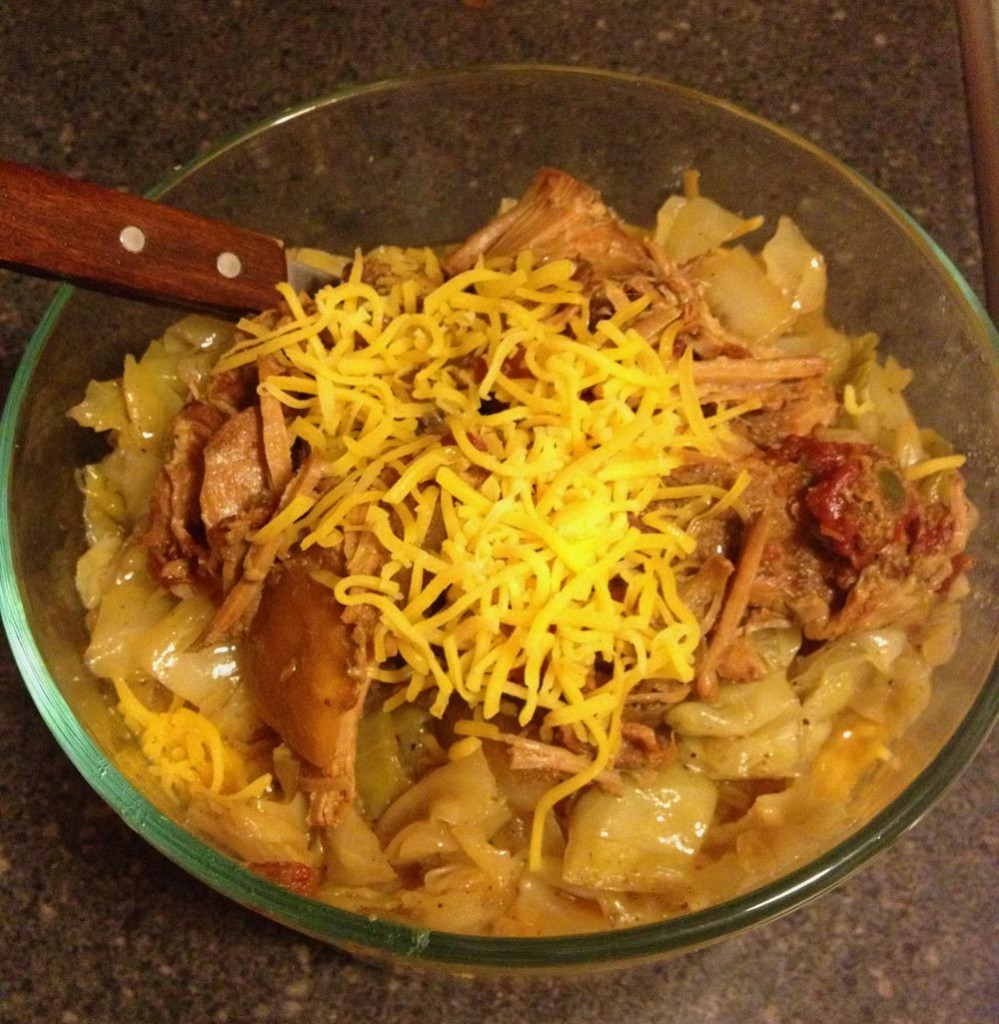
Low Carb Layered Enchiladas

As I have stated many times before, we are hard pressed to find good Tex-Mex food north of Austin. Actually, north of the south of Austin. Enchiladas are a dish where I find it very important to have perfect bites. If you just get tortilla and sauce, it is just off. A bite full of only filling and there is something lacking. I need filling AND tortilla AND sauce AND cheese in every bite. Otherwise, it is just a pile of stuff on a plate. A good Tex-Mex combination platter has the enchiladas perfectly rolled with just enough sauce, sandwiched between refried beans and rice. A chance of leftovers is not favorable to a combination platter. It is nearly impossible to transfer the enchiladas in a way that allows the perfect bites to be experienced in leftovers. The easy way to ensure many perfect bites when I anticipate leftovers or reheating is to approach them in layers. One of the comfort foods from my childhood was layered enchiladas. Rolled enchiladas are good, but when you want to reheat them after playing in a late high school soccer game, the layered version has been sitting in the fridge after mom made them earlier, or even a day or two earlier. Trust me, they are much better later than the first day. Now, to make my mom’s masterpiece low carb seemed overwhelming. My approach to layered enchiladas came out so very much better than I expected! Not only was it good hot, but the leftovers were good cold, too! The texture of the coconut flatbread gave a similar effect as corn tortillas and soaked up the sauce just right, just like mom’s. I am experimenting with low carb tortillas, most recently with coconut flatbread versions. I used them for this recipe, so serving these layered enchiladas was done right before serving, as opposed to layering a casserole then baking it. I am now convinced a baked version would work, but this recipe is a quicker version without a long baking period. I hope you enjoy it, for it is filling, satisfying and has a bit of a bite that remind me of mom.
Low Carb Layered Enchiladas
1 Tbsp extra virgin olive oil
11/2 small yellow onion, finely diced
15-ounce can tomato sauce
1 to 2 4-ounce cans green chiles
1 Tbsp paprika
1 tsp ground cumin
1/4 to 1/2 cup water or chicken broth
4 – 6 cups cooked, shredded chicken (pre-cooked in a crock pot or strip a roasted chicken from the grocery store)
1 to 2 batches coconut flatbread or corn tortillas
2 – 4 cups shredded cheddar cheese
1/2 cup sour cream (optional)
In a medium sauce pan over medium high heat add oil. When oil is hot add the onion and cook until translucent. Add tomato sauce, green chiles, paprika and cumin. Stir until combined and lower temperature to simmer. Cover and cook for about twenty minutes. Add water or chicken broth to thin out to the consistency of thin gravy. Let simmer for about ten more minutes, then set aside until time to serve. While the sauce simmers make the coconut flatbread, or rely on your personal preference of corn tortillas. When you are ready to serve make sure the flatbread is made and the chicken is hot. Start layering on serving plates with flatbread/tortillas. Next pour some sauce, followed by cheese and chicken. Repeat layers again, topping with more cheese. Serve immediately with sour cream.