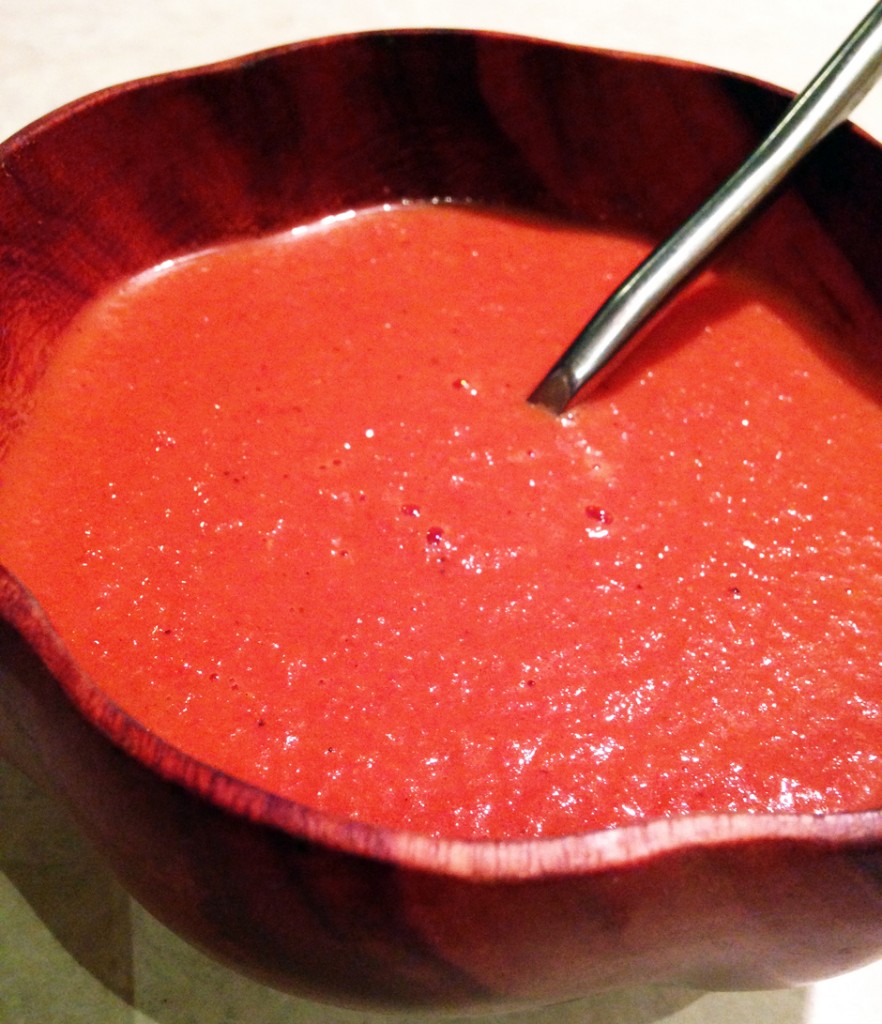
Vegetable Cheese Soup
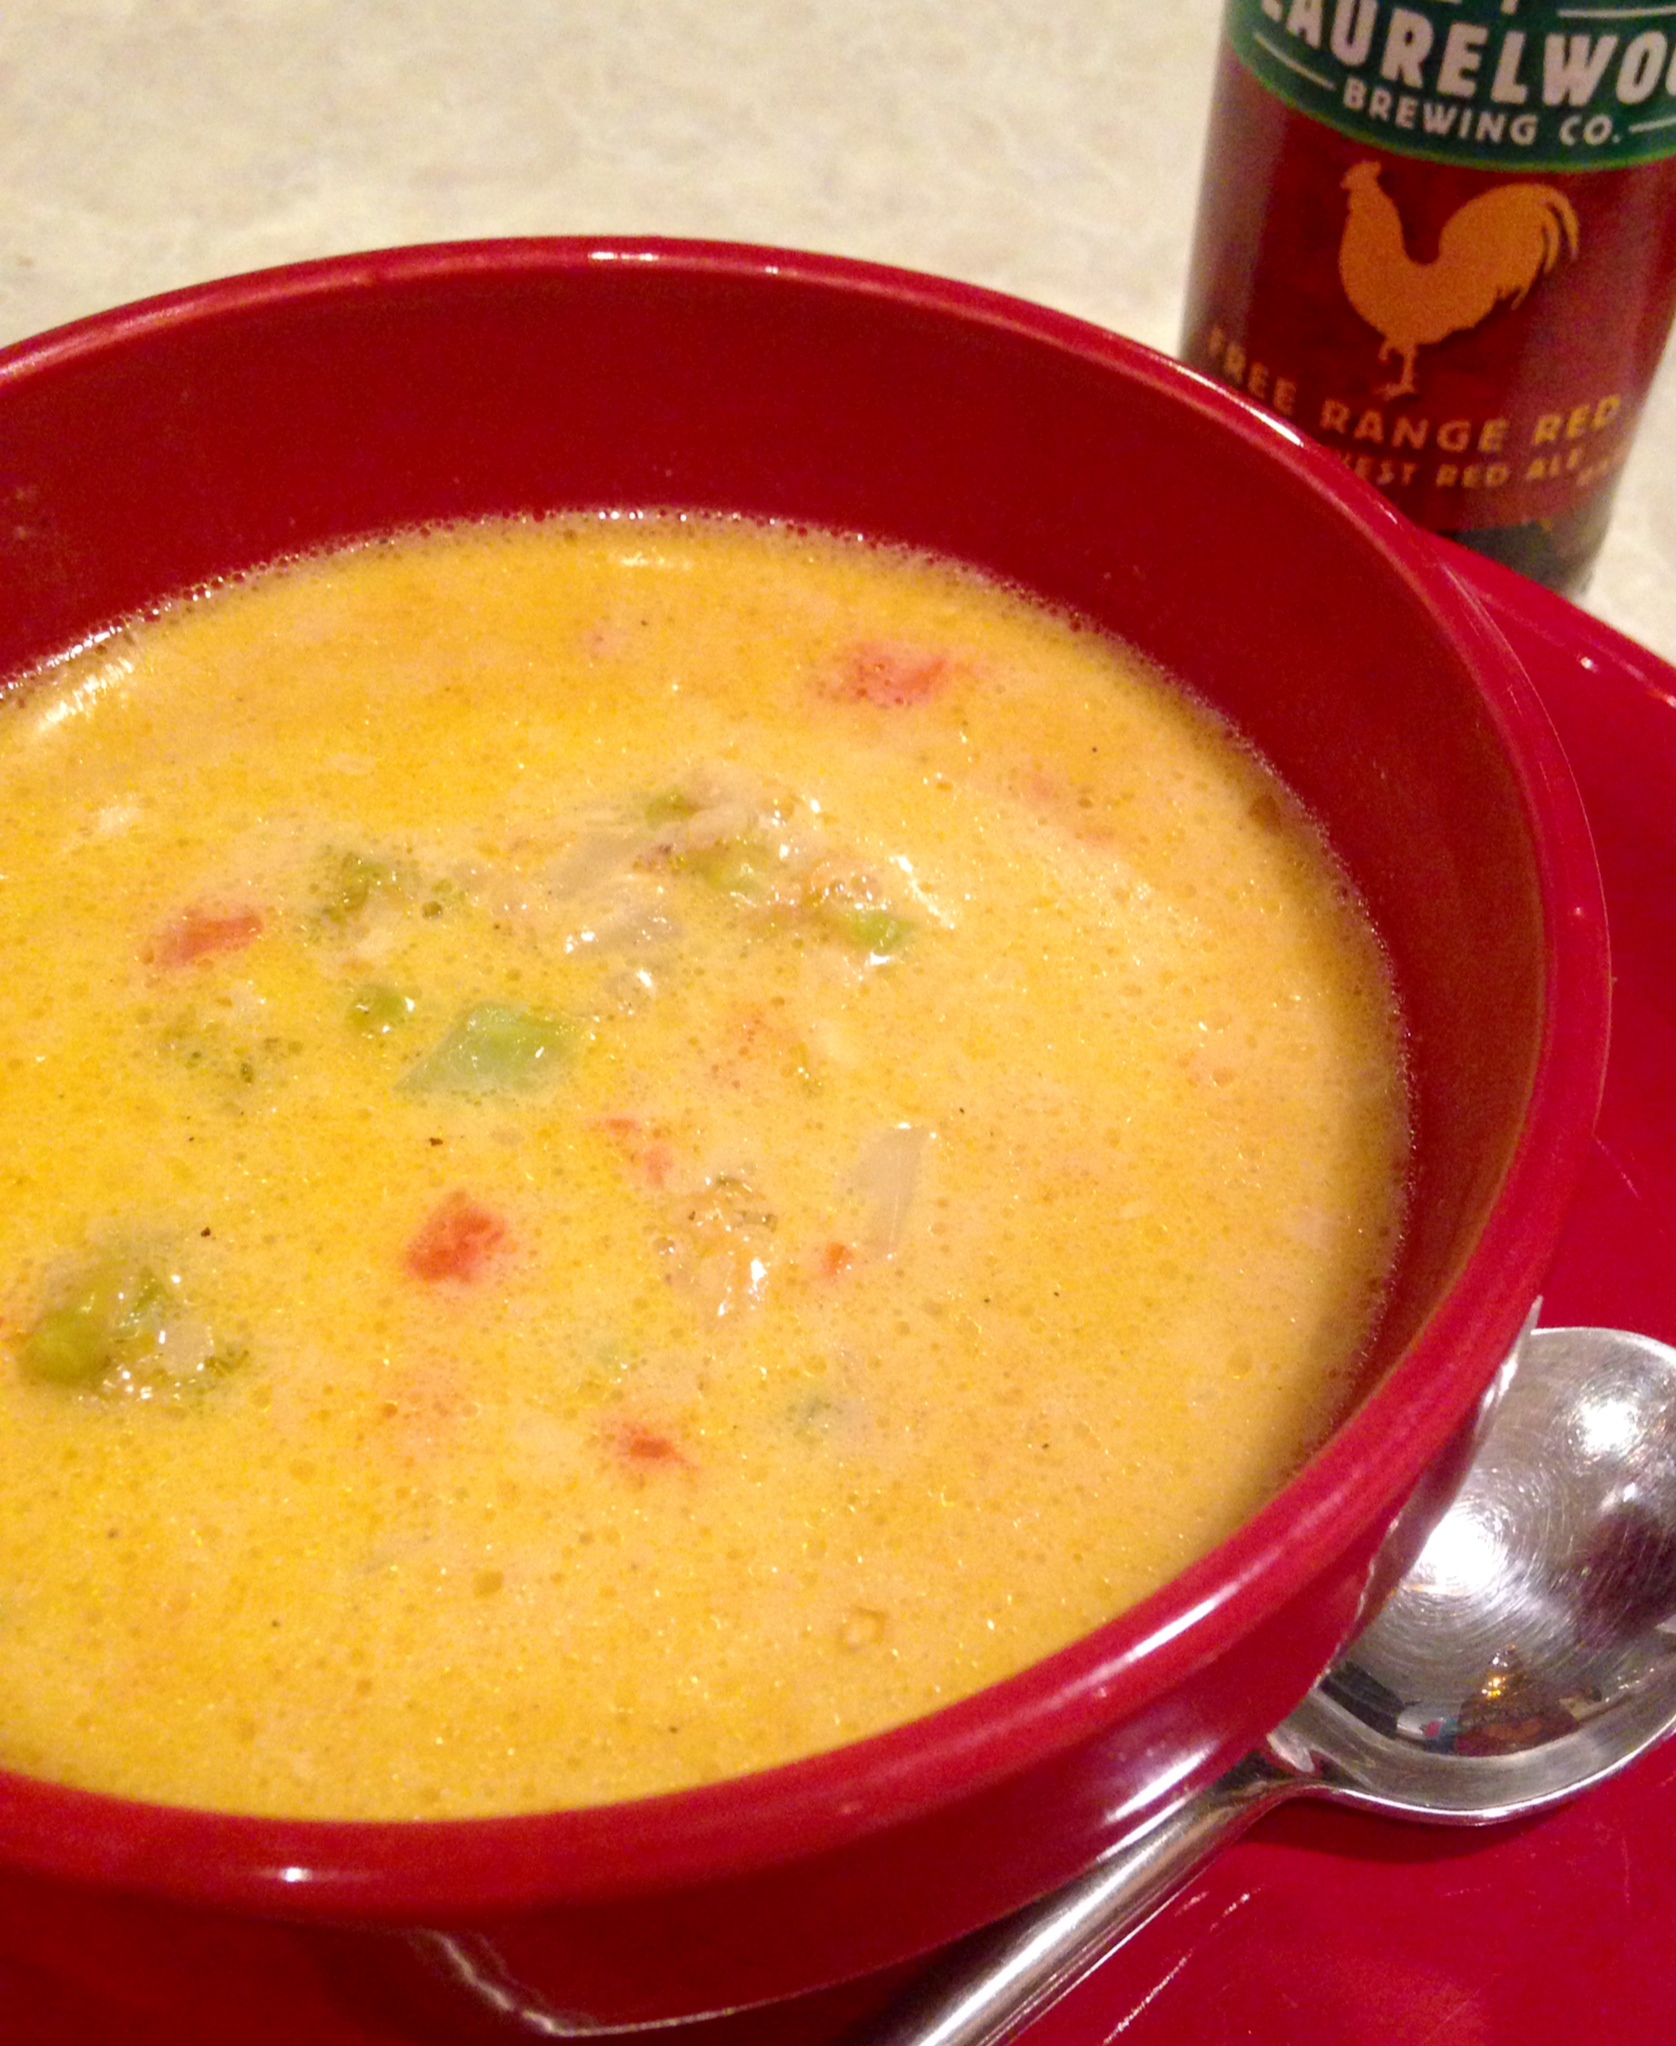
The other day for lunch Big D wanted cheese soup and Little B wanted vegetable soup. We rarely find a canned soup to our liking, much less wheat free, so if we want it we make it. The good thing is we keep a fridge full of cheese and vegetables. The bad news is I did not feel like being a short order cook, so I came up with a one pot wonder. Seeing that there were about three spoonfuls of leftovers, I think they did not mind the merger I came up with. While the sky outside was spitting a mix of rain and snow we filled our bellies with simple warm goodness from scratch. The beer kept us warm too!
Vegetable Cheese Soup
14.5 ounces beef broth
1 cup beer (I used red ale)
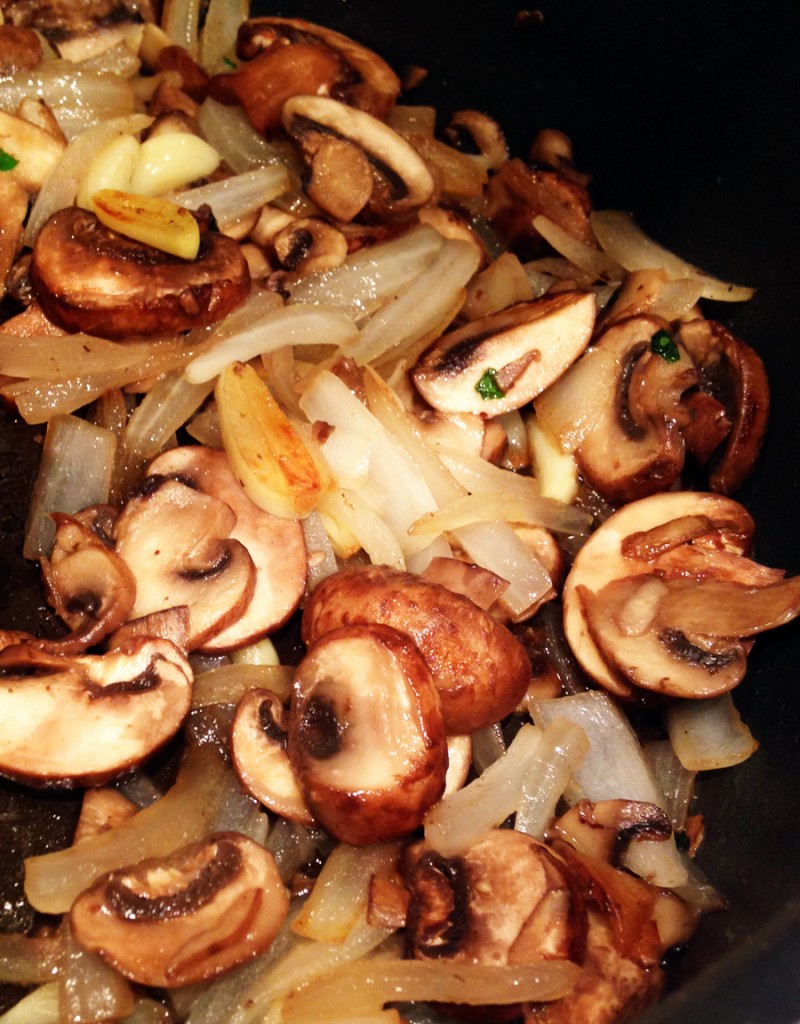
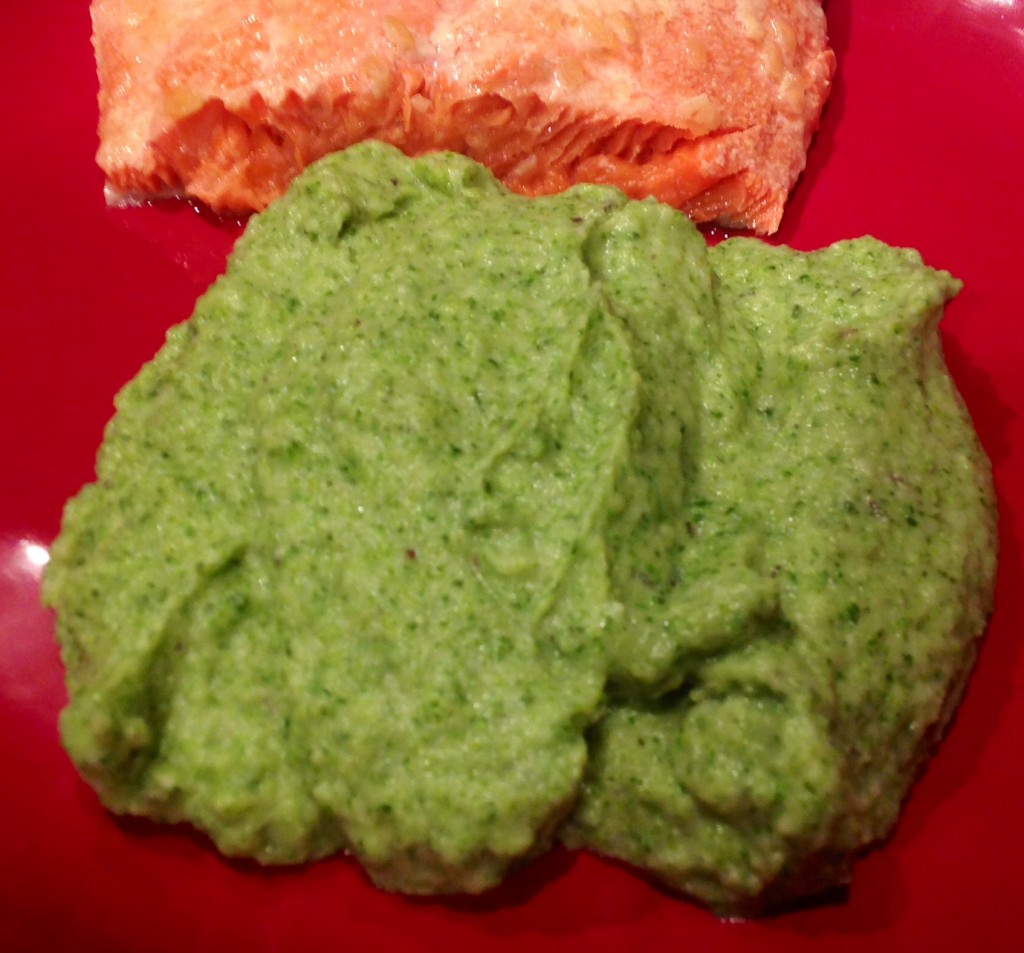
2 cups finely chopped broccoli
1 cup finely chopped cauliflower
1/2 cup finely chopped carrots
1/2 cup finely chopped yellow onion
1 plum tomato, finely chopped
4 cloves garlic, finely chopped
2 cups grated mix of cheddar, Monterrey and mozzarella cheese
1/2 cup heavy whipping cream
Salt and pepper to taste
In a medium pot over medium high heat add the broth and beer. When it is starting to boil add the broccoli, cauliflower, carrots, tomato, garlic and onion. Cook for about five minutes, until the vegetables start to soften and soup is hot. Add 1/2 cup of cheese, stirring until combined and the soup is hot again (after it got cooled off from adding the cheese). Continue adding and stirring in cheese 1/2 cup at a time and reheating soup in between until it is all incorporated. Add cream and stir to combine. Cover and let simmer on low for about ten minutes. Serve.
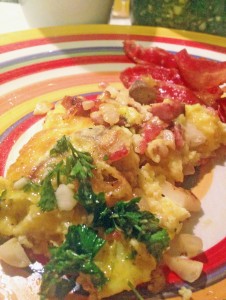 Long long ago I owned an omelet pan. It was a nice omelet pan, used often to whip up the eggy concoctions. Less long ago I got rid of it. Not because it was unused, but in many respects redundant. Can’t the same thing be done with a frying pan? Over the years we have stocked and unstocked kitchens in our travels and moves. Often the ‘specialty’ devices get purged. You know what I mean – items that do one thing that can easily be done with another, like an avocado slicer (replaced by knife), smoothie maker (replaced by blender), or egg seperator (replaced by a hand or shell) or a food chopper (replaced by knife), or the omelet pan (replaced by a, well, pan). You get the idea. The omelet pan was sacrificed during one of these purges and not replaced. My omelets don’t look as pretty these days, but they sure taste good, and don’t stick. I am also an advocate for having the ingredients mixed and cooked up with the egg, not placed in the equivalent of an egg ‘taco’, like some restaurants serve – egg part of the omelet gets overcooked separately, then the actual ingredients get dropped in, egg gets flopped over it and served. If I wanted a taco I would order one. Anyway, here is a lovely combination, and my approach to making an integrated omelet, which I also addressed about two years ago with an