Any Kitchen Will Do

Give me a kitchen and I will cook.

Archive for the category “cinnamon”

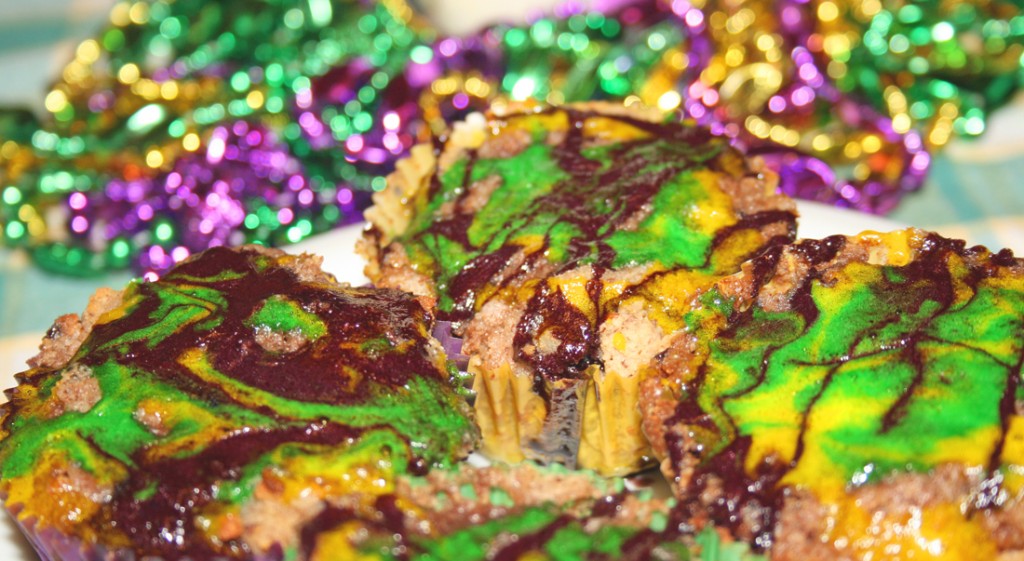
King Cakelettes

king cakelettes_edited-1

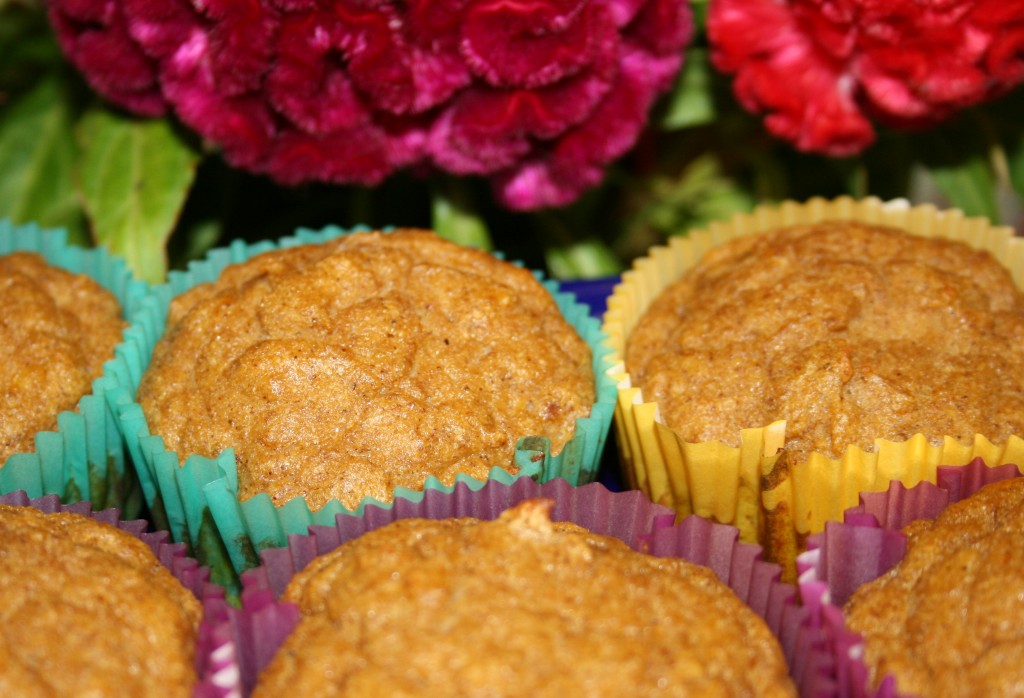
Laissez les bon temp rouler! Let the good times roll! Mardi Gras is near and as always we are celebrating. We closely followed up defrocking the house of Yule and Christmas decorations with putting up green, gold and purple for Mardi Gras. After living in New Orleans a few years back I cannot help but get in the spirit of Mardi Gras. There is never a lull down there after Christmas – the frivolity of New Years quickly turns to the Mardi Gras celebrations. Parades begin in mid-January so there is no time to waste. Last year I did a king cake marathon, making sure everyone in the house had some for celebrating. I made a regular, yeasty, cinnamon-y king cake, including sharing of details about king cake history, followed by a gluten free version of the cake. They were both delectable and fun to make. This year Mardi Gras arrives during a time when we are highly sensitive to sugar, wheat and carbohydrates. What is a girl to do? Well, adapt. That is what she does. I used my experimenting with low carb muffins over the past year and incorporated my love of king cakes into these little treats. Although not the traditional ring with colored sugar, the result definitely has the right flavors and textures in play. I usually avoid making king cakes most of the year, but this time I may not. These things are stupendous and I doubt they will last us through Fat Tuesday. I really need them to, if for no other reason but to balance the green potency of chartreuse. Enjoy!

Low Carb King Cakelettes

6 eggs
4 Tbsp heavy cream or half and half
1 tsp vanilla

3 drops liquid stevia
½ tsp sea salt
2/3 cup coconut flour
¼ cup golden flaxseed meal
½ cup splenda
½ tsp baking powder
1 cup pecans, shelled

For the Filling
6 Tbsp butter, melted
¼ cup splenda
1 tsp cinnamon
½ cup pecans

For the Icing
1 Tbsp water
1 tsp lime or lemon juice
½ cup splenda
Green, yellow, red and blue (2 drops blue, 3 drops red for purple) food coloring (optional, if coloring icing instead of using colored sugar)

For Decorating
Purple, green and gold/yellow colored sugar or Splenda (or add color to the icing)

Preheat oven to 400 degrees. On a baking pan spread out pecans in one layer. Bake in oven for about 5 minutes until they begin to brown. Prepare muffin pan with liners. In blender add wet ingredients and nuts together. Blend on low until nuts are broken up in small pieces. In separate bowl combine dry ingredients. Add wet ingredients to dry ingredients and stir just until combined. Divide batter among the 12 muffin cups. For the filling mix together butter, ¼ cup Splenda and cinnamon in a bowl. Grind into a powder the ½ cup pecans and combine with other filling ingredients. With a teaspoon drop some filling into the middle of each muffin. It will sink a bit and be covered by the muffin batter during the baking time. Bake for about 15 minutes until tops begin to brown. While the muffins are baking combine the water, juice and Splenda until smooth (make three different batches if coloring it instead of using colored sugar. A soon as the muffins come out of the oven drizzle the icing on top (drizzle all three colors on every muffin if using colored icing). Let cool for about ten minutes. If using colored sugar, sprinkle by alternating green, purple and yellow/gold*. Use all three colors on every muffin. Serve at room temperature or freeze and gently defrost in the microwave before serving.

*I planned on using colored Splenda for sprinkling, and got good information about coloring it here. My color to sweetener ratio did not turn out as well as it did for Millie, I think it was because I did not have enough coloring gel. It was definitely on its way, but I did not have time to go get more with an eager and waiting Little B, so I improvised. I added water and lemon juice to the colored sweetener and colored the icing and drizzled instead of sprinkled. Even though it did not work out this time, I am going to follow Millie’s coloring process in the future, for springtime is coming and more sprinkling opportunities are on the horizon!
Acorn Squash Bread

squash bread

I bought a big, beautiful acorn squash a week or two ago. We have leftovers from the holidays filling the refrigerator and freezer, so in the process of figuring out what to do with the squash, I realized we were running low on goodies for Little B. Additionally, she was to begin a new preschool soon and we needed to stock up on portable wheat free snacks for her. And on top of THAT, I got an awesome new mini loaf plan as a gift and was itching to break it in. To make a bread that has some sweet and savory I included nuts and spices. Of course, relying on coconut flour and eggs to beef up the protein was a must. Little B likes this stuff a lot, and this particular squash was sweet, so the squash/snack/loaf pan goals were met with one recipe. Three birds, one stone. Big D bit into it and groaned – in a good way – it reminded him of his grandmother’s banana bread, and it had no bananas. Now THAT is a compliment!

Acorn Squash Bread

1 cup cooked, mashed acorn squash
½ cup walnuts
6 eggs
½ cup olive oil
1 Tbsp vanilla extract
½ cup coconut flour
¼ cup golden flaxseed meal
1 cup granular erythritol
1 tsp sea salt
1 tsp baking soda
½ tsp baking powder
1 tsp ground cinnamon
¼ tsp nutmeg

Preheat oven to 350 degrees. In blender combine squash, walnuts, eggs, oil and vanilla. Blend until smooth and nuts are broken up to around the size of little peas. In mixing bowl combine flour, meal, erythritol, salt, baking soda, baking powder, cinnamon and nutmeg. Add blended ingredients to dry ingredients and stir until well mixed. Pour batter into greased bread pan or mini loaf pan(s). Bake for 40 – 50 minutes if making one large loaf, or 25 – 30 minutes for mini loaves. The bread is done when the loaves look set (no longer liquid) and the edges begin to brown. Let cool in the pan before removing. Breads made with coconut flour need to cool before they are set enough to remove from pans, but making sure the pans are greased well make the removal process easier.

Cinnamon Dough Ornaments

cin ornaments

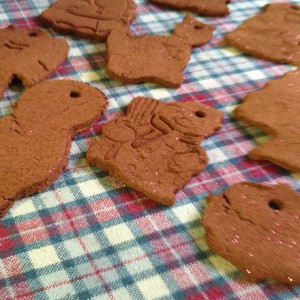
I guess technically you can eat these ornaments, and they get made in the kitchen, so they pass the ‘food blog’ test I arbitrarily created in my head. If you don’t eat them, which I advise, they can make any space they occupy smell WONDERFUL! For days after making these ornaments with Little B the house smelled of cinnamon, then when the ornaments got put on the Christmas/Solstice tree they still smelled wonderful. One of them hanging in my office gets rid of that officy smell, which is not that bad, but nothing compared to cinnamon spice. There is still time before the holidays are over to add some decorations, so dive in and make a batch. Our first roll out was with dough that was too sticky, so the intended shapes got, well, a bit reshaped when transferring them to the pan. They also  cracked a bit when baked. We learned as we went, though, and stiffened the dough up with more cinnamon. The picture shows our mixed results, and you can tell which ones were made with the wet dough compared to the dryer dough. This project appeased my desire to make cut out cookies, didn’t result in sugarbombs sitting around the house begging to be eaten. It was such fun creating glittery ornaments we can enjoy during the holiday season. Stay tuned for a wheat free edible version of cut out cookies, but experiments in that vein continue, and mastery is still pending….

Cinnamon Spice Dough Ornaments

1 ½ – 2 cups ground cinnamon
1 tsp ground clove (optional)
1 cup applesauce
1 Tbsp glitter (optional)

Combine half the ground cinnamon, the ground clove (it will make the dough darker, so decide before adding if you want darker or lighter results), applesauce and glitter. Combine until a dough forms. Add more cinnamon as needed to thicken if it is too sticky. The amount of cinnamon needed varies with altitude and humidity, so keep adding cinnamon until the dough seems crumbly, and you need to knead it for the pieces to stay together. Wet dough will bake brittle and the ornaments will crack, so make sure it is stiff. Roll out the dough and use cookie cutters to shape the ornaments, or cut them out freehand. Use a drinking straw to poke a hole in the ornament, strategically placed, for hanging. Place ornaments on baking sheets covered in parchment paper, or directly on the sheets. Bake ornaments at 200 degrees for two hours, then turn off oven and leave the oven closed until it cools off. Yes, I know you can’t tell if the oven is cooled off unless you open it, but two more hours or overnight should do it. Carefully remove the ornaments from the sheets/paper. Loop string or cord through the hanging holes and decorate something.

Pumpkin Pie No Sugar No Wheat No Problem

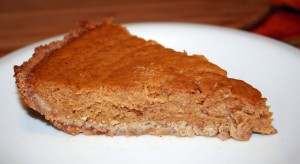
A pumpkin pie with a crispy crust and moist custard, full of spices and sweet pumpkin. A quintessential dessert around my house during the holidays. We like serving it chilled, and mine is usually topped with some freshly whipped cream. I like making it first thing in the morning so the house smells wonderful all day. Little B is becoming quite a pro at stirring, so the custard was a joint effort this year. Sometimes I use fresh pumpkin, other times I resort to canned stuff. I have discovered over the years that the fresh stuff needs a little more spicing to get that just right balance of flavors in the pie. Big D likes his pumpkin pie extra spicy and wheat free, while I want it sugar free with a flaky crust. This recipe met all four requirements! My next wheat free, sugar free pie will be pecan. Stay tuned!

Pumpkin Pie No Sugar No Wheat No Problem

Crust
1 1/2 cups almond flour

1 tsp ground cinnamon
1 Tbsp splenda
4 tablespoons butter, melted

Custard

15 ounces puréed pumpkin
1 Tbsp ground cinnamon
1 tsp ground ginger
½ tsp ground cloves
¼ tsp nutmeg
½ tsp salt
¾ cup splenda
2 large eggs
1¼ cups heavy cream

Heat oven to 375ºF. For the crust, mix together the almond flour, 1 tsp splenda and butter until combined. Press mixture into an 8” or 9” pie plate and refrigerate for at least 30 minutes. In a medium bowl whisk pumpkin purée, splenda, cinnamon, ginger, cloves, and salt to combine. Mix in eggs, one at a time. Add heavy cream and mix well. Pour custard into pie crust. Cover crust edge with aluminum foil. Bake for about 40 minutes, or until filling is set but still a little jiggly in the middle. Cool on a wire rack.


Sugar Free Pumpkin Spice Syrup

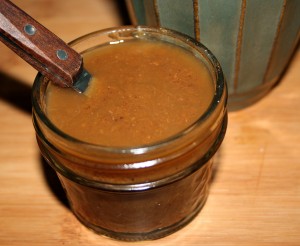
Oh my! The taste of fall! For winter it is peppermint and eggnog. Spring reminds me of berries and fresh salads. Summer is the chill of popsicles and fresh produce everywhere. Now, fall. Fall is squash and cinnamon, nutmeg and clove – and this syrup is the quintessence of fall. I have mentioned this before, but will do so again – I don’t like hot drinks during hot weather. It heats up my insides and is just not relaxing to me. Now, hot drinks during cooler weather totally hits the spot. Just the right balance of warmth on the inside with cool weather on the outside. Dreamy! I am enjoying the chill in the air, along with hot teas and coffees. One of my favorites is the pumpkin spice lattes popping up in coffee shops everywhere. The problem is all the sugar in them and the expense, which are discouraging. I have made this sugar free syrup for the past few years and find it has just the right mix of sweet and spicy, without spiking my blood sugar. I keep a jar in the fridge at work and home so I am not tempted by the sugary versions. It also works in my cold brewed coffee, but the hot, steamy latte is perfect for this time of year. Drizzle it over ice cream, stir into hot tea or mix with hot chocolate as well. You won’t be able to get enough. Yum!

Sugar Free Pumpkin Spice Syrup

1 cup water
1 Tbsp Stevia (or use your preferred sweetener, equivalent to 1 cup pure cane sugar)
1/3 cup pureed pumpkin
1 tsp ground cinnamon
½ inch fresh ginger
½ tsp ground nutmeg
¼ tsp ground clove
1 tsp vanilla extract

Combine pumpkin, water and sweetener in medium sauce pan. Cook over medium heat until everything is dissolved and begins to bubble. Add cinnamon, ginger, nutmeg, clove and vanilla. Simmer on low, stirring frequently, for about ten minutes until the syrup thickens and makes the house smell wonderful. Let cool to room temperature. At this point you can do one of two things: 1) store in glass jar in the fridge, or 2) strain through fine sieve into glass jar and store in fridge. If you don’t mind stirring your coffee while you drink it don’t worry about straining and do number one. If you want a more blended cup of coffee or aim to use the syrup in a latte, then do number two. Big D and I like number one, but both approaches have a delicious result. I use about one tablespoon for an 8 – 12 ounce cup of coffee. If used in a latte add about one tablespoon for every cup of milk. The syrup also goes well drizzled over warm muffins, cinnamon rolls or stirred in with pancake syrup for an autumn twist.

Wheat Free Pumpkin Spice Muffins

Oh the sweet smell of autumn! The smell of wood fires. The way the whole world looks like sunset all day long with the changing leaves. The rush to do things in the daylight of shorter days. It is so close I can feel it – especially with the windows open and tree tops outside my kitchen window. The smell I most often associate with autumn is spiced pumpkin, whether it is coming from a dish for breakfast, dessert or a hot beverage. The smell wafting through the air is heavenly. Every evening this week I have set a pot simmering low on the stove with water, vanilla, cinnamon sticks and ginger. The whole house smells like freshly baked pumpkin pie. Little B is currently ‘helping’ me clean up while the muffins bake. It may sound odd, but Little B has not often been interested in licking the bowl after batter has gone into baking dishes. Unlike what I recall as a little kid, I was always wanting to savor those little bits in the bowl, teasing me about how the final product would taste. As I type she is going on fifteen minutes trying to get every speck of the batter out of the mixing bowl. Regardless of how the muffins turn out, my house smells delicious and the batter is a success!

Wheat Free Pumpkin Spice Muffins

6 eggs
6 Tbsp butter
2 Tbsp unsweetened coconut milk
1 tsp vanilla
10 drops liquid stevia
5 ounces pureed pumpkin
1/2 tsp sea salt
1/2 tsp baking powder
2 tsp cinnamon
½ tsp nutmeg
½ tsp ground ginger
1/2 cup coconut flour
1 cup powdered erythritol

Preheat oven to 400F. Prepare muffin pan with liners. In mixing bowl blend together wet ingredients. In separate bowl combine dry ingredients. Add dry ingredients to wet ingredients and stir just until combined. Divide batter among the 12 muffin cups. Bake for about 15 minutes until tops begin to brown. Let cool for about ten minutes before serving.

Chocolate Chia Pudding

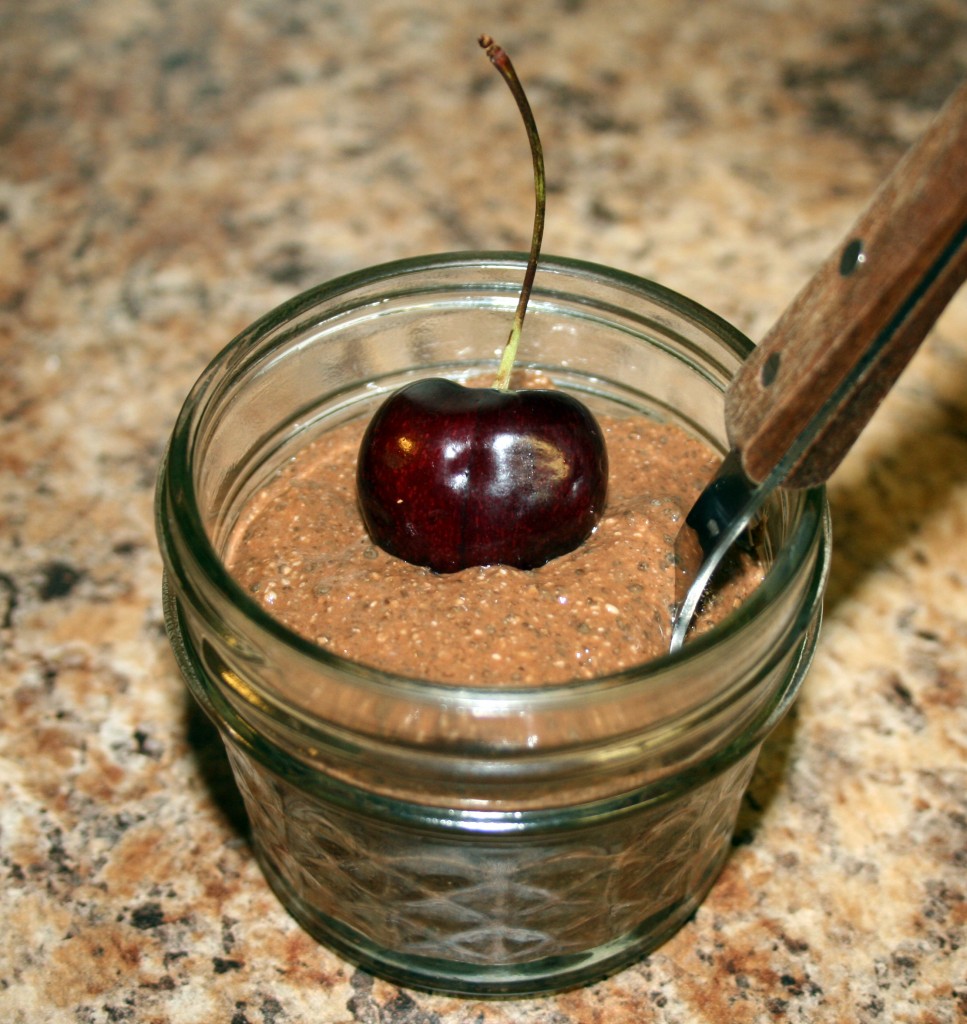
This stuff is quick, sugar free, dairy free and wheat free, but sooo chocolaty and satisfying! We tried a few different combinations of spices and flavors, but this is our favorite. It is kind of the texture of tapioca, and makes for a satisfying, light dessert, taking care of any sweet tooth or chocolate cravings. And go ahead – sing the commercial song while you make it – ch ch ch chia! I always imagine the chia plants you can buy that are grown in different shaped planters – chia plants! The seeds are actually from the same kind of plant. Whip it up in the blender before dinner, stick it in the fridge, then it is cold and ready to eat after the meal. It is just enough for three servings, so double or triple accordingly.

Chocolate Chia Pudding

1 cup coconut milk
4 Tbsp chia seeds
1 Tbsp flaxseeds
3 Tbsp erythritol/stevia (Truvia) powder
4 Tbsp cocoa powder
1 Tbsp vanilla
1 tsp ground cinnamon
Fresh berries (optional)

Combine all ingredients in a blender and pulse until everything is combined – you may need to scrape down the sides to make sure the cocoa is fully incorporated. Let sit for a minute, then blend for about five more seconds. You will see it thicken as it blends. Let chill for about 20 minutes before serving – top with fresh berries if you like. If there are leftovers and you chill them overnight you may need to add more coconut milk and stir it up to thin out before partaking.

Roasted Squash Seeds

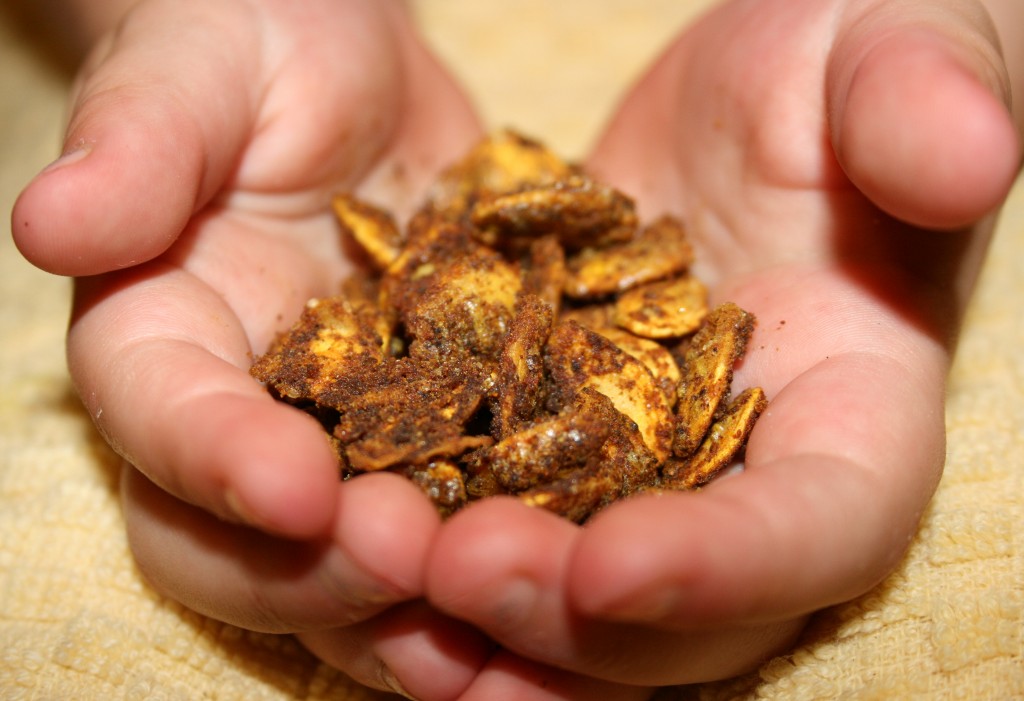
Every time we cook up a spaghetti squash we discard the sinew and seeds. The seeds remind me of pumpkins and fall and cooler weather. They are the same shape, size and color as pumpkin seeds, so why not treat them the same? Since it was about 100 degrees today and I would give anything for cooler weather, it made a bit of sense to roast up the squash seeds as a reminder of cooler times past and future. This recipe, although including cinnamon and stevia, is rather savory and did the trick as far as cooling me off. Little B and Big D loved them too. The seeds ended up being a healthy snack that I plan on repeating any time our menu involves seeds and a waiting cookie sheet.

Roasted Squash Seeds

1 tsp tumeric
1 tsp garlic powder
2 tsp ground cinnamon
1 tsp chili powder
2 packets Stevia in the Raw
1 Tbsp olive oil
1 – 2 cups spaghetti squash seeds

Preheat oven to 250 Fahrenheit. Separate seeds from sinew and set out to dry on a tray for at least half an hour. Don’t worry about rinsing them – any squash left on the seeds helps to enhance the flavor. In a small bowl combine spices and sweetener, then add the oil. Add seeds and toss until coated. Spread seeds on a cookie sheet, making sure they are spread out as much as possible. Toast for about 30 minutes, until dried out and crispy. Remove from oven and let cool. If not all eaten immediately store in airtight container until somebody decides it is wrong to let them alone and inhales what is left.

Cinnamon Roll Cake

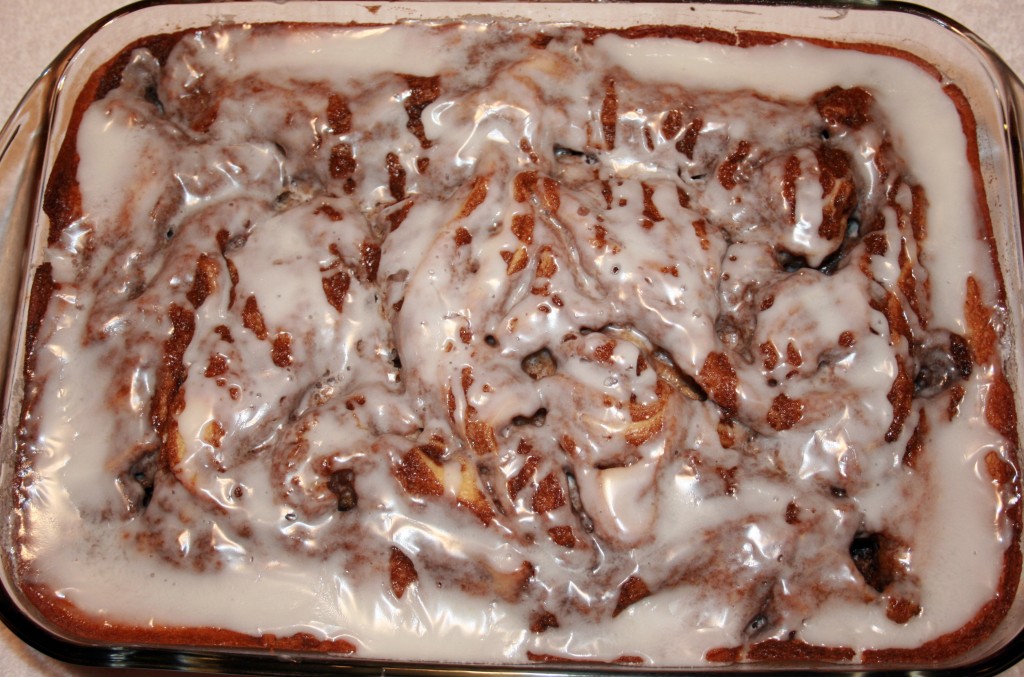
Have you ever seen a 9 x 13 cinnamon roll? Yes you have! It is right there ↑! I like sweet stuff for breakfast, but only when it is going to be a lazy day. The crash from the sugar rush is best experienced while hanging out on the couch reading a book or building a block tower with Little B. An occasional breakfast with pancakes or waffles is good (although not necessarily good for you), but I tend to be the producer of such delights, and it is much more onerous to make them compared to a plate magically appearing piled high and presented by someone else for eating.

With a gaggle of girls using my house for slumber party last weekend I could not imagine making enough fresh baked pancakes, waffles or cinnamon rolls to appease them and also have breakfast ready at a decent hour. There were bodies curled up in blankets over the majority of the living room floor. It would be hard to quietly measure and mix and roll breakfast in the kitchen, a mere four feet away from the slumbering sweethearts. This cake was quick, made the day before and did not have to go in the fridge, which was already full of other party foods. As it cooked, the sugary topping formed crevasses where cinnamon gathered, making lovely sweet nips in almost every bite. All the girls could have a little piece or a big one without committing to a whole roll. Of course I also provided healthy, savory eggy muffins for breakfast as well, but the cake is what disappeared the fastest.

I have seen cinnamon roll cakes all over the internet, but this recipe made the most sense to me, so I relied on it. I changed the order of preparation a bit, but it worked out great.

Cinnamon Roll Cake

Cake
3 cups Flour
1/4 teaspoon Salt
1 cup Sugar
4 teaspoons Baking Powder
1 1/2 cups Milk
2 Eggs
2 teaspoons Vanilla
1/2 cup ( 1 stick) Butter, melted

Topping
1 cup ( 2 sticks) Butter, softened
1 cup Brown Sugar
2 Tablespoons Flour
1 Tablespoon Cinnamon

Glaze
2 cups Powdered Sugar
5 Tablespoons Milk
1 teaspoon Vanilla

Preheat oven to 350 degrees. Spray a 9×13 glass baking pan with cooking spray. Set aside. To make the topping mix in a medium bowl the 2 sticks of butter, brown sugar, flour and cinnamon together until well combined and creamy. Set aside. In an electric or stand mixer add the flour, salt, sugar, baking powder, milk, eggs, and vanilla. Once combined well, slowly stir in the melted butter. Pour into the prepared 9×13 baking pan.

Drop the topping mixture evenly over the cake batter by the tablespoonfuls and use a knife to marble/swirl through the cake. Bake at 350 for 35-40 minutes or when a toothpick inserted near the center comes out nearly clean.

In a medium bowl, mix the powdered sugar, milk and vanilla together with a whisk. Drizzle evenly over the warm cake. Serve warm or at room temperature.


Roasted Acorn Squash

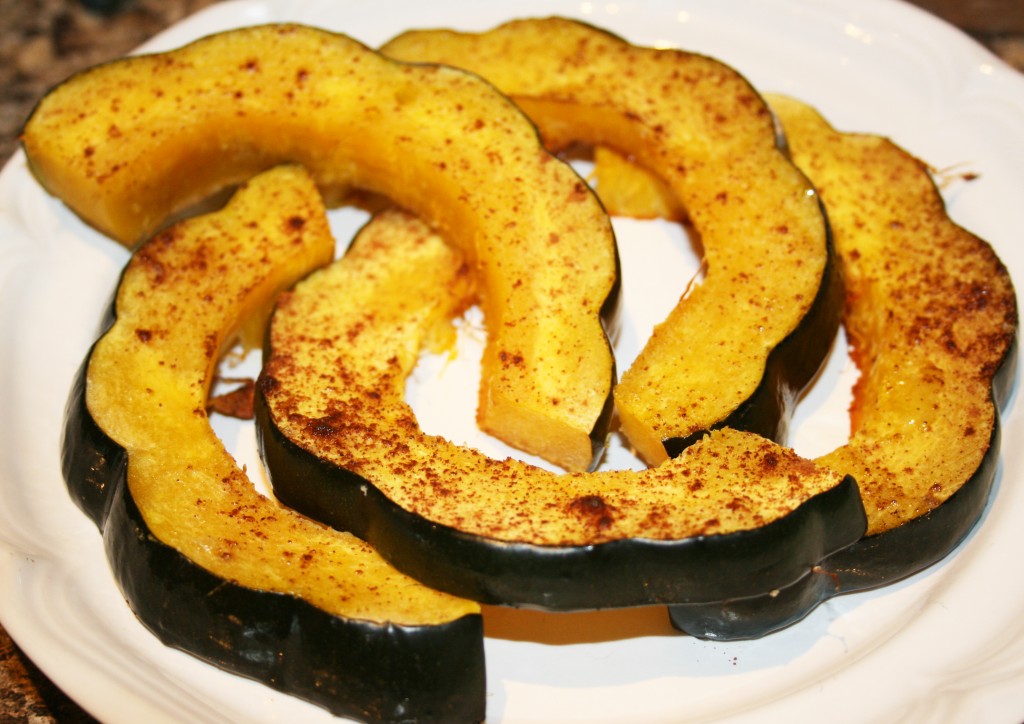
I know it is not peak season for acorn squash, but I wanted to add some variety to our dinner vegetables. I often just cut the squash in half and bake with some butter and brown sugar in the middle, but I am trying to cut down on added sugar while increasing nutrients. This roasted version has three advantages: 1) it makes the squash almost finger food, which gets more inside of Little B, 2) the skin is soft enough to eat along with the flesh, and adds more nutritional value to the dish, and 3) it adds a bit of sweetness naturally to an otherwise savory meal. I made this batch of squash at what used to be a house at a lake near where we currently live. The old house has since been replaced and is now owned by other family members. Although Big D’s grandparents have both passed, some of their well used equipment continues to be used on a regular basis where the family lake house once stood. I used some wonderfully blackened cookie sheets that are older than me – they belonged to Big D’s grandmother. They did a beautiful job of evenly cooking the squash. I know Grandma Seals enjoyed watching me use them.

Roasted Acorn Squash

2 acorn squash
3 Tbsp olive oil
1 tsp cinnamon
1 tsp salt

Preheat oven to 400F. Cut squash in half lengthwise, remove stringy membrane and seeds, then horizontally make slices about 1/2 inch wide to create “C” shaped pieces. Grease a large cookie sheet with 1 Tbsp of the olive oil. Place squash pieces on sheet in one layer. Sprinkle remaining oil on slices. The best way to evenly distribute the oil is to get messy – pour it on your hands and wipe the top of each piece with your oiled fingers. Sprinkle slices with cinnamon and salt. Bake in oven for about 25 minutes, until squash is tender (a fork slides easily into the thicker pieces) and just starting to turn golden brown. Do not be deceived – it may not look done, but it really will be. Serve immediately.

Post Navigation