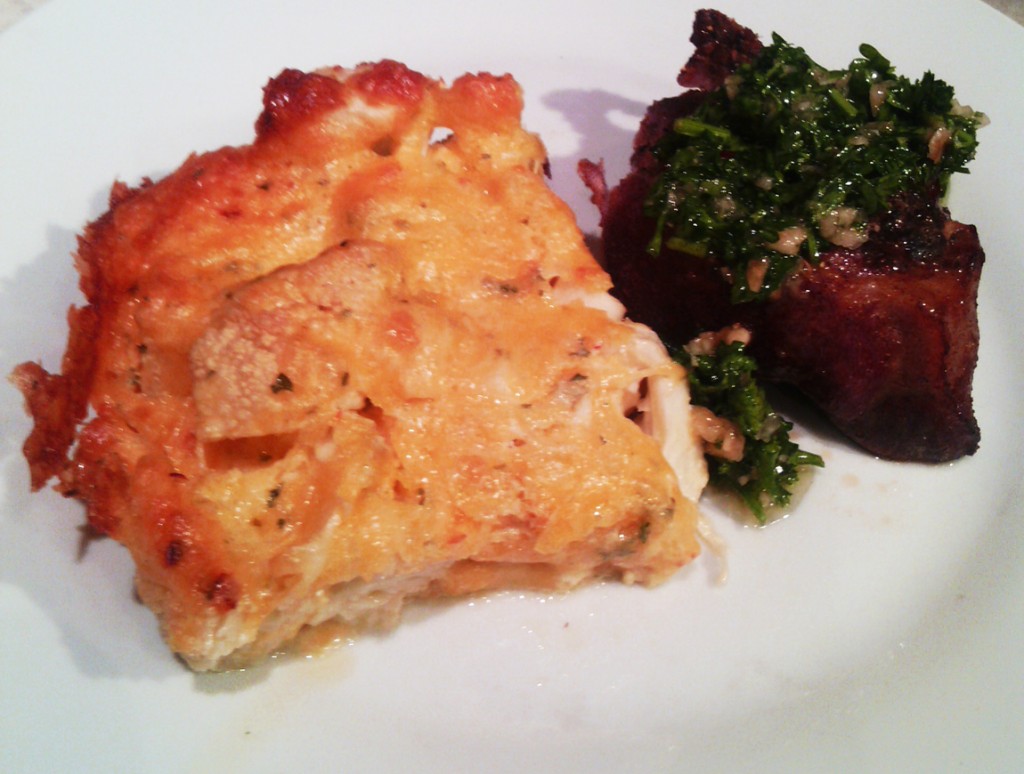
Rolled Chicken Breasts
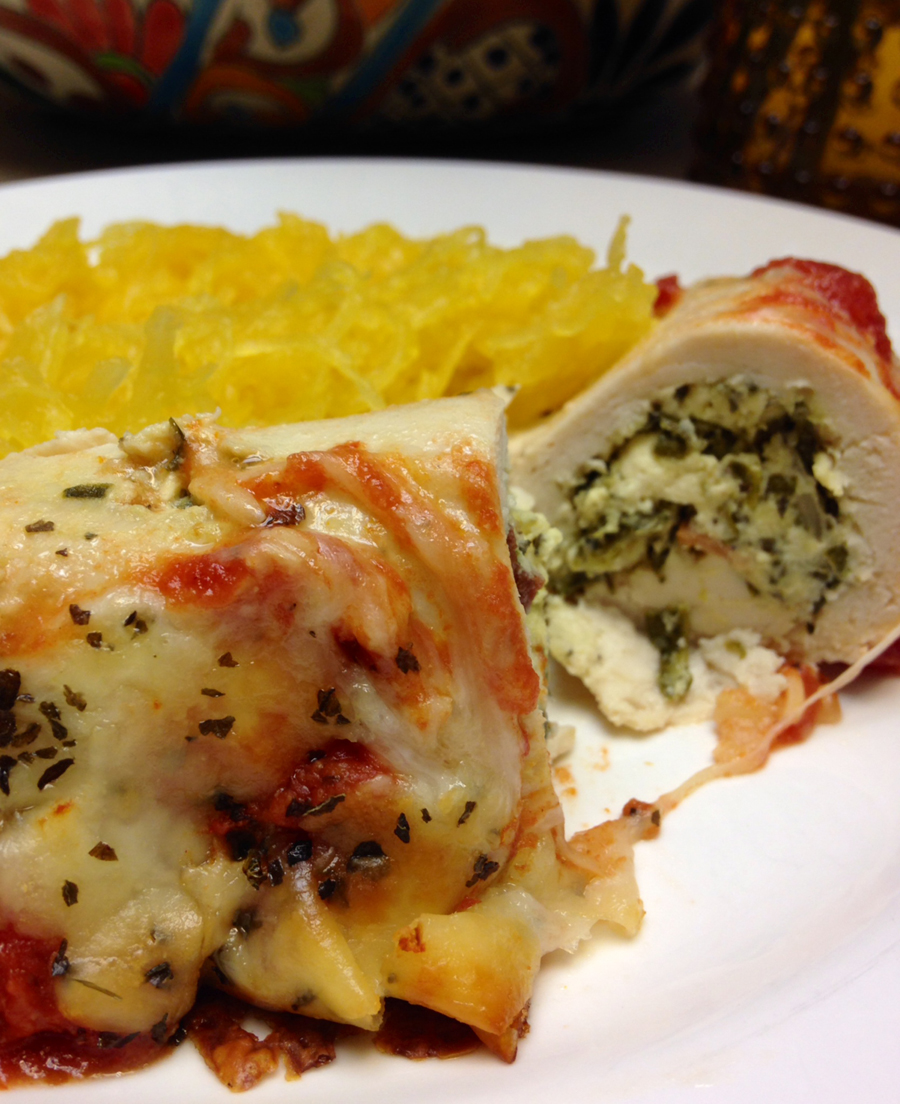
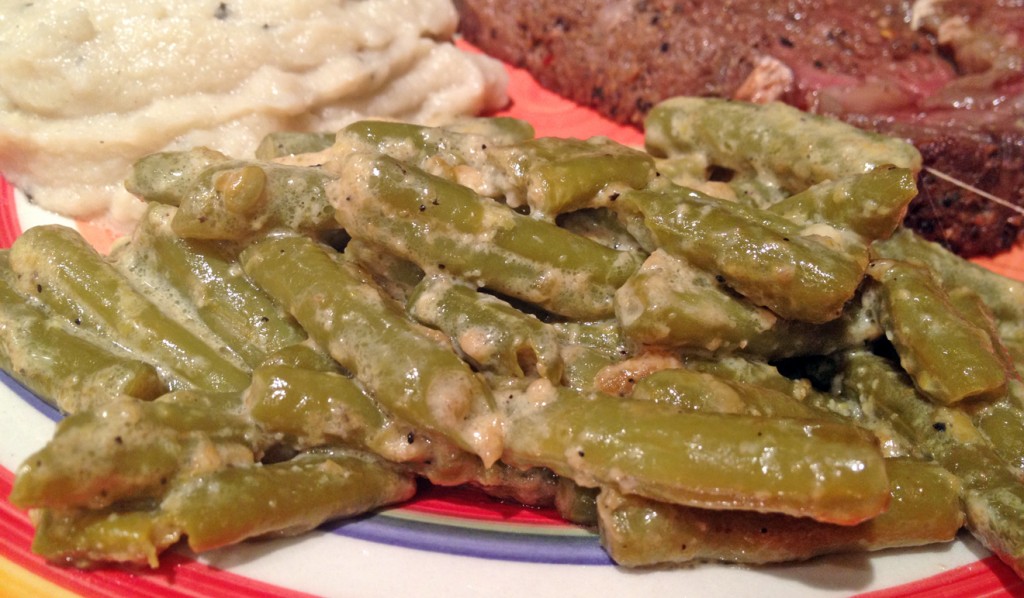
Big D does not prefer fowl white meat. Whether it is turkey or chicken or other, more exotic birds, he goes for the dark meat as much as possible. He will eat the white stuff, but only out of necessity. When he has to resort to a chicken topped salad when dining out he will eat it, but begrudgingly and with thoughts of thighs dancing in his head. I have similar preferences, but they do not run as deep, so when I was visiting my mom I took advantage of white fowl connoisseurs and made a recipe I have long pondered. Besides the satisfaction of pounding flesh into oblivion, the balance of flavors was supreme, with the mildness of white chicken meat and kick of the stuffing. Since the chicken was thin, the cooking time was kept short and the dish was moist, in a good way. Never hesitate to pound the meat just a little bit more, for it won’t hurt the chicken, and it can’t help but release anything lingering and seething in you. I almost called this recipe ‘stuffed’, but since I did such a good job of pounding the ‘rolled’ version of the name seemed appropriate. I served the rolls with some baked spaghetti squash and viola! Dinner!
Rolled Chicken Breasts
6 boneless chicken breasts
2 cups baby spinach leaves
1 1/2 cup crumbled feta cheese
6 pieces bacon, cooked crisp
1 tsp dried basil leaves
2 cups mozzarella, shredded
4 ounces tomato sauce
12.5 ounces diced tomatoes
1 tsp garlic powder
1 tsp onion powder
Salt and pepper to taste
Preheat oven to 350 degrees. Pound chicken breasts with kitchen mallet until no thicker than 1/4 inch. Chop spinach finely, crumble bacon and combine them with feta and basil in medium bowl. Season both sides of chicken with salt and pepper. Lay a breast flat on your work surface with the longest section going left to right. Place 1/4 to 1/3 cup (divided equally among the breasts) of filling in the middle of the flat meat. Starting from the left or right carefully roll the breast until it overlaps with the chicken on the opposite side of the filling. Place stuffed breast in a 9×9 (snugly) or 10x 10 (close but not so snug) or similar sized baking dish. Repeat with the other five breasts and place them in the dish. Place in preheated oven, covered. Bake for about 20 minutes. While chicken is baking combine tomatoes, tomato sauce, garlic powder and onion powder in a medium sauce pan over medium high heat. When the mixture begins to bubble turn the heat down and summer uncovered for about 15 minutes. Add salt to sauce if needed. When chicken finishes cooking for 20 minutes remove it from the oven. Sprinkle half the cheese on the chicken, top with the tomato sauce and then the rest of the cheese. Return the pan to the oven uncovered and cook for 15 – 20 more minutes, until the edges begin to brown. Remove from oven and let sit for five minutes before serving.