Any Kitchen Will Do

Give me a kitchen and I will cook.

Archive for the category “baked”

Deconstructed Cabbage Rolls

2015-10-06 11.27.52

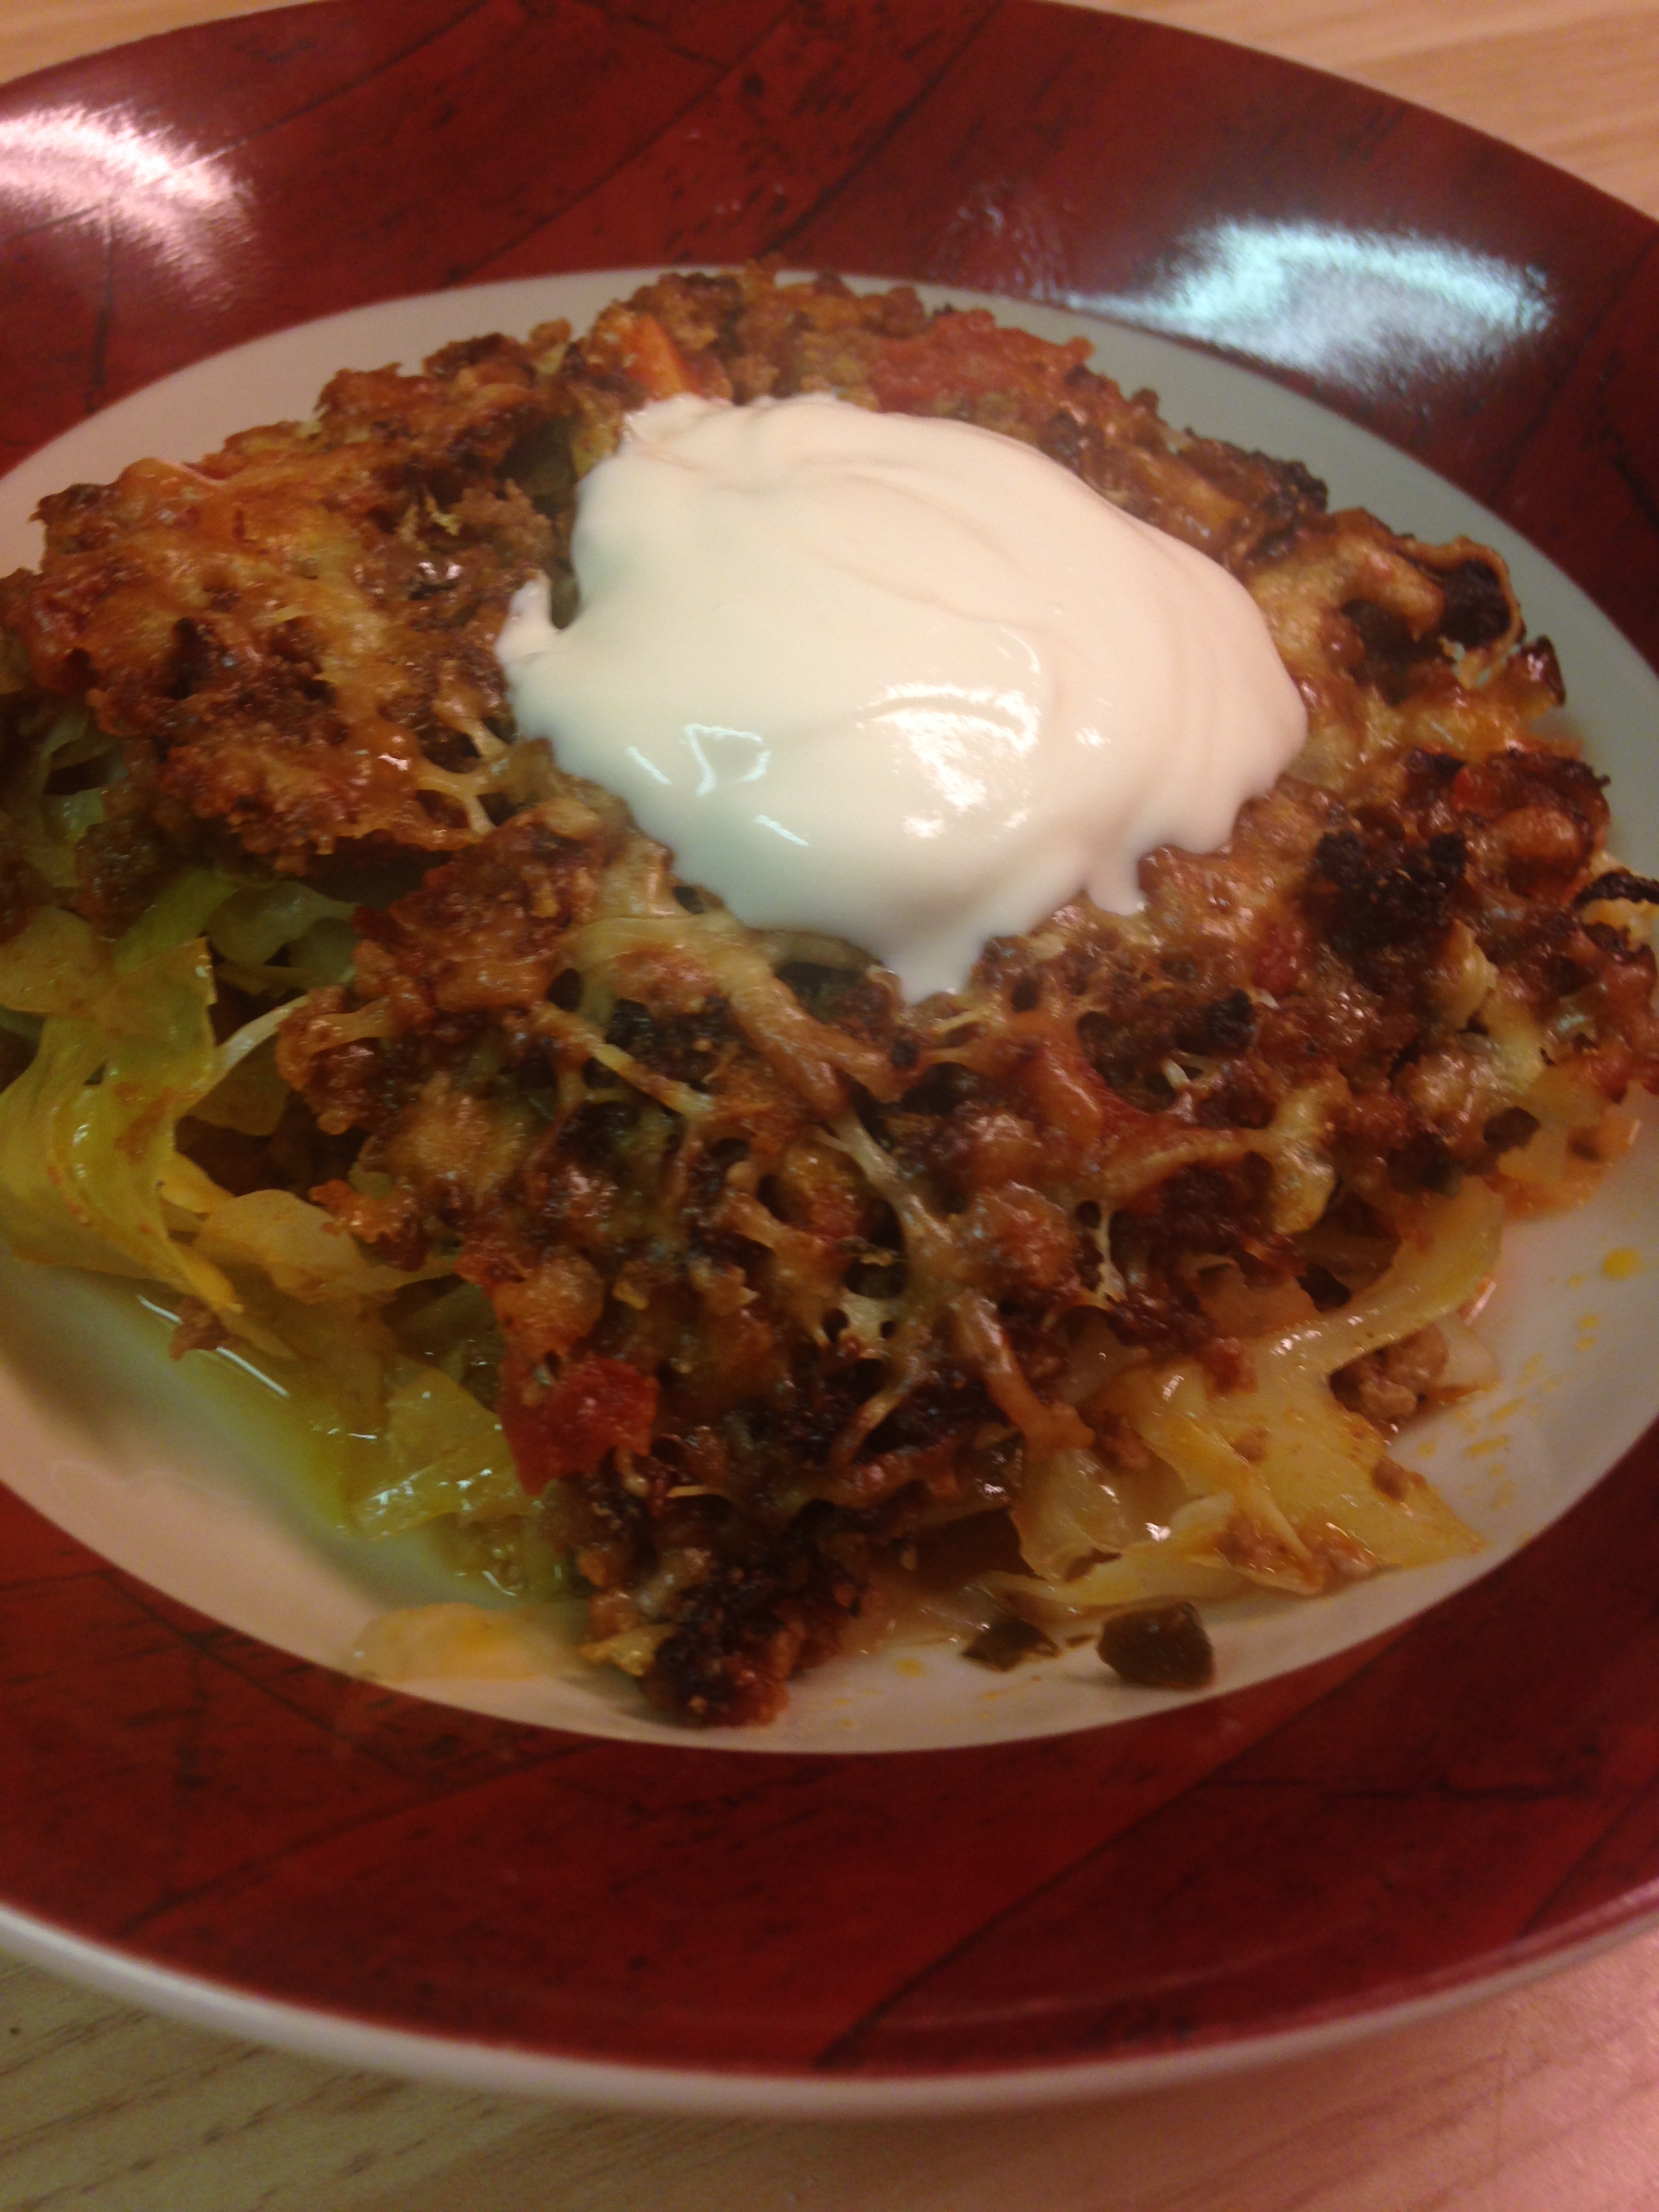
Although the ingredients are not seasonally limited, I always consider cabbage rolls to be an autumn dish. They are a baked, one dish meal that freezes and reheats well. The other day I had a craving for thema, as the outside temperatures are gradually dropping, but I did not have as much time as needed to do them up right – blanching the cabbage leaves enough to roll them was more demanding on time than I had, so I embraced the concept of deconstructing them.

Yes, I have recently watched a few episodes of Chopped on the Food Network. I don’t watch many food shows or competition shows, but that one intrigues me. I don’t now if it is the frantic desperation of some contestants, or the odd combination of ingredients that have to use, but I get a kick out of it. If you have ever seen the show you will be familiar with the requirement that specific, typically unrelated ingredients have to be used to create an appetizer, entrée or dessert in a limited amount of time. “Deconstructed” versions of dishes are often presented on the show typically because of time restraints. It was very fitting for my brain to wander to the show concept when a rather rigid time limit was presented to me.

I think the key to this dish is the well shredded cabbage. It cooked faster than larger pieces or fully rolled cabbage rolls. Also, the small cabbage pieces helped soak up all the wonderful flavor of the fresh garden herbs I harvested before they went to seed, as well as the joyful combination of beef and tomatoes in the alternating layers. I ate too much because it was so good, Big D already asked when it will be made again, and Little B’s plate was empty when she asked for more. I hope you enjoy it too!

Deconstructed Cabbage Rolls

1 small head cabbage, shredded
1 medium carrot
1 small yellow onion
5 cloves garlic
3 Tbsp extra virgin olive oil
20 fresh basil leaves
1/3 cup fresh oregano leaves
1/2 cup fresh thyme leaves
1 cup fresh parsley sprigs
2 pounds ground beef
1 14.5 ounce can diced tomatoes
1 8 ounce can tomato sauce
Sea salt and ground black pepper to taste
1 tsp ground nutmeg
1 cup grated parmesan/asiago/romano cheese
Sour cream (optional for serving)

Chop onion, carrot and garlic into small pieces. Roll the basil, oregano, thyme and parsley leaves into a small roll. With a sharp knife slice the herb roll. Cross chop the herbs again until the oils are released. In a large iron skillet over medium high heat add the olive oil. When the oil is hot add the carrot, onion and garlic. Cook for about two minutes, until the onions begin to turn transparent and brown. Add the chopped herbs and stir, cooking for another two to three minutes.

Clear the vegetable mixture from the center of the skillet. Add the ground beef and break it up, folding in the vegetables as the beef pieces get smaller. When the meat is broken up into small pieces and beginning to brown add the diced tomatoes and tomato sauce. Stir and turn temperature under the skillet to high. Let bubble and cook, stirring every few minutes, until the liquid reduces by half, about five to eight minutes. Turn heat down to medium and simmer for another five minutes. Salt and pepper generously to taste.

Preheat oven to 350 degrees.

In a 9×13 baking dish place half of the shredded cabbage into an even layer. Sprinkle with salt, pepper and 1/2 tsp of ground nutmeg. Add a layer of the meat mixture, making sure half of it is left for another layer. Add a second and final layer of cabbage, again sprinkling with salt, pepper and the rest of the nutmeg. Add the second and final layer of meet, covering all the cabbage.

Sprinkle the cheese mixture on top of the meat layer. Place in preheated oven on the top shelf. Bake for 30 minutes. Check the top of the casserole, making sure it is not browning too quickly – if it is, place it on the middle or lower shelf. If is is barely brown or not at all, leave it on the top shelf.

Bake for 30 more minutes. Remove from oven and let sit for 10 minutes before serving.
Apple Herb Pork Loin

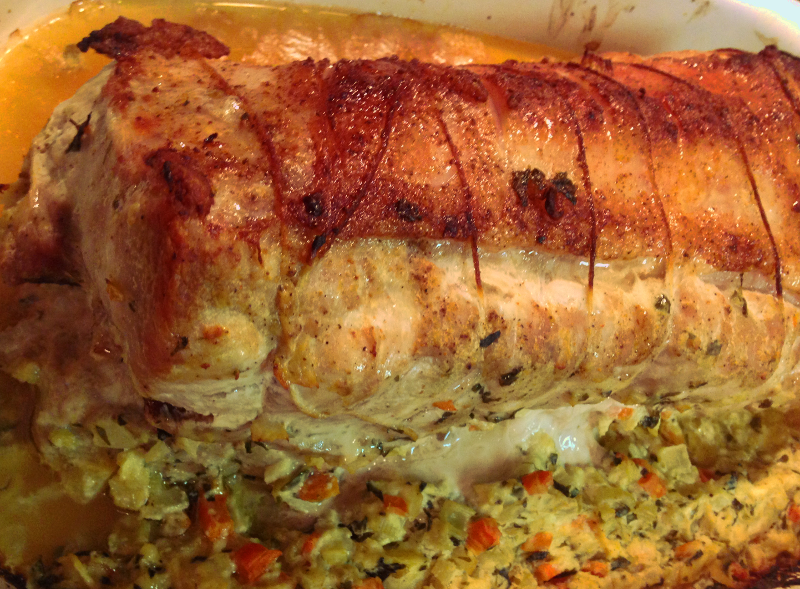
applestuffedporkloin I made this roast for my mom’s birthday. She is on the verge of a milestone birthday and generously came to us instead of us travelling to her, since I am so busy on weekends with Grain Free Haven. I knew she loved apples with her pork, but wanted to do something other than apple sauce to serve with it. The garden is still bursting with herbs so I poked around in it for inspiration. The finished roast ended up being a beautiful, seasonally stuffed centerpiece to a celebratory dinner, surrounded by steamed veggies, hollandaise sauce and wine, of course.

As you can see from the picture my rolled roast did not stay fully rolled – a trimmed roast may have stayed in place better, but I love how moist pork is when fat is still attached. The unrolling of the roll did not seem to detract from the ability of the flavors to spread through the pork and the stuffing complimenting it in a wonderful way. The final product may have ended up even better with the stuffing having spilled out, mixing with the roast juices. We just used a spoon to drizzle the stuffing and juices over the top of each served slice. Of course, when I make this again the stuffing will stay put and dribble out the ends. I will let you know!
Apple Herb Stuffed Pork Loin
1  4 1/2 – 5 pound pork loin, fat on
1 Tbsp butter
3 small Granny Smith apples
1/2 large carrot
1 celery heart with leaves (or 2 stalks)
1 medium white onion
4 ounces goat cheese
1/2 cup chopped fresh basil leaves
1/4 cup chopped fresh oregano leaves
1/4 cup chopped fresh parsley leaves
3 garlic cloves, finely minced
Seasoning salt or salt and pepper to taste
Roughly chop apples, carrot, celery and onion. In medium sauce pan over medium high heat melt the butter. Add garlic, onion, celery and carrot. Cook, stirring occasionally for about five minutes. Add apples, basil, oregano and parsley, cooking for three more minutes. Drop in goat cheese and stir until melted. Let mixture simmer until bubbly. Remove from heat.
Preheat oven to 400 degrees. With a fillet knife gently cut into the loin about 1/2 inch below the fat layer, curving around to continue the 1/2 inch thickness until the loin lies flat. Generously sprinkle all sides of the loin with seasoning salt or salt and pepper. Place the loin with fat face down. Using kitchen twine place a length under the loin every inch, making sure there is sufficient length to tie knots.
Place the apple mixture on the end opposite the face down fat. Carefully roll the loin over the filling, ending with the fat side facing up. Tie each length of twine to secure the roll. Place in shallow 9×13 baking dish.
Bake in 400 degree oven for 20 minutes. Reduce temperature to 300 degrees and bake for an additional 40 minutes. Remove from oven and let rest for about ten minutes before serving.


Garden Chicken

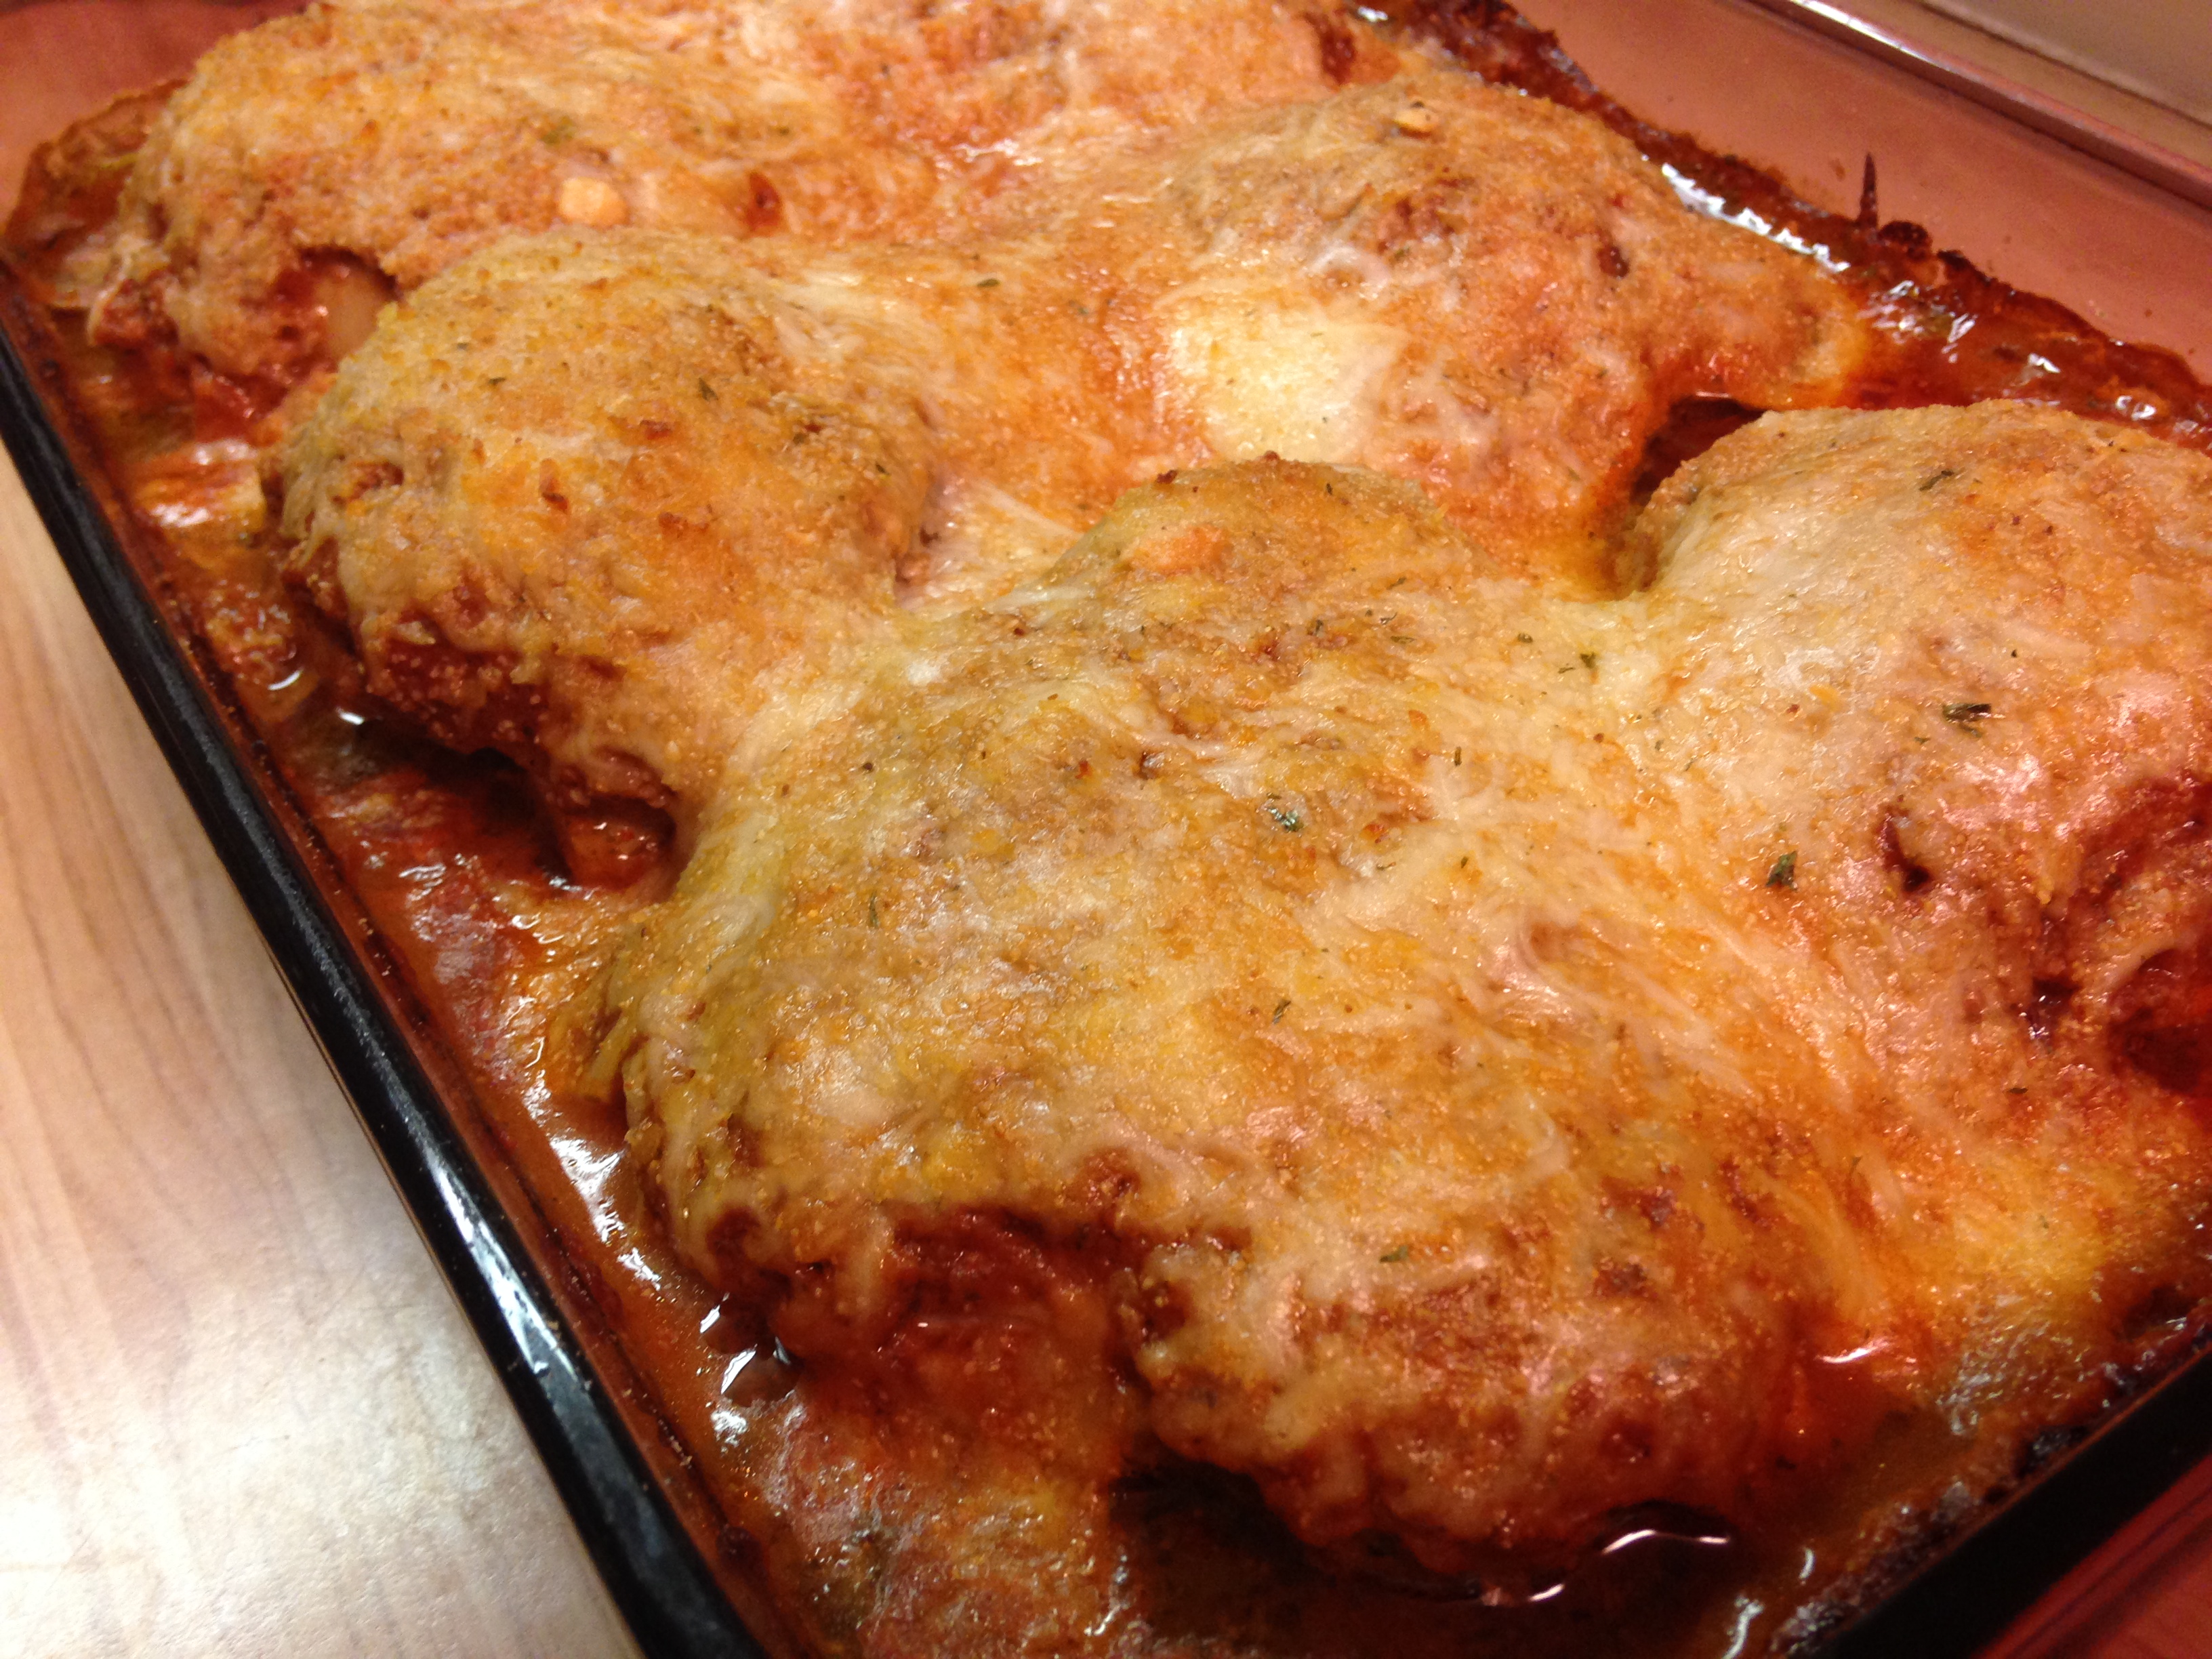
2015-08-29 17.59.51Since I began my new business, Grain Free Haven, I have spent a ton of time in the kitchen, but not so much on new stuff. I have been making large quantities of the reliable recipes we love, to share with all my new customers. In my continued effort to contribute to the healthy eating of my family, I share with you now ANOTHER chicken recipe. I swear it is different enough from this chicken recipe, and this one and this one and this one to warrant sharing…. Even with all the bulk baking for the business I still want to spend time in the kitchen making new stuff, so I am making a concerted effort to still come up with new stuff.

Much of what you need for it comes from your garden, or your neighbor’s garden, or even your local farmers’ market vendor gardens…in my case it came from my brother’s garden. The dish is full of summer and the sauce, which can be made in advance of baking the chicken, is addictive. I warned you.

Garden Chicken

2 pounds fresh tomatoes (or 2-14 1/2 ounce cans diced tomatoes)
3 garlic cloves, crushed
1/2 medium yellow or white onion, chopped
1 cup fresh basil leaves
1/4 cup fresh oregano leaves
1 cup fresh parsley leaves
4  cups fresh, raw spinach
2 tsp sea salt
1 tsp ground black pepper
1/3 cup heavy whipping cream
8 – 10 chicken thighs, bone in and skin on
Salt and pepper, to season chicken
1 cup finely grated Parmesean cheese
2 cups grated mozzarella cheese
1/4 cup finely chopped mixed fresh herbs (optional)

Roughly chop tomatoes and place in large sauce pan uncovered over medium high heat. Add onion, garlic, basil, oregano and parsley. When mixture is bubbly reduce heat to medium and continue cooking uncovered for 30 – 45 minutes, until liquid from tomatoes is released and reduced by about half. Add the spinach, salt and pepper, stirring until the spinach wilts and mixes with the tomatoes. Let simmer for ten more minutes. Remove pan from heat. With an immersion blender (or carefully pour the hot stuff into a stand blender) purée the sauce until tomatoes, spinach and herbs are blended into a smooth sauce. Simmer for five more minutes to reheat sauce, then thoroughly stir in heavy whipping cream. Remove from heat.

Preheat oven to 350 degrees. Season chicken on both sides with salt and pepper, then place them in large baking dish. Sprinkle half the Parmesean cheese over the chicken thighs. Pour tomato sauce over chicken, making sure it is covered and there is a layer on the bottom of the dish. Sprinkle mozzarella cheese and optional chopped herbs over chicken, followed by the rest of the Parmesean cheese. Place in oven for 30  minutes. Cheeses should begin to brown. Cover dish loosely with aluminum foil (to prevent cheese from getting too brown) and bake for 15 more minutes.

Remove from oven and let sit for 10 minutes before serving. When serving gently lift the chicken out of the dish, trying not to disturb the sauce and cheese that has moulded on top of each thigh – as the dish cooked the tomato solids settled on top of the chicken with the cheeses and the juices ran down, so serving with the ‘topping’ intact makes for a pretty presentation.
 

Roasted Radishes

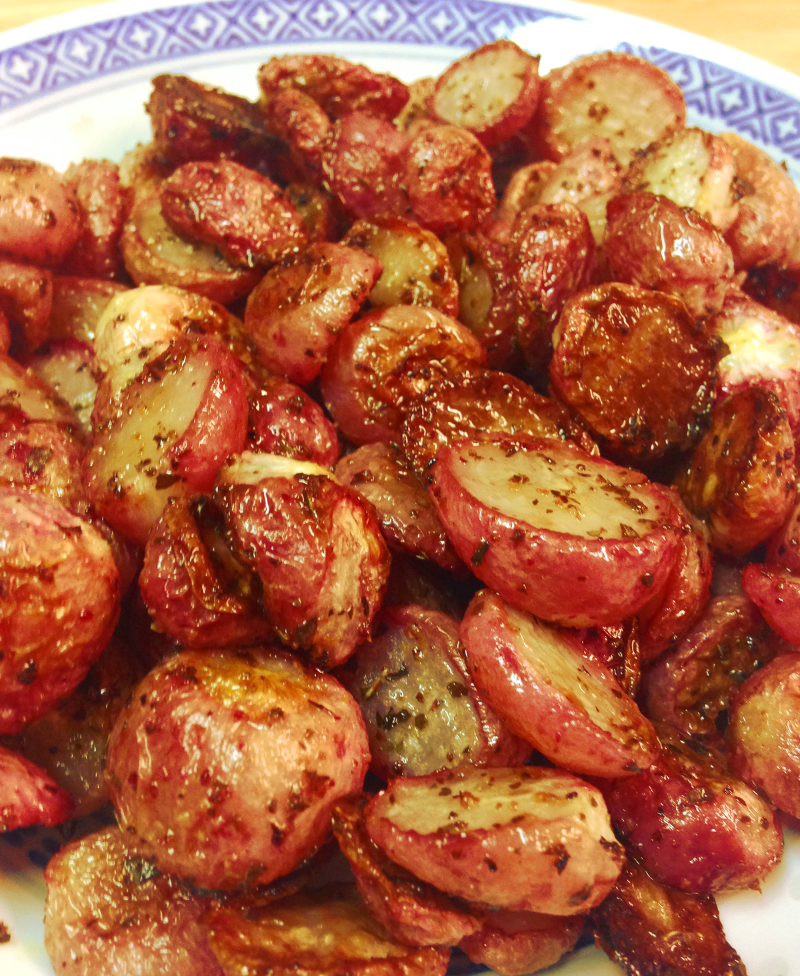
roasted radishesAs a kid I did not pay much attention to radishes. They were occasionally included in my green salad, but were a bit spicy for me, along with the raw onion. When older I realized that the spicy and peppery of onions and radishes were wonderful, and I added them in droves. I also found out that the heat of raw radishes and onions changed dramatically when cooked. I often cook up onions to compliment other vegetables and dishes, like in my French onion dip, which is the same for radishes. As you can see from the picture, they can easily be mistaken for roasted new potatoes or turnips. These guys are like vegetable candy. The radishes remind me of turnips, but much more tender and sweet from the start.

Texas is bursting with vegetables during the summer. Farmers markets are full of root vegetables, including radishes and I totally went for it. The radishes were ecstatic raw with a peppery bite to them. The great thing about radishes is that they are tender from the beginning, and only get more tender if cooked. They can be lightly roasted until just heated through, or if they are roasted a bit more, you allow for a bit of caramelizing. I did the longer cooking time to maximize the caramelizing. They go great with the pile of smoked meats that came out of the smoker when the radishes came out of the oven. Between the radishes, smoked meats my brother made and a big batch of coleslaw, we had a summer feast to end all feasts.

Roasted Radishes

4 cups small red radishes, chopped in halves
3 Tbsp extra virgin olive oil
2 tsp sea salt
2 tsp granulated garlic powder
1 tsp dried parsley leaves
2 tsp dried oregano leaves

Preheat oven to 400 degrees. In a large bowl combine the oil, salt, garlic, parsley and oregano. Add the radishes and toss until coated. Spread radishes evenly on foil lined shallow baking pan. Bake for 30 minutes. Remove from oven and toss, then return to oven for 30 minutes. Remove from oven again and serve immediately.

Bronze Baked Drumsticks

2015-07-09 10.37.24
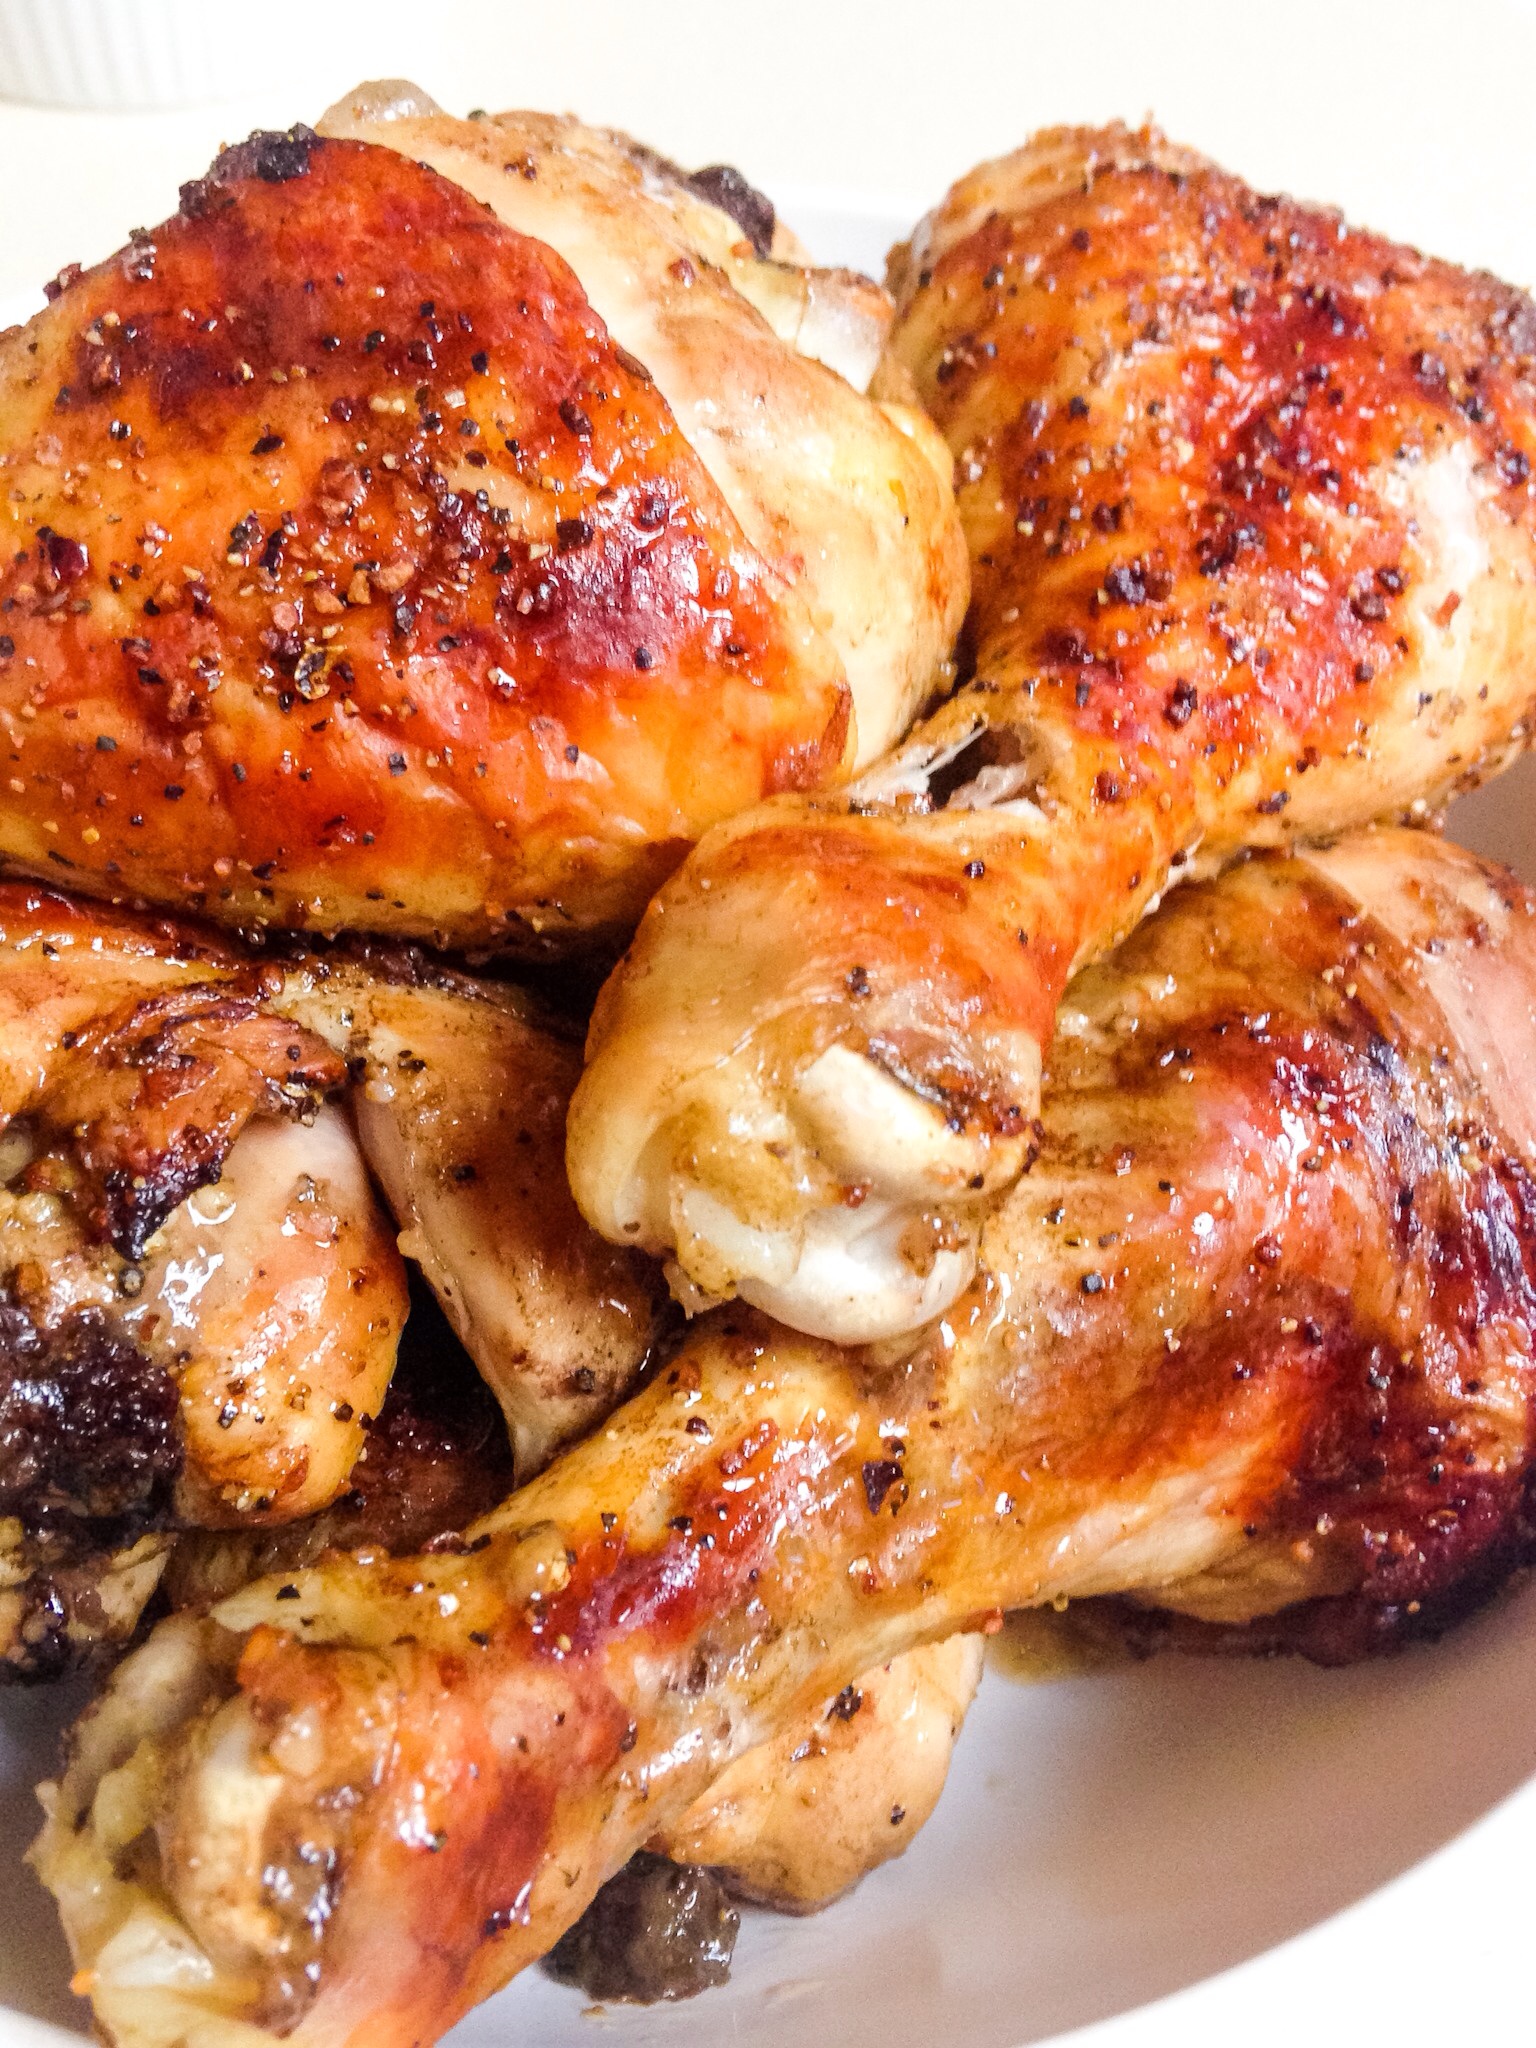
You may be about sick of me sharing different ways to cook chicken, but I can’t help it. Trust me, I don’t tell you about all of them. I never really mastered fried chicken on the stove top, like my mom – I know there is a ‘sweet spot’ for temperature and depth of oil that gets the inside cooked and the outside crispy, but I have just not made it enough to get in the sufficient practice. I do a low carb work around that is insane good, so I take comfort in my version.
Otherwise, I bake and bake it, then bake again, using different flavors. Lots of times I do little wings and drumettes, but these pretty, full sized drumsticks were hanging out at the store, so I tried them instead. This recipe, thrown together from stuff in the pantry, was quite good and pretty too! If you don’t have the seasoning mix it can be easily replaced with another, or the suggested mix noted below.
Bronze Baked Drumsticks
8-10 large chicken drumsticks
1/2 cup Worcestershire sauce
1/4 cup extra virgin olive oil
1 lemon juiced with meat retained
1 Tbsp Seasoning Salt (recommend Montreal Steak Seasoning)
In large bowl combine Worcestershire sauce, oil and lemon juice with lemon meat. Add chicken and toss until well coated. Place in refrigerator for one hour, tossing again after 30 minutes. Preheat oven to 375 degrees. Line large shallow baking pan with aluminum foil. Remove drumsticks from marinade and let excess drip off, then place on baking sheet. Place in oven and bake for 45 minutes to one hour, until chicken juices run clear. Remove from oven and let rest for five minutes before serving.
Note: if you don’t have the Montreal Steak Seasoning mix, try the following: 1 tsp sea salt, 1/2 tsp ground black pepper, 1/2 tsp garlic powder, 1/2 tsp onion powder, 1/4 tsp ground cumin, 1/4 tsp ground mustard, dash red chile pepper flakes

Tangy Feta Pork Chops

tangy feta pork chops

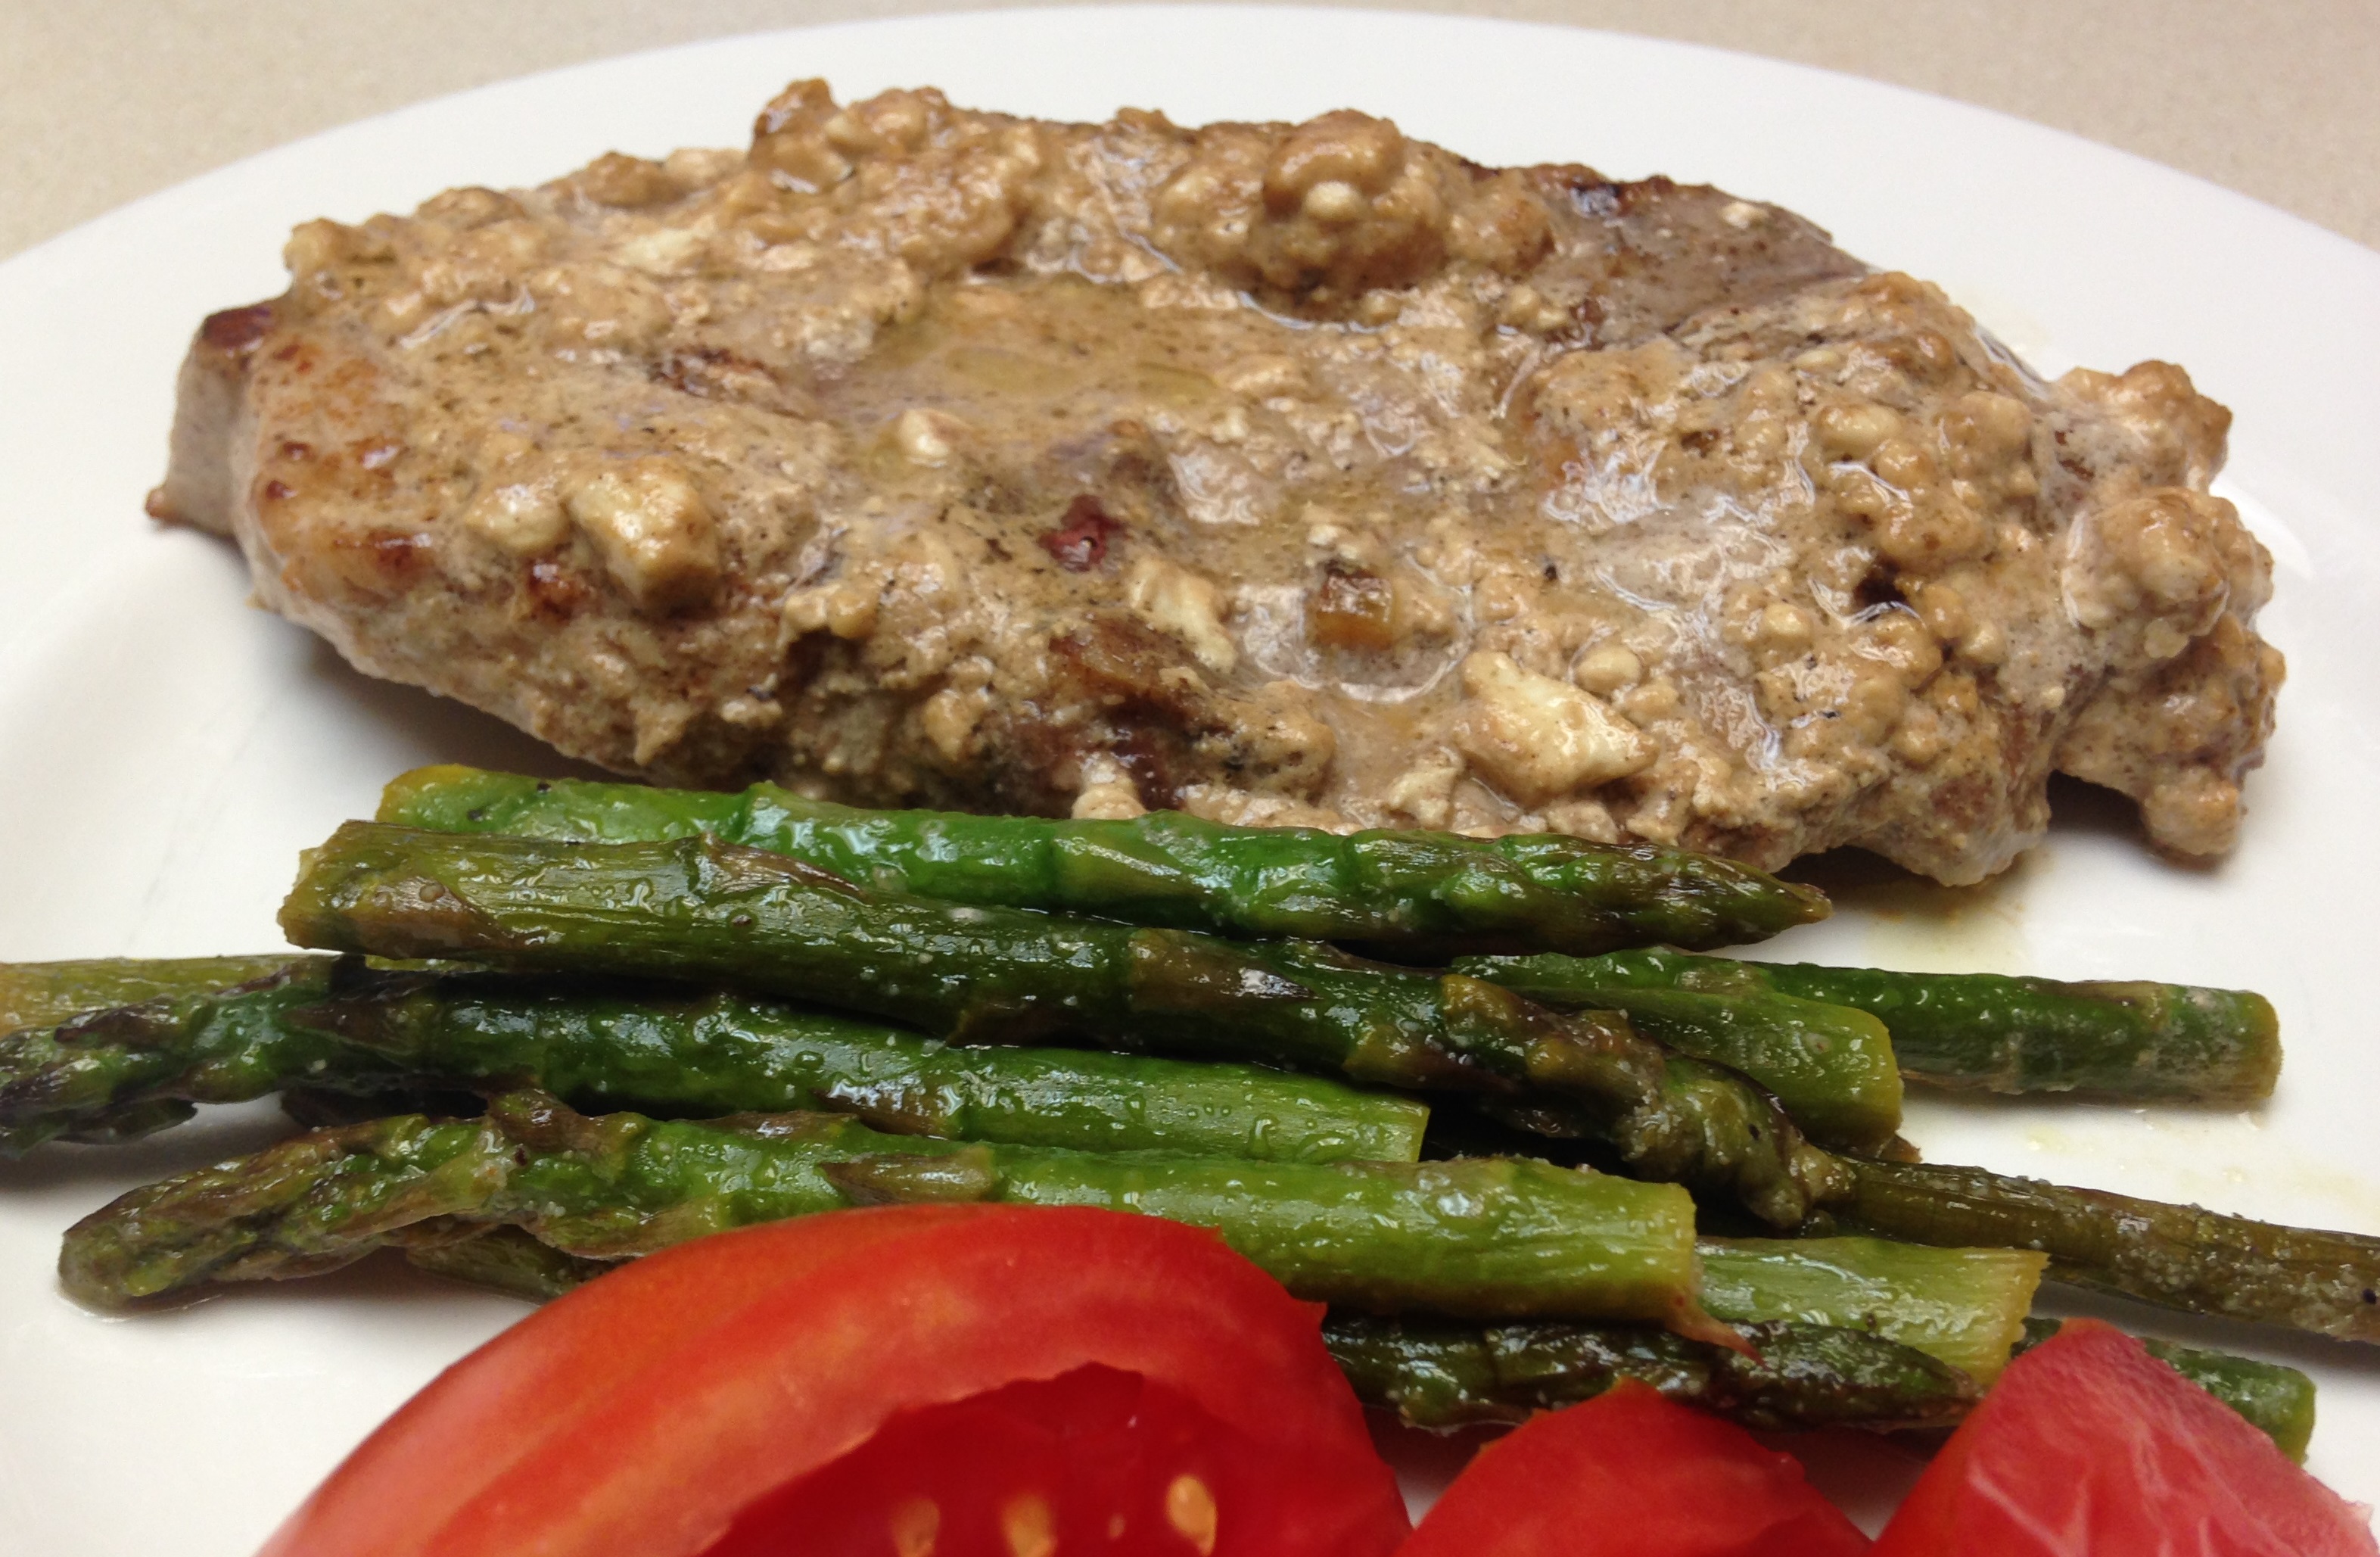
Just like chicken, pork is quick and easy to make, so the challenge is adding variety to the flavors surrounding them. A lot of my chicken and pork recipes are interchangeable, like this one, because both proteins represent mild flavored bases. They can be smothered easily enough, or done in a skillet with a light sauce like these mustard cider chops.

Another easy way for me to make pork chops is to sear, make sauce, pour it on chops and bake for a bit. I call it SSPB – Sear Sauce Pour Bake. The prep is quick, and if forces beyond my control delay dinner, then letting them sit in a turned off oven after they are done cooking does no damage. I know such things NEVER happen to anybody else, but if it ever may happen to me, this is the type of dish I make. Things like traffic delaying dinenr participants, discovery of a new spider, a Minecraft world I just HAVE to see, or the wonders of a summer thunderstorm that must be observed from outside. Here is a recent SSPB using citrus to go along with the tang of the feta. Dinner indeed got delayed about twenty minutes because of an art project, so the delay factor was indeed tested on this one!

Tangy Feta Pork Chops

2 Tbsp extra virgin olive oil
6 thin cut pork chops (with or without bone)
1 lemon, juiced with meat retained
1 lime, juiced with meat retained
1 clove garlic, minced
Salt and pepper to taste
1 cup crumbled feta cheese
½ cup heavy whipping cream

Preheat oven to 350 degrees. With kitchen scissors or a knife make a ½ inch slit in the curved edge of each pork chop, towards the center. Generously season pork chops with salt and pepper. Place three chops in a large pan over high heat, cooking until downward facing side is seared, about two minutes. Flip chops and repeat searing. Remove chops to 9×13 baking dish. Repeat searing with remaining three chops. Remove to baking dish. Turn heat to medium low. Add lemon and lime juice to pan, scraping brown bits from bottom. Add feta and cream. Stir until sauce is bubbly, about 3-4 minutes. Pour sauce over pork chops. Cover baking dish with foil and bake for 20 minutes, until pork is cooked through and juices run clear. Chops can be served immediately, or left in oven with heat turned off for about an hour to keep warm.

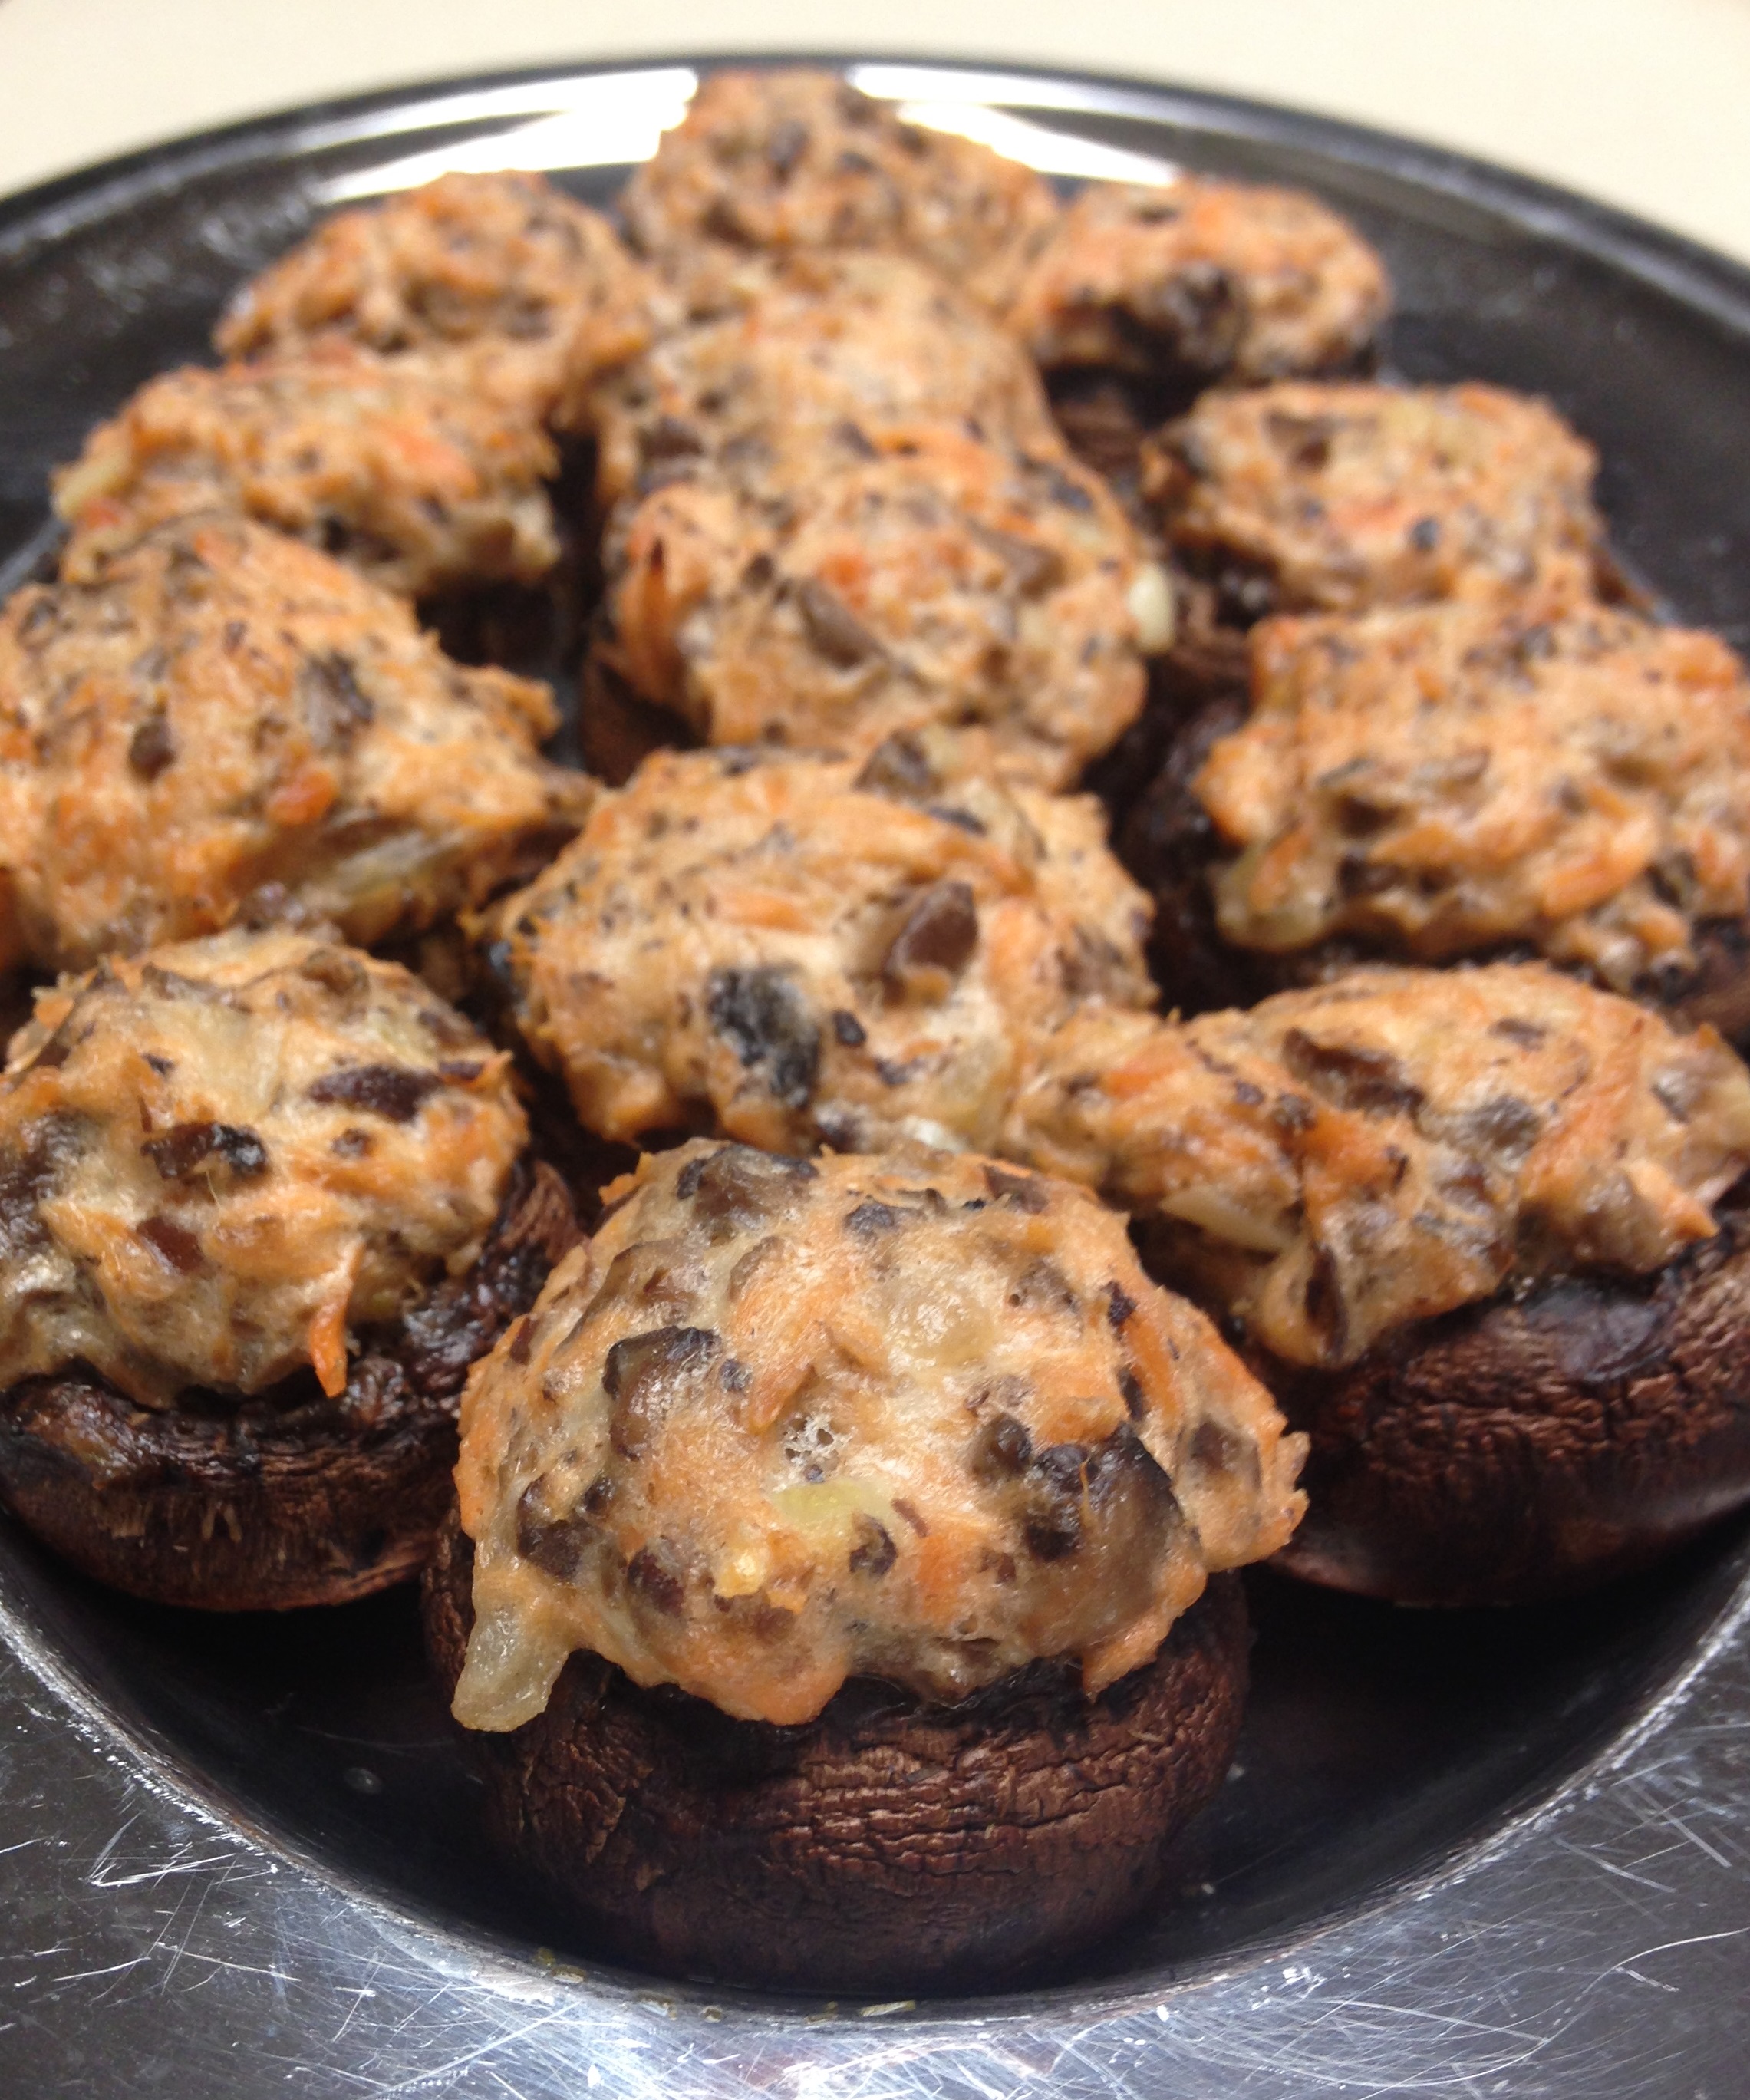
Salmon Stuffed Mushrooms

salmon stuffed mushrooms

I came up with these when thinking about my in-laws. They are very special people I have known since I was about eight years old. One loves salmon, one not so much. She can usually find shrimp acceptable, but not at all with the salmon. When the salmon eater comes to dinner without the other we often do salmon. The situation came up at dinner a few days ago, and there was some poached salmon left over. There is always the opportunity to use salmon leftovers at a brunch or in a frittata, but I wanted something for dinner. Not breakfast-for-dinner, but dinner-for-dinner.

I didn’t want to overwhelm the salmon with other flavors, so I stuck with ingredients used when poaching the salmon. Being surrounded by mushroom, cream cheese and egg whites the salmon did not get dried out or overcooked. Funny the way things worked out – the salmon loving in-law was also at dinner to enjoy these mushrooms! Go figure!

Salmon Stuffed Mushrooms

15-20 miniature Portabello mushrooms
3 garlic cloves, minced
1 Tbsp extra virgin olive oil
2 egg white
6 ounces poached salmon
1/2 + 1/4 tsp fresh dill
1/2  cup cream cheese, softened
1/2 cup water
Salt and pepper to taste

Scoop out stem and meat from caps of mushrooms. Chop the stems finely. In a small skillet over medium heat add the oil. When oil is hot add the mushroom stems and garlic. Stir occasionally until mushrooms have released moisture and liquid is reduced. Remove from heat. In medium bowl whisk egg white until foamy, about 15 seconds. Add to the whites cheese, salmon, 1/2 tsp dill and stir until combined. Add the stem mixture. Add salt and pepper to taste. Preheat oven to 350 degrees. Fill mushroom caps with cheese mixture. Place filled caps evenly distributed in a 9×13 baking dish. In a measuring cup mix the water with 1/4 tsp salt and 1/4 tsp dill. Stir until salt is dissolved. Pour water into bottom of baking dish. Bake in oven for 30 minutes, until mushrooms shrink and filling puffs up. Remove from oven. Place mushrooms onto platter and serve immediately.

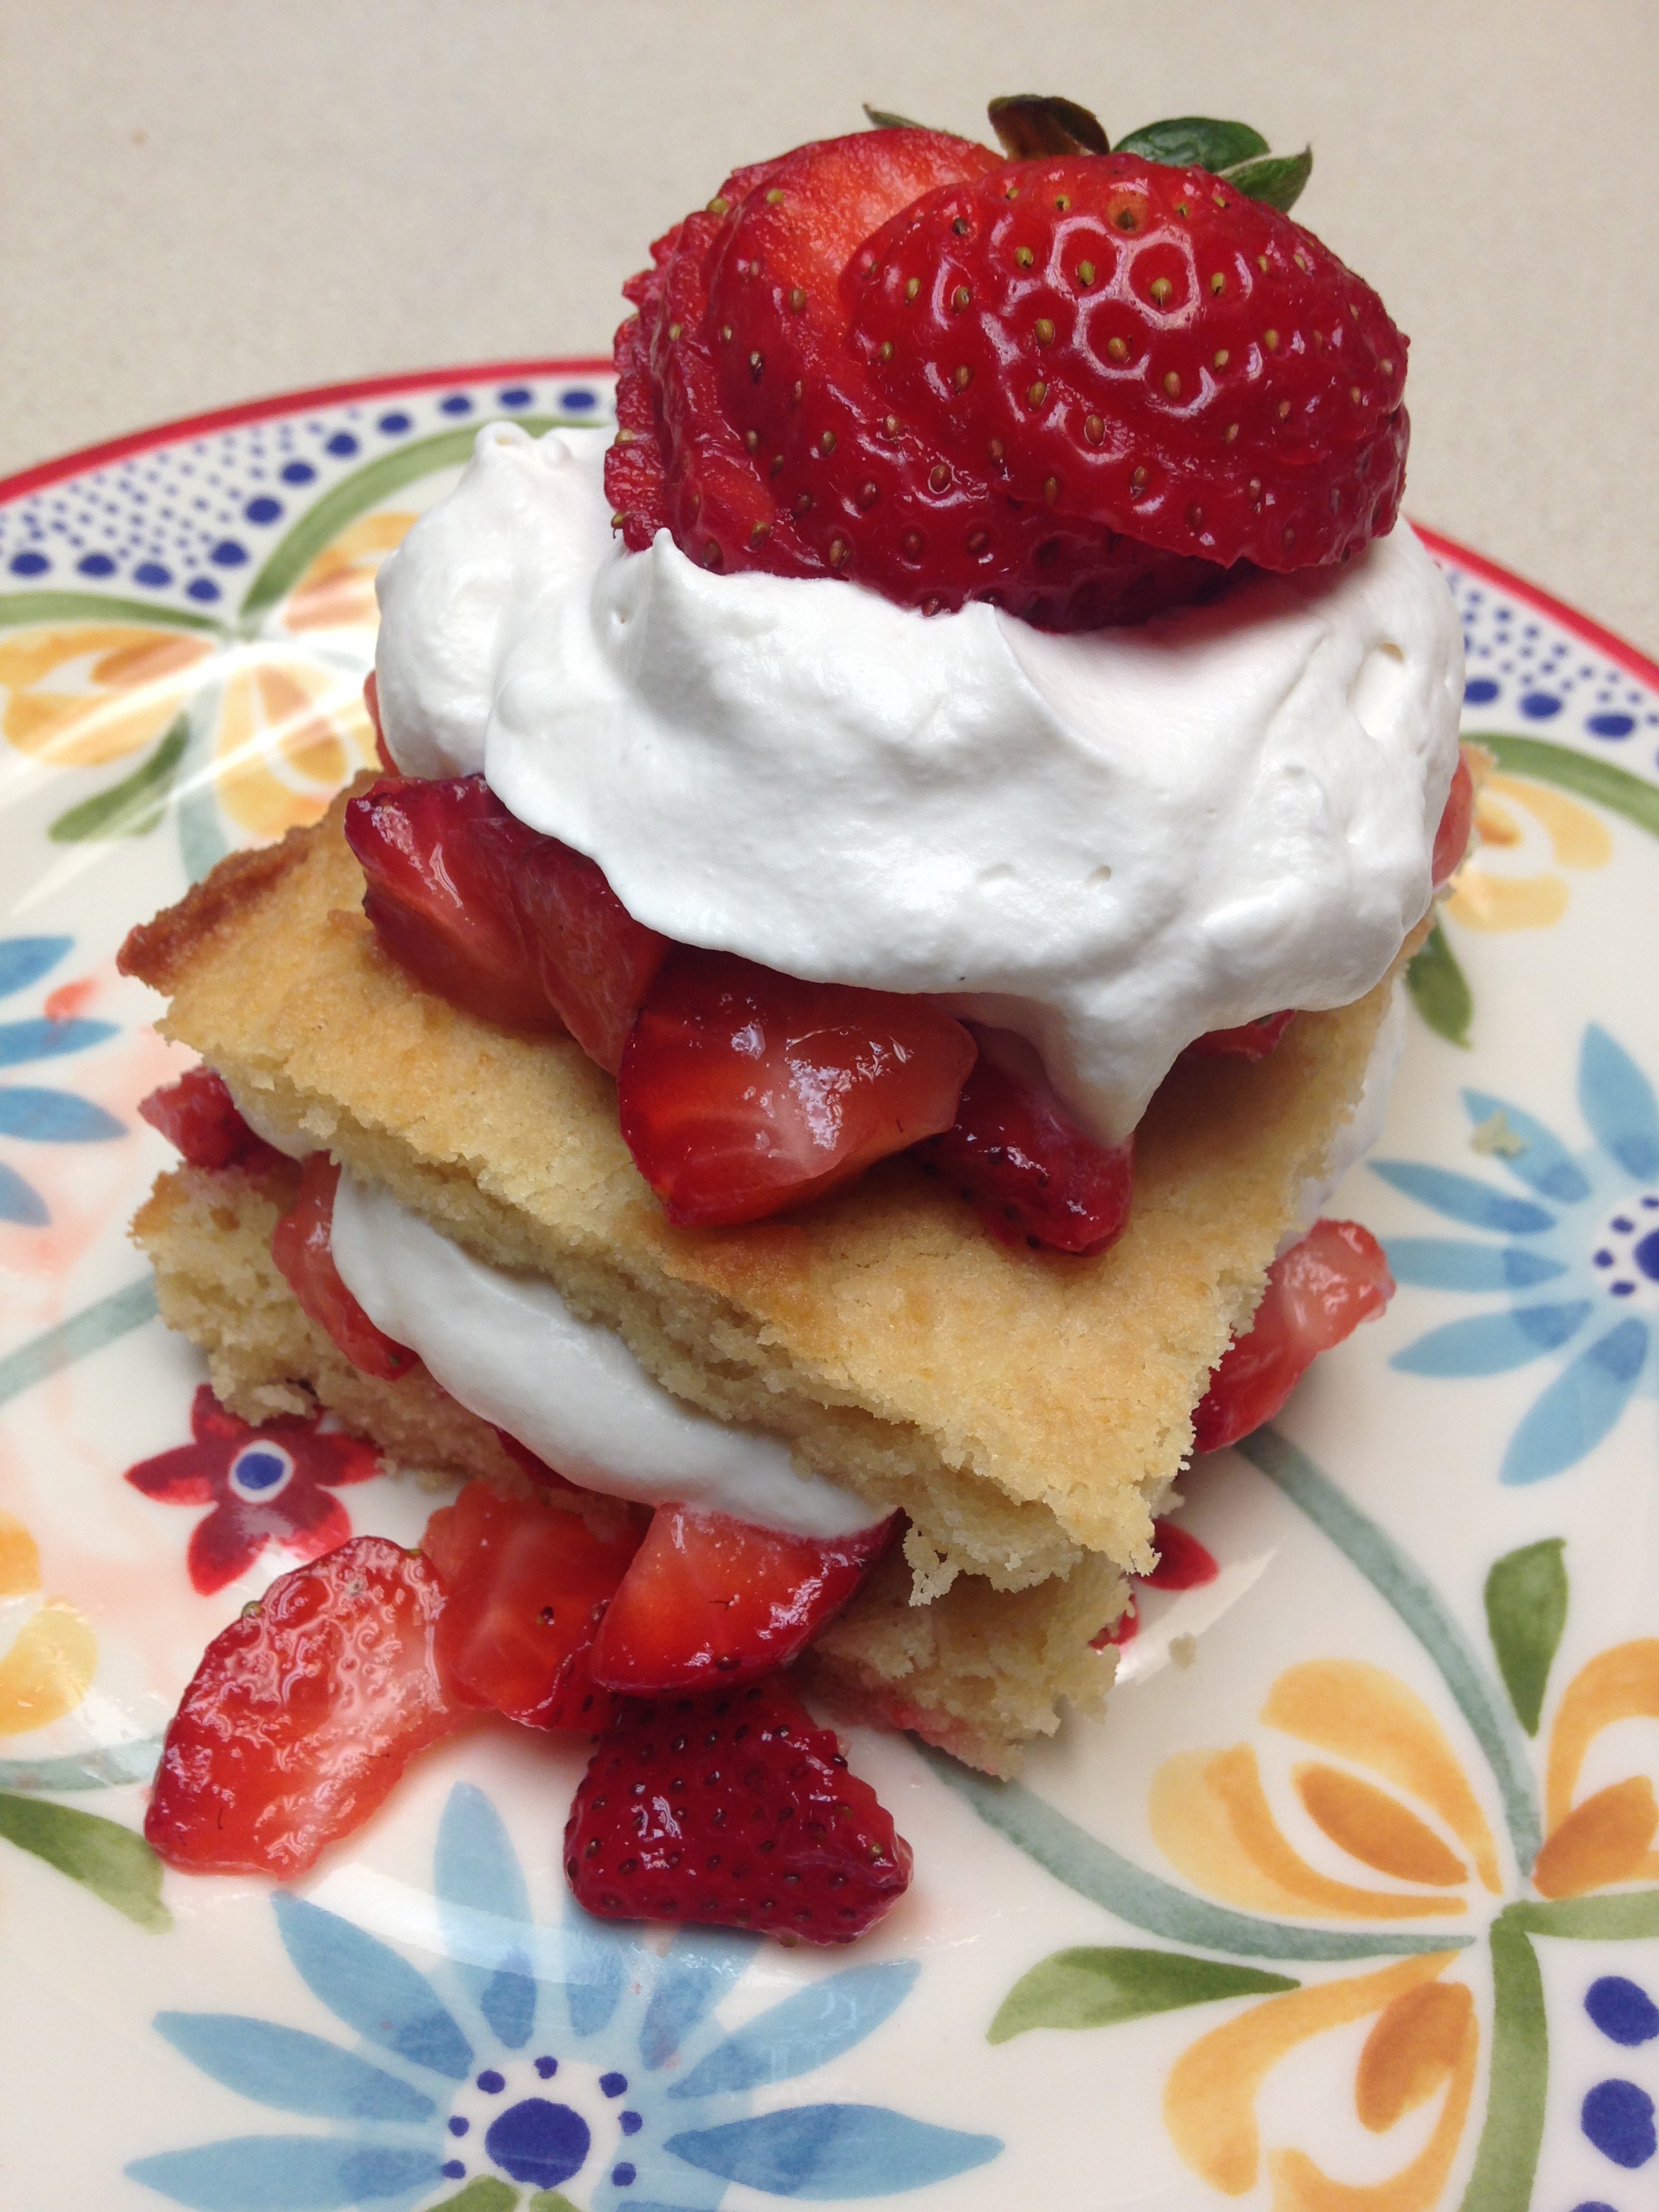
Shortcakes

straw shortcake

Summer is so  much about bright, ripe fruit I could strangle myself. I grew up in South Texas, where they have at least a dozen fruit-based festivals every summer – watermelon, blueberry, tomato, peach, grapefruit, cantaloupe, gourde, hot sauce, wine, strawberry….oh wait, some of those aren’t fruit, but they might as well be, the way Texans consume them in the summertime. My favorite is strawberries. We would get strawberries by the flat. They would go in our cereal, salads, on toast and waffles, and of course dessert. One year I ate so many I got hives while in a movie theater watching Steel Magnolias. First there was the itch, then the welts, then the freaking out because I never had them before and wondering what I caught at work serving frozen yogurt. Friends assured me they would go away and they did, after a day or two. Strawberries were the obvious culprit. It has not happened since, but I am very careful when faced with an entire flat of the berries.

Because of the higher carbohydrate count of the stuff, I am also careful, in spite of the fact they fall very short of the most wonderful stuff on earth. To balance the carbs of berries I have come up with this otherwise pretty low carb dessert. My favorite version is with strawberries, but any berry will do. I took a chance and tweaked some successful almond meal based muffin recipes, in the hope that there would be enough sponginess and firmness to honor the berries. The cake came out wonderfully – moist and cakey but not too dense. You cannot believe how happy I am to have strawberry shortcake in my grain free, lowish carb repertoire!

Shortcakes

1 1/2 cups almond meal
1 1/2 tsp baking powder
1 Tbsp granulated sweetener
2 eggs
1/2 cup butter, melted and cooled slightly
1 Tbsp lemon juice
1 tsp vanilla
Fresh Berries (see below for strawberry version, other berries can be left whole)
Whipped Cream (see step 3 below in strawberry version)

Preheat oven to 350 degrees. Line the bottom of a 9×9 baking dish with parchment paper. In a medium bowl combine the meal, sweetener and baking powder. Add the eggs, butter, lemon juice and vanilla. Stir until completely combined. Pour into prepared baking dish and with a spatula even out the top. Bake for 25 minutes, until toothpick comes out clean from the center and the top begins to turn golden. Remove from oven and let cool completely or place in refrigerator until ready to serve. Trying to manipulate it before completely cool or cold will result in a crumbly mess. Slice in squares or rectangles and layer with whipped cream and berries.

Strawberry Shortcake

Preparing strawberries for shortcake is a little different from using other berries. Other than strawberries can be left whole and layered with whipped cream and cake. To make a traditional strawberry shortcake take the following steps:

1) Set aside enough pretty, whole berries to put one on top of each planned servings (one cake will serve 6-8).

2) Gather three to four additional berries per person. Slice and dice the berries, tossing them with 1 Tbsp of granulated sweetener and a splash of lemon juice. Let sit for about ten minutes and the juices will release. Mush them up a bit to add to the sauce.

3) Place one cup heavy whipping cream, 1/2 tsp vanilla extract and 1 tsp granulated sweetener to a bowl. Whisk them together until cream makes stiff peaks. Double quantities for every four servings. This whipped cream does not have any stabilizers and will not keep for more than a day or so.

4) To prepare the dessert it is recommended that steps are completed in a production line, doing every layer for all servings at the same time, evenly distributing chopped berries and whipped cream. Cut the cake into 6 – 8 pieces. For each serving slice a square of cake in half lengthwise. Place the bottom half on a plate. Drop a spoonful of strawberries on the cake slice and spread, pressing it into the cake a bit. Drop a dollop of whipped cream and another spoonful of berries. Place the top half of the cake square on top and lightly press it down. Add more chopped strawberries, top with a final dollop of cream and finish with a pretty, whole berry. Serve immediately.

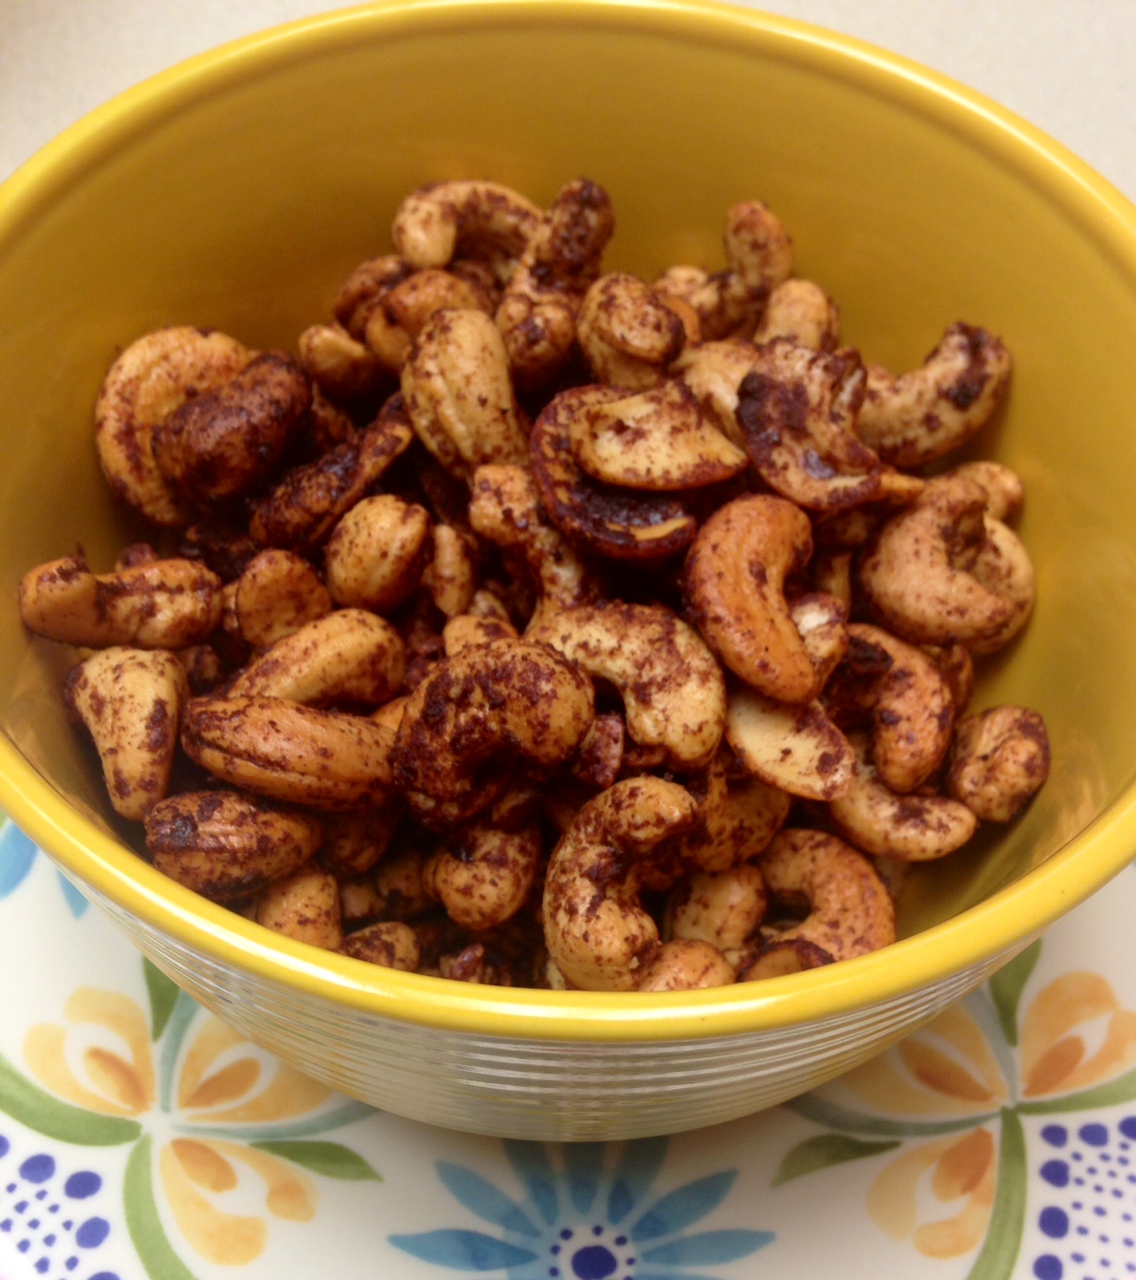
Dessert Cashews

dessert cashews

In preparation for our recent visit my mom bought some cashews, for Little B loves them. Specifically, she likes roasted, salted cashews. The generous container of purchased cashews was very much not salted. I had to come to the rescue for all our sakes!

The need to ‘fix’ the cashews reminded me of festival nuts. They are often our diet downfall. As we walk through a festival all day it is easy to walk by the funnel cakes, cobbler, ice cream, pastries, battered pig on a stick…you know, sugary and wheaty stuff. There are two or three danger zones, and they are all roasted nut stands. They typically roast the nuts and coat them with cinnamon and sugar. You can smell them about 100 yards away, so when you finally come up to the booth the brain has gone through the battle of yes, no, yes, no, oh well hell why not. We usually rationalize the purchase by assuring ourselves that splitting a bag among six people is not the worst thing in the world, and it is not. What usually happens is everyone has a few, then one or two people absentmindedly nibble on the entire bottom half of the bag and they are suddenly gone. Oops! I blame the ambiance and my nose – if I could not smell I bet I would care less about those darned nuts.

I noticed the festival nut seasoning combination worked well on pecans and almonds, but not so well on the cashews. They seemed to not capture the flavors as well and were just sad. It was not the fault of the nuts – they are more gentle and softer flavor-wise than their almond and pecan kin. The cashews needed something more than cinnamon and sugar. My first inclination was to add some bite, maybe cayenne, but Little B is not a fan. Pondering mom’s pantry and keeping Little B in mind, my eyes fell upon a can of cocoa powder. Of course! I relied on the general process I figured out for savory nuts and came up with these lovely chocolate cashews. They are sweet and rich and satisfying – a handful makes for a great dessert or snack when the chocolate craving bug comes around. I love nipping a few now and then. My mom had some mixed with popcorn for dinner the other day. Oh yeah, Little B liked them too!

Dessert Cashews

1/2 cup butter
2 Tbsp vanilla extract
1 Tbsp ground cinnamon
2 tsp cocoa powder
2 tsp Stevita granular sweetener
1 tsp sea salt (discard if using salted nuts)
8 cups roasted, unsalted cashews

Preheat oven to 350 degrees. Line two medium sized shallow baking sheets with foil. In a large bowl melt the butter in a microwave. Add vanilla extract, cinnamon, cocoa, stevita and salt. Stir until combined. Add the nuts and toss until well coated. With a large slotted spoon drop nuts onto baking sheets and spread evenly into a single layer – additional liquid on the pan may result in a burning smell before the nuts are done baking, so reduce the ‘drizzle’ as much as possible. Place sheets into oven on different shelves. Bake for 5 minutes. Remove nuts from oven. Toss nuts and again spread evenly into single layer. Return to oven, making sure the sheets are switched from the first baking period. Bake for 5 – 8 more minutes, until nuts are sizzling a bit and barely beginning to brown. Note that the point of being brown and being burned are very close together, so stay nearby during the second baking period. Remove from oven and let cool completely. Store at room temperature in air tight container.


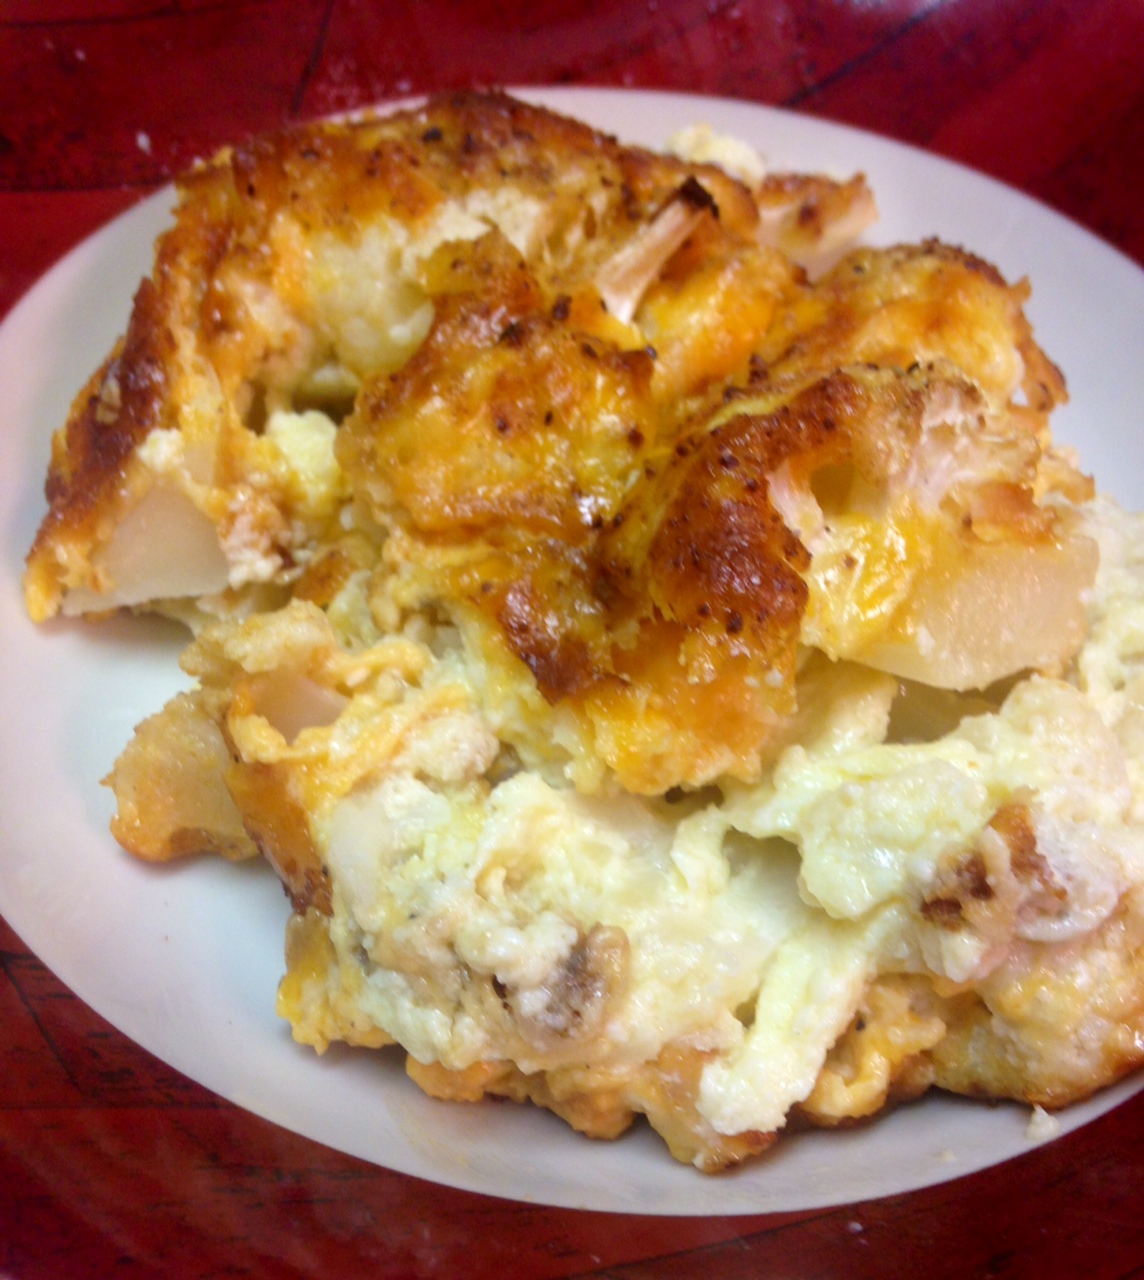
Cauli n Cheese

cauli n chz

I have made this before but did not have the just right combination for creamy and cheesy, so did not share it. Other cheesy things with cauliflower, like the Cauliflower Mac Bake is cheesy but not so creamy, and the Cheesy White and Green Bake is good, but the fibrous broccoli does not quite bring to mind a replacement for mac n cheese. I think the combination of cheeses and cream really worked this time. The cheese merged with the cauliflower and cream instead of becoming stretchy. This time was different. This time it worked just right. There was a chewiness, cheesiness and creaminess that worked like a comfort food for me. THIS time I was reminded of the nights as a child when mom and dad did not have time to make dinner and grabbed a box of pasta and cheese pouch, threw it in a pot and cooked it up. Sometimes ham or hot dogs were chopped up with it and made it even more salty. The taste of this meal also reminded me of meatless Fridays that were part of the religious aspects of my upbringing. I never actually missed the meat as I dug into the creamy cheesiness. After a few mouthfuls Little B asked if I would make this every night because it was ‘soooooo good!’. I don’t know if I can accomplish that, but it certainly is not hard to do if there is a kitchen nearby and barely took more time than fixing mac n cheese from a box! It would be so cool if she craved cauliflower instead of pasta in 20 years…

Cauli n Cheese

1 head cauliflower
2 eggs
1 cup heavy whipping cream
1 Tbsp sea salt, plus more for top
1 tsp ground black pepper, plus more for top
1 tsp onion powder, plus more for top
1 tsp garlic powder, plus more for top
2 cups grated sharp cheddar cheese
1 1/2 cups grated parmigiano reggiano cheese

Preheat oven to 350 degrees. Remove leaves and stem from cauliflower. Cut cauliflower head into bite-sized pieces, keeping as much of the florets attached to the base as possible – avoid the crumbling of the florets. In a medium bowl whisk the eggs and cream, then add the salt, pepper, onion powder and garlic powder. Whisk in the seasoning. Add the cheese and stir in with the cream mixture. Arrange the cauliflower evenly in a 9″x13″ baking dish. Sprinkle some salt on cauliflower. Pour creamy cheese mixture over cauliflower, spreading cheese to cover the top entirely. Sprinkle a bit more salt, pepper, onion powder and garlic powder on top. Place uncovered in preheated oven for 40-45 minutes, until top is browned and bubbly. Remove from oven and let sit for ten minutes before serving.

Post Navigation