Any Kitchen Will Do

Give me a kitchen and I will cook.

Archive for the category “Uncategorized”

Lemon Parmesan Chicken
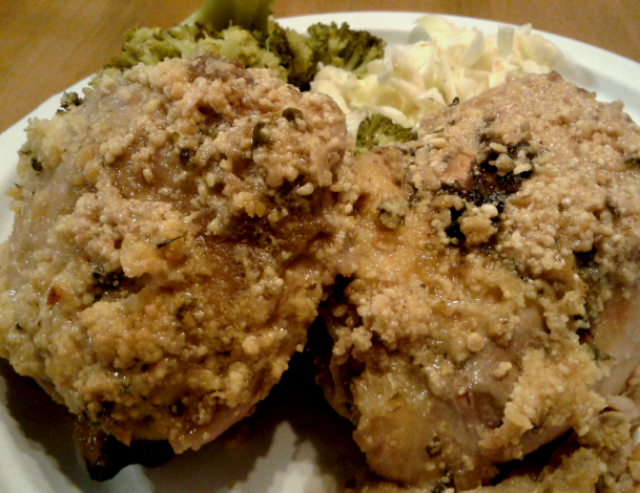
lemonparmesanchknA few months ago my mom gave me a casserole crock pot. As you know, most crock pots are, well, pots. Four to six inches deep, they are great for slow cooking stews, soups and other concoctions you can sink a serving spoon deep into. This one is shallow and wide, just like the glass casserole dishes that sat unused on my shelf for this recipe. I was not sure if I would use the casserole crock when I first got it, but it works wonders to help get many a dinner made around here. When my oven is busy cooking stuff for my business, Grain Free Haven, using the casserole crock I can still have dinner on the table at a reasonable time.

The cool thing about the casserole crock pot is the ability to pop out the casserole dish and serve straight from it, and the kids are less likely to make a big mess serving from it for themselves, compared to a deeper crock pot. Granted, there will still be a mess, for they cannot grasp the concept of moving plate and serving dish near each other to catch dribbles. Trust me, I am still realistic.

Many days I begin thinking about dinner right after breakfast. Not because I plan on preparing it all day, but because a lot of our proteins are in the freezer, and waiting until 5pm to pull them out is just too late. Sometimes I don’t think about dinner until lunch, but I can still pull off the frozen chicken trick. That is what happened the other day, resulting in this lovely dish.

Fortunately, the chicken was in smaller packages, so doing a partial quick thaw in a sink of water was sufficient. While the thighs were still partially frozen I was able to pop them in the casserole crock pot and have dinner on the table at the usual 6pm.

I was wild and crazy with the preparation of the chicken, because it challenged the eyes and minds of our younger kids. One, the coating on the chicken was pale, whereas they prefer something more bold, like tomato sauce. Second, there were speckles (also known as green herbs) dotting the surface of the chicken. After one thinks they have a “bug” in their dinner the others are hard pressed to continue eating and not mistake a piece of parsley for a fly. There were many compliments all around, nobody spotted a “bug”, and my hopes for next day lunch leftovers were dashed as the last thigh was moved from platter to plate. That’s okay. A salad will do just fine.

Along with the chicken I served coleslaw and steamed broccoli. For the starch eaters I baked up some crispy baked chips and rice cooked simply in chicken broth.

Lemon Parmesan Chicken

12 chicken thighs, bone in and skin removed
2 cups finely grated parmigiano-reggiano cheese
1 cup lemon juice
2 teaspoons finely chopped garlic
1 teaspoon onion powder
1 tablespoon dried parsley leaves
2 teaspoons dried oregano leaves
1 teaspoon sea salt

Prepare casserole crock pot*. In a medium bowl combine cheese, lemon juice, garlic, onion powder, parsley, oregano and sea salt. Stir until well combined. Remove chicken from packaging and rinse, patting it dry with paper towels. Using your hands coat all sides of each thigh with the cheese mixture. Place the thighs bone side down in the crock pot. Two or three thighs may need to sit on top of the others, depending on their size.

Cover and cook on high for about three hours, until chicken is cooked through, measuring 165 degrees Fahrenheit. Turn off crock pot and let sit for about 15 minutes before serving.

There are two additional steps you can take to fancy up the dish a bit:

One is reduce the sauce. Pour the sauce from the cooked chicken into a sauce pan over high heat. Let sauce come to a boil and turn the temperature down by half. Let simmer until sauce volume reduces by half, about ten minutes. Serve the sauce to drizzle on the chicken.

Second is to make the chicken coating a little crispy. About ten minutes before serving (ideally while the sauce simmers and reduces), set oven to low broil with a rack on the second highest level. Place the thighs, bone side down on a baking sheet, being careful not to disturb the cheese crust that formed on top. Broil for five to eight minutes until crust is crispy but not burned. If your oven only has a single broil setting, lower the rack further and check often to avoid burning.

*If you don’t have a cool casserole crock pot you can make this dish in a traditional casserole dish in the oven. Arrange the chicken as noted above in the dish, then cook it uncovered at 350 degrees Fahrenheit for about one hour, until juices run clear and chicken measures 165 degrees.
Curry Burger Cups

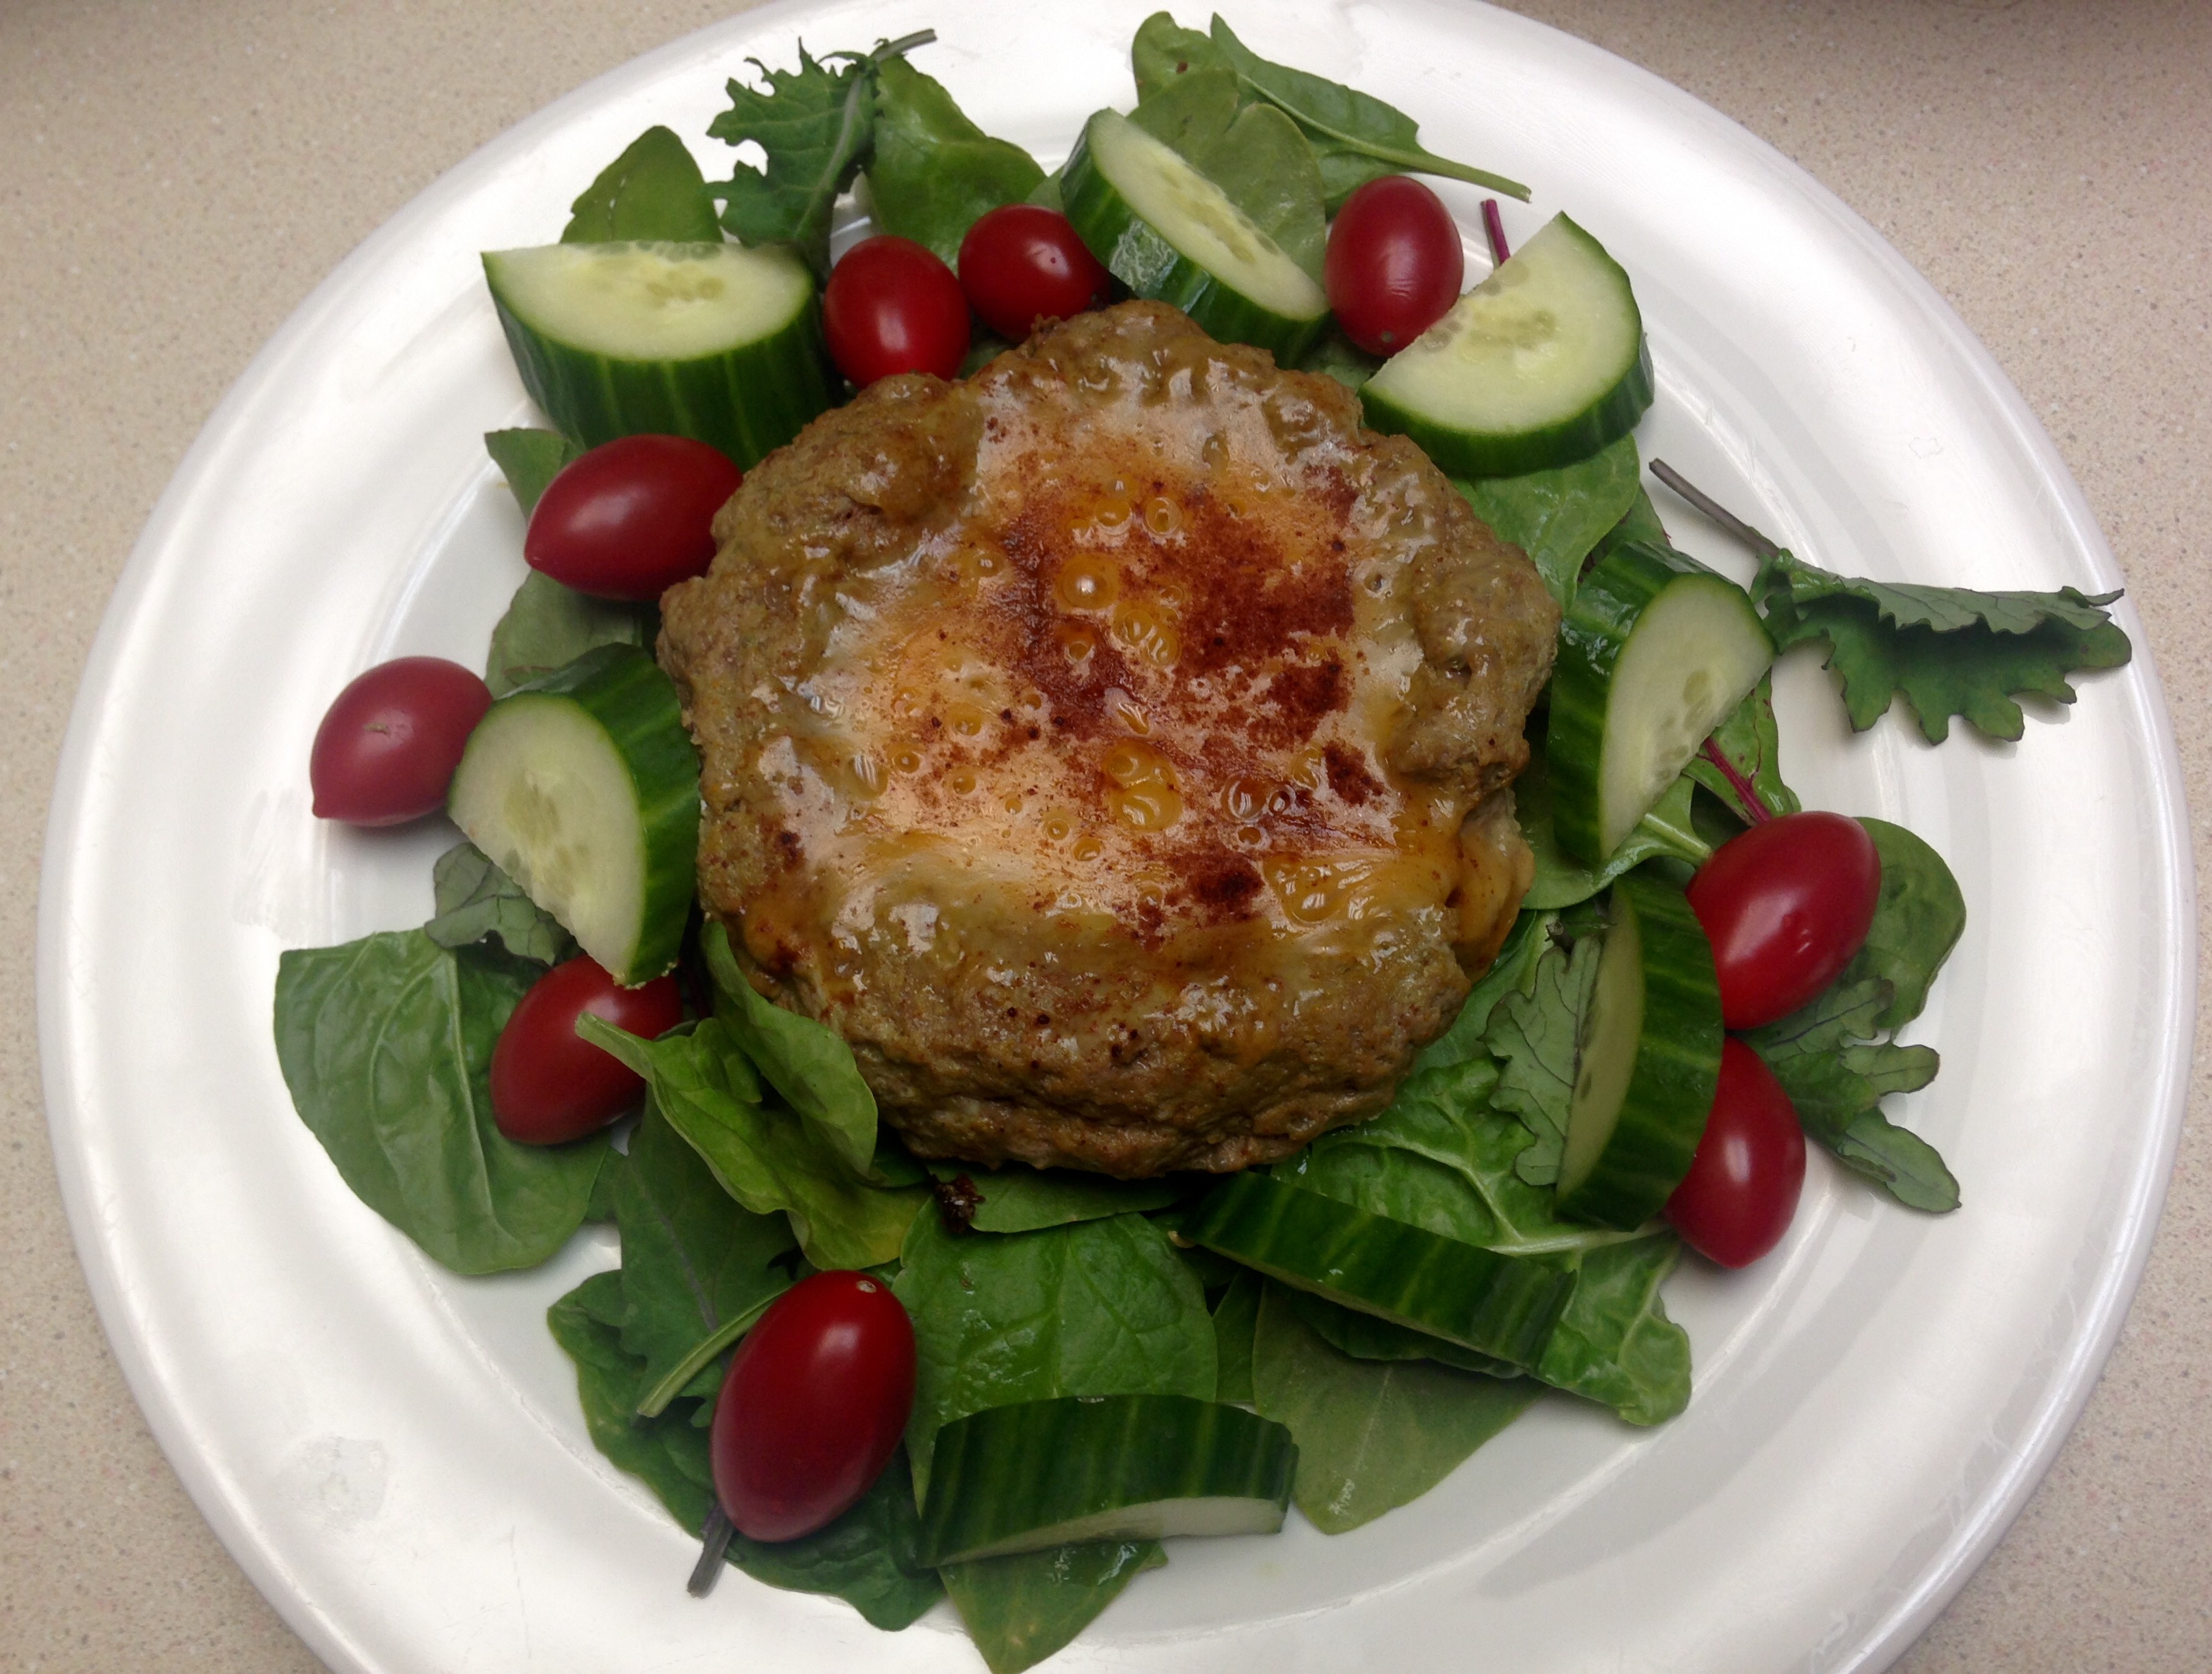
curryburgercupsI went a bit retro on this one – my mom gave us her electric skillet. For decades it has been used to make meals on the counter top. From pancakes to fried chicken we were well fed by the skillet (and mom, of course!). Since it was my mom’s it has of course been well cared for and is in excellent condition. I aspire to care for it as well, especially since I plan on using it a lot.

Compared to a stove top skillet, the electric skillet has a larger cooking surface and there is a bit more control over the temperature. I usually rely on iron skillets on the stove and forgot how fun the non-stick electric versions are! The big, domed top even has a vent to control moisture release. I may be a kitchen nerd, but it is so fun using it!

As for the lovely meal I made, using peanut butter in a burger might sound odd, but combined with the yellow curry spices the flavors were wonderful. Since the burgers aren’t flipped the bottom gets a good sear, which of course always goes well with cheddar cheese. Making the bowl in the burger helps retain the cheese instead of it dripping off the edges of a rounded burger top. Don’t get me wrong, I like the crispy cheese left in the pan when it dribbles off the edges of a cheeseburger, but I also like cheesy burgers that don’t lose any cheese while it melts.

Bites of the burgers with the peppery mix of raw baby kale, mustard greens, spinach and chard really made for a wonderful mouthful.

Curry Burger Cups

2 pounds ground beef
2 large eggs
1/2 cup Worcestershire sauce
1/2 cup creamy peanut butter
2 tablespoons dried parsley leaves
2 tablespoons ground turmeric
1 teaspoon ground cumin
1/2 teaspoon ground cinnamon
1/2 teaspoon ground black pepper
1 teaspoon paprika
2 teaspoons sea salt
2 teaspoons garlic powder
2 teaspoons onion powder
2 cups grated sharp cheddar cheese

In a large bowl place all the ingredients except the cheese. With a strong mixer or your hands thoroughly combine the ingredients. Form six patties, creating a bowl in the middle of each, leaving approximately 1/2 inch rim on the edges.

In a large skillet over medium heat (or electric skillet at 325 degrees) place the patties. Fill the bowl of each patty with 1/3 cup cheese. Cover and let cook for about ten minutes, until beef is cooked to desired doneness (medium is 160 degrees).

Serve immediately on top of raw greens or with a cooked side of vegetables.

Tomato Broccoli Chicken

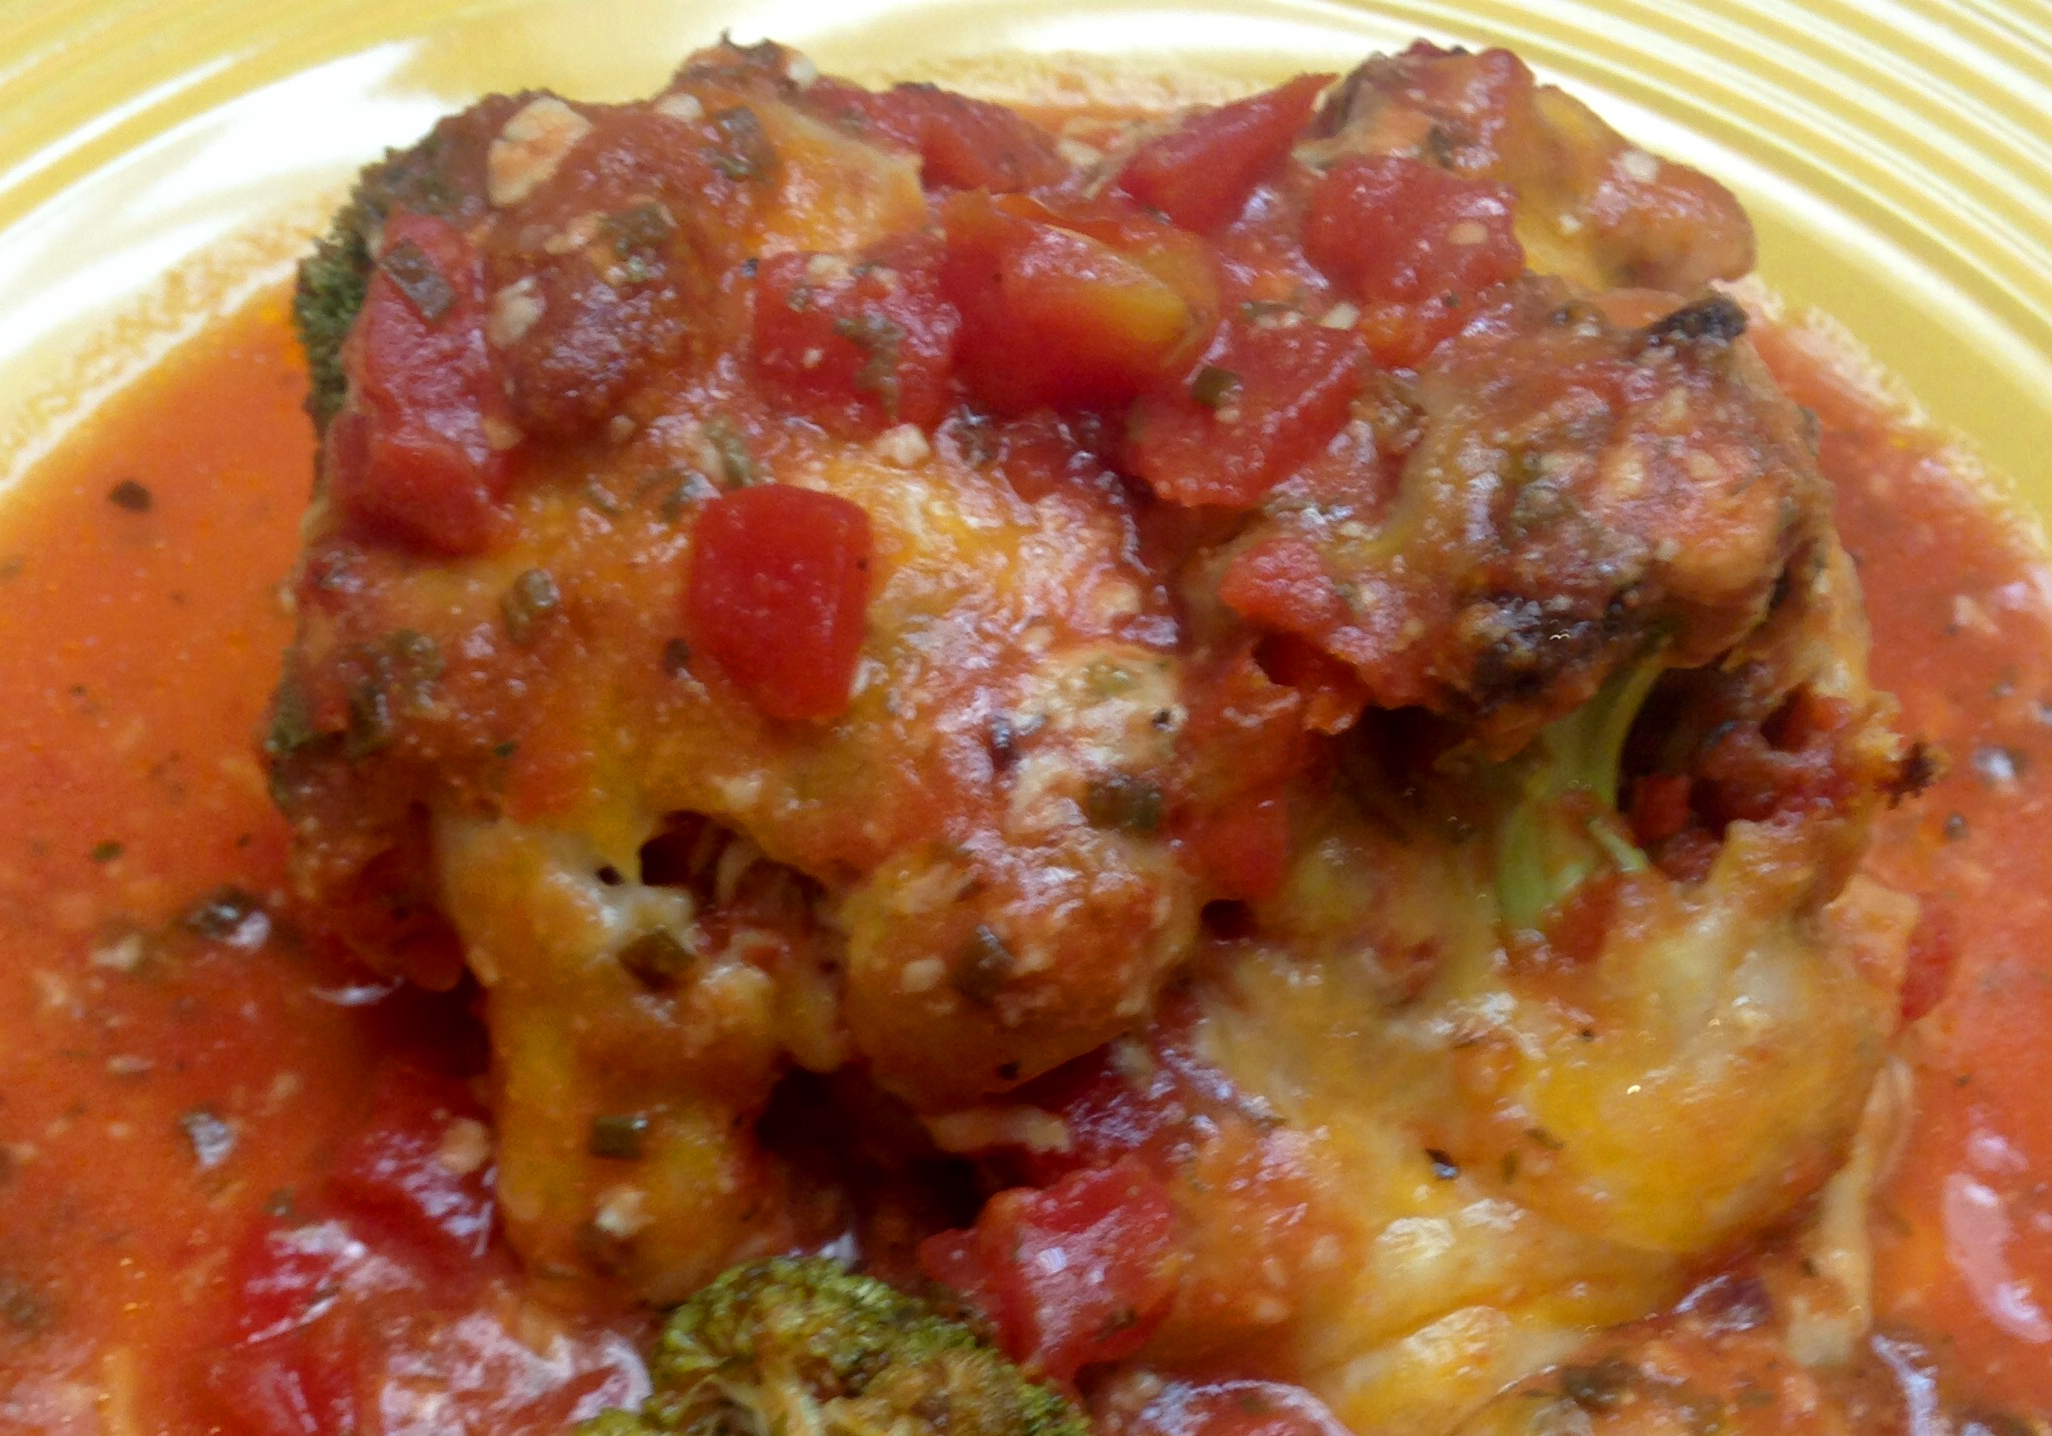
italianchickenThe other day I was craving lasagna. In the past I have made it grain free by substituting zucchini or cabbage for the noodle layers. I wanted the same flavors a little easier and faster than prepping and constructing a casserole. The cheese and tomato sauce and chicken really hit the spot. The leftovers were even better!

Tomato Broccoli Chicken

8 chicken thighs, bone in (skin optional)
2 cups tomato sauce
4 cups diced tomatoes with juices
2 tablespoons dried parsley
1 tablespoon dried basil leaves
2 teaspoons dried oregano leaves
2 garlic cloves, finely minced
1/4 cup finely minced white onion
1 teaspoon sea salt
4 cups broccoli florets
1/2 cup finely grated Parmesan cheese
2 cups grated colby jack cheese
Sea salt and and ground black pepper to taste

In a medium pot over medium heat combine the tomato sauce, diced tomatoes, parsley, basil, oregano, garlic and salt. When sauce begins to boil turn temperature down to low. Cover and let simmer for 15 minutes, then remove from heat.

Preheat oven to 350 degrees.

In a 9×13 inch baking dish pour a thin layer of sauce. Generously salt and pepper all sides of the chicken and place, skin side up, in the pan. Arrange the broccoli florets in between the chicken thighs. Sprinkle the Parmesan cheese on top of the chicken and broccoli.

Pour the rest of the sauce over the chicken and broccoli, leaving some room at the top of the pan for cheese and bubbling. Sprinkle the colby jack cheese evenly on top of the sauce. Place on middle rack of the oven and bake for 45 minutes, until chicken is cooked through (at least 165 degrees).

Remove from oven, let rest for ten minutes before serving.


Roasted Carrots

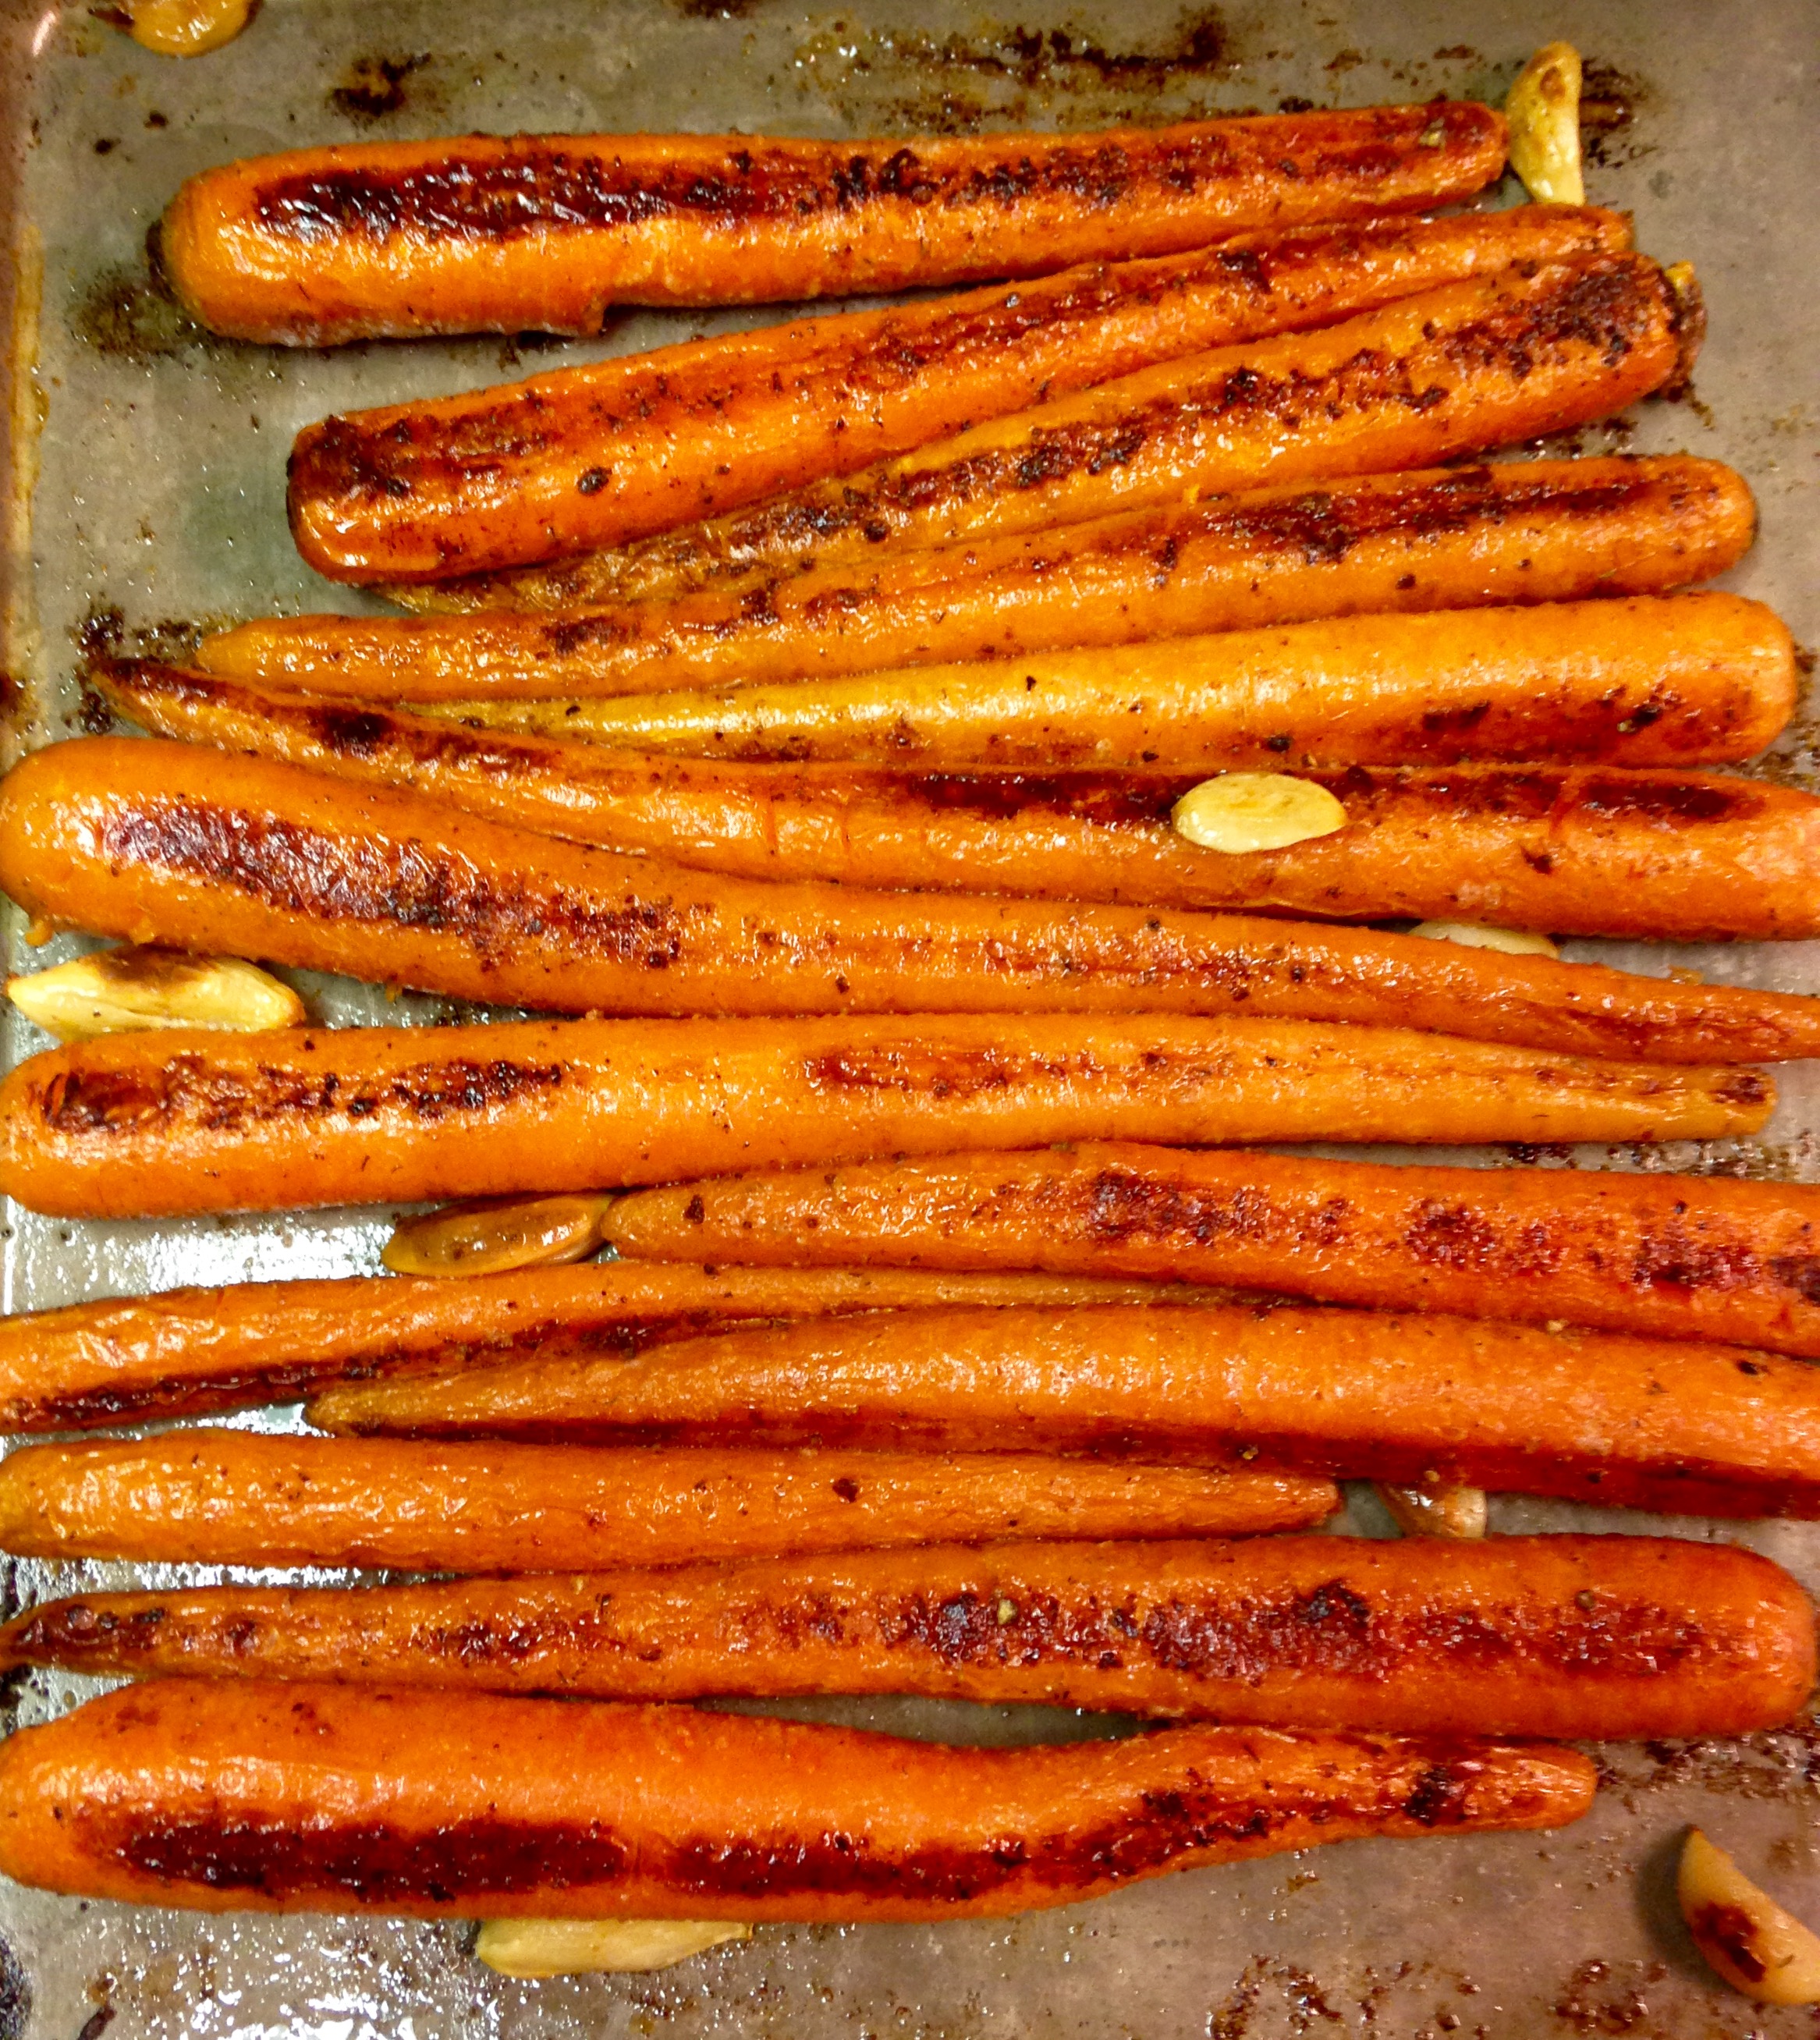
roastedcarrots

For the past few weeks I have spent a lot of time at the Dallas Farmers 
Market supporting my business Grain Free Haven.  Between customers 
I found myself regularly staring at the goodies sold by the produce vendor 
across from my booth. They have a lot of greens and citrus right now, but 
I especially have been coveting the carrots. Long, slender and bright orange 
with springy green tops. 

I don't eat a lot of root vegetables like carrots, potatoes or turnips. They 
are not entirely evil, but have a higher level of starches and sugars 
than I usually consume. The higher number of carbohydrates in a food, 
the more cravings I get after eating them. Ironically, after focusing on 
eating steamed veggies like broccoli, cauliflower and celery of late 
(about 1-2 net carbohydrates per serving) I got a craving for the lovely 
carrots (about 4 net carbohydrates per serving). I actually blame the 
tomatoes and cucumber (2-5 net carbohydrates per serving depending 
on size) I have been piling on my salads. I'm thinking that if the worst 
craving I have is for roasted carrots I am doing pretty well in the 
craving department!

Yesterday I finally gave in and bought some of the carrots. I will be 
using the tops later for some veggie or chicken broth, but for now I 
roasted and enjoyed the lovely carrots. Here is the simple way I 
prepared them. 

I loved every bite, but will definitely be going back to the green 
roughage tomorrow!
Roasted Carrots

10-12 medium carrots, tops removed and rinsed 
8 whole garlic cloves 
1/3 cup extra virgin olive oil 
1 teaspoon onion powder 
1 teaspoon sea salt 
1/2 teaspoon ground black pepper 
1 tablespoon dried parsley leaves 

Preheat oven to 400 degrees. 

In a small bowl combine the oil, onion powder, salt, pepper and parsley. 
Using your hands or a basting brush cover all the carrots with the 
mixture and place them on a shallow baking sheet. 

Spread the garlic cloves randomly among the carrots. 

Bake for 20 minutes, then remove from oven. Carrots should be slightly 
softened but not mushy. If you prefer them softer, shake the pan so the 
side of the carrots touching the pan changes, then cook for 5-10 more 
minutes. Serve immediately.

Fluffy Pancakes

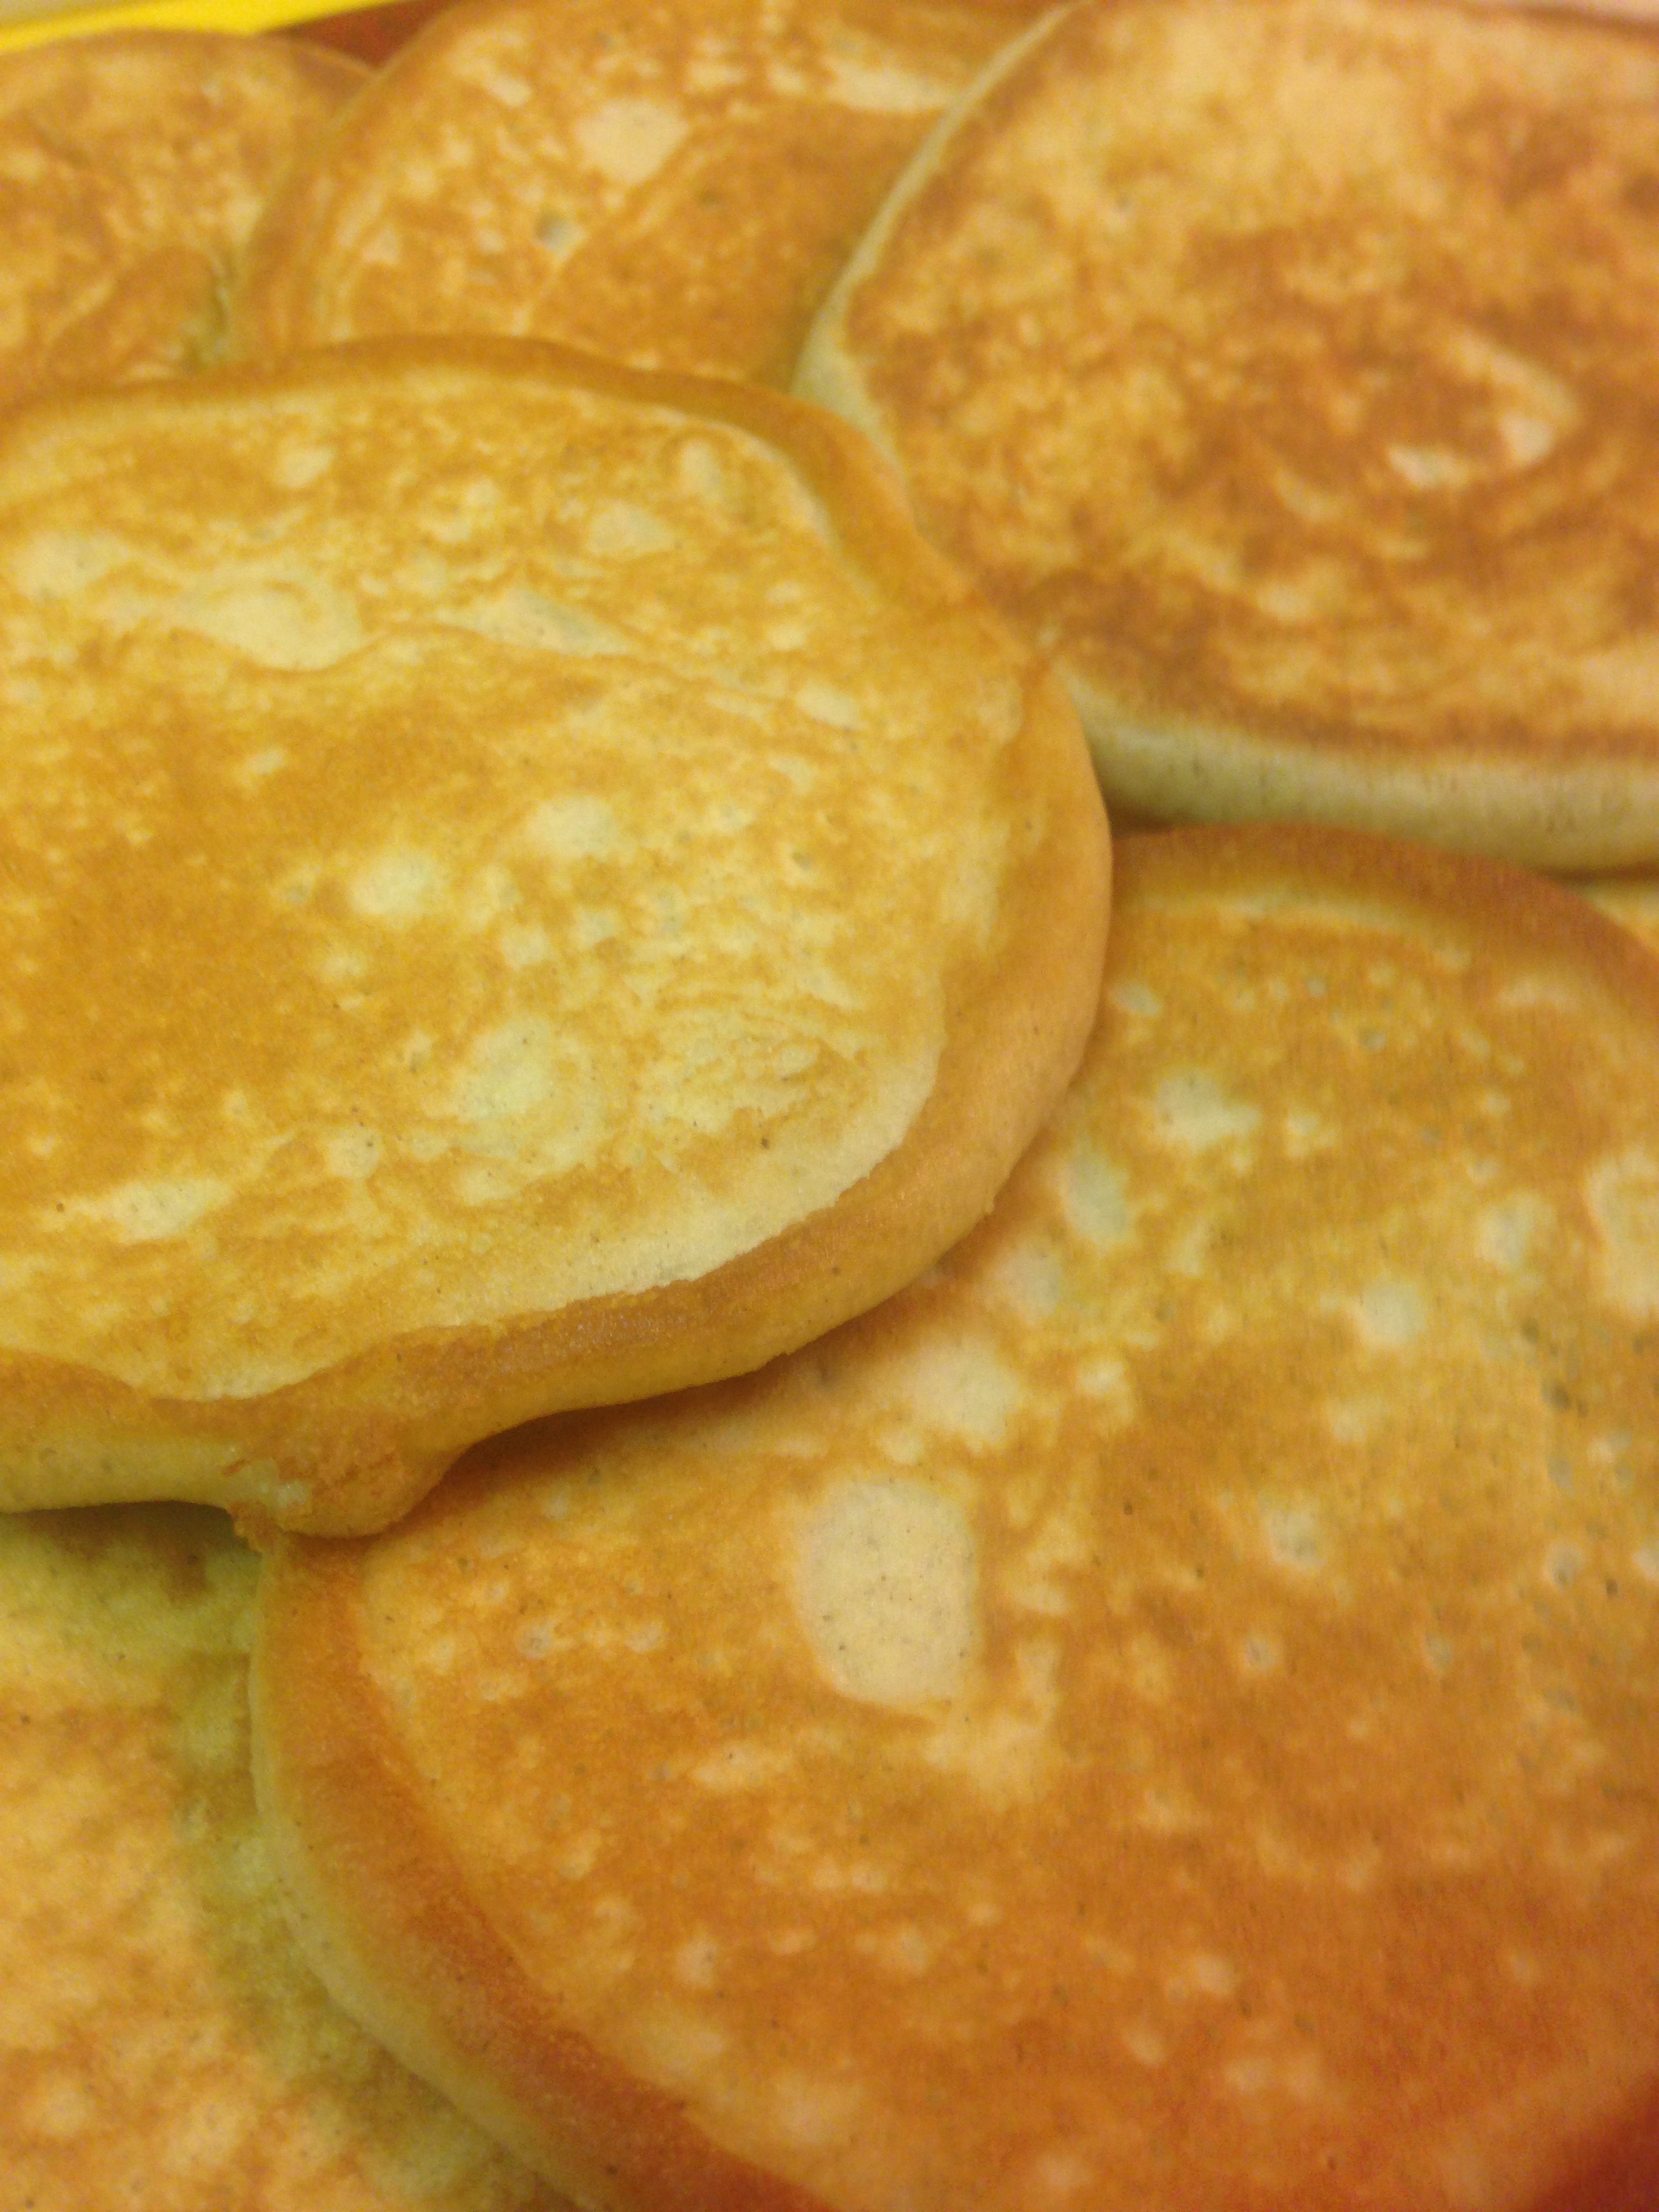
2015-10-14 10.30.27A few years ago we were living temporarily in a hotel while moving, and had to wrestle with a little kitchenette. Craving pancakes, we concocted a lovely recipe that we have used consistently ever since. I recently decided I wanted to make some fluffier, less coconut-y pancakes and tweaked the recipe. I also considered our interest in having plenty of leftovers, so figured out a quadrupled batch. This version makes about 18 pancakes, so at two pancakes per serving it makes for nine meals (and without the syrup, also a filling snack on the go for Little B).

I caution you about eating more than two at a time without at least ten minutes in between servings. These suckers seem to expand like sponges in the stomach. I at two at 10am this morning and have yet to be hungry now at 8pm. Better than any super food I ever before experienced!

Fluffy Pancakes

1 cup coconut flour
1/2 tsp baking soda
1 tsp ground cinnamon
2 tsp Stevita
1/2 tsp sea salt
11 eggs
1/2 cup coconut oil
1 cup heavy whipping cream

In a medium bowl combine the flour, baking soda, cinnamon, Stevita and salt. In a separate mixer bowl place the eggs, coconut oil and cream. Mix the wet ingredients on medium until combined. Add the dry ingredient mixture and mix on high until well combined and any solid pieces of coconut oil are broken up and incorporated.

Heat a large skillet to medium high. Add a drop fat (about a teaspoon of butter, coconut oil or lard) to the pan and let it heat up. Add 1/4 – 1/3 cup of the batter and gently spread it out into a pancake with approximate diameter of 3″ – 4″. Cook for about two minutes until the bottom of the pancake sets, then flip it over with a large spatula. Cook for about two more minutes until both sides are consistently browned.

An alternative is using a waffle iron – our iron has a flat reverse side, so we can use the flat side, drop two dollops of batter, close the top and cook two pancakes until browned (relying on instructions for your particular waffle iron, if it does such wondrous things).

Repeat with remaining batter until it is gone.

Serve immediately or store in fridge/freezer in air tight container.

300th Sausage Herb Frittata

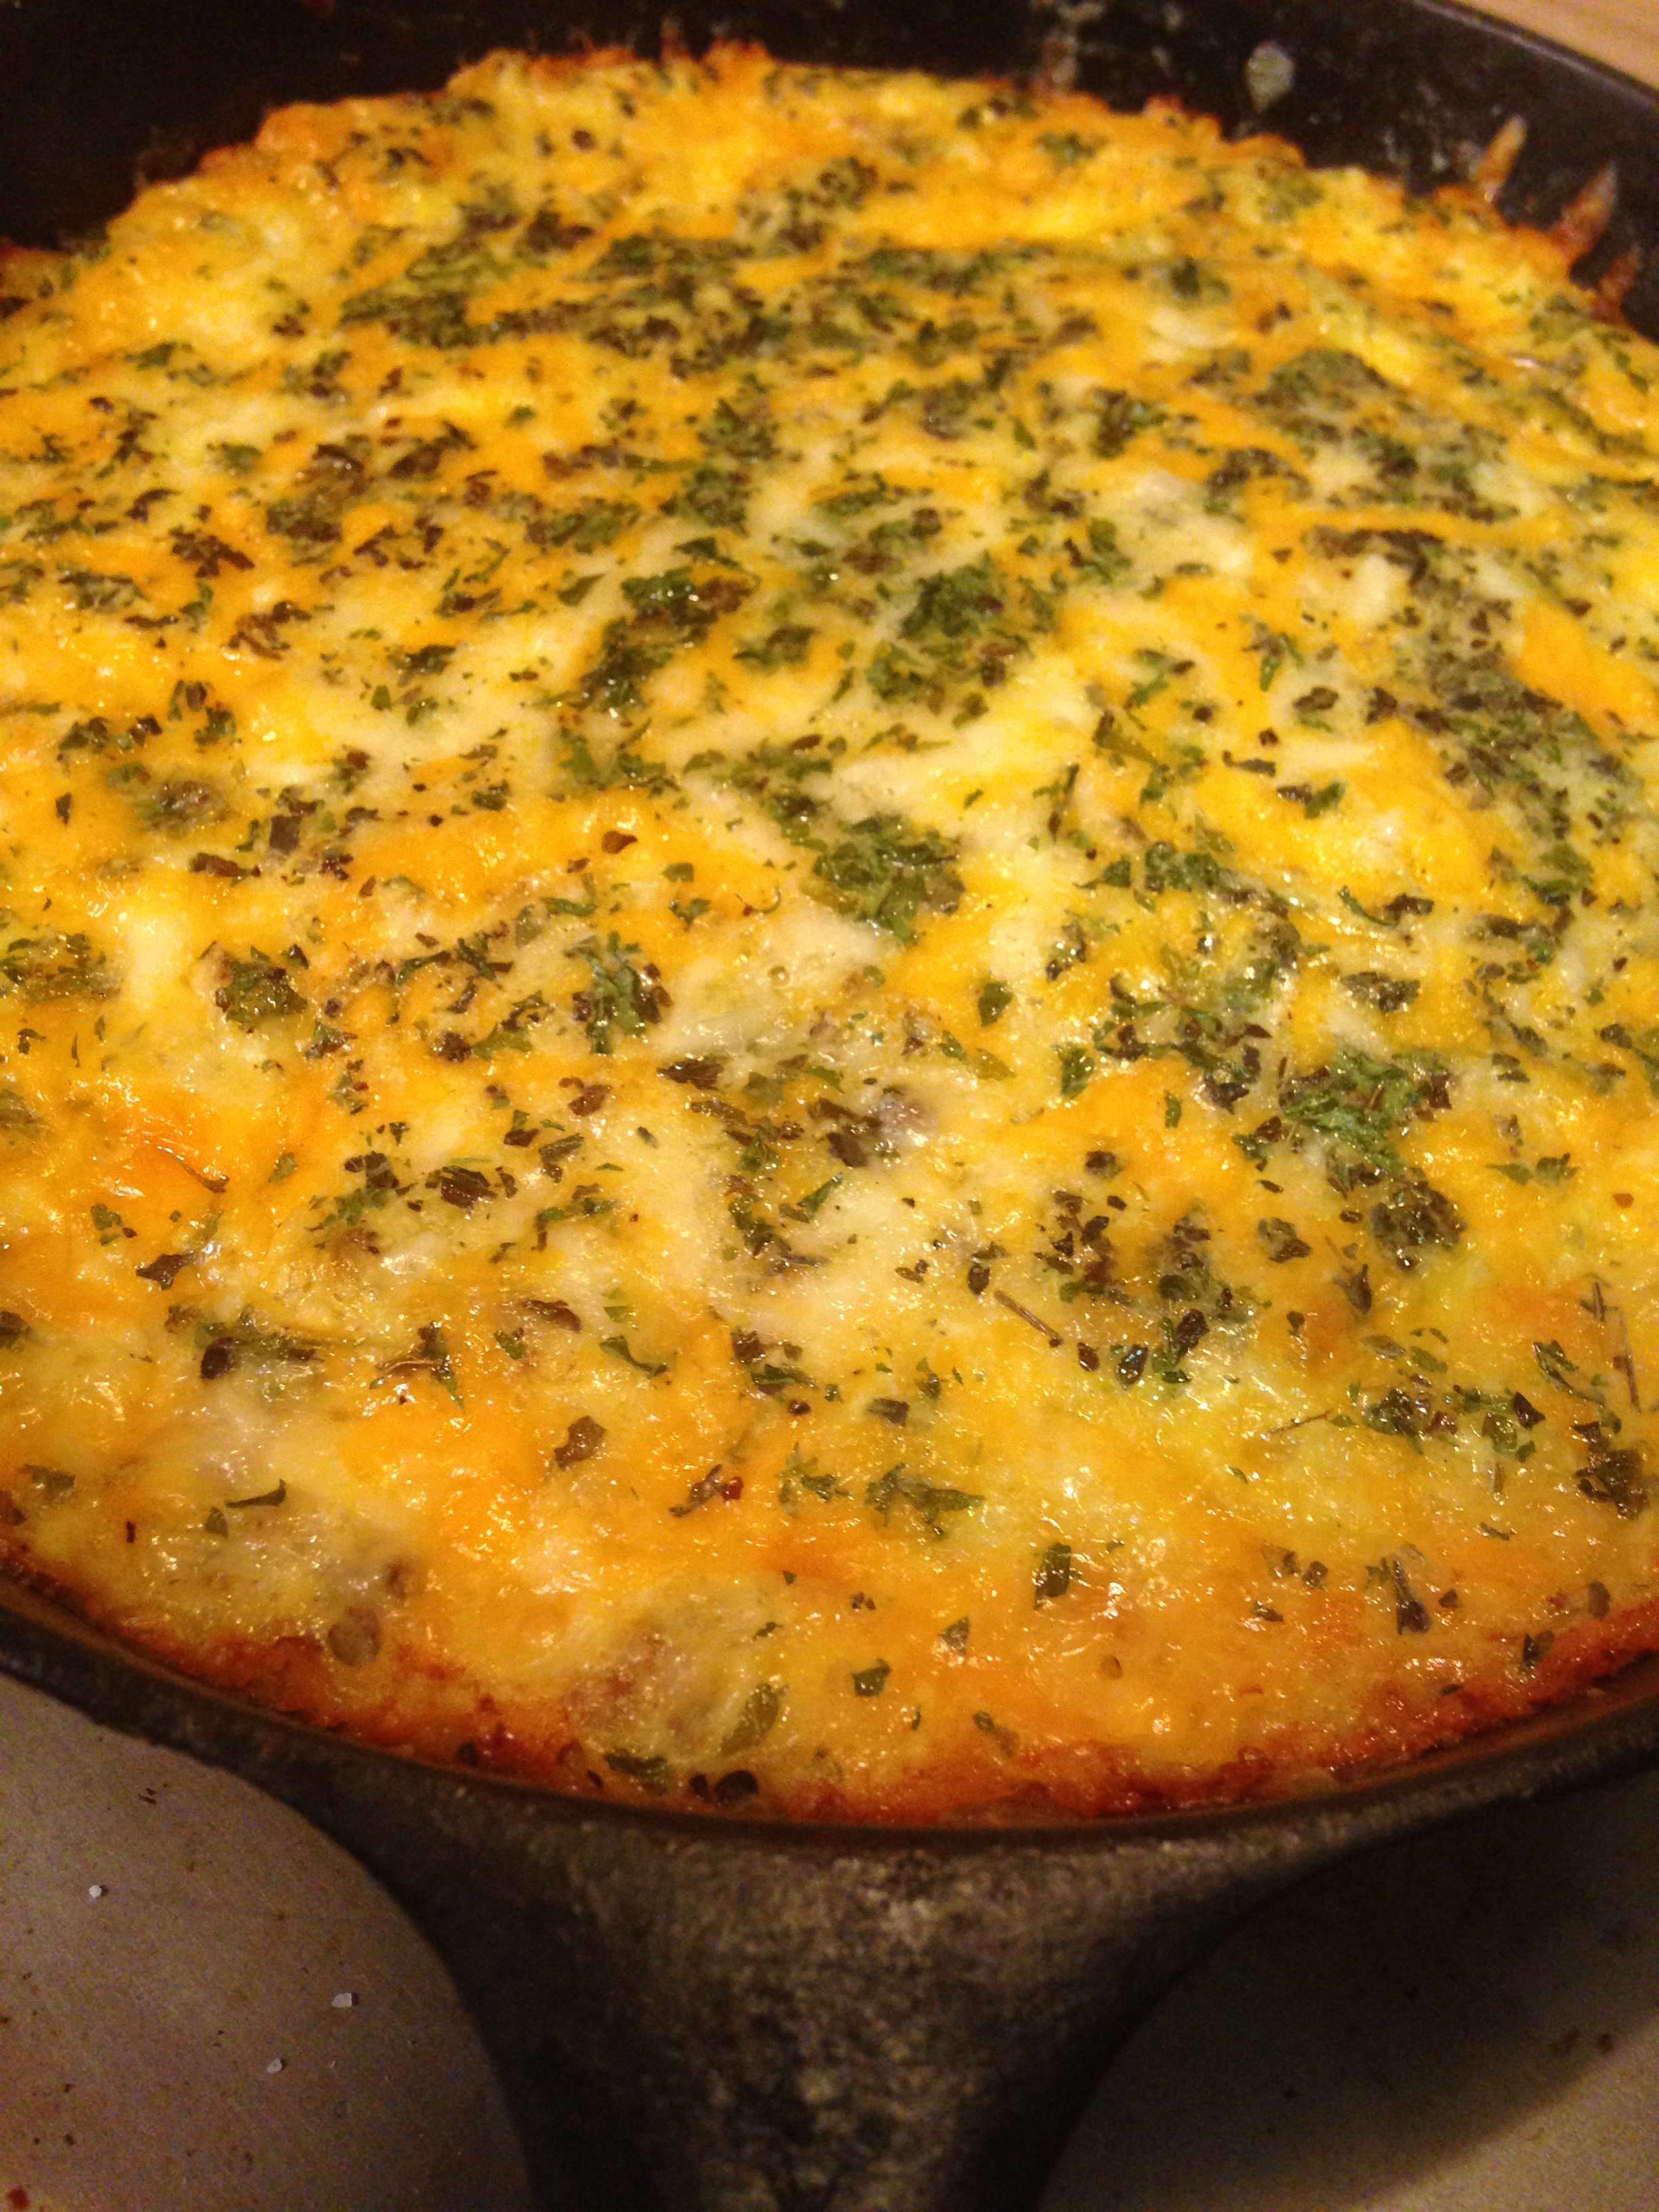
2015-10-09 11.23.23

One or two days a week I do Grain Free Haven baking and roasting marathons to prepare special order and market products. Markets and special orders usually need delivery or pick up on weekend days, so the marathons tend to land on Thursday or Friday. These are also days when the week’s groceries are dwindling, with bits and pieces littering the refrigerator shelves and drawers. On marathon days I like to have family cooking done early for the whole day. Busy baking days and using bits and pieces make dishes like soups and frittatas so appealing. Meats and vegetables go together so well in so many combinations, it is easy to combine them and bind with eggs or broth. They are honorable, filling dishes that help me significantly reduce possible food waste, the thought of which makes me very sad.

In the past I have made versions with salmon and a meaty version. This week Big D made some spicy breakfast sausage that had lovely flavors, but was a skidge salty. We also had some standards in the pantry, like eggs, onions and turnips, so here is what I came up with. It filled up the family all day, both hot right out of the oven in the morning and cold right out of the fridge later in the day. The skillet was empty and bellies were full. Just the way I like it.

I also just realized that this is my 300th post to this blog! It has taken me over 3 1/2 years to get here. I look back in wonder on where I started and where I am now – personally, professionally, nutritionally and emotionally it has been quite a ride. It started out as a way to record recipes so that friends, family and I could find them easily, and also record the antics of my little family. It became a journey about nutrition and food sensitivities, and helped launch a cottage food business that is helping me support said little family. I may not post as frequently now as I did when I started, but I plan on continuing to create and share our journey. Thanks for joining me and thanks to all the people that lent me their kitchens!

300th Sausage Herb Frittata

1 Tbsp extra virgin olive oil
1/2 pound spicy breakfast sausage
1/2 medium yellow onion, chopped
2 garlic cloves, minced
1/2 large turnip, chopped
1 tsp sea salt (you may need more, depending on saltiness of sausage)
1/2 tsp ground black pepper
1 Tbsp dried parsley flakes
1 Tbsp dried basil leaves
1 Tbsp dried oregano leaves
6 large or 7 medium eggs
2 Tbsp heavy whipping cream
1 cup shredded co-jack cheese

Preheat oven to 300 degrees. In a 10″ iron skillet* heat the oil over medium high heat. Add onion, garlic and turnip. Sauté about four minutes until onions are translucent and garlic is browning. Add sausage, stir and cook for about five minutes until sausage is heated through. While sausage is heating up break eggs into a medium bowl, along with salt, pepper, parsley, basil, oregano and cream. Whisk together until egg whites and yolks are well mixed.

Remove skillet from heat.

Pour egg mixture over contents of skillet and stir until egg mixture and sausage/vegetable mixture are well combined. Sprinkle cheese on top of the egg, sprinkling a little more parsley, basil and oregano if you like (I do).

Place skillet on the middle rack of the oven. Bake for 20 minutes. Move skillet to top rack and bake for ten more minutes. Remove from oven. The center of the frittata should be a little puffy. Let sit for about five minutes before serving – the puffiness will settle while it cools. Serve immediately.

*This frittata can be made in a oven proof baking dish if you don’t have the noted iron skillet size, just make sure it is no larger than 10″x10″ to ensure the mixture is thick enough to prevent drying out when it is baked thoroughly enough. If an iron skillet is not used, additional baking time may be needed (about 5-8 minutes), since iron skillets speed up cooking time.

Roasted Radishes

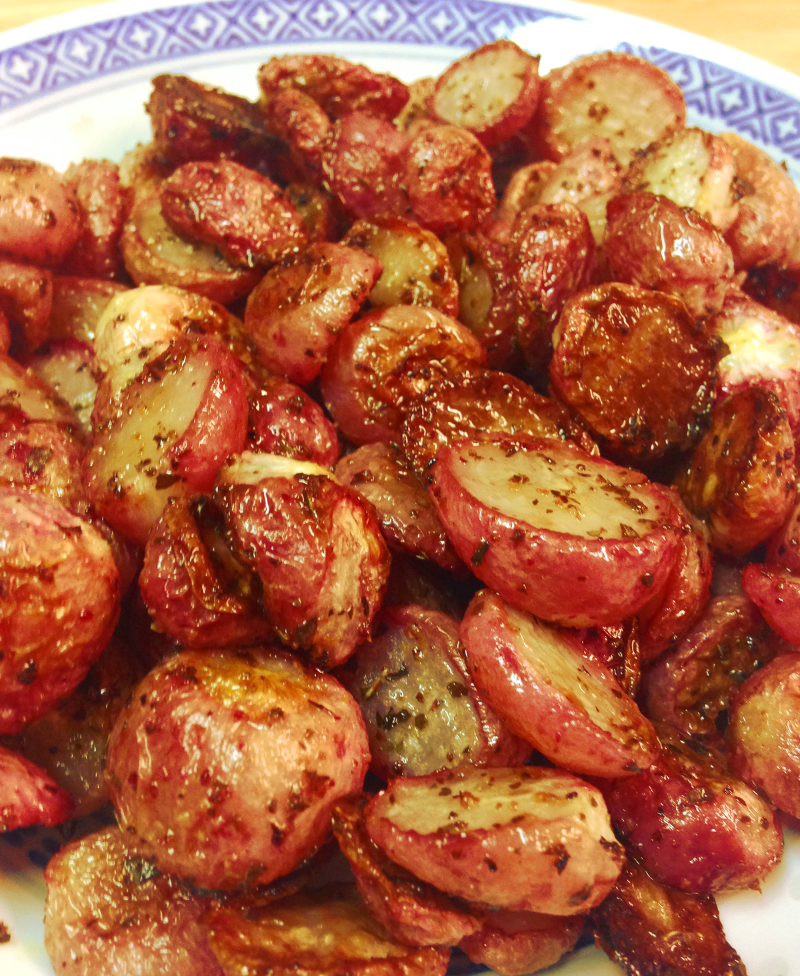
roasted radishesAs a kid I did not pay much attention to radishes. They were occasionally included in my green salad, but were a bit spicy for me, along with the raw onion. When older I realized that the spicy and peppery of onions and radishes were wonderful, and I added them in droves. I also found out that the heat of raw radishes and onions changed dramatically when cooked. I often cook up onions to compliment other vegetables and dishes, like in my French onion dip, which is the same for radishes. As you can see from the picture, they can easily be mistaken for roasted new potatoes or turnips. These guys are like vegetable candy. The radishes remind me of turnips, but much more tender and sweet from the start.

Texas is bursting with vegetables during the summer. Farmers markets are full of root vegetables, including radishes and I totally went for it. The radishes were ecstatic raw with a peppery bite to them. The great thing about radishes is that they are tender from the beginning, and only get more tender if cooked. They can be lightly roasted until just heated through, or if they are roasted a bit more, you allow for a bit of caramelizing. I did the longer cooking time to maximize the caramelizing. They go great with the pile of smoked meats that came out of the smoker when the radishes came out of the oven. Between the radishes, smoked meats my brother made and a big batch of coleslaw, we had a summer feast to end all feasts.

Roasted Radishes

4 cups small red radishes, chopped in halves
3 Tbsp extra virgin olive oil
2 tsp sea salt
2 tsp granulated garlic powder
1 tsp dried parsley leaves
2 tsp dried oregano leaves

Preheat oven to 400 degrees. In a large bowl combine the oil, salt, garlic, parsley and oregano. Add the radishes and toss until coated. Spread radishes evenly on foil lined shallow baking pan. Bake for 30 minutes. Remove from oven and toss, then return to oven for 30 minutes. Remove from oven again and serve immediately.

Minty Melon Salad

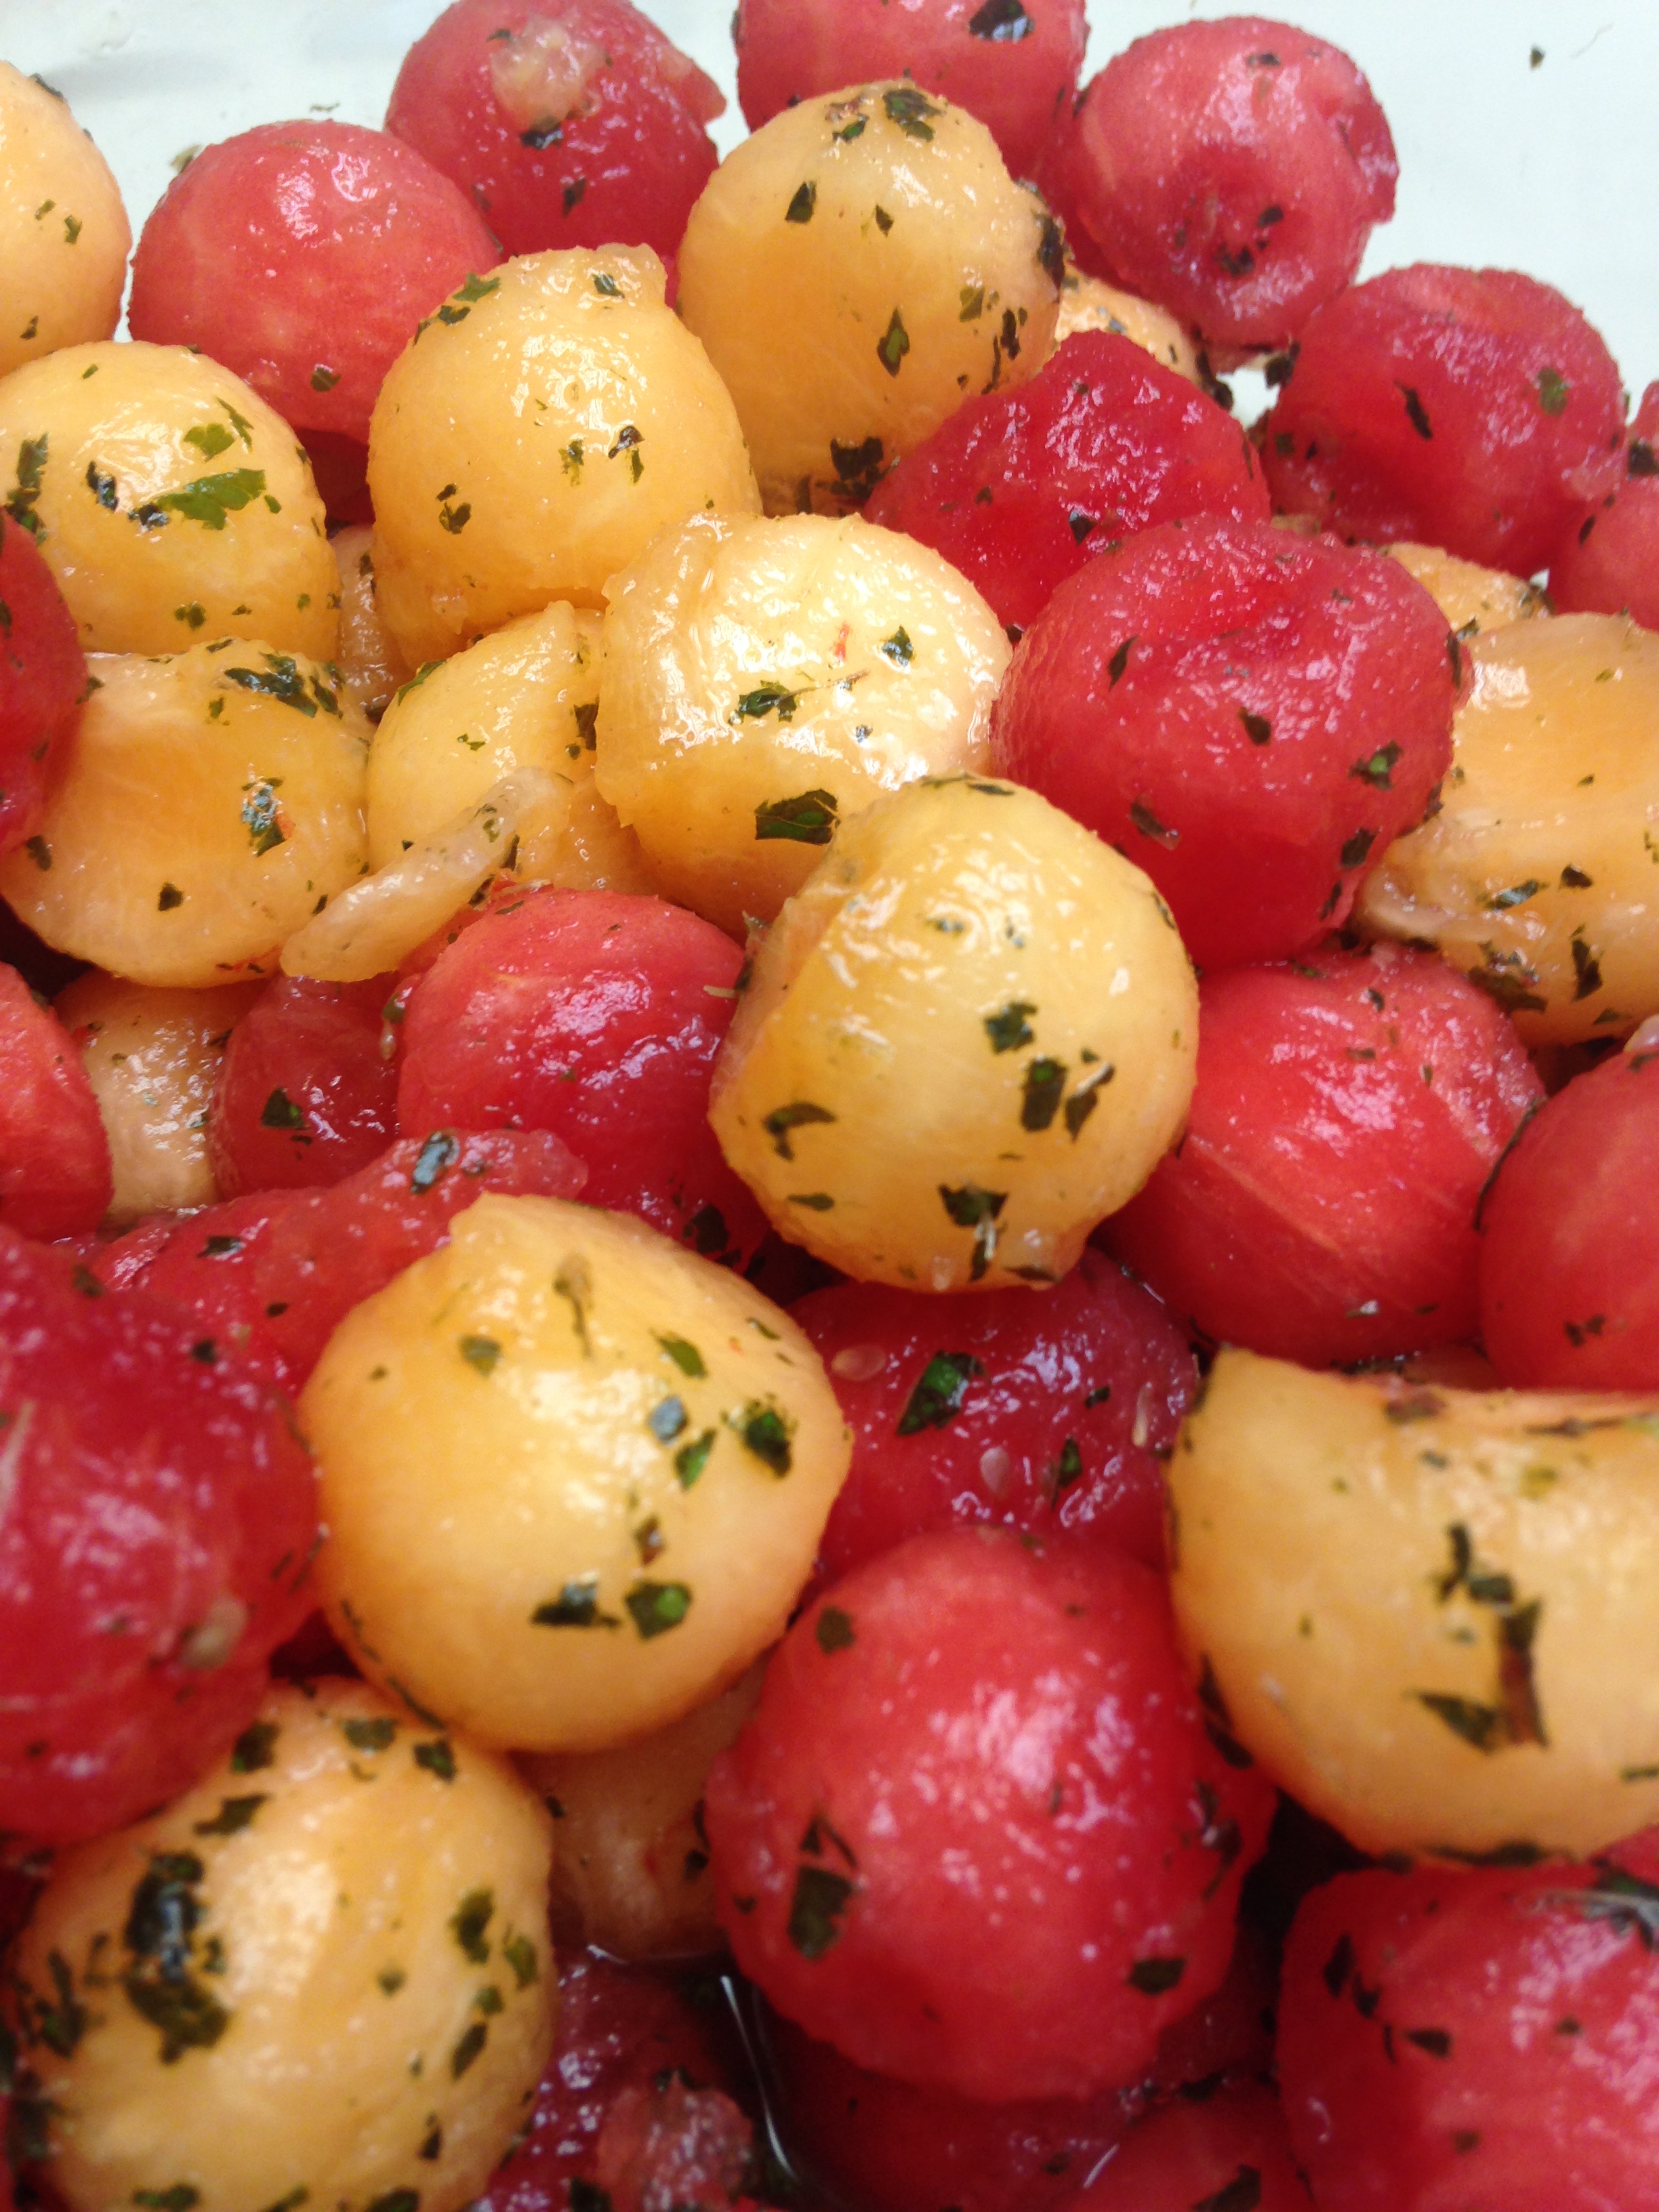
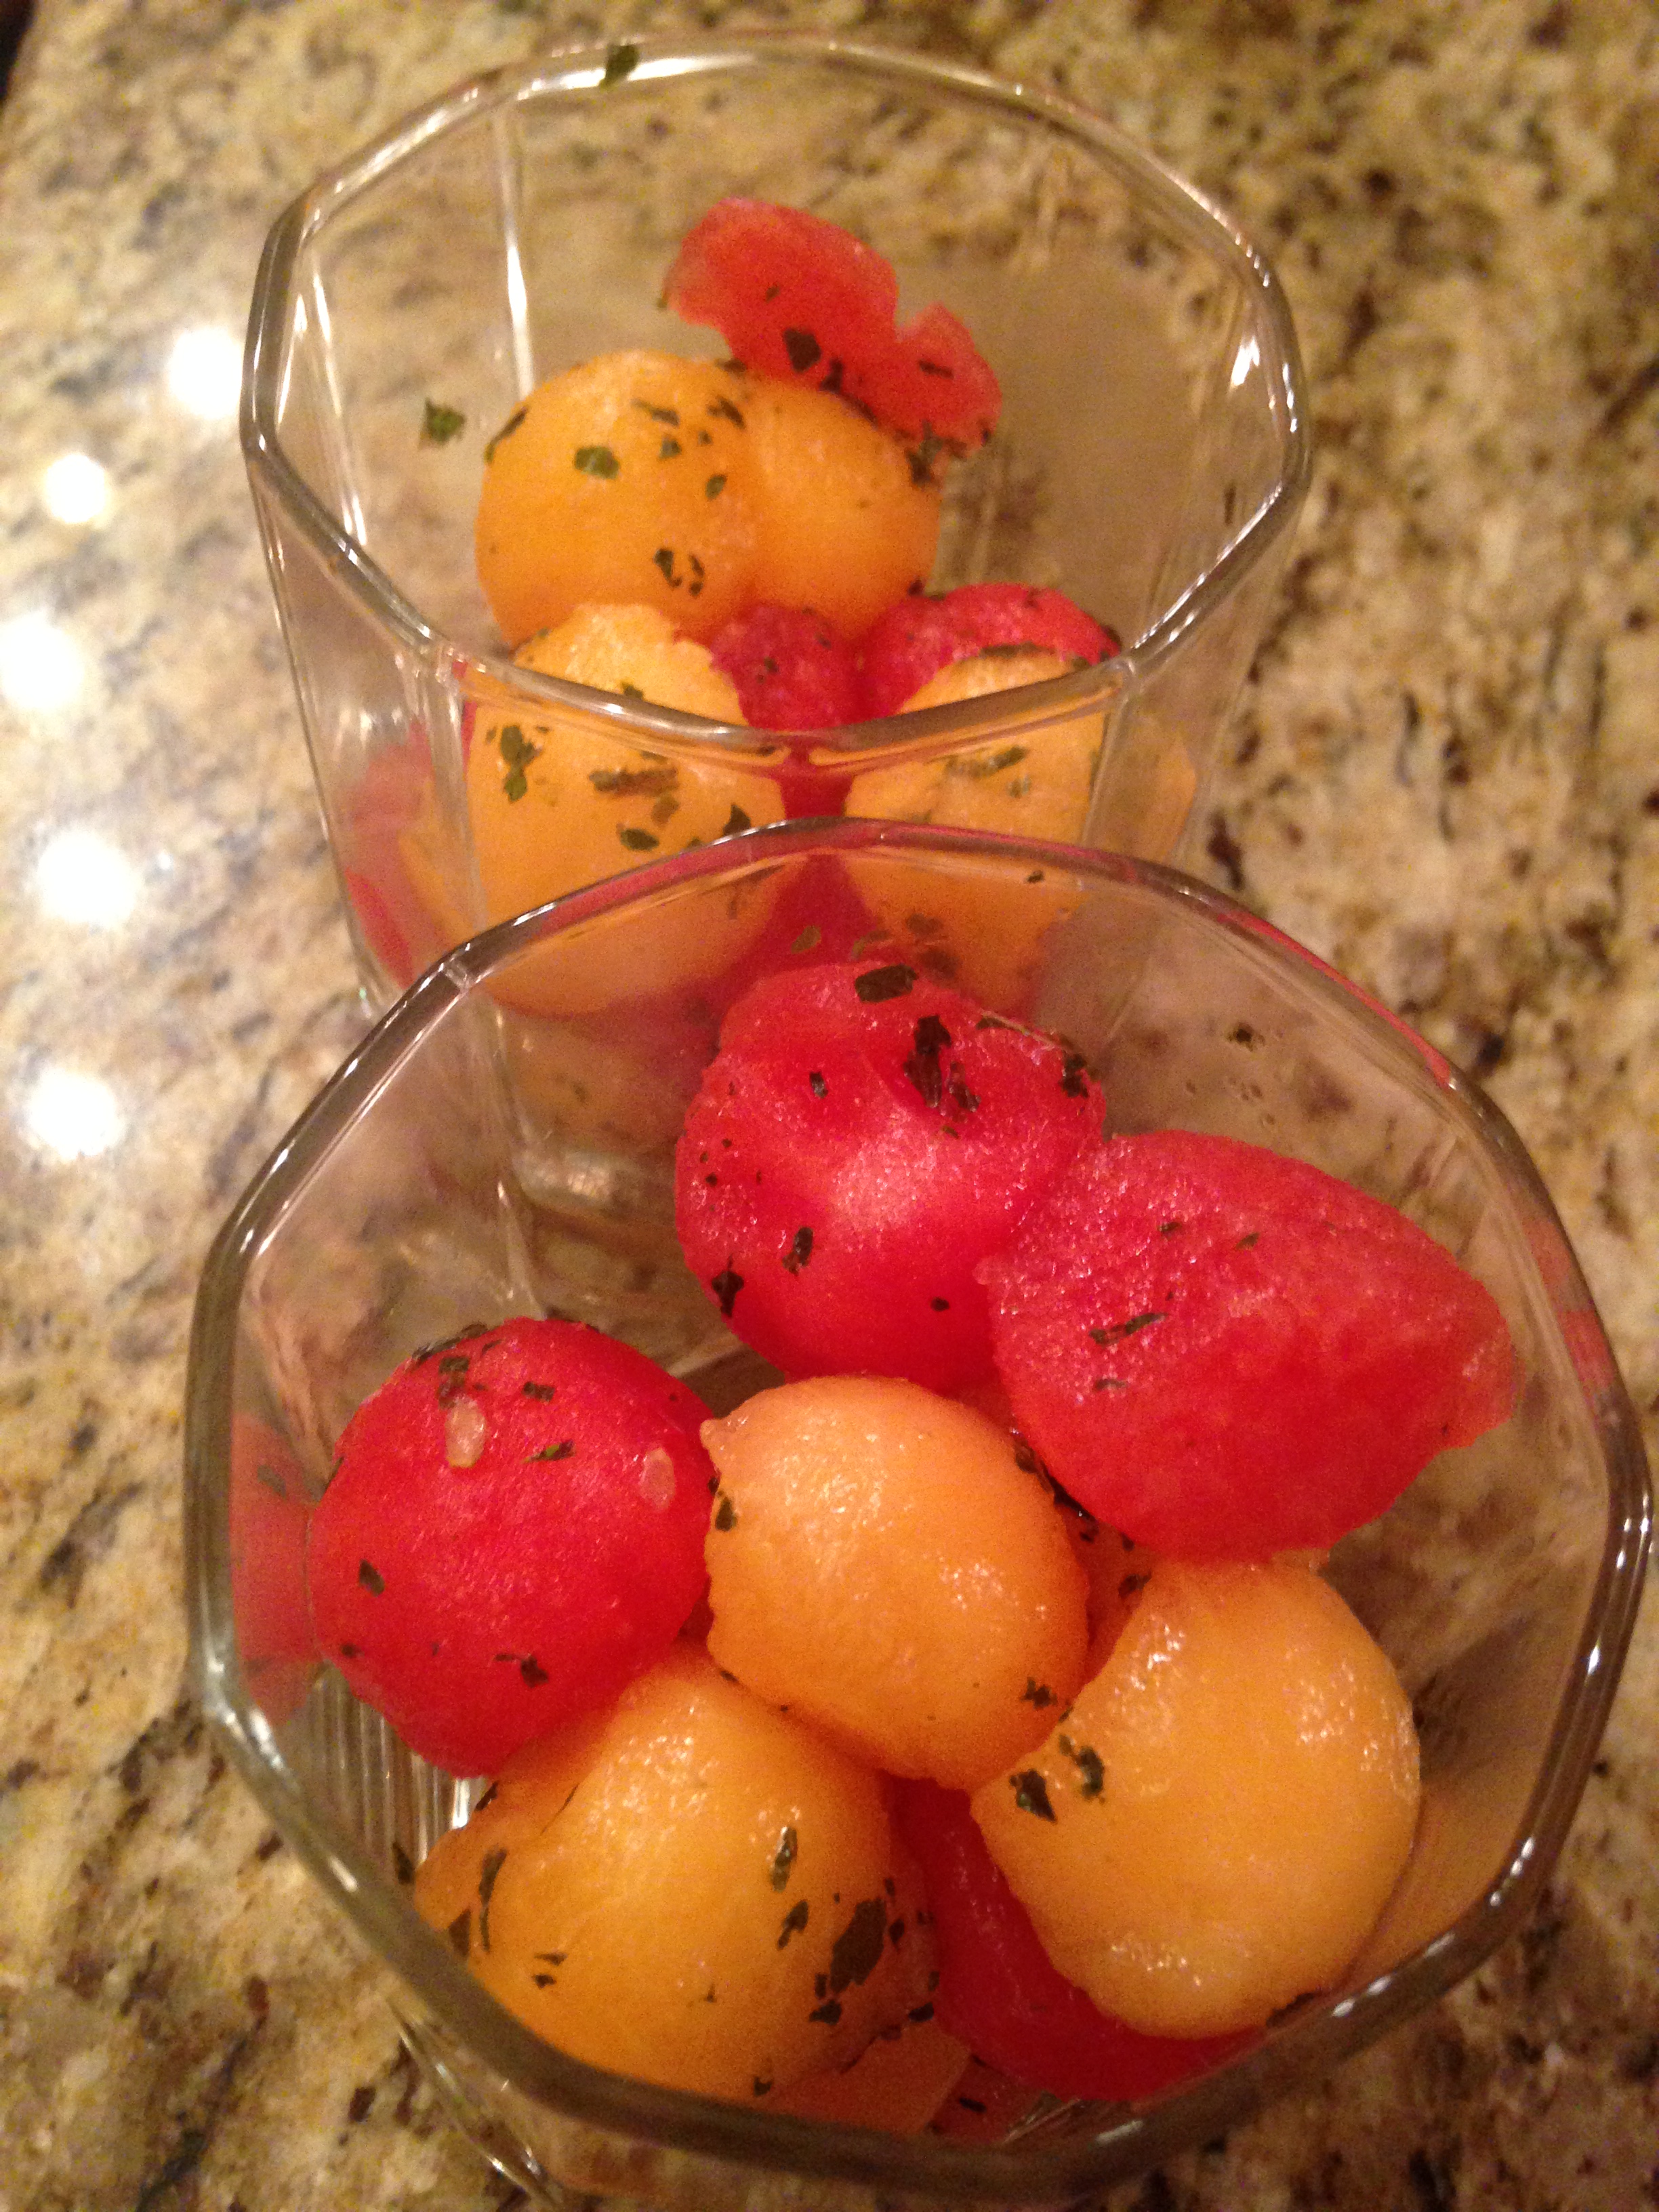
2015-07-03 16.17.07When I was young and helping my parents in the kitchen I steadily graduated from simple tasks to more complicated,  (and for clumsy me) dangerous ones. I started with setting the table, then got to put condiments straight from the fridge to the table, eventually graduating to placing crystal and working in the oven and on the stove top. One very typical, simple task I did was melon balling. We often made weekend brunches at home, which included melons when in season. Since we had a cool little melon baller it made sense to us it instead of making boring, square pieces of melon.

2015-07-03 21.01.32When I made this salad about ten years ago I did not write it down – I don’t remember if someone told me how to make it or I read it, but I loved balling the melons.  I made it again recently as a dessert to a burgers and dogs meal while staying at my mom’s house – I even used the old melon baller that was still hanging around! I guessed pretty close on ingredients because tasted just like I remember. It did a great job topping off a hearty meal as we sat around the pit fire on a warm summer night. The mint soothed the full stomachs and the melon refreshed. I strongly recommend it!

Minty Melon Salad

3-4 cups balled or cubed watermelon
3-4 cups balled or cubed cantaloupe
1/2 cup water
1 cup Stevia In The Raw (or other preferred 1:1 sugar substitute)
3/4 cup mint leaves, loosely packed
1 lemon, juiced
1 Tbsp amaretto liquor
Place melon balls in large serving bowl. In blender place remaining five ingredients. Blend on medium for 15-20 seconds, until mint is finely chopped.  Let sauce rest until foam subsides. Pour sauce over melon and gently stir to coat. Chill at least an hour or overnight. Toss to again coat, then serve.
Note: The mint won’t be bright green after sitting overnight, but the flavors will settle better in the melon balls.

French Onion Dip

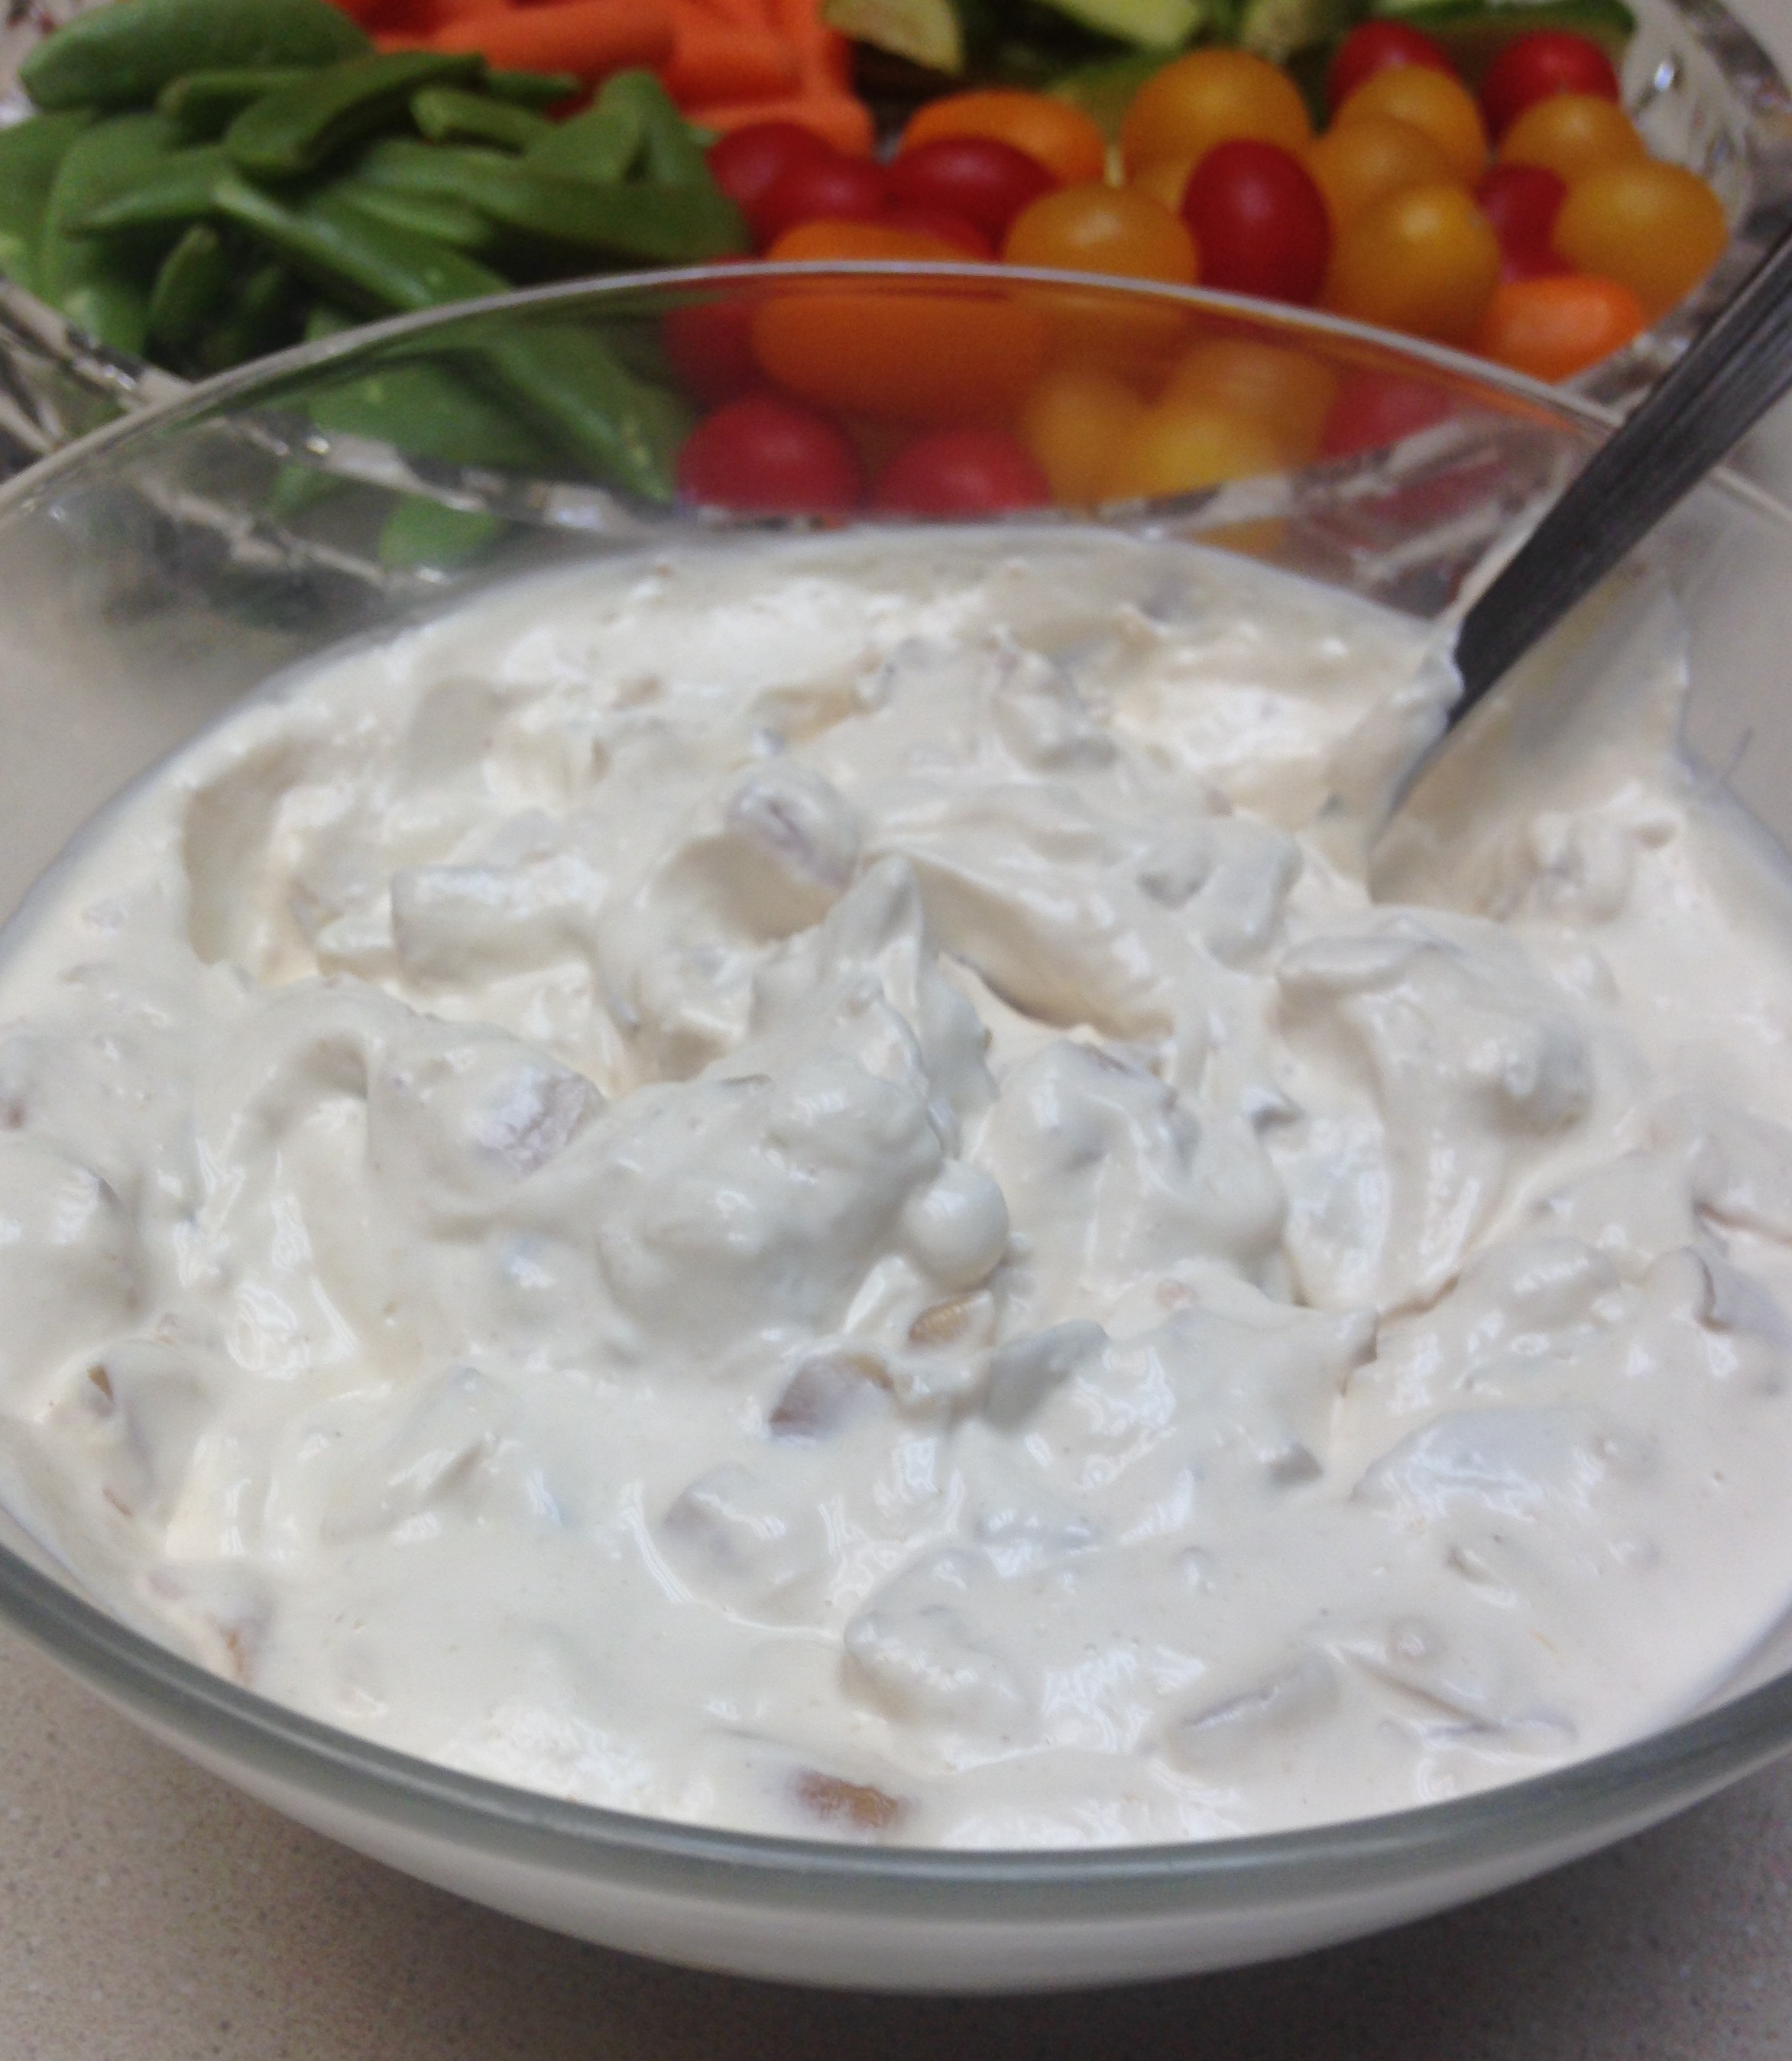
french onion dip

My favorite dip EVER is French onion dip. Onion soup has been around since recorded ancient times, but French onion soup was the inspiration for the dip which became popular in the United States about 60 years ago. I have not asked any of them lately, but I bet the French would happily disown the dip version of their lovely soup. Growing up we always had packets of French onion soup mix in the pantry. I was in my 30s before I actually used the mix to make soup. Until then I had only used the packets for making dip or seasoning meats. Not bad tasting as a soup, but fresh, from scratch versions tastes better in pretty much every case.

Of late, I have been looking closely at ingredients of everything I buy, especially anything processed or convenient. This led to me being unimpressed with some of the packet ingredients – sugar, corn syrup, monosodium glutamate….I am pretty sure the Romans did not use much of those in their onion soup, and I am not keen on consuming them. It is easy to make packet-free French onion dip, and it is fun too! It takes a bit longer, but if you are in the kitchen doing other things anyway, you probably won’t notice.

Have you ever caramelized onions? It is a kitchen task I always enjoy if I have the time. Onion, water and a little salt makes for an impressive result. The biggest challenge is carefully watching while they cook (but not burn) and avoiding the temptation to stir. A while back I made some onion paste, which can also be used to make French onion dip, but I am going to elaborate a bit here on making chunky, caramelized onions that lead to the dip’s main ingredient.

French Onion Dip

1 large onion (Vidalia works great, but any yellow or white type will do)
2 cups water
1 cup sour cream or plain Greek yogurt
1 cup mayonnaise
2 cloves garlic, minced
2 Tbsp dijon mustard
Salt and pepper to taste

Roughly chop the onion, making sure all the pieces are broken up. Heat a medium saute pan to medium high. When the pan is hot add the onion to the dry pan. Let cook for about five minutes without stirring, allowing the onion to release moisture and begin to brown. Toss onion and let cook undisturbed for another three minutes. Add 1/2 cup water and stir, making sure to scrape the brown bits from the bottom of the pan. Let cook undisturbed for 3 – 5 minutes, allowing the liquid to reduce. When liquid is almost gone and onions begin to brown and caramelize again, stir and add another 1/2 cup of water. Repeat the liquid reduction and stirring two more times, until all the water is incorporated. Sprinkle onions with 1/4 tsp salt. Stir and set aside to cool. In a medium bowl combine the sour cream, mayonnaise, garlic, mustard, pepper and more salt to taste. Add the cooled onions and stir until combined. Refrigerate at least two hours or overnight before serving. Serve with vegetables, chips and crackers.

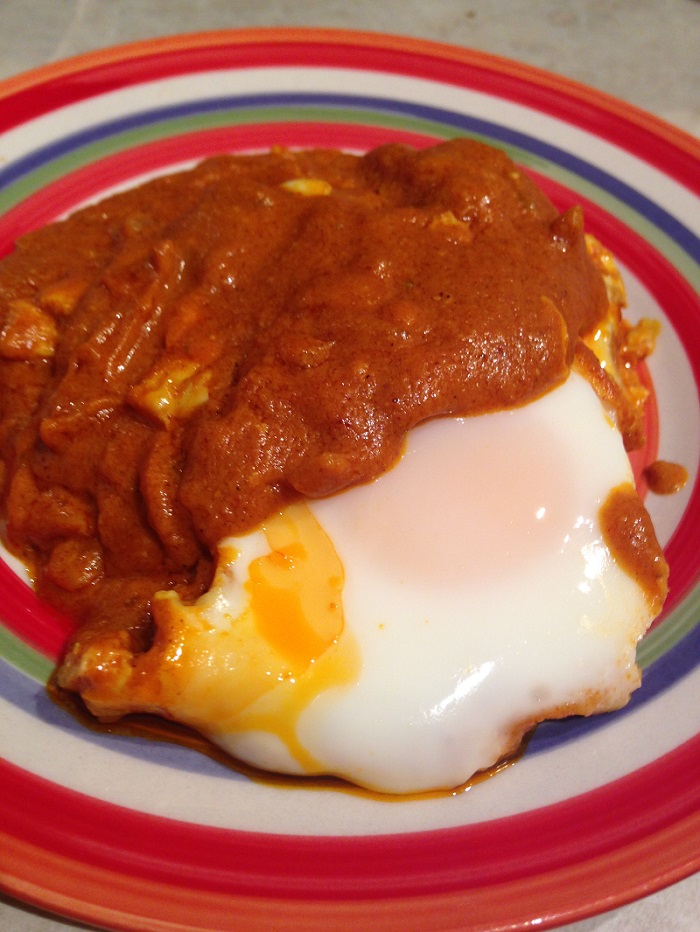
Red Eggs

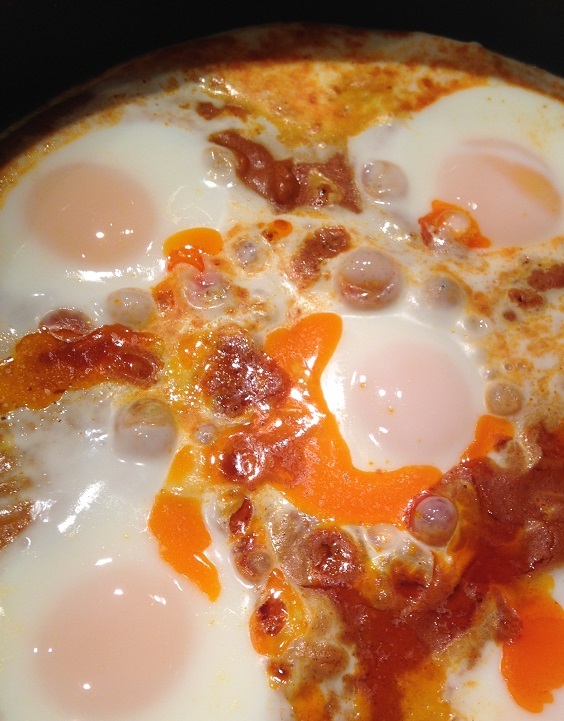
red poached egg

We had leftover sauce! My aptly named Red Chicken was delish, and left us with some sauce that was taunting us from the fridge the other morning. I was reminded of the simple egg bake I posted about a few years ago. It is also reminiscent of Indian shakshuka or Mexican huevos rancheros, which have a bit more than smooth sauce and eggs, but the concept sounded really good, easy and filling.

We were in the middle of a significant effort to reduce our worldly belongings and using up stuff from our food stores before moving. Such a process is pretty emotionally draining. More so than I ever expected. Not the use of food stores, but the reduction of belongings. I would think that getting rid of sweaters not worn in years would be easy, but remembering wearing them when spending time with family and friends brought a bunch of memories to the forefront,  good and bad. After the sweaters were done I shifted over to sorting other stuff. The same type of memories rise, everywhere from who gifted them to me to remembering all the places I wore them. If I was doing the process over the span of months is one thing, but we were doing this type of sorting day after day for a week. Although most of the time was spent sitting or standing and sorting, we were all exhausted at the end of the day. We were all doing it (me, Big D and Little B) and all felt the energy drain.

red poached egg platedThe cooking during this week of great purging helped us relax and talk about our goal – keep the things that serve us and we cherish, not being tempted by keeping stuff just because we always did before. We successfully got through the grand project and winnowed down our stuff to the amount we agreed to (two pick up trucks worth of bins, etc). We make no promises of avoiding the rut of collecting things again, but I think the experience will make us think twice before nonchalantly filling the cart at the big box stores. Keeping things simple provides clarity and encourages creativity – things we can never have too much of. On another note, we are so very proud of Little B. It would have been easy to send her off to a friend’s house and quietly sort through her stuff in absentia, but since we consider her a little person, we thought it important to take her through the process with us. It was not easy, but we took the time to work with her about what she used, what she had outgrown, what she had not touched in a year, and what she cherished. Of course, she is looking forward to more stuff as her interests change in the future, so she leapt in with both feet and made very thoughtful decisions, way beyond her five years on this earth. We surrounded ourselves with comforting food as we moved forward with the purge, including these eggs. Fortunately I did not step away from the pan at the wrong minute, so the poachiness of the eggs was pretty darned perfect. They helped us move on and gave us a new go to dish.

Red Eggs

2 Tbsp butter
1/2 white onion finely chopped
4 cloves garlic, finely chopped
1/2 cup natural peanut butter
15 ounces tomato sauce
1/2 cup lemon juice
2 Tbsp ground turmeric
2 tsp ground ginger
1 tsp ground cinnamon
1 Tbsp cayenne pepper
1 tsp sea salt
1tsp ground black pepper
8 ounces full fat coconut milk
4 – 6 eggs

In medium saute pan over medium high heat melt butter. Add the onion and garlic, cooking until browning begins. Add remaining ingredients except for coconut milk. Stir until all ingredients are combined, turning down heat to low. Stir in coconut milk and simmer until steam is rising from sauce. With the back of a spoon make a divet along the edge of the sauce in the pan. Drop a raw egg into the divet. Repeat with remaining eggs, evenly distributing them in the sauce. Cover pan and let simmer until eggs are cooked to desired doneness – about five minutes for soft. Serve immediately by scooping egg(s) onto a place and drizzle sauce on top.


Post Navigation