Any Kitchen Will Do

Give me a kitchen and I will cook.

Archive for the category “wheat free”

Garden Chicken

2015-08-29 17.59.51Since I began my new business, Grain Free Haven, I have spent a ton of time in the kitchen, but not so much on new stuff. I have been making large quantities of the reliable recipes we love, to share with all my new customers. In my continued effort to contribute to the healthy eating of my family, I share with you now ANOTHER chicken recipe. I swear it is different enough from this chicken recipe, and this one and this one and this one to warrant sharing…. Even with all the bulk baking for the business I still want to spend time in the kitchen making new stuff, so I am making a concerted effort to still come up with new stuff.

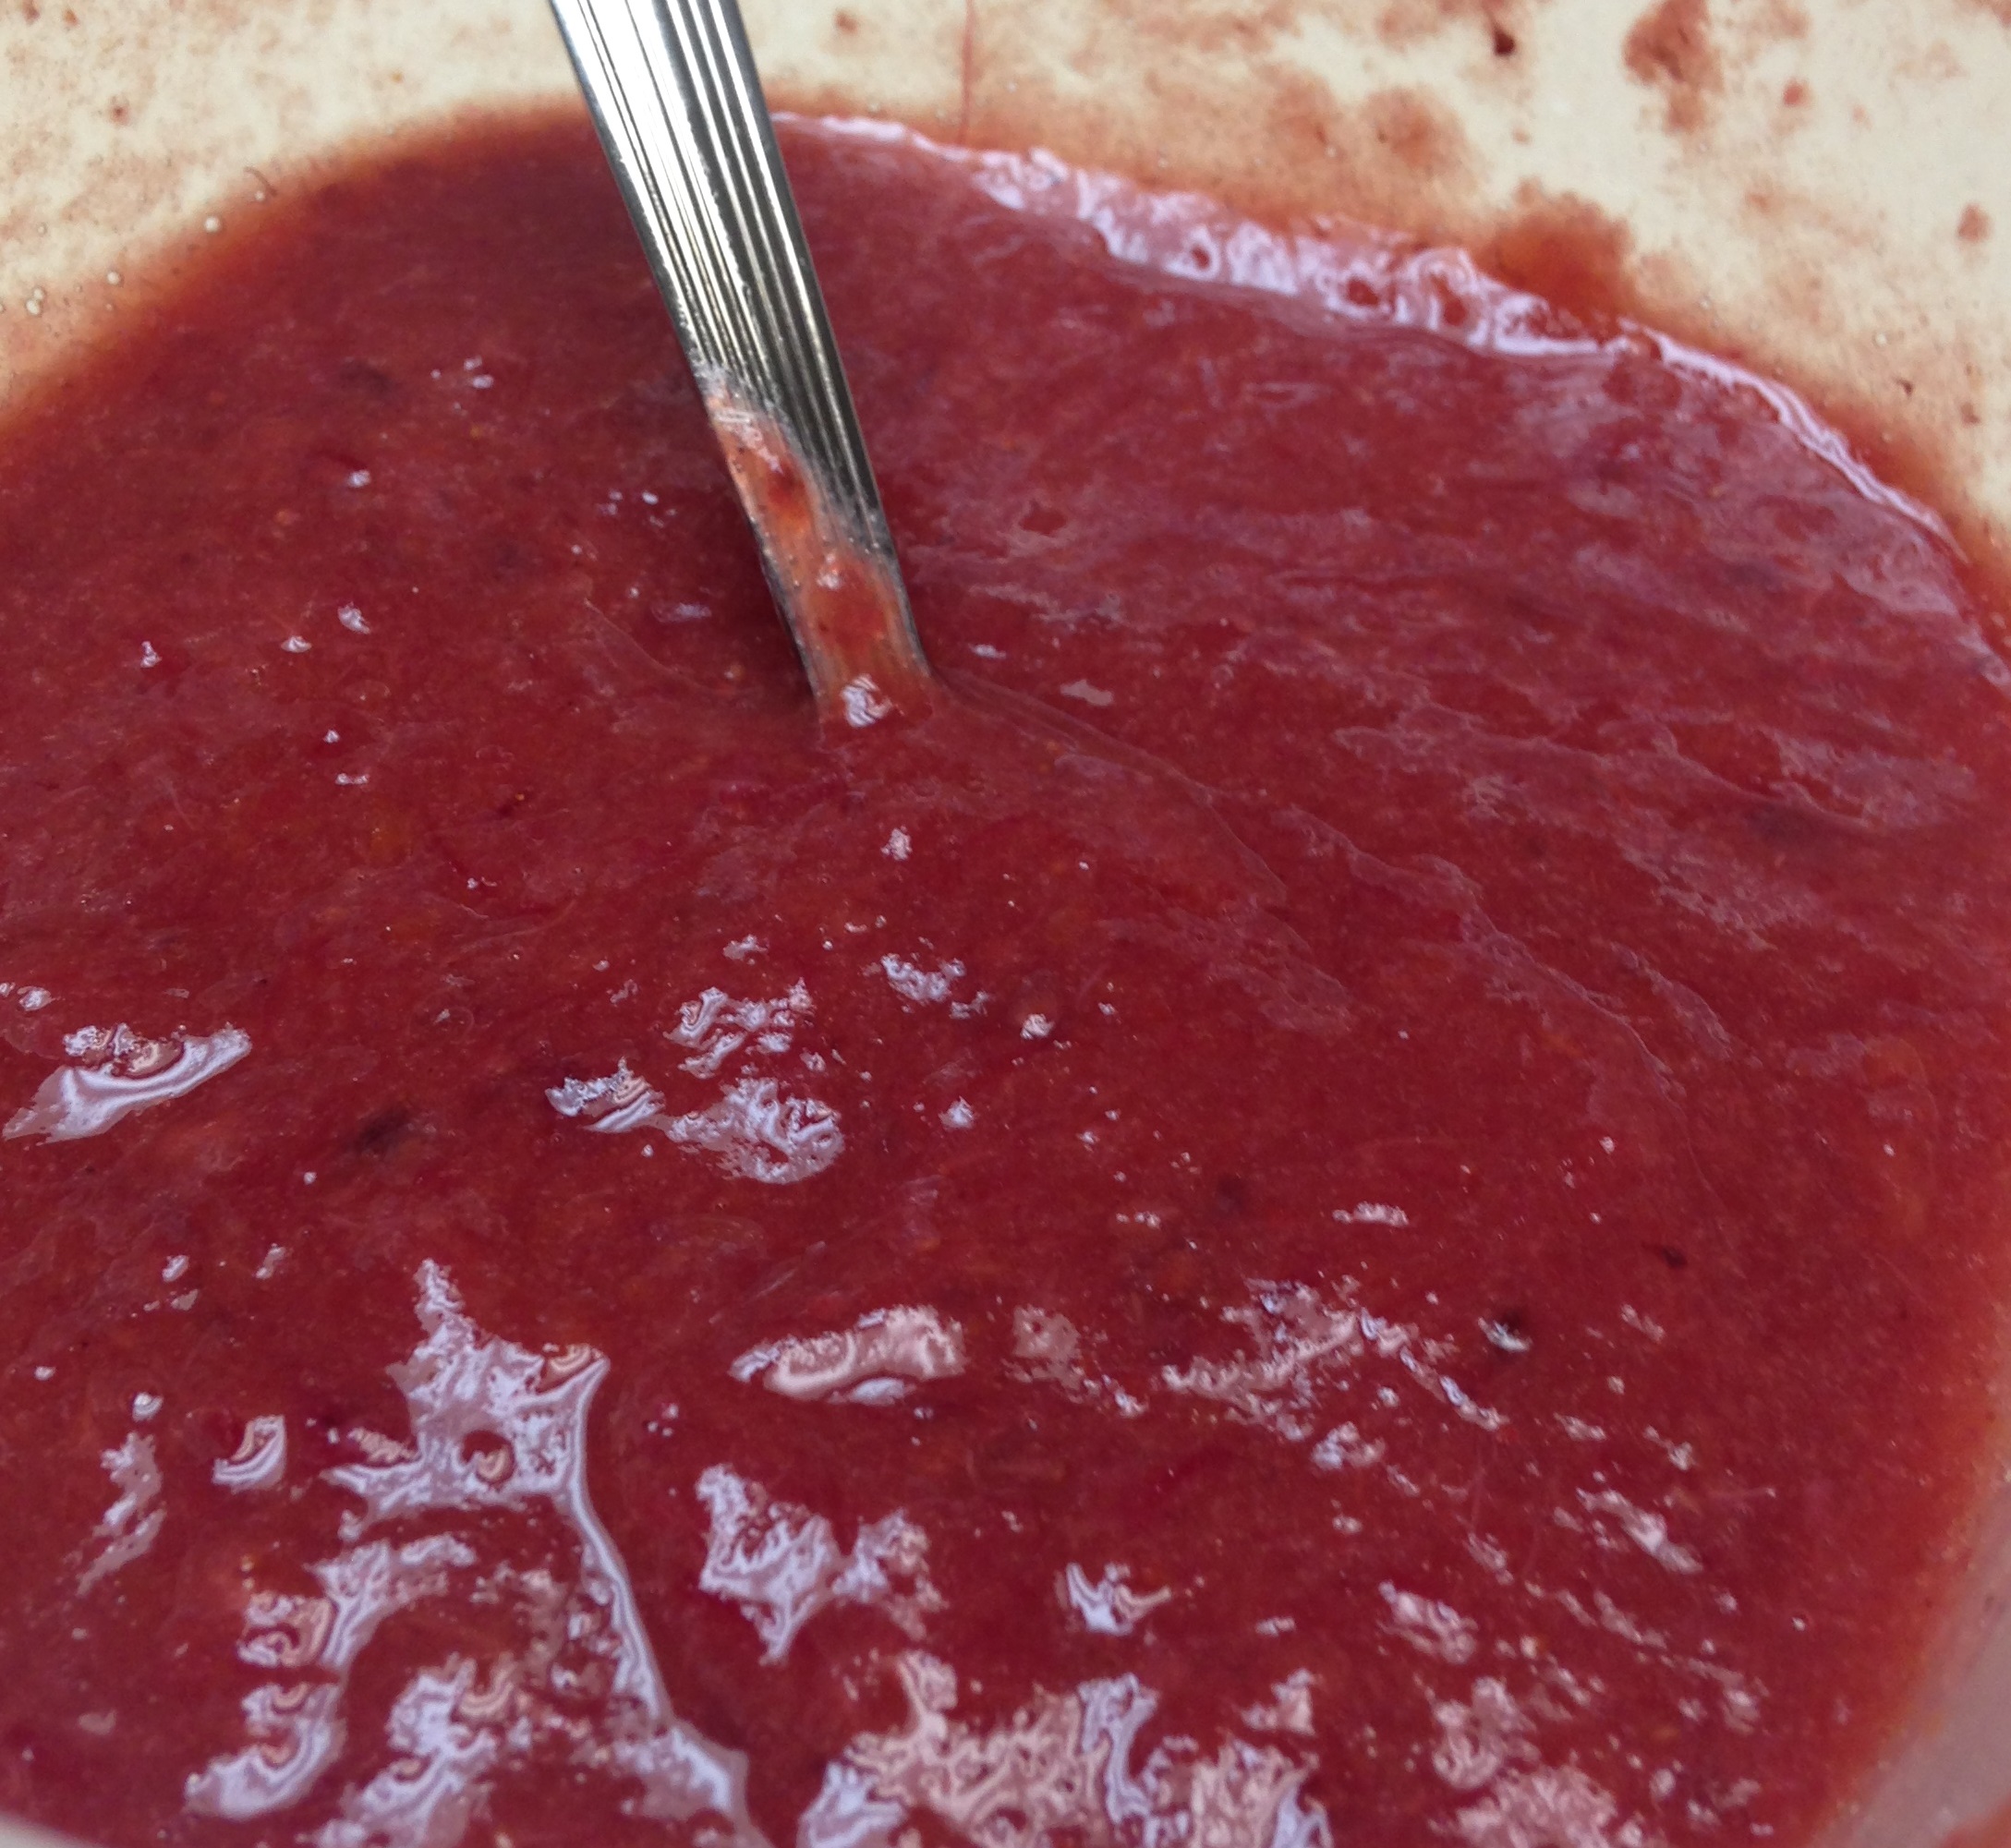
Much of what you need for it comes from your garden, or your neighbor’s garden, or even your local farmers’ market vendor gardens…in my case it came from my brother’s garden. The dish is full of summer and the sauce, which can be made in advance of baking the chicken, is addictive. I warned you.

Garden Chicken

2 pounds fresh tomatoes (or 2-14 1/2 ounce cans diced tomatoes)
3 garlic cloves, crushed
1/2 medium yellow or white onion, chopped
1 cup fresh basil leaves
1/4 cup fresh oregano leaves
1 cup fresh parsley leaves
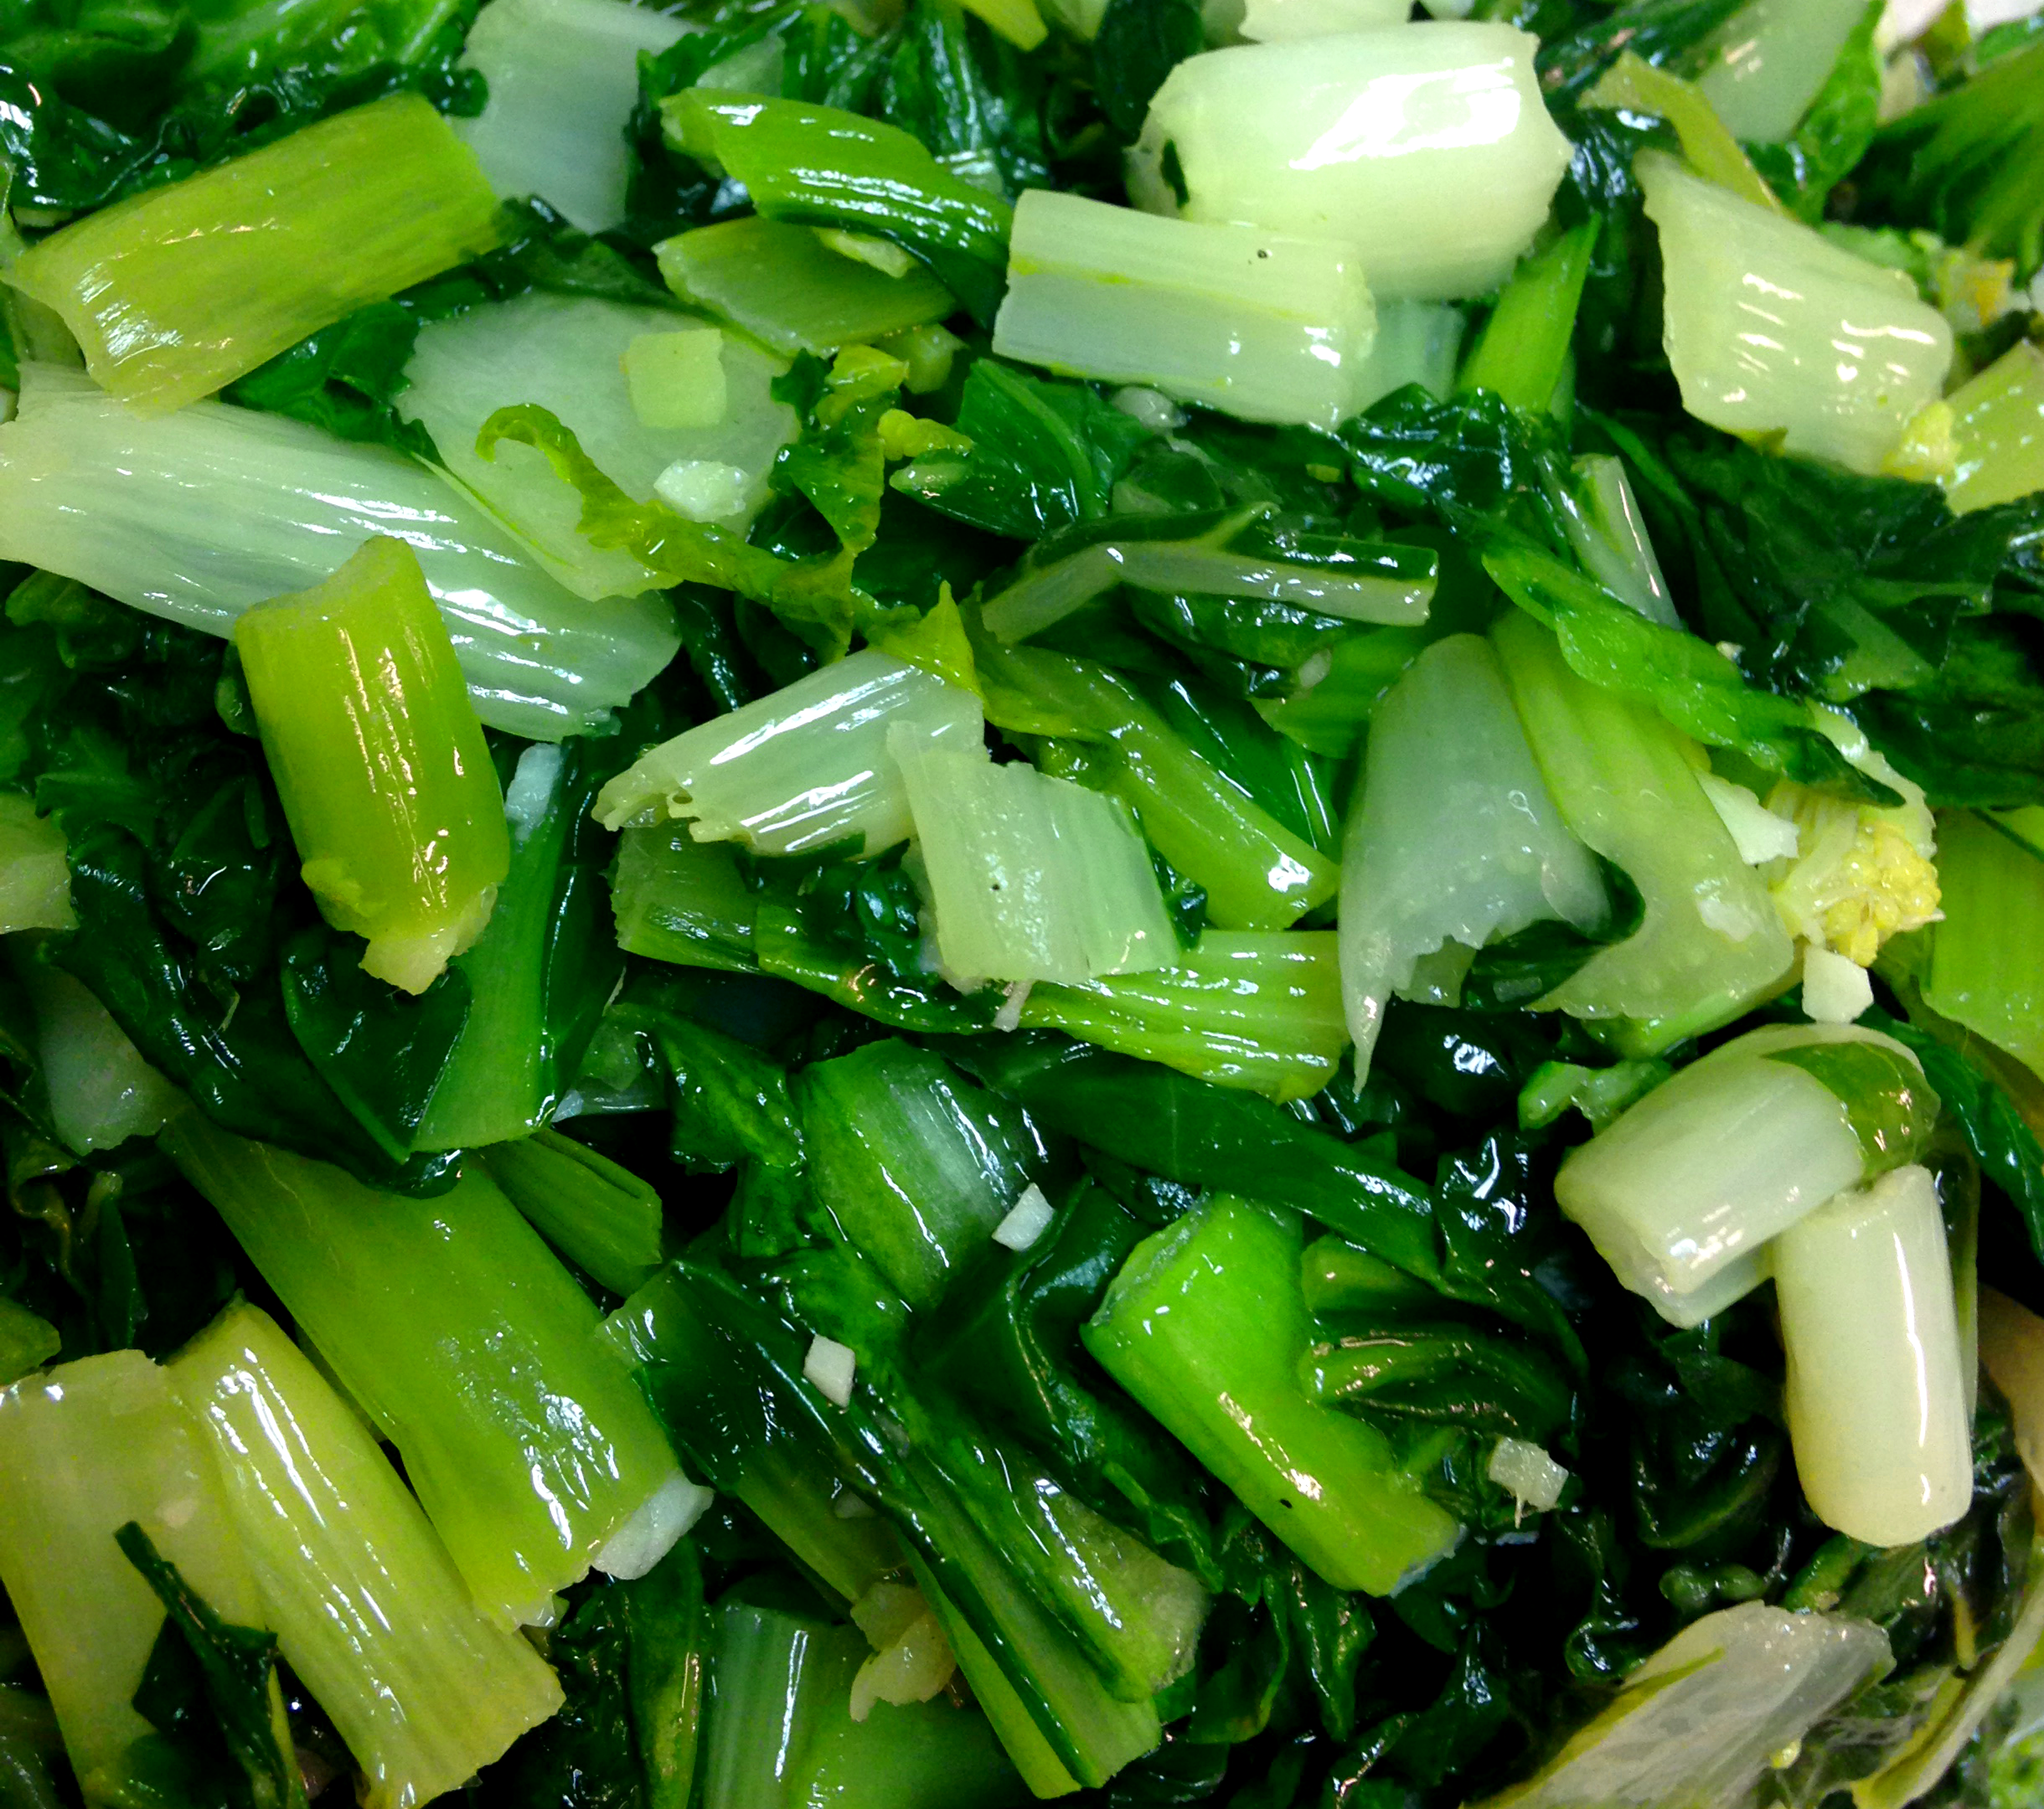
4  cups fresh, raw spinach
2 tsp sea salt
1 tsp ground black pepper
1/3 cup heavy whipping cream
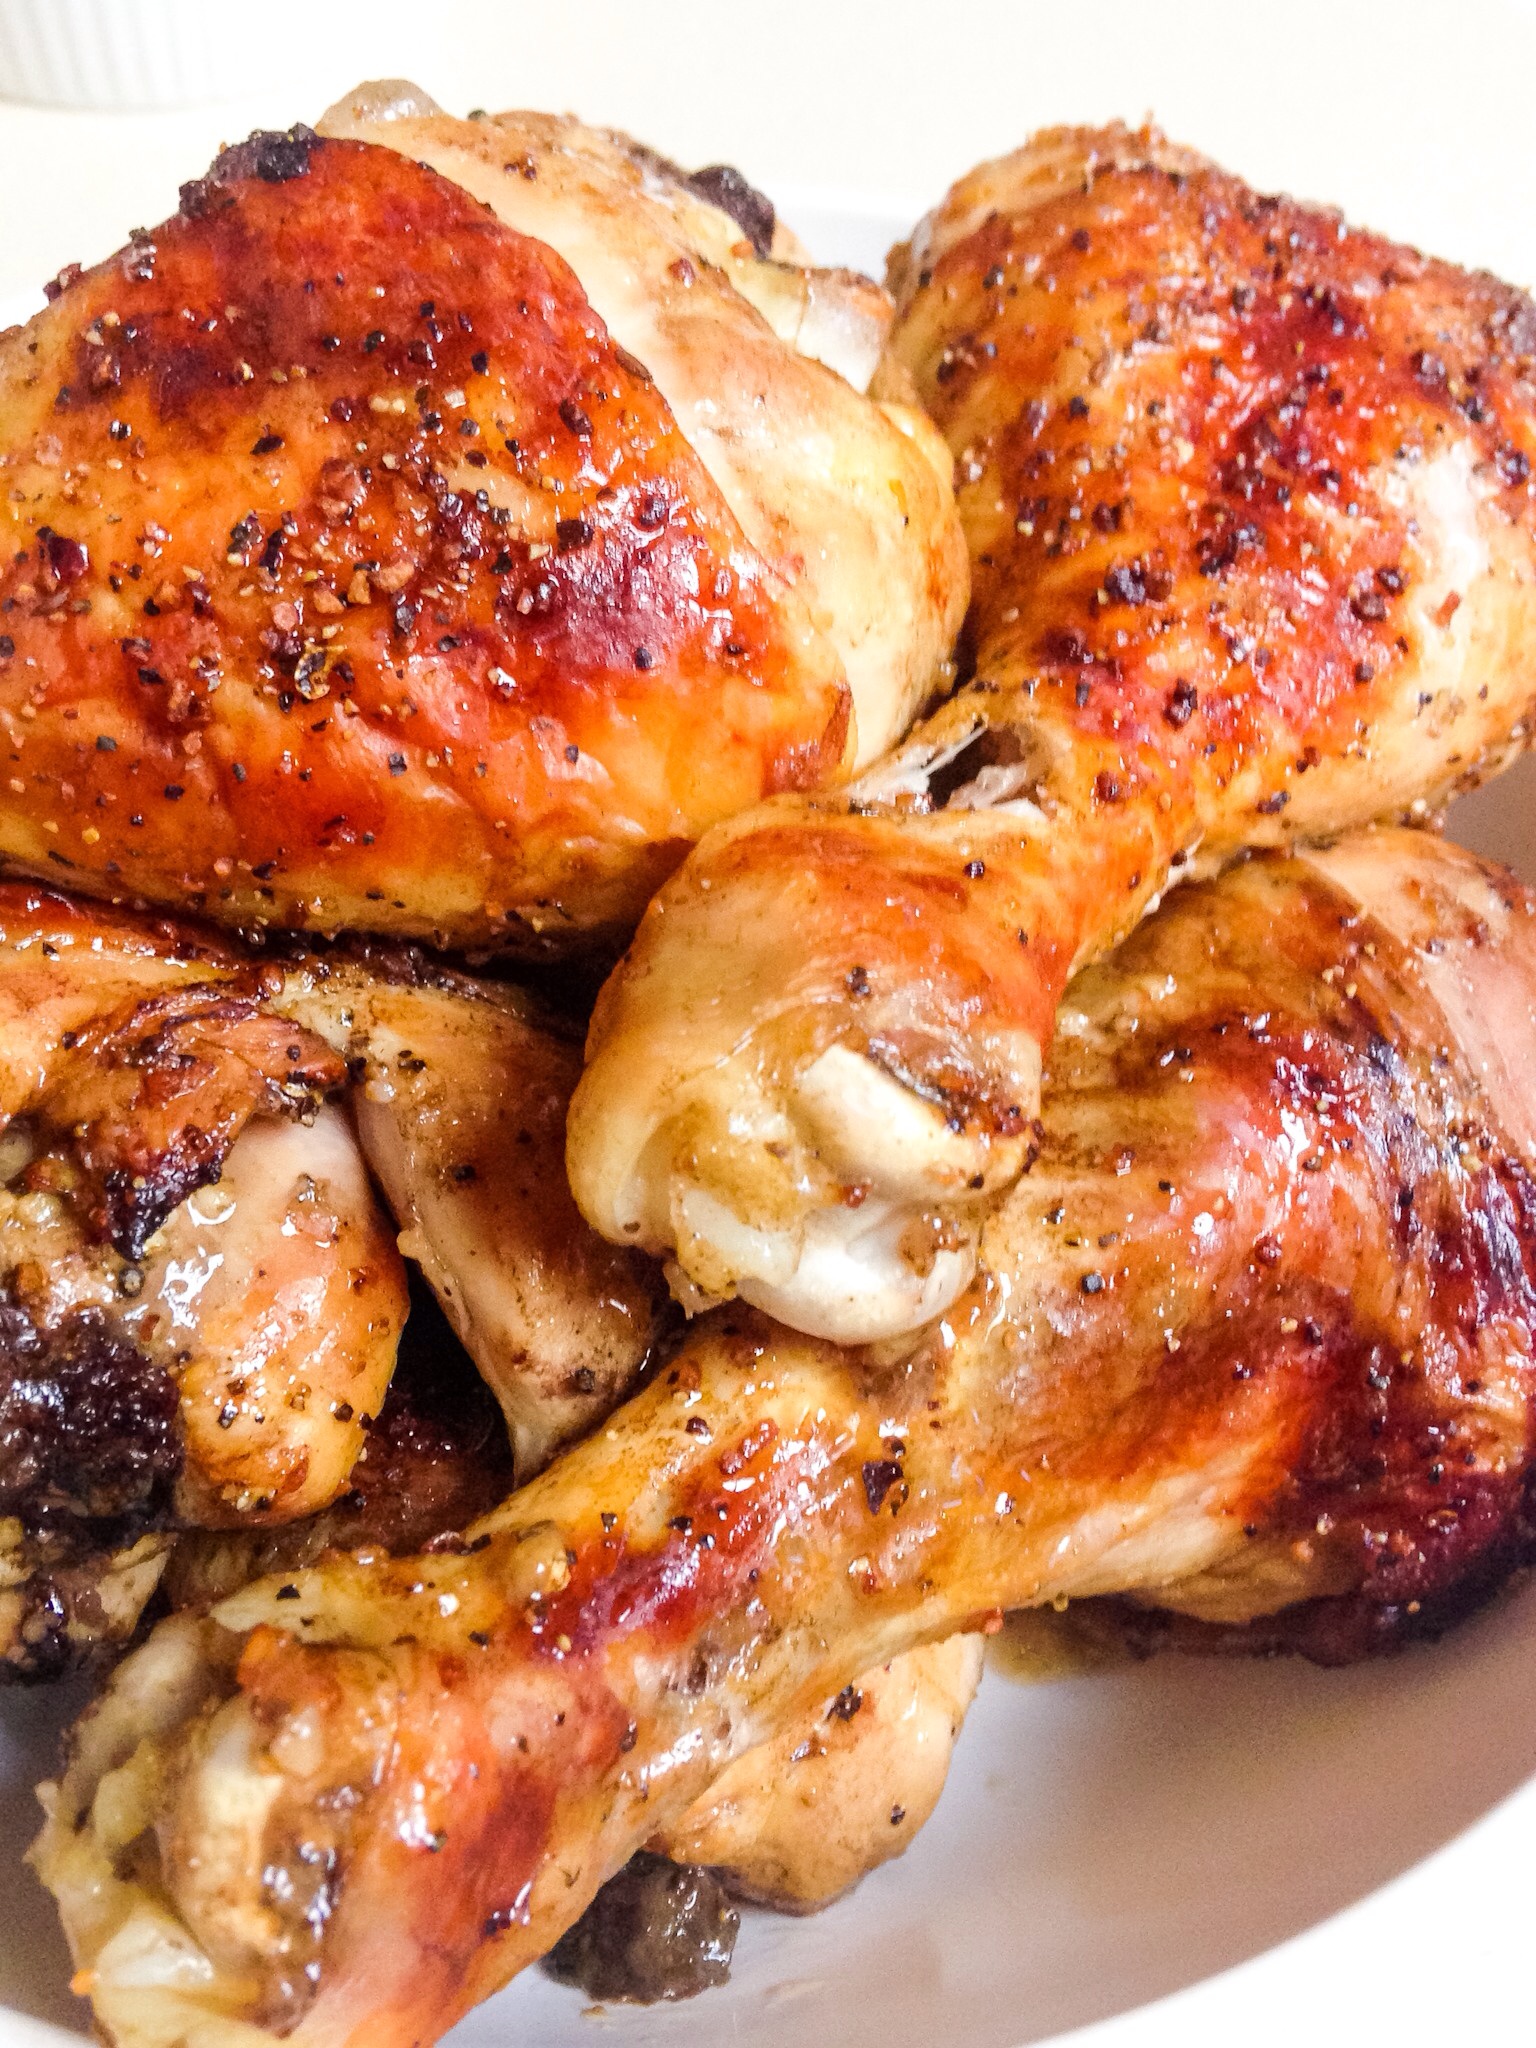
8 – 10 chicken thighs, bone in and skin on
Salt and pepper, to season chicken
1 cup finely grated Parmesean cheese
2 cups grated mozzarella cheese
1/4 cup finely chopped mixed fresh herbs (optional)

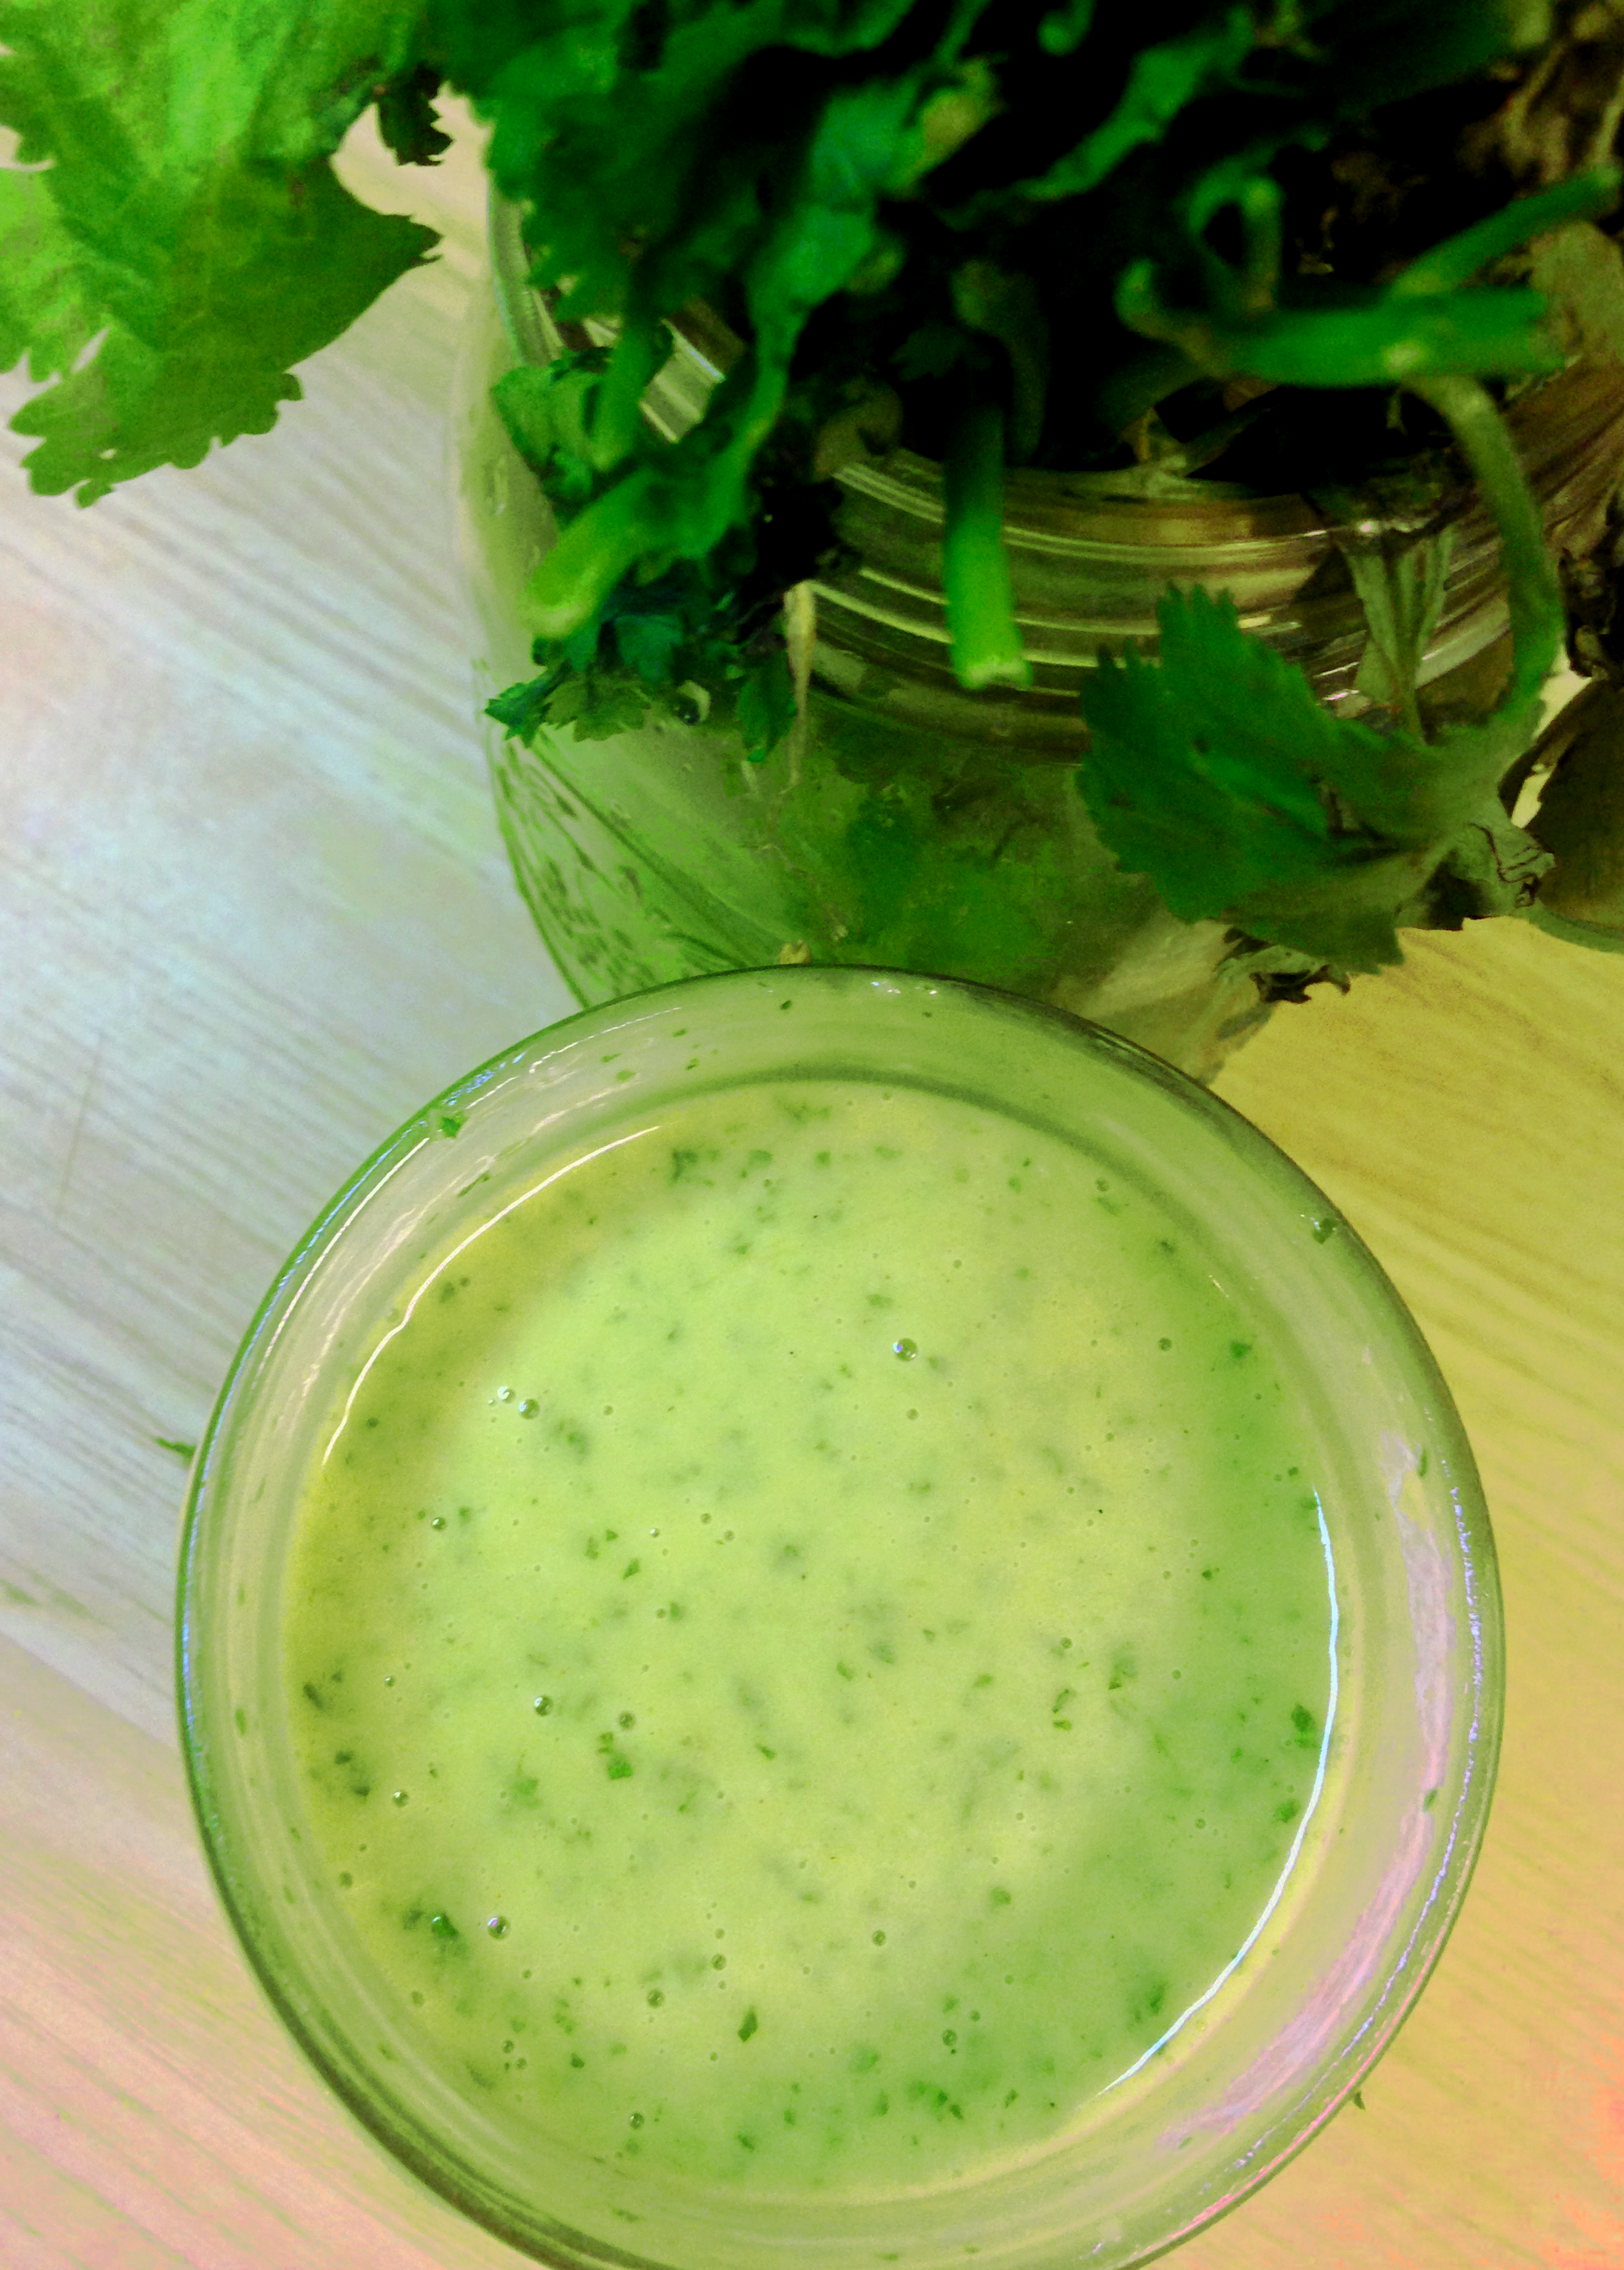
Roughly chop tomatoes and place in large sauce pan uncovered over medium high heat. Add onion, garlic, basil, oregano and parsley. When mixture is bubbly reduce heat to medium and continue cooking uncovered for 30 – 45 minutes, until liquid from tomatoes is released and reduced by about half. Add the spinach, salt and pepper, stirring until the spinach wilts and mixes with the tomatoes. Let simmer for ten more minutes. Remove pan from heat. With an immersion blender (or carefully pour the hot stuff into a stand blender) purée the sauce until tomatoes, spinach and herbs are blended into a smooth sauce. Simmer for five more minutes to reheat sauce, then thoroughly stir in heavy whipping cream. Remove from heat.

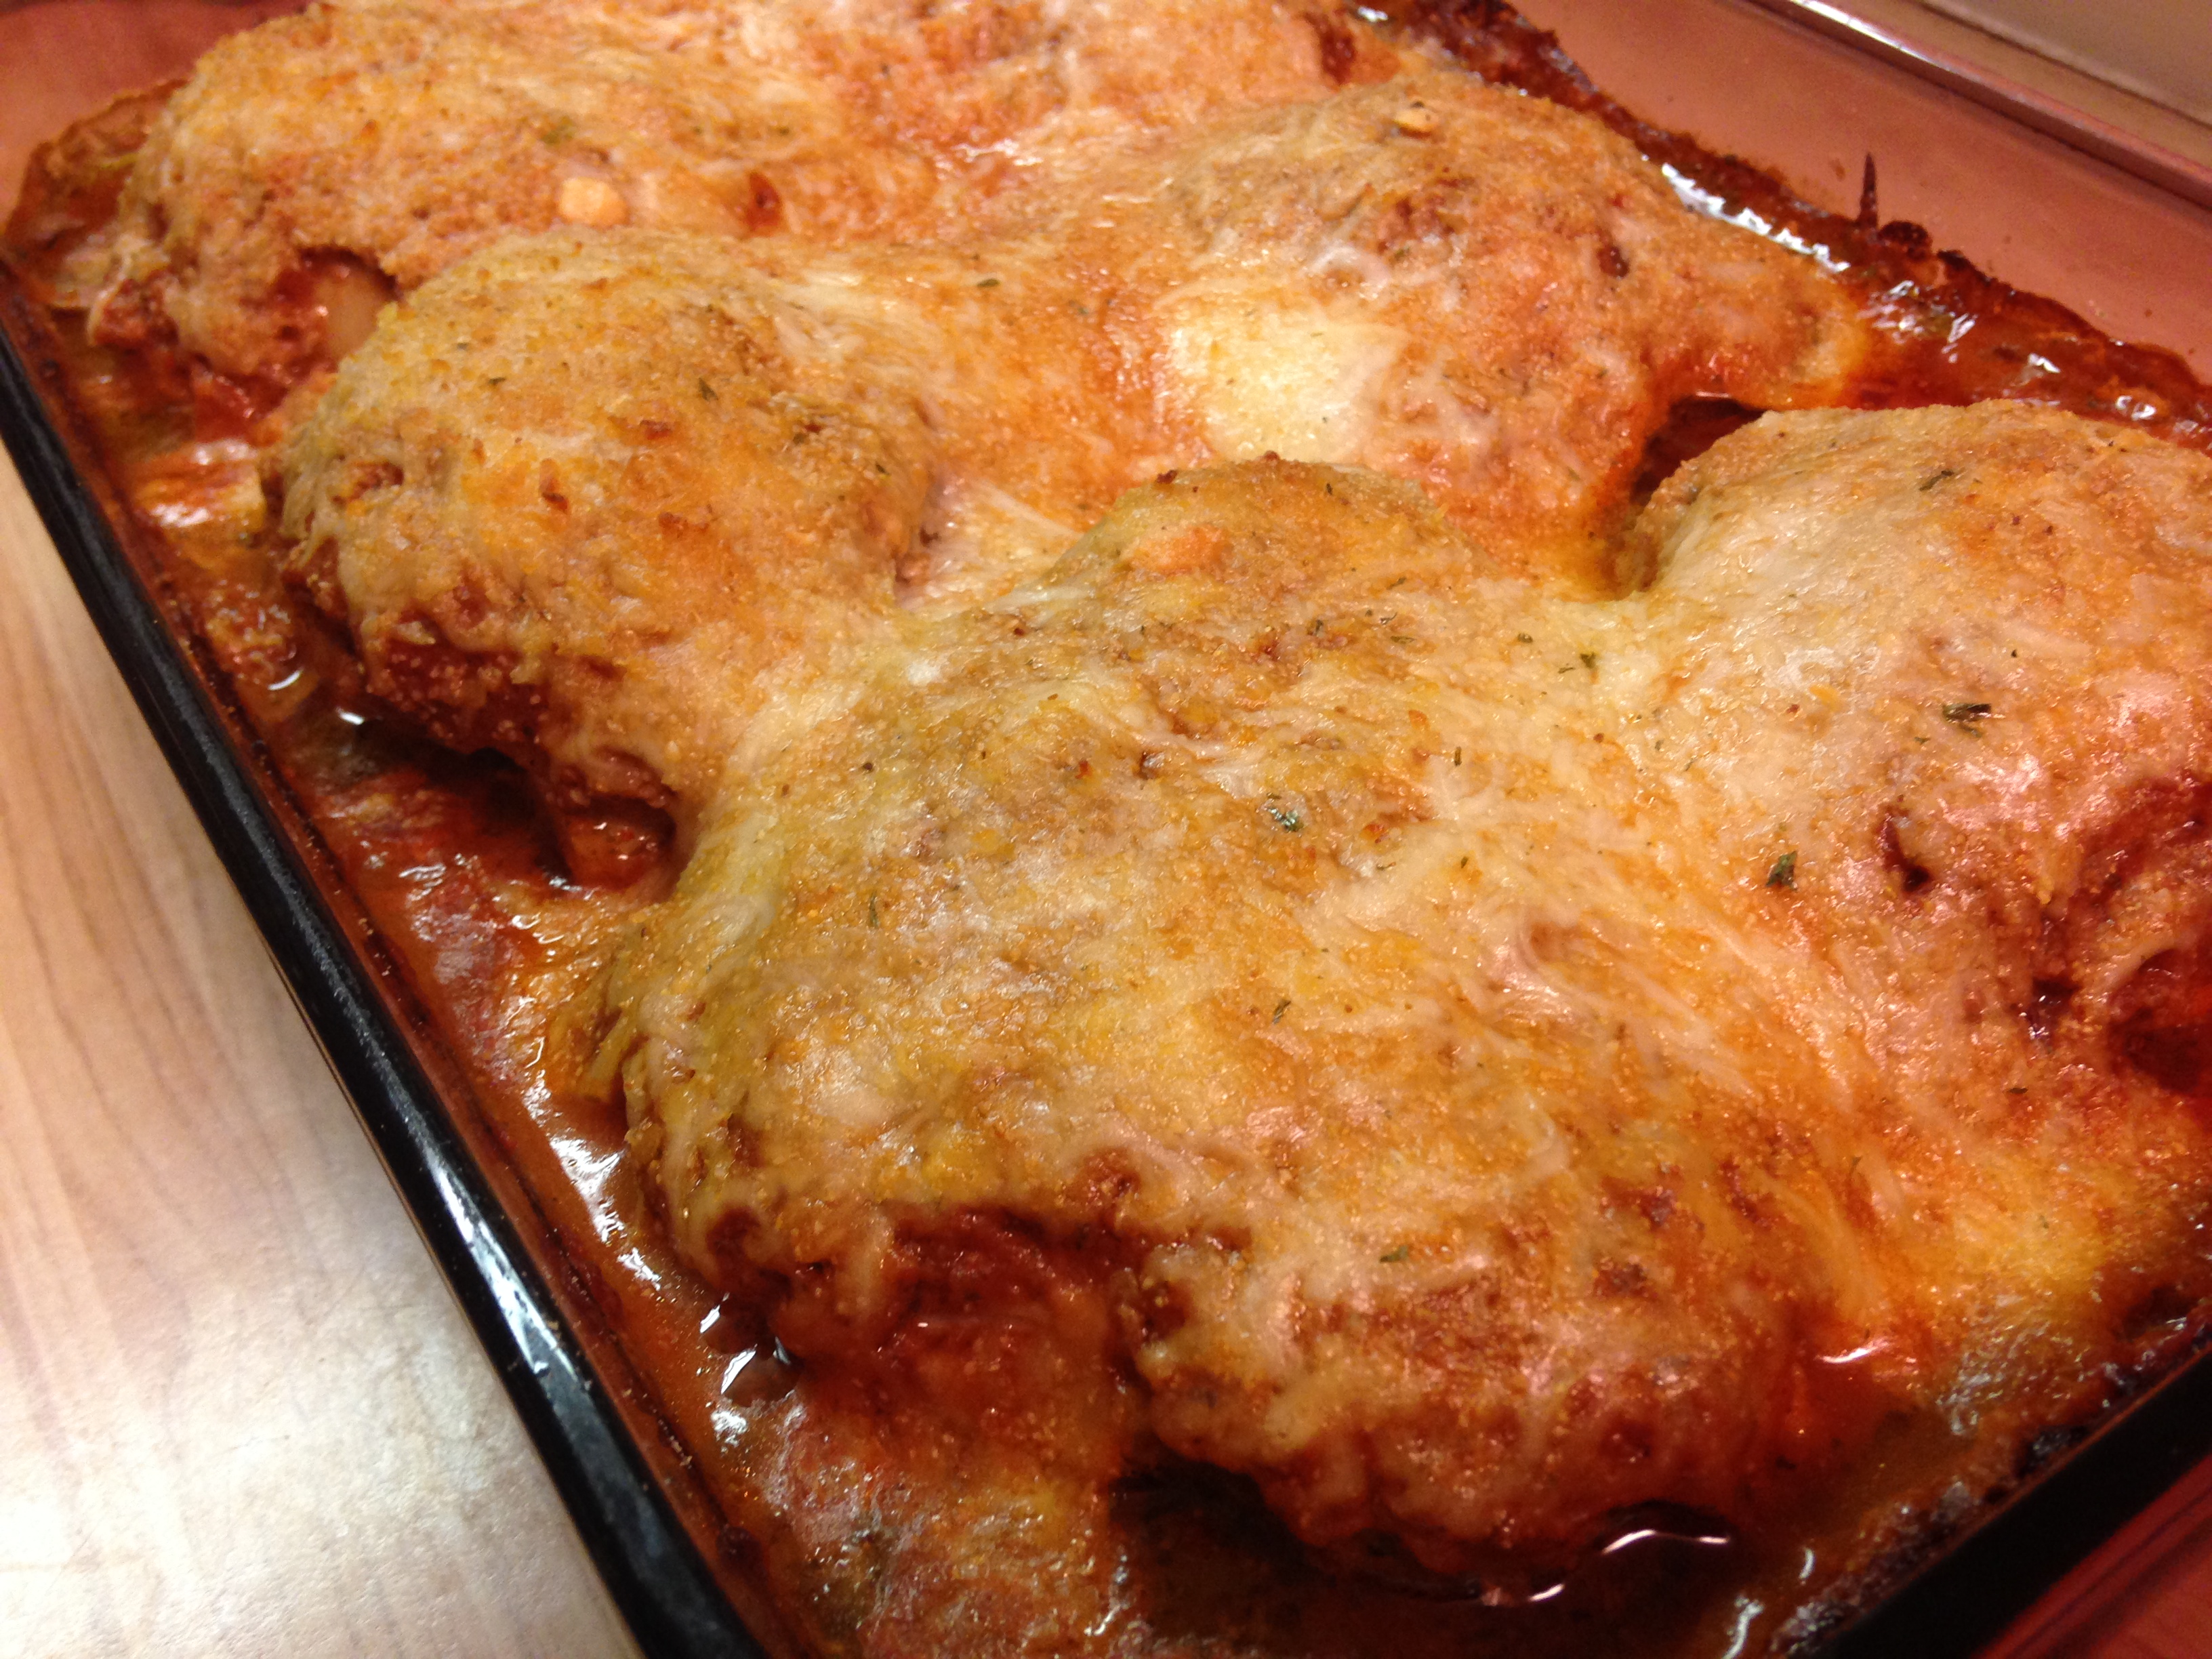
Preheat oven to 350 degrees. Season chicken on both sides with salt and pepper, then place them in large baking dish. Sprinkle half the Parmesean cheese over the chicken thighs. Pour tomato sauce over chicken, making sure it is covered and there is a layer on the bottom of the dish. Sprinkle mozzarella cheese and optional chopped herbs over chicken, followed by the rest of the Parmesean cheese. Place in oven for 30  minutes. Cheeses should begin to brown. Cover dish loosely with aluminum foil (to prevent cheese from getting too brown) and bake for 15 more minutes.

Remove from oven and let sit for 10 minutes before serving. When serving gently lift the chicken out of the dish, trying not to disturb the sauce and cheese that has moulded on top of each thigh – as the dish cooked the tomato solids settled on top of the chicken with the cheeses and the juices ran down, so serving with the ‘topping’ intact makes for a pretty presentation.


Bright Bok Choy

bokchoysauteWhen we made lobster recently I wanted to serve something bright next to it, but not something that would overpower the sweet crustacean meat. I landed on bok choy, for it is easy to make and met the requirement for bright contrast. I was also influenced by the fact it was in the produce department of the store where we bought the lobster. They were small, very green and very fresh looking. I love wokking (is that a word?) bok choy. I love wokking greens in general – dropping some into the well to sear, then tossing them on the edges to rest, then dropping them right back into the well.

The bok choy keeps with the trend in our house of often eating green, leafy vegetables as often as possible. I like mustard greens and turnip greens and collard greens and spinach, but some variety is always welcome in my world. I have never served bok choy with lobster, but I probably will again, especially with an extra drizzle of lemon, to connect it with the lobster butter. Also, it is fun to say – bok choy, bok choy, bok choy, bok choy….

Bright Bok Choy

2 – 4 bunches bok choy, well rinsed (to equal to approximately 8 cups raw chopped)
1 Tbsp coconut oil
1 Tbsp ginger, peeled and finely minced
2 cloves garlic, finely minced
1 tsp sea salt
1/2 tsp ground black pepper

Thoroughly rinse sand and soil from bok choy. Chop green leaves off from white stems. Loosely chop green tops. Chop white stems to bite-sized pieces. Add oil to wok or large frying pan over medium high heat. When oil is hot add ginger and garlic. Cook until it begins to brown. Add chopped white stems. Cook stems for about five minutes, tossing regularly. Add green tops and sprinkle with salt and pepper. Toss mixture until greens are wilted, 3-5 minutes. Season with additional salt to taste. Remove to serving bowl and serve immediately.

Herby Dressing

herbydressing

I make a lot of salad dressing. My goal is typically to find vegetables that will bring the dressing to my mouth. I like vegetables, but it is hard to keep them interesting and add variety to ensure they make up a majority of my diet. I have been surrounded by herbs and summer lately, so decided to try and capture it all in a jar. I trundled through the jungle of herbs in my brother’s back yard and grabbed handfuls of garlic, cilantro and parsley. I rush back into the kitchen, to reduce my exposure to the triple digit temperatures. I filled the food processor with other basics of a dressing and come up with a bright, crisp, green concoction. We have used it so far to flavor salad, cauliflower fried ‘rice’, cottage cheese and dip. The word dressing may be deceiving, for it is not just for salad. It can brighten up all kinds of foods, so go for it!

Herby Dressing

1 cup chopped fresh cilantro leaves
1/4 cup fresh parsley leaves
2/3 cup apple cider vinegar
1 lime, juiced
1/2 cup extra virgin olive oil
2 garlic cloves, crushed
1 tsp sea salt
1/4 ground black pepper
Place all ingredients except for olive oil into a food processor. Pulse the ingredients until herbs are of a uniform size. Continue processing steadily while incorporating oil with a continuous, steady stream into the processor. Store dressing in an airtight container, drizzling it with abandon on raw veggies or incorporating it into vegetable dishes.

Boiled Lobster with Clarified Butter

lobster in shell

A most hated dish to me is overcooked, dried out lobster. It is sad that such a delicious creature gets so abused for our sake. Not the eating of lobster; I am fine with doing that, but the overcooking of it. For that reason I do not often order it in restaurants. Maybe it is unfair to assume they will screw it up, but it is what I do. My parents were the same way. They would not get them at restaurants, but buy them alive the afternoon they planned on cooking, and leave the suckers in the sink to wait. When I was young and short I would peek over the edge of the counter and see them moving around, with their claws bound in rubber bands. According to my mom, once one of those claws came towards me and I freaked out. Apparently it was hilarious. I am not sure if I thought so at the time.

If you have never prepared fresh, live lobster, from crawling to consuming, you are missing out. The meat cannot be compared to previously frozen tails or disguising of it in a lobster roll or dip. It is pure, sweet, meaty heaven. The reason for keeping them alive until right before cooking is to preserve them as long as possible. Like all shellfish, they begin to break down (organs and all) immediately upon death, so delaying it as long as possible is the healthiest, safest way to prepare them.

If you have never used clarified butter you may wonder why is it important to us it, instead of just melting butter right out of the fridge. It is my opinion, and that of many others, that if the butter is not clarified, with a hint of lemon, the butter will take over the flavor of the lobster instead of enhancing it, and leave a greasy film in the mouth. Leftover clarified butter is a great fat for cooking other things. It is the foundation of butter without the milk solids and water, so it has a high smoking point for cooking other foods and contributes a wonderful butteriness to whatever you cook.

Sadly, Brigit did not sample the lobster. After helping me buy them, watching them move around on the counter, then watching them lowered live into a pot of boiling water, I think she was squeamish about eating them. She might have been influenced by watching me tear it apart, claw by claw, tail by tail, then use kitchen scissors to open up the stubborn pieces. Maybe next time she will try it, for there will be a next time. The rest of our gang inhaled ever morsel, and sucked out the meat from the legs, like little lobster straws.

If you want more information about how to utilize as much of the lobster as possible, and dismantle it like I do, I recommend this video.

Boiled Lobster with Clarified Butter

1 pound unsalted butter
2 lemons
2 lobsters, 1 1/2 -2 pounds each
2-3 gallons water
2 bay leaves

In a medium saute pan over medium low heat add butter and zest from one lemon. Heat until butter is melted and steaming. Remove from heat and pour butter through a sieve to remove zest. Let butter sit for 20 minutes. Skim off fat layer that forms on top. Pour the rest of butter into a measuring cup or clear glass bowl. Place in refrigerator and let chill for at least four hours.

In a large stock pot add enough water to cover both lobsters and squeeze in lemon juice from one lemon. Drop in lemon rinds and bay leaves. Bring water to a rolling boil. Remove rubber bands from lobster claws. Drop lobsters into the boiling water, head and claws first. Cover and boil for 15 minutes, until shells are red.

While lobster cooks complete the clarified butter. Remove butter from refrigerator and scoop out the yellow, clarified portion from the top, leaving separate the white, watery portion (water and milk solids). Heat butter over medium heat until melted and steamy. Remove lobsters from water and set on tray to cool. Serve whole or remove edible meat from shells and serve on a platter. Serve by dipping bites into the butter.

Roasted Radishes

roasted radishesAs a kid I did not pay much attention to radishes. They were occasionally included in my green salad, but were a bit spicy for me, along with the raw onion. When older I realized that the spicy and peppery of onions and radishes were wonderful, and I added them in droves. I also found out that the heat of raw radishes and onions changed dramatically when cooked. I often cook up onions to compliment other vegetables and dishes, like in my French onion dip, which is the same for radishes. As you can see from the picture, they can easily be mistaken for roasted new potatoes or turnips. These guys are like vegetable candy. The radishes remind me of turnips, but much more tender and sweet from the start.

Texas is bursting with vegetables during the summer. Farmers markets are full of root vegetables, including radishes and I totally went for it. The radishes were ecstatic raw with a peppery bite to them. The great thing about radishes is that they are tender from the beginning, and only get more tender if cooked. They can be lightly roasted until just heated through, or if they are roasted a bit more, you allow for a bit of caramelizing. I did the longer cooking time to maximize the caramelizing. They go great with the pile of smoked meats that came out of the smoker when the radishes came out of the oven. Between the radishes, smoked meats my brother made and a big batch of coleslaw, we had a summer feast to end all feasts.

Roasted Radishes

4 cups small red radishes, chopped in halves
3 Tbsp extra virgin olive oil
2 tsp sea salt
2 tsp granulated garlic powder
1 tsp dried parsley leaves
2 tsp dried oregano leaves

Preheat oven to 400 degrees. In a large bowl combine the oil, salt, garlic, parsley and oregano. Add the radishes and toss until coated. Spread radishes evenly on foil lined shallow baking pan. Bake for 30 minutes. Remove from oven and toss, then return to oven for 30 minutes. Remove from oven again and serve immediately.

Bronze Baked Drumsticks

2015-07-09 10.37.24
You may be about sick of me sharing different ways to cook chicken, but I can’t help it. Trust me, I don’t tell you about all of them. I never really mastered fried chicken on the stove top, like my mom – I know there is a ‘sweet spot’ for temperature and depth of oil that gets the inside cooked and the outside crispy, but I have just not made it enough to get in the sufficient practice. I do a low carb work around that is insane good, so I take comfort in my version.
Otherwise, I bake and bake it, then bake again, using different flavors. Lots of times I do little wings and drumettes, but these pretty, full sized drumsticks were hanging out at the store, so I tried them instead. This recipe, thrown together from stuff in the pantry, was quite good and pretty too! If you don’t have the seasoning mix it can be easily replaced with another, or the suggested mix noted below.
Bronze Baked Drumsticks
8-10 large chicken drumsticks
1/2 cup Worcestershire sauce
1/4 cup extra virgin olive oil
1 lemon juiced with meat retained
1 Tbsp Seasoning Salt (recommend Montreal Steak Seasoning)
In large bowl combine Worcestershire sauce, oil and lemon juice with lemon meat. Add chicken and toss until well coated. Place in refrigerator for one hour, tossing again after 30 minutes. Preheat oven to 375 degrees. Line large shallow baking pan with aluminum foil. Remove drumsticks from marinade and let excess drip off, then place on baking sheet. Place in oven and bake for 45 minutes to one hour, until chicken juices run clear. Remove from oven and let rest for five minutes before serving.
Note: if you don’t have the Montreal Steak Seasoning mix, try the following: 1 tsp sea salt, 1/2 tsp ground black pepper, 1/2 tsp garlic powder, 1/2 tsp onion powder, 1/4 tsp ground cumin, 1/4 tsp ground mustard, dash red chile pepper flakes

Drizzly Fruit Sauce

2015-07-04 21.14.01

There is no denying that fruit is naturally sweet, cuz it is full of sugars. Since the body does not really need much sugar, we have always resisted consuming much ourselves or giving it to Little B, whether natural or processed. She does eats fruit, and so do we sometimes, but it is usually whole, raw versions, not juice from concentrate or colored sugar water with a smidgen of processed juice from concentrate.

When Little B does come across such liquids they are overly sweet for her palate, for she is used to the sweet of real fruit, and in the realm of liquids, she is used to the slightly bitter taste of bubbly water (unflavored carbonated water). It is our fault. I love bubbly water and she liked sharing my beverage when little. Although some consider carbonated beverages (whether plain or flavored) not helpful to the body, I find that there are much more harmful things to drink. Tangent over, back to the drizzly stuff.

fruit sauceI was seeking out yet another light summer dessert for a crowd. We had flash frozen fruit in the freezer and I was reminded of a dessert I made regularly when I first started learning how to cook in earnest after college. It was berries and a splash of juice pureed and let to sit. I chose to be more expansive in this version, mixing the frozen stock and fresh stuff in our crisper. It is definitely a sauce to make the day before. The flavor magnifies when allowed to muddle around. I topped it with some cashew cookies (look for the recipe soon) and some lovely chocolate cashews I made a few months back. With some vanilla ice cream as a base it made for a not so heavy dessert on ANOTHER hot summer night.

Drizzly Fruit Sauce

1 cup chopped pineapple
1 cup chopped canteloupe
1 cup chopped peaches
1 cup raspberries
1 cup blackberries
1 cup blueberries
1 Tbsp vanilla extract

In medium pot over medium heat add and combine the six fruit ingredients. Cover and let heat for about five minutes. When fruit begins to bubble, lower heat by half and continue cooking for 30 minutes, until fruit has released juices. Remove from heat, add vanilla, stir and let sit for one hour. Puree fruit with stick blender or food processor. Transfer puree to container with airtight lid and refrigerate for at least 12 hours. Serve over ice cream and top with crumbled cookies, almond meal and/or dessert cashews.

Tex Mex Dip

2015-07-03 18.34.43Dip is a sure fire thing to always have around. Having last minute dinner guests? Pull out the dip with crudite. Feeling nibbly? Pull out the dip with some chips. Faced with raw chicken that needs to be dinner? Pull out the dip and slather the fowl with it before tossing it in the oven. Headed over to someone’s place for drinks? Pull out the dip. It can come in all shapes and sizes and colors and quantities. It can be hot, or cold or both. People can eat it, or not. Dips can be made to taste like just about any dish.

We like queso. When we don’t want to break out the crock pot, processed cheese and can of tomatoes we don’t have to miss out on the flavors. We just pull out the can of tomatoes and veer in another direction. Here is a dip I came up with that gives us the flavor and tang of Tex Mex without the logistics. When I say queso I don’t mean the Spanish word for cheese. I mean chile con queso, the warm cheese dip with tomatoes, onions and chiles often served with a Tex Mex meal. I like queso, but it needs melting and oversight so it does not burn and reheating when it cools off, then if the crock pot cord does not reach to the nearest plug there is need for an extension and the possibility of tripping on it…not that I ever trip on anything. 🙂 None of these logistical elements are insurmountable barriers, but are way beyond what is needed for this dip. Nothing can replace chile con queso in my book, or plate, but this is a nice, cool variation.

Tex Mex Dip

2 cups sour cream
1 Tbsp lime juice
1 Tbsp ground cumin
1 tsp garlic powder
1 tsp sea salt
1/2 tsp ground black pepper
1 can tomato and chiles, well drained
1/4 cup finely chopped onion

In a medium bowl combine sour cream, lime juice, cumin, garlic powder, sea salt and pepper. Whisk until combined. Add onion, tomatoes and chiles. Stir until well combined. Chill at least two hours or overnight before serving.

Minty Melon Salad

2015-07-03 16.17.07When I was young and helping my parents in the kitchen I steadily graduated from simple tasks to more complicated,  (and for clumsy me) dangerous ones. I started with setting the table, then got to put condiments straight from the fridge to the table, eventually graduating to placing crystal and working in the oven and on the stove top. One very typical, simple task I did was melon balling. We often made weekend brunches at home, which included melons when in season. Since we had a cool little melon baller it made sense to us it instead of making boring, square pieces of melon.

2015-07-03 21.01.32When I made this salad about ten years ago I did not write it down – I don’t remember if someone told me how to make it or I read it, but I loved balling the melons.  I made it again recently as a dessert to a burgers and dogs meal while staying at my mom’s house – I even used the old melon baller that was still hanging around! I guessed pretty close on ingredients because tasted just like I remember. It did a great job topping off a hearty meal as we sat around the pit fire on a warm summer night. The mint soothed the full stomachs and the melon refreshed. I strongly recommend it!

Minty Melon Salad

3-4 cups balled or cubed watermelon
3-4 cups balled or cubed cantaloupe
1/2 cup water
1 cup Stevia In The Raw (or other preferred 1:1 sugar substitute)
3/4 cup mint leaves, loosely packed
1 lemon, juiced
1 Tbsp amaretto liquor
Place melon balls in large serving bowl. In blender place remaining five ingredients. Blend on medium for 15-20 seconds, until mint is finely chopped.  Let sauce rest until foam subsides. Pour sauce over melon and gently stir to coat. Chill at least an hour or overnight. Toss to again coat, then serve.
Note: The mint won’t be bright green after sitting overnight, but the flavors will settle better in the melon balls.

Sauteed Squash Strips

2015-06-28 13.53.16

With all our moving around and packing and unpacking and living in compact spaces, I have lost the desire to accumulate kitchen gadgets. If something cannot be used for three or more different purposes I am hard pressed to acquire or keep it. If I do succumb, such things often don’t make ‘the cut’ when we are packing and downsizing. Things like avocado slicers, cherry pitters, cheese slicers and the like are not found in our kitchen drawers. On the other hand, our eleven year old Wusthof knife set goes with us everywhere. One thing I have not been able to  do consistently without a gadget is vegetable ‘noodles’. I can use a vegetable peeler to make strips of veggies (yes, the peeler always makes the cut), but not so much the rounder noodles I want as a base.

I caved and finally bought one of those twisty vegetable noodle makers. It works well and is compact (I bought the smaller, non-deluxe version). I have used the noodles under sauces in place of pasta, used them as a side dish, and even as part of tacos and enchiladas, which I must say went especially well. Using the gadget reminds me of peeling oranges as a child – I always tried to peel them in one long strip. This gadget can literally make one long noodle out of a zucchini. The problem with a three foot long noodle is dividing it among diners, so ponder some trimming either before or after cooking.

The nice thing about all these uses (and trimming opportunities) is the preparation is the same, and simple. I use them as a conduit to compliment other foods, like many use rice or pasta, so keeping the preparation simple makes so much sense. One way to use them that I have not yet tried is in soup – imagine pho or udon with veggie noodles. Sounds good, but for me, July is not the time for hot soup, so that experimentation will have to wait for fall.

Sauteed Squash Strips

1 Tbsp extra virgin olive oil
1/2 yellow onion, julienned
2 garlic cloves, chopped
1 yellow squash
1 zucchini
Sea salt and ground black pepper to taste

Twist zucchini and yellow squash through thick setting of a vegetable noodle gadget, placing ‘noodles’ into a bowl. With a sharp knife cut an X through the noodles, allowing for randomly shorter, bite-sized strips. In a medium skillet over medium high heat add oil. When oil is hot add garlic and onion. Cook until onion begins to brown on edges. Lower heat to medium. Add squash strips to pan and season with salt and pepper. Toss squash with onion and garlic until heated through, but stop before squash begins to go limp and release liquid, about two minutes. Remove from pan and serve immediately, either as a side dish, taco filler or ‘pasta’ under sauce.

Post Navigation