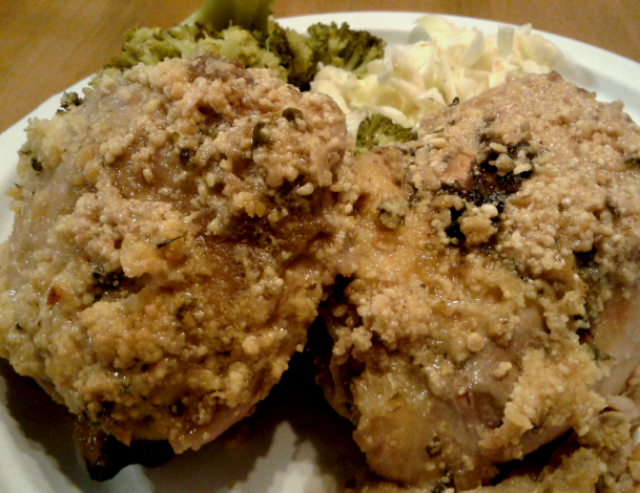
Lemon Parmesan Chicken
 A few months ago my mom gave me a casserole crock pot. As you know, most crock pots are, well, pots. Four to six inches deep, they are great for slow cooking stews, soups and other concoctions you can sink a serving spoon deep into. This one is shallow and wide, just like the glass casserole dishes that sat unused on my shelf for this recipe. I was not sure if I would use the casserole crock when I first got it, but it works wonders to help get many a dinner made around here. When my oven is busy cooking stuff for my business, Grain Free Haven, using the casserole crock I can still have dinner on the table at a reasonable time.
The cool thing about the casserole crock pot is the ability to pop out the casserole dish and serve straight from it, and the kids are less likely to make a big mess serving from it for themselves, compared to a deeper crock pot. Granted, there will still be a mess, for they cannot grasp the concept of moving plate and serving dish near each other to catch dribbles. Trust me, I am still realistic.
Many days I begin thinking about dinner right after breakfast. Not because I plan on preparing it all day, but because a lot of our proteins are in the freezer, and waiting until 5pm to pull them out is just too late. Sometimes I don’t think about dinner until lunch, but I can still pull off the frozen chicken trick. That is what happened the other day, resulting in this lovely dish.
Fortunately, the chicken was in smaller packages, so doing a partial quick thaw in a sink of water was sufficient. While the thighs were still partially frozen I was able to pop them in the casserole crock pot and have dinner on the table at the usual 6pm.
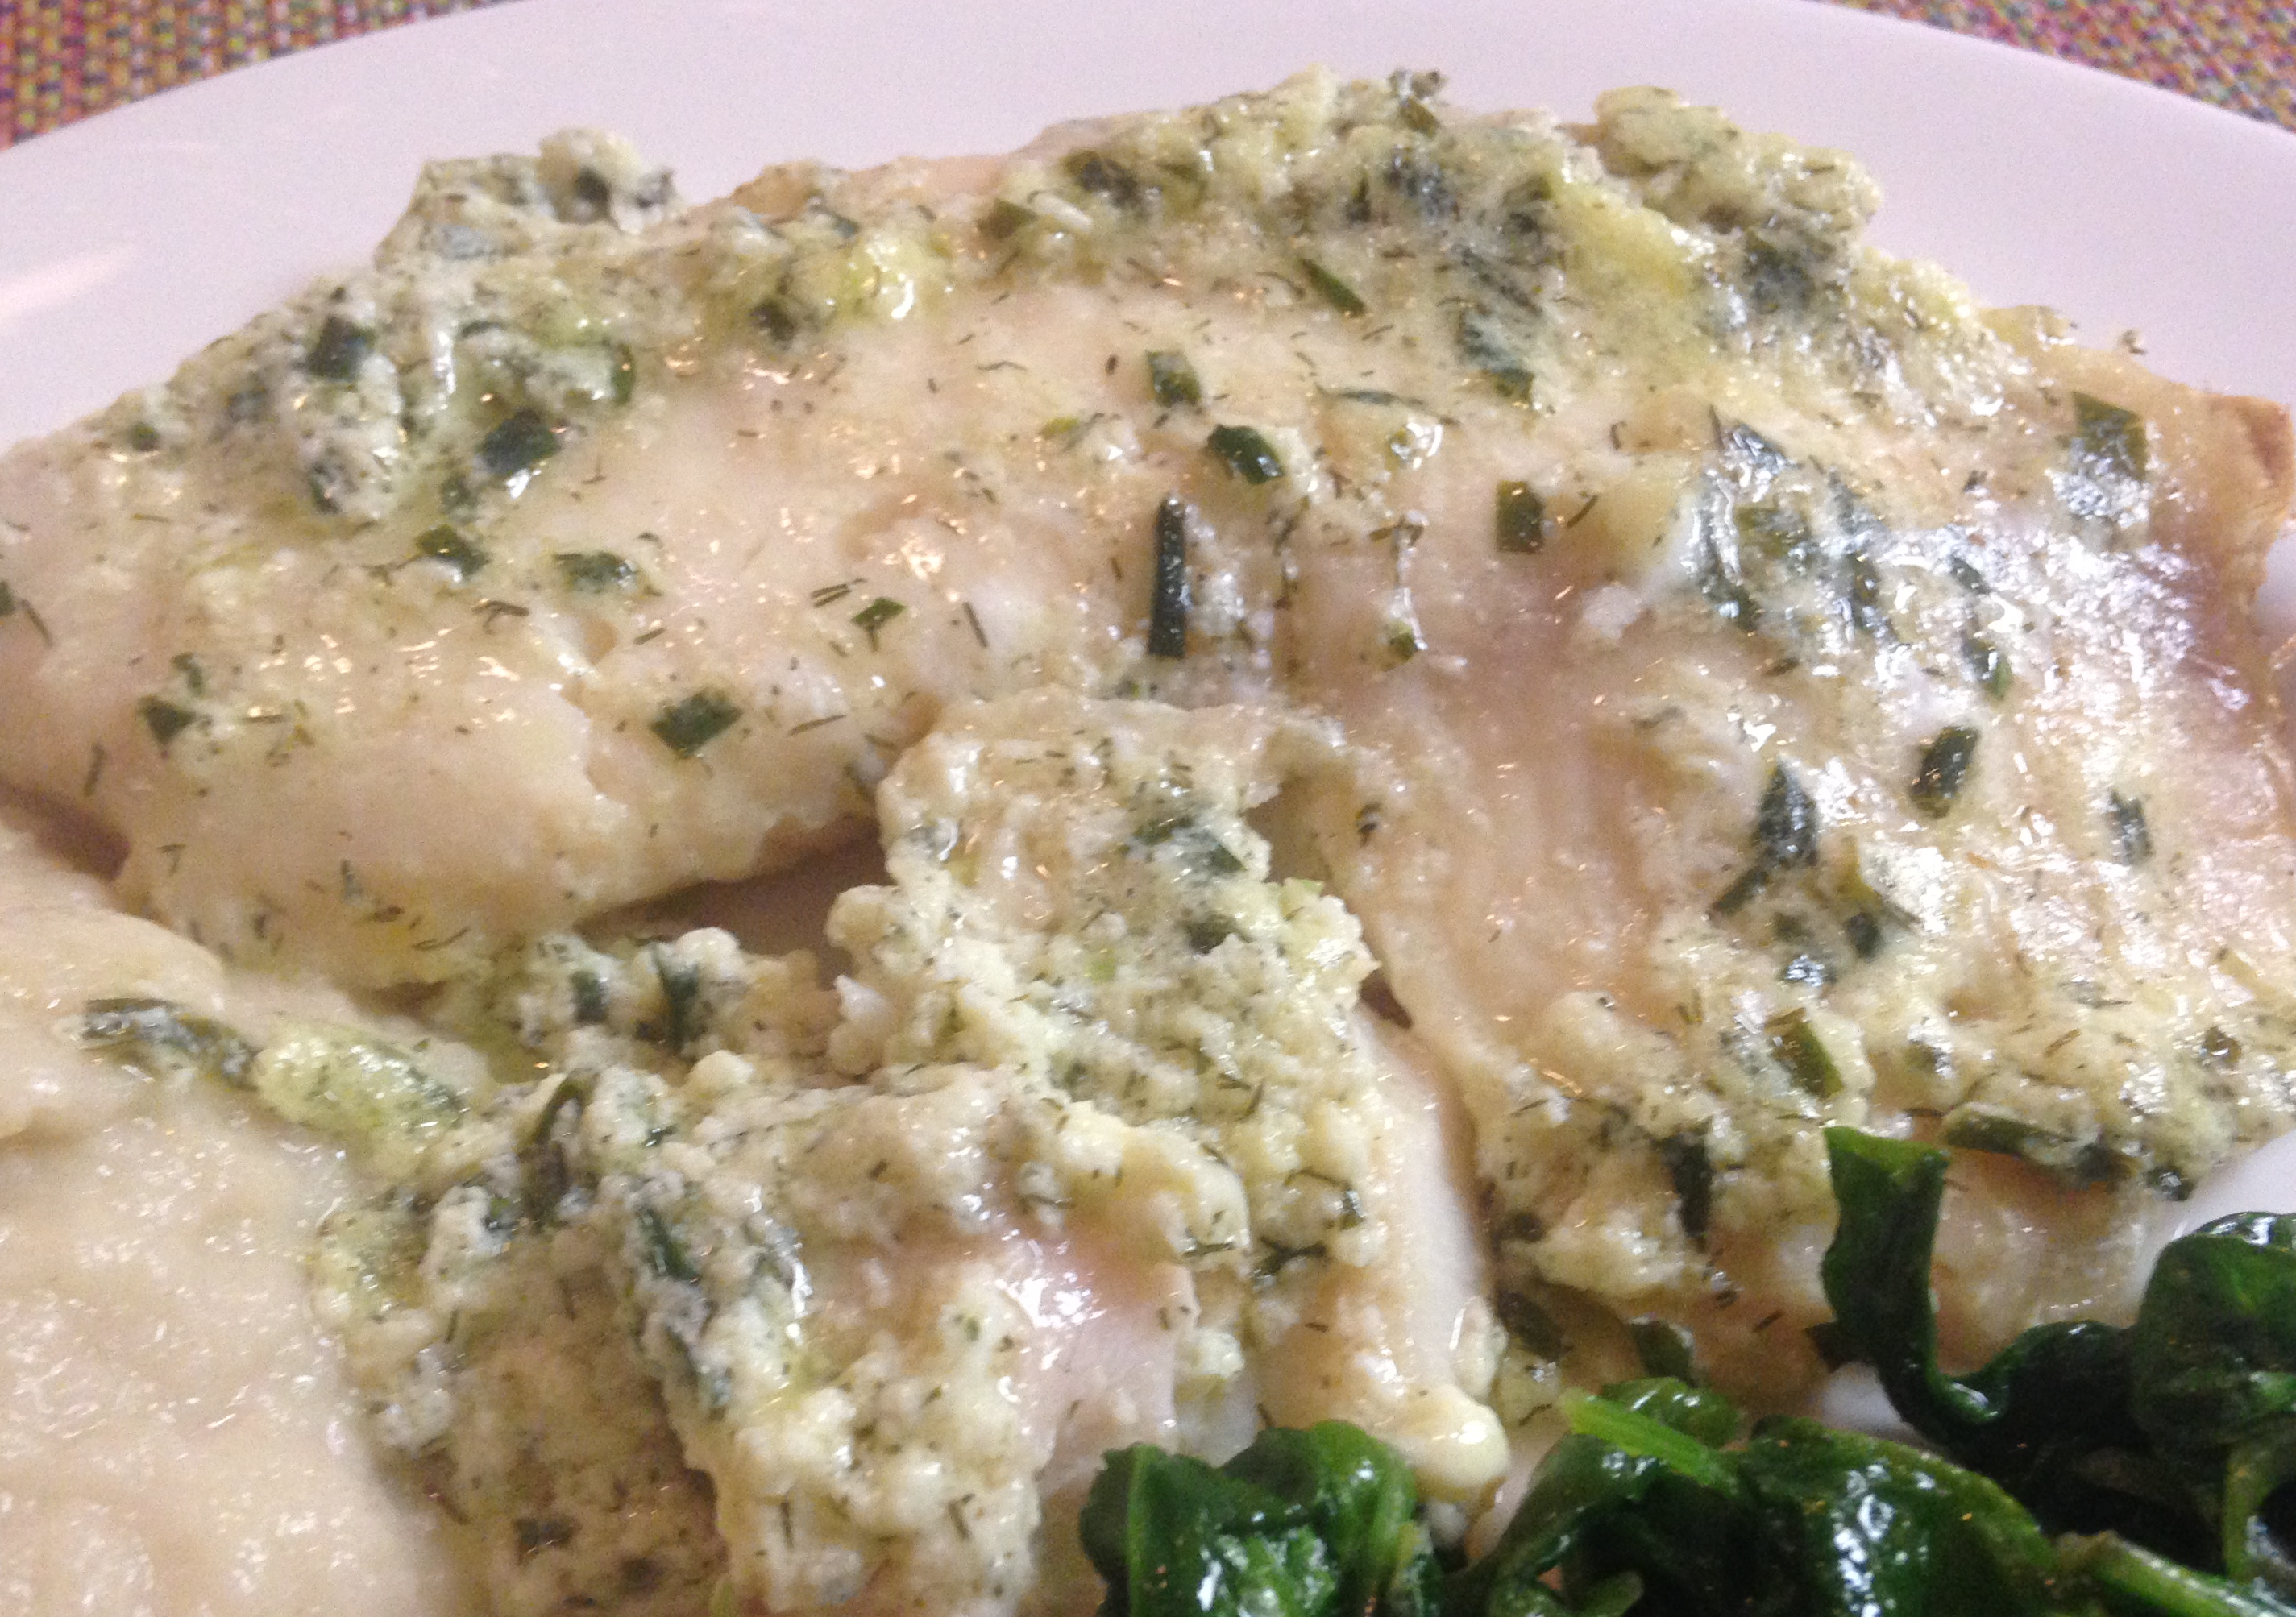
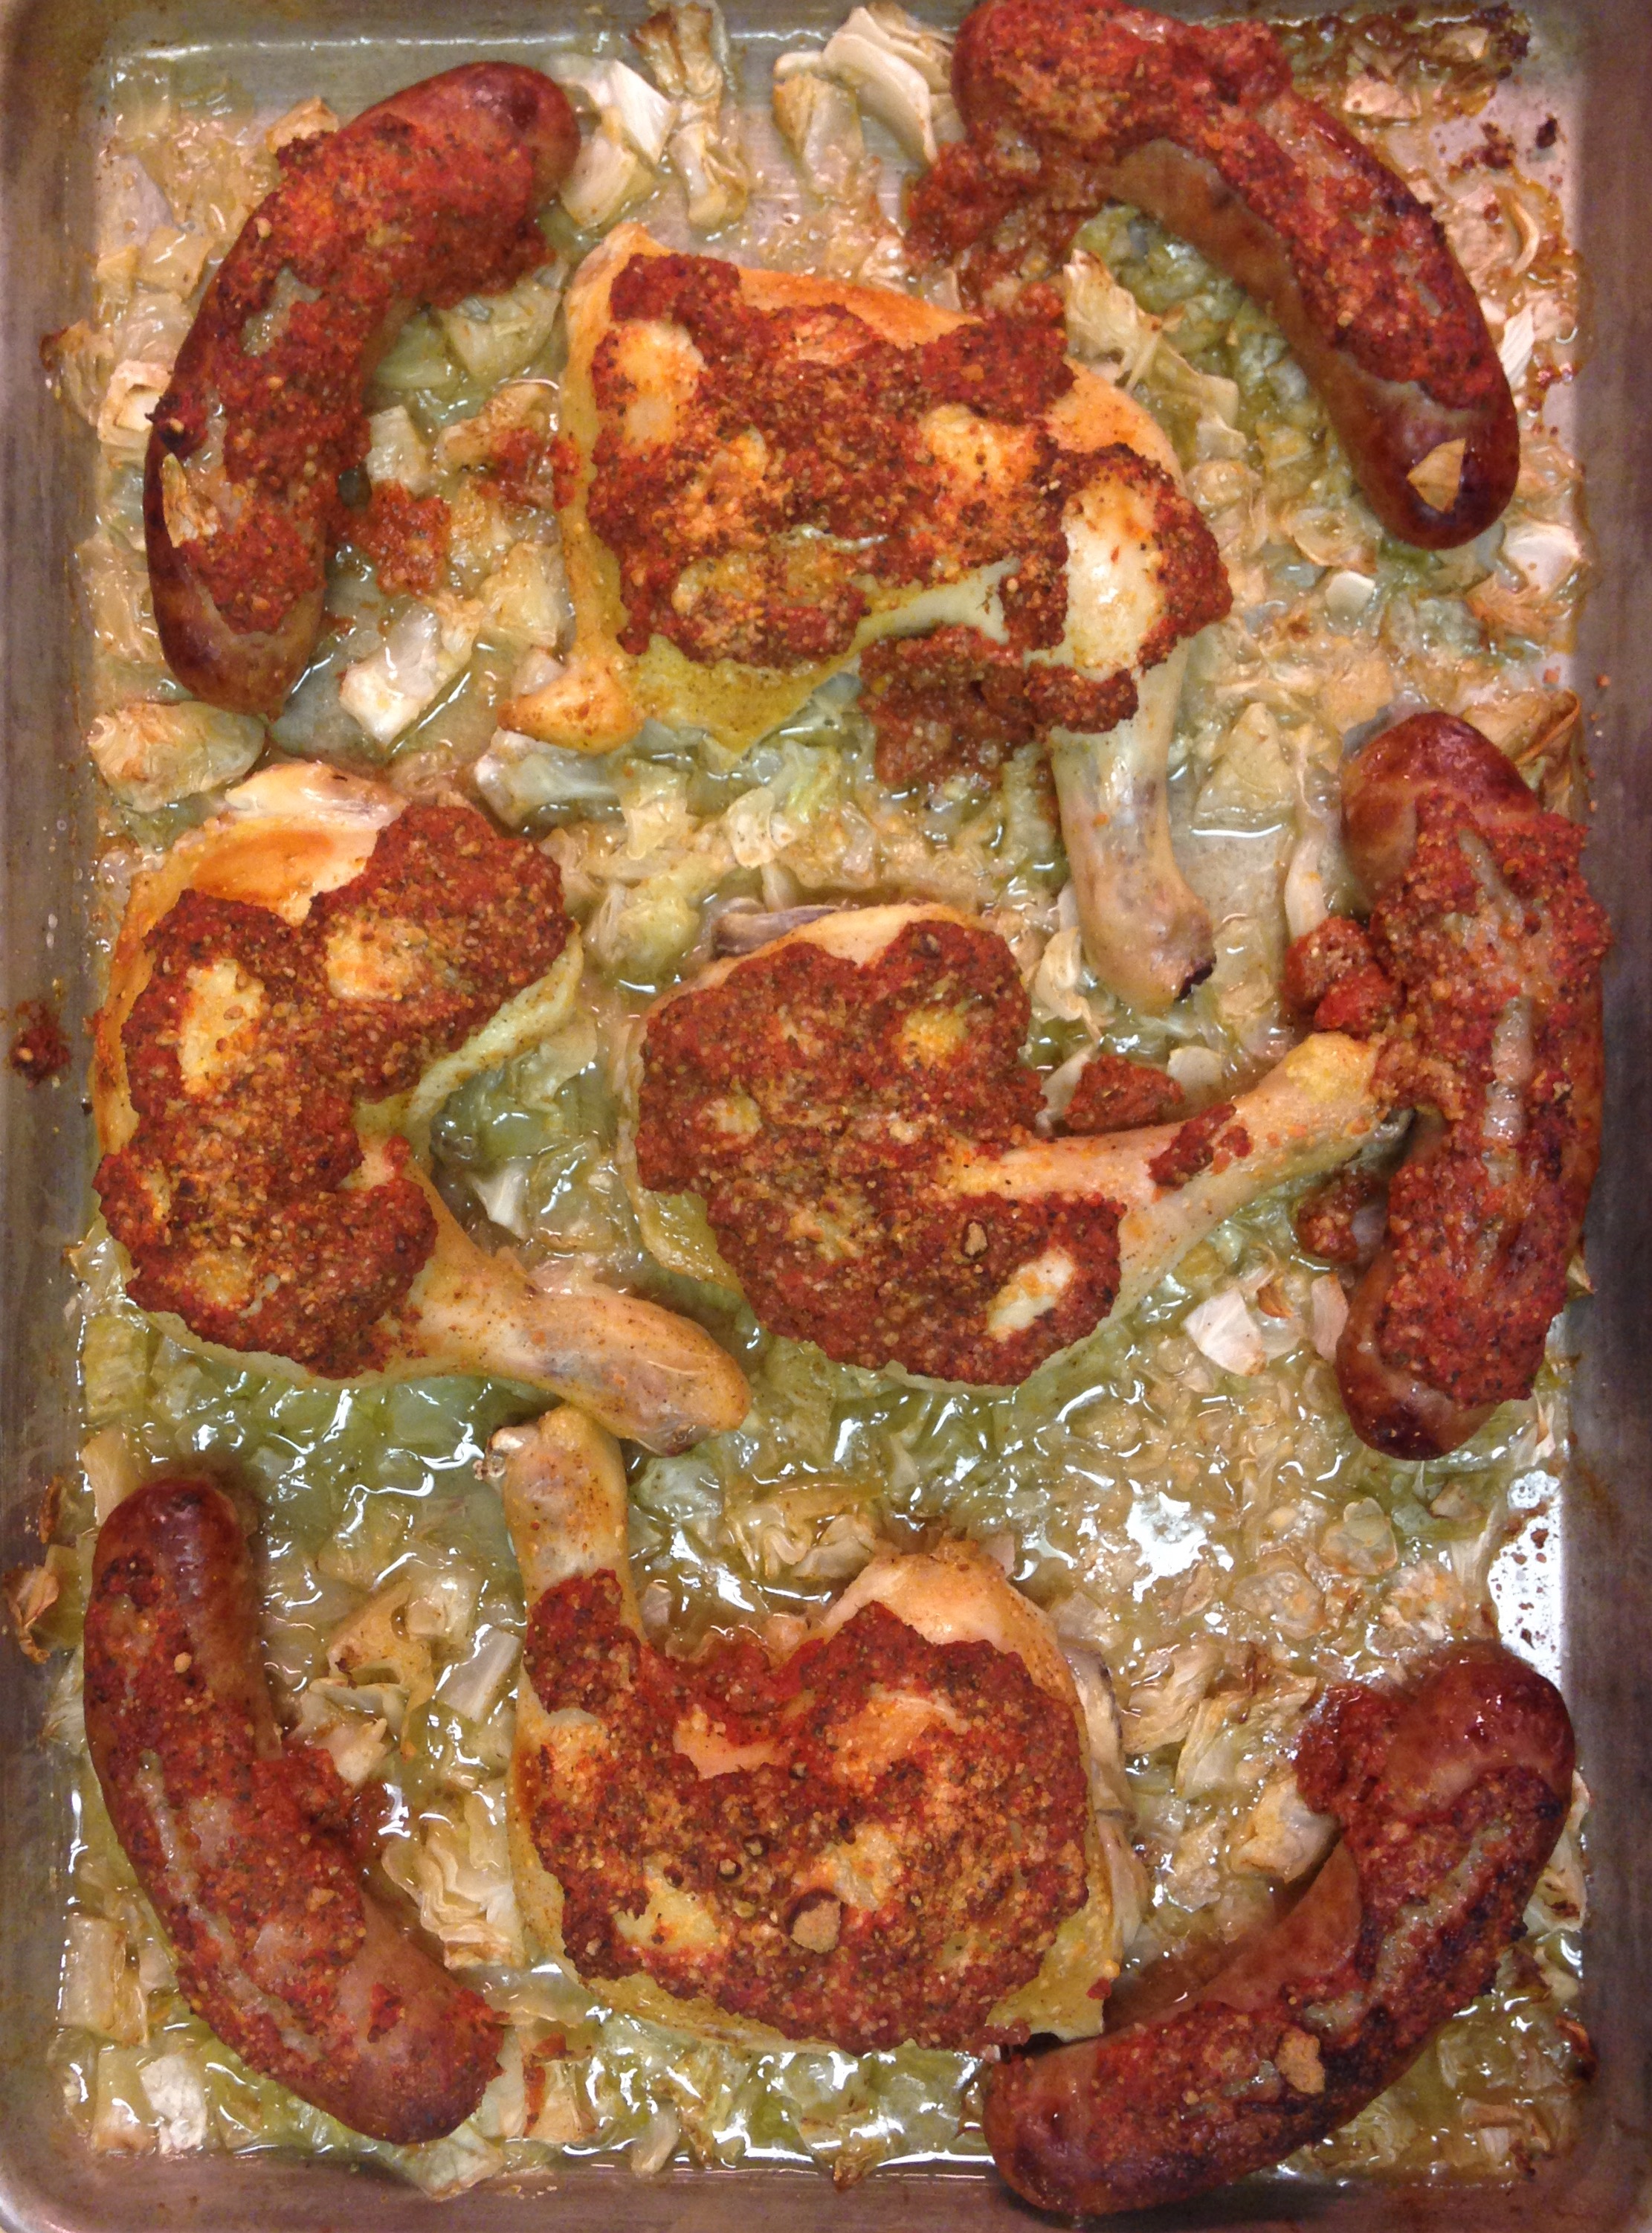
I was wild and crazy with the preparation of the chicken, because it challenged the eyes and minds of our younger kids. One, the coating on the chicken was pale, whereas they prefer something more bold, like tomato sauce. Second, there were speckles (also known as green herbs) dotting the surface of the chicken. After one thinks they have a “bug” in their dinner the others are hard pressed to continue eating and not mistake a piece of parsley for a fly. There were many compliments all around, nobody spotted a “bug”, and my hopes for next day lunch leftovers were dashed as the last thigh was moved from platter to plate. That’s okay. A salad will do just fine.
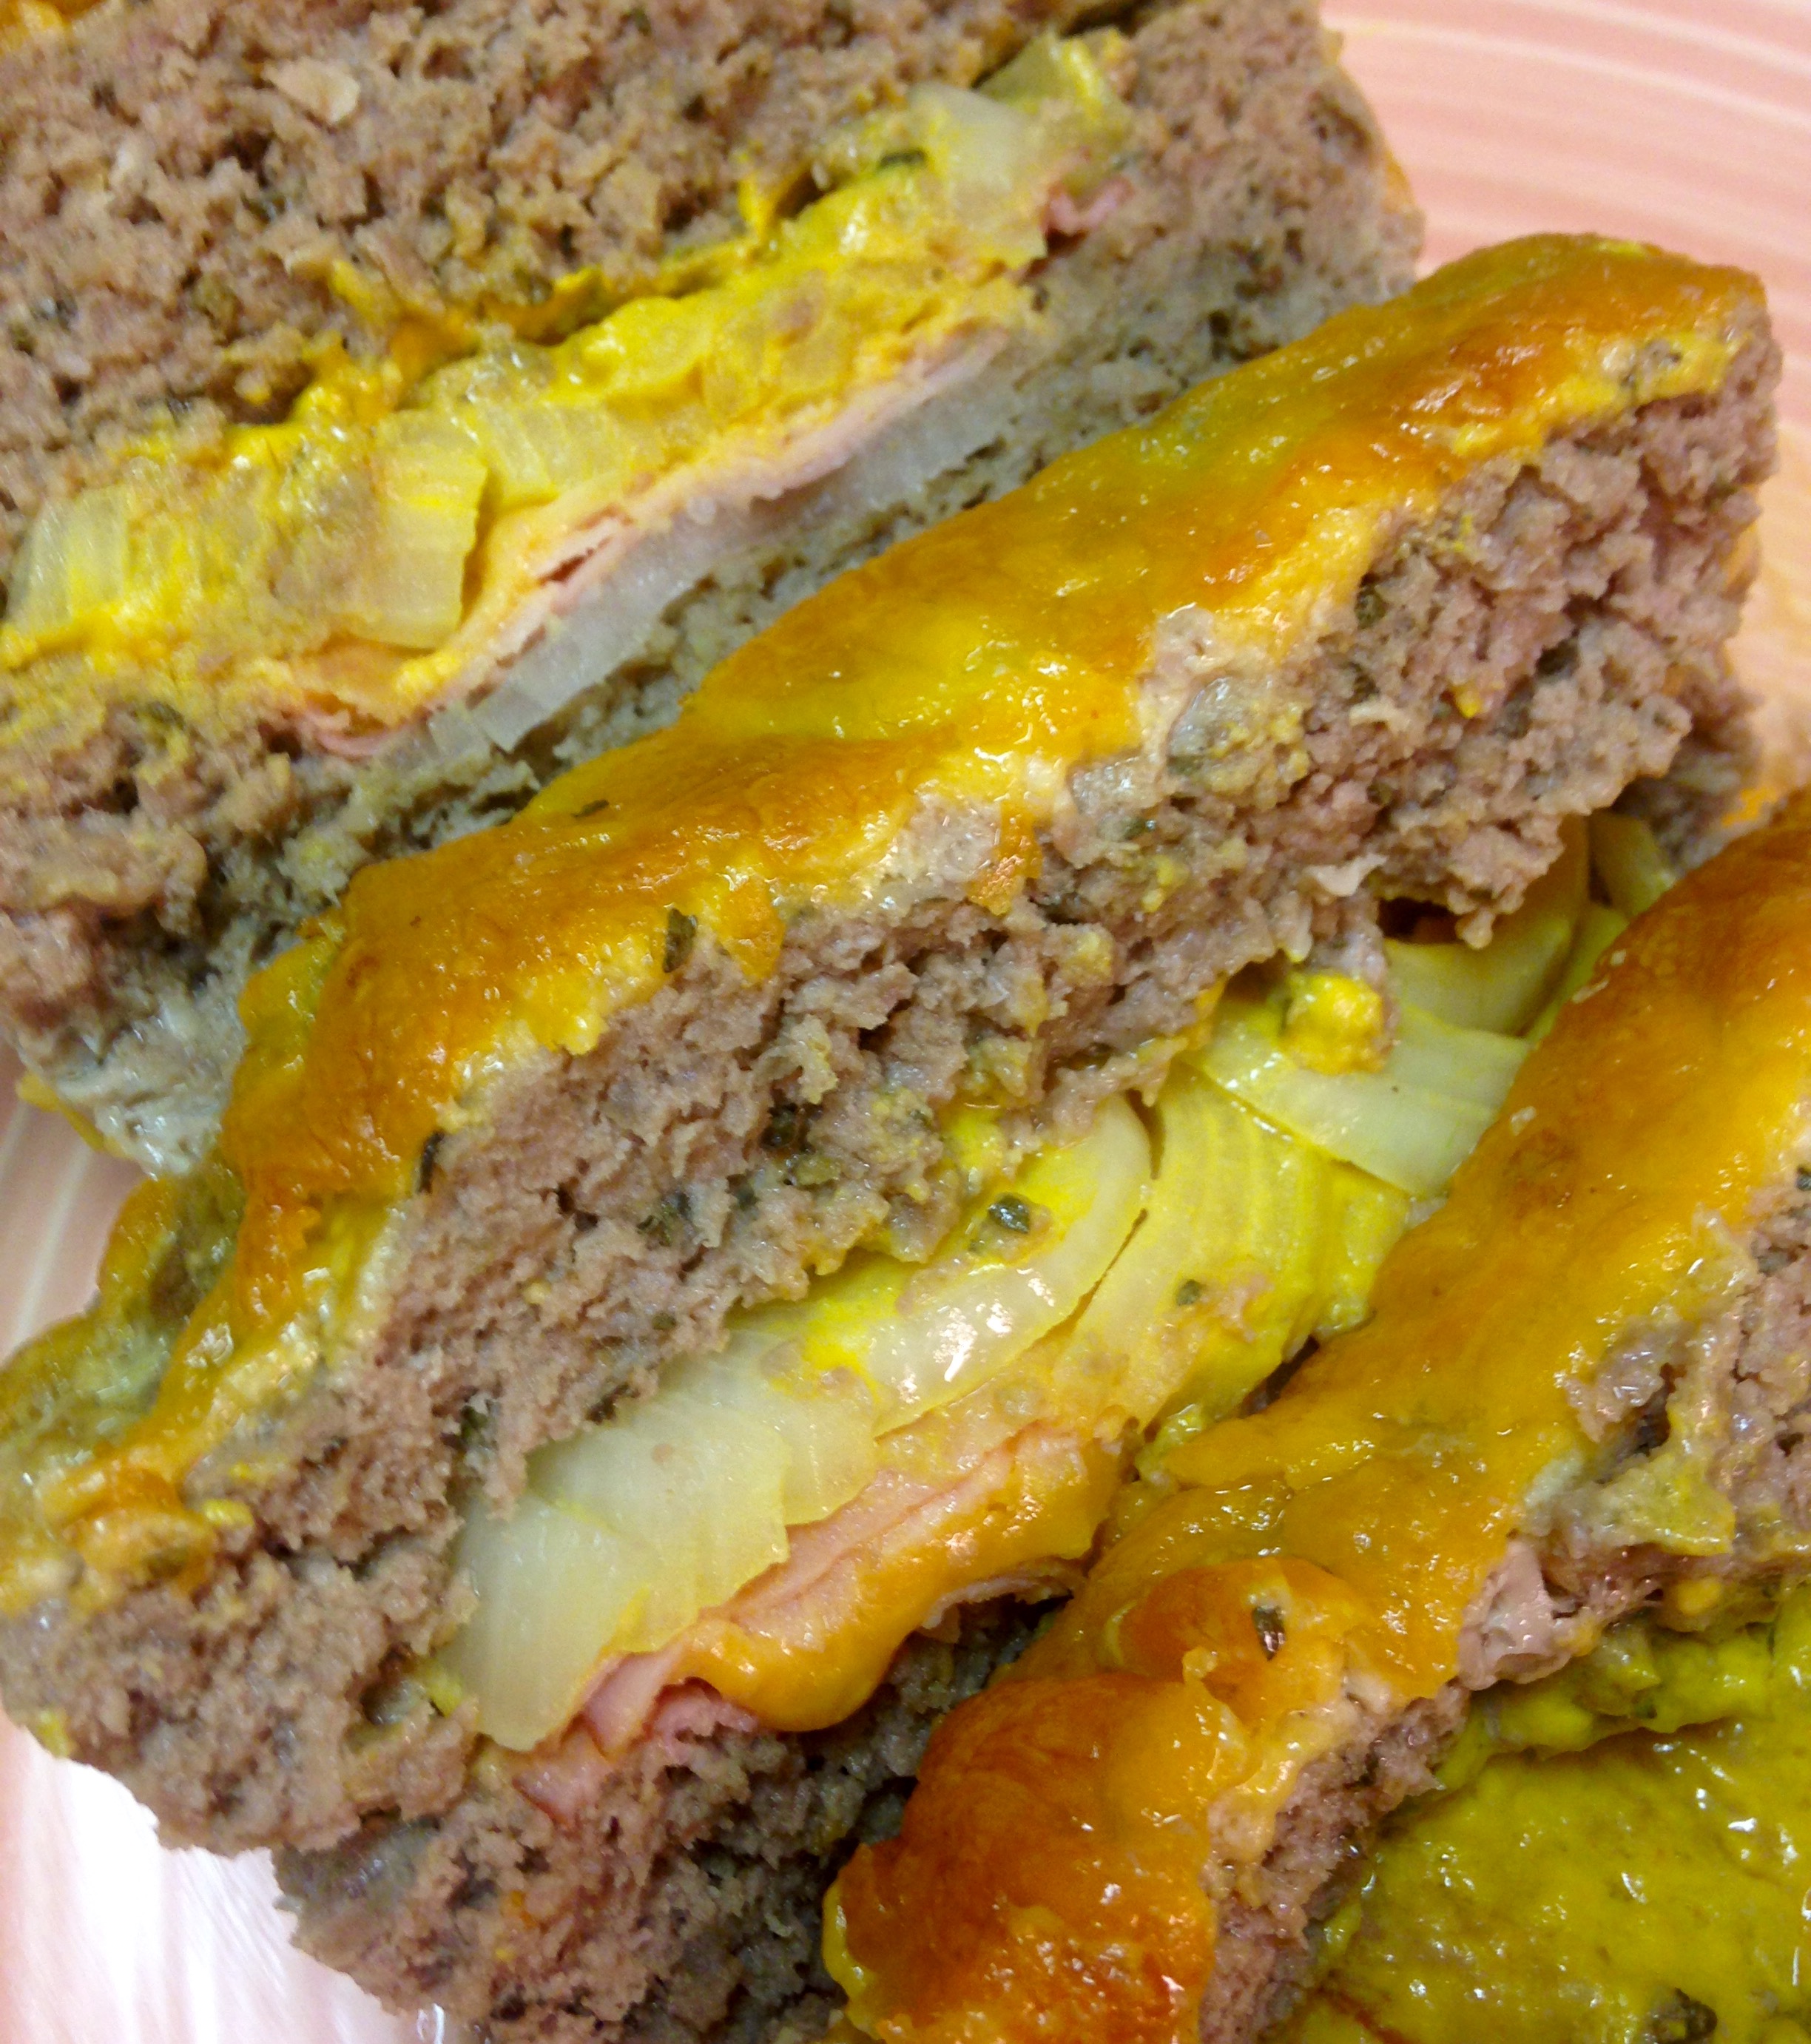
Along with the chicken I served coleslaw and steamed broccoli. For the starch eaters I baked up some crispy baked chips and rice cooked simply in chicken broth.
Lemon Parmesan Chicken
12 chicken thighs, bone in and skin removed
2 cups finely grated parmigiano-reggiano cheese
1 cup lemon juice
2 teaspoons finely chopped garlic
1 teaspoon onion powder
1 tablespoon dried parsley leaves
2 teaspoons dried oregano leaves
1 teaspoon sea salt
Prepare casserole crock pot*. In a medium bowl combine cheese, lemon juice, garlic, onion powder, parsley, oregano and sea salt. Stir until well combined. Remove chicken from packaging and rinse, patting it dry with paper towels. Using your hands coat all sides of each thigh with the cheese mixture. Place the thighs bone side down in the crock pot. Two or three thighs may need to sit on top of the others, depending on their size.
Cover and cook on high for about three hours, until chicken is cooked through, measuring 165 degrees Fahrenheit. Turn off crock pot and let sit for about 15 minutes before serving.
There are two additional steps you can take to fancy up the dish a bit:
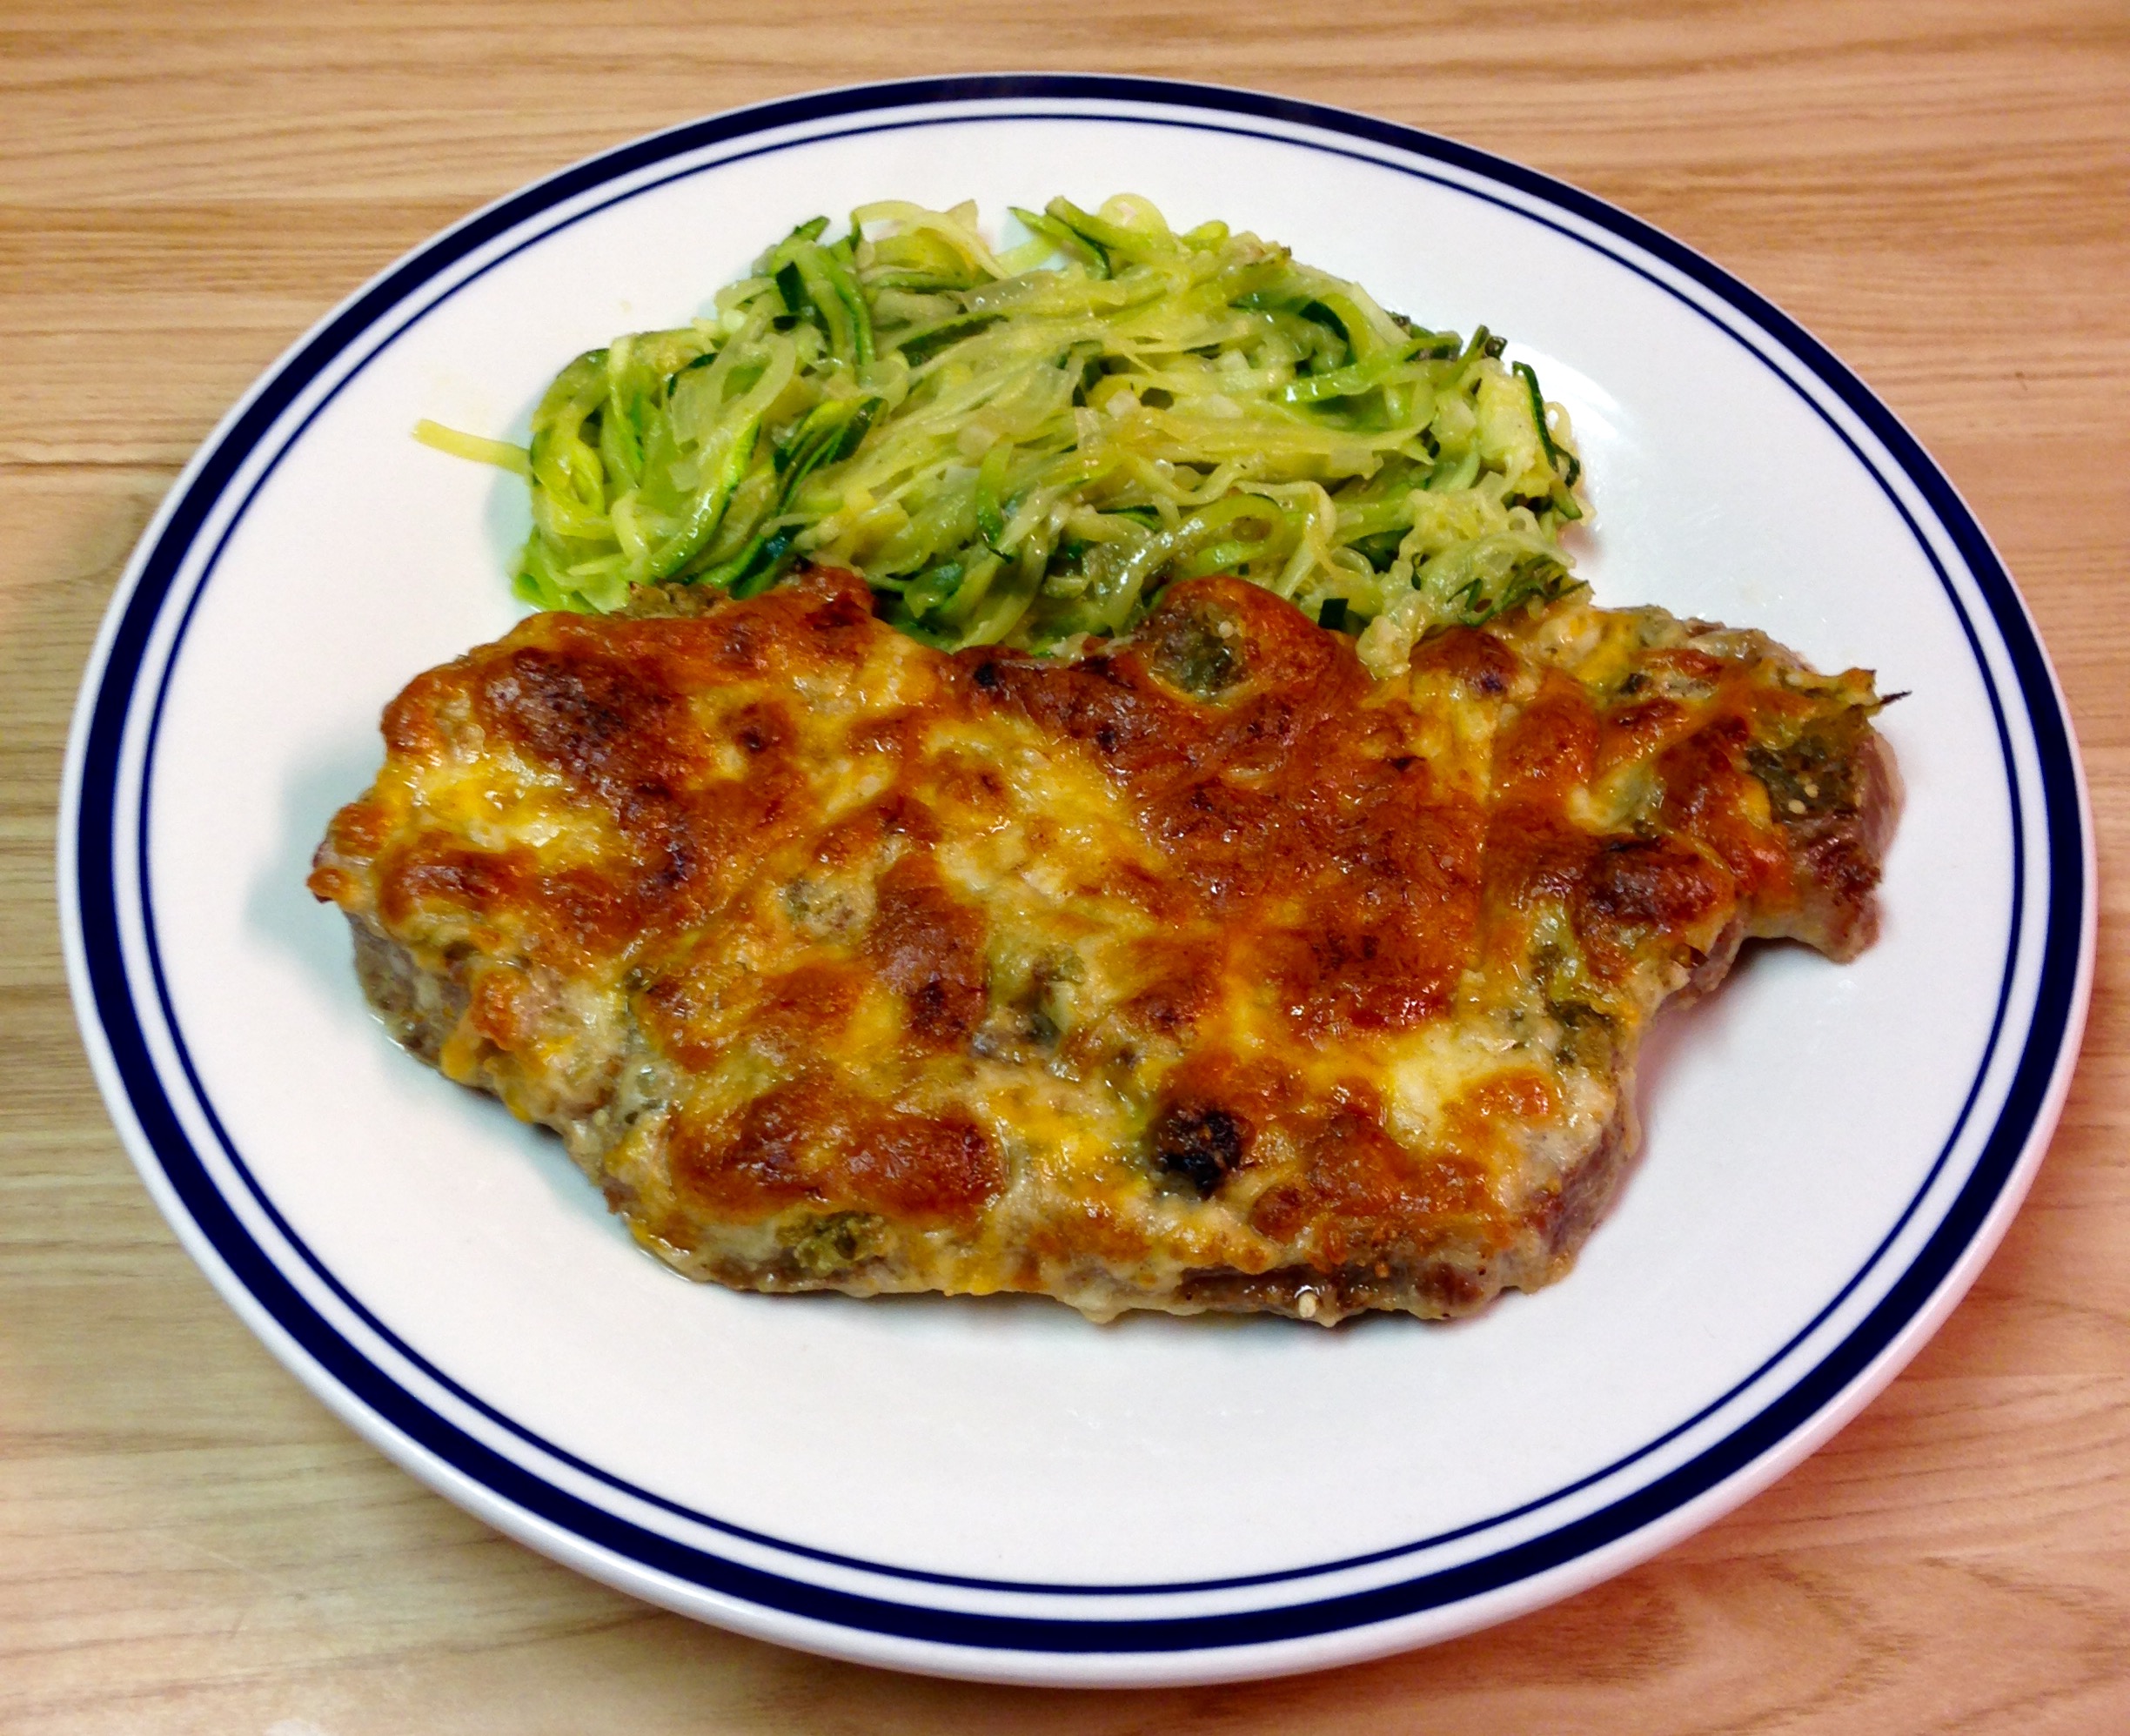
One is reduce the sauce. Pour the sauce from the cooked chicken into a sauce pan over high heat. Let sauce come to a boil and turn the temperature down by half. Let simmer until sauce volume reduces by half, about ten minutes. Serve the sauce to drizzle on the chicken.
Second is to make the chicken coating a little crispy. About ten minutes before serving (ideally while the sauce simmers and reduces), set oven to low broil with a rack on the second highest level. Place the thighs, bone side down on a baking sheet, being careful not to disturb the cheese crust that formed on top. Broil for five to eight minutes until crust is crispy but not burned. If your oven only has a single broil setting, lower the rack further and check often to avoid burning.
*If you don’t have a cool casserole crock pot you can make this dish in a traditional casserole dish in the oven. Arrange the chicken as noted above in the dish, then cook it uncovered at 350 degrees Fahrenheit for about one hour, until juices run clear and chicken measures 165 degrees.