Baked Crispy Chicken
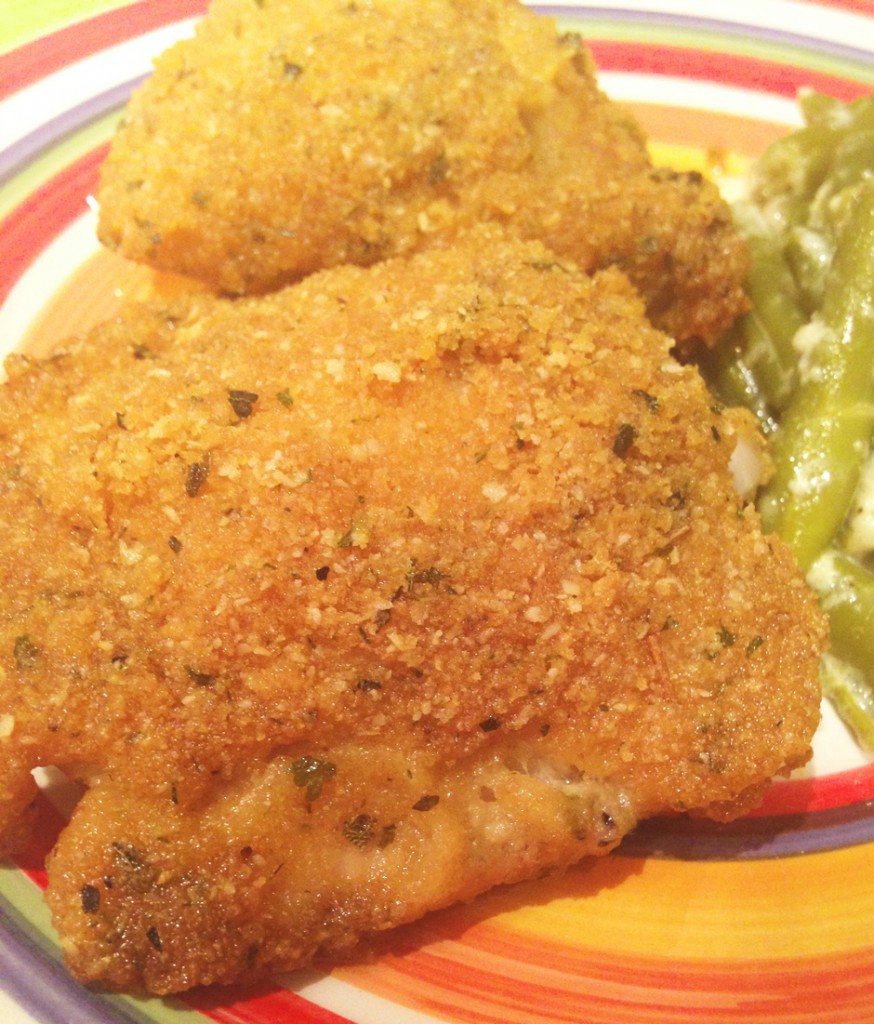
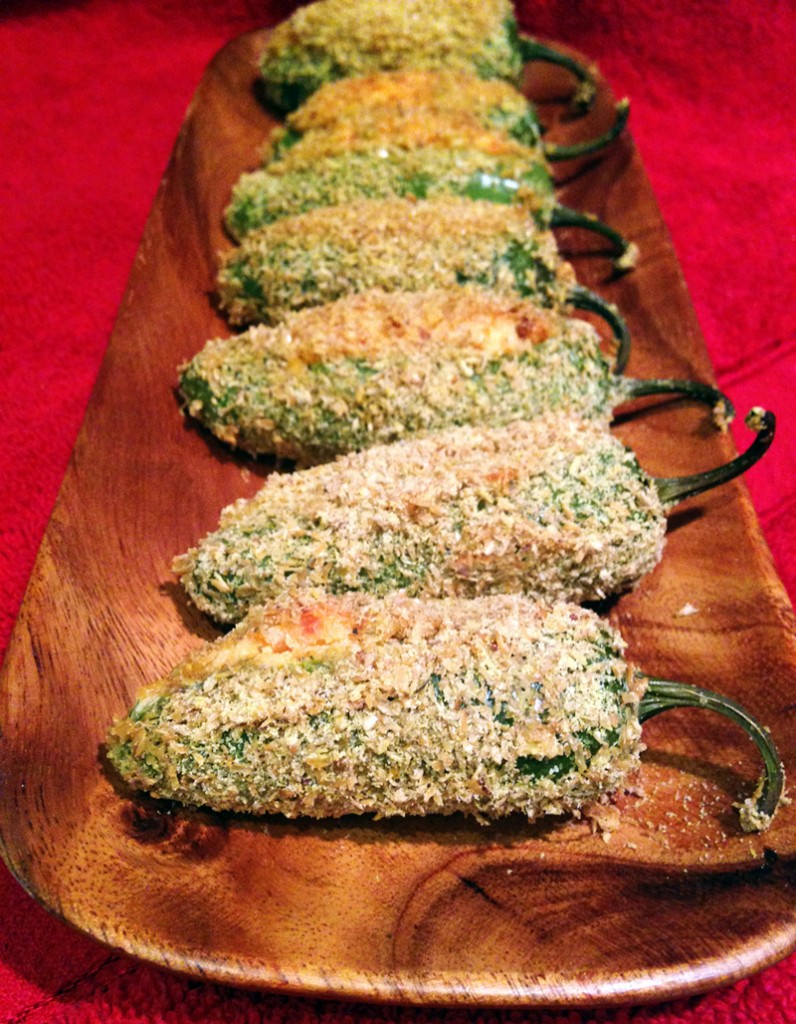
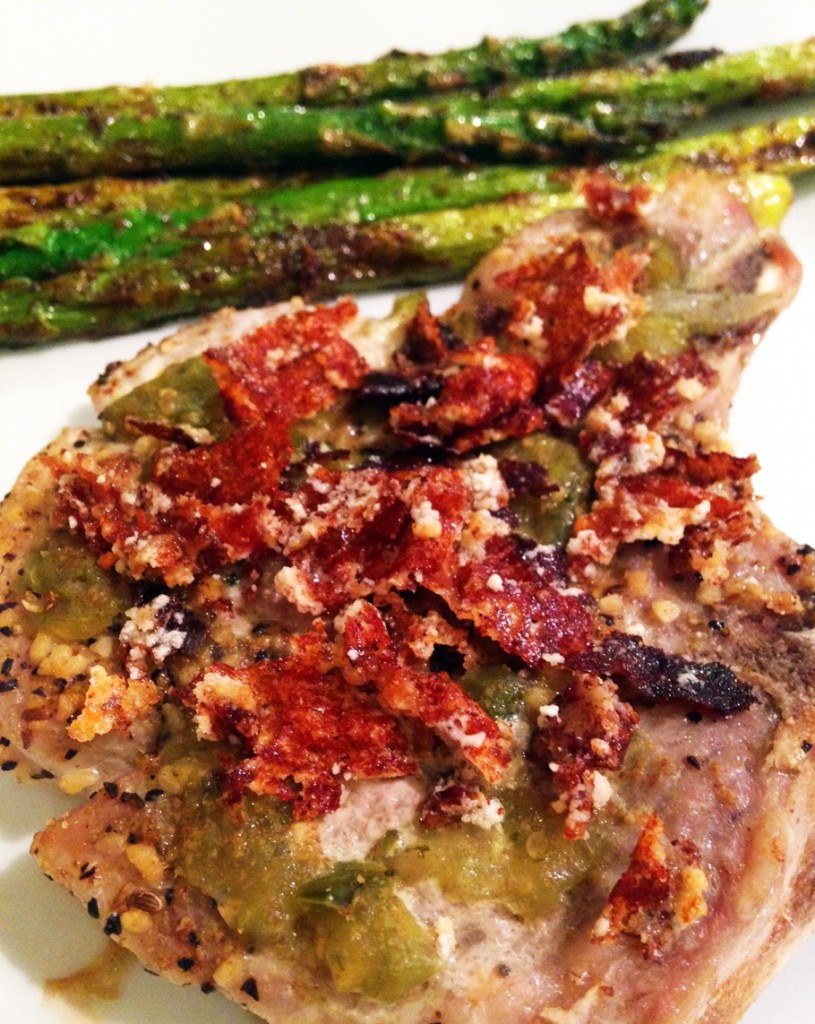
I have seen the use of crushed pork rinds as a ‘breading’ in a lot of different places lately. I was originally going to use our approach to breading we rely on for Scotch Eggs, using golden flaxseed meal, but wanted to try the pork rind approach first. We are usually dark chicken meat people, but our young house guest Skinny D likes white meat, so we caved in and made it too. Adding the variety gave us an opportunity to try three different chicken conditions – dark meat, white meat and skinless ‘tenders’.  The results were awesome – the pork rind breading worked on everything! Leftovers were a little soggy when microwaved instead of toasted/baked, but straight out of the oven worked for me as a fried chicken replacement. Big D found it to be a bit lacking in his pursuit of more crunch, but we have ideas to change that. Stay tuned!
Baked Crispy Chicken
8 chicken thighs, with bone and skin
2 chicken breasts, with bone and skin
1/2 cup butter, melted
2 large bags pork rinds
1 cup grated parmesean cheese
1/4 cup parsley, finely chopped
1 Tbsp garlic powder
2 tsp onion powder
2 tsp cumin powder
2 tsp sea salt
1 tsp ground black pepper
1 Tbsp dried oregano leaves
Preheat oven to 350 degrees. Line shallow baking sheets with aluminum foil. Using a blender or food processor cut the pork rinds into small crumbs. Place crumbs in large mixing bowl. Add cheese and spices to the crumbs and stir until combined. Remove bones from chicken breasts while leaving the skin attached, removing separately the long tenderloin pieces along the bone for ‘chicken strips’. Slice chicken breasts in half, making four evenly sized pieces. Season all pieces of chicken with sea salt. One at a time coat each piece of chicken with butter, then thoroughly coat all surfaces of each one wit the crumb mixture. Place each piece, skin side up, on the baking sheets, leaving about an inch of space around each piece. Bake for about one hour, until juices run clear. Serve immediately.
Adapted from Oven Fried Chicken at Buttoni’s Low Carb Recipes.
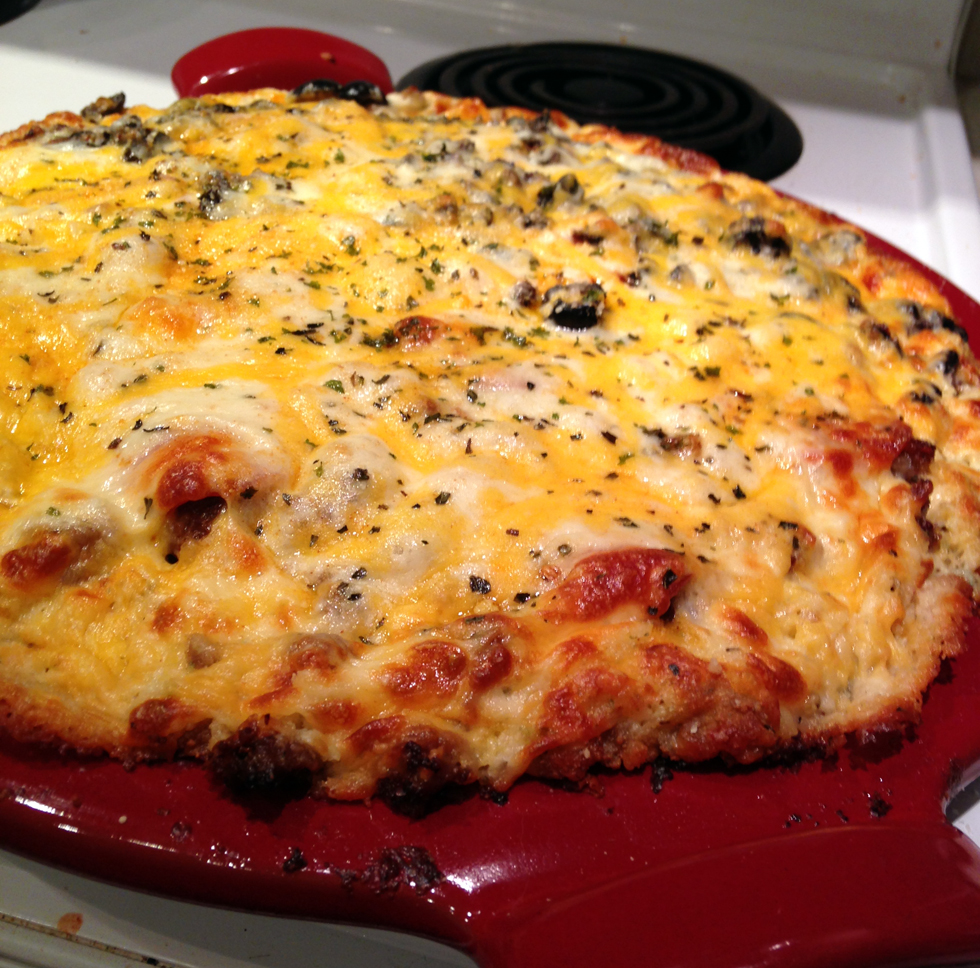
 Long long ago I owned an omelet pan. It was a nice omelet pan, used often to whip up the eggy concoctions. Less long ago I got rid of it. Not because it was unused, but in many respects redundant. Can’t the same thing be done with a frying pan? Over the years we have stocked and unstocked kitchens in our travels and moves. Often the ‘specialty’ devices get purged. You know what I mean – items that do one thing that can easily be done with another, like an avocado slicer (replaced by knife), smoothie maker (replaced by blender), or egg seperator (replaced by a hand or shell) or a food chopper (replaced by knife), or the omelet pan (replaced by a, well, pan). You get the idea. The omelet pan was sacrificed during one of these purges and not replaced. My omelets don’t look as pretty these days, but they sure taste good, and don’t stick. I am also an advocate for having the ingredients mixed and cooked up with the egg, not placed in the equivalent of an egg ‘taco’, like some restaurants serve – egg part of the omelet gets overcooked separately, then the actual ingredients get dropped in, egg gets flopped over it and served. If I wanted a taco I would order one. Anyway, here is a lovely combination, and my approach to making an integrated omelet, which I also addressed about two years ago with an