Any Kitchen Will Do

Give me a kitchen and I will cook.

Archive for the category “side dish”

Cold Green Bean Salad
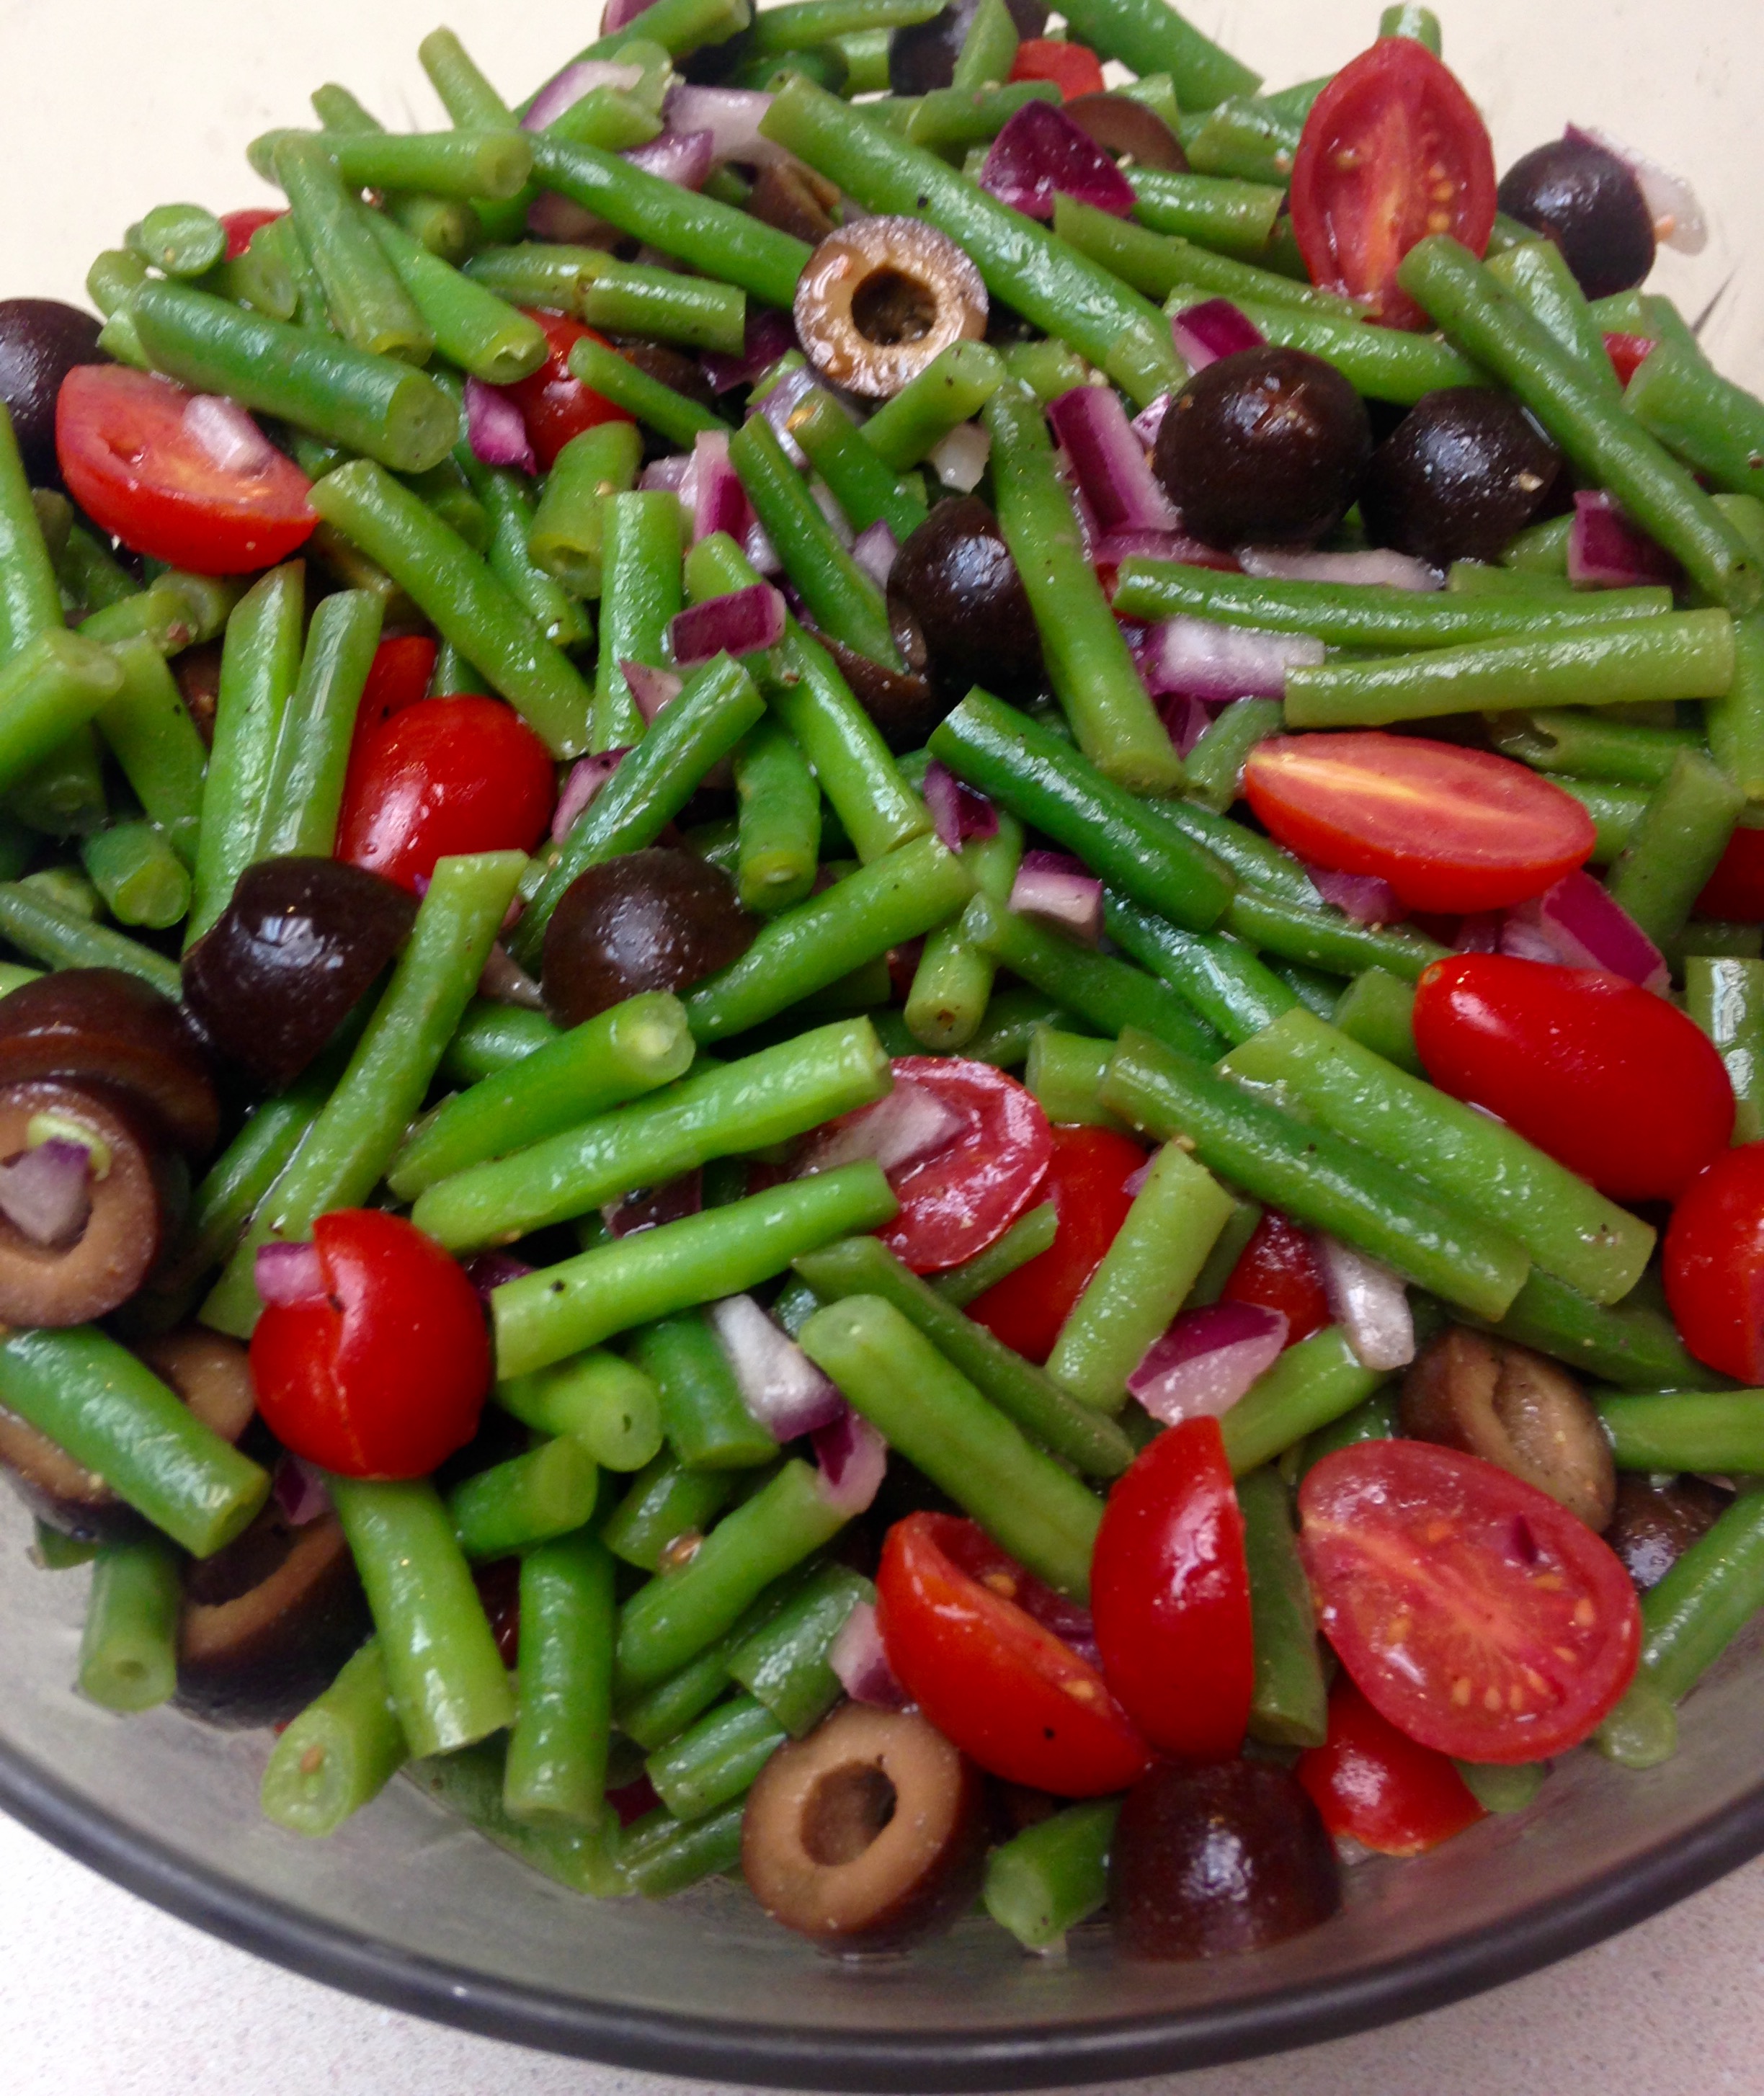
coldgreenbeansaladAs I have mentioned many times before, we make sure there are prepared foods stocked in our refrigerator, since there are scarce convenience foods that fit our sugar free, grain free eating habits. We prepare boiled eggs, bite-sized raw vegetables, cured meats and salads of all kinds. Making salads out of staples is an easy way to keep the fridge full, like Dilly Egg Salad, Tuna Salad Saute, Don’t Have To Choose Salad, Antipasto Salad or my recently shared Cucumber Salad.

Due to the freakishly mild winter in our current climes there are already fresh green beans available, so I grabbed some and brought them together with some other ingredients for a marinated salad. The thing I like most about marinated salads is that they get better every day they sit. On day four after making this salad the acids in the dressing may have made the green beans a little less bright, but the beans also soaked up all the flavors, including the tang of the red onion, and a serving of it tastes heavenly.

I encourage you to experiment with other salad fixings too! I’ve made similar salads using slender asparagus instead of green beans, Greek olives instead of black, mushrooms along with tomatoes, and even thrown in some chopped up ham or salami. Noticing a variation on a theme? The thing I have learned making cold salads over the years is that two cups of dressing seems to be just right to coat 9-10 cups of salad, which is the case here.

Have fun in your kitchen and enjoy the bright, healthy produce of spring!

Cold Green Bean Salad

2 pounds fresh green beans
2 cups grape or small cherry tomatoes
1/4 large red onion
2 cups large black olives, drained
2 cups vinaigrette dressing (I suggest my Herby Dressing or Greek Dressing)
Sea salt and ground black pepper to taste
2 teaspoons dried red pepper flakes (optional)

Make your vinaigrette dressing of choice, if not already made or using store bought. Set aside.

Remove ends from green beans and slice them into bite sized pieces, about one inch. In a medium pot with steamer insert bring one inch of salty water to a boil. Add beans to steamer and lightly steam about five minutes, with the intention to soften them but retain their bright green color. Remove beans from pot, set them aside to cool and prepare remaining ingredients.

Slice tomatoes in half lengthwise and place in bowl. Finely chop red onion and place in bowl. Slice black olives in half horizontally and place in bowl. Add green beans. If including red pepper flakes add them now.

Pour dressing over salad ingredients. Gently toss salad until well coated. Cover bowl and chill for at least four hours or overnight.

Remove from refrigerator and toss salad again, then taste and add salt and pepper to enhance dressing flavor (need will vary depending on dressing used). Toss one more time to incorporate salt and pepper, then serve.
Roasted Carrots

roastedcarrots

For the past few weeks I have spent a lot of time at the Dallas Farmers 
Market supporting my business Grain Free Haven.  Between customers 
I found myself regularly staring at the goodies sold by the produce vendor 
across from my booth. They have a lot of greens and citrus right now, but 
I especially have been coveting the carrots. Long, slender and bright orange 
with springy green tops. 

I don't eat a lot of root vegetables like carrots, potatoes or turnips. They 
are not entirely evil, but have a higher level of starches and sugars 
than I usually consume. The higher number of carbohydrates in a food, 
the more cravings I get after eating them. Ironically, after focusing on 
eating steamed veggies like broccoli, cauliflower and celery of late 
(about 1-2 net carbohydrates per serving) I got a craving for the lovely 
carrots (about 4 net carbohydrates per serving). I actually blame the 
tomatoes and cucumber (2-5 net carbohydrates per serving depending 
on size) I have been piling on my salads. I'm thinking that if the worst 
craving I have is for roasted carrots I am doing pretty well in the 
craving department!

Yesterday I finally gave in and bought some of the carrots. I will be 
using the tops later for some veggie or chicken broth, but for now I 
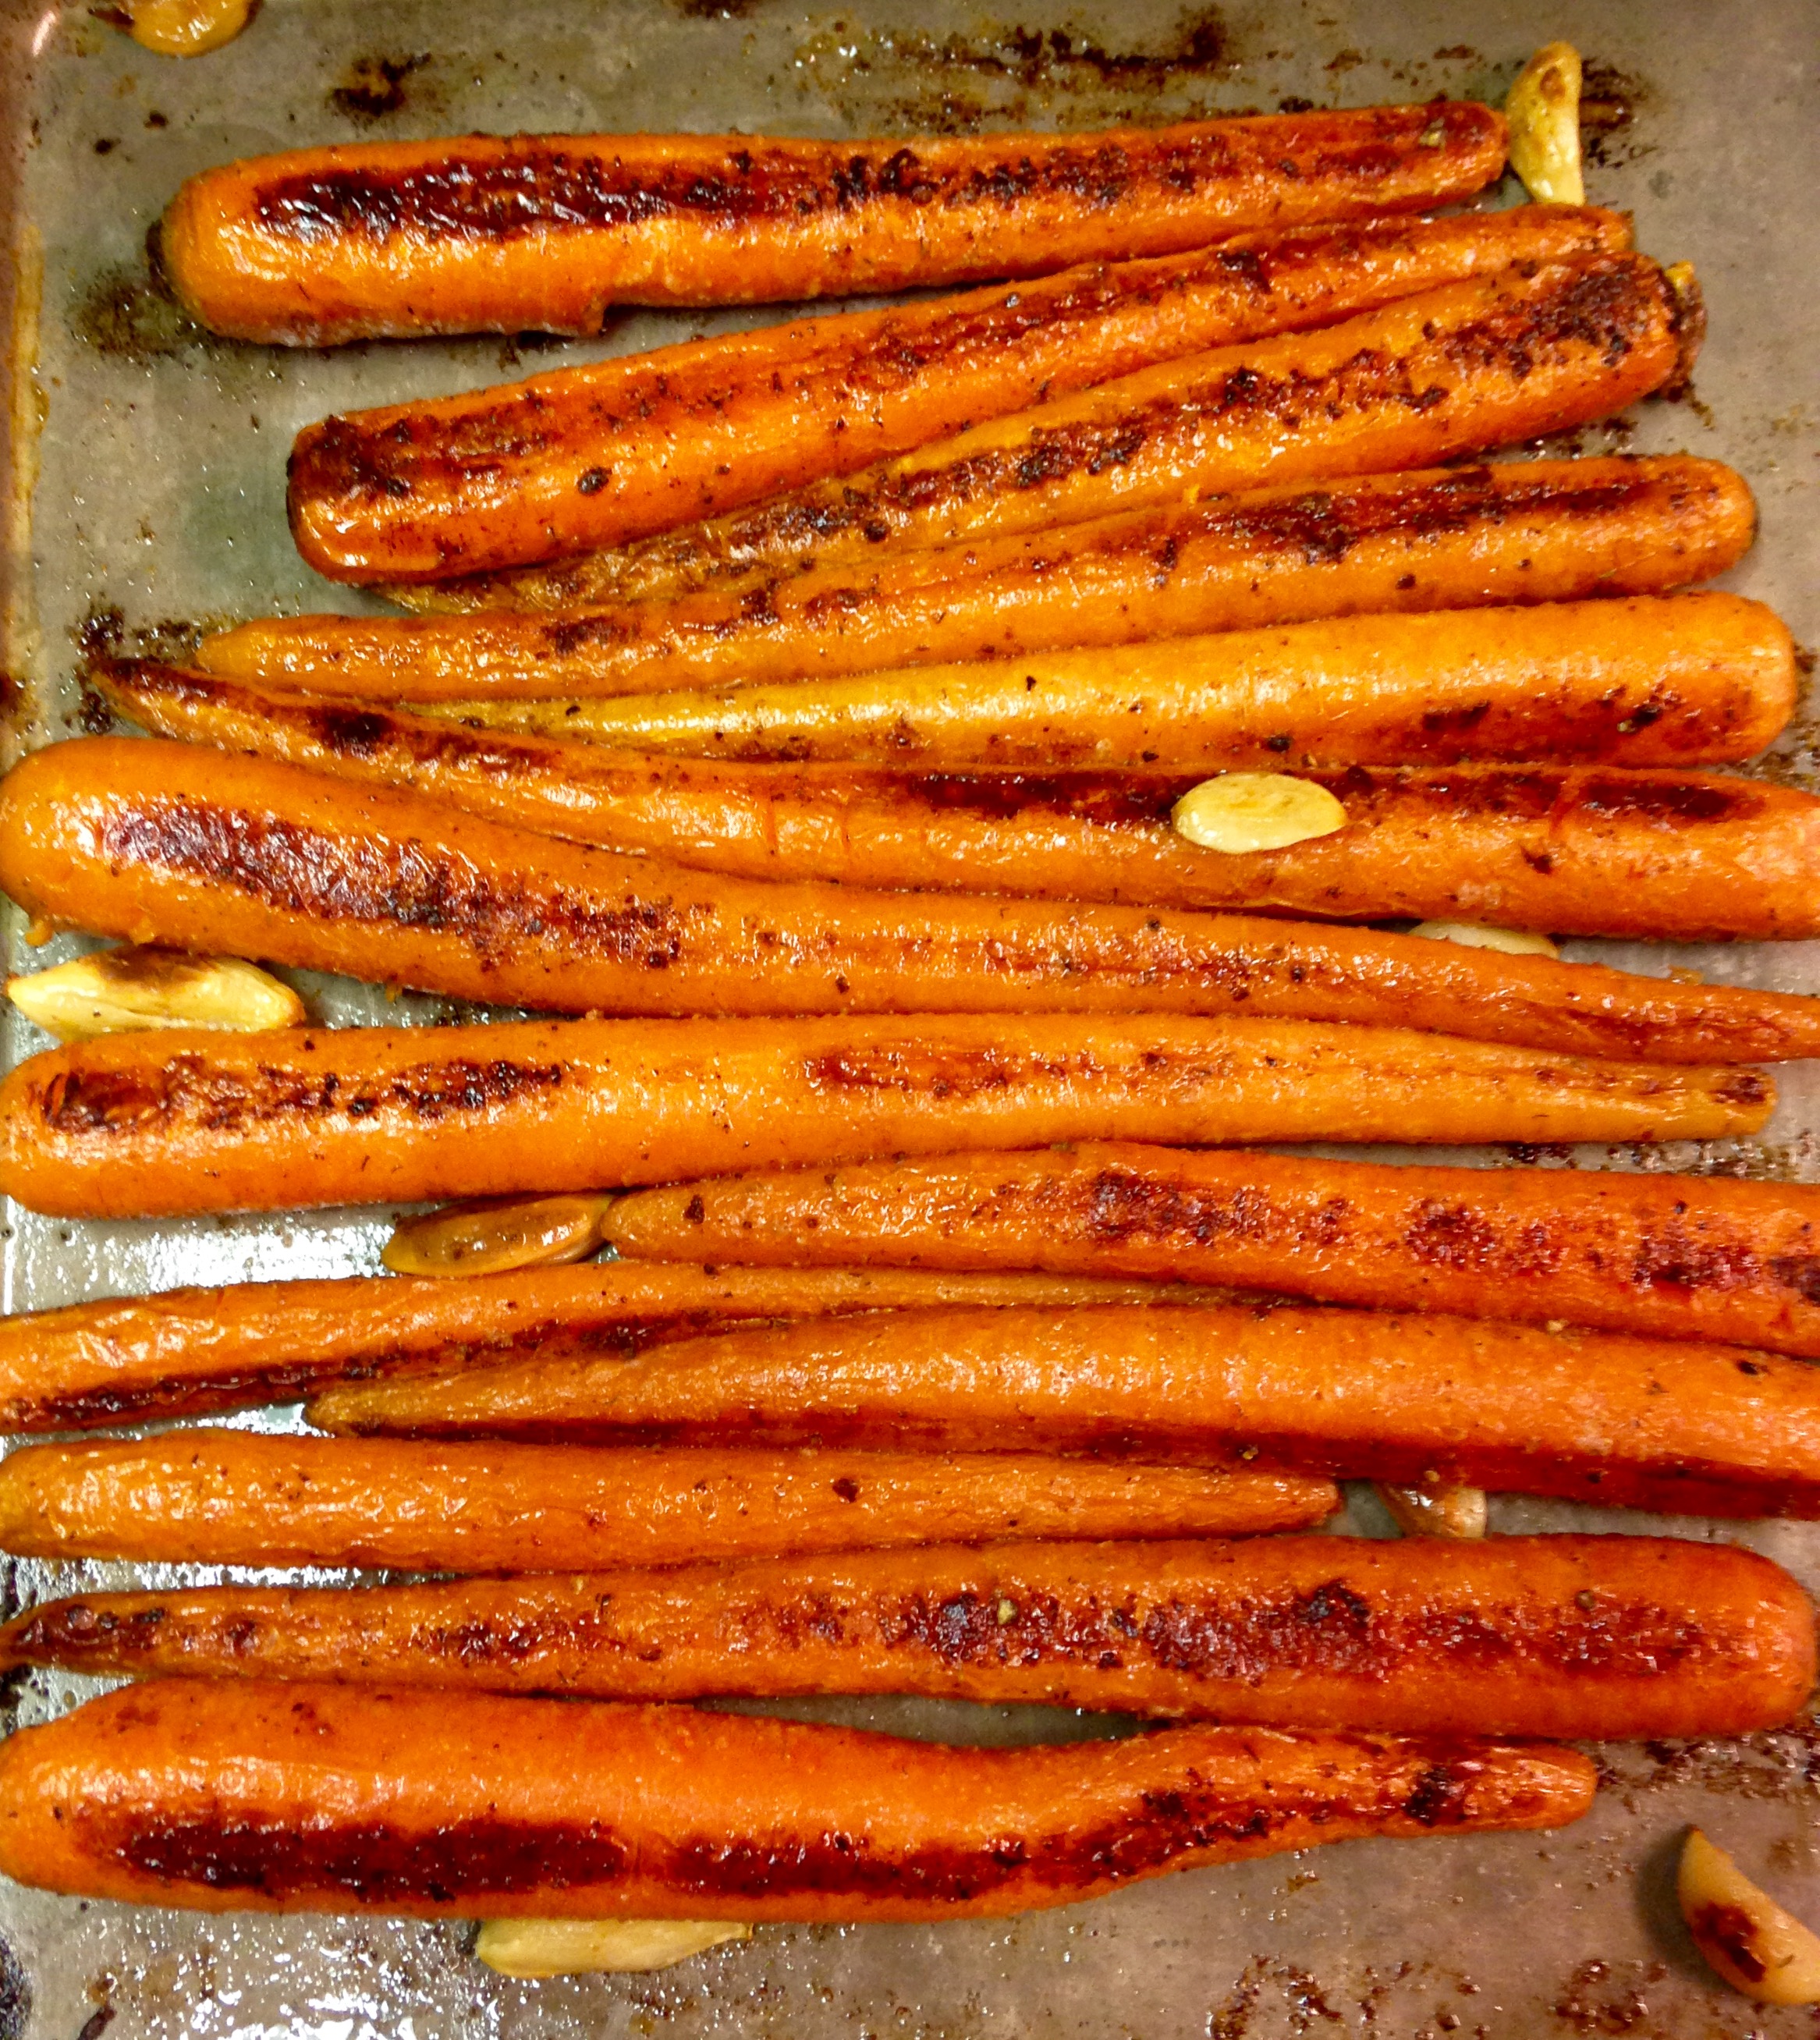
roasted and enjoyed the lovely carrots. Here is the simple way I 
prepared them. 

I loved every bite, but will definitely be going back to the green 
roughage tomorrow!
Roasted Carrots

10-12 medium carrots, tops removed and rinsed 
8 whole garlic cloves 
1/3 cup extra virgin olive oil 
1 teaspoon onion powder 
1 teaspoon sea salt 
1/2 teaspoon ground black pepper 
1 tablespoon dried parsley leaves 

Preheat oven to 400 degrees. 

In a small bowl combine the oil, onion powder, salt, pepper and parsley. 
Using your hands or a basting brush cover all the carrots with the 
mixture and place them on a shallow baking sheet. 

Spread the garlic cloves randomly among the carrots. 

Bake for 20 minutes, then remove from oven. Carrots should be slightly 
softened but not mushy. If you prefer them softer, shake the pan so the 
side of the carrots touching the pan changes, then cook for 5-10 more 
minutes. Serve immediately.

Yellaflower

2015-10-12 11.31.41

Turmeric is an entertaining ingredient to use. It turns everything it touches a brilliant shade of orange-yellow, so it is sometimes hard to keep the kitchen un-yellow. Be it my hands, the counter, spatula or the food itself, there is no doubt when it was used.

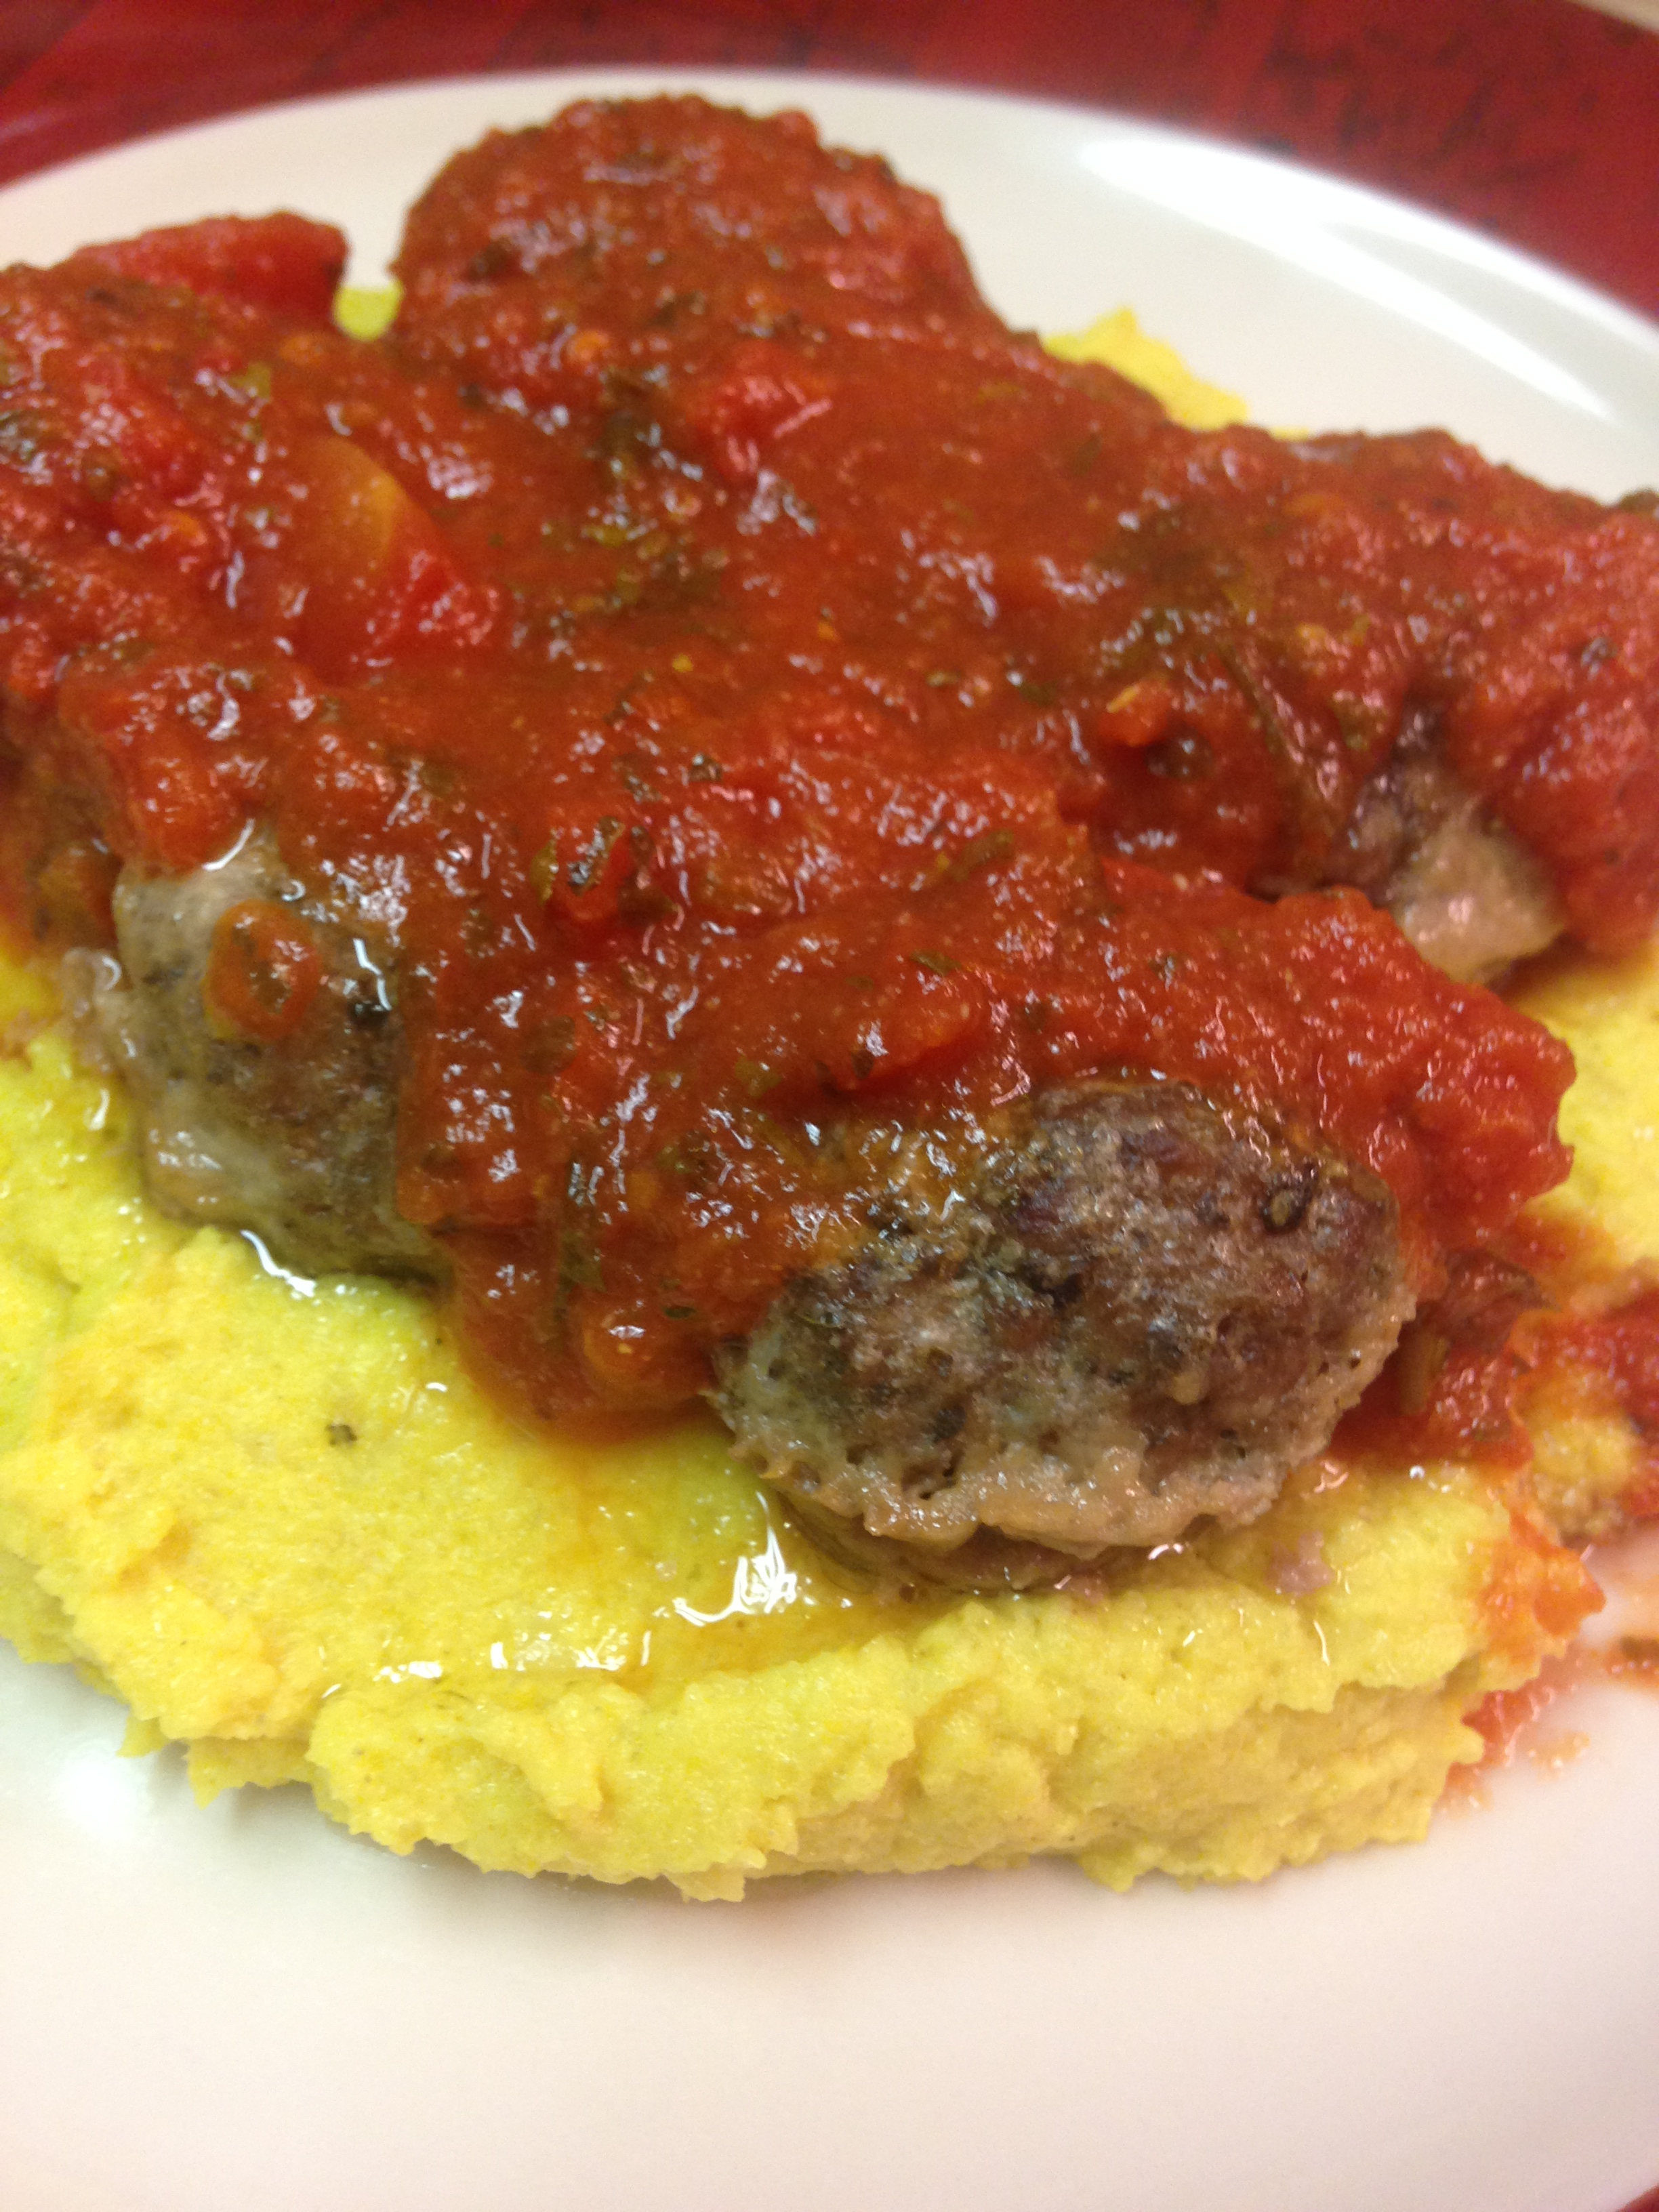
Combining turmeric with the sometimes drab color of cauliflower, it cannot help but brighten up any plate. Big D loves turmeric, and we both take it as a daily anti-inflammatory supplement, so I pulled out our big container of the powder and added some to our lunch’s steamed and seared cauliflower side dish the other day.

Little B came through and asked what was for lunch. When I mentioned steamed cauliflower she excitedly asked if it was going to be mashed….why not?! It was mushed instead of left whole. Our traditional mashed cauli is great, but this yellaflower is quite flavorful and gave wonderful balance to the tomato sauce and cheesy meatballs I served on top of it.

During the gradually darker days of winter I hope this dish gives you some summer sun and joy.

Yellaflower

3 Tbsp butter
1 large head cauliflower
1 Tbsp ground turmeric
1 tsp sea salt
1 tsp ground ginger
2 tsp garlic powder
1 tsp onion powder
1/4 cup heavy whipping cream

Cut cauliflower into bite sized florets – although it will be mashed later, cooking smaller pieces will let the flavors spread faster. In a medium stock pot over medium heat melt the butter. Add the cauliflower. Stir occasionally until the florets begin to release liquid, about five minutes. Sprinkle with turmeric, salt, ginger, garlic and onion, tossing until the spices coat the florets. Lower temperature and cover, cooking until cauliflower is soft, about five more minutes.

Puree the cauliflower and whipping cream either in the pot with an immersion blender, or by placing the cauliflower and cream in a food processor. The end product should be thick, smooth and bright yellow. Serve immediately in place of rice, polenta or pasta, or as a side dish.

Bright Bok Choy

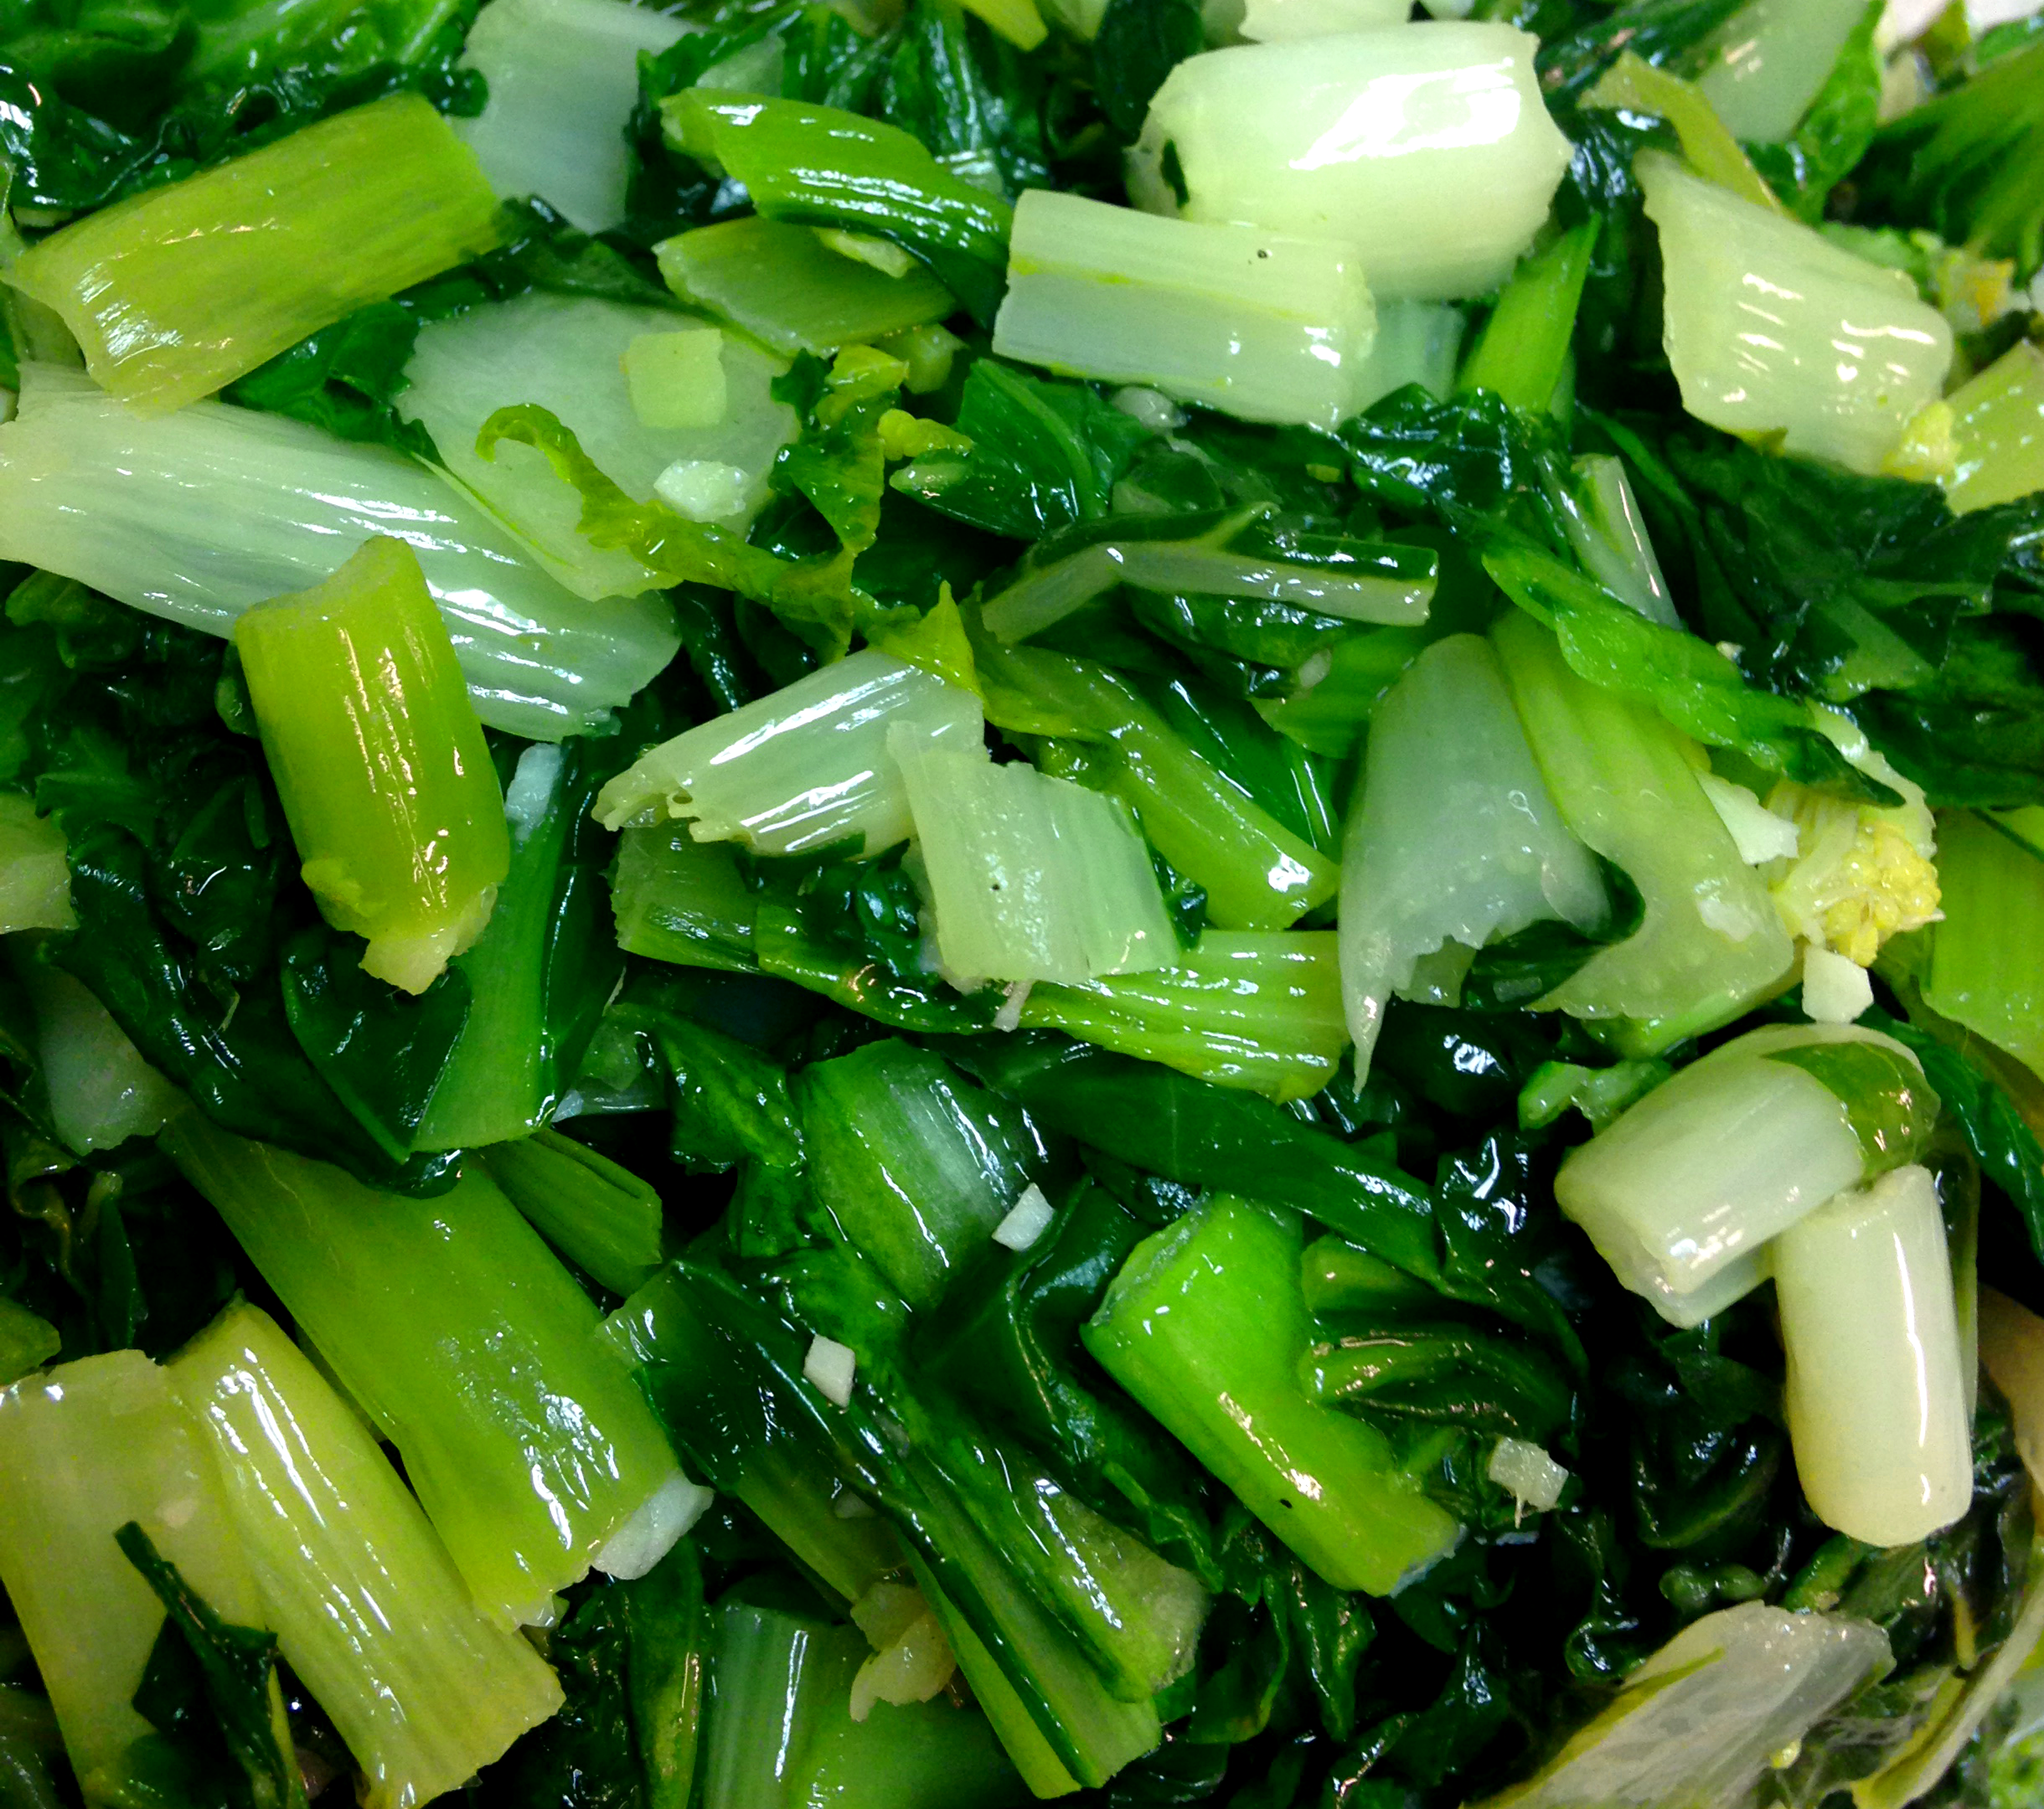
bokchoysauteWhen we made lobster recently I wanted to serve something bright next to it, but not something that would overpower the sweet crustacean meat. I landed on bok choy, for it is easy to make and met the requirement for bright contrast. I was also influenced by the fact it was in the produce department of the store where we bought the lobster. They were small, very green and very fresh looking. I love wokking (is that a word?) bok choy. I love wokking greens in general – dropping some into the well to sear, then tossing them on the edges to rest, then dropping them right back into the well.

The bok choy keeps with the trend in our house of often eating green, leafy vegetables as often as possible. I like mustard greens and turnip greens and collard greens and spinach, but some variety is always welcome in my world. I have never served bok choy with lobster, but I probably will again, especially with an extra drizzle of lemon, to connect it with the lobster butter. Also, it is fun to say – bok choy, bok choy, bok choy, bok choy….

Bright Bok Choy

2 – 4 bunches bok choy, well rinsed (to equal to approximately 8 cups raw chopped)
1 Tbsp coconut oil
1 Tbsp ginger, peeled and finely minced
2 cloves garlic, finely minced
1 tsp sea salt
1/2 tsp ground black pepper

Thoroughly rinse sand and soil from bok choy. Chop green leaves off from white stems. Loosely chop green tops. Chop white stems to bite-sized pieces. Add oil to wok or large frying pan over medium high heat. When oil is hot add ginger and garlic. Cook until it begins to brown. Add chopped white stems. Cook stems for about five minutes, tossing regularly. Add green tops and sprinkle with salt and pepper. Toss mixture until greens are wilted, 3-5 minutes. Season with additional salt to taste. Remove to serving bowl and serve immediately.

Sauteed Squash Strips

2015-06-28 13.53.16

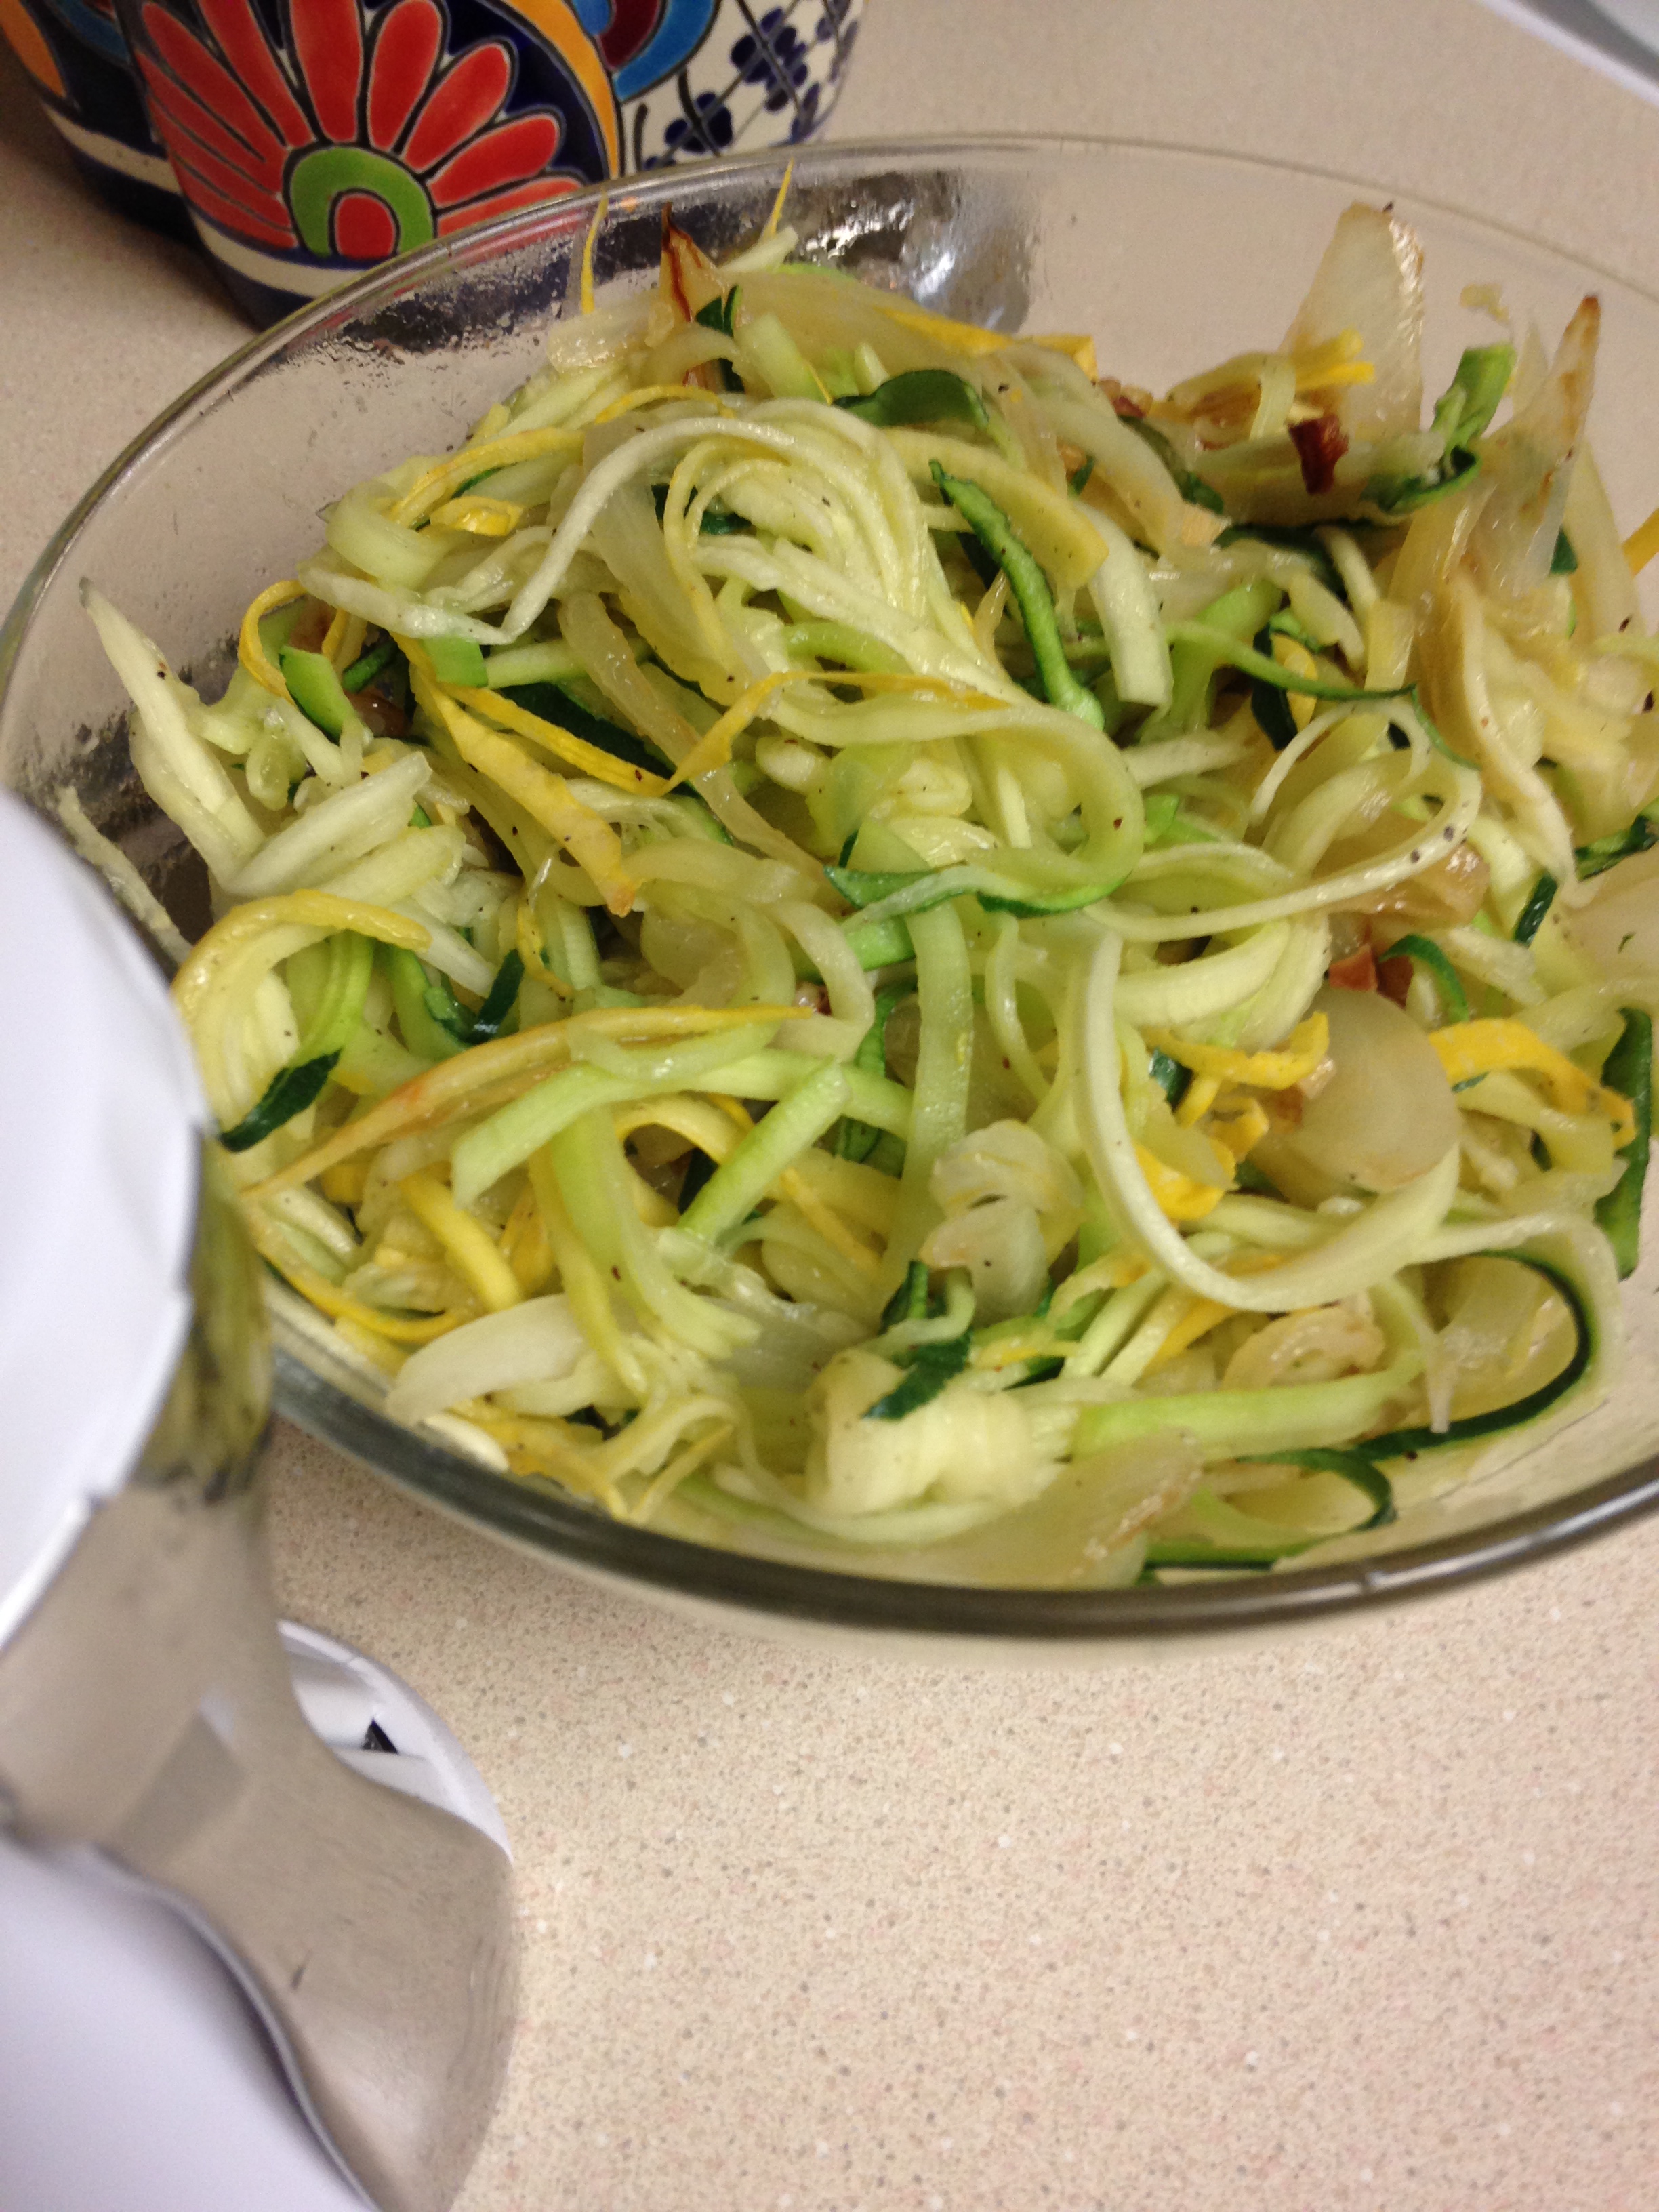
With all our moving around and packing and unpacking and living in compact spaces, I have lost the desire to accumulate kitchen gadgets. If something cannot be used for three or more different purposes I am hard pressed to acquire or keep it. If I do succumb, such things often don’t make ‘the cut’ when we are packing and downsizing. Things like avocado slicers, cherry pitters, cheese slicers and the like are not found in our kitchen drawers. On the other hand, our eleven year old Wusthof knife set goes with us everywhere. One thing I have not been able to  do consistently without a gadget is vegetable ‘noodles’. I can use a vegetable peeler to make strips of veggies (yes, the peeler always makes the cut), but not so much the rounder noodles I want as a base.

I caved and finally bought one of those twisty vegetable noodle makers. It works well and is compact (I bought the smaller, non-deluxe version). I have used the noodles under sauces in place of pasta, used them as a side dish, and even as part of tacos and enchiladas, which I must say went especially well. Using the gadget reminds me of peeling oranges as a child – I always tried to peel them in one long strip. This gadget can literally make one long noodle out of a zucchini. The problem with a three foot long noodle is dividing it among diners, so ponder some trimming either before or after cooking.

The nice thing about all these uses (and trimming opportunities) is the preparation is the same, and simple. I use them as a conduit to compliment other foods, like many use rice or pasta, so keeping the preparation simple makes so much sense. One way to use them that I have not yet tried is in soup – imagine pho or udon with veggie noodles. Sounds good, but for me, July is not the time for hot soup, so that experimentation will have to wait for fall.

Sauteed Squash Strips

1 Tbsp extra virgin olive oil
1/2 yellow onion, julienned
2 garlic cloves, chopped
1 yellow squash
1 zucchini
Sea salt and ground black pepper to taste

Twist zucchini and yellow squash through thick setting of a vegetable noodle gadget, placing ‘noodles’ into a bowl. With a sharp knife cut an X through the noodles, allowing for randomly shorter, bite-sized strips. In a medium skillet over medium high heat add oil. When oil is hot add garlic and onion. Cook until onion begins to brown on edges. Lower heat to medium. Add squash strips to pan and season with salt and pepper. Toss squash with onion and garlic until heated through, but stop before squash begins to go limp and release liquid, about two minutes. Remove from pan and serve immediately, either as a side dish, taco filler or ‘pasta’ under sauce.

Salmon Stuffed Mushrooms

salmon stuffed mushrooms

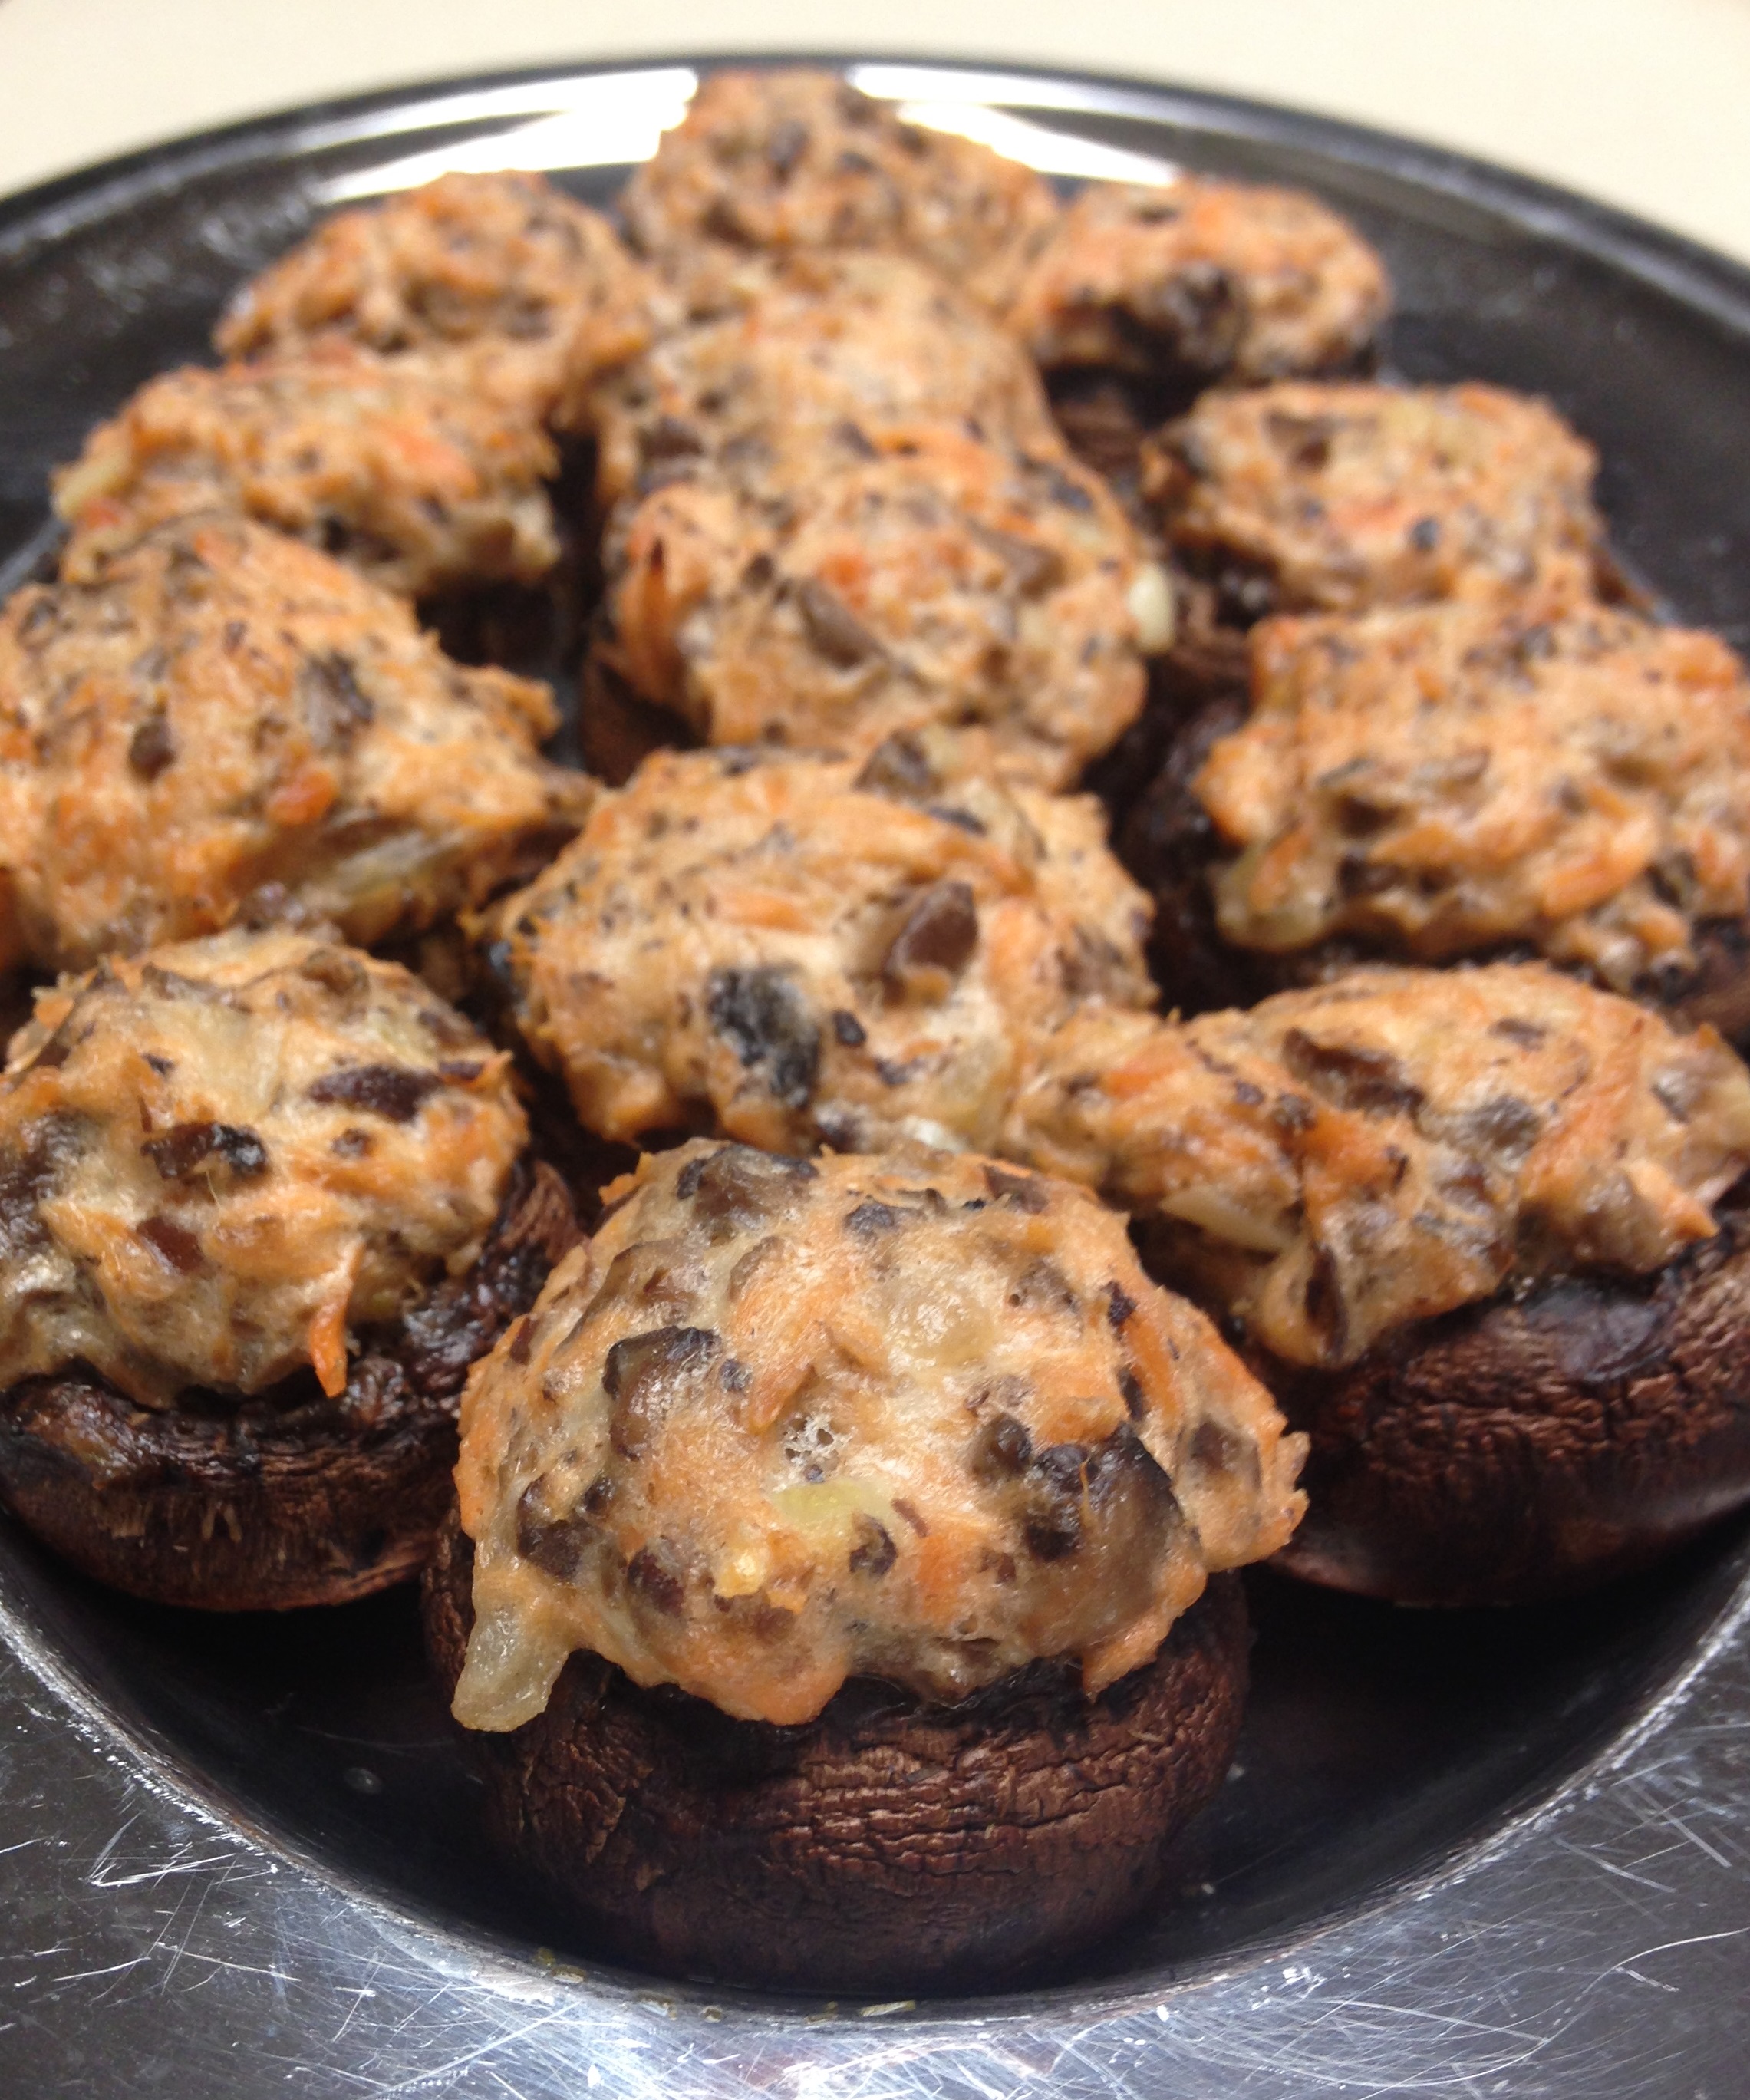
I came up with these when thinking about my in-laws. They are very special people I have known since I was about eight years old. One loves salmon, one not so much. She can usually find shrimp acceptable, but not at all with the salmon. When the salmon eater comes to dinner without the other we often do salmon. The situation came up at dinner a few days ago, and there was some poached salmon left over. There is always the opportunity to use salmon leftovers at a brunch or in a frittata, but I wanted something for dinner. Not breakfast-for-dinner, but dinner-for-dinner.

I didn’t want to overwhelm the salmon with other flavors, so I stuck with ingredients used when poaching the salmon. Being surrounded by mushroom, cream cheese and egg whites the salmon did not get dried out or overcooked. Funny the way things worked out – the salmon loving in-law was also at dinner to enjoy these mushrooms! Go figure!

Salmon Stuffed Mushrooms

15-20 miniature Portabello mushrooms
3 garlic cloves, minced
1 Tbsp extra virgin olive oil
2 egg white
6 ounces poached salmon
1/2 + 1/4 tsp fresh dill
1/2  cup cream cheese, softened
1/2 cup water
Salt and pepper to taste

Scoop out stem and meat from caps of mushrooms. Chop the stems finely. In a small skillet over medium heat add the oil. When oil is hot add the mushroom stems and garlic. Stir occasionally until mushrooms have released moisture and liquid is reduced. Remove from heat. In medium bowl whisk egg white until foamy, about 15 seconds. Add to the whites cheese, salmon, 1/2 tsp dill and stir until combined. Add the stem mixture. Add salt and pepper to taste. Preheat oven to 350 degrees. Fill mushroom caps with cheese mixture. Place filled caps evenly distributed in a 9×13 baking dish. In a measuring cup mix the water with 1/4 tsp salt and 1/4 tsp dill. Stir until salt is dissolved. Pour water into bottom of baking dish. Bake in oven for 30 minutes, until mushrooms shrink and filling puffs up. Remove from oven. Place mushrooms onto platter and serve immediately.

Cauli n Cheese

cauli n chz

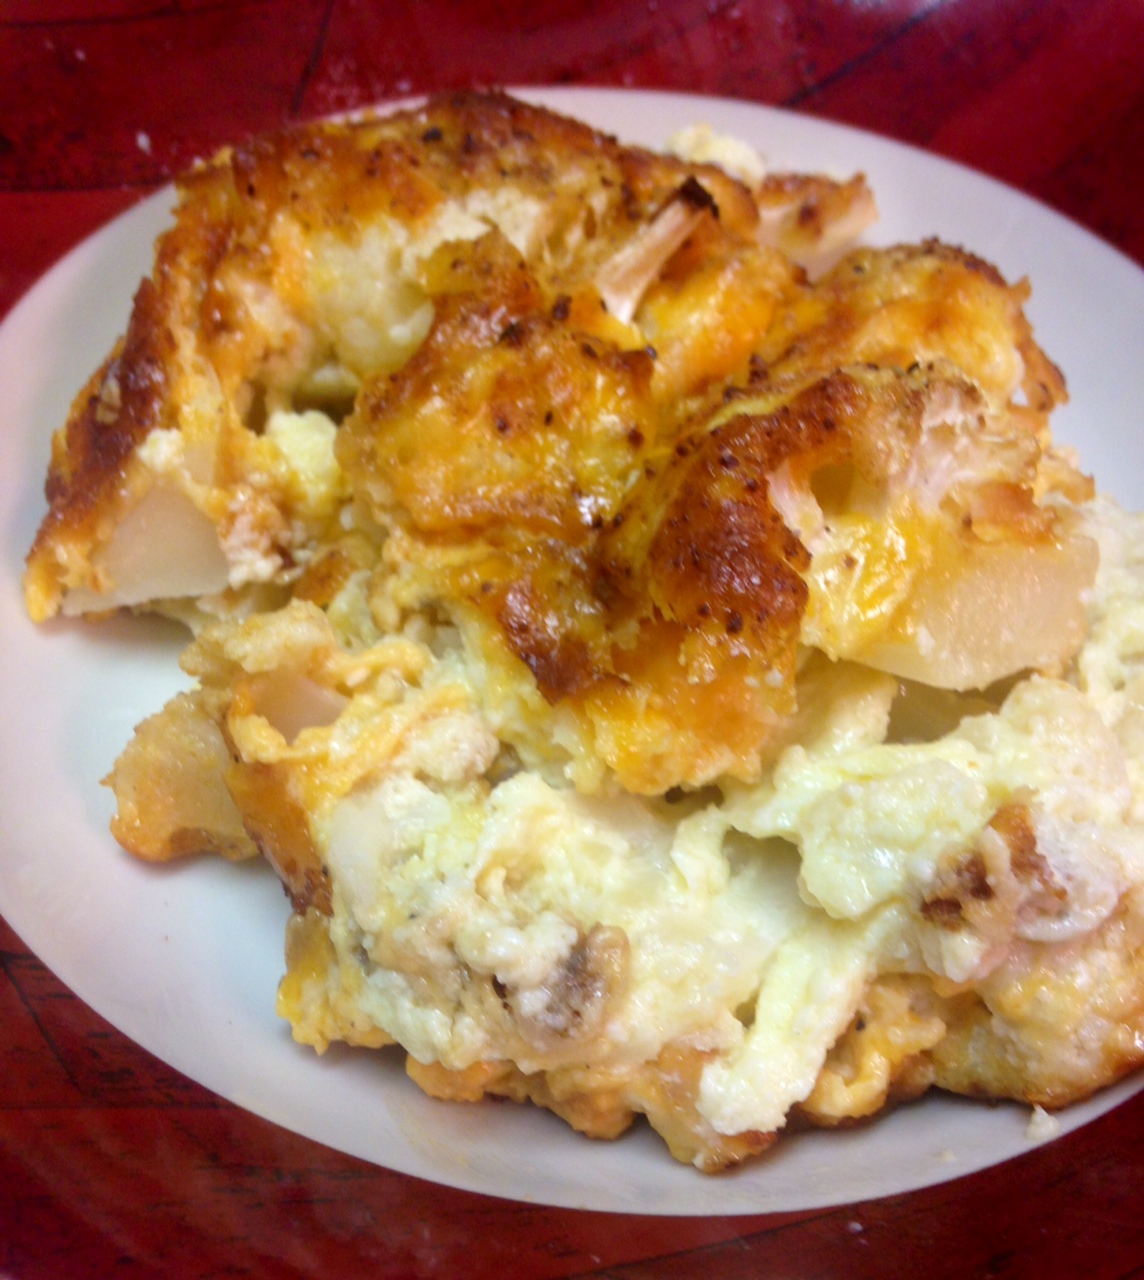
I have made this before but did not have the just right combination for creamy and cheesy, so did not share it. Other cheesy things with cauliflower, like the Cauliflower Mac Bake is cheesy but not so creamy, and the Cheesy White and Green Bake is good, but the fibrous broccoli does not quite bring to mind a replacement for mac n cheese. I think the combination of cheeses and cream really worked this time. The cheese merged with the cauliflower and cream instead of becoming stretchy. This time was different. This time it worked just right. There was a chewiness, cheesiness and creaminess that worked like a comfort food for me. THIS time I was reminded of the nights as a child when mom and dad did not have time to make dinner and grabbed a box of pasta and cheese pouch, threw it in a pot and cooked it up. Sometimes ham or hot dogs were chopped up with it and made it even more salty. The taste of this meal also reminded me of meatless Fridays that were part of the religious aspects of my upbringing. I never actually missed the meat as I dug into the creamy cheesiness. After a few mouthfuls Little B asked if I would make this every night because it was ‘soooooo good!’. I don’t know if I can accomplish that, but it certainly is not hard to do if there is a kitchen nearby and barely took more time than fixing mac n cheese from a box! It would be so cool if she craved cauliflower instead of pasta in 20 years…

Cauli n Cheese

1 head cauliflower
2 eggs
1 cup heavy whipping cream
1 Tbsp sea salt, plus more for top
1 tsp ground black pepper, plus more for top
1 tsp onion powder, plus more for top
1 tsp garlic powder, plus more for top
2 cups grated sharp cheddar cheese
1 1/2 cups grated parmigiano reggiano cheese

Preheat oven to 350 degrees. Remove leaves and stem from cauliflower. Cut cauliflower head into bite-sized pieces, keeping as much of the florets attached to the base as possible – avoid the crumbling of the florets. In a medium bowl whisk the eggs and cream, then add the salt, pepper, onion powder and garlic powder. Whisk in the seasoning. Add the cheese and stir in with the cream mixture. Arrange the cauliflower evenly in a 9″x13″ baking dish. Sprinkle some salt on cauliflower. Pour creamy cheese mixture over cauliflower, spreading cheese to cover the top entirely. Sprinkle a bit more salt, pepper, onion powder and garlic powder on top. Place uncovered in preheated oven for 40-45 minutes, until top is browned and bubbly. Remove from oven and let sit for ten minutes before serving.

Savory Watermelon Salad

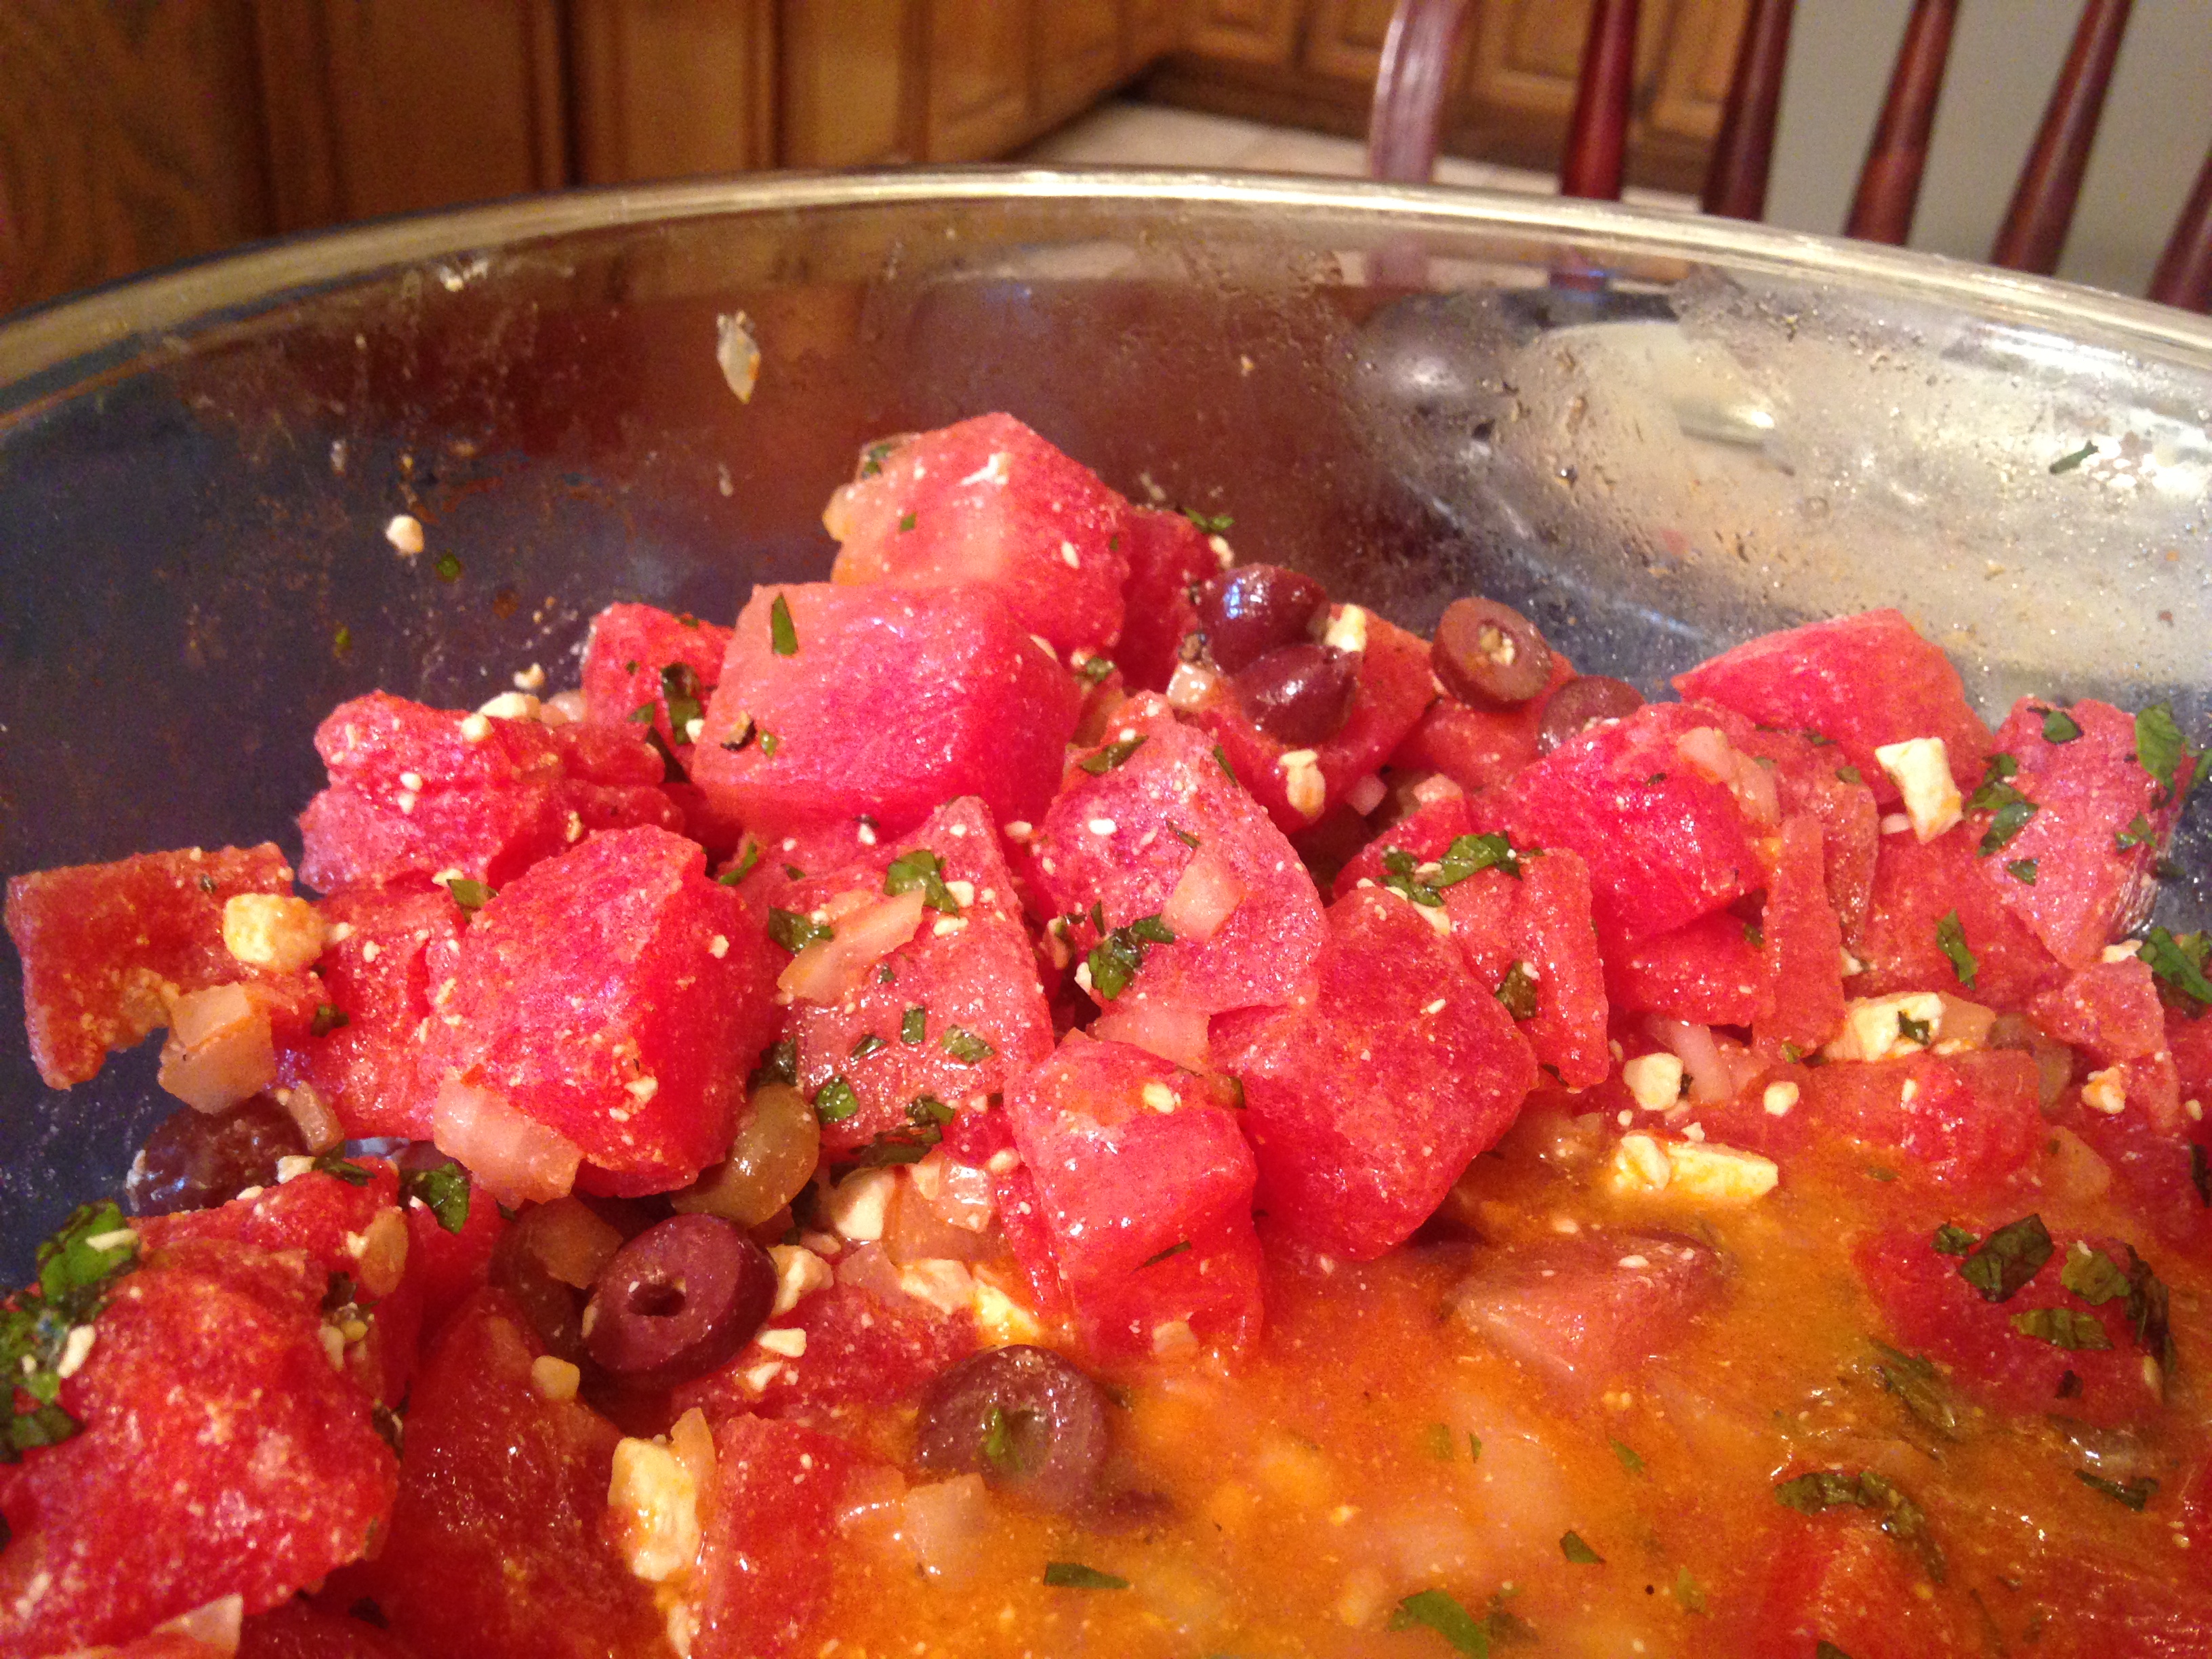
IMG_9048As kids my brother and I spent summer afternoons outside a lot. We were able to cavort around our neighborhood bicycling, rollerskating, swimming, playing soccer and other things kids did in the 80’s ‘on the streets’. One of the snacks we ate was messy, juicy, sweet watermelon. Mom would cut it up and bring a bowl out to the back yard. We would take a break from gardening or playing in the sprinkler to feast on it, sprinkling each wedge with a bit of salt and letting the juices run down our chins. After we were done we often had seed spitting contents. The watermelons we  had were always riddled with slippery black seeds. We would save them up as we ate, then would have the contest. There were occasional arguments about whether seed bounces counted in spitting distance, or whether one of us stepped over the spitting line when getting a running start on a spit. To this day I am surprised there weren’t more watermelon plants growing rogue in the yard. This may be the oddest sounding salad I have ever made, but it was curiously satisfying. On a warm summer day in Texas I was looking for something other than a green side salad at dinner. We don’t eat much watermelon, considering the higher carbohydrate count for the fruit, but I am glad I plunged in with this salad. Very refreshing, and quite a different slant compared to the spiked Whiskey Watermelon I made a few years ago…different type of satisfying…

Savory Watermelon Salad

1 small seedless watermelon
1 cup crumbled feta
1 cup kalamata olives, pitted and sliced
1/2 cup finely diced sweet yellow onion
1/3 cup extra virgin olive oil
1 lemon, juiced with meat retained
1 tsp sea salt (plus more to taste)
1 tsp ground black pepper
1/4 tsp red chili flakes
1/2 cup chopped fresh mint leaves

Prepare about 8 cups of watermelon in bite-sized pieces by cutting it into 1-inch cubes or using a melon baller. In a medium bowl combine the olive oil, lemon juice, salt, pepper and chili flakes. Whisk until combined. Add the feta, olives and onion. Stir to coat with the dressing. Add mixture to watermelon and gently toss, trying not to crush the watermelon pieces.  Sprinkle mint and more salt to taste on top. Serve immediately or chill until served.

Note: as you can see from the picture the watermelon juices will mix with the dressing build up as the salad sits. It is recommended that a slotted spoon is used to serve, to reduce the soupiness of the salad when plated.

Cheesy White and Green Bake

image

We have been very busy lately, so you may have noticed more often than not my posts include quick, easy recipes, good as leftovers for days we don’t have time to cook. I am so busy I noticed how much of a run on sentence I just wrote. Everything is moving quickly for us at the moment, but we still enjoy cooking a good meal, and want to make sure there is variety and a healthy dose of vegetables. This bake is filled with staples we always have in our kitchen. I hope you try it. As of the date of this posting, Little B inhaled this side dish the day I made it (along with a hunk of steak) then proceeded to request it three days in a row until the leftovers were all gone. This is noteworthy for two reasons: 1) although Little B is a fruit and vegetable nut, she tends toward raw rather than baked, so interest in this dish was refreshing, and 2) Little B is not a fan of leftovers, which may be rooted in our penchant for constant variety, or just a general tendency of a typical five year old. Regardless, she inhaled it and we happily watched! I may throw in some tuna or chicken next time and make it a full on casserole…

Cheesy White and Green Bake

1 small head cauliflower
1 stalk broccoli
1/2 small onion
2 eggs
1 cup heavy whipping cream
1 tsp sea salt
1 tsp ground black pepper
2 tsp granulated garlic
1/2 tsp ground thyme
2 Tbsp lemon juice
3 cups shredded mozzarella cheese

Preheat oven to 350 degrees. Roughly chop onion, cauliflower and broccoli into bite-sized pieces. Toss together then spread vegetables evenly in a 9×13 inch baking dish. In medium bowl combine eggs, cream, salt, pepper, garlic, thyme and lemon juice. Whisk together until eggs are combined with other ingredients. Pour sauce over vegetables, gently tossing vegetables until they are coated. Sprinkle cheese on top of vegetables. Bake for 30 minutes until edges are browning and middle is bubbly. Remove from oven and let rest for five minutes before serving.

Antipasto Salad

antipasto salad

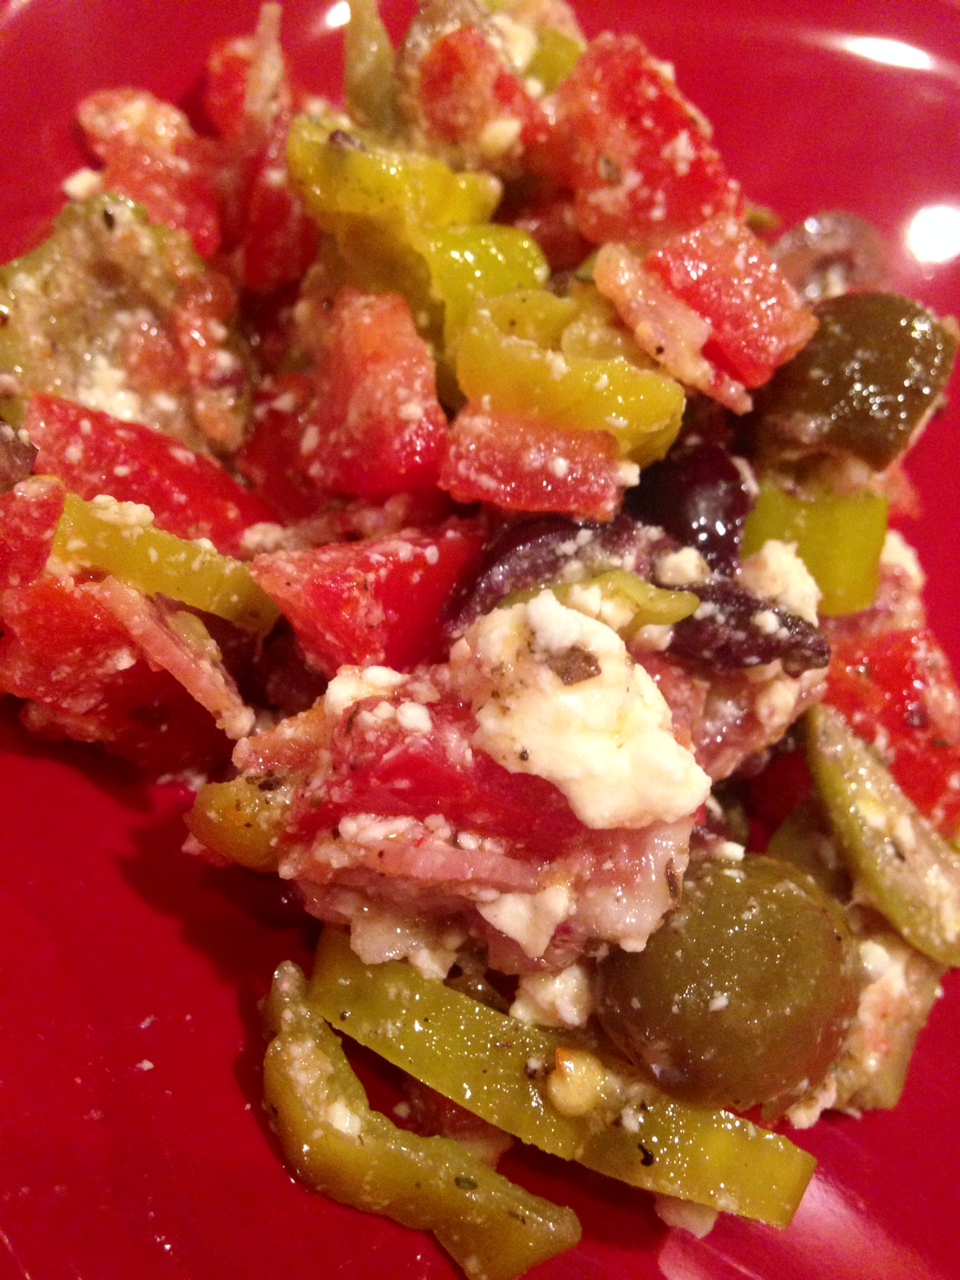
During the past few years I have posted Irish themed dished leading up to St. Patrick’s Day. Things like colcannon, shepherd’s pie, corned beef and cabbage (which I must mention is not actually Irish), and even a traditional Irish breakfast! This year I did not quite ramp up to the day in such a thematic day. I did do some bright, green leeks recently, but that is far as it went. This year we are enjoying some of my past creations instead of new ones. I guess in a way I am reaching back part of the roots of Ireland’s history, just not the most recent – the Gauls! Their influence spread across not only Ireland, but France, Swithzerland, Netherlands, Spain, Italy and Greece. Yes, I am stretching it, but it is fun! In spite of the name, antipasto does not mean it does not like pasta, or that it is after pasta, but it HAS no pasta, and it comes BEFORE pasta. Just the way we like it. We recently had a Greek kick and did some dishes I posted a few year ago, including dolmas, tzatziki and some Greek burgers. We needed a salad to go along with it, because there was a gap on the plate. Hoping that the Greeks and Italians would cooperate, we mixed up some traditionally Italian non-pasta, savory elements, with some Greek, and boy did they go well! The leftovers were great, too, after hanging out in the dressing. I think the Gauls would enjoy it.

Antipasto Salad

1 cup mixed green, black and kalamata olives, pitted
1 cup pepperocini peppers, chopped
1/2 cup crumbled feta cheese
1/2 cup marinated artichoke  hearts, diced
3 plum tomatoes, seeds removed and diced
1/4 yellow or white onion, finely diced
4 ounces thin sliced salami, diced
1/3 cup Greek salad dressing or other vinaigrette

Roughly chop olives so they are of similar size. Place olives in medium bowl. Add peppers, cheese, artichoke hearts, tomatoes, onion and salami. Lightly toss. Add dressing and stir until well coated. Let sit for about 15 minutes then toss again and serve. The salad can also be made a day in advance and chilled until time to serve.

Post Navigation