Any Kitchen Will Do

Give me a kitchen and I will cook.

Search Results for: “apple sauce

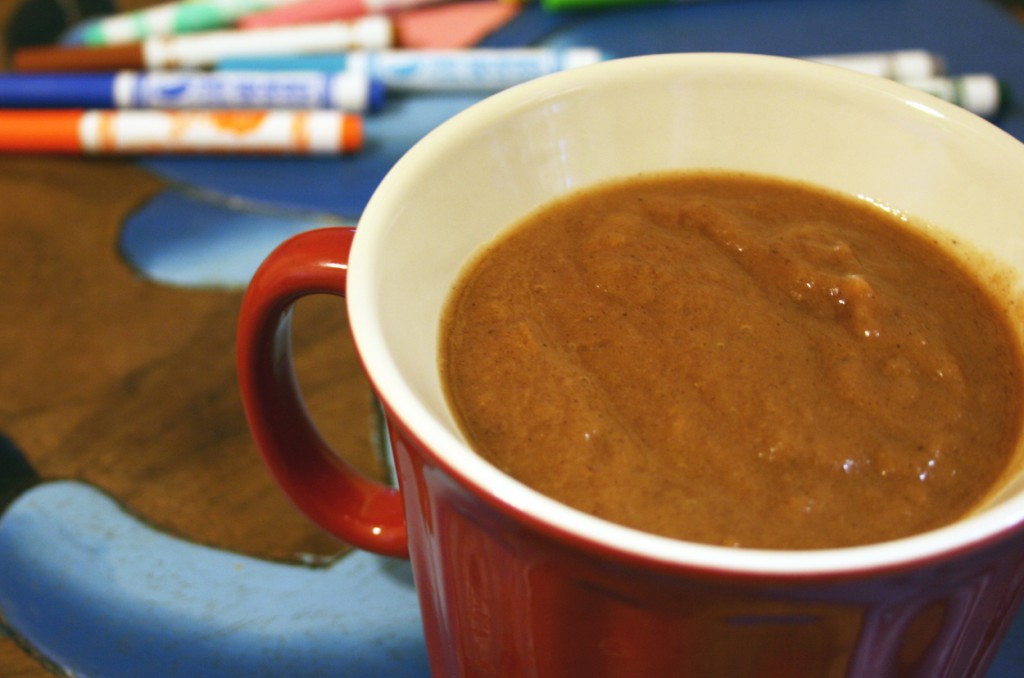
Tart Apple Sauce

tart apple sauce

If your local grocer is anything like mine, they have a corner of the produce section where you can occasionally find deeply discounted fruits and vegetables that are gently bruised or pretty ripe. Recently there was a bunch of Granny Smith apples marked down to 50 cents a pound. What a steal! I had to grab some. They are my favorite apples ever – green and crisp and tart. Making apple sauce with them results in a nice tart sauce as well. I think it tastes much better than the sweeter stuff from the store. I don’t add any sweetener or sugar – I don’t think the sauce, or Little B, needs it, but could easily be added if you prefer. I threw it all in the crock pot at bedtime and the house slowly started smelling like apples and cinnamon during the night, making me seriously crave an apple fritter for breakfast. A spoonful or two of the apple sauce took care of that, thank goodness. I have made this stuff for Little B ever since she started eating solids. She still likes it and happily inhaled a bowl full as soon as the stick blender was pulled out.

Tart Apple Sauce

6 – 8 large Granny Smith apples
1 Tbsp ground cinnamon
1 cup water

Core and slice apples, leaving the skin on. The skin will soften and cook down, so you won’t notice it in the final product. The sauce will be darker than what you typically buy at the store, but the texture is the same. Place apples in a crock pot. Add cinnamon and toss to coat apple slices. Pour water over apples, cover and set temperature to low. Cook for 6 – 8 hours. Let cool and puree with a hand mixer until smooth. Store in the refrigerator or freezer.

Apple Herb Pork Loin

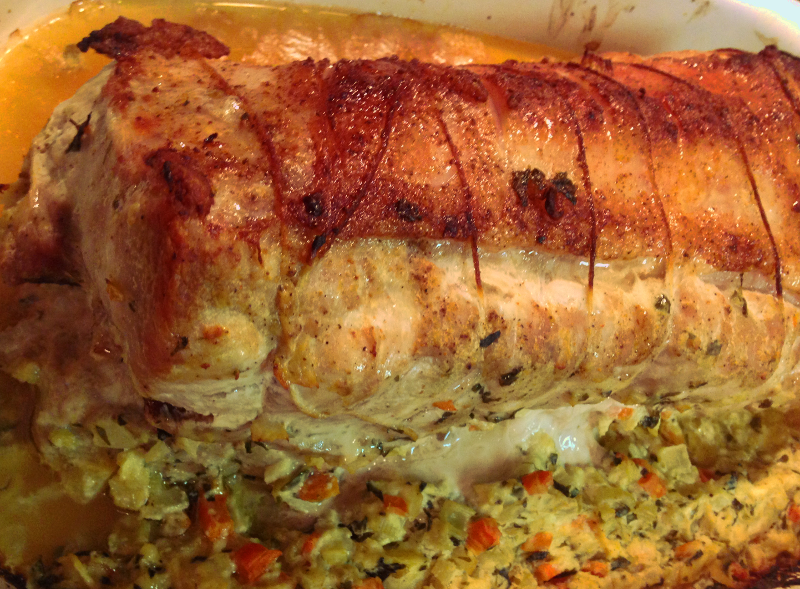
applestuffedporkloin I made this roast for my mom’s birthday. She is on the verge of a milestone birthday and generously came to us instead of us travelling to her, since I am so busy on weekends with Grain Free Haven. I knew she loved apples with her pork, but wanted to do something other than apple sauce to serve with it. The garden is still bursting with herbs so I poked around in it for inspiration. The finished roast ended up being a beautiful, seasonally stuffed centerpiece to a celebratory dinner, surrounded by steamed veggies, hollandaise sauce and wine, of course.

As you can see from the picture my rolled roast did not stay fully rolled – a trimmed roast may have stayed in place better, but I love how moist pork is when fat is still attached. The unrolling of the roll did not seem to detract from the ability of the flavors to spread through the pork and the stuffing complimenting it in a wonderful way. The final product may have ended up even better with the stuffing having spilled out, mixing with the roast juices. We just used a spoon to drizzle the stuffing and juices over the top of each served slice. Of course, when I make this again the stuffing will stay put and dribble out the ends. I will let you know!
Apple Herb Stuffed Pork Loin
1  4 1/2 – 5 pound pork loin, fat on
1 Tbsp butter
3 small Granny Smith apples
1/2 large carrot
1 celery heart with leaves (or 2 stalks)
1 medium white onion
4 ounces goat cheese
1/2 cup chopped fresh basil leaves
1/4 cup chopped fresh oregano leaves
1/4 cup chopped fresh parsley leaves
3 garlic cloves, finely minced
Seasoning salt or salt and pepper to taste
Roughly chop apples, carrot, celery and onion. In medium sauce pan over medium high heat melt the butter. Add garlic, onion, celery and carrot. Cook, stirring occasionally for about five minutes. Add apples, basil, oregano and parsley, cooking for three more minutes. Drop in goat cheese and stir until melted. Let mixture simmer until bubbly. Remove from heat.
Preheat oven to 400 degrees. With a fillet knife gently cut into the loin about 1/2 inch below the fat layer, curving around to continue the 1/2 inch thickness until the loin lies flat. Generously sprinkle all sides of the loin with seasoning salt or salt and pepper. Place the loin with fat face down. Using kitchen twine place a length under the loin every inch, making sure there is sufficient length to tie knots.
Place the apple mixture on the end opposite the face down fat. Carefully roll the loin over the filling, ending with the fat side facing up. Tie each length of twine to secure the roll. Place in shallow 9×13 baking dish.
Bake in 400 degree oven for 20 minutes. Reduce temperature to 300 degrees and bake for an additional 40 minutes. Remove from oven and let rest for about ten minutes before serving.


Drizzly Fruit Sauce

2015-07-04 21.14.01

There is no denying that fruit is naturally sweet, cuz it is full of sugars. Since the body does not really need much sugar, we have always resisted consuming much ourselves or giving it to Little B, whether natural or processed. She does eats fruit, and so do we sometimes, but it is usually whole, raw versions, not juice from concentrate or colored sugar water with a smidgen of processed juice from concentrate.

When Little B does come across such liquids they are overly sweet for her palate, for she is used to the sweet of real fruit, and in the realm of liquids, she is used to the slightly bitter taste of bubbly water (unflavored carbonated water). It is our fault. I love bubbly water and she liked sharing my beverage when little. Although some consider carbonated beverages (whether plain or flavored) not helpful to the body, I find that there are much more harmful things to drink. Tangent over, back to the drizzly stuff.

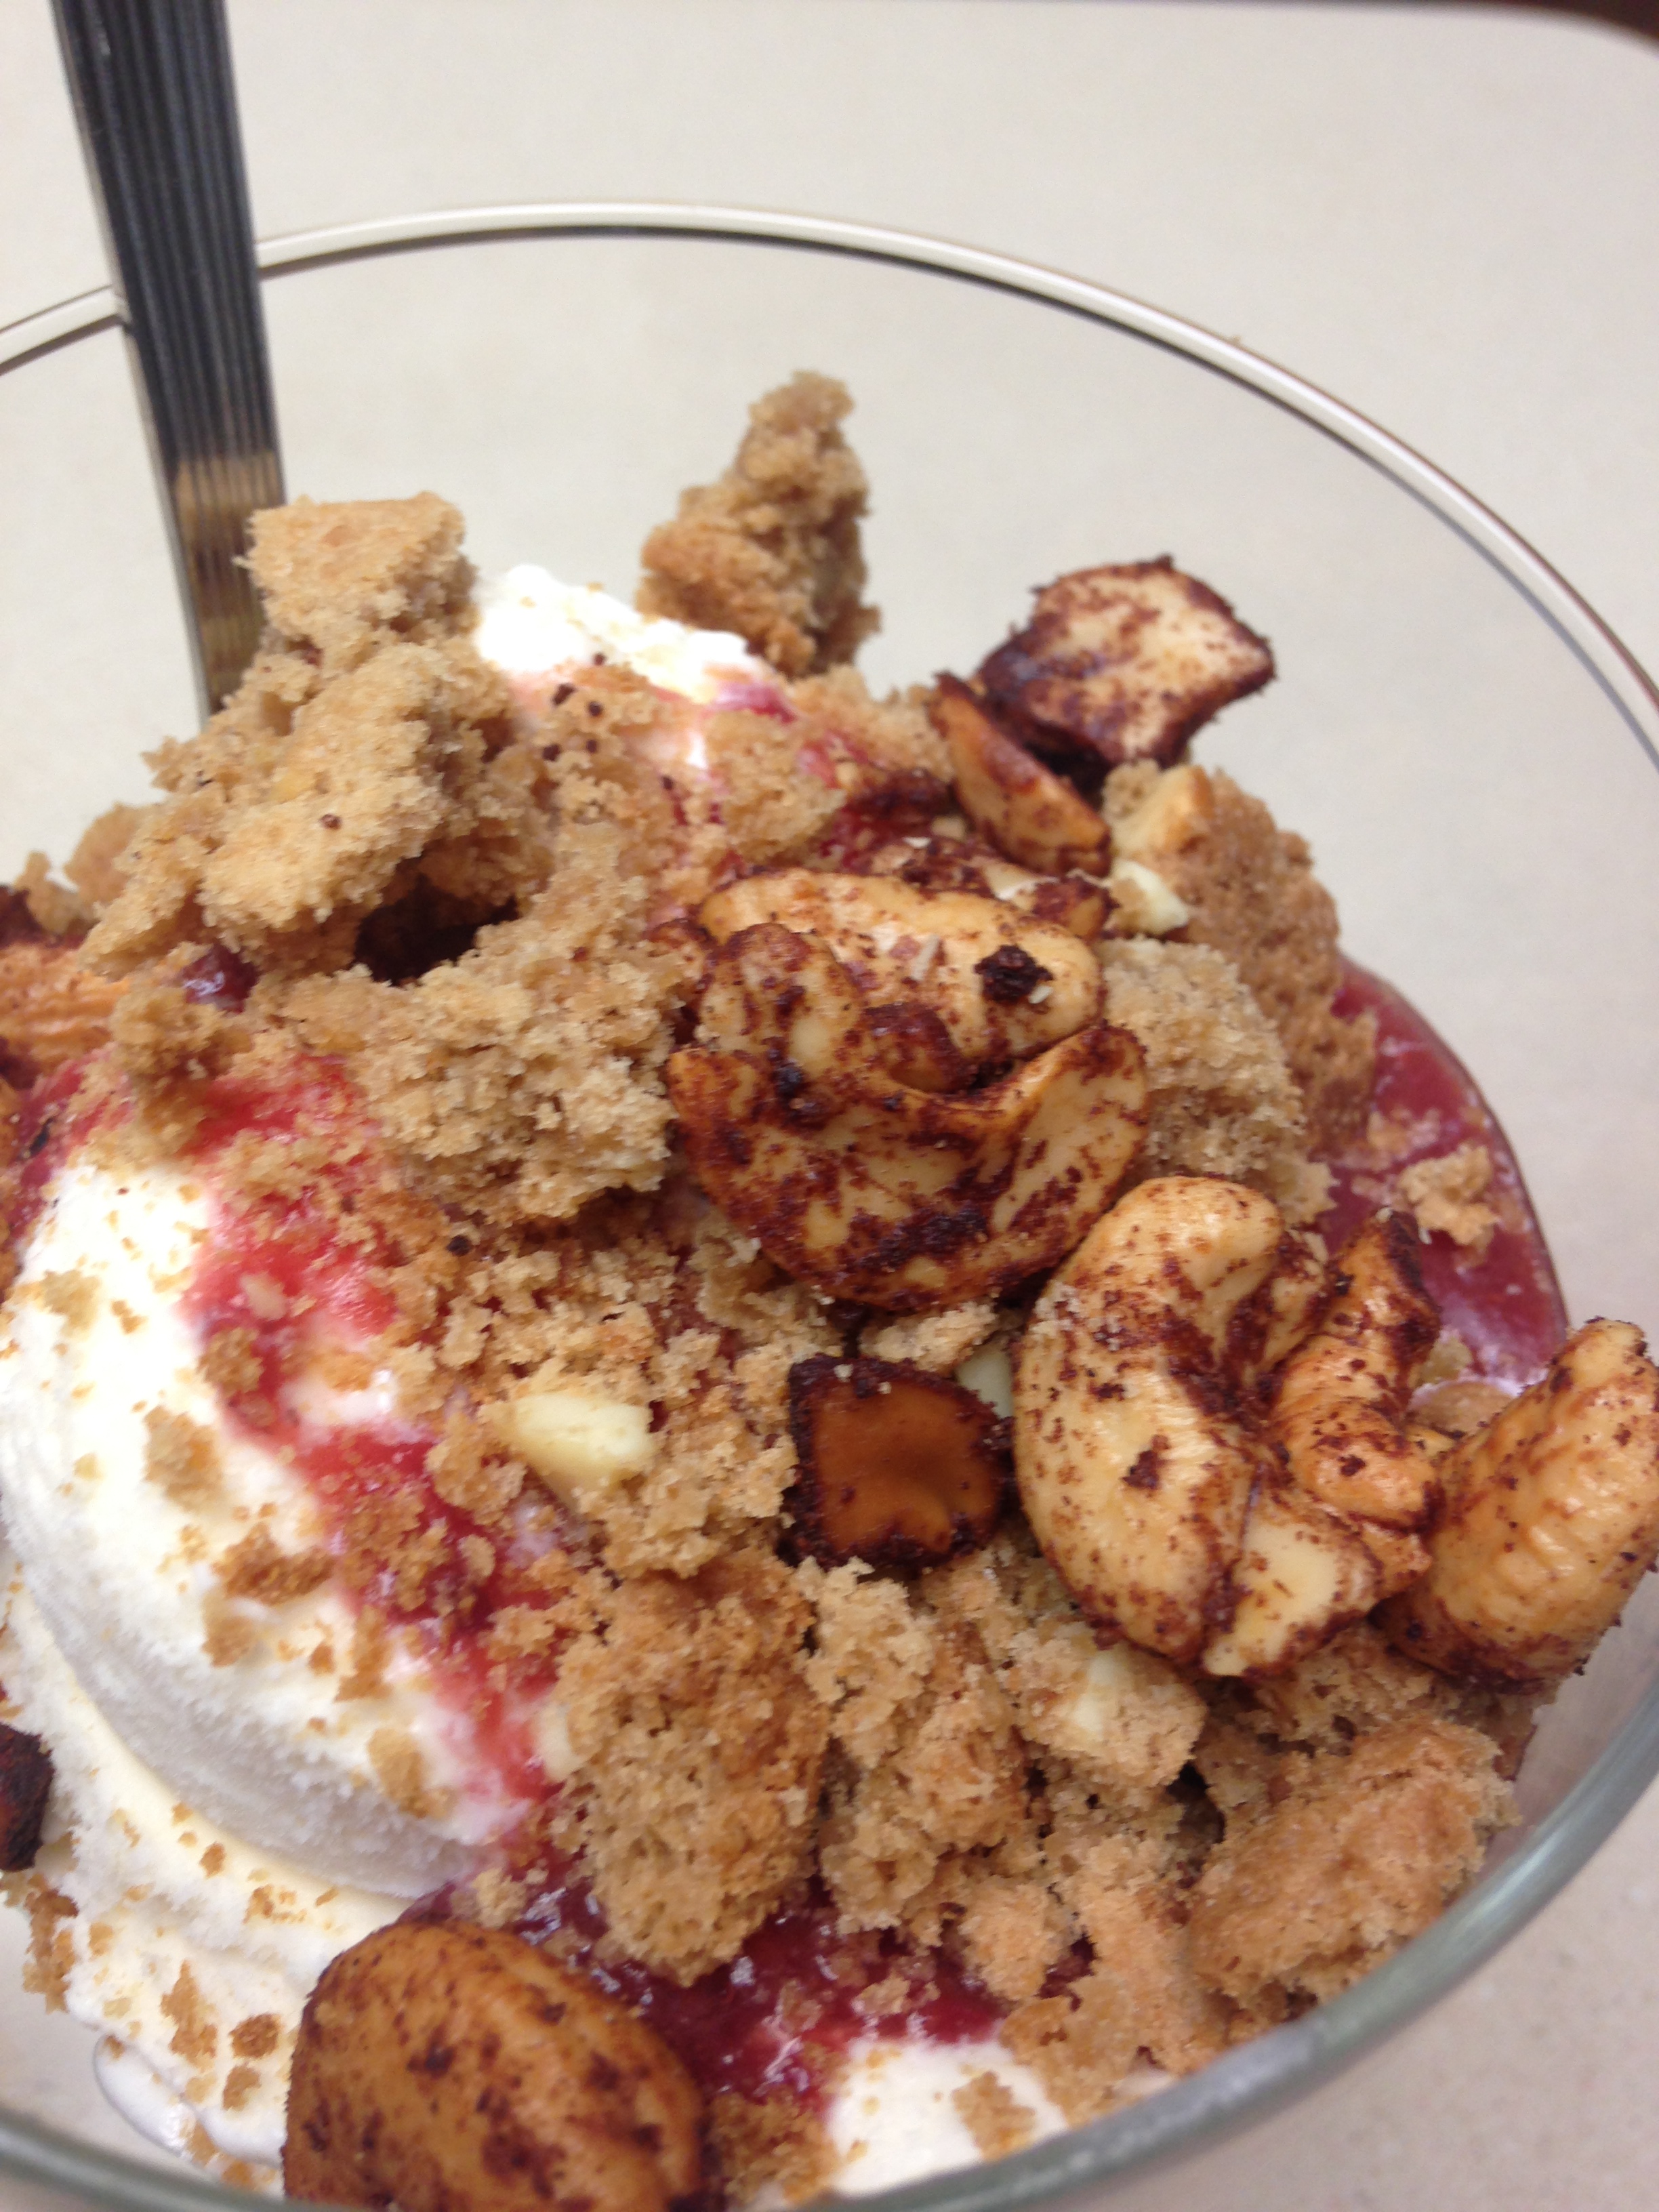
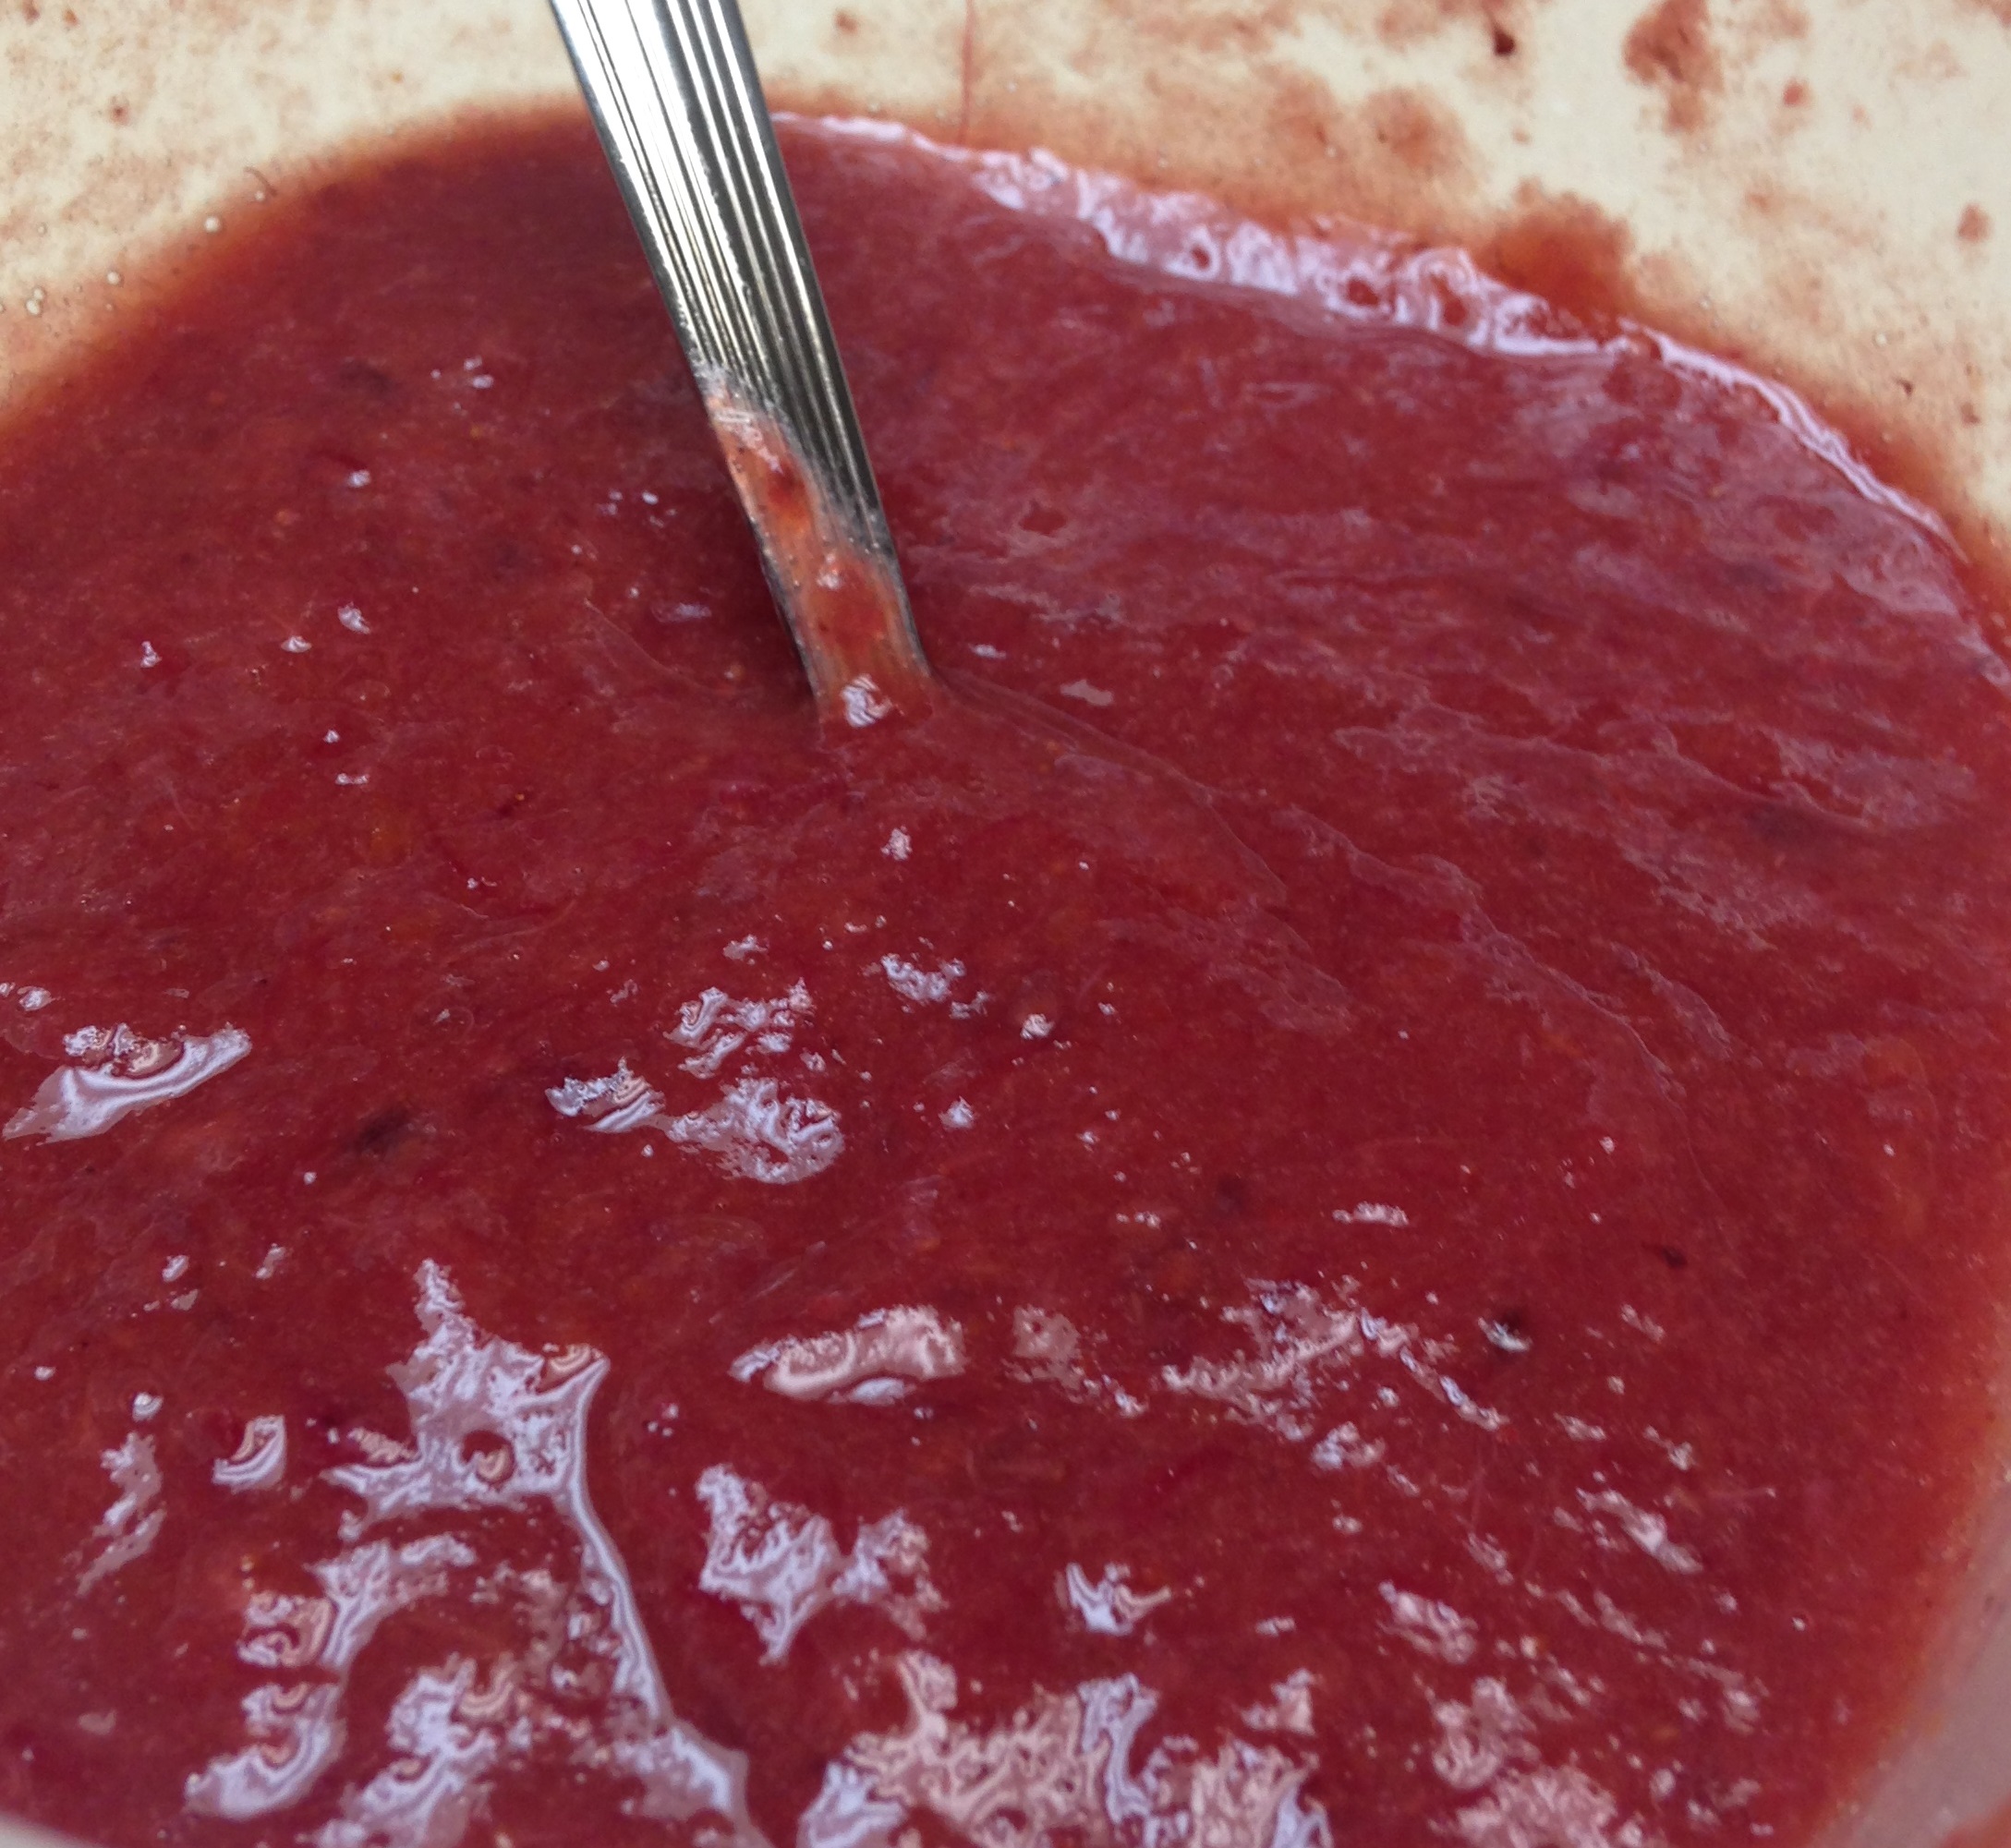
fruit sauceI was seeking out yet another light summer dessert for a crowd. We had flash frozen fruit in the freezer and I was reminded of a dessert I made regularly when I first started learning how to cook in earnest after college. It was berries and a splash of juice pureed and let to sit. I chose to be more expansive in this version, mixing the frozen stock and fresh stuff in our crisper. It is definitely a sauce to make the day before. The flavor magnifies when allowed to muddle around. I topped it with some cashew cookies (look for the recipe soon) and some lovely chocolate cashews I made a few months back. With some vanilla ice cream as a base it made for a not so heavy dessert on ANOTHER hot summer night.

Drizzly Fruit Sauce

1 cup chopped pineapple
1 cup chopped canteloupe
1 cup chopped peaches
1 cup raspberries
1 cup blackberries
1 cup blueberries
1 Tbsp vanilla extract

In medium pot over medium heat add and combine the six fruit ingredients. Cover and let heat for about five minutes. When fruit begins to bubble, lower heat by half and continue cooking for 30 minutes, until fruit has released juices. Remove from heat, add vanilla, stir and let sit for one hour. Puree fruit with stick blender or food processor. Transfer puree to container with airtight lid and refrigerate for at least 12 hours. Serve over ice cream and top with crumbled cookies, almond meal and/or dessert cashews.

Dad’s Spaghetti Sauce

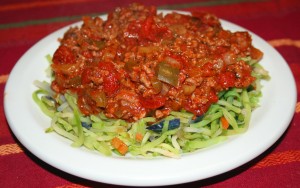
dads spaghetti sauceYou may not have noticed, but earlier this month I began a greenish/Irish theme, which will lead us up to St Patrick’s Day and beyond. Last year I covered traditional stuff like corned beef and cabbage, colcannon and the less traditional but politically symbolic white chocolate frito popcorn. This year I started with coleslaw, which has green cabbage, followed by some chicken with the green of spinach, then the Dublin Coddle, with a slightly more Irish leaning. I really enjoy St Patrick’s Day. Not only because I am about 87% Irish, or that I have a dual citizenship, or that it is another excuse to drink a little too much, but also because when I was growing up we laughingly called everything my dad made ‘Irish’. Irish popcorn, Irish fajitas, Irish potato salad, Irish steak…you get the idea. The dishes did not necessarily have a historically Irish origin, but because a big Irishman with blue eyes put effort into making it for his loved ones. My dad’s specialties were typically products from the outside charcoal grill. He cooked meat exceptionally well. Whether it was fajitas, steak, chicken or a whole passel of meats in his tower smoker – ribs, ham, turkey, roast – if it used to walk he could cook it, and it tasted great. He was the reason I rarely ever ordered steak in a restaurant until I moved out of the house. Restaurant steak always tasted salty, but not flavorful. I know most of his secrets, and I may share them one day, but today is not the day. Today I share with you his spaghetti sauce. One of his two significant non-grill, non-smoker dishes. In case you were wondering, his other dish was potato salad. Now on with the spaghetti sauce. I have done other tomato-based sauces, but this one is consistent with what he always made. Huge batches filled a big old aluminum pot that simmered on the stove top all day. It smelled heavenly, especially walking into a warm house on a cold, wet Texas day. It smelled like comfort, which is what I often sought on a wet Saturday after playing soccer or doing yard work. When I got older I helped him make it, discovering his penchant for perfectly sized chopped veggies and just the right combination of herbs. Another thing about his sauce – he rarely used fresh ingredients. I don’t consider it a good or bad thing. The sauce was always full of flavor and satisfying. He grew up during the Great Depression, which I think established for him certain habits, including the stockpile of canned and dried goods. You should have seen our pantry when I was growing up – we never failed to have fresh meat, fruit or veggies, but if we didn’t there were always canned. I still love the taste of canned spinach and pineapple – separately, of course. I recognize the canned and dried elements in this recipe. I don’t think you can beat the finished product very easily. I have made a version of this from scratch – fresh tomatoes, fresh herbs…it was good, but you know, after cooking it for so long, I could hardly tell the difference. Maybe it was because I tweaked it until it tasted like Dad’s version, or maybe because after enough cooking the fresh version tastes like the Hunt’s canned version. On top of everything else, I found a great new base to hold the sauce – broccoli slaw. In the past I have used traditional spaghetti pasta, gluten free pasta, spaghetti squash and just chopped sauteed squash. This time I saw some broccoli slaw on sale at the store – it is basically broccoli stems cut julienne and packaged with a bit of carrot and red cabbage. I microwaved it straight from the freezer for five minutes to soften, salted it then set it on a plate and topped it with sauce. The texture worked great – not pasta-y, but definitely a strong texture that worked with the sauce. It is my new favorite to pour things over. I can imagine a decadent cheesiness next time, or maybe some kind of lasagna concoction…

Dad’s Spaghetti Sauce

2 Tbsp extra virgin olive oil
1 small white onion, chopped
6 cloves garlic, crushed
1 pound ground beef, 15% fat or less
1 medium green bell pepper, chopped
3 stalks celery with leaves, chopped
1 tsp sea salt
½ tsp ground black pepper
2 Tbsp dried parsley leaves
1 ½ Tbsp dried oregano leaves
1 Tbsp dried basil leaves
42-56 ounces Hunt’s brand canned diced or plum tomatoes
6 – 8 ounces tomato paste
1 tsp truvia, or one small pinch of pure stevia
More salt to taste

In a deep stock pot heat to medium high and add olive oil. When oil is hot add onions and garlic, saute until the onion sweats (gets shiny and releases liquid). Add ground beef. Break meat up with a wooden spoon and saute until browning begins, but not until it is completely cooked. Add bell pepper, celery, salt, pepper, parsley, oregano and basil. Stir and cook until vegetables begin to soften. Add tomatoes and stir some more. Bring to a boil, cover, reduce heat and simmer for 2 hours (or more). Sprinkle in sweetener, to bring out the tomato flavor, and stir well. For an additional 30 minutes to an hour simmer with the top tipped so steam escapes. The sauce should thicken noticeably. Turn off heat and cover. Let sit until ready to serve, or cool to room temperature and refrigerate overnight. If you double or triple the recipe there will be plenty to freeze in reasonable portions. Reheat slowly on the stove top. Serve over your preferred base – either al dente pasta, spaghetti squash, or my new favorite, cooked broccoli slaw.

Oatmeal Apple Muffins

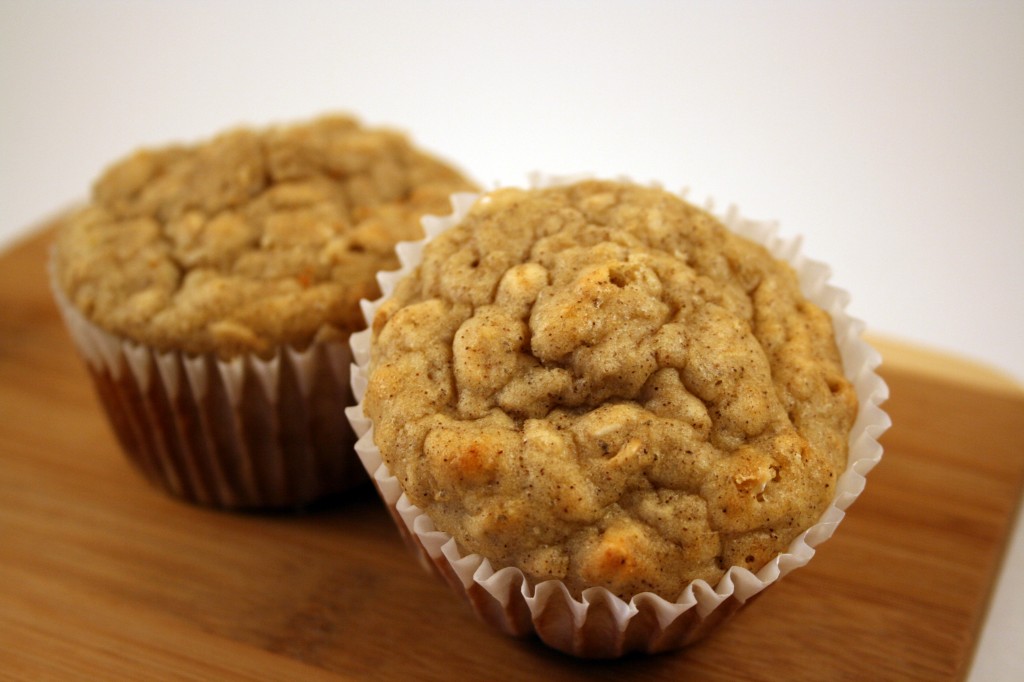
Ireland and potatoes are always associated with each other, but there is more to the agricultural history of the isle than spuds. In fact, potatoes are a very small percentage of crops grown there these days. Most of the large production farmland is dedicated to grains, but there are also smaller specialty crops, like apples and tubers. I want to highlight apples and oats to make some robust muffins. Particular types of apples thrive in the rich soil, and the climate is ideal for the slow ripening of oat grains. In spite of the sugar laden flavored oatmeal packets available in US stores, oatmeal is actually a low fat, high fiber food that keeps me full long after finishing a bowl.

I am always trying to sneak extra fiber into Little B’s diet. Some days all she wants to eat is ham and peanut butter, which are not horrible choices, but do not help much in the way of keeping her system running, er, smoothly. When I cannot pique her interest in oatmeal or an apple I like having something on hand that she perceives as a treat. These muffins work great for getting extra fiber into her, although I sometimes resort to smearing a little honey and Greek yogurt on top when she says “that’s not a cupcake that’s a muffin”. It is amazing what a glop on top can do. These muffins are also wheat free so Big D doesn’t give me that sad puppy dog look I get when I bake something he can’t eat. Double bonus!

Oatmeal Apple Muffins

1 1/2 cups uncooked oatmeal
1 1/2 cups cornmeal
2 tablespoons baking powder
1 tsp cinnamon
1 teaspoon salt
3 eggs
1 1/2 cups milk
1 cup banana/applesauce mush
1/3 cup sugar

Preheat oven to 400F. In a food processor pulse until powder ¾ cup of the oatmeal. Mix together oatmeal, cornmeal, baking powder, cinnamon, and salt. In another bowl, beat the eggs then add the milk and fruit mush (mash up one banana and fill the rest of the cup with applesauce) and stir. Add the sugar to the wet ingredients and mix well. Pour the egg mixture into the oat mixture and stir until just combine. Pour into a well greased 12-hole muffin tin and bake for around 20 minutes. Let cool for about five minutes and remove from tin.

Peanut Butter Yogurt Dip

peanut butter yogurt dip

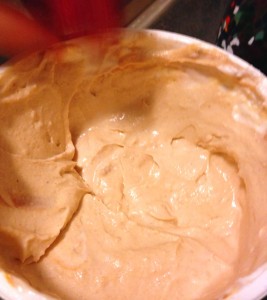
Double duty yogurt stuff! This works as an awesome dip for fruit as well as a spoonable non-dip snack for Little B. Talk about protein and protein and some subtle sweetness from the apple sauce. The recipe is quick and dirty (but clean) so I will leave the intro the same. Make it and enjoy, even adding some extra cinnamon to make it spicier, if the apple sauce is not already enough. Yum yum! You can see Little B’s hand dipping a blurry strawberry in her eagerness – could not wait until the pics were taken….

Peanut Butter Yogurt Dip

1 cup creamy peanut butter
2 cups whole milk Greek yogurt
1/2 cup apple sauce

In medium bowl combine peanut butter, yogurt and apple sauce. Stir until completely combined. Store in covered dish and chill overnight. Serve with celery, apple slices, mango slices or other fruit. Also works plain as a snack for peanut butter lovers.

Pizza Reboot

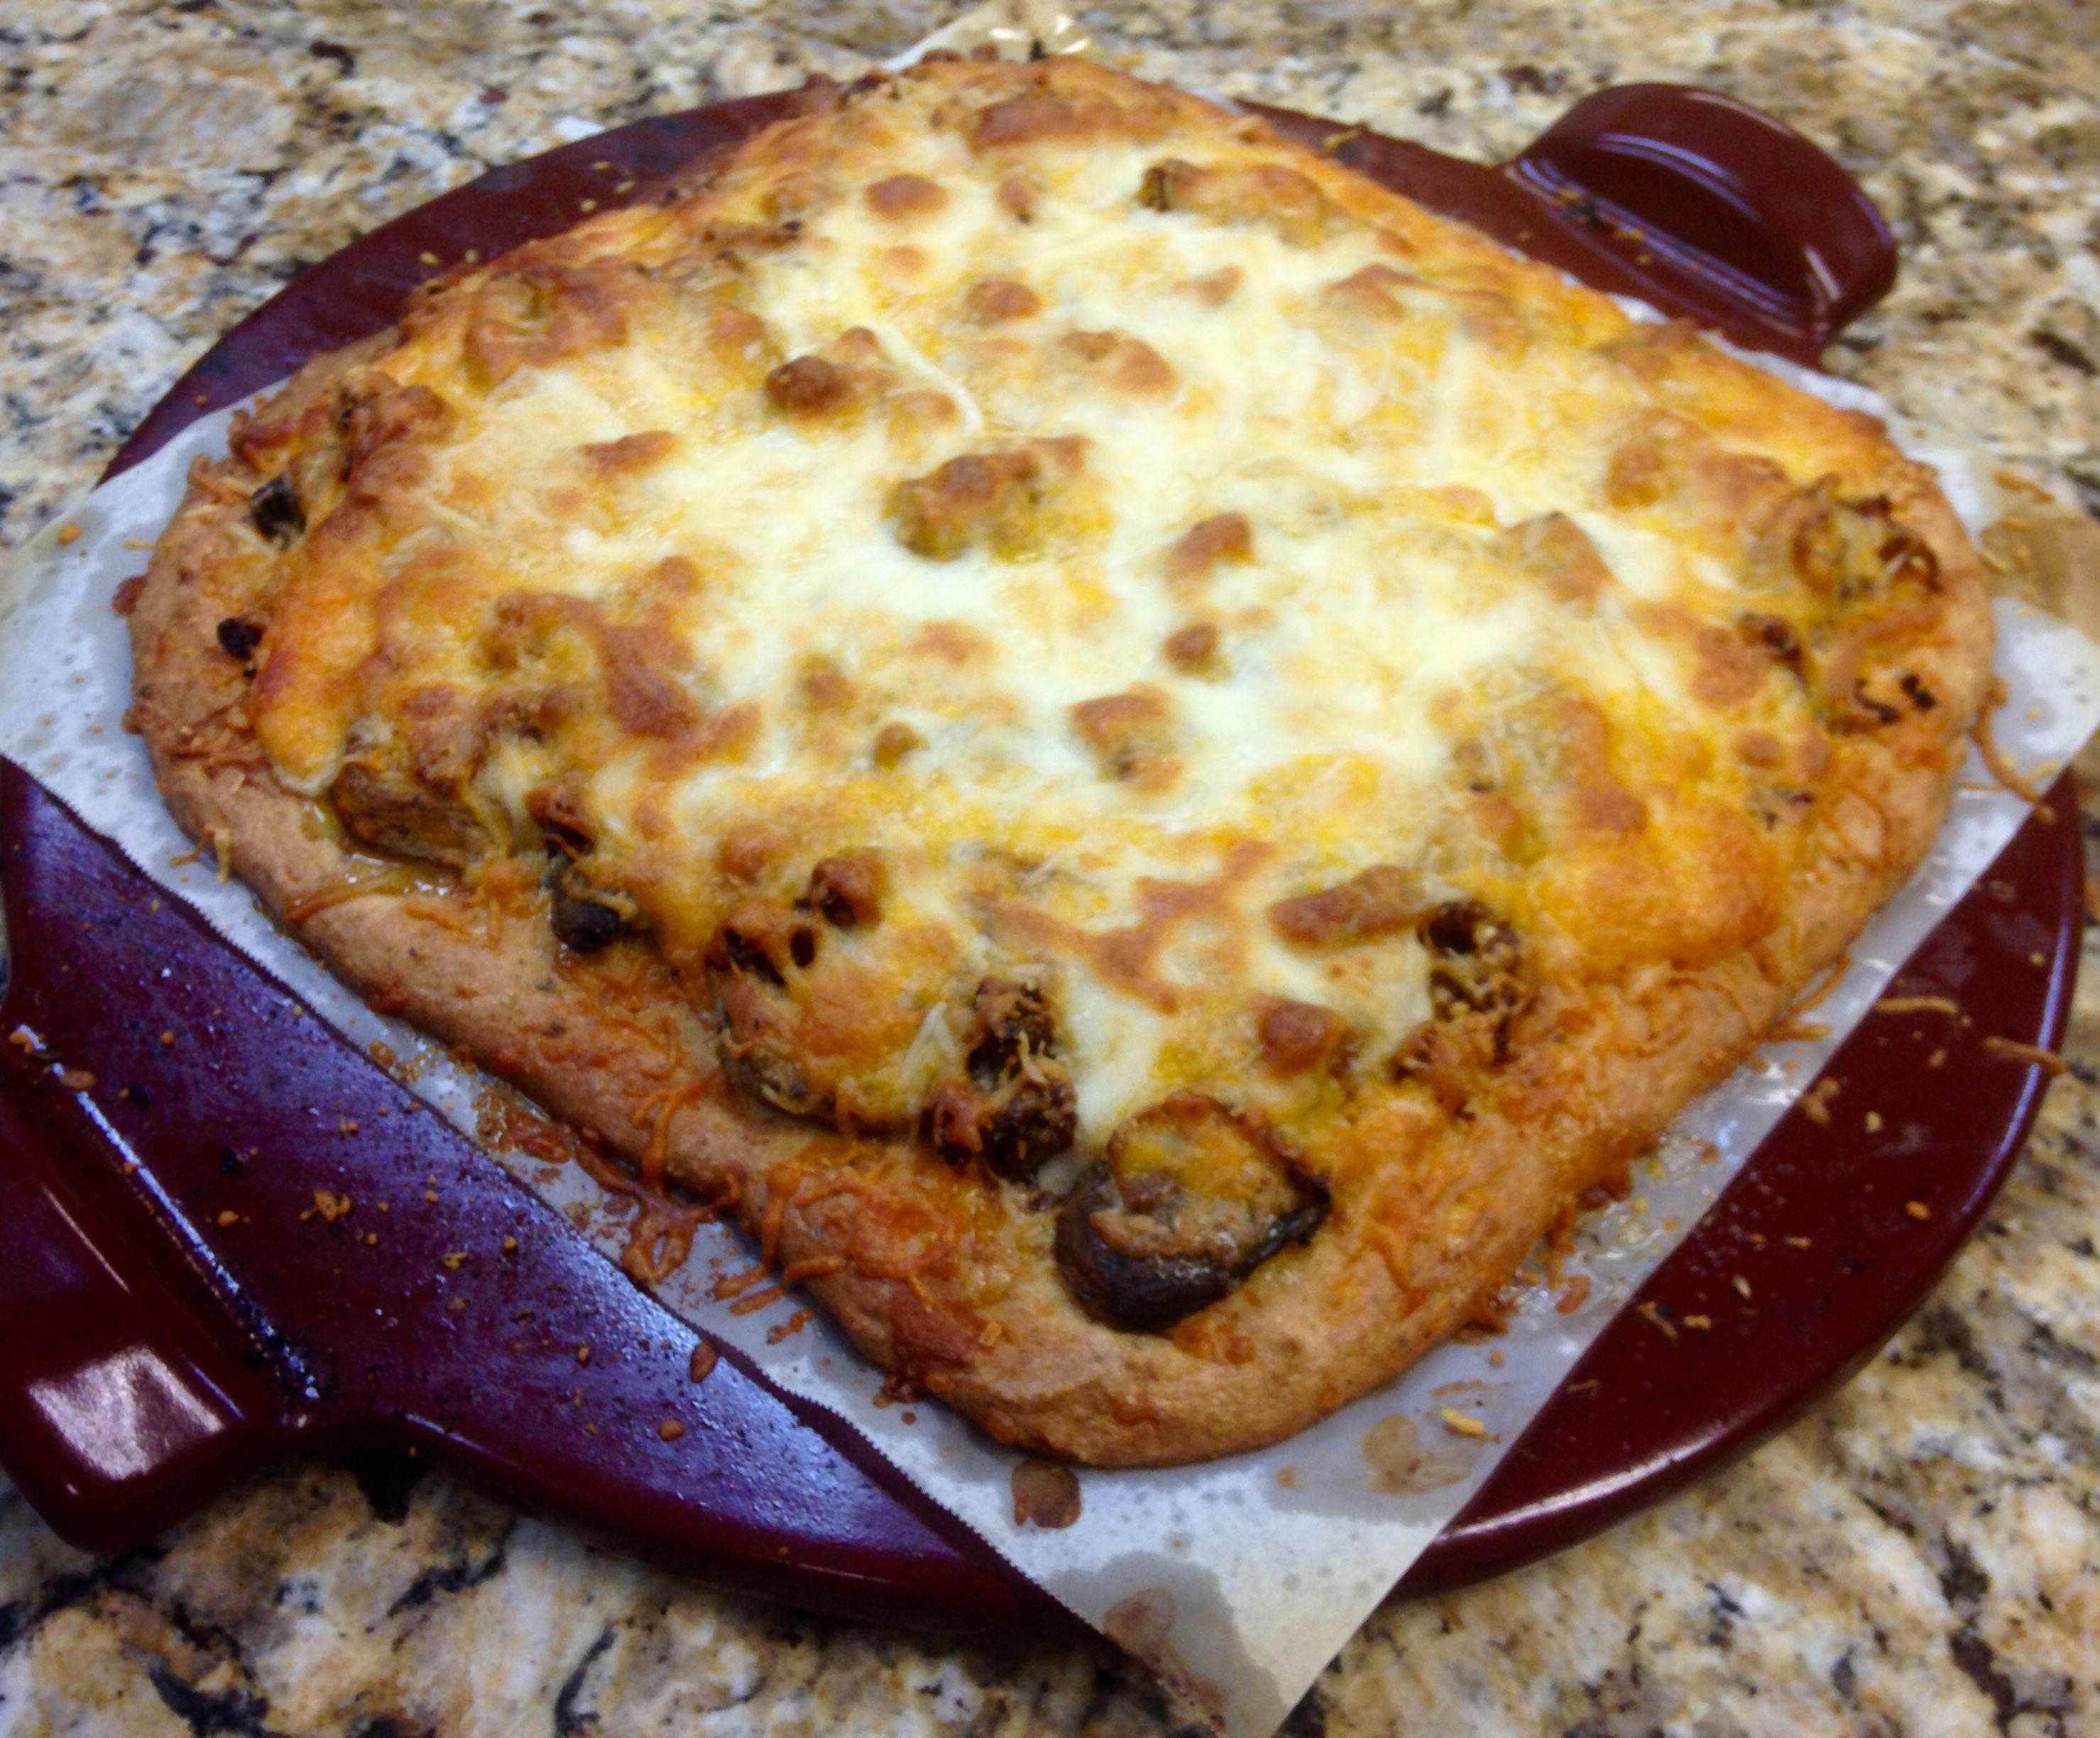
pizzarebootThe other day it was warm and rainy. We were hungry and had previously talked about creating a new to us pizza crust. Since we had time and wanted to stay dry, we made an absolute mess of the kitchen and had wonderfully successful results from our experiment.

It was a great day. Our schedules have been almost opposite lately, with each of us pursuing our multiple streams of income, while juggling the fun and awe we experience watching our Little B grow and explore. It was nice to be at the same place at the same time, in the kitchen, with our daughter supervising from the nearby barstool. Throughout our dozen years of marriage, the kitchen has been a foundation where we reconnect and learn new things together. It was so nice to be back in it after running around with our heads cut off lately!

This pizza crust is the closest to a traditional, grain-based crust we have created, with the ability to pick up a piece and take a bite while still hot. Our other recipes result in slices, but to handle them with other than a fork or knife (blasphemy!!!) they have to cool significantly. With our pizza reboot here, Big D especially enjoyed the ability to almost burn his fingers and run a string of hot cheese connecting slice to mouth.

Although not pictured, we made a second pizza for Little B, testing our crust recipe against one of pizza’s greatest critics – a seven year old. She loved her go-to combination of tomato-based sauce, pepperoni and black olives. I think the fact she ate four pieces between lunch and dinner tells you something!

In the past we have made some good crust with an almond flour base, with a neutral flavor that allows the topping and sauce to shine. Prior to that, we made a hearty cheesy crust that was our staple for years. Other variations on the pizza theme, absent actual crusts, included a squash based pizza casserole, portabello mushroom pizzas and little, two-bite pizza pucks! Whether you have two hours or twenty minutes, grain free pizza can be yours!

As always, there is no limit to the sauce and topping combinations you can use. I list below what we did for a sweet and spicy result. Have fun with it, whether it is raining outside or not!

Pizza Reboot

1 cup extra virgin olive oil
12 large eggs (about 2 1/4 cups), whisked
1/3 cup apple cider vinegar
1/2 cup water
1 cup coconut flour
1/3 cup golden flaxseed meal
1 1/2 teaspoon sea salt
1/2 teaspoon dried basil leaves
1/2 teaspoon dried oregano leaves
1 tablespoon garlic powder (we are garlic fiends, so if you are less so reduce the amount)
1 cup finely grated cheddar and mozzarella cheeses

Suggested Toppings

1/2 cup ranch dressing
1/2 pound ground hot Italian sausage, cooked
3/4 cup caramelized onions or 1/2 cup onion paste *
1 cup sautéed mushroom slices*
Crystal hot sauce
1 cup finely grated cheddar and mozzarella cheeses
1/2 cup grated Parmesan cheese
Additional dried herbs to taste (parsley, basil, oregano, garlic…)

Preheat oven to 400 degrees. Prepare your pizza baking surface – preheat pizza stone as directed for stone, or line two shallow baking sheets with parchment paper.

NOTE: The pizza stone crusts will be smaller and thicker, while the 2 baking sheet version will result in a thinner, crispier crust.

ANOTHER NOTE: As an extra precaution we use parchment paper on our pizza stone (as you can see in the picture), but it may not be necessary. Since we have one pizza stone and make two pizzas, the paper makes it easier to remove the first pizza immediately and move on to the second.

In a mixing bowl combine oil, eggs, apple cider vinegar and water.

In a medium bowl combine the dry ingredients of coconut flour, flaxseed meal, salt, basil, oregano and garlic powder.

With the mixer on low add the dry ingredients to the wet. Increase mixer speed to medium until ingredients are well combined. Add cheese and stir until well distributed. Divide batter in half.

Pour half the batter on the preheated pizza stone or on a prepared baking sheet. Spread batter to desired thickness. Bake for 15-20 minutes, until top sets and edges begin to brown. The browning on top is a signal that the center of the bottom is cooked sufficiently to hold together when the pizza is done.

Remove crust from oven and add desired sauce and toppings. For the toppings I list above we did ranch dressing, Crystal, mushrooms and onions, herbs, Crystal, grated cheese, sausage, herbs, Crystal, cheese. We like Crystal and a little spicy bite to our pizza. Can you tell?

Bake pizza for 15 – 20 minutes, until crust edges brown and cheese in center is melted and starting to brown. After 15 minutes watch pizza closely until it is browned to your preference.

Remove from oven, let cool five minutes, then slice and serve!

*an alternative to separately prepared onions and mushrooms is a quick mushroom onion sauté

Foccacia

Foccacia

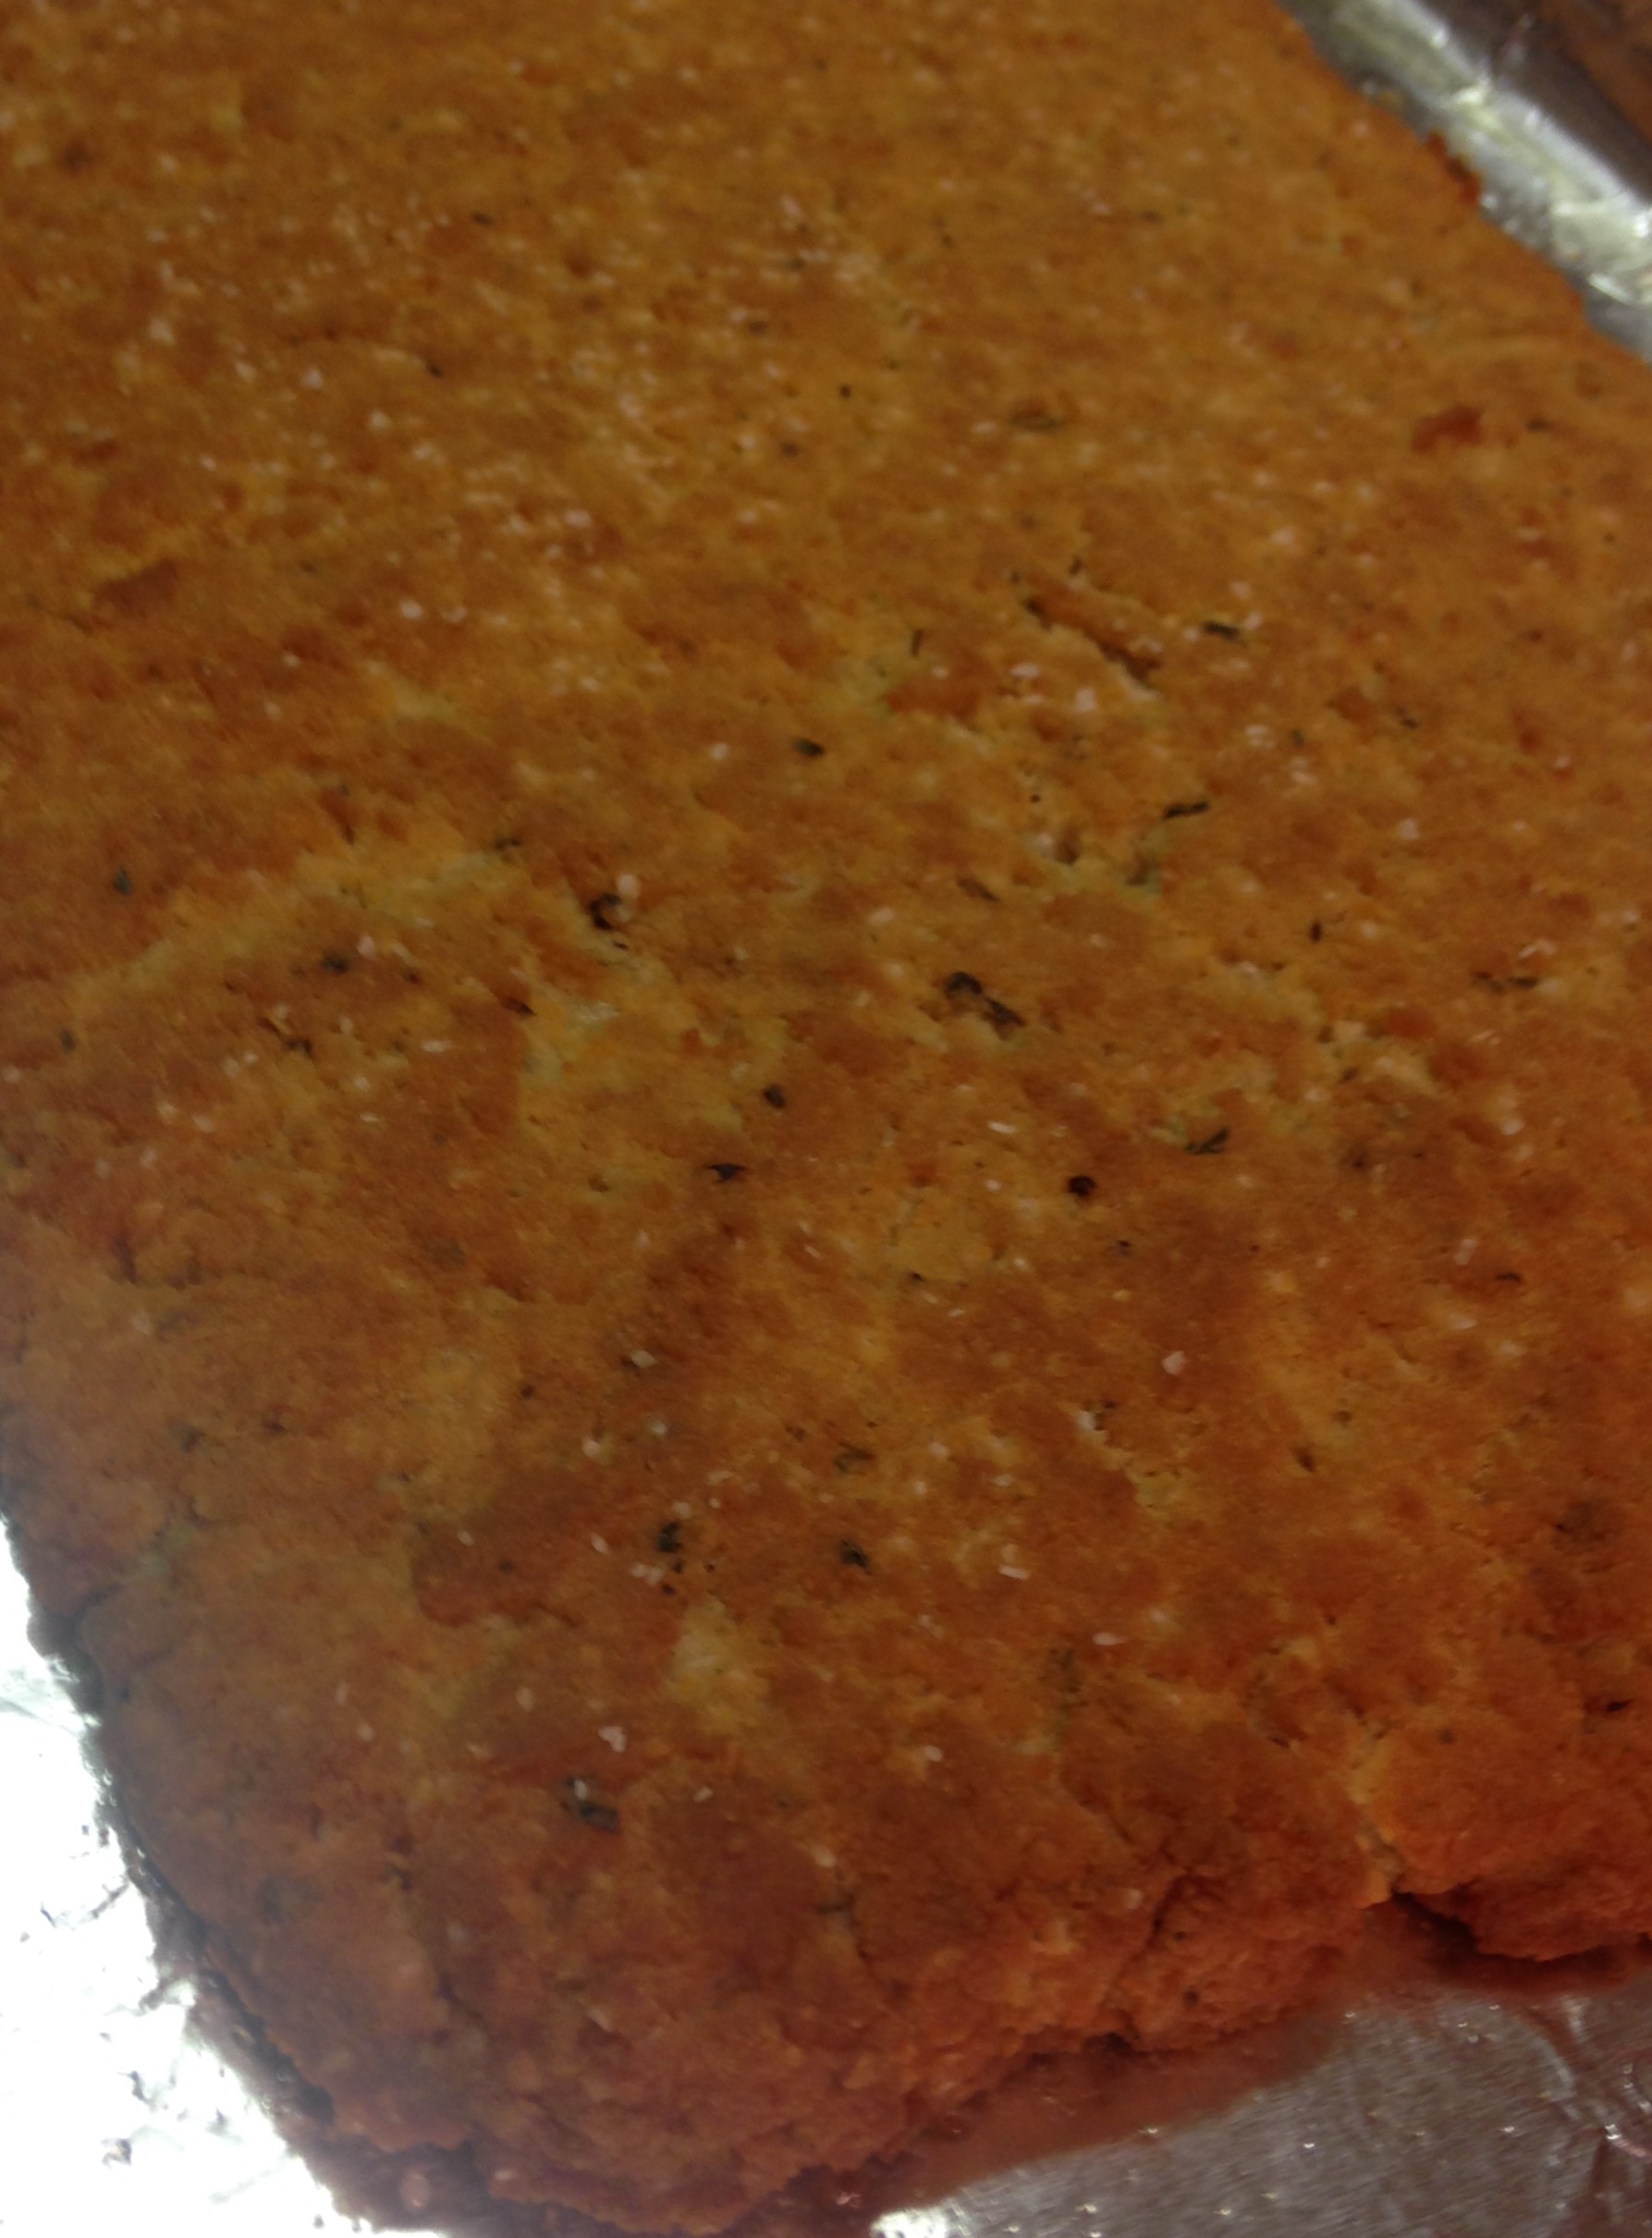
Over the holidays I had a slew of opportunities to feed grain eaters and prove to them that grains are not necessary to enjoy celebratory meals. A couple of guest left after their visit, happy with the discovery that they not only enjoyed their eating experiences, but they in fact lost instead of gained weight during their visit. Win!

One way we were able to accomplish such a feat was adapting some of our recipes to meet celebratory needs. One need was to have a flatbread that easily soaked up sauces and juices, allowing guests to enjoy the tradition of dipping and revelling in soupy leftovers.

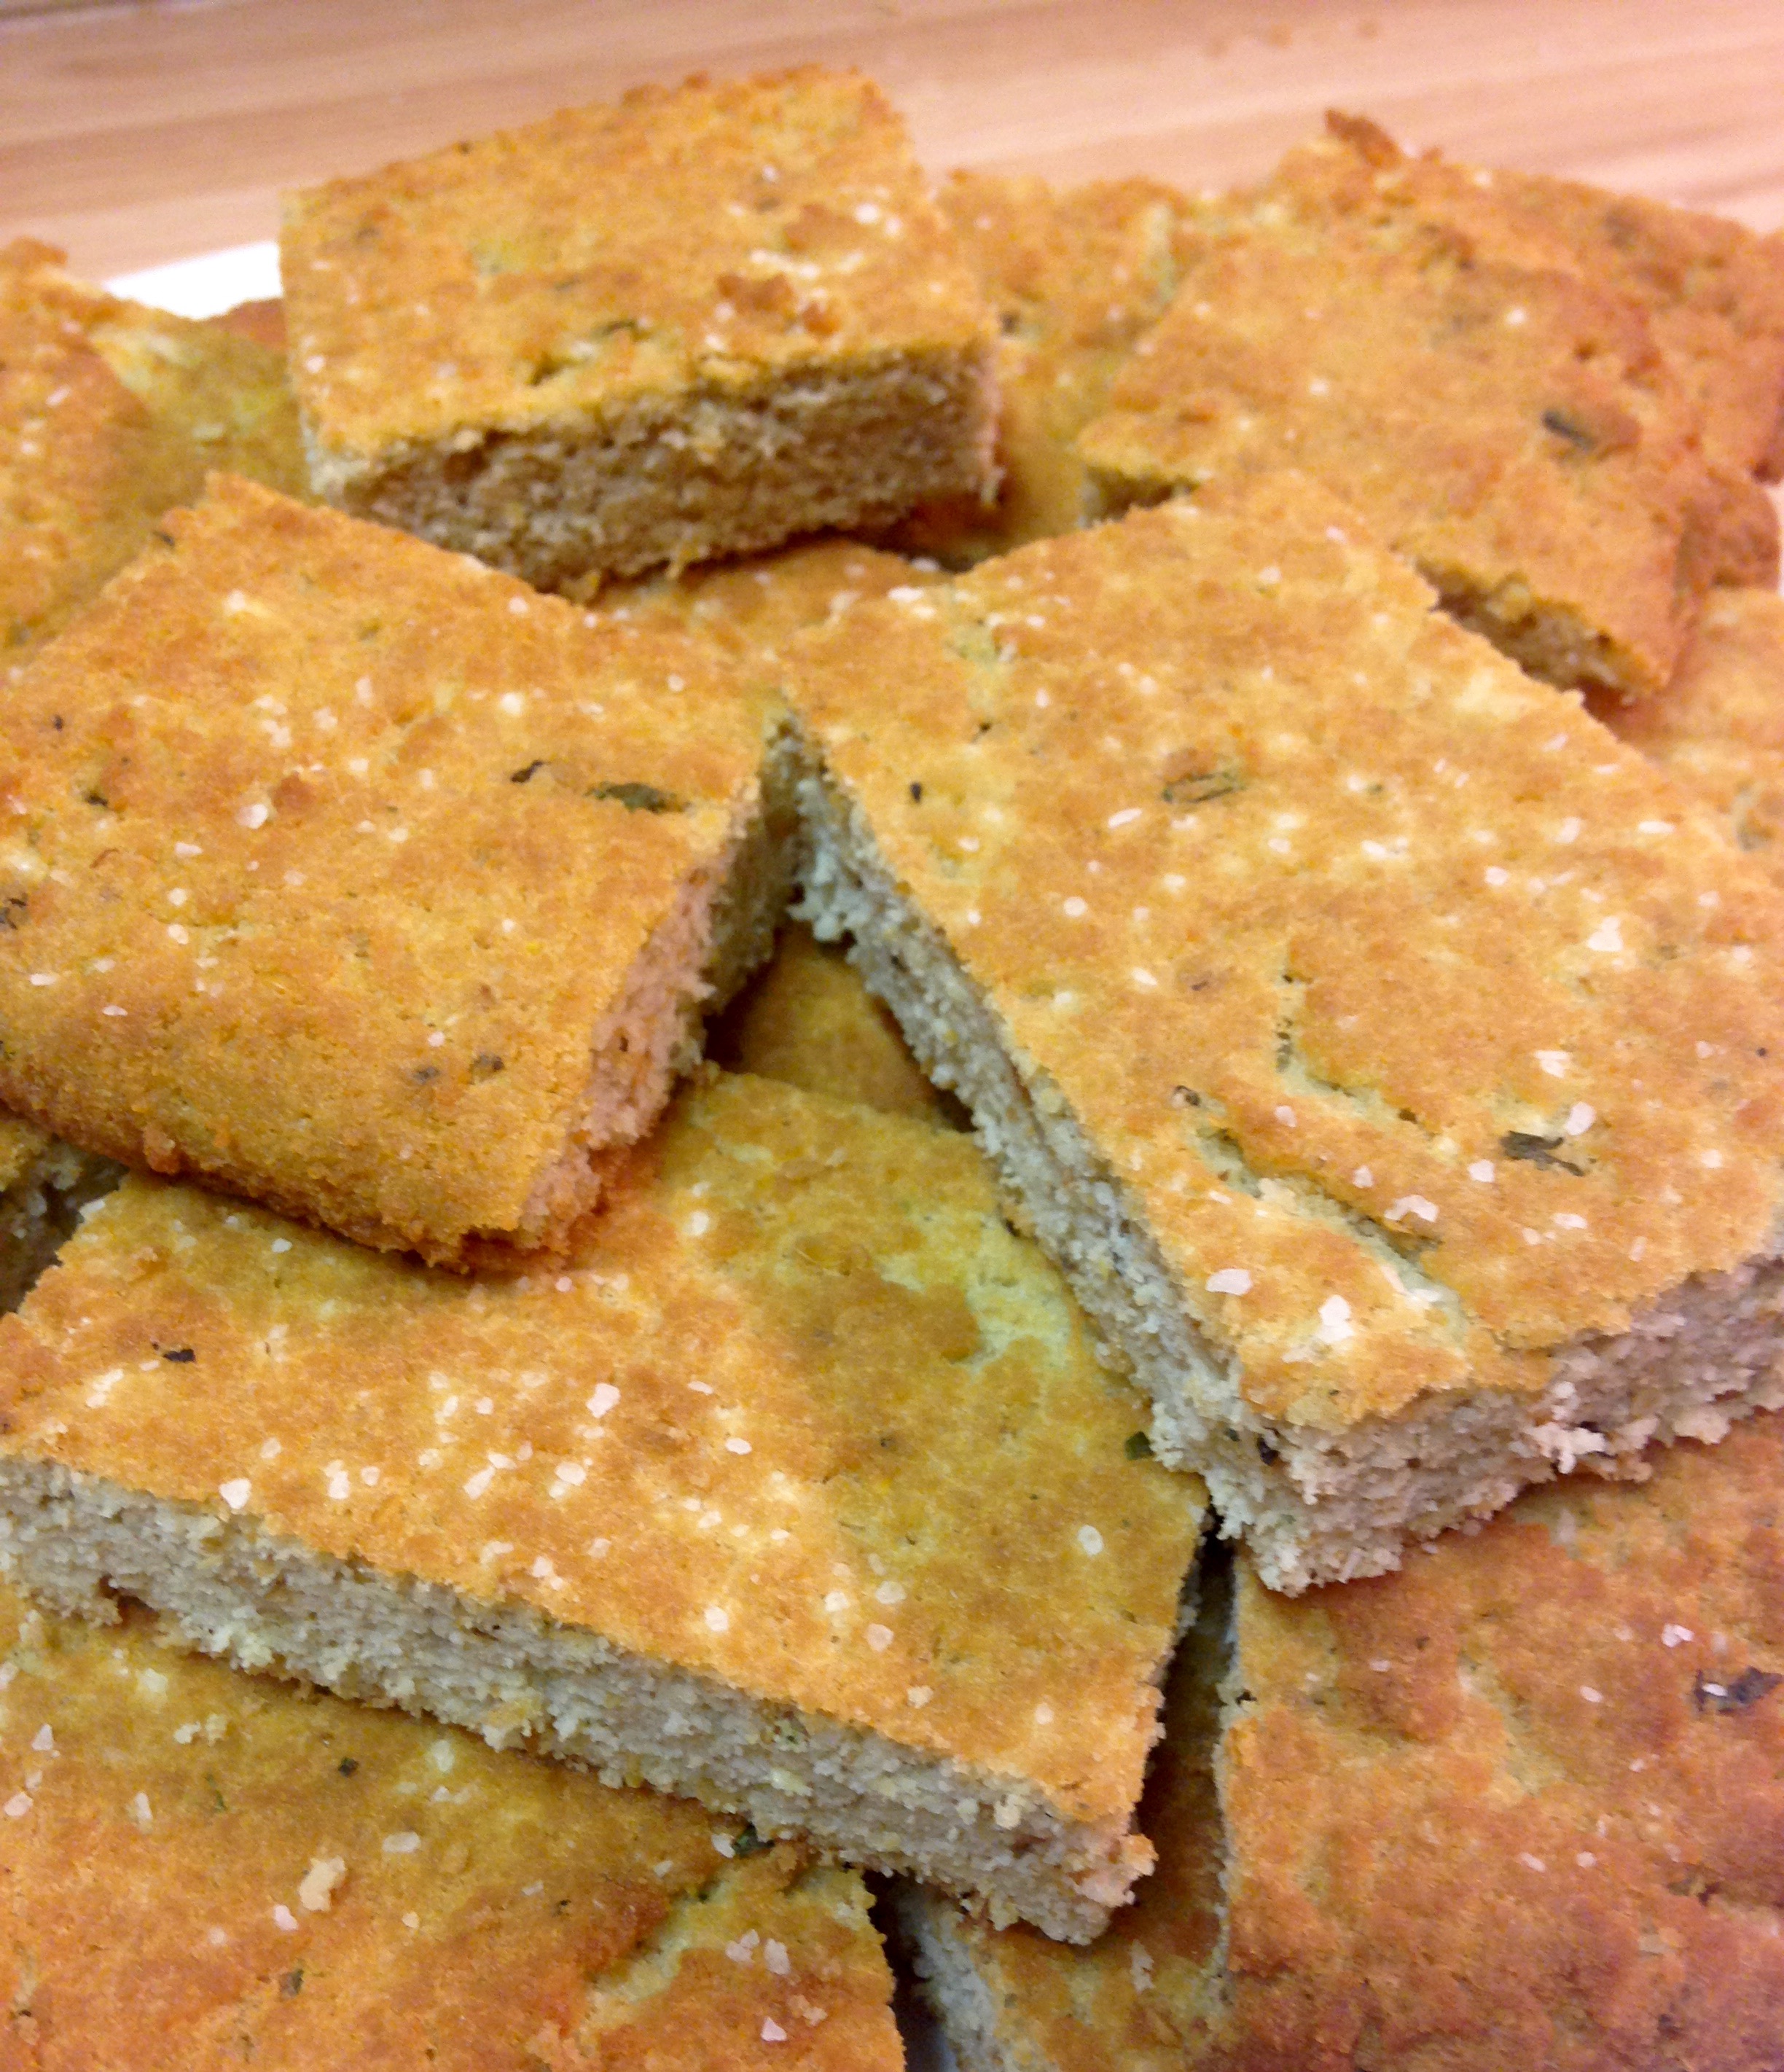
FoccaciawholeThis foccacia was an easy transition from our traditional Power Bread and fun to make! Instead of ensuring the dough was properly packed in a loaf pan I was able to mold it without edges and create exactly what we needed for our celebration. I am still enjoying the new memories made over the holidays and hope you can make some of your own with some of our grain free creations.

Foccacia

1 cup coconut flour
1/4 cup golden flaxseed meal
½ tsp sea salt
1 tsp baking soda
9 eggs, room temperature
¼ cup apple cider vinegar
1 cup melted lard, butter or extra virgin olive oil
2 garlic cloves, crushed
1/4 cup freshly chopped parsley
1/4 cup freshly chopped basil
1/4 cup freshly chopped oregano
1 Tablespoon extra virgin olive oil
Sea salt to taste

Preheat oven to 350 degrees. Prepare shallow baking pan by lining with aluminum foil.

In a large mixing bowl combine coconut flour, golden flaxseed meal, salt, baking soda, garlic, parsley, basil and oregano, then stir until well blended.

In a separate bowl combine eggs and apple cider vinegar. Whisk together until egg whites and yolks are well combined. Add lard/butter to eggs and continue whisking. Add immediately to bowl of dry ingredients.

Place dough in the middle of prepared baking pan. Gently spread dough towards the edges of the pan, making a rectangular shape that is 1/2 inch or less in thickness. Press edges towards the middle, ensuring that they are firmly shaped.

Using your hands gently spread the olive oil over the top and edges of the shaped dough. Sprinkle generously with sea salt. Place in preheated oven on the middle shelf. Bake for approximately 25 minutes, until middle is cooked and top of bread is evenly brown.

Remove from oven and let sit for at least 15 minutes. Slice bread into approximately 12-15 squares. Serve immediately or reheat before serving later. Store chilled in airtight container.

Mustard Parmesean Wings

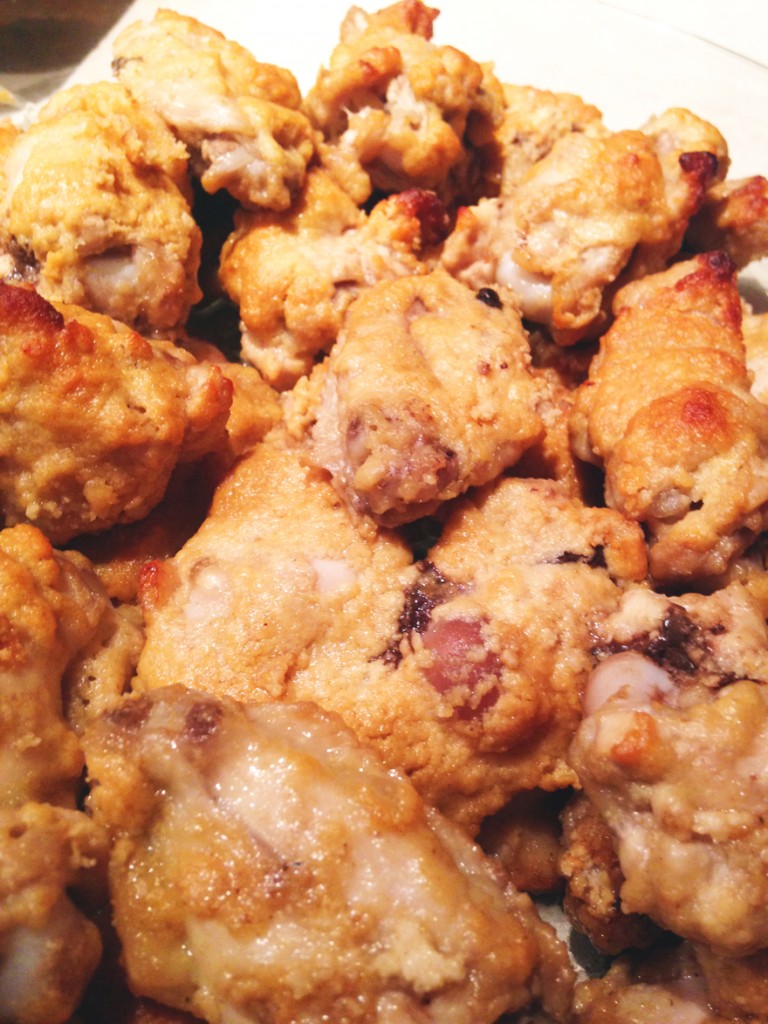
Mustard paremsean wings

I have a love and loathing relationship with my kitchen. It has nothing to do with whether or not I enjoy cooking, it is just that I don’t always want to cook. What is worse, I think Big D is very similar. There is not always the desire to do, but there is often the desire to eat. Since we rarely bring home prepared or processed foods, there is a constant need to make food with the wonderful ingredients we bring into our home. In finding a balance between needing to eat and wanting to cook I have come up with numerous recipes that don’t take much prep time. One such recipe is my recently shared Bacon Muffins – five minutes to prepare, then the oven does the rest of the work. Here is a more dinner focused quick pick that comes in handy, especially for my wing loving self and Little B – Big D will eat them, but so very much prefers beef! The great part about this recipe is that it completely comes from our freezer and pantry, of staples we always have around. No excuses for not eating well if your pantry is stocked!

Mustard Parmesean Wings

2 – 3 pounds wing pieces, frozen or thawed
1 Tbsp apple cider vinegar
2 Tbsp yellow mustard
1 Tbsp lime juice
1/2 cup finely grated Parmesan cheese
1/2 tsp ground turmeric
1 Tbsp dried parsley flakes
1 tsp sea salt
1 tsp ground black pepper
2 tsp ground garlic powder
1 tsp ground onion powder
2 tsp red pepper flakes (optional)

Preheat oven to 375 degrees. Line shallow aluminum baking sheet(s) with aluminum foil. In large bowl combine all ingredients except chicken. Stir to combine. Add chicken and stir until chicken is coated (either with a wooden spoon or hands). Place chicken in one layer on baking sheet. If the chicken is frozen the coating may not stick as well, so you may need to spread it on chicken after placing pieces on baking sheets. Place in oven and back for 45 – 60 minutes, until juices running from chicken are clear. Remove from oven and let sit for five minutes before serving. May be dipped in the sauce/dressing of your choice, but are wonderful without.


Ranch Dressing

ranch dressing

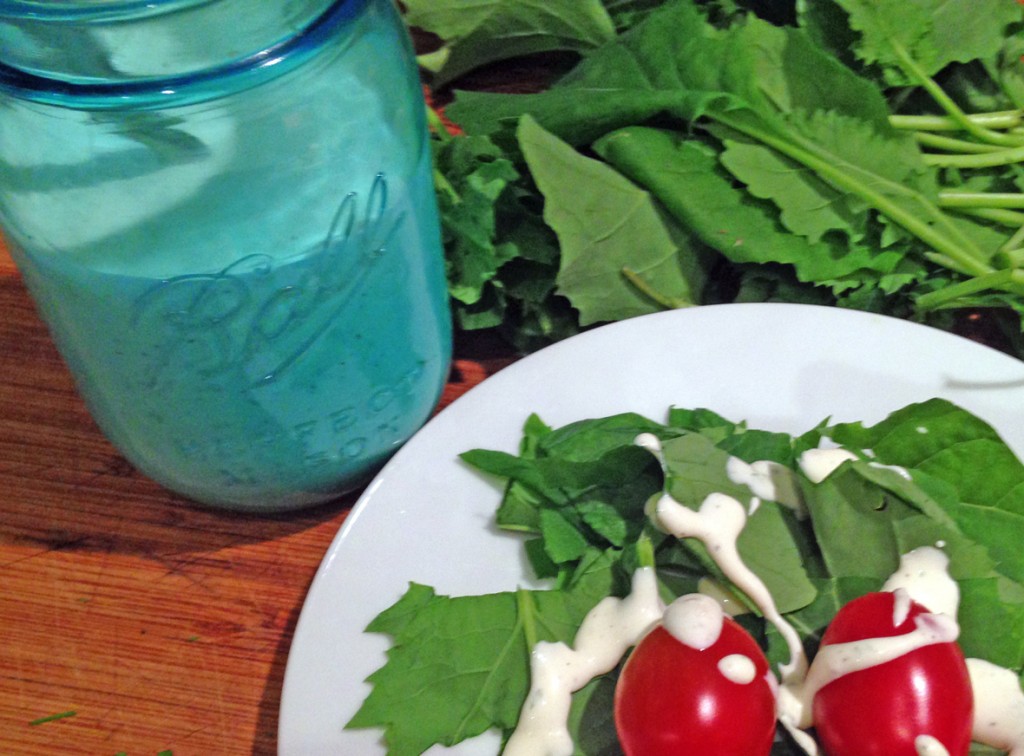
Summer means salad, especially a salad with nice, tender, young collard green leaves that you see above. They have a nice peppery taste that is less bitter than older collard greens. These particular greens came straight from our little container garden on our balcony, which made them taste even better! It also means raw veggies straight from the fridge as side dishes. Most vegetables better for you raw, and they also contribute to reducing the heat in the kitchen on a warm June day, even in Alaska. Since making our own stellar homemade mayonnaise we are confidently surging forward in using it for sauce bases, which includes this lovely dressing. I have always preferred homemade ranch dressing over the bottled stuff, and have usually relied on dressing mixes. When I started reading labels more closely I discovered some mixes have untoward ingredients, like monosodium glutamate. That stuff puffs me up like a balloon. Others have ‘modified food starch’. If you look up such an ingredient you may find it can sometimes include wheat. Not fun, especially for Big D. There goes the mix permanently off the grocery list. Geez…. Of course, if other people can make homemade versions, then why can’t I? We certainly have a spice cabinet stocked sufficiently to do so. I feel silly not having tried it before. Now I feel happy having it continuously available in my fridge, whether it is summer or not. You will see it here often!

Ranch Dressing 

1 cup mayonnaise
1/2 cup heavy cream
2 Tbsp lemon juice
1 1/2 tsp apple cider vinegar
1 Tbsp dried onion flakes
2 Tbsp fresh parsley, finely chopped
1 tsp dried basil leaves, crushed
1/2 tsp black pepper, ground
1/2 tsp garlic powder
2-4 Tbsp water (optional)
1/4 – 1/2 tsp sea salt, to taste

In a medium bowl combine all ingredients except salt, whisk together until well combined. Add some water if dressing is too thick. Add salt to taste. Chill overnight to allow flavors to blend. Store in the refrigerator.

Post Navigation