Any Kitchen Will Do

Give me a kitchen and I will cook.

Archive for the category “breakfast”

Big D’s Breakfast Mix

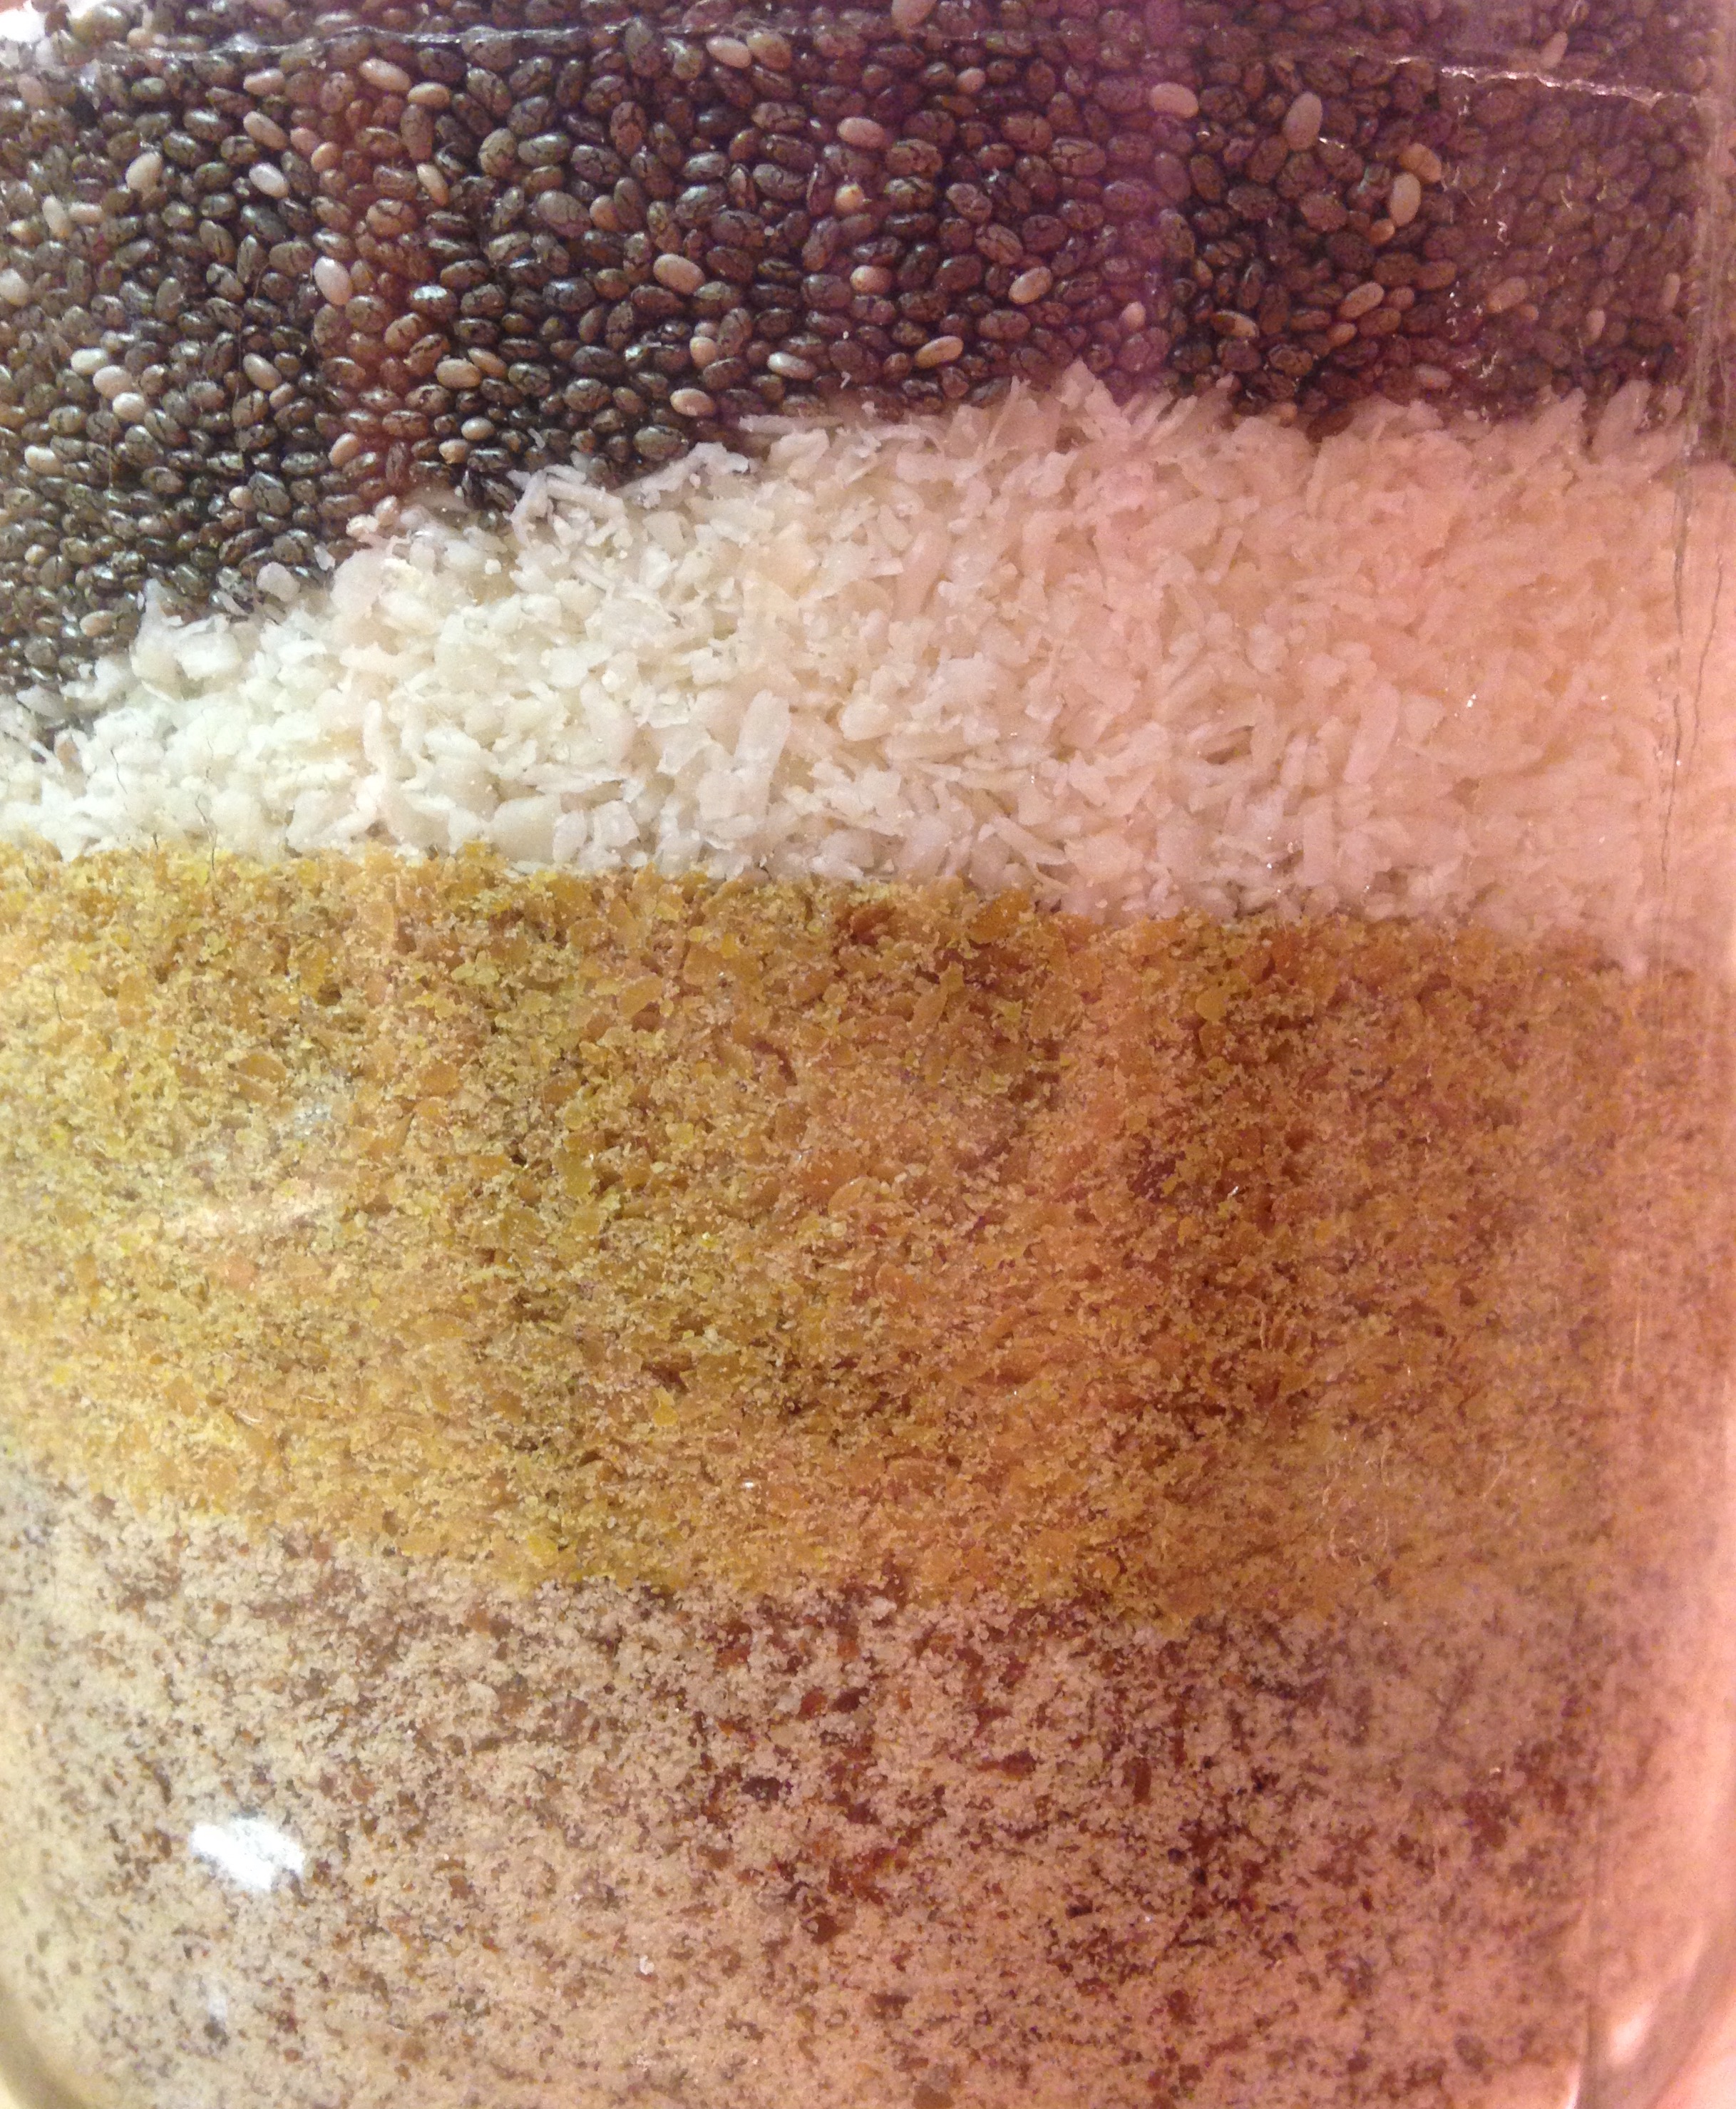
bigdbreakfastmix

Big D and I have a big love of oatmeal. It started when we were children and carried on into adulthood. It has always been a staple on our camping and kayaking trips – easy to pack and prepare simply with water (ideally hot if we properly manage our alcohol stove fuel). Although our love for the stuff carries on, our desire to avoid high carbohydrate foods is now ever present.

The other morning we decided to try some of our staple pantry ingredients to make a low carbohydrate version of a morning porridge. The chia seeds worked well as a thickener, and gave us all serious boosts of energy that lasted pretty much all day, which is very much needed during a cold winter day.

After making a thinner version for Little B, she came on board with our concoction as well, followed by the demand to recite the old porridge-centric fairy tale, The Three Bears. Quite appropriate, I thought! I am thinking future batches may include a bit of peanut butter, or sprinkling of cocoa powder for fun. Little B will eat pretty much anything with berries on it, so it is almost a sure thing in the future for her too!

The mix recipe can easily be doubled or tripled, as long as it is kept in an air tight container, so go ahead and stock up!

Big D’s Breakfast Mix

1 cup golden flaxseed meal
1 cup shredded unsweetened coconut
2 cups almond meal
2/3 cup chia seeds
1/4 cup ground cinnamon
2 teaspoons sea salt

For Single Serving
1/2 cup breakfast mix
1/2 cup hot water
¼ cup heavy cream or other milk product (soy, almond, cashew, lactose free…)
Dash of preferred sweetener (optional)
Nuts or berries (optional)

Combine flaxseed meal, coconut, almond meal, chia seeds, cinnamon and salt in an air tight container. Stir or shake until ingredients are well mixed together.

To prepare a bowl of breakfast mix, stir the bulk mix, then scoop ½ cup of the mixture in a bowl. Add hot water and stir, then add sweetener and cream. Stir once more and then let sit for at least one minute to thicken. Add more hot water to adjust thickness as desired. Add nuts or berries if desired and eat immediately.

Fluffy Pancakes

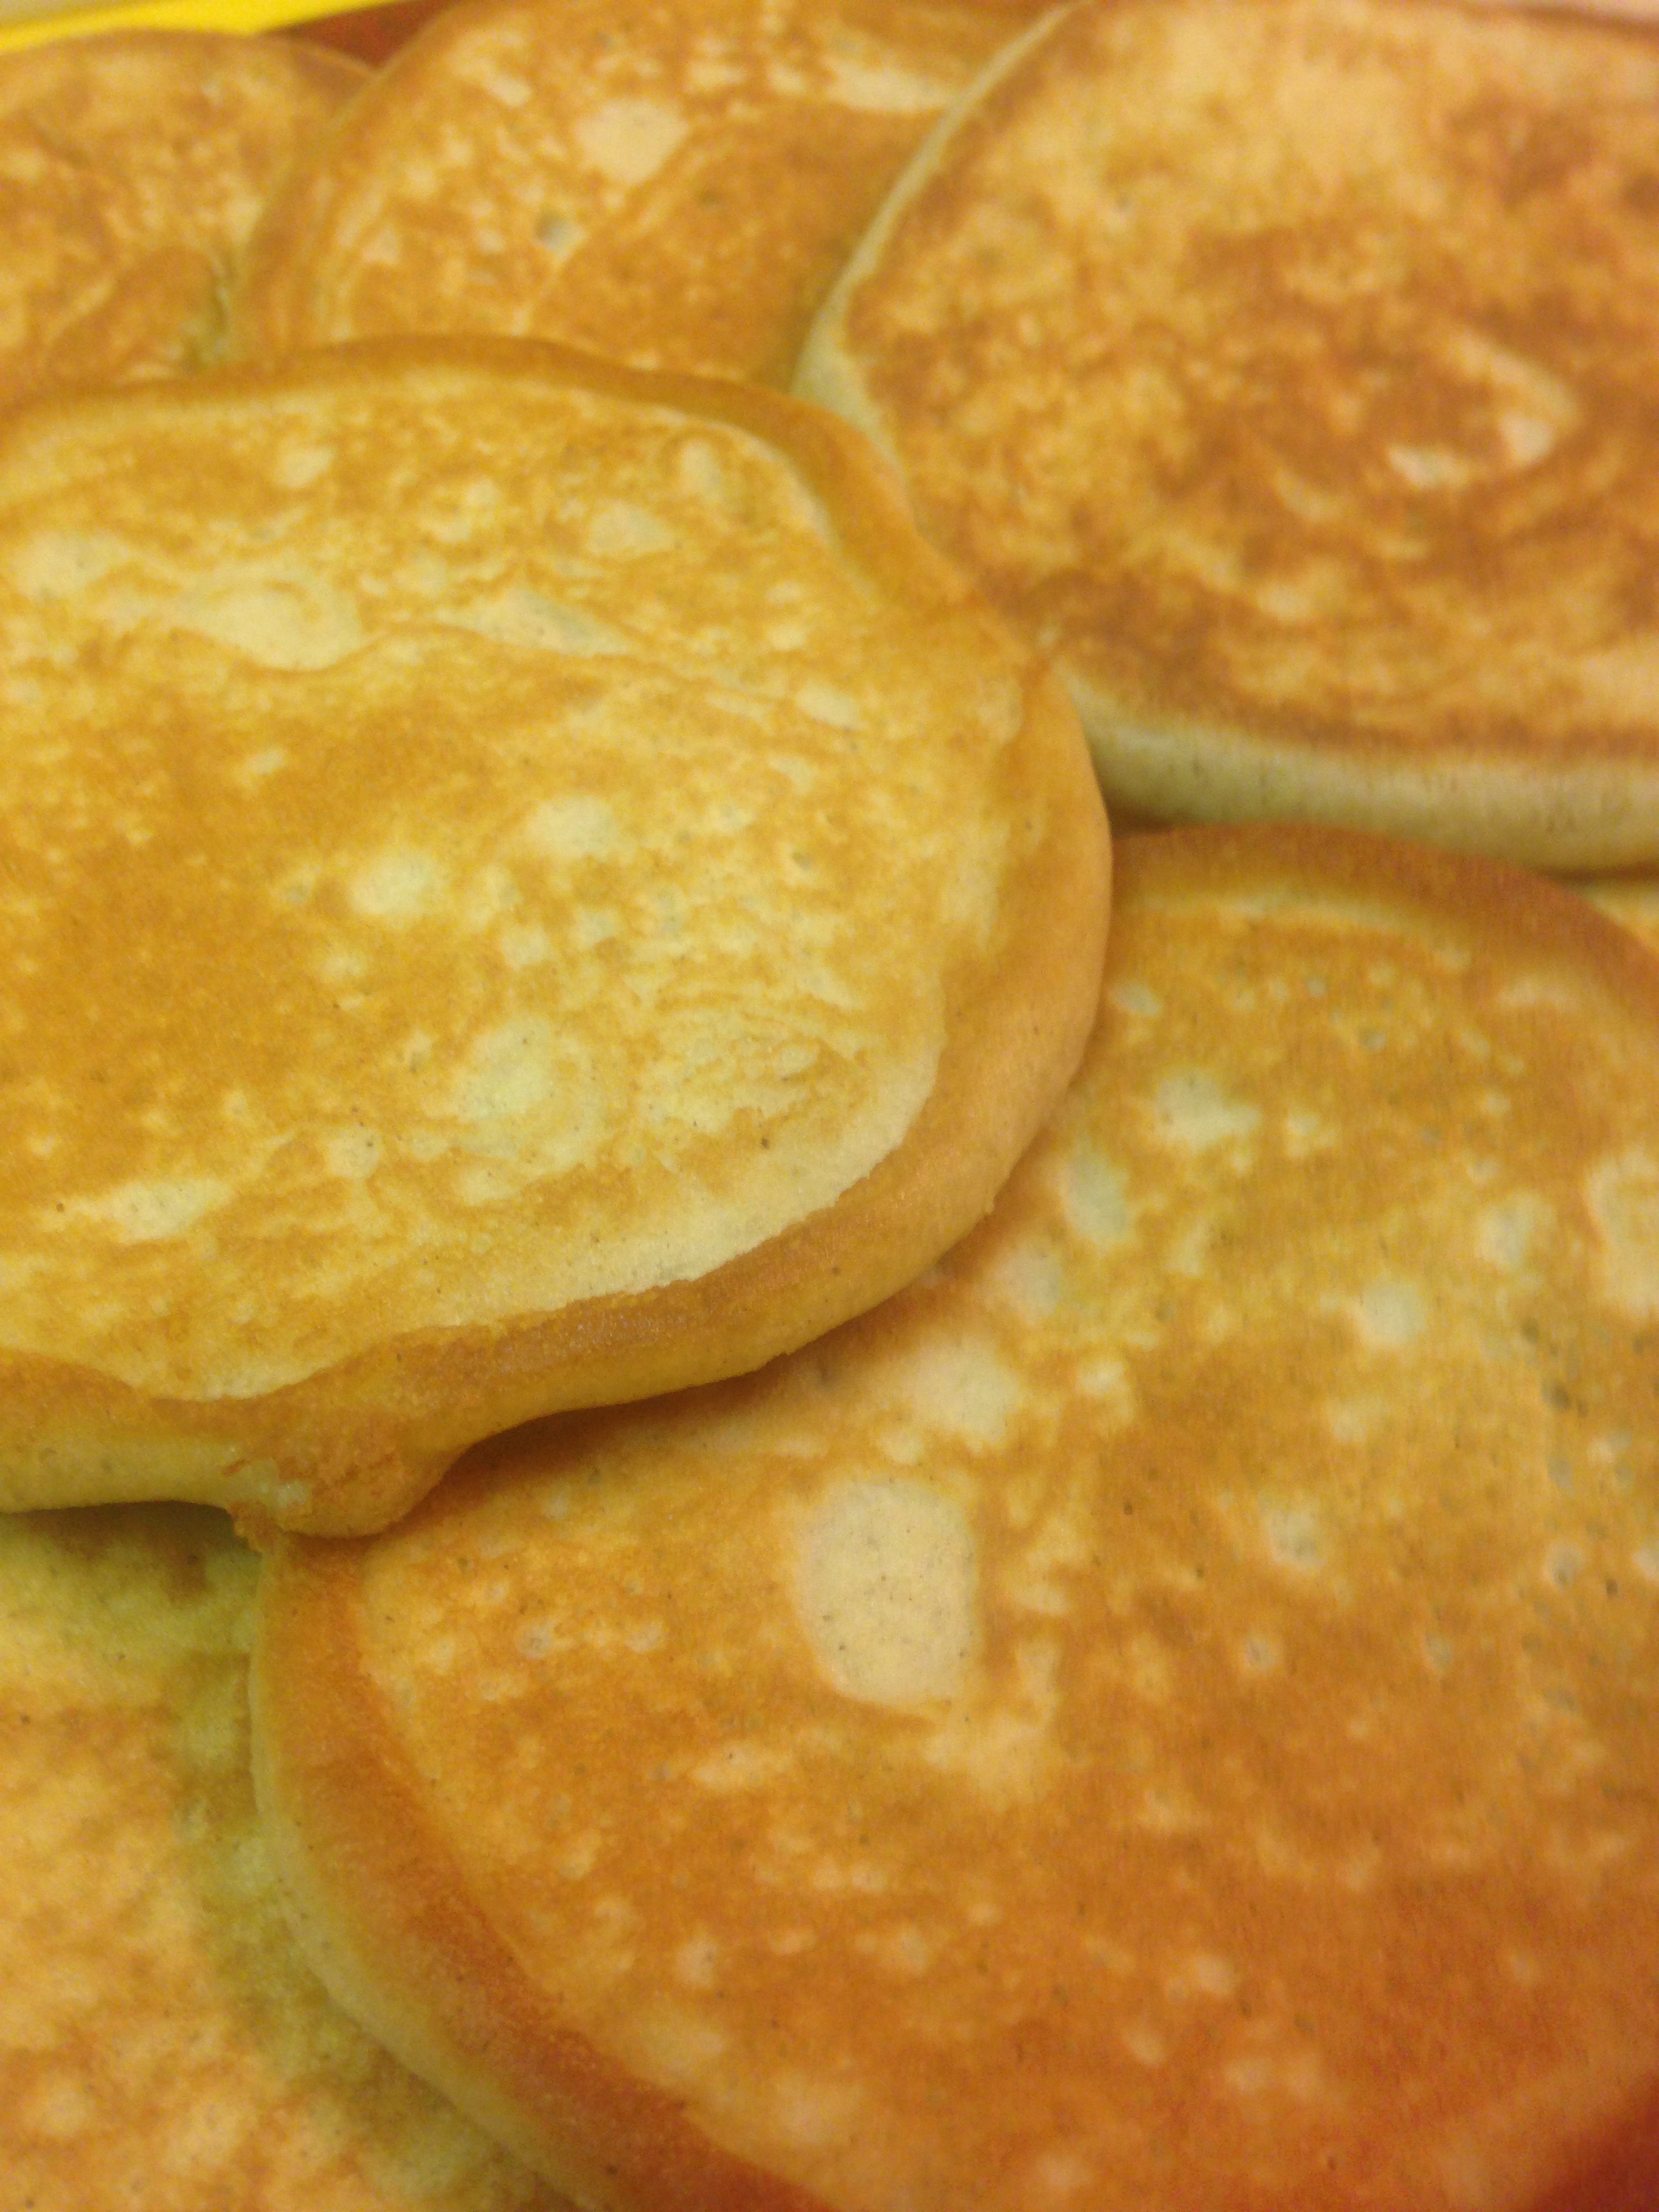
2015-10-14 10.30.27A few years ago we were living temporarily in a hotel while moving, and had to wrestle with a little kitchenette. Craving pancakes, we concocted a lovely recipe that we have used consistently ever since. I recently decided I wanted to make some fluffier, less coconut-y pancakes and tweaked the recipe. I also considered our interest in having plenty of leftovers, so figured out a quadrupled batch. This version makes about 18 pancakes, so at two pancakes per serving it makes for nine meals (and without the syrup, also a filling snack on the go for Little B).

I caution you about eating more than two at a time without at least ten minutes in between servings. These suckers seem to expand like sponges in the stomach. I at two at 10am this morning and have yet to be hungry now at 8pm. Better than any super food I ever before experienced!

Fluffy Pancakes

1 cup coconut flour
1/2 tsp baking soda
1 tsp ground cinnamon
2 tsp Stevita
1/2 tsp sea salt
11 eggs
1/2 cup coconut oil
1 cup heavy whipping cream

In a medium bowl combine the flour, baking soda, cinnamon, Stevita and salt. In a separate mixer bowl place the eggs, coconut oil and cream. Mix the wet ingredients on medium until combined. Add the dry ingredient mixture and mix on high until well combined and any solid pieces of coconut oil are broken up and incorporated.

Heat a large skillet to medium high. Add a drop fat (about a teaspoon of butter, coconut oil or lard) to the pan and let it heat up. Add 1/4 – 1/3 cup of the batter and gently spread it out into a pancake with approximate diameter of 3″ – 4″. Cook for about two minutes until the bottom of the pancake sets, then flip it over with a large spatula. Cook for about two more minutes until both sides are consistently browned.

An alternative is using a waffle iron – our iron has a flat reverse side, so we can use the flat side, drop two dollops of batter, close the top and cook two pancakes until browned (relying on instructions for your particular waffle iron, if it does such wondrous things).

Repeat with remaining batter until it is gone.

Serve immediately or store in fridge/freezer in air tight container.

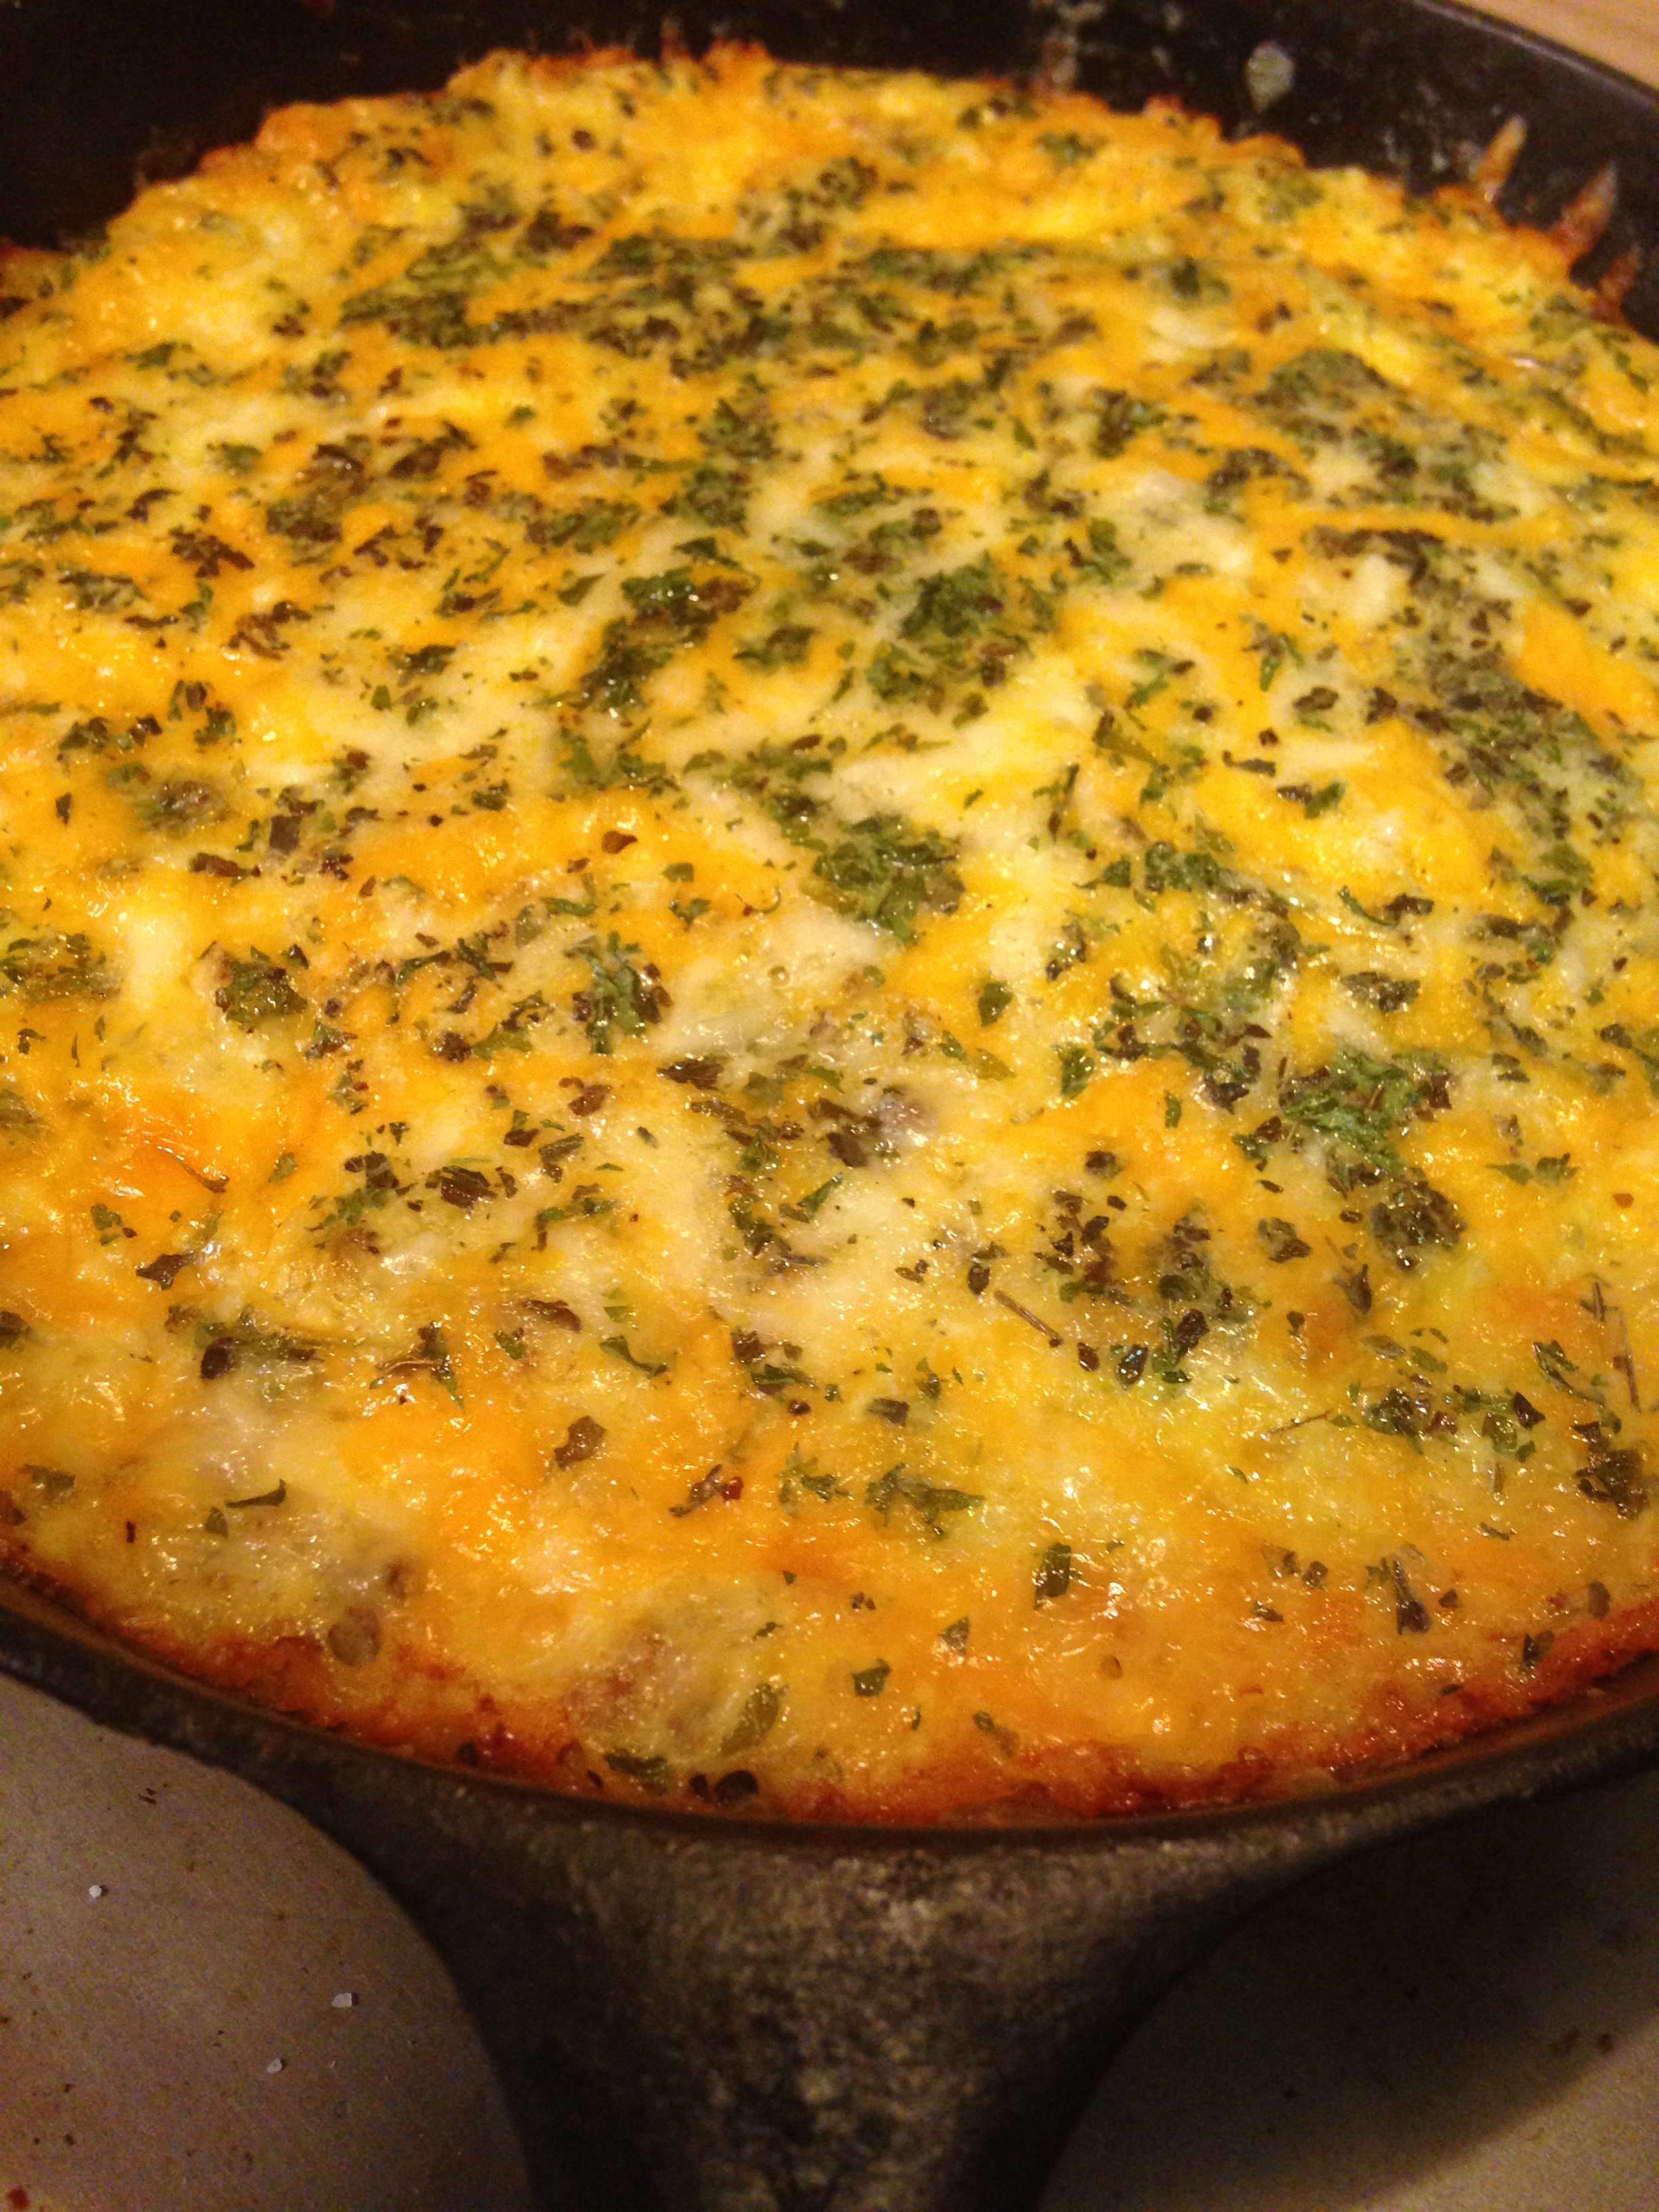
300th Sausage Herb Frittata

2015-10-09 11.23.23

One or two days a week I do Grain Free Haven baking and roasting marathons to prepare special order and market products. Markets and special orders usually need delivery or pick up on weekend days, so the marathons tend to land on Thursday or Friday. These are also days when the week’s groceries are dwindling, with bits and pieces littering the refrigerator shelves and drawers. On marathon days I like to have family cooking done early for the whole day. Busy baking days and using bits and pieces make dishes like soups and frittatas so appealing. Meats and vegetables go together so well in so many combinations, it is easy to combine them and bind with eggs or broth. They are honorable, filling dishes that help me significantly reduce possible food waste, the thought of which makes me very sad.

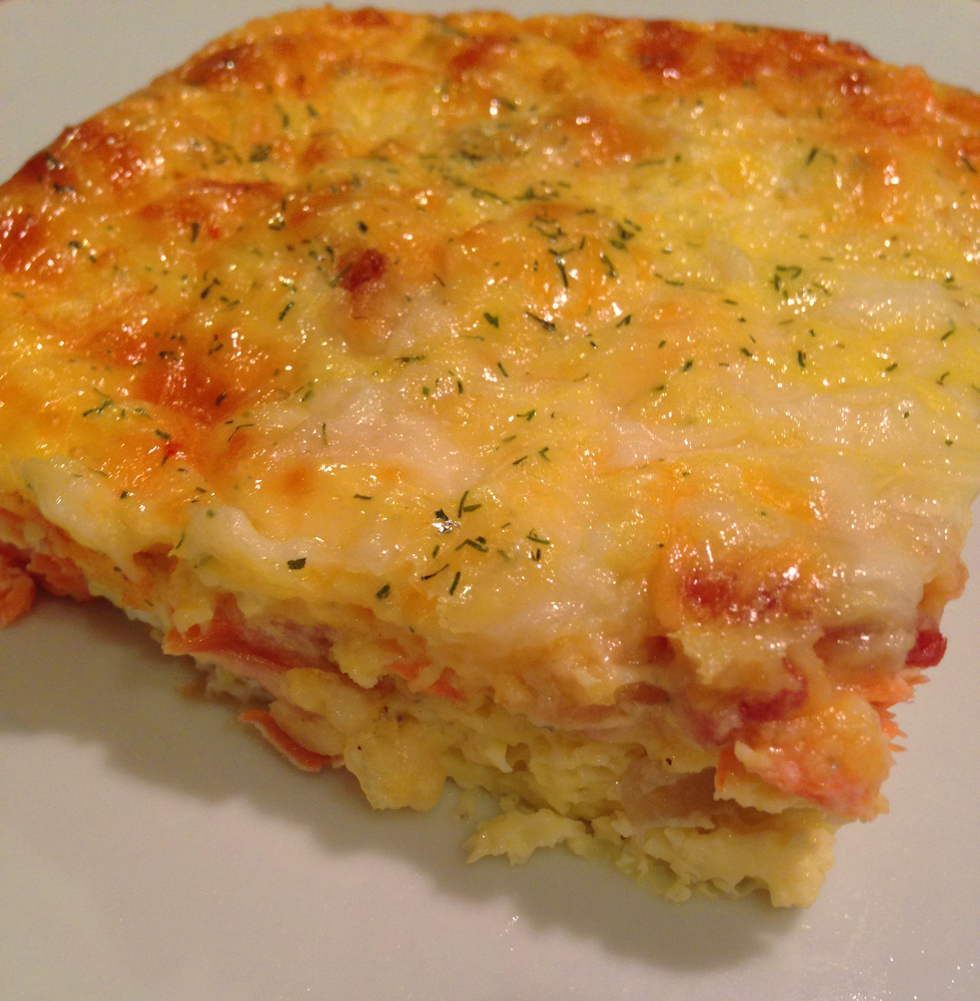
In the past I have made versions with salmon and a meaty version. This week Big D made some spicy breakfast sausage that had lovely flavors, but was a skidge salty. We also had some standards in the pantry, like eggs, onions and turnips, so here is what I came up with. It filled up the family all day, both hot right out of the oven in the morning and cold right out of the fridge later in the day. The skillet was empty and bellies were full. Just the way I like it.

I also just realized that this is my 300th post to this blog! It has taken me over 3 1/2 years to get here. I look back in wonder on where I started and where I am now – personally, professionally, nutritionally and emotionally it has been quite a ride. It started out as a way to record recipes so that friends, family and I could find them easily, and also record the antics of my little family. It became a journey about nutrition and food sensitivities, and helped launch a cottage food business that is helping me support said little family. I may not post as frequently now as I did when I started, but I plan on continuing to create and share our journey. Thanks for joining me and thanks to all the people that lent me their kitchens!

300th Sausage Herb Frittata

1 Tbsp extra virgin olive oil
1/2 pound spicy breakfast sausage
1/2 medium yellow onion, chopped
2 garlic cloves, minced
1/2 large turnip, chopped
1 tsp sea salt (you may need more, depending on saltiness of sausage)
1/2 tsp ground black pepper
1 Tbsp dried parsley flakes
1 Tbsp dried basil leaves
1 Tbsp dried oregano leaves
6 large or 7 medium eggs
2 Tbsp heavy whipping cream
1 cup shredded co-jack cheese

Preheat oven to 300 degrees. In a 10″ iron skillet* heat the oil over medium high heat. Add onion, garlic and turnip. Sauté about four minutes until onions are translucent and garlic is browning. Add sausage, stir and cook for about five minutes until sausage is heated through. While sausage is heating up break eggs into a medium bowl, along with salt, pepper, parsley, basil, oregano and cream. Whisk together until egg whites and yolks are well mixed.

Remove skillet from heat.

Pour egg mixture over contents of skillet and stir until egg mixture and sausage/vegetable mixture are well combined. Sprinkle cheese on top of the egg, sprinkling a little more parsley, basil and oregano if you like (I do).

Place skillet on the middle rack of the oven. Bake for 20 minutes. Move skillet to top rack and bake for ten more minutes. Remove from oven. The center of the frittata should be a little puffy. Let sit for about five minutes before serving – the puffiness will settle while it cools. Serve immediately.

*This frittata can be made in a oven proof baking dish if you don’t have the noted iron skillet size, just make sure it is no larger than 10″x10″ to ensure the mixture is thick enough to prevent drying out when it is baked thoroughly enough. If an iron skillet is not used, additional baking time may be needed (about 5-8 minutes), since iron skillets speed up cooking time.

Almost Easiest Brunch

bruch food

To me the best thing about making brunch these days is a nice meal after sleeping in and the inclusion of sweet plus savory dishes. The sleeping in part was not always true. When I was growing up brunch was often a big buffet at the local club after getting up early for church services. There was always so much to choose from and I could fill my plate with breakfast and lunch. The food was okay, but after sitting above steam baths and being poked and prodded by dozens of other diners before I got to it, not always as tasty as what was made at home. My favorite parts of the buffet was always the omelet station and dessert table. When I make brunch I like including the variety representing lunch and breakfast.

When doing a brunch at home it can be made very simple or very complicated. Dishes like Eggs Benedict or souffles or perfectly poached seafood can be good, but hard to time when people are arriving. In my experience the level of complexity is a choice and I lean towards hosting brunches that don’t take a lot of prep or maintenance. Stick with fresh ingredients and you will be fine. With a little prep the day before (but not absolutely necessary) you can serve your guests a variety of foods and cook them at the pace you prefer. Here is how I did Sunday morning brunch recently at my mom’s house, adding a little bit of complexity, but with a small party it was fun to do so.
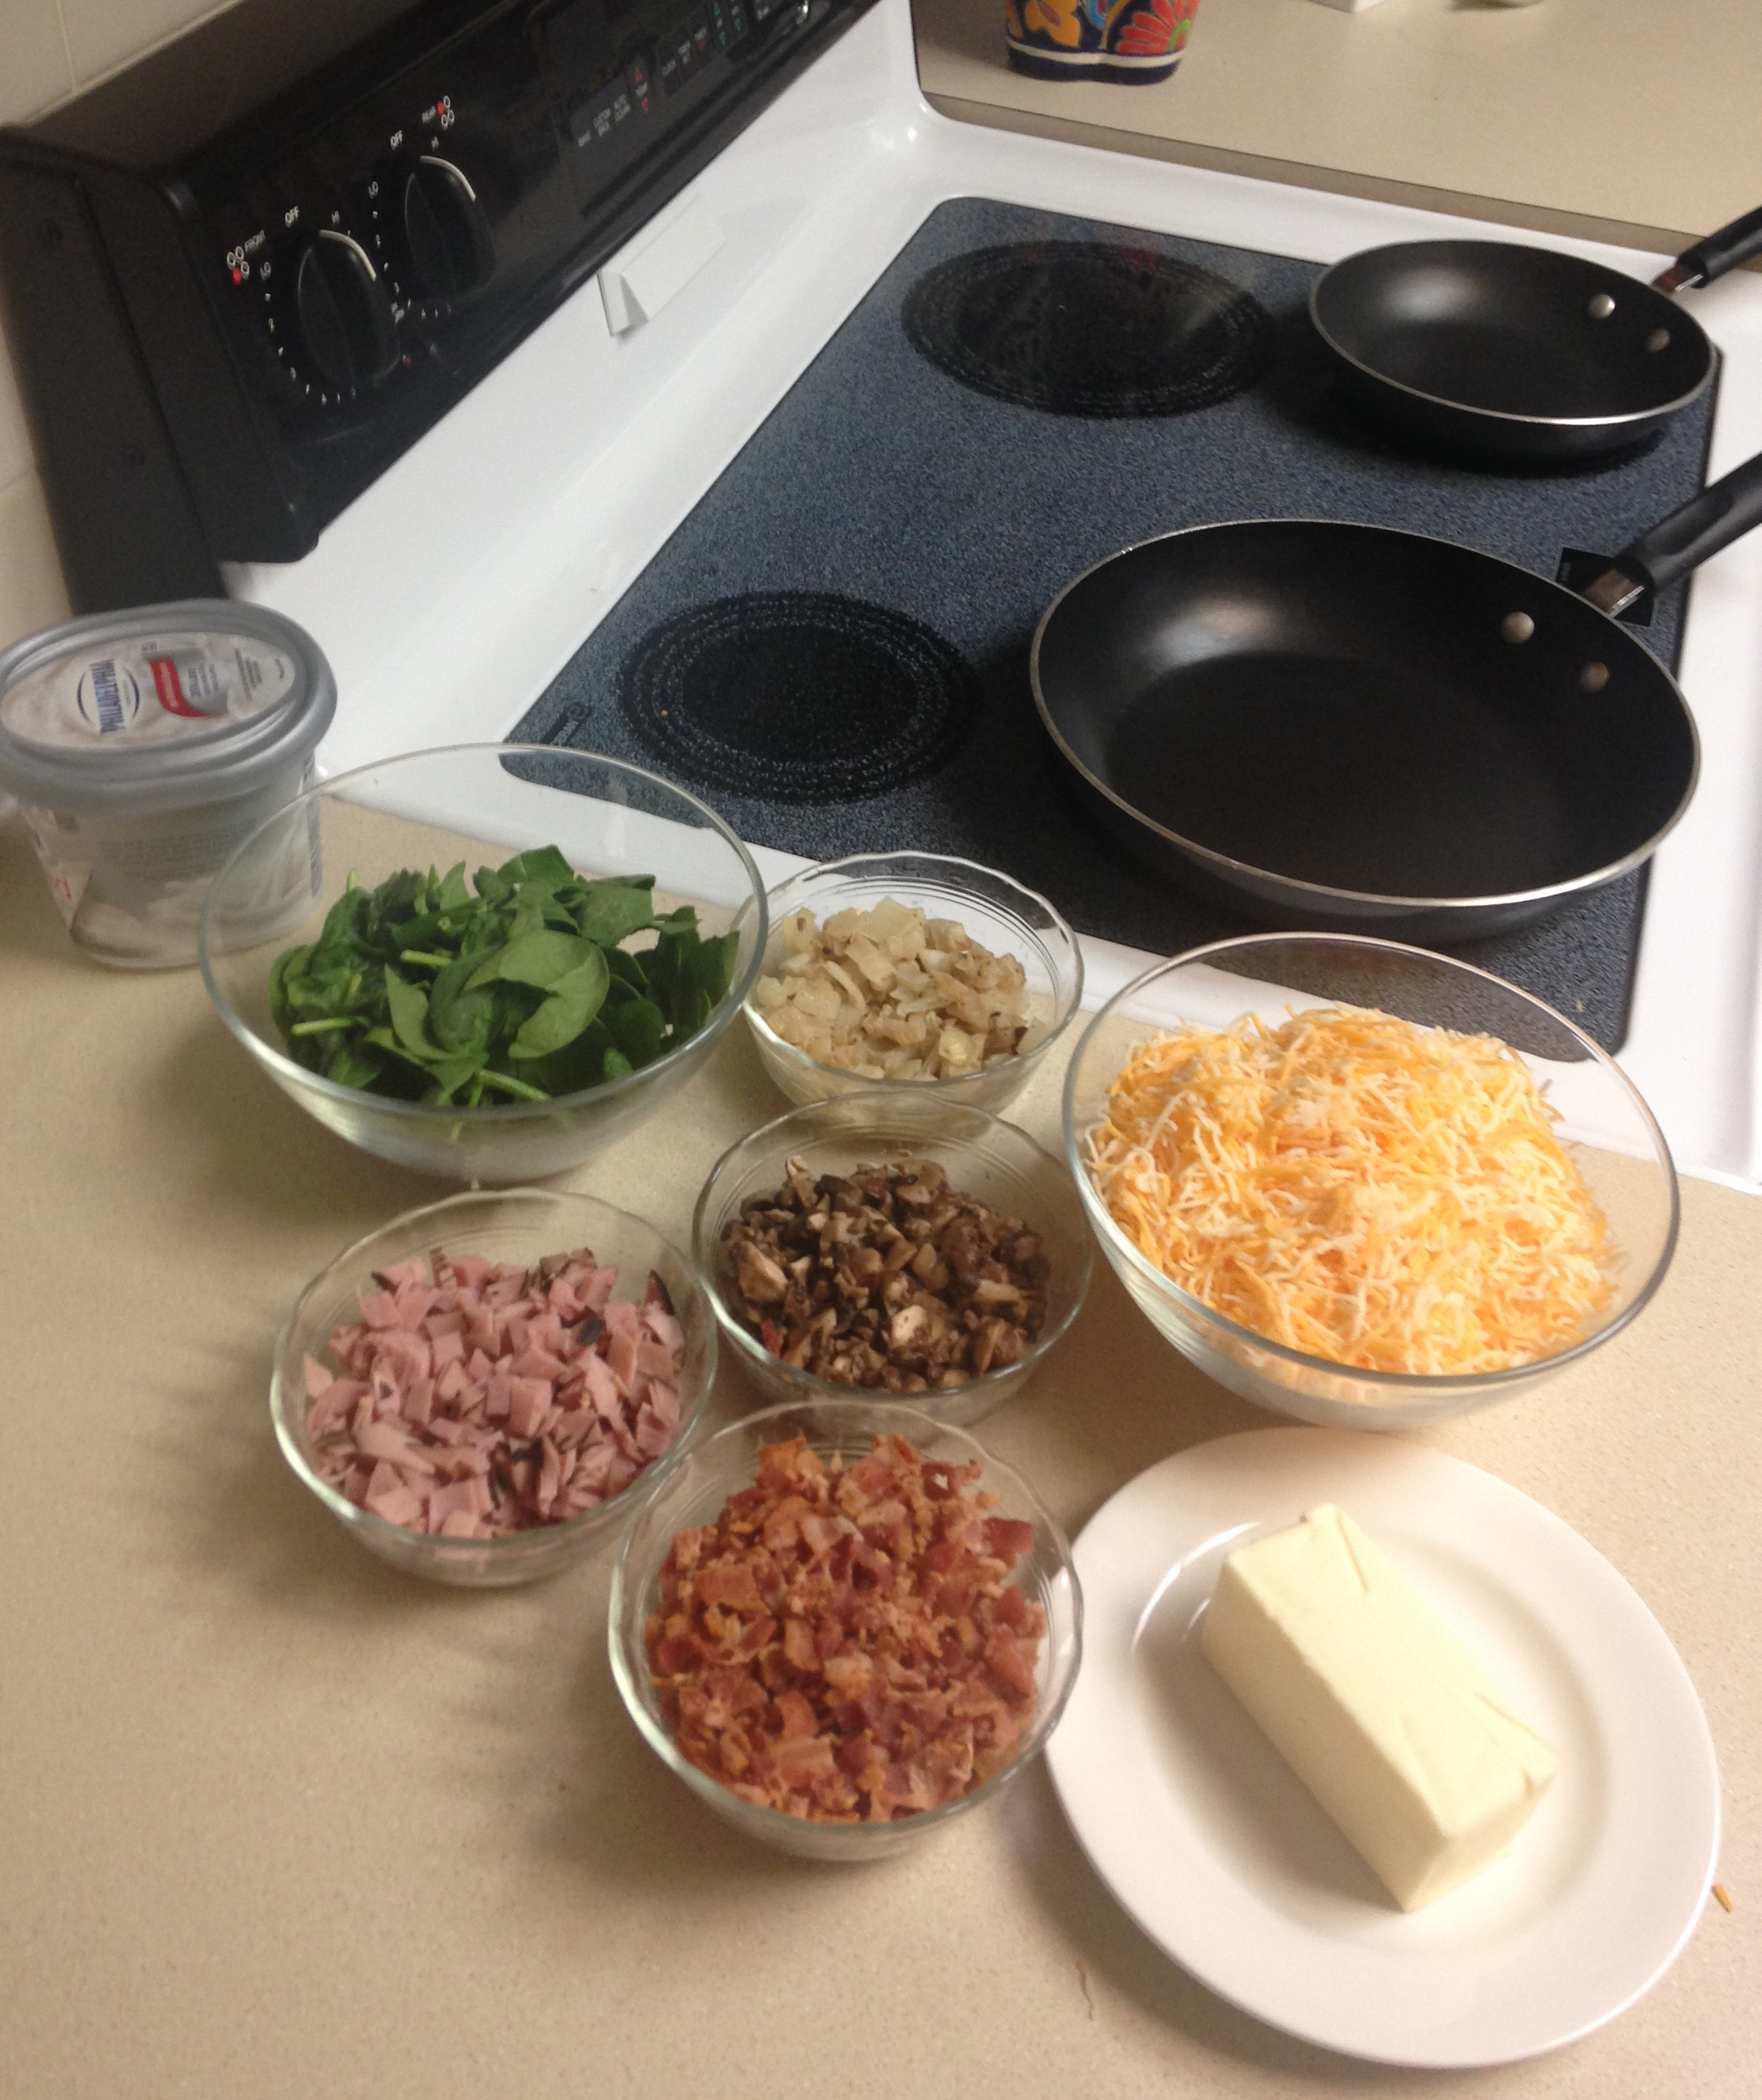
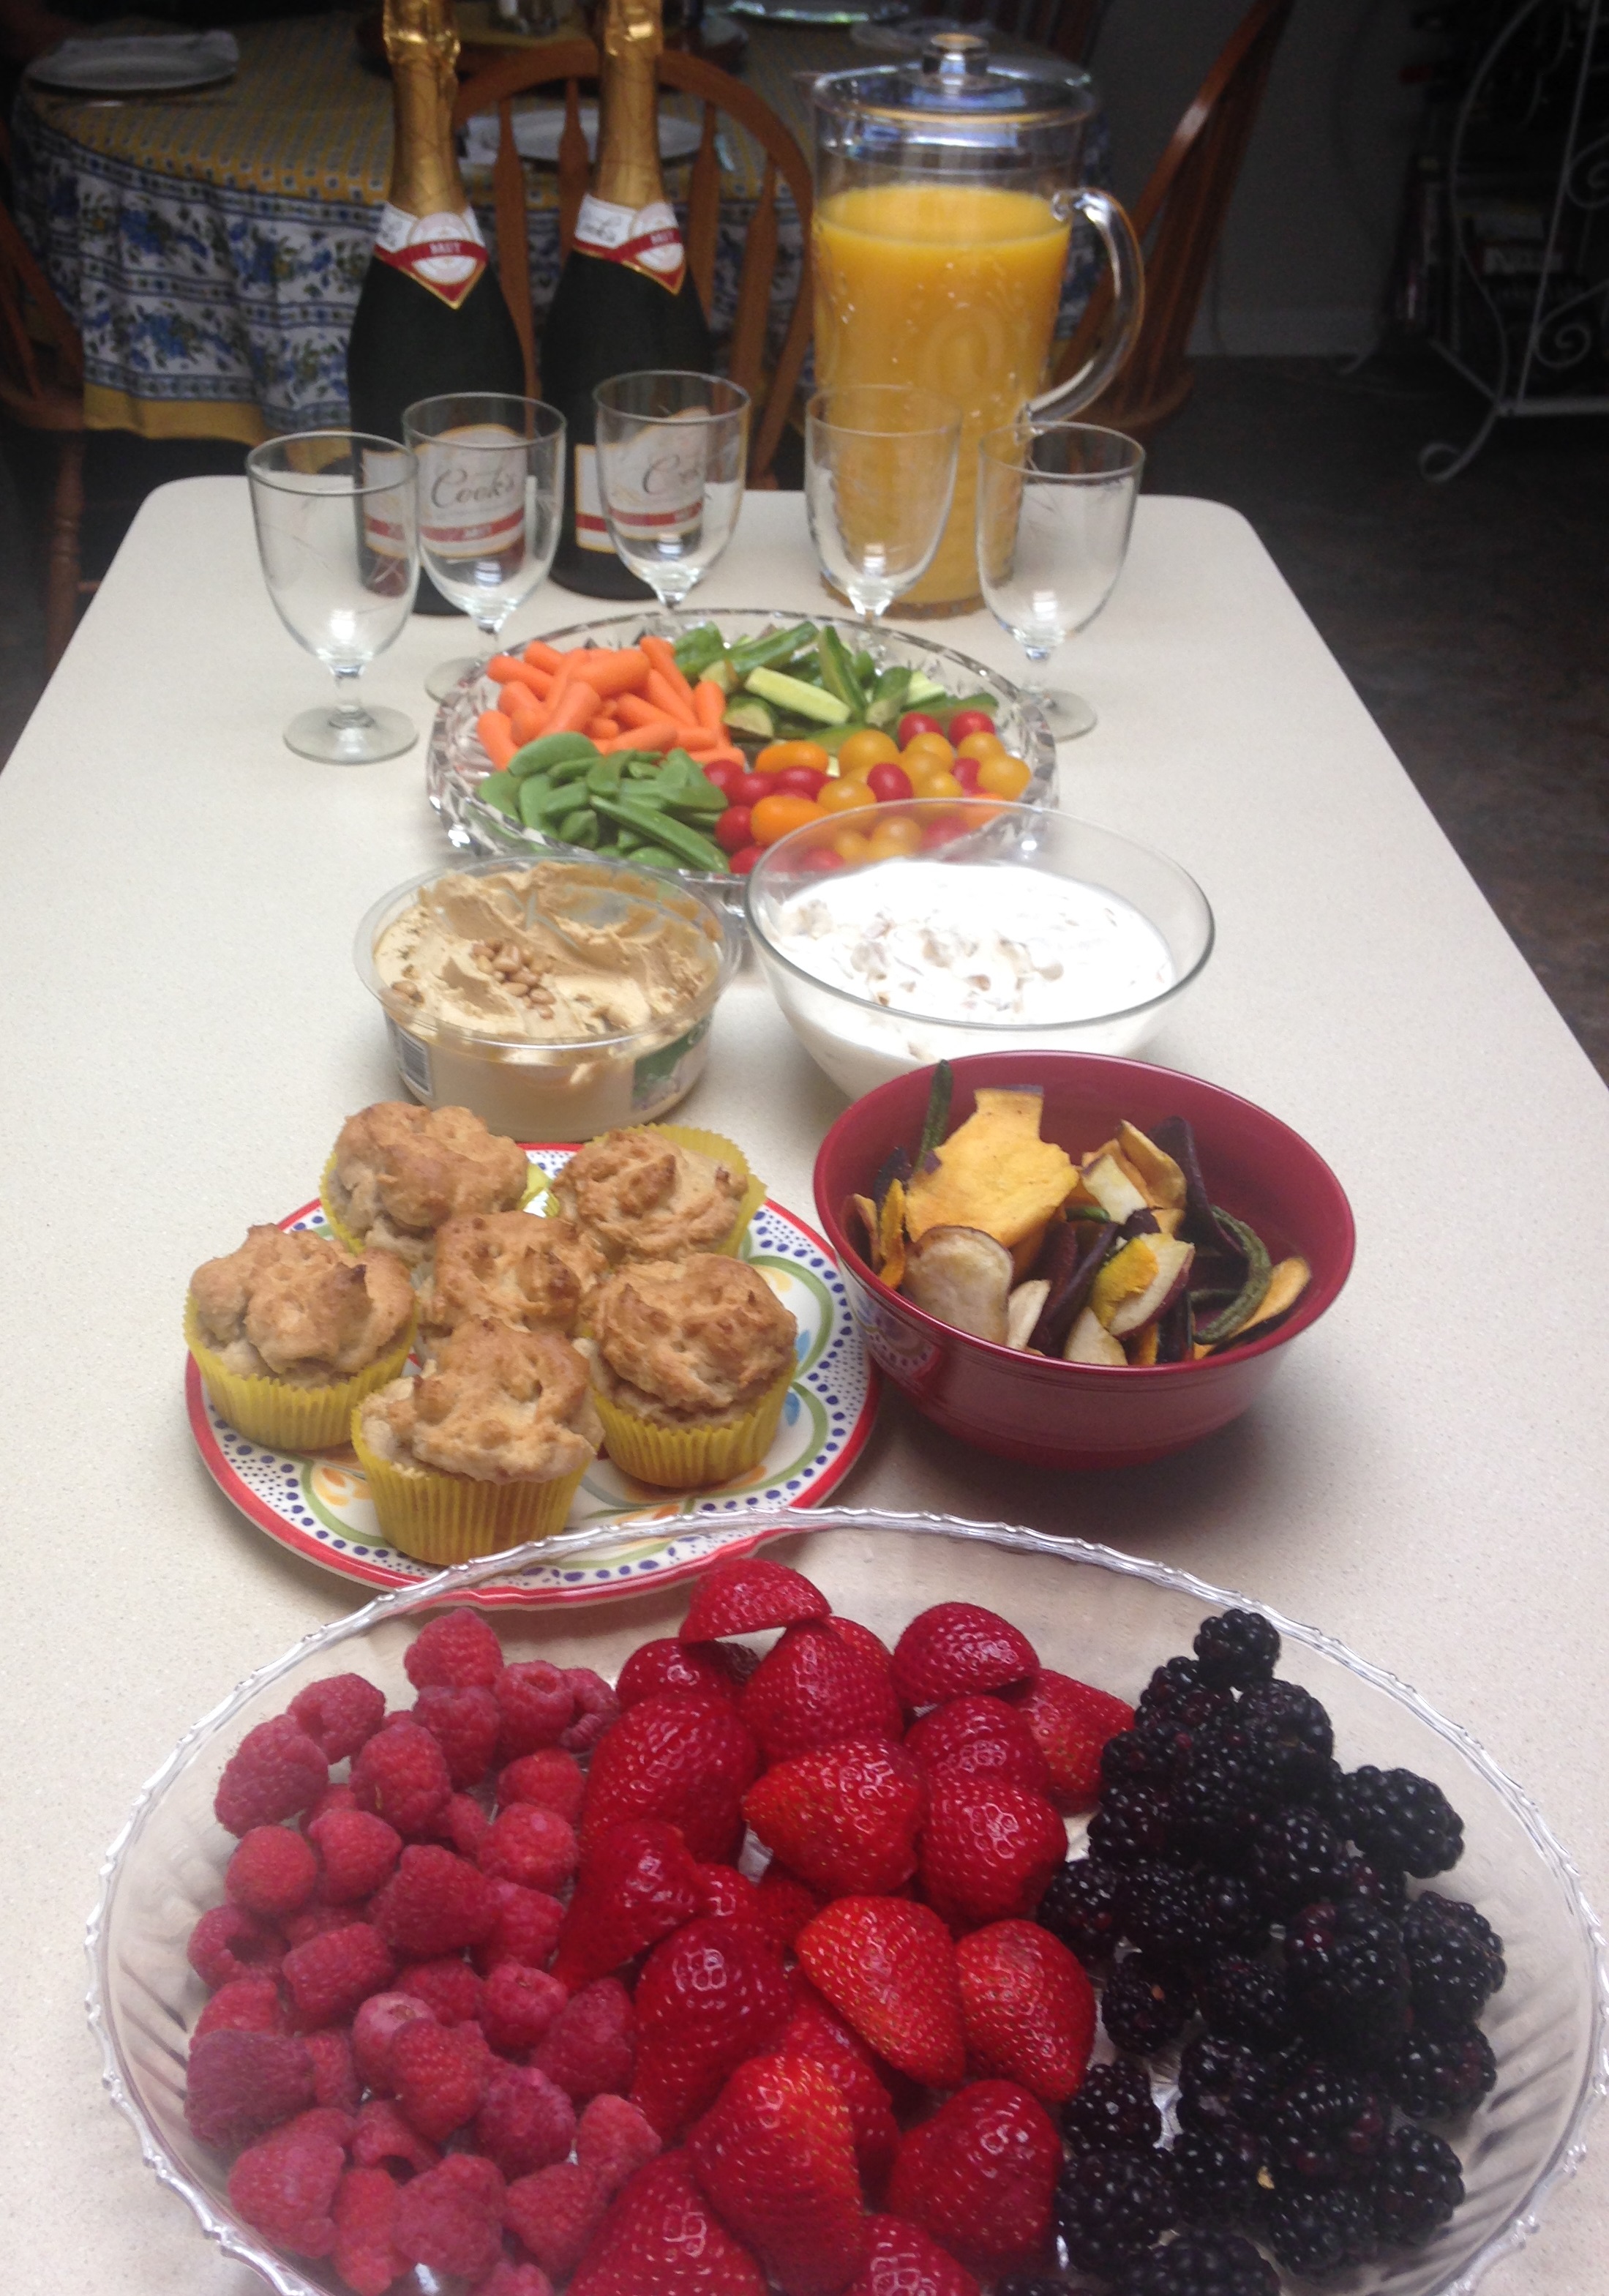
brunch omelet stationI was a living, breathing omelet station! As you can see from the pictures there was a wealth of fresh, raw fruits and vegetables with dip, some wheat free muffins and little personal menus for people to choose their omelet ingredients. It was a small party, so the kitchen table that seated six was perfect. I could make omelets and still participate in the conversation. I prepared some omelet ingredients and muffins the day before, so I just had to pull them out of the fridge right before people arrived.

I call it the Almost Easiest Brunch because in my opinion the easiest would not include the omelet station, but something eggy and cooked en masse. Things like meaty or salmon frittatas and egg muffins can be popped in the oven right before people arrive, and be hot and ready by the time the first round of mimosas is sipped away. That is easier when hosting a brunch, but I wanted a little more challenge this time; thus, the omelets! The great part of the omelets is complete absence of guessing about what people want. We had salmon lovers and haters, Little B currently dislikes mushrooms, and a couple of serious vegetable eaters. As long as you do not burn the eggs there is little room for omelet content consternation. Try making a brunch for a bunch this weekend then take a nap, especially after the morning cocktails!

Omelet Station

2 small omelet/saute pans with cover (use foil or large plate if covers unavailable)

1 stiff spatula

1/2 cup butter

Whisked eggs – plan for two eggs and 1 Tbsp milk per person. Add eggs and milk to large measuring cup, whisking them together with a dash of salt and pepper. Note: using a large measuring cup or pitcher with a pouring spout allows for easy pouring into pans when time to make omelets.

At least 3 meat ingredients. Suggest meats pre-cooked and chopped, like bacon, breakfast sausage, poached or smoked salmon, ham. Plan for about 1 tablespoon of meat per person.

At least 3 vegetable ingredients. Suggest blanching or cooking until soft any raw vegetables to speed up omelet preparation, like sauteed mushrooms, peppers or onions, blanched broccoli and raw, chopped spinach. Plan for about 2 tablespoon per person.

At least 2 cheese ingredients. Suggest at least one mild and one sharper flavored cheese, like cheddar, feta and cream cheese. Plan for about 2 tablespoons per person.
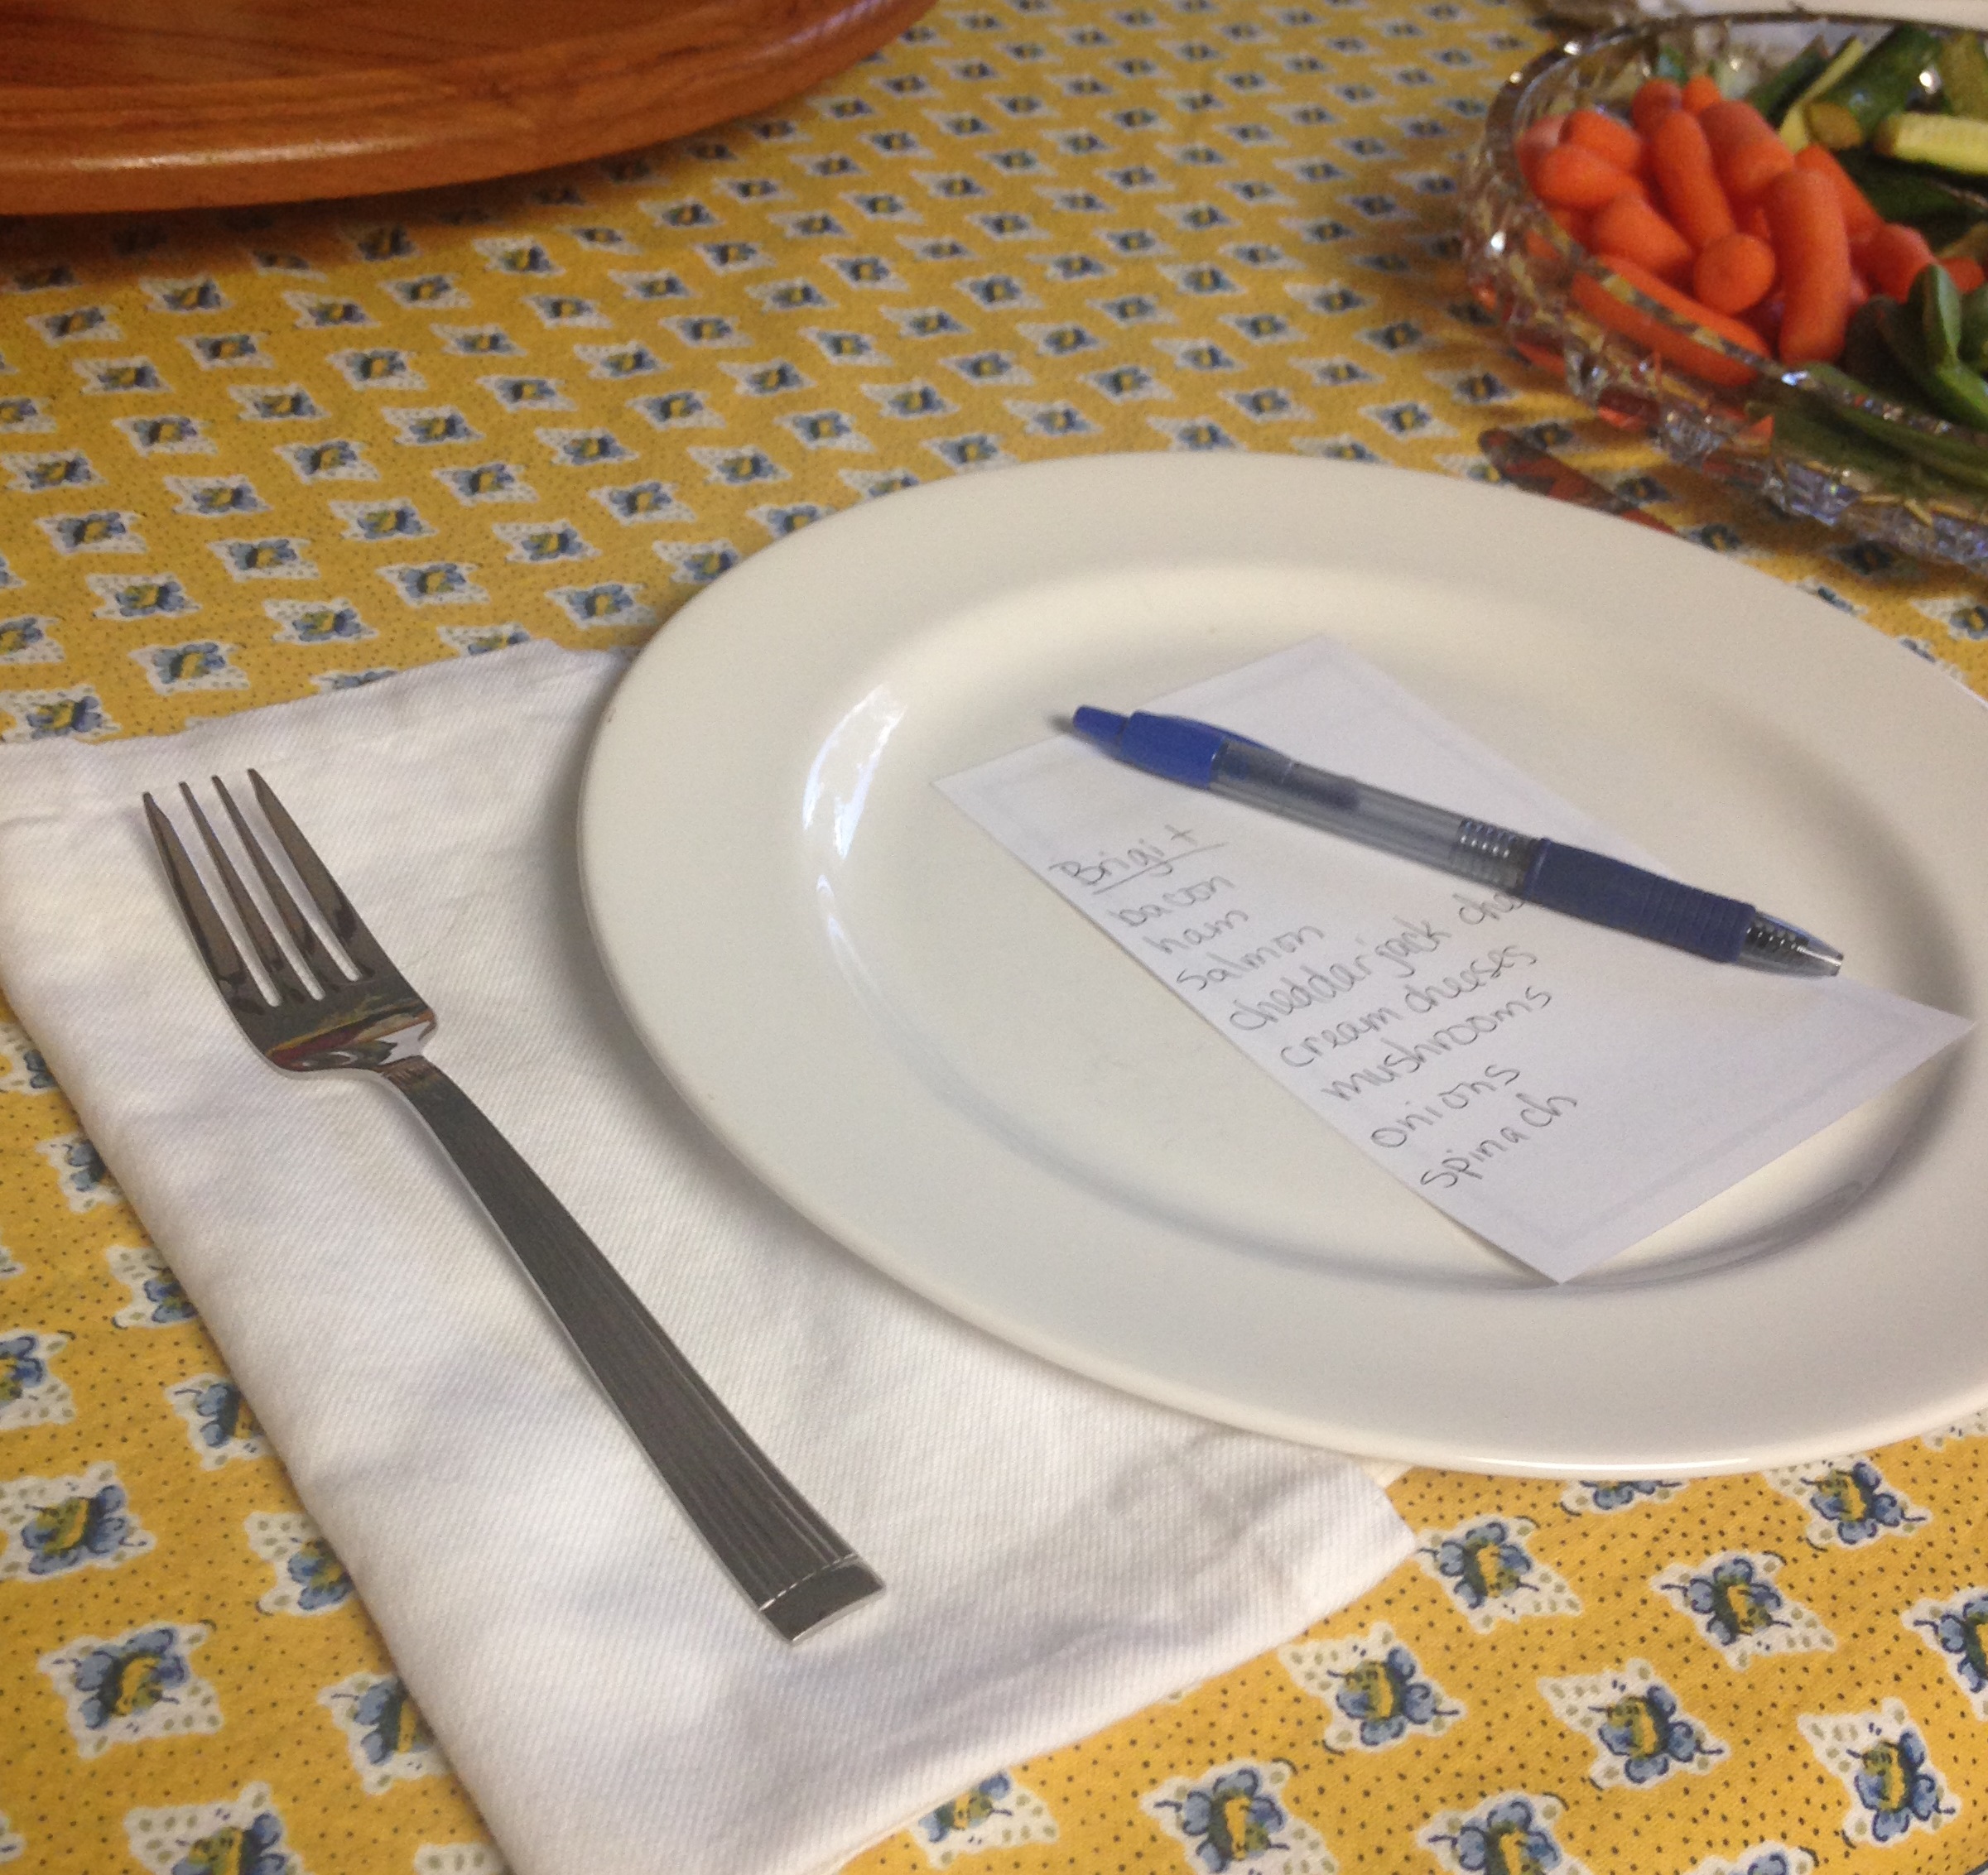
brunch omelet orderHand out small pieces of paper with the guest name and available omelet ingredients listed. Have guest mark what they want in their omelet. When ready to make omelets preheat the omelet pans to medium. Melt a pat of butter. When butter begins to bubble pour in thin layer of egg to cover the bottom of the pan, about 1/3 cup. Add cheese to entire surface of egg (cream cheese would be dropped in with other ingredients, unless you want to try to spread it on with uncooked egg surface – good luck!). Add a spoonful of each vegetable/meat ingredient to one half the egg surface. When egg edges and bottom begin to firm up (can’t see the color of the pan bottom through the egg), fold over the cheese only egg layer on top of the vegetables and meat half. Cover pan for one minute to allow cheeses to melt, ingredients to heat and egg to finish cooking. Slide on to serving plate. Repeat until all omelets are made.

Other Dishes

Vegetable Tray. Provide about 1 cup per person of prepared seasonal raw vegetables that dip easily: grape/cherry tomatoes, celery sticks, carrot sticks, red or green bell pepper strips, snap peas, cucumber coins or sticks, radishes, zucchini sticks.

Fruit tray. Provide about 1/2 cup per person of prepared fruit: berries (slice strawberries if they are big!), apples, oranges, grapes and pineapple.

Dips. Provide at least one sweet and one savory dip: with fruit include Peanut Butter Yogurt Dip or whip together some cream cheese and pureed fruit like this frosting, and for the vegetables include French Onion Dip, hummus, or tzatziki.

Sweet Muffins. To balance the savory egg dish include some sweet muffins, like cranberry, blueberry, or oatmeal apple.

Savory Crisps. To go along with the dips serve some chips or crackers. A great item to serve is crispy veggie chips – beets, sweet potatoes, zucchini, carrots and green beans baked and salted. Very crunch addition to the meal!

Signature Drink. Although drink preferences of guests will vary, suggest having ingredients for a signature cocktail, like Mimosas, Caesars or Bloody Marys. Make available coffee, herbal iced tea and at least one type of juice as well.
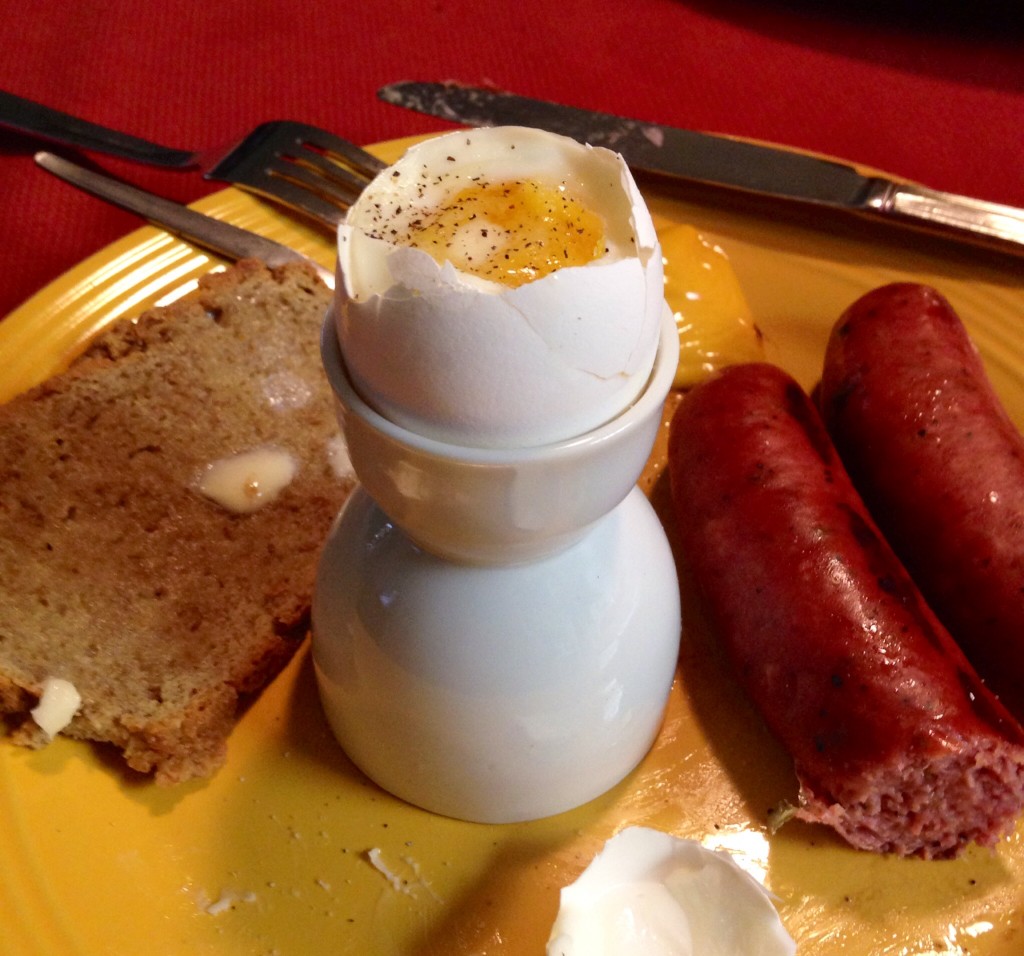
Soft Boiled Eggs

image

I almost feel guilty making this a post, but decided that doing so from my mom’s kitchen was so very appropriate. When I was growing up my brother and I were taught cooking basics and how to eat basics. They included the typical topics, like the use of fork, knife, spoon and napkin. Little B’s current challenge is elbows on the table, but that is a different story altogether. In addition to the basics we were also taught more specific skills we used less often, but practice never hurts! Things like getting every bit of meat off bones of roast chicken with a fork and knife (no fingers allowed), escargot with shell fork and tongs, crab with mallets and picks, grapefruit halves with serrated spoons, rolling long pasta with spoons and separating mussels and clams from their shells (again, no fingers allowed). I promise we did not end up snooty, just knew how to mind our manners in pretty much any food situation. We also learned how to sop roast meat off a platter using bread chunks, double dipping chips, licking our fingers and nibbling while we cooked. I am sure my mom loooves this disclosure! It was always interesting to see what mom and dad would come up with next. A fun breakfast skill we learned quite young was how to eat a soft boiled egg from a cup. It sounds almost silly. Why not just peel it and eat from your hand, you ask? The practice is actually used in many parts of Europe. My dad learned it from his Irish father and both my parents ate them in this manner while living in France, Germany, etc. Most people probably don’t have the requisite egg cups or tiny spoons, but you can probably adapt. I was very happy to introduce such a breakfast to Little B during our most recent visit to Texas. She was more excited about opening the egg than eating it all, but that’s okay. I was always around to finish it up. You may not believe me, but eggs cooked and eaten like this taste different than using your hands or frying some up over easy. Maybe it is the gentle cooking of the yolk while protected by the white, but a spoonful with a little yolk, white, butter, salt and pepper is a wonderful way to start the day, and appreciate the humble egg.
Soft Boiled Eggs
Large fresh eggs (quantity varies)
Water
Salt
In a medium pot add water, enough to cover the eggs, and a sprinkling of salt. Bring water to a full boil. With a large spoon gently lower each egg into the boiling water. Lower heat slightly but maintain the boil, and cook for exactly six minutes. Remove eggs with large spoon to serving cups or serving bowl. Serve with salt, pepper, butter, breakfast meats and bread.
To Eat: place an egg in an egg cup, pointy side down. Some eggs may not have a pointy end, so just guess – typically the round end will have the yolk closer to it in a boiled egg (think where the filling goes in a deviled egg) so the next step will more likely reveal yolk. While gently steadying the egg with one hand and using a knife in the other, tap the egg about 1/4 inch from the top, turn the egg and continue tapping until there is a ring of cracked shell all the way around. Using the point of the knife pierce all the way through and lift the knife away from you, catching the egg top with your knife-free hand. There should be soft yolk showing. Place a small piece of butter into the yolk and sprinkle with salt and pepper. Using a small spoon scoop out a bite, making sure it includes white and yolk. Eat. Repeat. Don’t forget to scoop the yummy bite from the egg top!

Mixed Meat Omelet

mixed meat omelet_edited-1Long long ago I owned an omelet pan. It was a nice omelet pan, used often to whip up the eggy concoctions. Less long ago I got rid of it. Not because it was unused, but in many respects redundant. Can’t the same thing be done with a frying pan? Over the years we have stocked and unstocked kitchens in our travels and moves. Often the ‘specialty’ devices get purged. You know what I mean – items that do one thing that can easily be done with another, like an avocado slicer (replaced by knife), smoothie maker (replaced by blender), or egg seperator (replaced by a hand or shell) or a food chopper (replaced by knife), or the omelet pan (replaced by a, well, pan). You get the idea. The omelet pan was sacrificed during one of these purges and not replaced. My omelets don’t look as pretty these days, but they sure taste good, and don’t stick. I am also an advocate for having the ingredients mixed and cooked up with the egg, not placed in the equivalent of an egg ‘taco’, like some restaurants serve – egg part of the omelet gets overcooked separately, then the actual ingredients get dropped in, egg gets flopped over it and served. If I wanted a taco I would order one. Anyway, here is a lovely combination, and my approach to making an integrated omelet, which I also addressed about two years ago with an onion omelet, which is still one of my standards, but tastes totally different. Enjoy both of them!
Mixed Meat Omelet

1 cup mixed leftover meat (in this case, pepperoni, prime rib and kielbasa sausage), cut in small pieces
4 garlic cloves, roughly chopped
1/3 cup finely chopped yellow onion
1 Tbsp bacon grease
4 eggs
Salt and pepper to taste
1 cup grated cheddar cheese
1 batch chimichurri (optional)

Heat bacon grease over medium-high heat. Add onions and garlic, cooking for about five minutes, until they begin to brown. Add meat and heat through. While meat and vegetable cook crack the eggs into a bowl, sprinkling with salt and pepper. Whisk eggs until uniform. When meat and vegetables are ready shuffle the pan so they are evenly distributed on the bottom of the pan. Turn heat down to medium-low. Pour in egg, tilting pan until the entire bottom has a layer of egg. Sprinkle cheese evenly over the top. Cover and cook for a few minutes, until egg begins to set. When edges hold their shape, carefully flip one half over the other. Slide omelet to the middle of the pan and cover, cooking for another minute to let egg set in new position. Turn off heat, cut omelet into three or four equal pieces and serve. Suggest serving with chimichurri, a side of bacon and some bread.

Nutty Chocolate Protein Bars

nutty chocolate protein bars

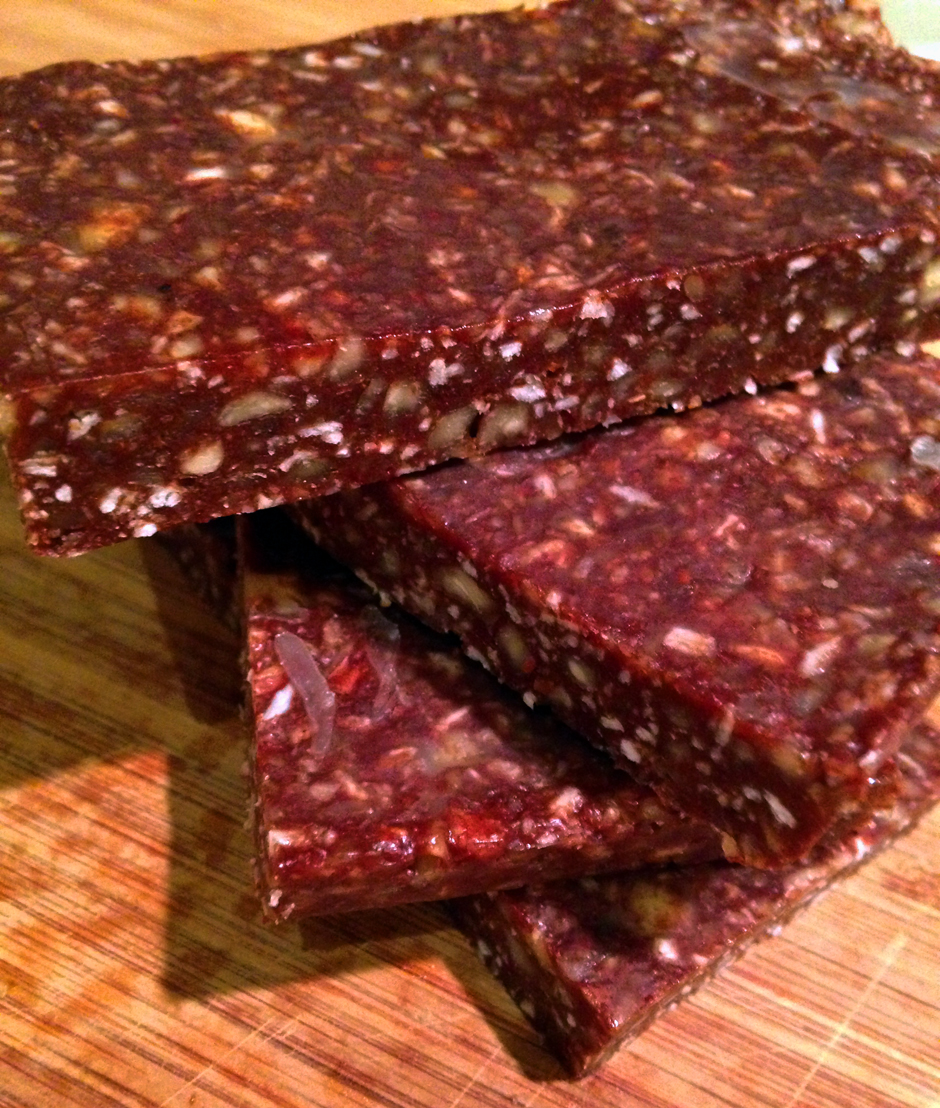
For months Little B took ballet lessons on Saturdays. They are now over, including the flashy, chaotic shows. It was quite an ‘experience’, but is now over. I will reserve my opinion about the experience, but suspect she has more enthusiasm for other activities. I personally am looking forward to getting back to more weekend hikes.  We have standard food we take on hikes and overnight trips – nuts, peanut butter, jerky, cheese, boiled eggs. They are convenient, energy-building and filling, but with all the summer hiking in our future I wanted to add some variety. The idea for these bars sprung from here. The chewiness and nuttiness reminds me of a candy bar you find at the store – rhymes with tickers. After sufficient bar chilling occured Little B tentatively took a small first bite, then proceeded to eat an entire bar and asked for some in her lunch the next day. Score! This is significant, because in her worldly 4 3/4 year old brain anything mommy suggests is immediately suspect. These bars are a tiny bit sticky at room temperature, but what protein bars aren’t? They hold together well when wrapped in foil or plastic wrap, so score again! It is easy to add them to the hiking food mix, and quite a treat when taking a break looking over water and mountains and whales. Yep. The whales are pretty spectacular. And so is everything else. I am going to experiment with less sticky bars, but these easy-to-make snacks are great for dealing with hunger when you want to spend your time focusing on life and love and nature. Even ballet.

Nutty Chocolate Protein Bars

1 ounce bittersweet chocolate
2 tablespoons butter
2 tablespoons heavy cream
2 tablespoons Da Vinci sugar free syrup, any flavor
1 Tbsp Nutiva Stevita
1 cup whey protein powder, vanilla flavor
1 tsp ground cinnamon
1 1/2 cup mixed raw nuts, finely chopped
1/2 cup unsweetened coconut

Line an 8×8″ baking pan with nonstick foil. In a medium microwaveable bowl, melt the chocolate and butter on half power about 1 minute or until melting and softened. Stir until smooth and blended. Add in the cream, syrup, sweetener and protein powder.The mixture will be stiff and sticky when well blended. Stir in the nuts and coconut – you may need to use your hands to get it all mixed in, but then they would already be ready for putting it in the pan. Firmly press the mixture into the bottom of the foil lined pan using the back of a spoon that is lightly coated with oil or butter, or just use your hands. Chill at least two hours or until firm. Cut into eight large bars or 16 snack squares. Store in refrigerator or freeze.

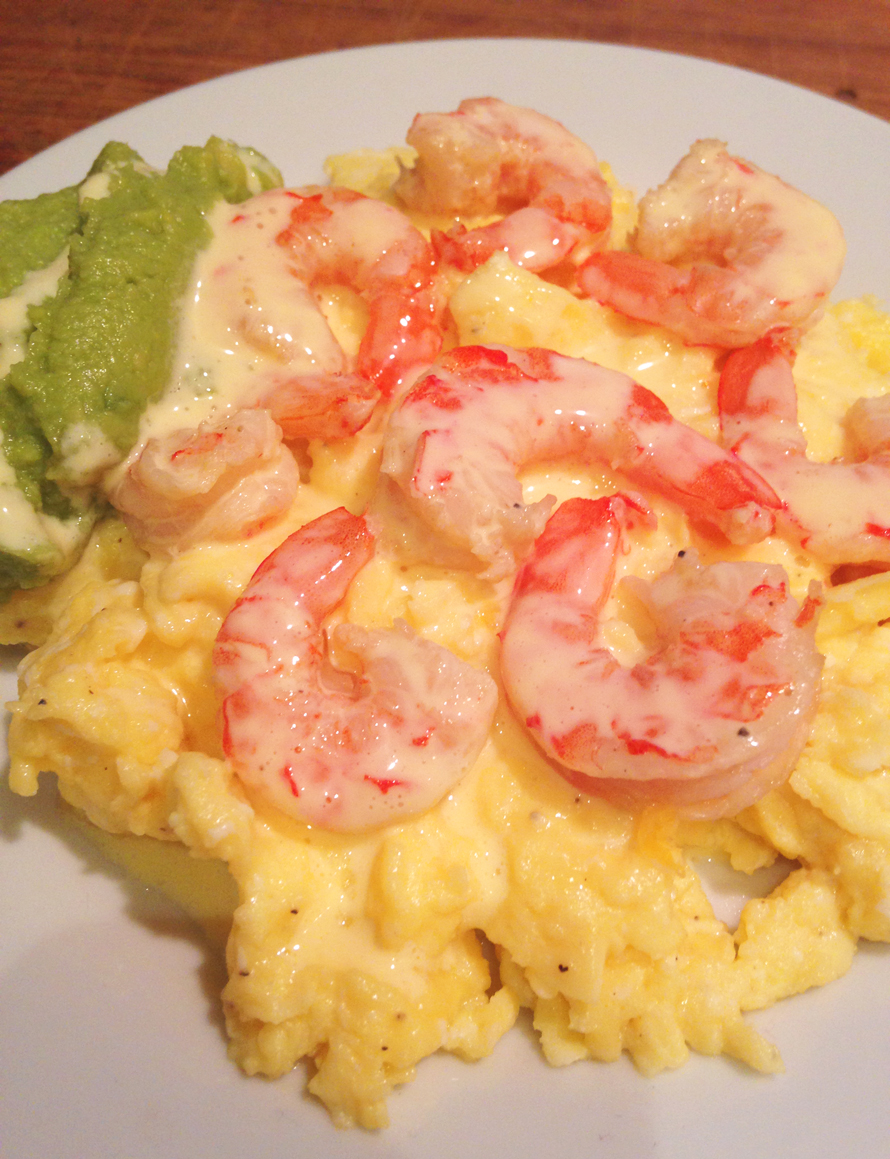
Shrimp Hollandaise on Scrambled Eggs

shrimp hollandaise with eggs

We eat a lot of eggs. Not only are they good sources of protein, they are extremely versatile. Do you want to bake some cookies? Add an egg. Do you want a casserole type macaroni and cheese? Add an egg to thicken it. Do you want a shiny finish on your pie crust? Brush it with an egg wash. Do you want a fun appetizer or side dish? Devil some. Need to feed a crowd of overnight guests? Make a frittata. Do you want a breakfast that sticks to your ribs? Scramble some. You can always throw some meat and cheese into your scrambled egg, but there is always that occasional morning when you want something different. Here is a dish for one of those different days. My original craving was for Eggs Benedict, but I have not yet mastered the low carb English muffin, so I deviated. I figured out that what I was craving was the Hollandaise Sauce. Although not a traditional, more complicated version of the sauce, it was quick to make and ready in advance of the short cooking time needed for the shrimp and eggs. Little B was not very excited about the sauce – she is still young and naive, but she inhaled the eggs, shrimp and guacamole.

Shrimp Hollandaise on Scrambled Eggs

6 eggs
1/4 tsp sea salt
Dash of ground black pepper
1 Tbsp butter
1/2 pound medium shrimp, deveined, shells and tails removed
1/2 lemon
1 tsp sea salt
1 cup prepared guacamole

Hollandaise Sauce
4 oz Butter
2 Egg Yolks
1 Tbsp Lemon Juice
1 Tbsp Water
1/4 tsp salt

For the shrimp fill a medium pot half with water. Add salt, squeeze lemon juice into water and drop the lemon half into the water. Set pot over high heat. While waiting for water to boil for the shrimp, make Hollandaise Sauce. Melt 4 ounces of butter and let cool briefly. While butter is cooling add the rest of ingredients in a blender but do not blend them yet. When butter has cooled a bit spoon out the foamy, bubbly top from butter, leaving the clear, yellow clarified portion. Use only the clarified portion for the sauce. Begin blending the mixed ingredients on low and gradually and steadily add the butter. Let blend for about a minute. Stop the blender. Leave sauce at room temperature until served. If water is boiling add shrimp and cover. Let boil for three to five minutes, just until they turn pink all over. Remove from water and place on towel to drain. In a bowl crack the eggs and add salt and pepper. Whisk until combined. In a frying pan melt butter over medium high heat. Add eggs and stir in the pan until cooked to desired doneness (Big D likes soft so I take his out of the pan first – Little B and I like ours a little more firm). Divide eggs among individual serving plates. Top with shrimp, then drizzle them with Hollandaise sauce. Add a side scoop of guacamole and serve.

Simple Salmon Frittata

salmon frittata

I have shared a frittata recipe with you before, but the ingredients this time combined so nicely, and made such a great weekend breakfast that I decided to share another. Living in Southeast Alaska there is a year round craving for seafood, but it gets magnified as the spring days get longer, and the call to play outside with fewer layers on gets stronger. Our smoker has been busy flavoring meats, vegetables and cheeses for us all winter, but now we ask it to prepare our salmon. A local fish shop – and I mean a fish shop that sells catches from local fisherpeople – Pinkies, had some beautiful, fresh King Salmon. The smoker used alder wonderfully to compliment it, so we feasted on some wonderful marine life. The King Salmon is a big fish, so the leftovers were waiting on us the next morning. I get very used to tossing onion and garlic into many morning egg dishes, but I also leave them out sometimes, depending on the ingredients. This time I chose to let the salmon sing, and it did! I used smoked salmon, but any leftover cooked salmon would work.

Salmon Frittata

8 eggs
1/2 cup heavy cream
1 1/2 tsp dill weed
1/2 tsp sea salt
1/4 tsp ground black pepper
Dash dried red chili flakes
4 ounces smoked salmon, roughly chopped
3 slices cooked bacon, crumbled
1 cup Colby jack cheese, grated
1/2 cup mozzarella cheese, grated

Preheat oven to 350 degrees. Crack eggs into a medium bowl and whisk until slightly frothy. Whisk in cream salt, pepper, chili flakes and 1 tsp of dill. Grease a 9×9 baking or pie dish. Pour in egg mixture. Sprinkle salmon and bacon evenly into the egg mixture. It should sink down into the egg. Follow the fish and bacon with the Colby Jack cheese and then mozzarella cheese. Spread the last of the dill weed and a bit more salt on top. Bake for 30-40 minutes, until edges are browning, middle egg is set and middle cheese is slightly bubbly. Remove from oven and let sit for about ten minutes. Slice and serve.

Yowza Anniversary Cinnamon Rolls

cinnamon rolls

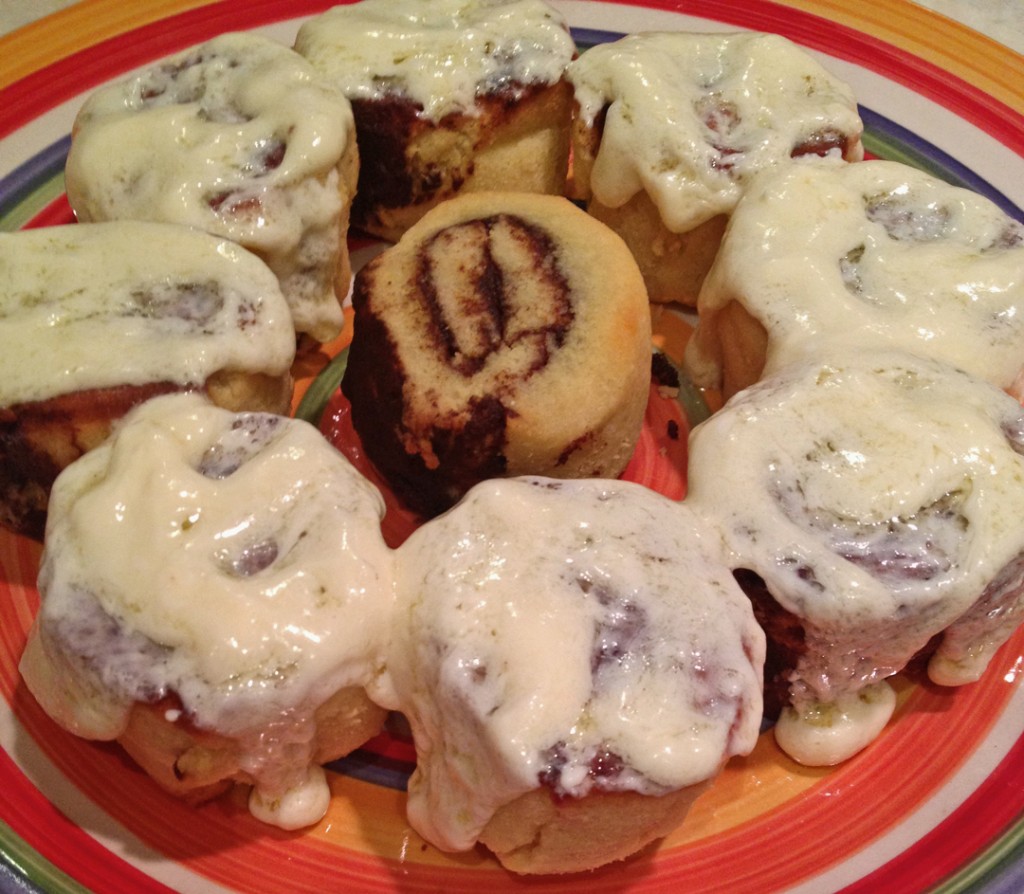
Year three of my blog is starting. Tomorrow. Wow. Yowza. It amazes me that I have been able to continue with it. Not because it is hard, for I love exploring new recipes and sharing old ones, but because making it a priority has given me so many opportunities to focus on myself. This may mean more to people that know me well, but can also make sense to those who don’t. I very often get caught up in helping and supporting people around me – family, friends, co-workers. I discover too late that I do not do ‘me’ stuff frequently enough, so my energy stores and momentum fade away. Knowing that I promised myself to continue the blog has given me a way to keep my personal enthusiasm up. With all the changes and moves and adjustments our family has gone through during the past year I am proud of myself for continuing the blog. Picking up and moving cross country (contiguous) and beyond takes a lot of energy, to embrace the experience and joy of every day. I love we had the experience and expect to do it again and again in our lifetimes. As I look back on the past two years I also see how our eating habits have changed. Moving from eating everything imaginable to excluding wheat to also excluding most starchy carbs and sugar, I see how our journey has evolved. We are not perfect, as with all human being, but we try. Some exclusions have driven us to challenge ourselves to continue our traditions without the ‘evil to us’ ingredients. Things like tamales and king cakes and cookies and muffins are part of the plethora of recipes we rely on to add variety to our diet without deviating. As I work through the various recipes that we love in nostalgia, and discovering new ones, I am so excited to share them with our daughter. It is a constant effort to balance our memories while developing new, healthier versions for her. Miss Marie has recently shared a recipe for cinnamon rolls. I made some changes, of course, and the result made for some amazing treats to celebrate my second anniversary. Between Big D’s love for such rolls and my extensive time spent in airports sniffling the wafting aromas from the cinnamon roll denizens who live there, the treats are cherished and longed for. I am ecstatic about finally making some and feeling indulgent in celebration. What better way to celebrate an anniversary than to make such succulent yummies. Little B loved helping spread the filling and, as always, frosting, just like the cupcakes we made a while back. Thank you to those who have followed my journey the past two year and welcome to those who joined me recently! Slainte!

Yowza Anniversary Cinnamon Rolls

Pastry
3 eggs
1/2 cup butter or coconut oil, softened
3 Tbsp erythritol/stevia blend
1/2 cup coconut flour
1/2 cup blanched almond flour
1/2 tsp aluminum free baking powder
1/2 tsp Celtic sea salt
1 tsp vanilla extract

Filling
3 TBS Coconut oil or Butter, softened
2 TBS Cinnamon
3 TBS erythritol/stevia blend
1/4 tsp stevia glycerite

Frosting
6 TBS cream cheese, softened (or coconut cream if dairy allergy)
3 TBS butter, softened
2 TBS spoonable erythritol/stevia blend
A little heavy cream (to thin it out, if desired)

Pastry: In a medium bowl, cream the butter and the sweetener until very smooth. Add in the eggs. In another bowl mix together the coconut flour, almond four/meal, salt and baking powder. Slowly add in the dry ingredients into the wet, then add in the vanilla. Stir until a thick dough forms. Cover and place in fridge to chill the dough for 1 hour or overnight.

Frosting: Place all ingredients into a medium sized bowl and combine until smooth. Store in fridge overnight. When you start the Pastry Again section below remove Frosting from the fridge.

Filling: Mix all ingredients together.

Pastry Again: Place a sheet of parchment on counter, then spray with coconut oil spray. Place dough on greased parchment, push the dough down a bit, and spray with another layer of coconut oil. Top with another sheet of parchment. Roll the dough out with a rolling pin until a long rectangle shape, about one foot long. Remove the top layer of parchment.

Spread filling evenly over the dough. Roll up dough, with the longer side becoming the roll, using the edge of the plastic to make a tight log. Cut into 1 1/2 inch pieces.

Place the rolls into a greased muffin tin or onto a cookie sheet about 1 inch apart. Bake in a preheated 350 degree oven for 15-20 minutes or until baked through. Insert a toothpick to check doneness…the toothpick should come out clean.

Spread the frosting on the rolls. Serve immediately to family members who were drooling over the smell of the baking rolls. Store extras in airtight container for up to one week at room temperature, or freeze.


Post Navigation