Any Kitchen Will Do

Give me a kitchen and I will cook.

Archive for the category “eggs”

Pizza Reboot

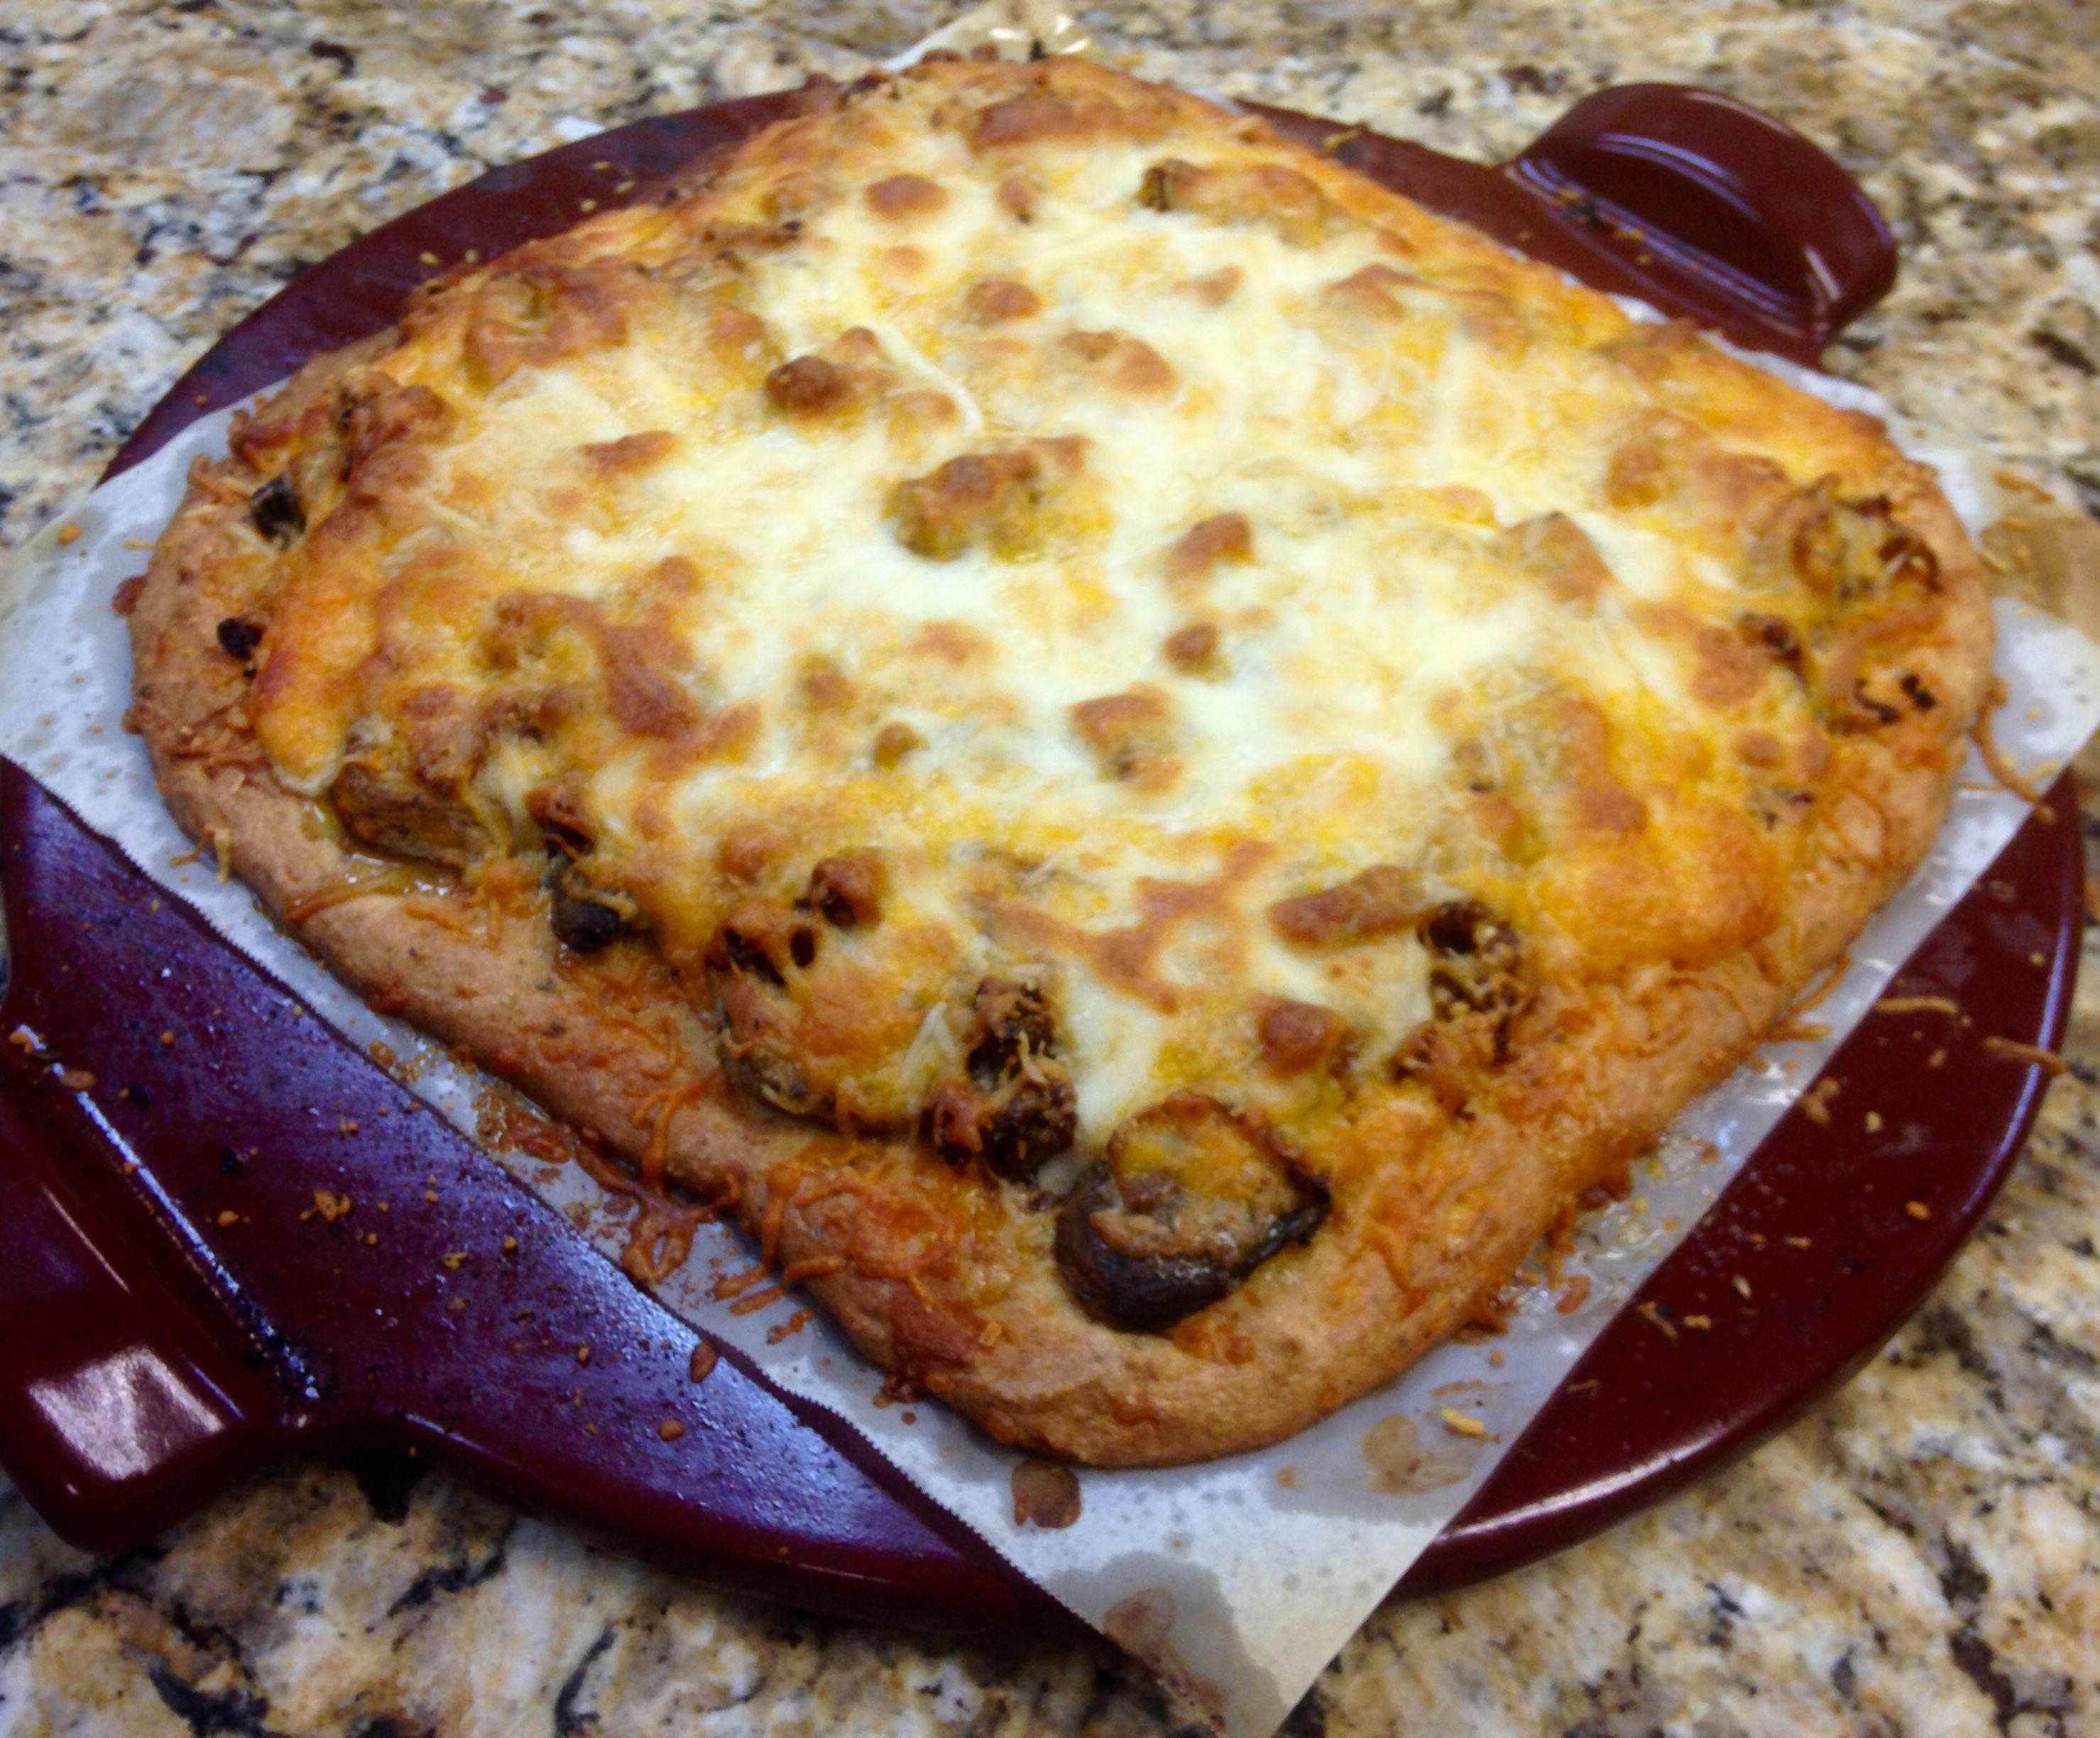
pizzarebootThe other day it was warm and rainy. We were hungry and had previously talked about creating a new to us pizza crust. Since we had time and wanted to stay dry, we made an absolute mess of the kitchen and had wonderfully successful results from our experiment.

It was a great day. Our schedules have been almost opposite lately, with each of us pursuing our multiple streams of income, while juggling the fun and awe we experience watching our Little B grow and explore. It was nice to be at the same place at the same time, in the kitchen, with our daughter supervising from the nearby barstool. Throughout our dozen years of marriage, the kitchen has been a foundation where we reconnect and learn new things together. It was so nice to be back in it after running around with our heads cut off lately!

This pizza crust is the closest to a traditional, grain-based crust we have created, with the ability to pick up a piece and take a bite while still hot. Our other recipes result in slices, but to handle them with other than a fork or knife (blasphemy!!!) they have to cool significantly. With our pizza reboot here, Big D especially enjoyed the ability to almost burn his fingers and run a string of hot cheese connecting slice to mouth.

Although not pictured, we made a second pizza for Little B, testing our crust recipe against one of pizza’s greatest critics – a seven year old. She loved her go-to combination of tomato-based sauce, pepperoni and black olives. I think the fact she ate four pieces between lunch and dinner tells you something!

In the past we have made some good crust with an almond flour base, with a neutral flavor that allows the topping and sauce to shine. Prior to that, we made a hearty cheesy crust that was our staple for years. Other variations on the pizza theme, absent actual crusts, included a squash based pizza casserole, portabello mushroom pizzas and little, two-bite pizza pucks! Whether you have two hours or twenty minutes, grain free pizza can be yours!

As always, there is no limit to the sauce and topping combinations you can use. I list below what we did for a sweet and spicy result. Have fun with it, whether it is raining outside or not!

Pizza Reboot

1 cup extra virgin olive oil
12 large eggs (about 2 1/4 cups), whisked
1/3 cup apple cider vinegar
1/2 cup water
1 cup coconut flour
1/3 cup golden flaxseed meal
1 1/2 teaspoon sea salt
1/2 teaspoon dried basil leaves
1/2 teaspoon dried oregano leaves
1 tablespoon garlic powder (we are garlic fiends, so if you are less so reduce the amount)
1 cup finely grated cheddar and mozzarella cheeses

Suggested Toppings

1/2 cup ranch dressing
1/2 pound ground hot Italian sausage, cooked
3/4 cup caramelized onions or 1/2 cup onion paste *
1 cup sautéed mushroom slices*
Crystal hot sauce
1 cup finely grated cheddar and mozzarella cheeses
1/2 cup grated Parmesan cheese
Additional dried herbs to taste (parsley, basil, oregano, garlic…)

Preheat oven to 400 degrees. Prepare your pizza baking surface – preheat pizza stone as directed for stone, or line two shallow baking sheets with parchment paper.

NOTE: The pizza stone crusts will be smaller and thicker, while the 2 baking sheet version will result in a thinner, crispier crust.

ANOTHER NOTE: As an extra precaution we use parchment paper on our pizza stone (as you can see in the picture), but it may not be necessary. Since we have one pizza stone and make two pizzas, the paper makes it easier to remove the first pizza immediately and move on to the second.

In a mixing bowl combine oil, eggs, apple cider vinegar and water.

In a medium bowl combine the dry ingredients of coconut flour, flaxseed meal, salt, basil, oregano and garlic powder.

With the mixer on low add the dry ingredients to the wet. Increase mixer speed to medium until ingredients are well combined. Add cheese and stir until well distributed. Divide batter in half.

Pour half the batter on the preheated pizza stone or on a prepared baking sheet. Spread batter to desired thickness. Bake for 15-20 minutes, until top sets and edges begin to brown. The browning on top is a signal that the center of the bottom is cooked sufficiently to hold together when the pizza is done.

Remove crust from oven and add desired sauce and toppings. For the toppings I list above we did ranch dressing, Crystal, mushrooms and onions, herbs, Crystal, grated cheese, sausage, herbs, Crystal, cheese. We like Crystal and a little spicy bite to our pizza. Can you tell?

Bake pizza for 15 – 20 minutes, until crust edges brown and cheese in center is melted and starting to brown. After 15 minutes watch pizza closely until it is browned to your preference.

Remove from oven, let cool five minutes, then slice and serve!

*an alternative to separately prepared onions and mushrooms is a quick mushroom onion sauté
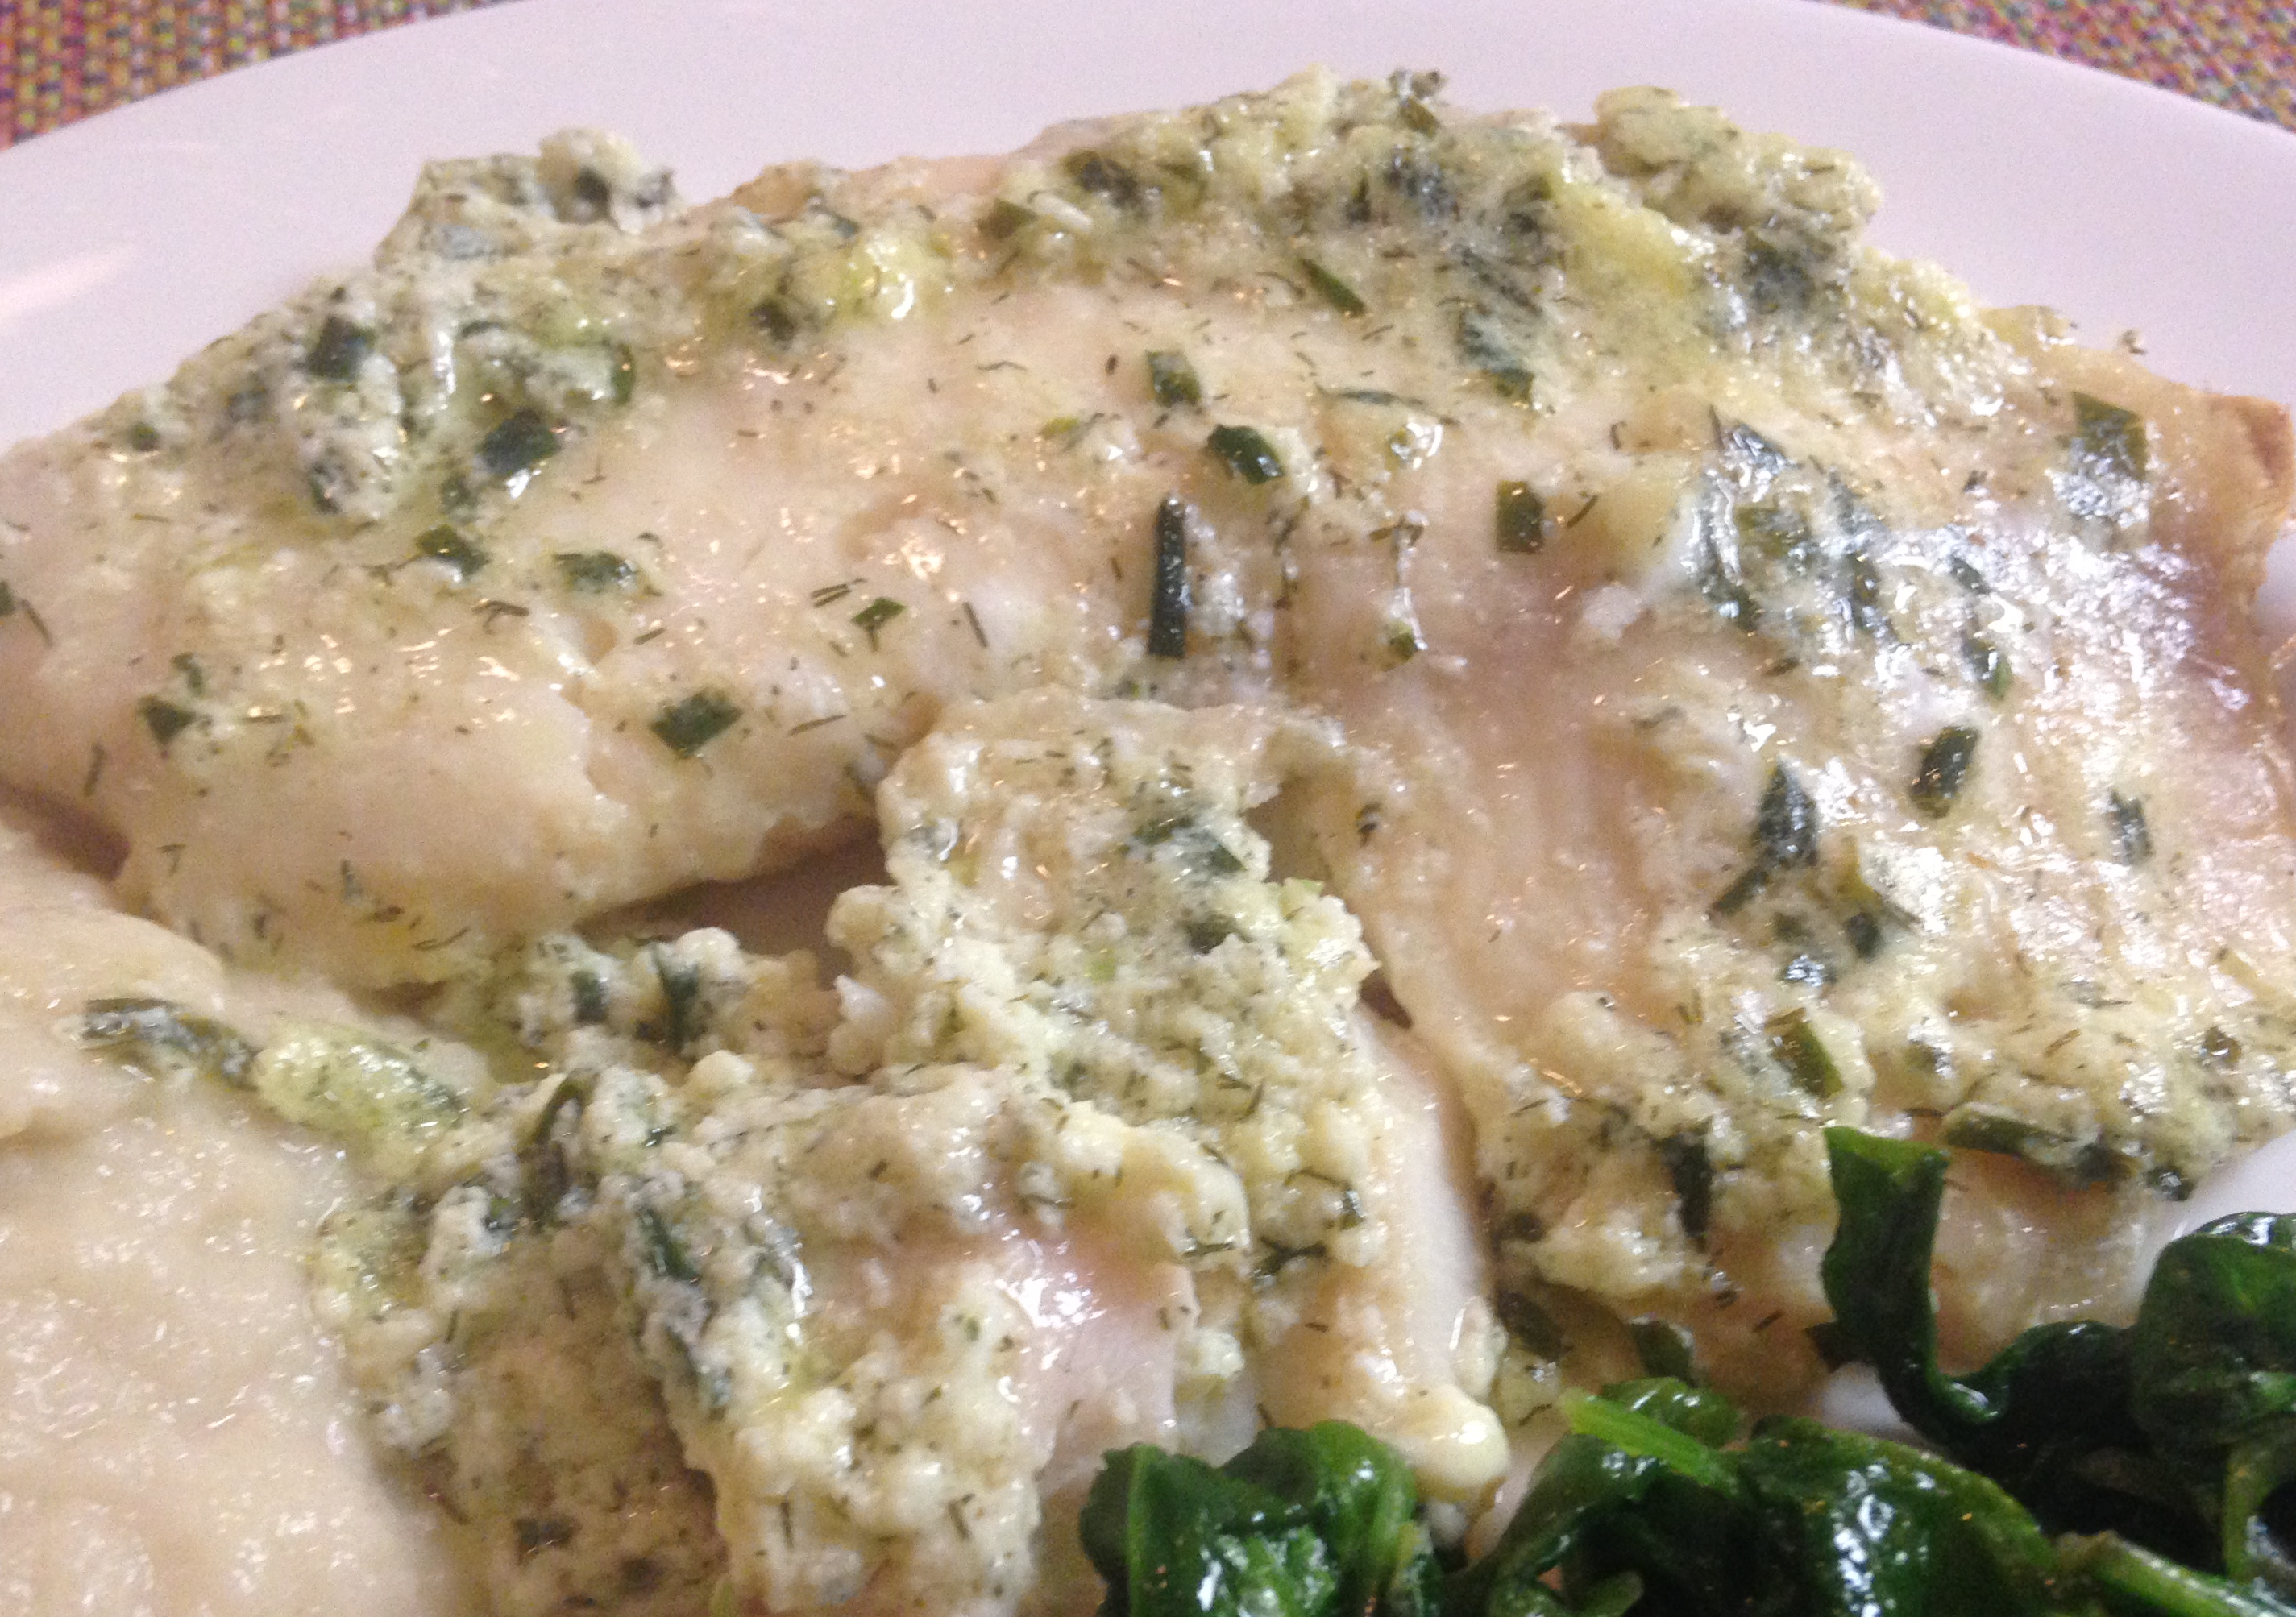
Baked Tilapia

bakedparmesantilapiaIf you scroll through my recipes you will notice there are not many including fish. Not because I dislike fish, for I really like it, especially salmon and tuna. I think it is because I consider it more delicate and not as filling as other proteins, like beef, pork and chicken. When I think about stocking the refrigerator with a few days worth of leftovers I don’t lean towards fish.

That said, this recipe for tilapia was absolutely delicious! The creamy sauce with egg and cheese protected the fish, allowing it to get cooked sufficiently without drying out. It was flavorful but not so strongly seasoned that it overpowered the fish. Surrounded by mashed cauliflower and sautéed baby spinach, it made for a lovely dinner. And the leftovers were good too!

Baked Parmesan Tilapia

1 garlic clove, minced
1/2 cup chopped fresh chives
1 teaspoon dill leaves
1/2 cup butter
1/4 cup lemon juice 
1/4 cup heavy whipping cream
1/2 teaspoon sea salt
2 eggs, beaten
8 tilapia fillets, deboned
1/2 cup finely grated Parmesan cheese

Preheat oven to 375 degrees.

In a medium skillet over medium heat melt the butter. When it begins to bubble add the garlic and chives. 
Sauté until garlic begins to brown. Remove from heat. 

Add lemon juice and stir. Add cream and stir until incorporated. By this time the sauce should be cool 
enough to not cook the eggs. Add the  salt and eggs, whisking until combined.

In a 9x13 inch baking dish pour a thin layer of sauce in the bottom, no more that a fourth of the sauce.

Arrange the fish in the dish. If the fillets need to overlap, do so with the thin ends. Pour the rest of the sauce 
on top, gently lifting pieces of fillet that overlap, letting sauce spread.

Sprinkle Parmesan cheese on top. Bake fish for 15 minutes until fish is flaking. 

Remove from oven and serve immediately.


Curry Burger Cups

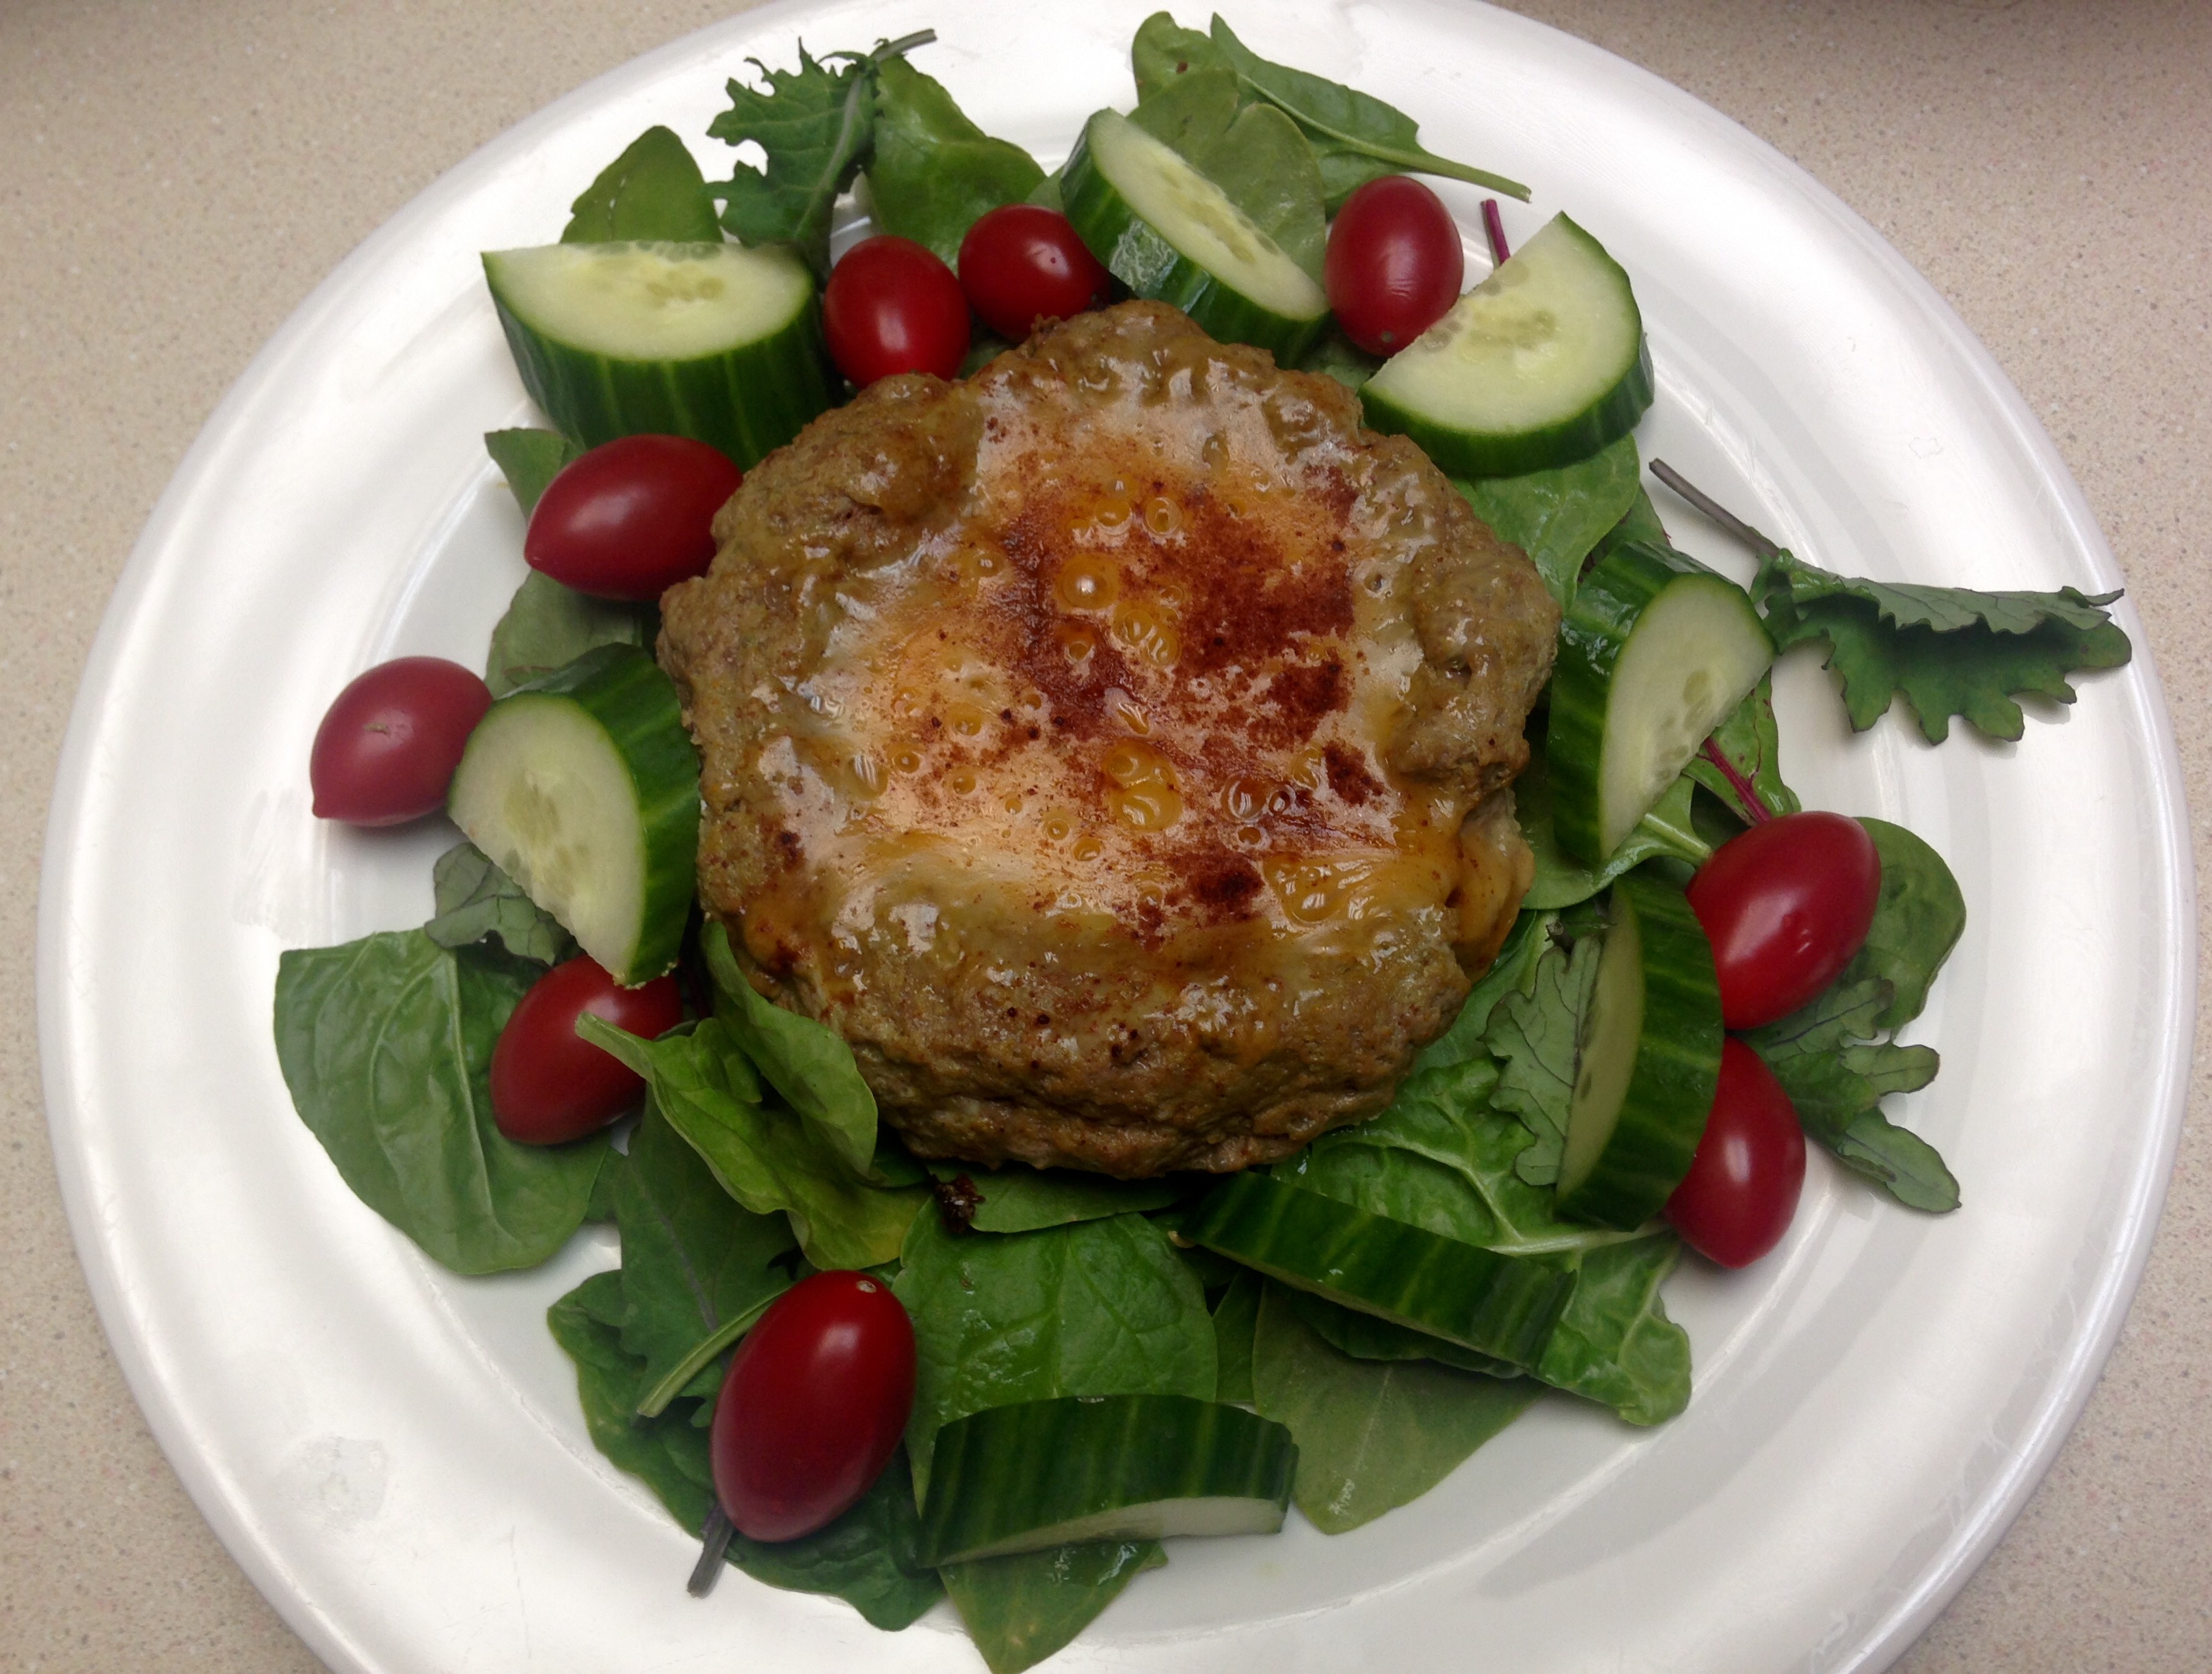
curryburgercupsI went a bit retro on this one – my mom gave us her electric skillet. For decades it has been used to make meals on the counter top. From pancakes to fried chicken we were well fed by the skillet (and mom, of course!). Since it was my mom’s it has of course been well cared for and is in excellent condition. I aspire to care for it as well, especially since I plan on using it a lot.

Compared to a stove top skillet, the electric skillet has a larger cooking surface and there is a bit more control over the temperature. I usually rely on iron skillets on the stove and forgot how fun the non-stick electric versions are! The big, domed top even has a vent to control moisture release. I may be a kitchen nerd, but it is so fun using it!

As for the lovely meal I made, using peanut butter in a burger might sound odd, but combined with the yellow curry spices the flavors were wonderful. Since the burgers aren’t flipped the bottom gets a good sear, which of course always goes well with cheddar cheese. Making the bowl in the burger helps retain the cheese instead of it dripping off the edges of a rounded burger top. Don’t get me wrong, I like the crispy cheese left in the pan when it dribbles off the edges of a cheeseburger, but I also like cheesy burgers that don’t lose any cheese while it melts.

Bites of the burgers with the peppery mix of raw baby kale, mustard greens, spinach and chard really made for a wonderful mouthful.

Curry Burger Cups

2 pounds ground beef
2 large eggs
1/2 cup Worcestershire sauce
1/2 cup creamy peanut butter
2 tablespoons dried parsley leaves
2 tablespoons ground turmeric
1 teaspoon ground cumin
1/2 teaspoon ground cinnamon
1/2 teaspoon ground black pepper
1 teaspoon paprika
2 teaspoons sea salt
2 teaspoons garlic powder
2 teaspoons onion powder
2 cups grated sharp cheddar cheese

In a large bowl place all the ingredients except the cheese. With a strong mixer or your hands thoroughly combine the ingredients. Form six patties, creating a bowl in the middle of each, leaving approximately 1/2 inch rim on the edges.

In a large skillet over medium heat (or electric skillet at 325 degrees) place the patties. Fill the bowl of each patty with 1/3 cup cheese. Cover and let cook for about ten minutes, until beef is cooked to desired doneness (medium is 160 degrees).

Serve immediately on top of raw greens or with a cooked side of vegetables.

Foccacia

Foccacia

Over the holidays I had a slew of opportunities to feed grain eaters and prove to them that grains are not necessary to enjoy celebratory meals. A couple of guest left after their visit, happy with the discovery that they not only enjoyed their eating experiences, but they in fact lost instead of gained weight during their visit. Win!

One way we were able to accomplish such a feat was adapting some of our recipes to meet celebratory needs. One need was to have a flatbread that easily soaked up sauces and juices, allowing guests to enjoy the tradition of dipping and revelling in soupy leftovers.

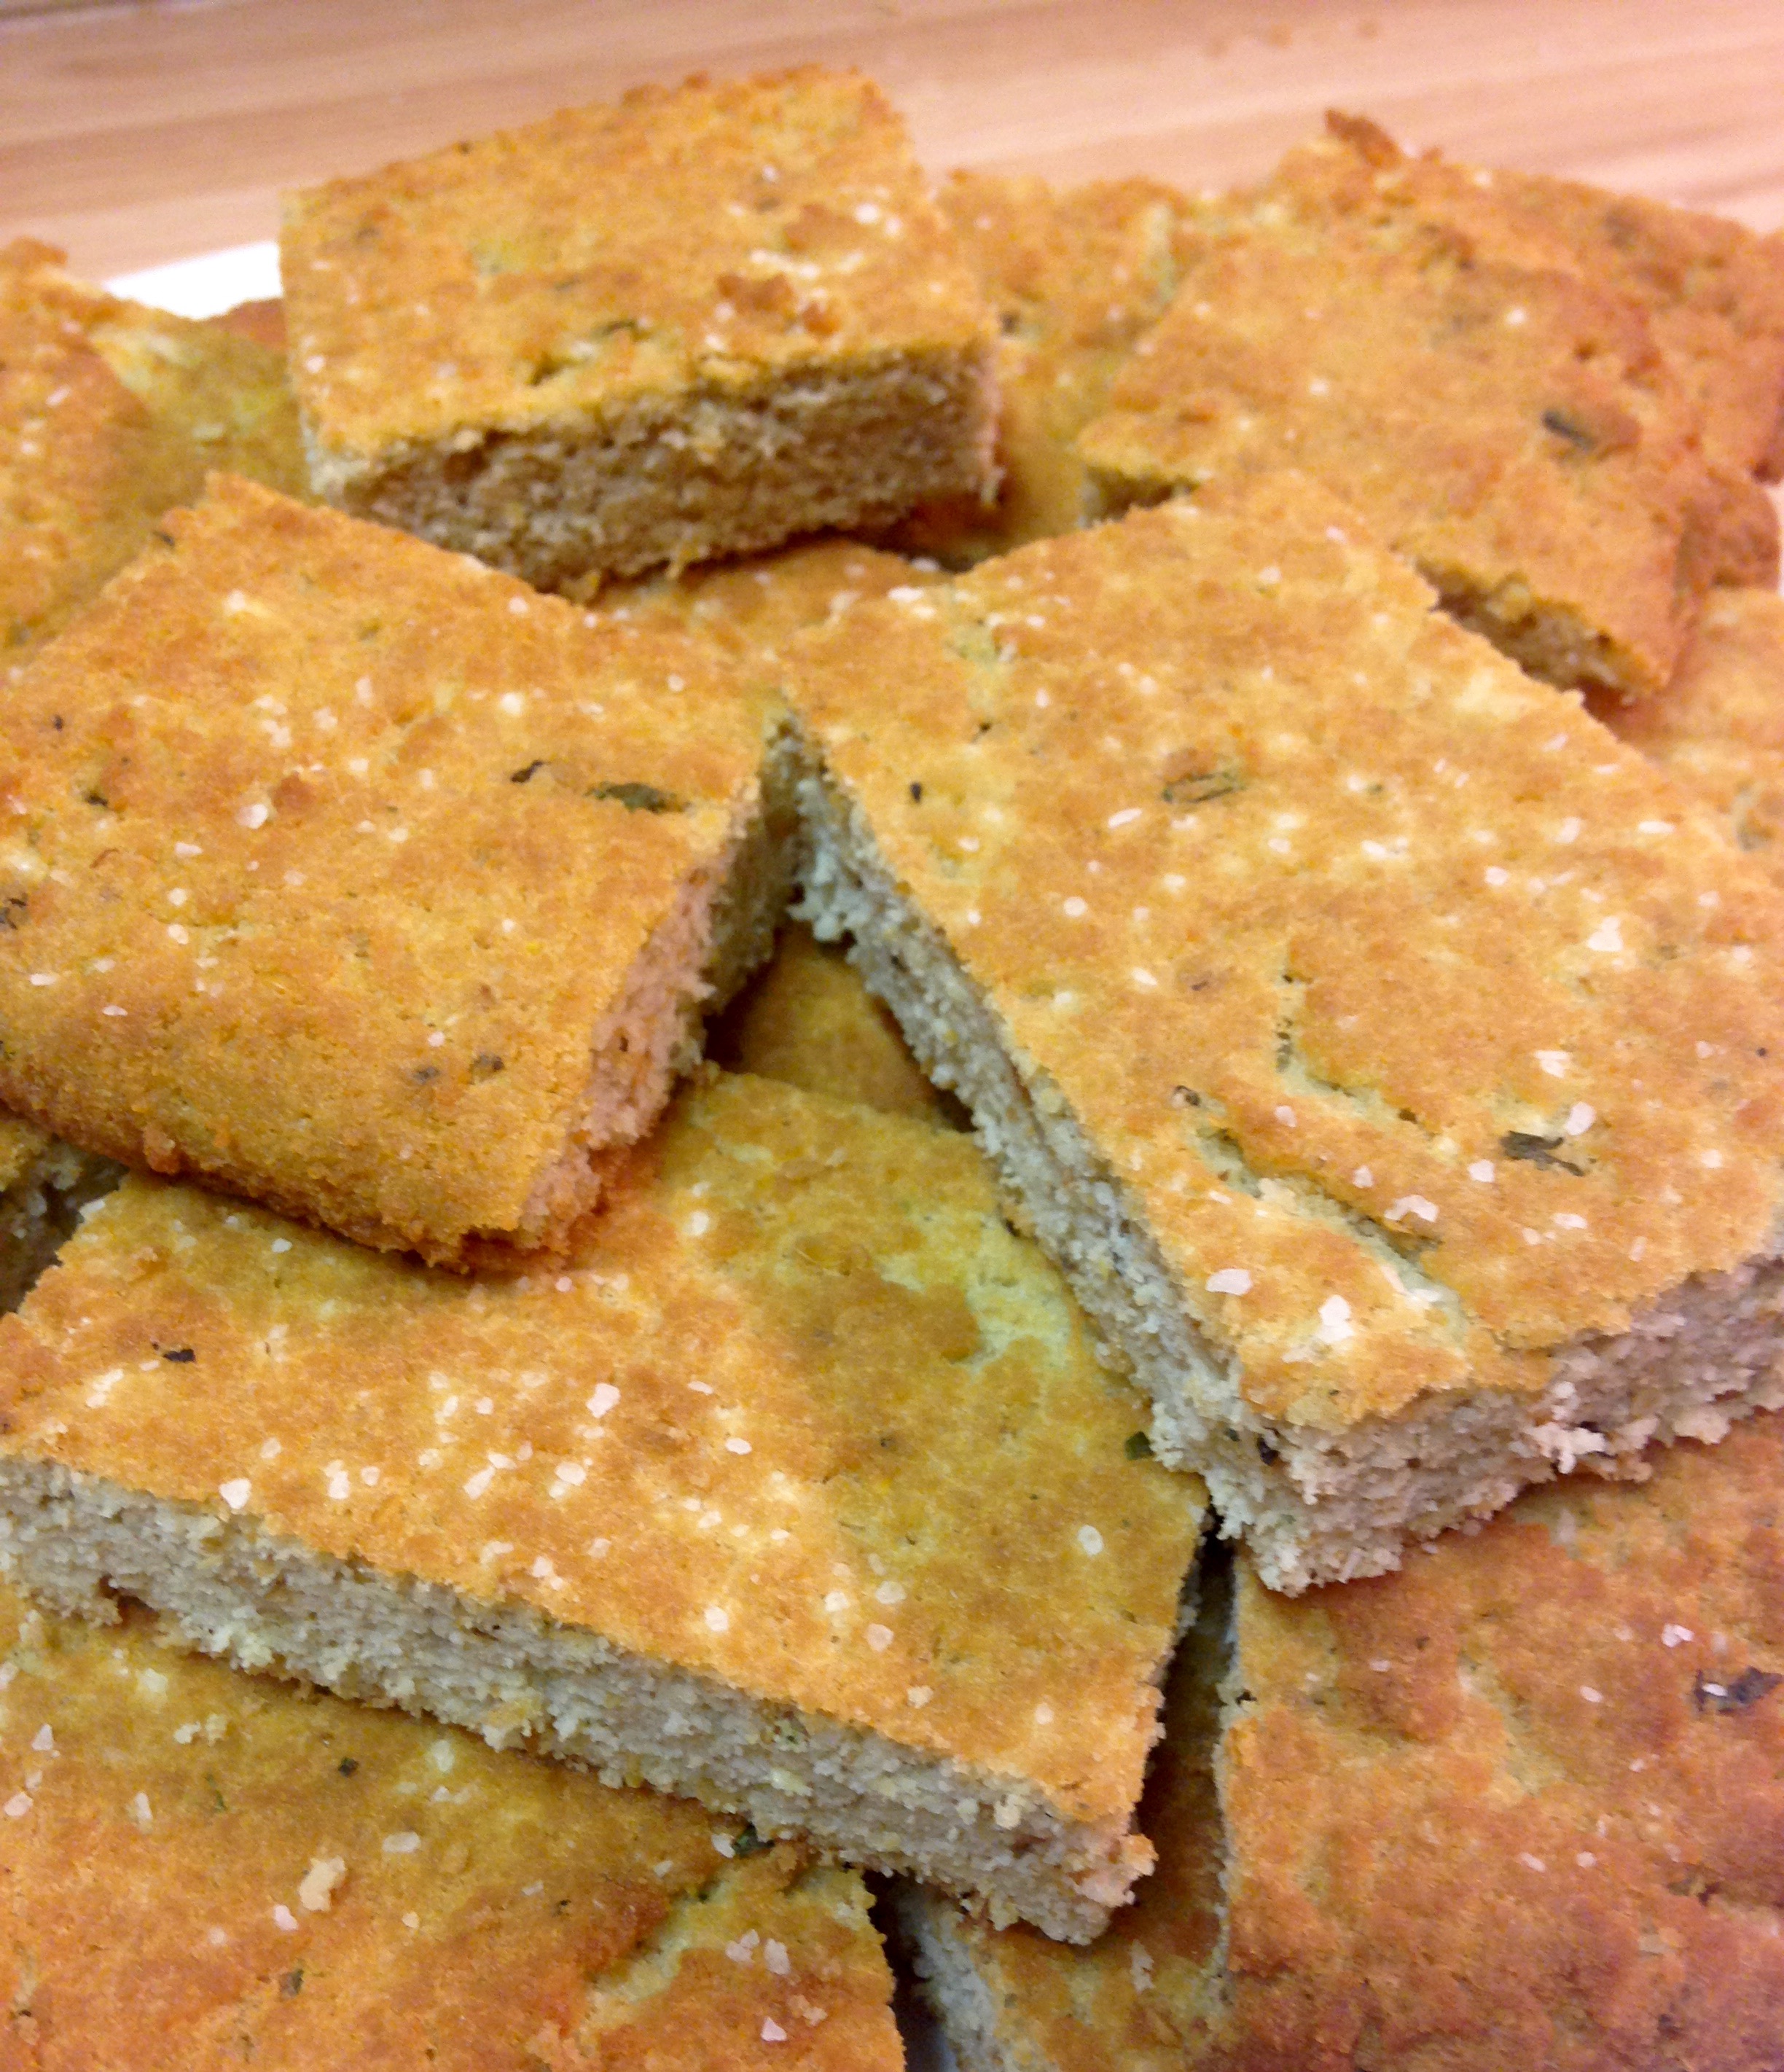
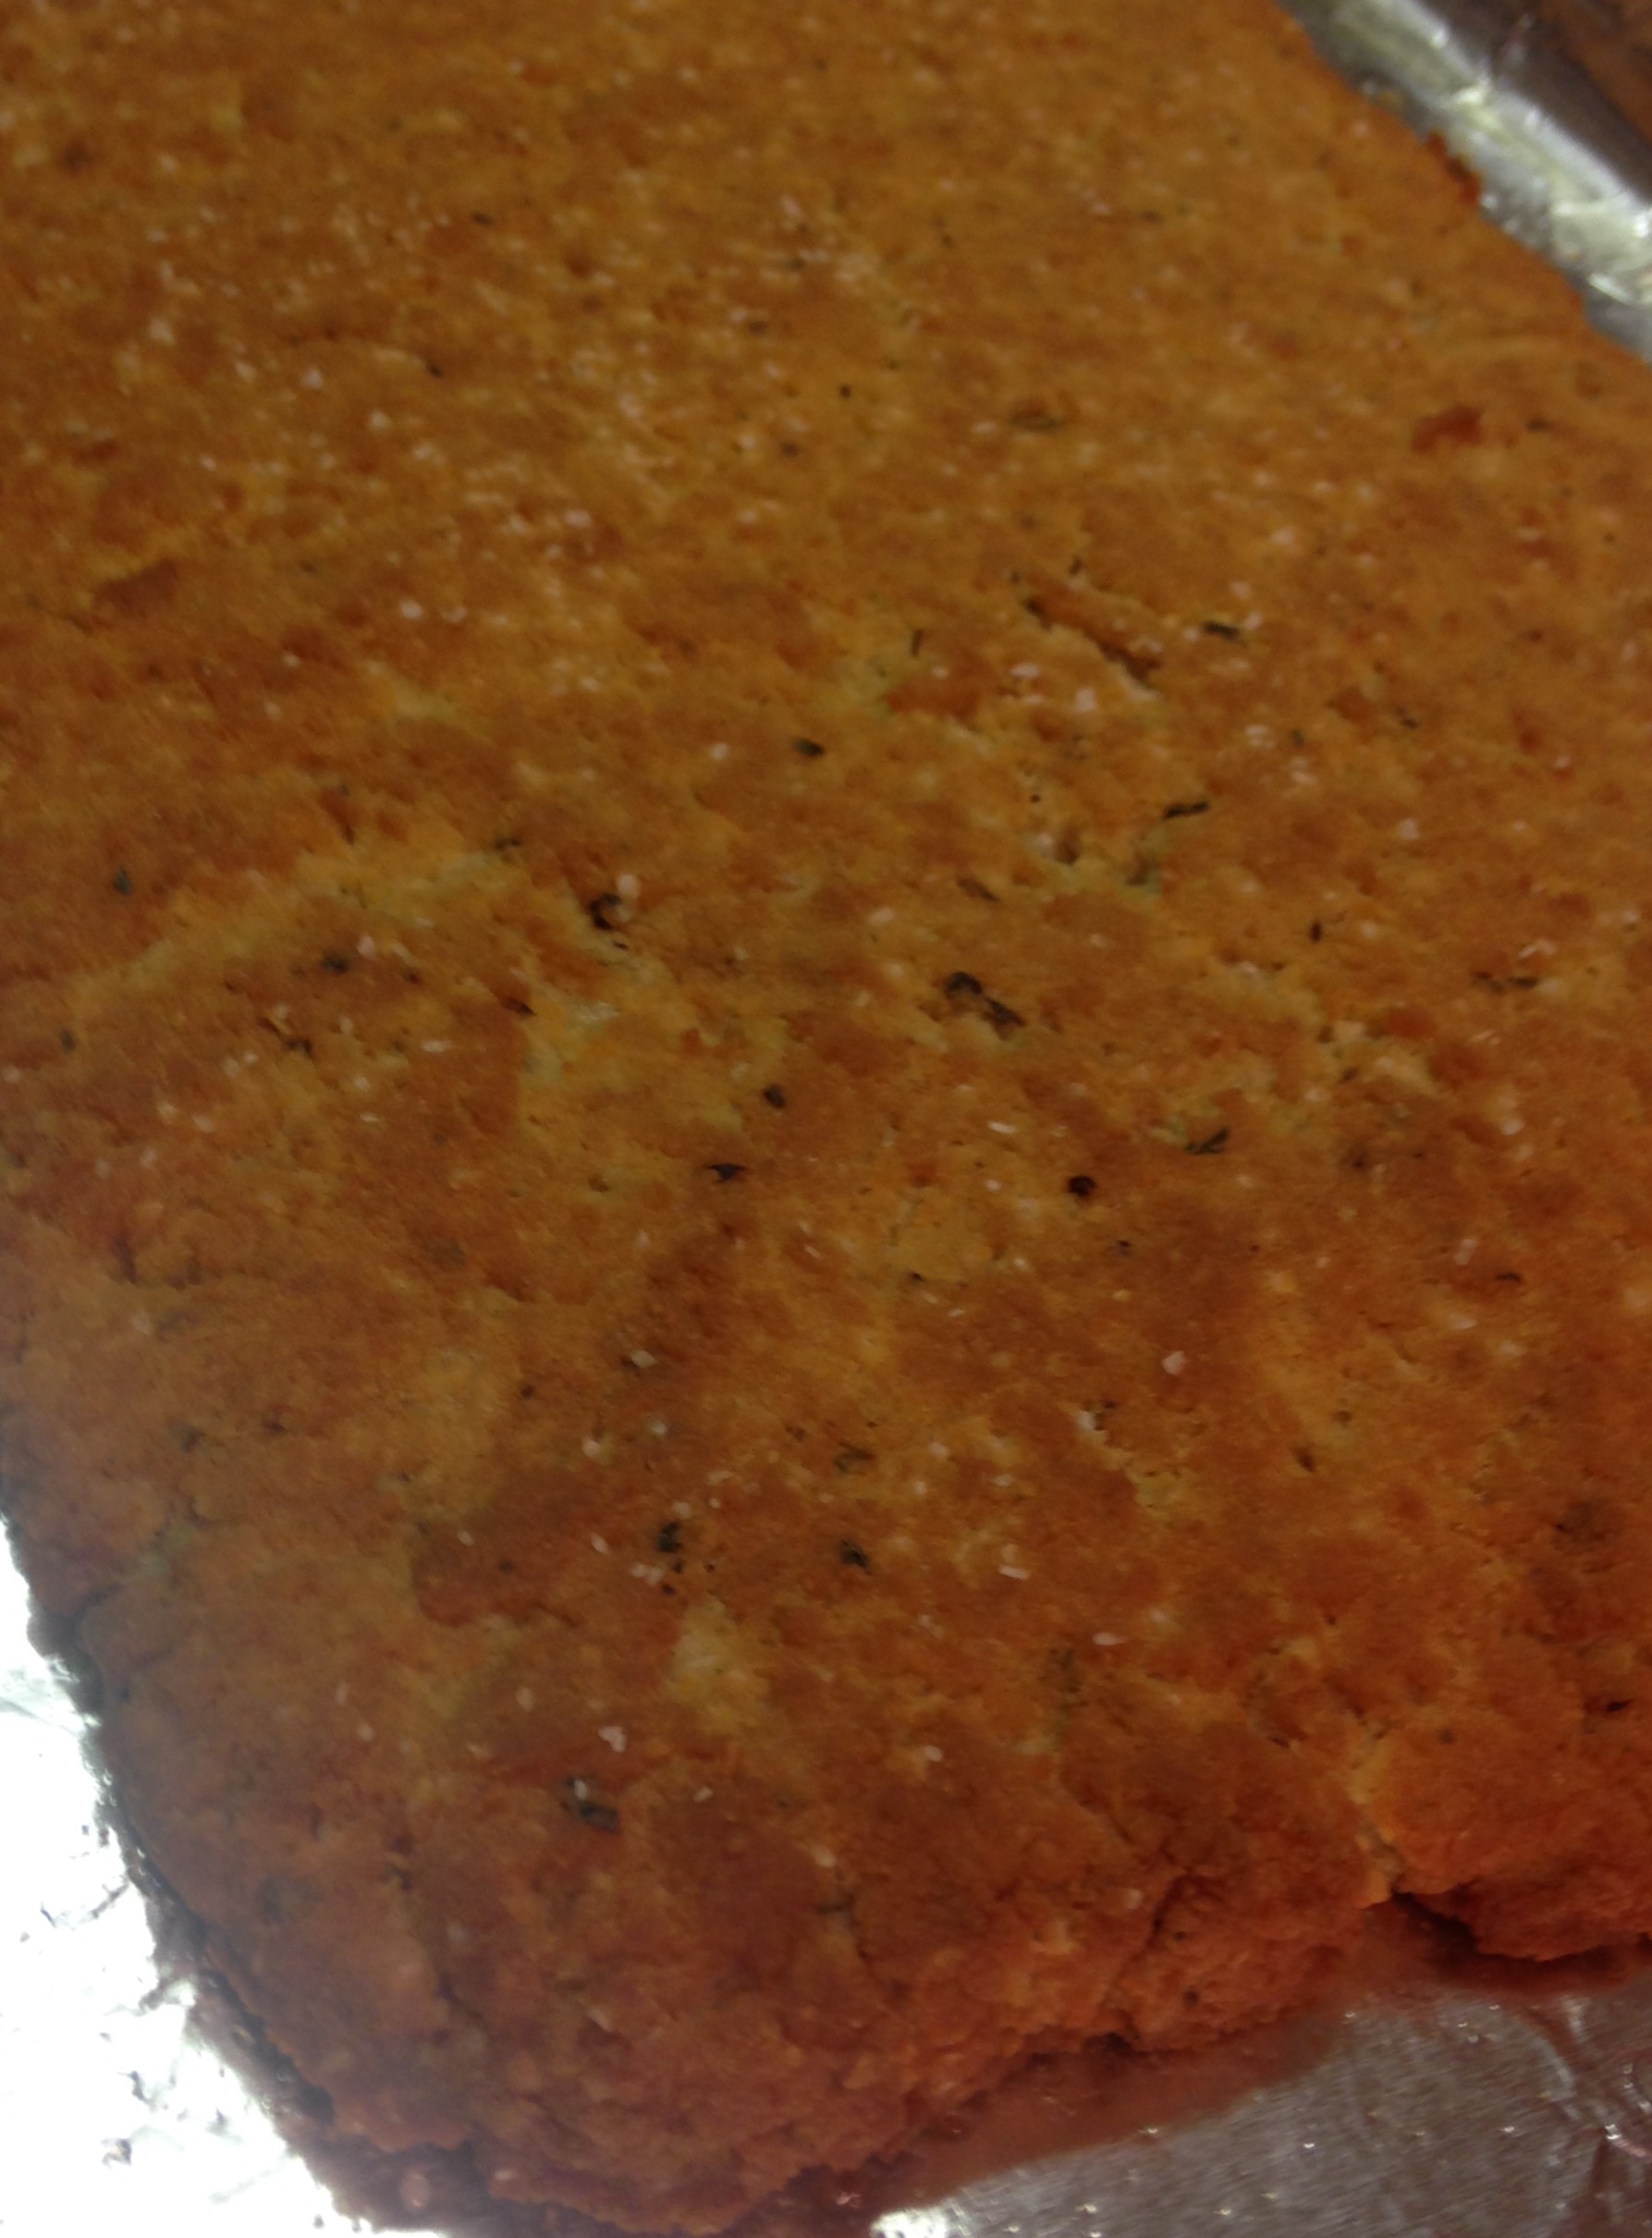
FoccaciawholeThis foccacia was an easy transition from our traditional Power Bread and fun to make! Instead of ensuring the dough was properly packed in a loaf pan I was able to mold it without edges and create exactly what we needed for our celebration. I am still enjoying the new memories made over the holidays and hope you can make some of your own with some of our grain free creations.

Foccacia

1 cup coconut flour
1/4 cup golden flaxseed meal
½ tsp sea salt
1 tsp baking soda
9 eggs, room temperature
¼ cup apple cider vinegar
1 cup melted lard, butter or extra virgin olive oil
2 garlic cloves, crushed
1/4 cup freshly chopped parsley
1/4 cup freshly chopped basil
1/4 cup freshly chopped oregano
1 Tablespoon extra virgin olive oil
Sea salt to taste

Preheat oven to 350 degrees. Prepare shallow baking pan by lining with aluminum foil.

In a large mixing bowl combine coconut flour, golden flaxseed meal, salt, baking soda, garlic, parsley, basil and oregano, then stir until well blended.

In a separate bowl combine eggs and apple cider vinegar. Whisk together until egg whites and yolks are well combined. Add lard/butter to eggs and continue whisking. Add immediately to bowl of dry ingredients.

Place dough in the middle of prepared baking pan. Gently spread dough towards the edges of the pan, making a rectangular shape that is 1/2 inch or less in thickness. Press edges towards the middle, ensuring that they are firmly shaped.

Using your hands gently spread the olive oil over the top and edges of the shaped dough. Sprinkle generously with sea salt. Place in preheated oven on the middle shelf. Bake for approximately 25 minutes, until middle is cooked and top of bread is evenly brown.

Remove from oven and let sit for at least 15 minutes. Slice bread into approximately 12-15 squares. Serve immediately or reheat before serving later. Store chilled in airtight container.

Pumpkin Custard

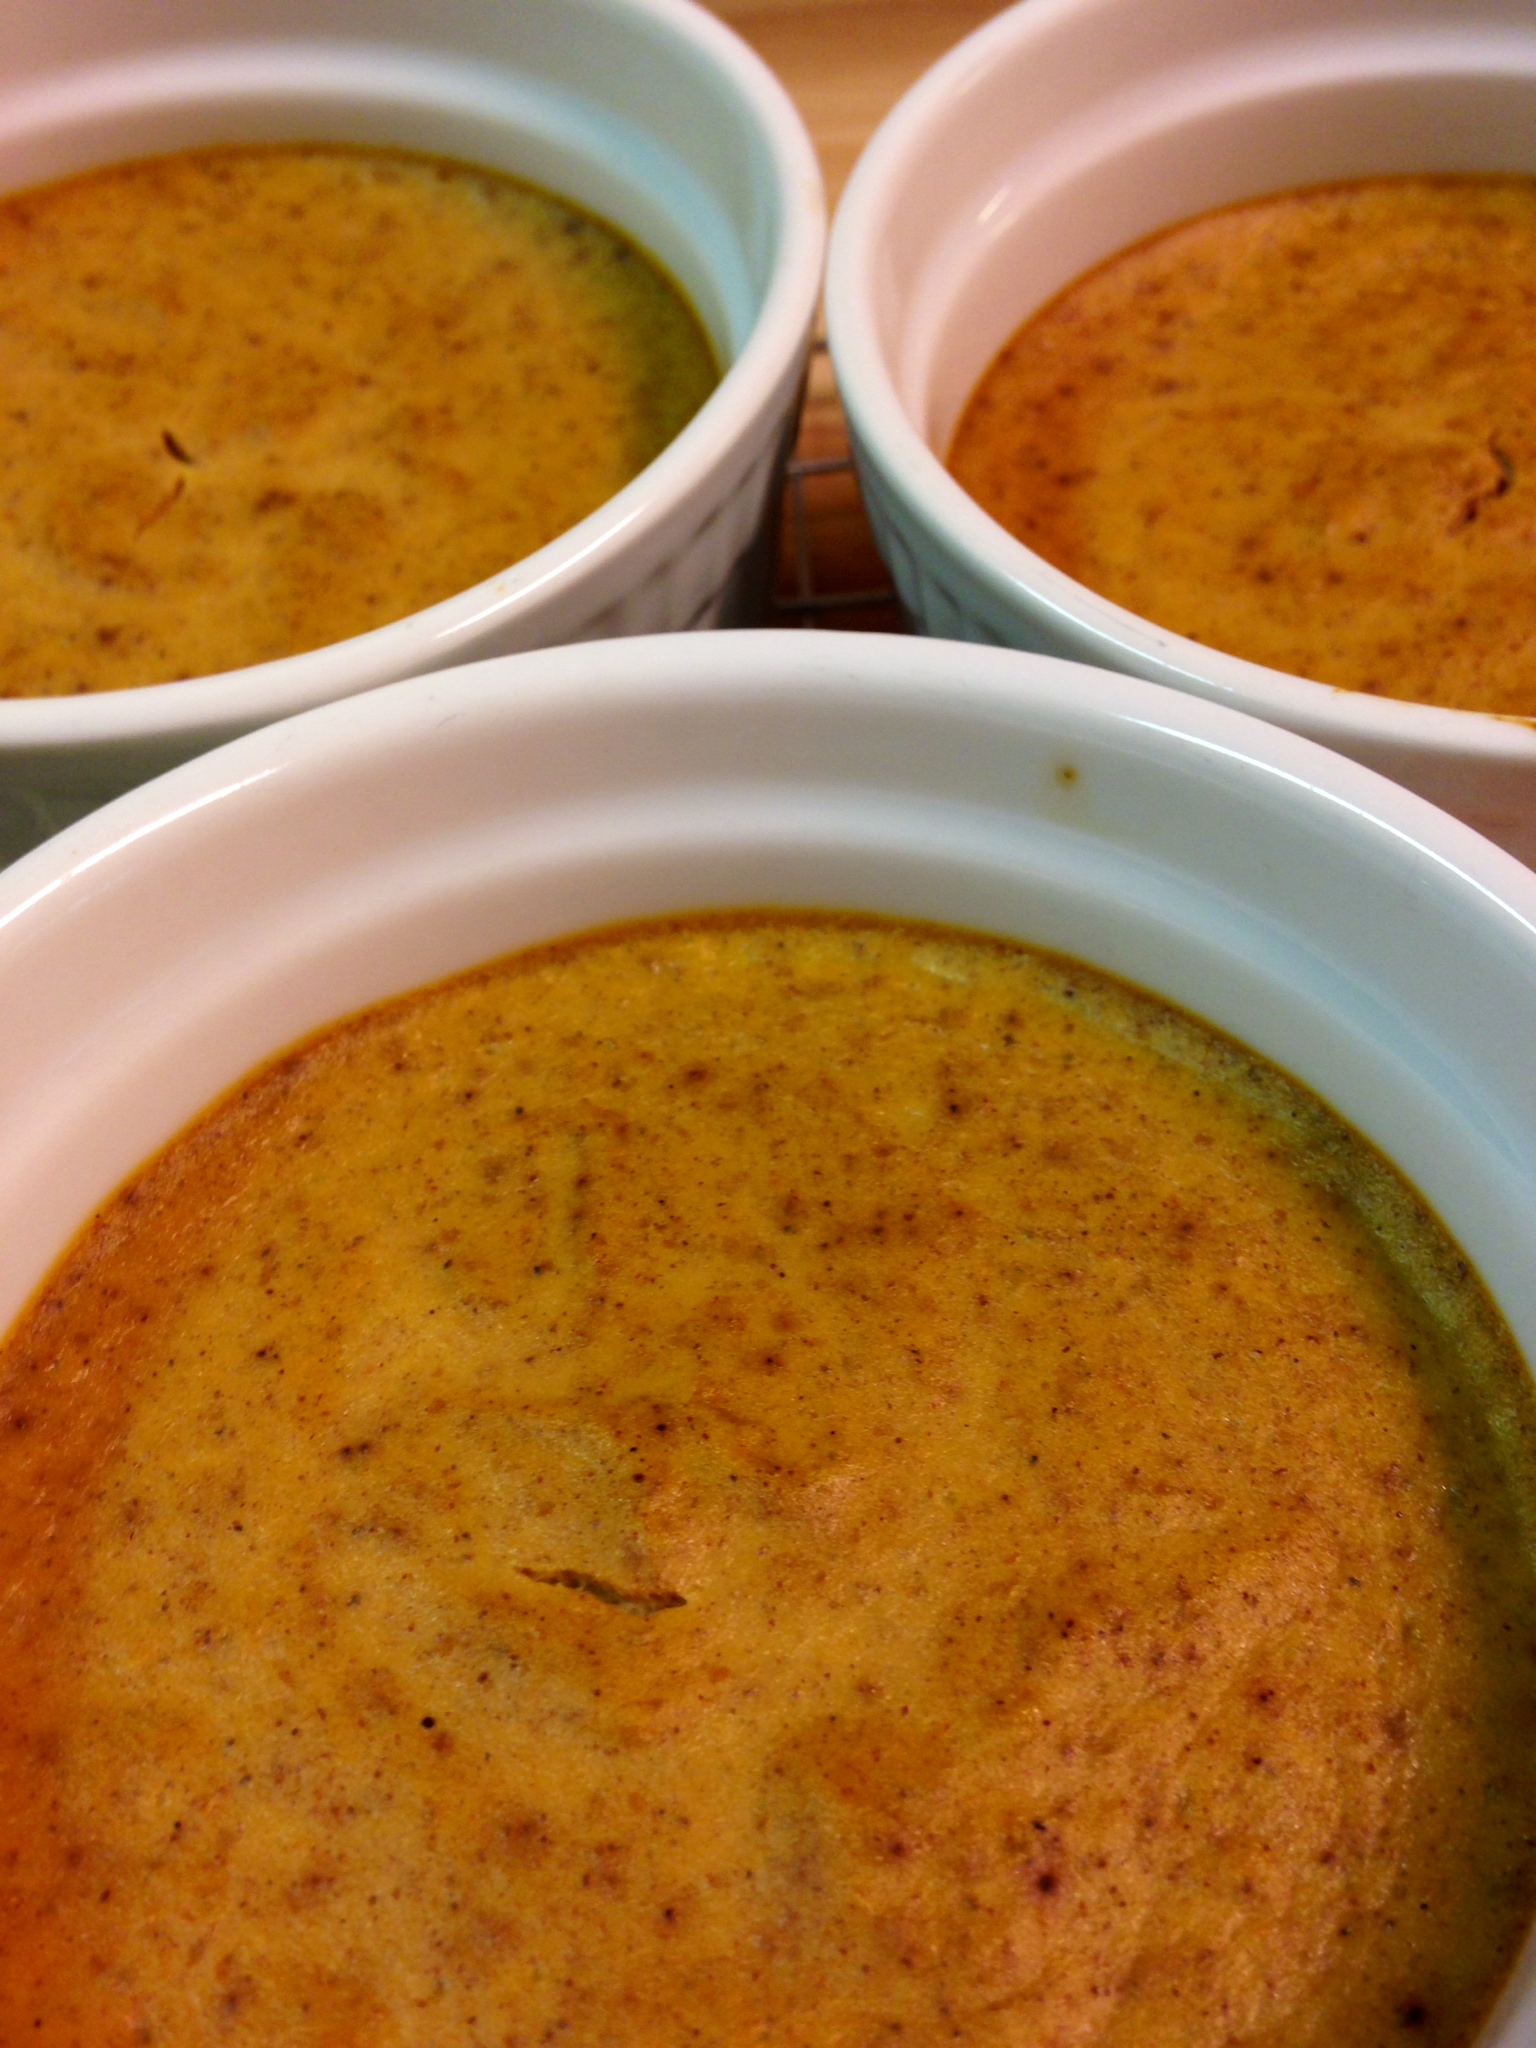
pumpkincustardStill looking for a way to use up the last of the pumpkin from your holiday cooking? From my big jar of pumpkin I have so far made a pie, muffins and pumpkin spice syrup, then finished off the supply with this simple custard. It was a reeeaaalllly big jar!

Speaking of jarred pumpkin…no, I don’t make my own. I used to, but it was much more labor intensive than I wanted to deal with. By the time I bake it and smooth out all the stringiness I am tired of dealing with the stuff. I am hooked on using already smooth and prepared pumpkin (which often is not purely pumpkin, but includes other types of squash that are less stringy). I use very few prepared ingredients when I cook, but some I do rely on consistently. Besides pumpkin, I rely on prepared tomatoes and tomato sauces, as well as artichoke hearts. I will leave the time and effort needed to prepare them to other people. That way I can focus on making other stuff and doing funner things.

Although often for dessert, a custard like this is high in protein and goes great as breakfast too!

I was also feeling a bit nostalgic when making this. Four years ago today my dad died. He loved pumpkin pie. He had big slices whenever it was available. A few weeks before he died we brought family and friends together at his rehabilitation center for a pie party. He was stuck in the center for the holidays, so we brought a celebration to him! We filled up the dining room with people and pies he loved. It was probably the last time he had pumpkin pie. I think of him every time I make this, or pie in general. Bittersweet and comforting at the same time. I love and miss you dad!

Pumpkin Custard

1 cup pumpkin purée
1/2 cup heavy whipping cream
3 large eggs
1 Tbsp ground cinnamon
1 tsp ground ginger
1/2 tsp sea salt
1/4 tsp ground clove
2 Tbsp Stevita
Whipping cream to serve (optional)

Preheat oven to 325 degrees.

In a medium bowl whisk together the eggs and whipping cream. Add pumpkin purée, cinnamon, ginger, salt, clove and Stevita, whisking well to incorporate all the ingredients. Divide the custard evenly between three 1-cup ramekins.

Place ramekins, evenly spaced, in a 9×13 baking dish. Fill dish with water so ramekins are submerged half way up. Place dish in preheated oven on the middle rack. Bake for 30-35 minutes, until center of all custards is firm. Serve, topped with whipped cream, immediately or chill and serve cold.

This recipe can easily be doubled or tripled to make more individual servings.

Power Bread

powerbunsFor the past year or so we have experimented with creating a simple, healthy substitute for loaf bread and buns. Some of our experiments were successful, but not quite “it.” We first discovered Bred Bread, which is delicious, but quite pricy considering the four cups of almond needed needed to make it. We also came up with some flatbread, but it is a bit fickle and not the best substitute for a bun. Our quick minute muffins do a good job, but just don’t completely do it for us when we want sliced bread.

This. This is it! We call it power bread because of how much protein and fiber you get from a slice or two. Little B has a slice with peanut butter and forgets about food for hours. This is significant because she is a six year old eating machine these days. The bread works like a sponge, filling up your stomach quickly after eating. It is also convenient to have a loaf ready in the fridge, and much less expensive to make without almond meal.

The loaf and bun versions are very popular with the customers of Grain Free Haven, with people stocking up each week at farmers markets and fairs in the Dallas area. I have been told by customers that Stevia is not the purest of ingredients for people following a Paleo diet, but the ingredient can be excluded without a significant impact. We think it works well balancing the coconut flour and flaxseed meal flavors, but it is a subtle effect and the bread is delicious either way.

I hope you make and enjoy our masterpiece! Be careful though, because one serving will fill you and a second may stuff you!

Power Bread

1 cup coconut flour
1/4 cup golden flaxseed meal
½ tsp sea salt
1 tsp baking soda
½ tsp Stevita (granulated sweetener)
9 eggs, room temperature
¼ cup apple cider vinegar
1 cup melted lard, butter or extra virgin olive oil

Preheat oven to 325 degrees. In a large mixing bowl combine coconut flour, golden flaxseed meal, salt, baking soda and Stevita, then stir until well blended.

In a separate bowl combine eggs and apple cider vinegar. Whisk together until egg whites and yolks are well combined. Add lard/butter/oil to eggs and continue whisking. Add immediately to bowl of dry ingredients.

For one loaf: pour dough into well greased 8 x 4 loaf pan.* This is a smaller loaf, which allows for a square loaf. A larger pan can be used, but you will have more of a rectangular end result. Wet your hands and even out the top of the loaf, making sure it is level and damp. With a dinner fork lightly poke the top of the dough every inch or so. Bake a single loaf, on the center shelf (third shelf from the top) on a shallow baking sheet, for 50-55 minutes.

For 6 buns: well grease six 1-cup ramekins. Place a round of parchment paper on the bottom of each, making sure the paper does not run up the sides. Using a large ice cream scoop place two level scoops into each ramekin. Wet your hands even out the top of each bun, making sure each is level and damp. With a dinner fork lightly poke the top of the dough every inch or so. Place all six ramekins on a shallow baking dish as far apart from each other as possible. Bake buns on the center shelf (third shelf from the top) for 28-32 minutes.

*This is a smaller loaf pan than typically used with wheat-based breads. The size allows for a square loaf. A larger pan can be used, but you will have more of a rectangular end result.

Fluffy Pancakes

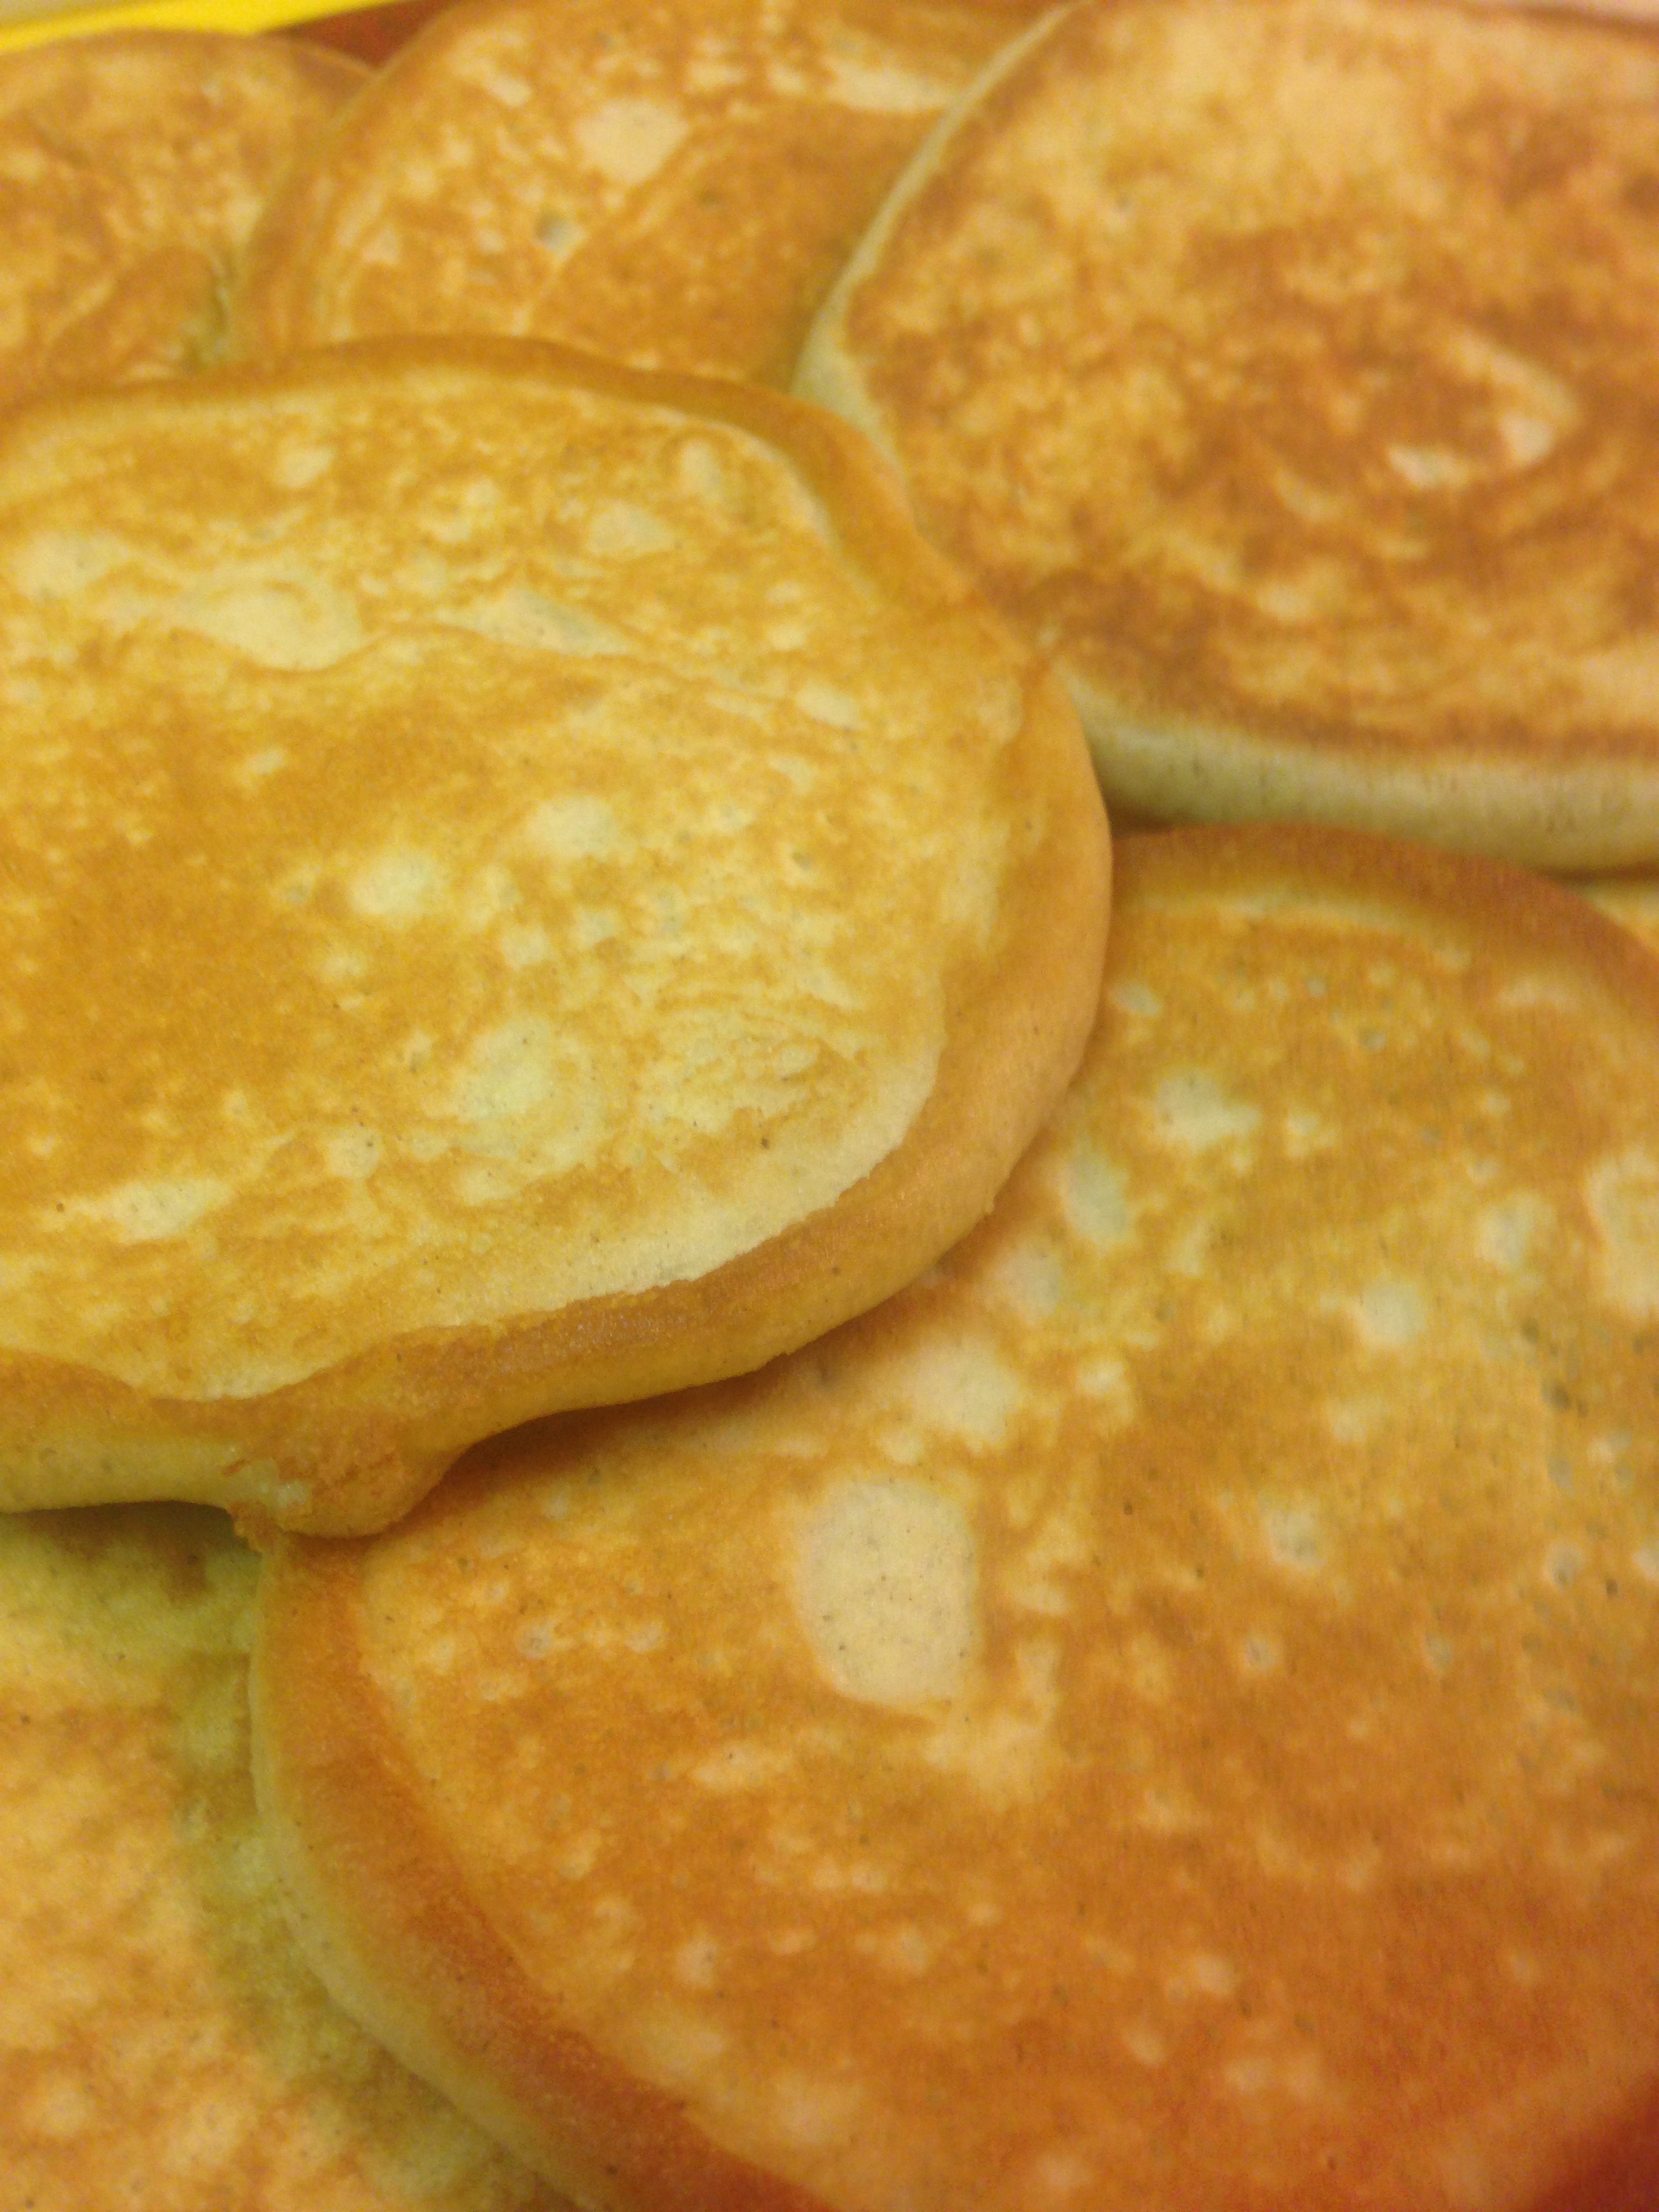
2015-10-14 10.30.27A few years ago we were living temporarily in a hotel while moving, and had to wrestle with a little kitchenette. Craving pancakes, we concocted a lovely recipe that we have used consistently ever since. I recently decided I wanted to make some fluffier, less coconut-y pancakes and tweaked the recipe. I also considered our interest in having plenty of leftovers, so figured out a quadrupled batch. This version makes about 18 pancakes, so at two pancakes per serving it makes for nine meals (and without the syrup, also a filling snack on the go for Little B).

I caution you about eating more than two at a time without at least ten minutes in between servings. These suckers seem to expand like sponges in the stomach. I at two at 10am this morning and have yet to be hungry now at 8pm. Better than any super food I ever before experienced!

Fluffy Pancakes

1 cup coconut flour
1/2 tsp baking soda
1 tsp ground cinnamon
2 tsp Stevita
1/2 tsp sea salt
11 eggs
1/2 cup coconut oil
1 cup heavy whipping cream

In a medium bowl combine the flour, baking soda, cinnamon, Stevita and salt. In a separate mixer bowl place the eggs, coconut oil and cream. Mix the wet ingredients on medium until combined. Add the dry ingredient mixture and mix on high until well combined and any solid pieces of coconut oil are broken up and incorporated.

Heat a large skillet to medium high. Add a drop fat (about a teaspoon of butter, coconut oil or lard) to the pan and let it heat up. Add 1/4 – 1/3 cup of the batter and gently spread it out into a pancake with approximate diameter of 3″ – 4″. Cook for about two minutes until the bottom of the pancake sets, then flip it over with a large spatula. Cook for about two more minutes until both sides are consistently browned.

An alternative is using a waffle iron – our iron has a flat reverse side, so we can use the flat side, drop two dollops of batter, close the top and cook two pancakes until browned (relying on instructions for your particular waffle iron, if it does such wondrous things).

Repeat with remaining batter until it is gone.

Serve immediately or store in fridge/freezer in air tight container.

300th Sausage Herb Frittata

2015-10-09 11.23.23

One or two days a week I do Grain Free Haven baking and roasting marathons to prepare special order and market products. Markets and special orders usually need delivery or pick up on weekend days, so the marathons tend to land on Thursday or Friday. These are also days when the week’s groceries are dwindling, with bits and pieces littering the refrigerator shelves and drawers. On marathon days I like to have family cooking done early for the whole day. Busy baking days and using bits and pieces make dishes like soups and frittatas so appealing. Meats and vegetables go together so well in so many combinations, it is easy to combine them and bind with eggs or broth. They are honorable, filling dishes that help me significantly reduce possible food waste, the thought of which makes me very sad.

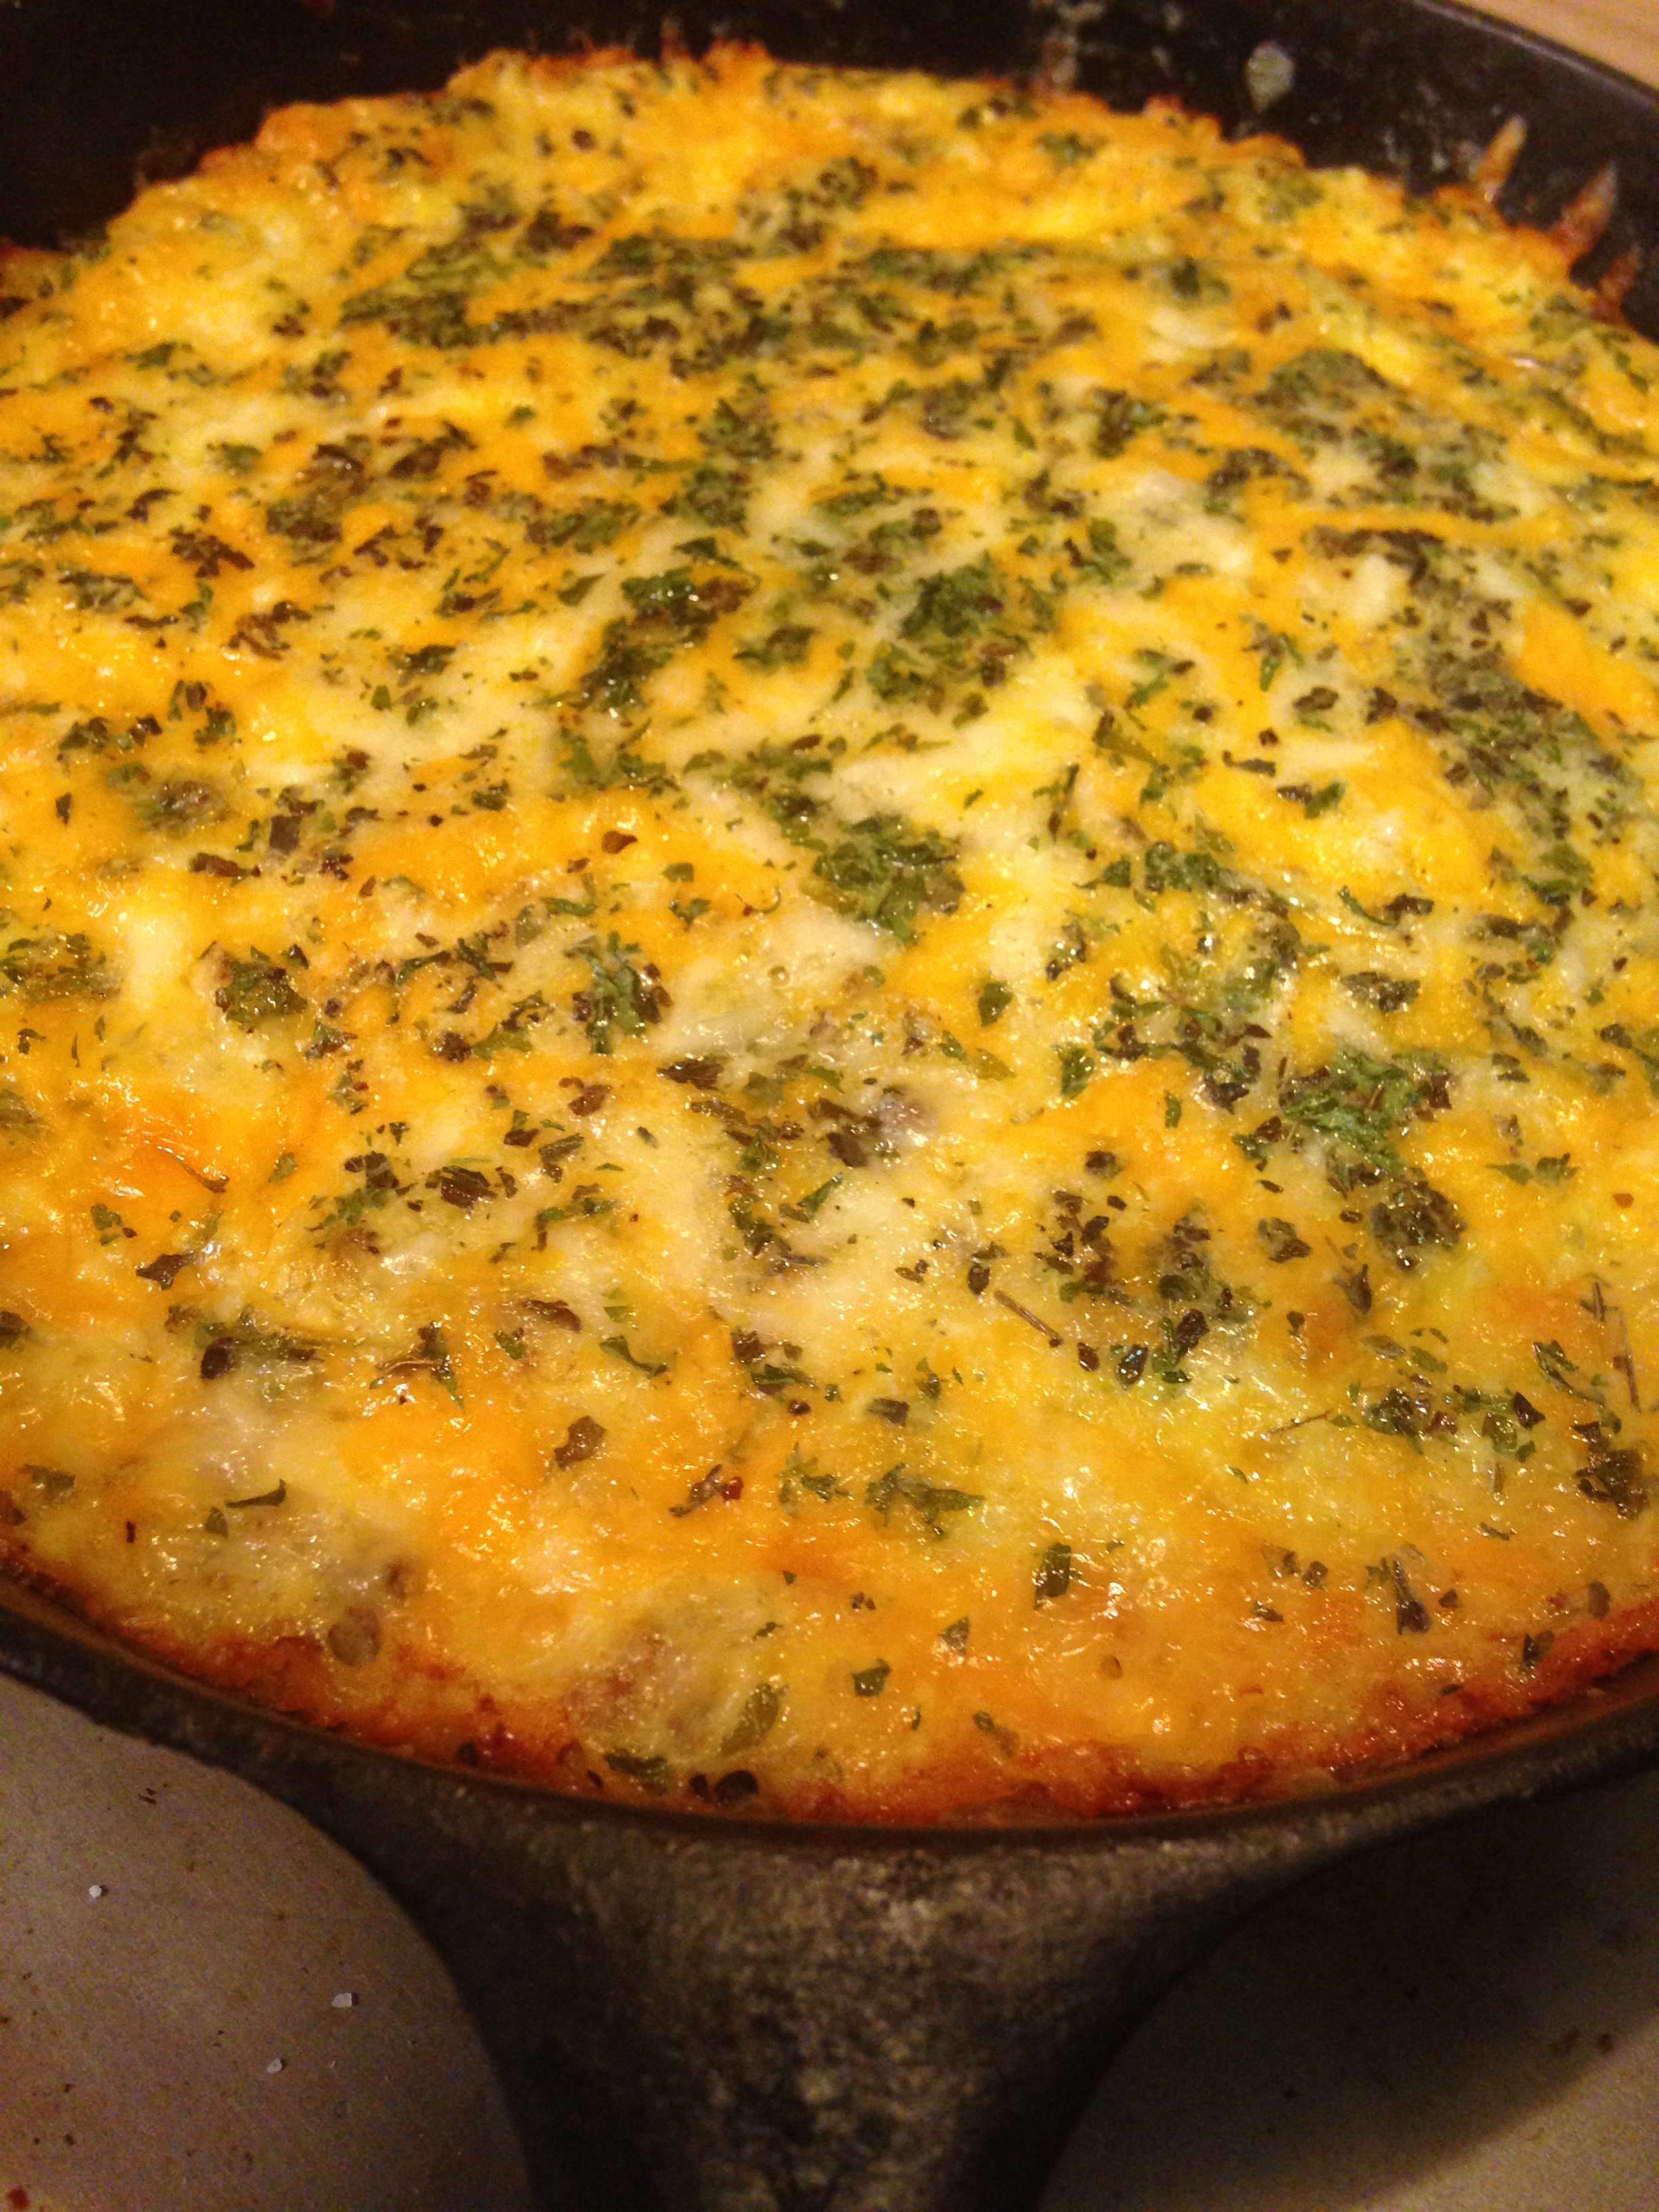
In the past I have made versions with salmon and a meaty version. This week Big D made some spicy breakfast sausage that had lovely flavors, but was a skidge salty. We also had some standards in the pantry, like eggs, onions and turnips, so here is what I came up with. It filled up the family all day, both hot right out of the oven in the morning and cold right out of the fridge later in the day. The skillet was empty and bellies were full. Just the way I like it.

I also just realized that this is my 300th post to this blog! It has taken me over 3 1/2 years to get here. I look back in wonder on where I started and where I am now – personally, professionally, nutritionally and emotionally it has been quite a ride. It started out as a way to record recipes so that friends, family and I could find them easily, and also record the antics of my little family. It became a journey about nutrition and food sensitivities, and helped launch a cottage food business that is helping me support said little family. I may not post as frequently now as I did when I started, but I plan on continuing to create and share our journey. Thanks for joining me and thanks to all the people that lent me their kitchens!

300th Sausage Herb Frittata

1 Tbsp extra virgin olive oil
1/2 pound spicy breakfast sausage
1/2 medium yellow onion, chopped
2 garlic cloves, minced
1/2 large turnip, chopped
1 tsp sea salt (you may need more, depending on saltiness of sausage)
1/2 tsp ground black pepper
1 Tbsp dried parsley flakes
1 Tbsp dried basil leaves
1 Tbsp dried oregano leaves
6 large or 7 medium eggs
2 Tbsp heavy whipping cream
1 cup shredded co-jack cheese

Preheat oven to 300 degrees. In a 10″ iron skillet* heat the oil over medium high heat. Add onion, garlic and turnip. Sauté about four minutes until onions are translucent and garlic is browning. Add sausage, stir and cook for about five minutes until sausage is heated through. While sausage is heating up break eggs into a medium bowl, along with salt, pepper, parsley, basil, oregano and cream. Whisk together until egg whites and yolks are well mixed.

Remove skillet from heat.

Pour egg mixture over contents of skillet and stir until egg mixture and sausage/vegetable mixture are well combined. Sprinkle cheese on top of the egg, sprinkling a little more parsley, basil and oregano if you like (I do).

Place skillet on the middle rack of the oven. Bake for 20 minutes. Move skillet to top rack and bake for ten more minutes. Remove from oven. The center of the frittata should be a little puffy. Let sit for about five minutes before serving – the puffiness will settle while it cools. Serve immediately.

*This frittata can be made in a oven proof baking dish if you don’t have the noted iron skillet size, just make sure it is no larger than 10″x10″ to ensure the mixture is thick enough to prevent drying out when it is baked thoroughly enough. If an iron skillet is not used, additional baking time may be needed (about 5-8 minutes), since iron skillets speed up cooking time.

Ham and Egg Salad Tomatoes

2015-09-16 11.12.21

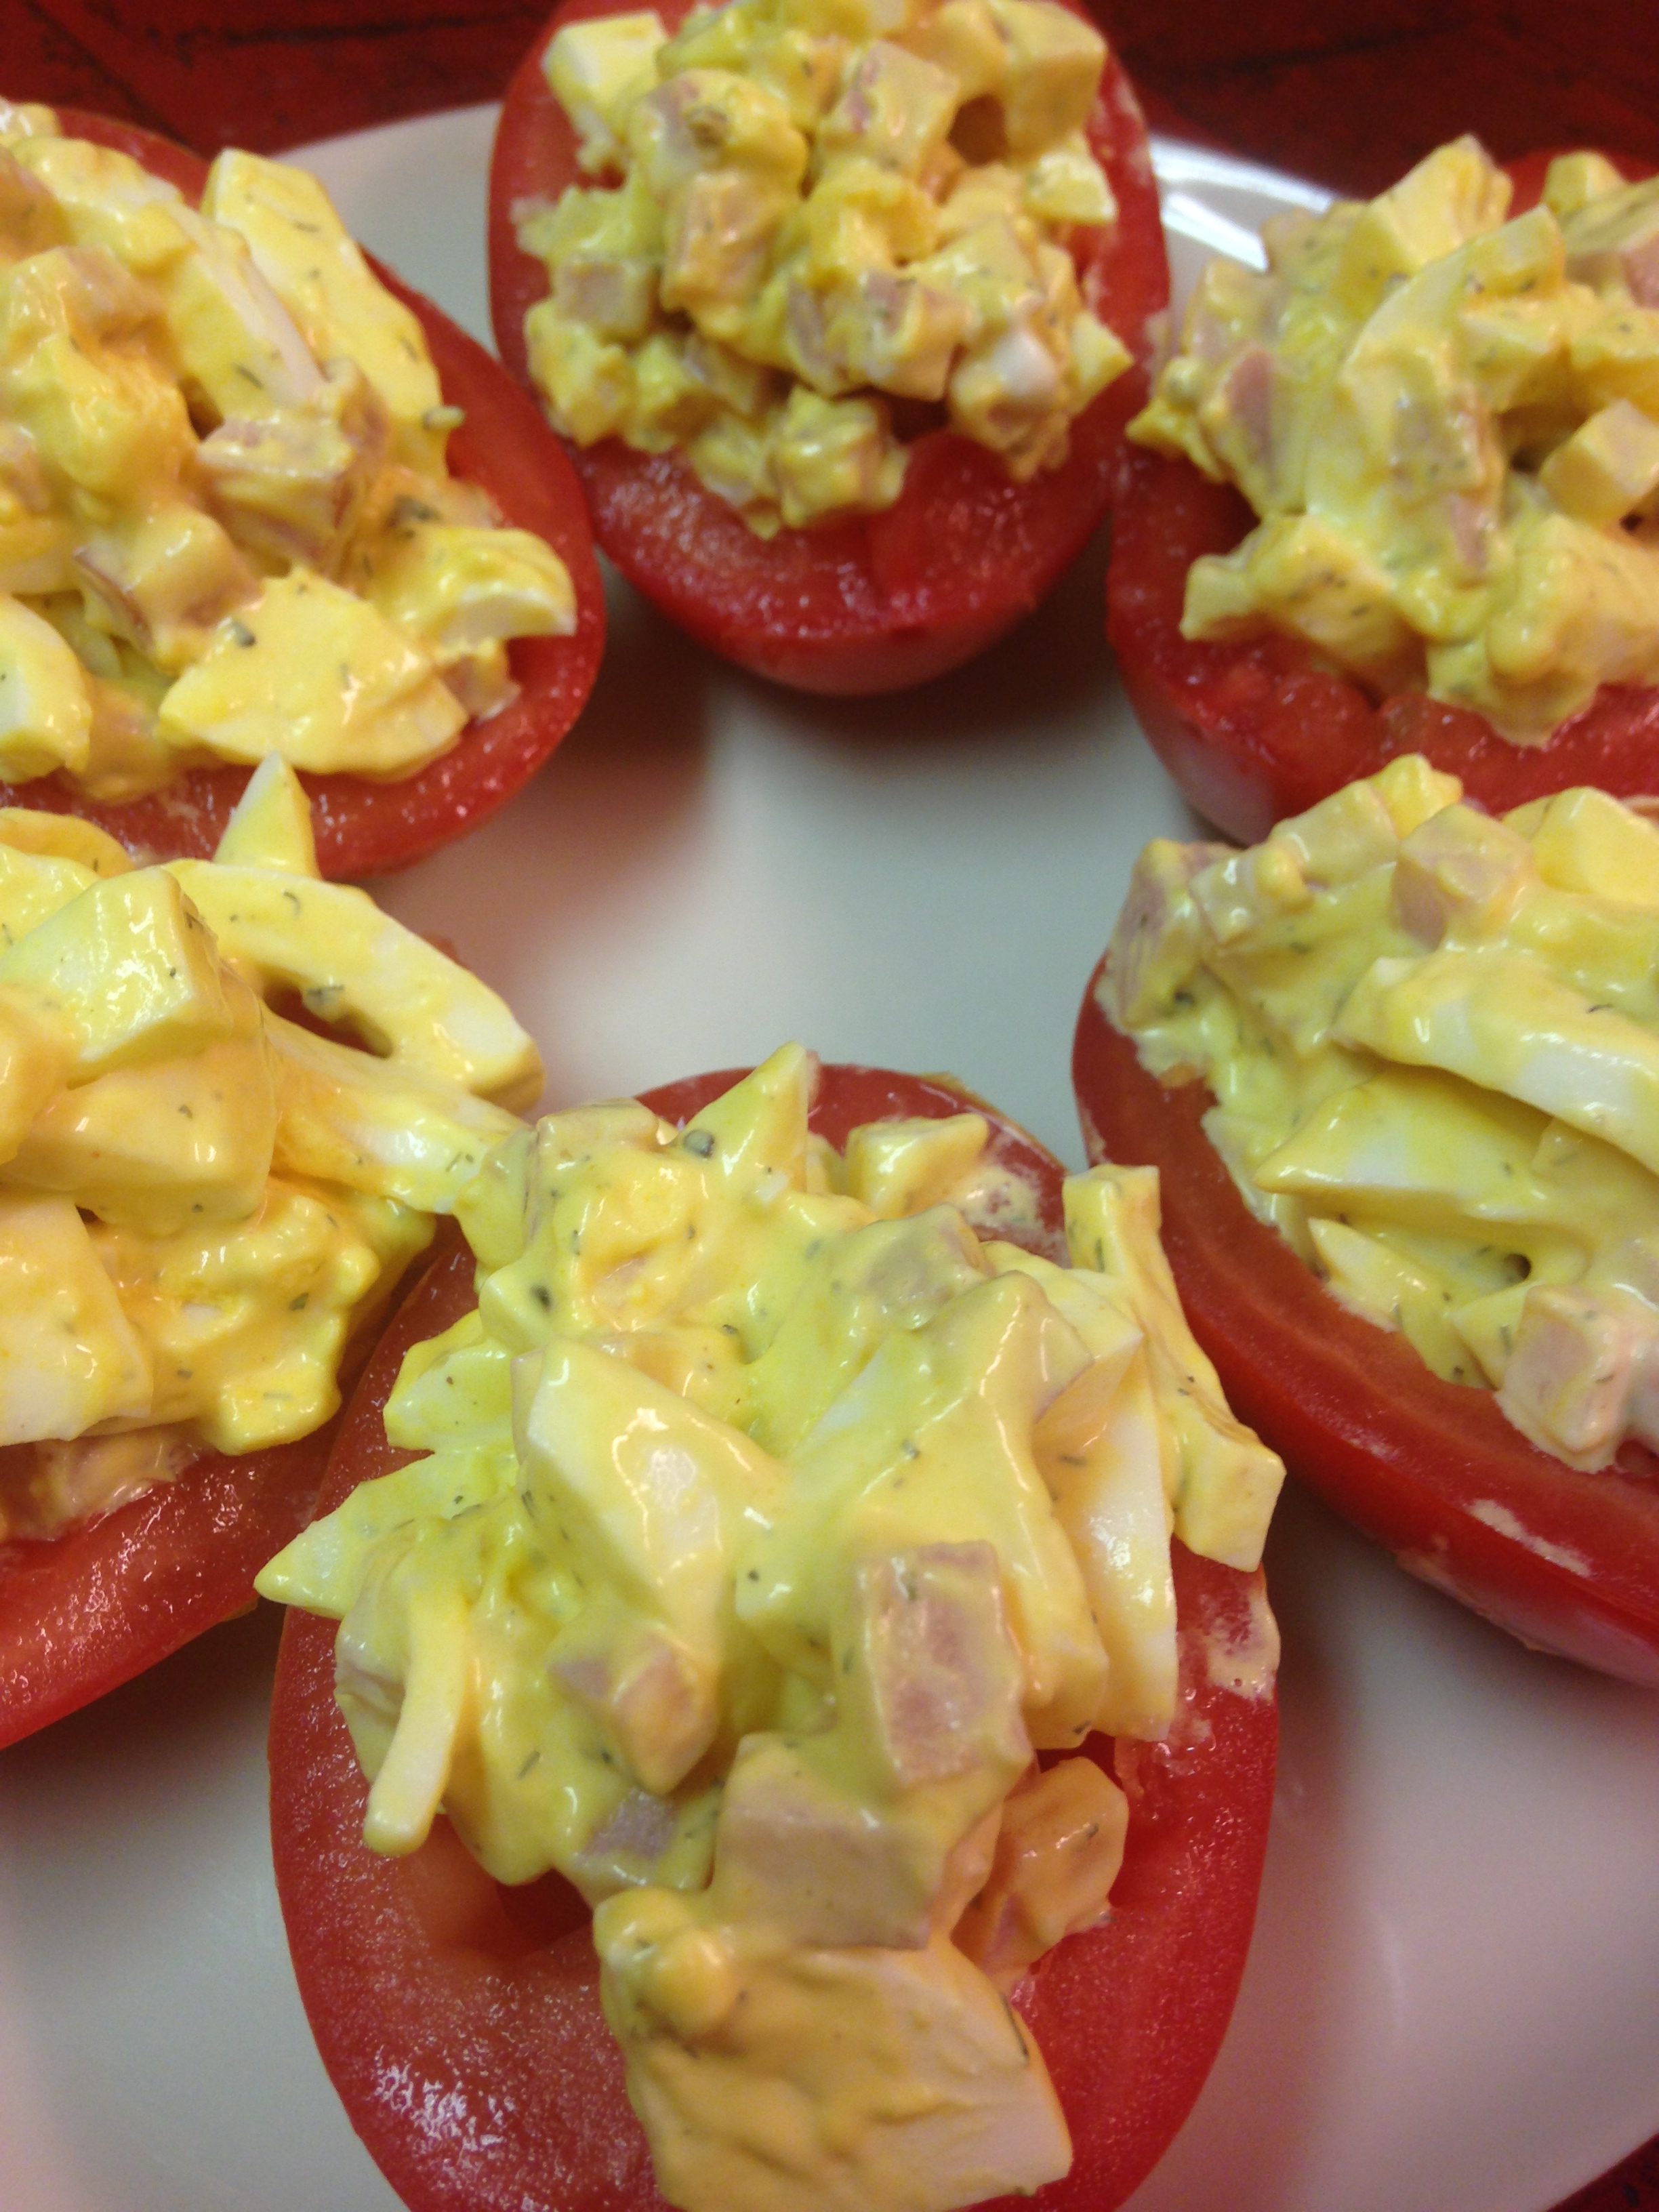
After a long day of baking and roasting products for Grain Free Haven, and helping hubby publish his latest book, The Secret:  A Thriller (free for a couple more days!) it was time to actually eat a meal. Not interested in turning on the oven again, I sought out a quick, oven-free meal for us to have. Spying the ever-present boiled eggs, ham and tomatoes in the fridge I came up with a fun idea. Stuffed tomatoes! The same staple foods we often eat, but in a fun little package! I won’t be selling them from my booth next weekend, but they were fun to make and eat. I have done something similar with tuna and cherry tomatoes, for a dainty tea party dish, but never used egg salad or larger roma tomatoes. These would go great as make ahead for a luncheon or pot luck. Let’s see if my mom is inspired to do them for one of her many monthly lunches next month!

Ham and Egg Salad Tomatoes

4 boiled eggs, roughly chopped (drop raw eggs in boiling water, boil for ten minutes, rinse with cold water, then peel)
1/2 cup mayonnaise
1 Tbsp yellow or other mustard
1 tsp dill leaves
1/2 tsp garlic powder
1/4 tsp onion powder
Salt and pepper to taste
2 slices ham, diced
5-6 roma tomatoes, halved lengthwise and seeds removed

In a medium bowl add mayonnaise, mustard, garlic powder, onion powder, dill leaves and a dash of salt and pepper. Whisk together until well combined. Add eggs and ham. Stir until ham and egg is coated. Fill each tomato half with salad, mounding it on top and gently pressing it into the hollow of the tomato. Place on platter and serve immediately or cover and refrigerate.


Almost Easiest Brunch

bruch food

To me the best thing about making brunch these days is a nice meal after sleeping in and the inclusion of sweet plus savory dishes. The sleeping in part was not always true. When I was growing up brunch was often a big buffet at the local club after getting up early for church services. There was always so much to choose from and I could fill my plate with breakfast and lunch. The food was okay, but after sitting above steam baths and being poked and prodded by dozens of other diners before I got to it, not always as tasty as what was made at home. My favorite parts of the buffet was always the omelet station and dessert table. When I make brunch I like including the variety representing lunch and breakfast.

When doing a brunch at home it can be made very simple or very complicated. Dishes like Eggs Benedict or souffles or perfectly poached seafood can be good, but hard to time when people are arriving. In my experience the level of complexity is a choice and I lean towards hosting brunches that don’t take a lot of prep or maintenance. Stick with fresh ingredients and you will be fine. With a little prep the day before (but not absolutely necessary) you can serve your guests a variety of foods and cook them at the pace you prefer. Here is how I did Sunday morning brunch recently at my mom’s house, adding a little bit of complexity, but with a small party it was fun to do so.

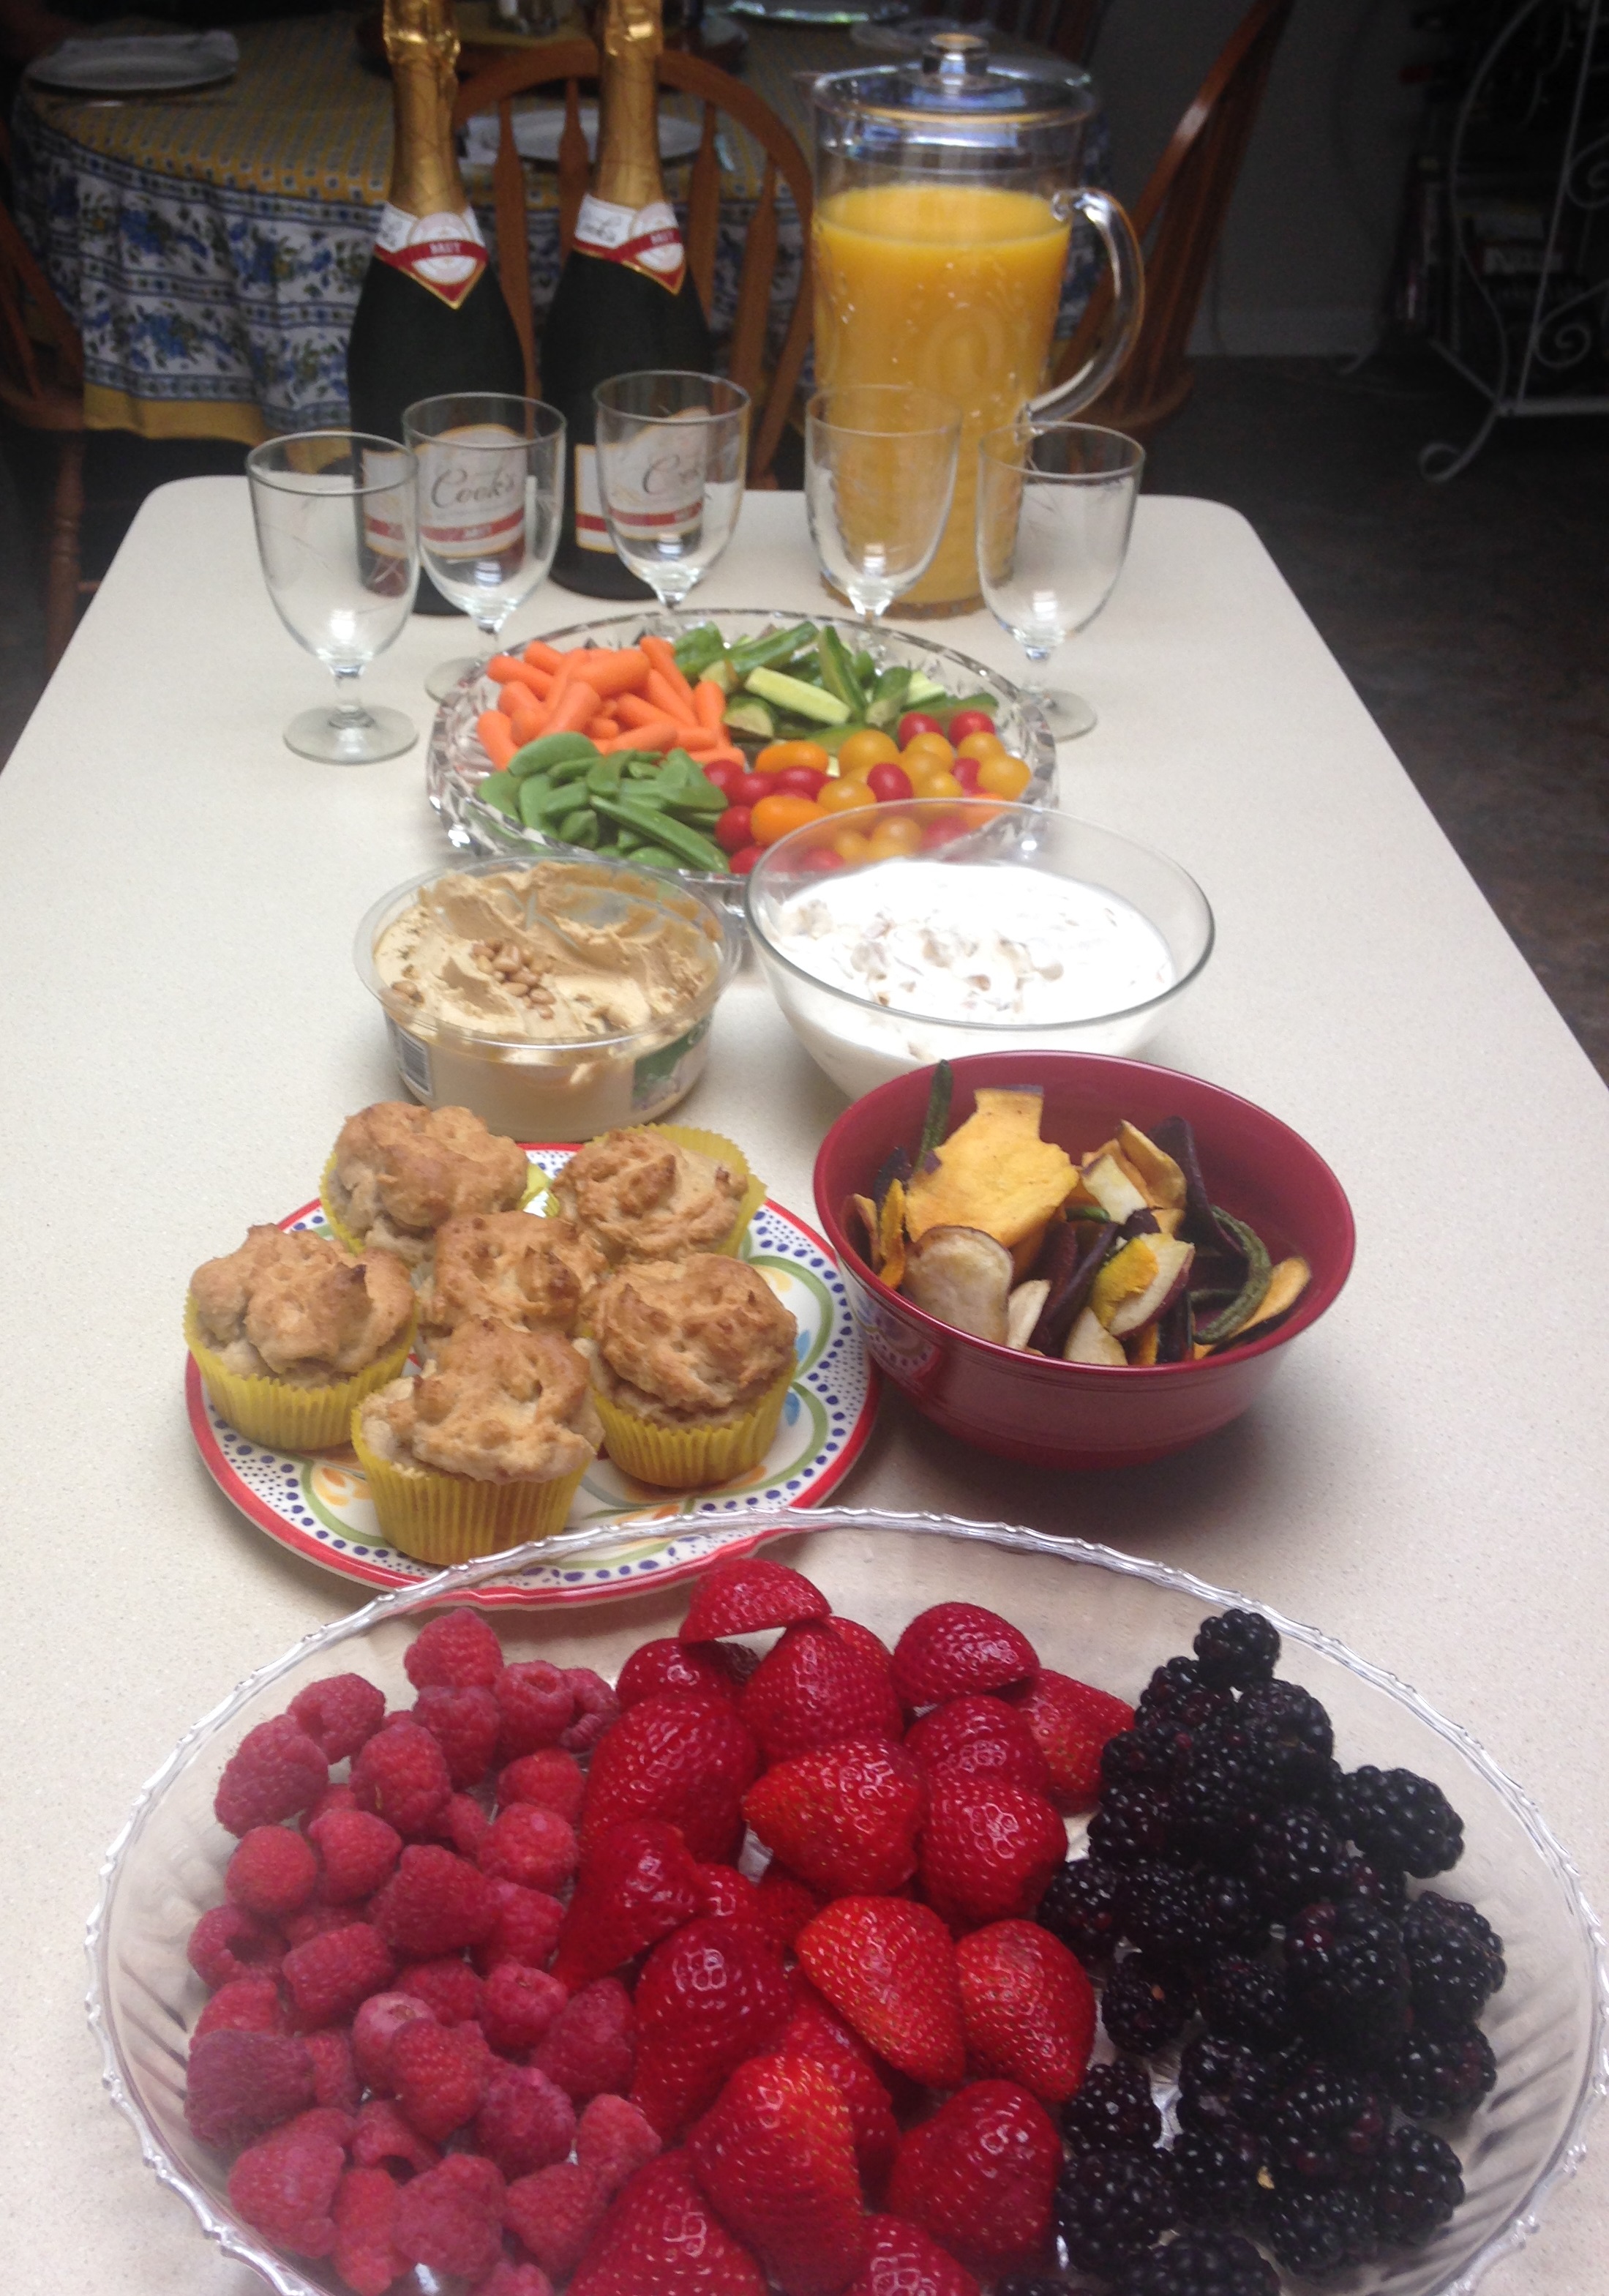
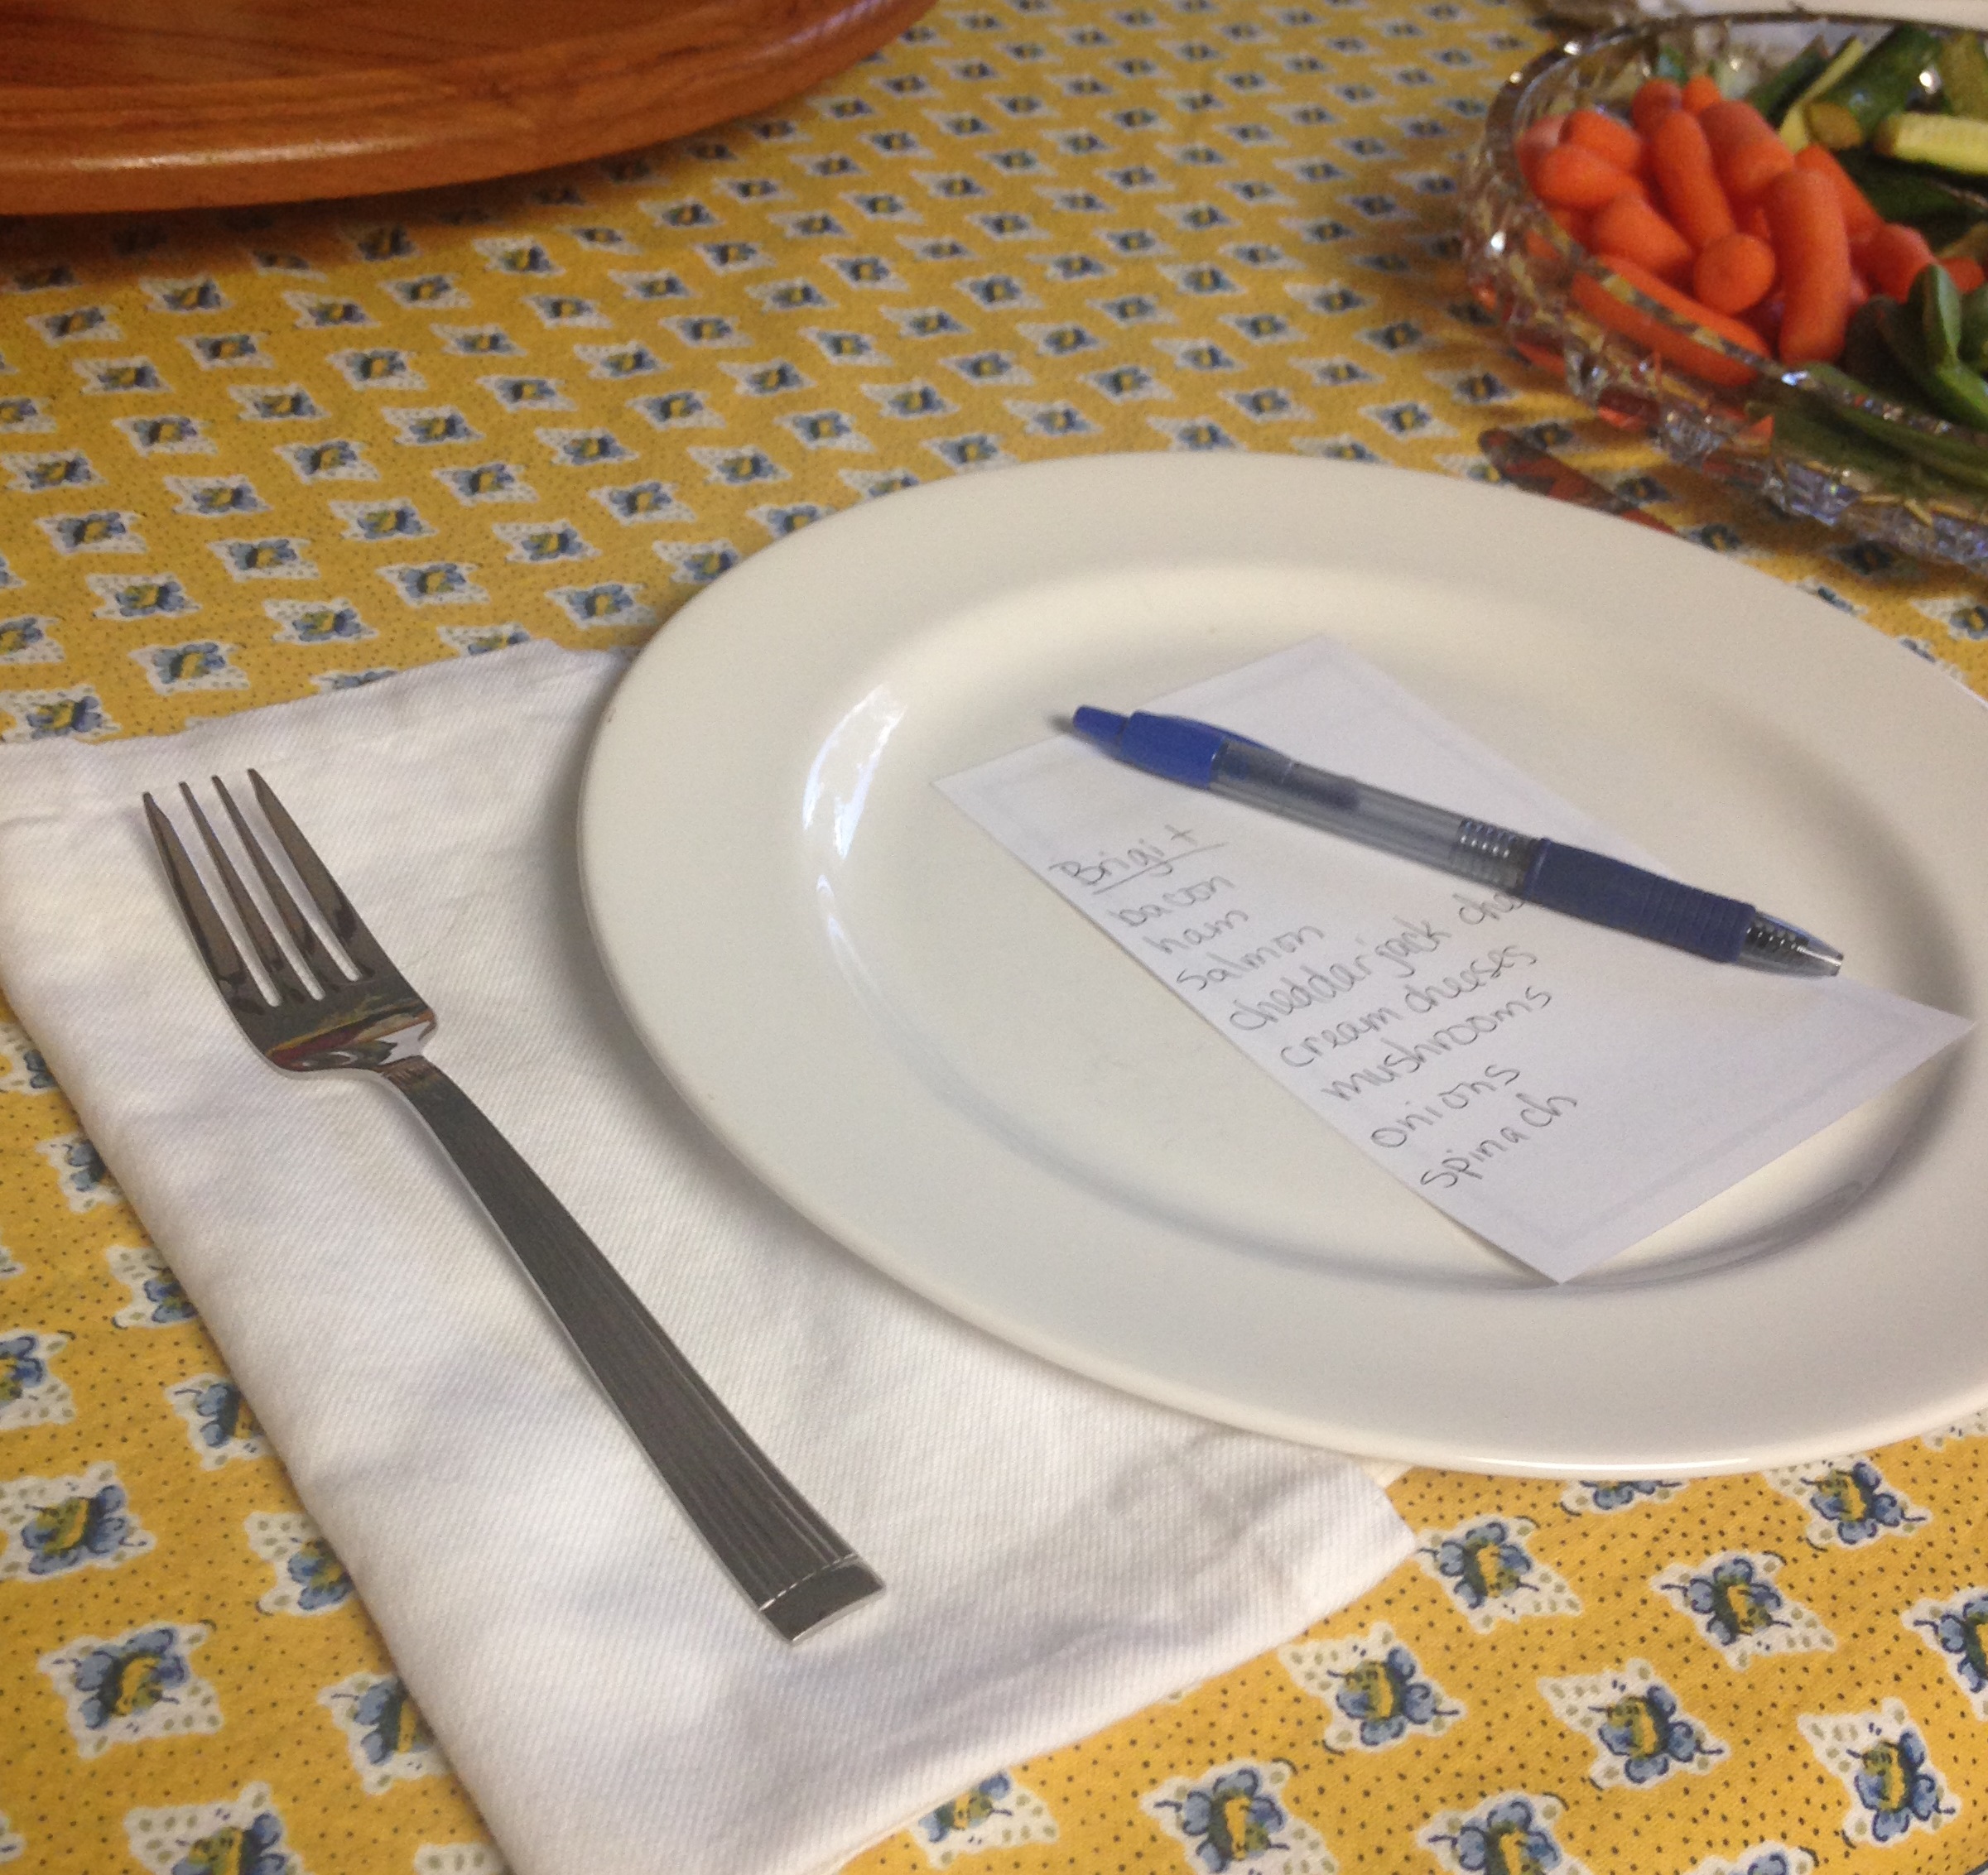
brunch omelet stationI was a living, breathing omelet station! As you can see from the pictures there was a wealth of fresh, raw fruits and vegetables with dip, some wheat free muffins and little personal menus for people to choose their omelet ingredients. It was a small party, so the kitchen table that seated six was perfect. I could make omelets and still participate in the conversation. I prepared some omelet ingredients and muffins the day before, so I just had to pull them out of the fridge right before people arrived.

I call it the Almost Easiest Brunch because in my opinion the easiest would not include the omelet station, but something eggy and cooked en masse. Things like meaty or salmon frittatas and egg muffins can be popped in the oven right before people arrive, and be hot and ready by the time the first round of mimosas is sipped away. That is easier when hosting a brunch, but I wanted a little more challenge this time; thus, the omelets! The great part of the omelets is complete absence of guessing about what people want. We had salmon lovers and haters, Little B currently dislikes mushrooms, and a couple of serious vegetable eaters. As long as you do not burn the eggs there is little room for omelet content consternation. Try making a brunch for a bunch this weekend then take a nap, especially after the morning cocktails!

Omelet Station

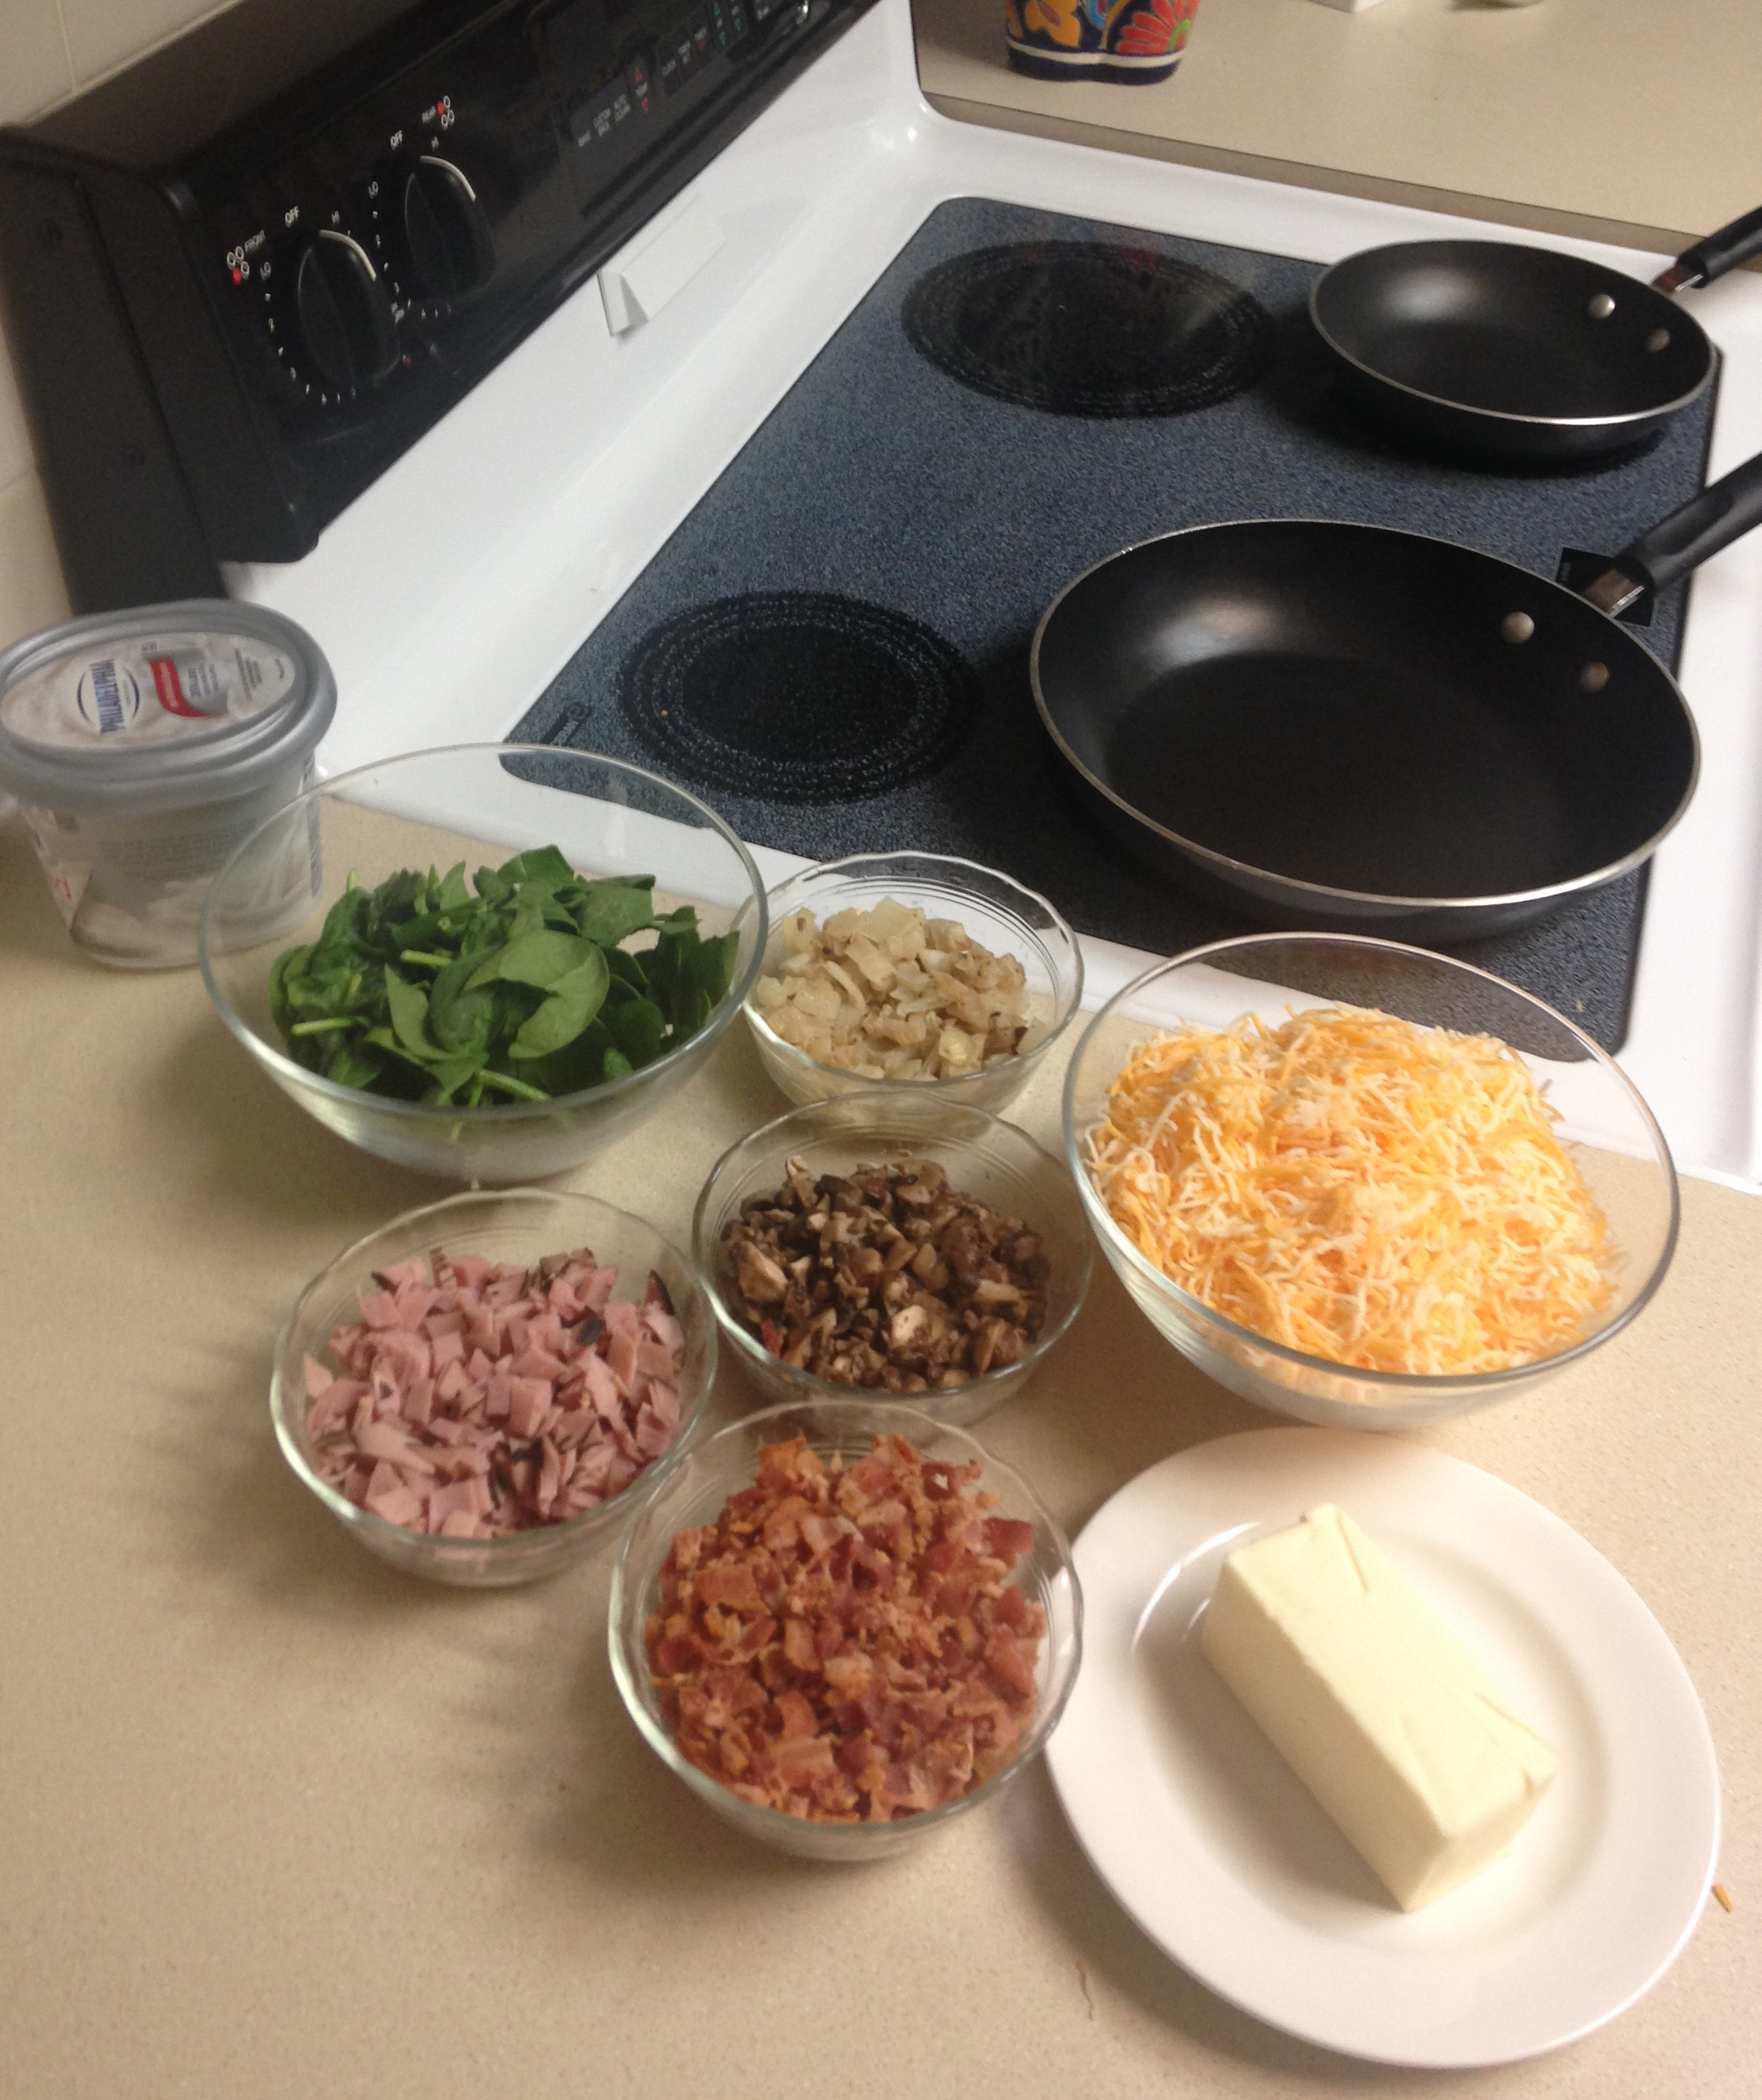
2 small omelet/saute pans with cover (use foil or large plate if covers unavailable)

1 stiff spatula

1/2 cup butter

Whisked eggs – plan for two eggs and 1 Tbsp milk per person. Add eggs and milk to large measuring cup, whisking them together with a dash of salt and pepper. Note: using a large measuring cup or pitcher with a pouring spout allows for easy pouring into pans when time to make omelets.

At least 3 meat ingredients. Suggest meats pre-cooked and chopped, like bacon, breakfast sausage, poached or smoked salmon, ham. Plan for about 1 tablespoon of meat per person.

At least 3 vegetable ingredients. Suggest blanching or cooking until soft any raw vegetables to speed up omelet preparation, like sauteed mushrooms, peppers or onions, blanched broccoli and raw, chopped spinach. Plan for about 2 tablespoon per person.

At least 2 cheese ingredients. Suggest at least one mild and one sharper flavored cheese, like cheddar, feta and cream cheese. Plan for about 2 tablespoons per person.

brunch omelet orderHand out small pieces of paper with the guest name and available omelet ingredients listed. Have guest mark what they want in their omelet. When ready to make omelets preheat the omelet pans to medium. Melt a pat of butter. When butter begins to bubble pour in thin layer of egg to cover the bottom of the pan, about 1/3 cup. Add cheese to entire surface of egg (cream cheese would be dropped in with other ingredients, unless you want to try to spread it on with uncooked egg surface – good luck!). Add a spoonful of each vegetable/meat ingredient to one half the egg surface. When egg edges and bottom begin to firm up (can’t see the color of the pan bottom through the egg), fold over the cheese only egg layer on top of the vegetables and meat half. Cover pan for one minute to allow cheeses to melt, ingredients to heat and egg to finish cooking. Slide on to serving plate. Repeat until all omelets are made.

Other Dishes

Vegetable Tray. Provide about 1 cup per person of prepared seasonal raw vegetables that dip easily: grape/cherry tomatoes, celery sticks, carrot sticks, red or green bell pepper strips, snap peas, cucumber coins or sticks, radishes, zucchini sticks.

Fruit tray. Provide about 1/2 cup per person of prepared fruit: berries (slice strawberries if they are big!), apples, oranges, grapes and pineapple.

Dips. Provide at least one sweet and one savory dip: with fruit include Peanut Butter Yogurt Dip or whip together some cream cheese and pureed fruit like this frosting, and for the vegetables include French Onion Dip, hummus, or tzatziki.

Sweet Muffins. To balance the savory egg dish include some sweet muffins, like cranberry, blueberry, or oatmeal apple.

Savory Crisps. To go along with the dips serve some chips or crackers. A great item to serve is crispy veggie chips – beets, sweet potatoes, zucchini, carrots and green beans baked and salted. Very crunch addition to the meal!

Signature Drink. Although drink preferences of guests will vary, suggest having ingredients for a signature cocktail, like Mimosas, Caesars or Bloody Marys. Make available coffee, herbal iced tea and at least one type of juice as well.

Post Navigation